Roto painting
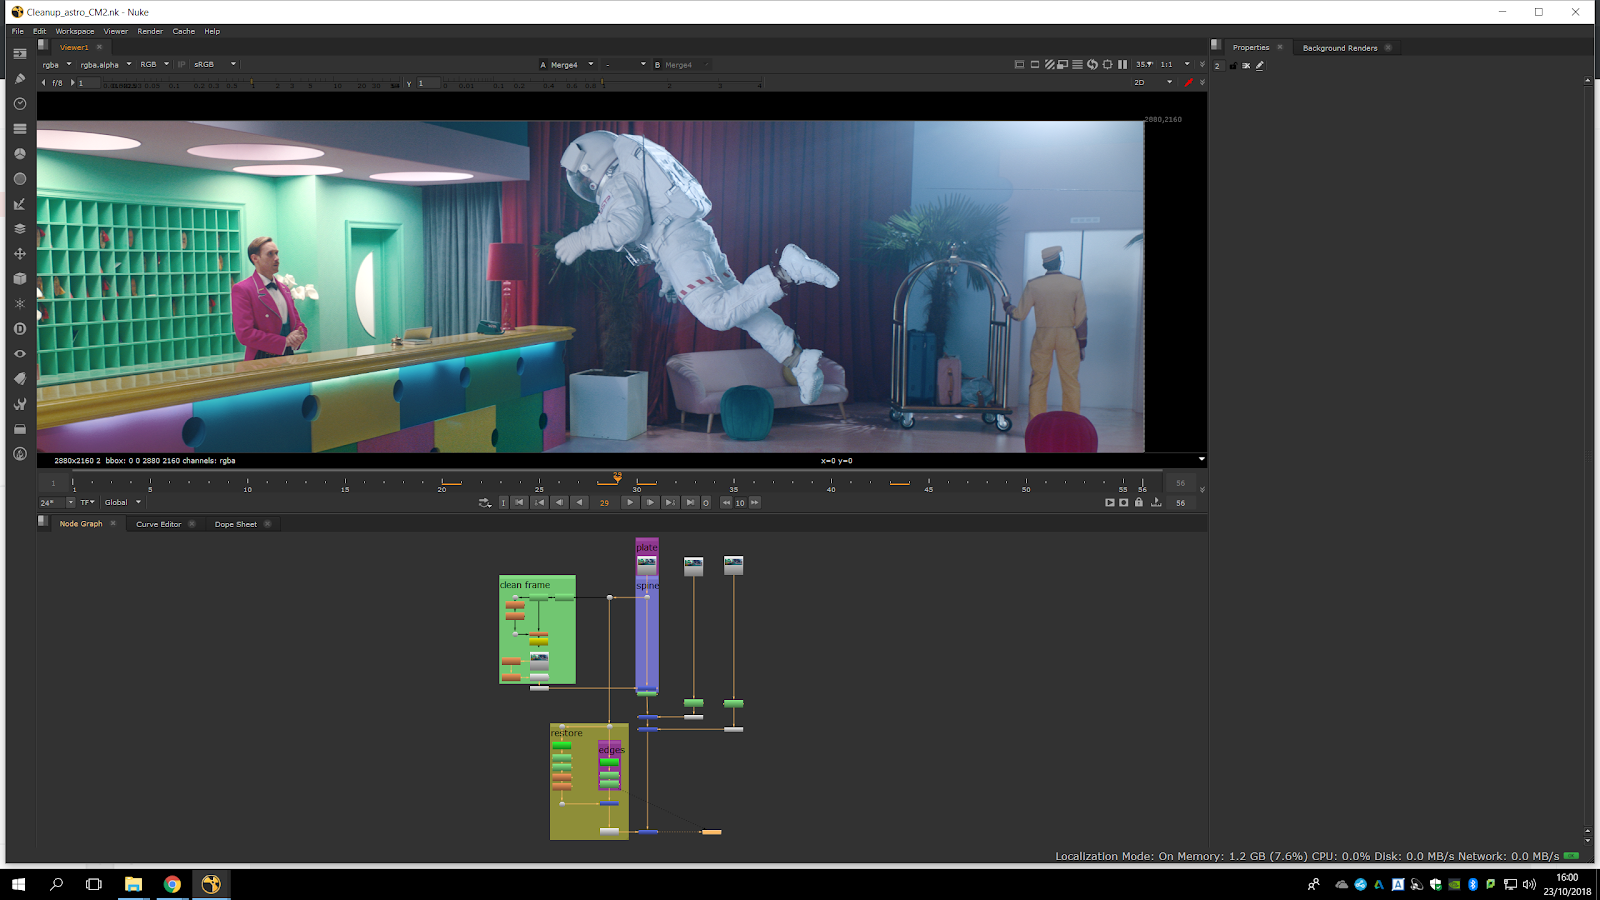
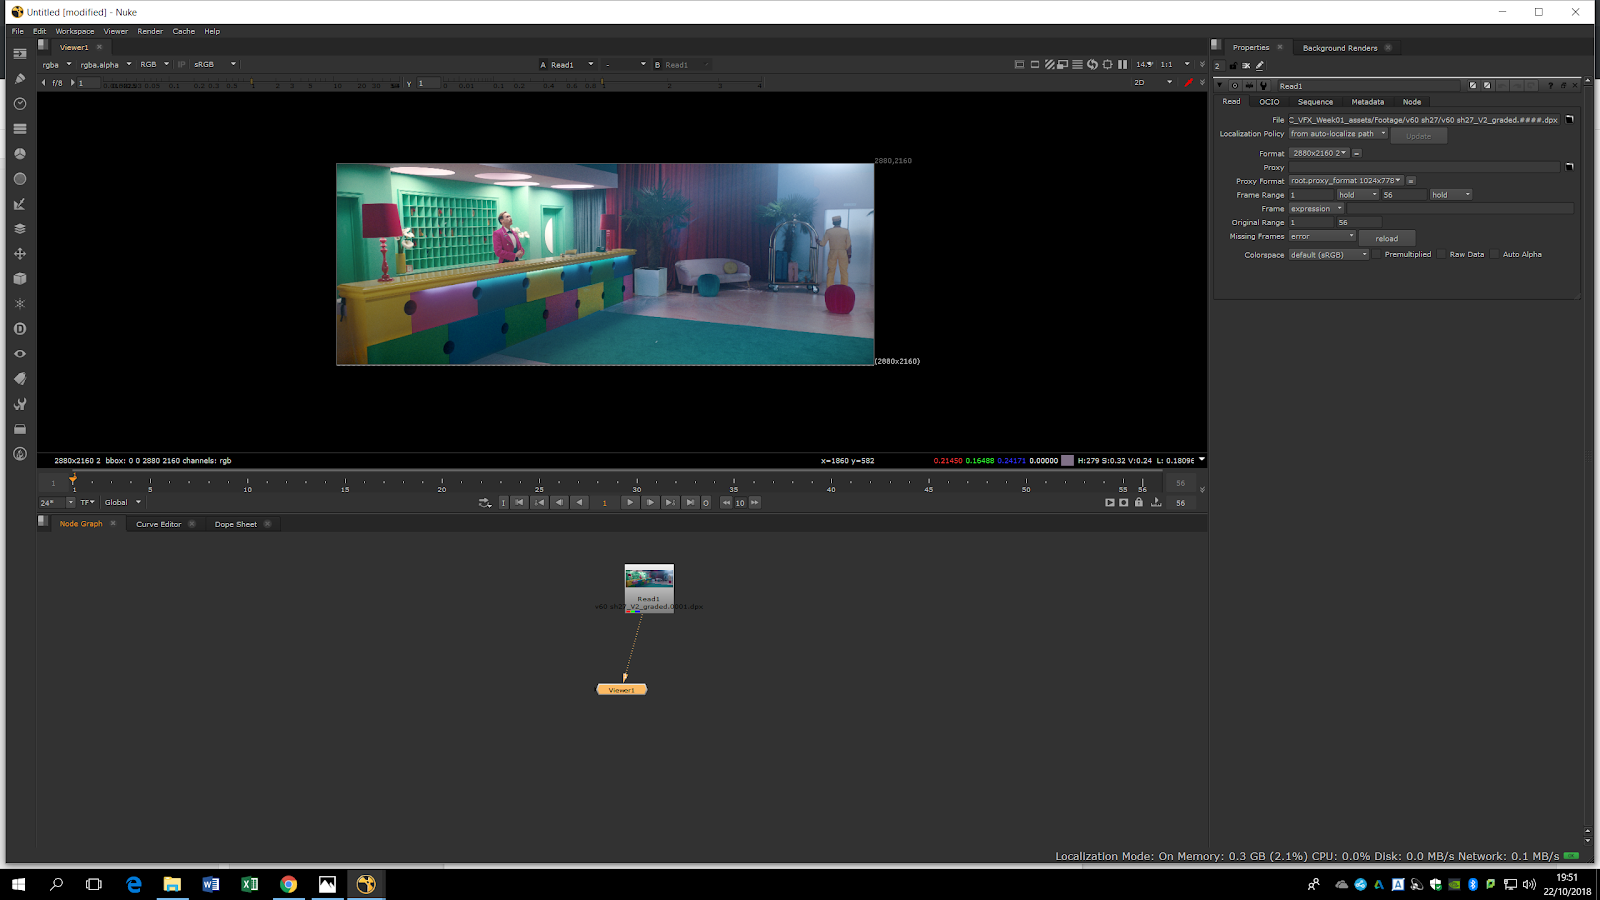
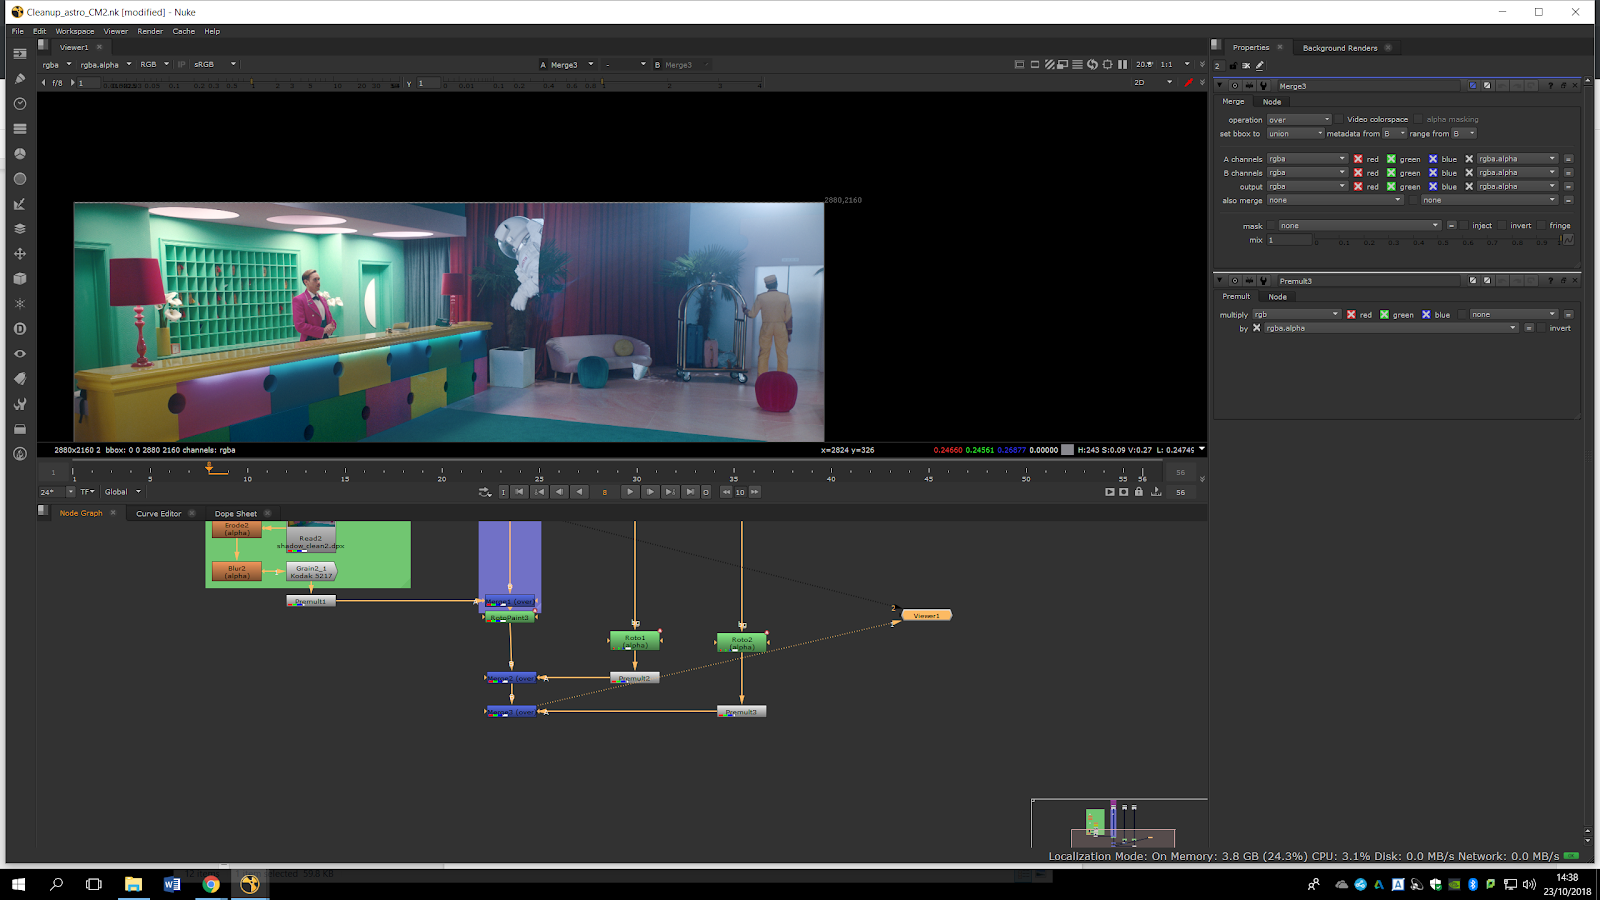
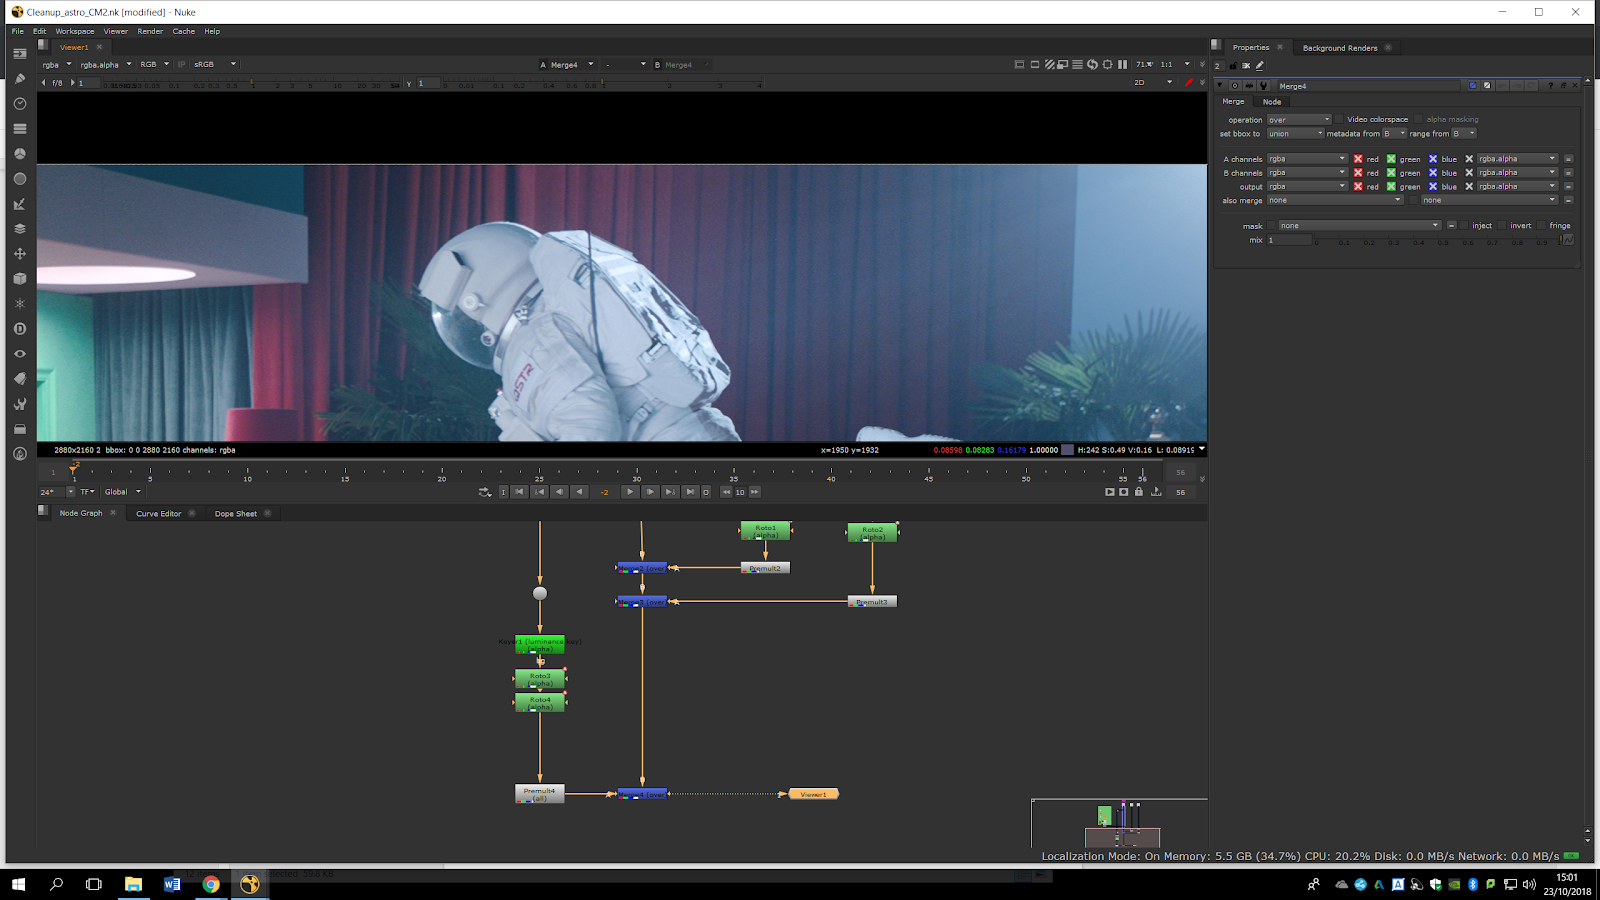
In this nuke session we are going to explain how to do a roto painting. this technique is useful if we want to remove some elements of the image. First of all, we import our original footage pressing R. if we press S we can see the resolution of the footage, which is 2880×2016. That means that the resolution is anamorphic, because as we can see the pixels are 2:1 instead of the common 1:1. We will try to remove the palm shadow because the director of the video didn’t like it. Therefore, we will use roto painting to remove the wires of the astronaut and the shadow of the palm tree.
If we select the footage and press P a roto paint tone will come out. We will select the circle tool in the tool bar of the left. To begin to painting, we can press ctrl and drag, so we will be available to see two circles. The main one will mark the part the image to replace and the other one will be the part to be replaced for. If we press shift we can make the circle bigger.
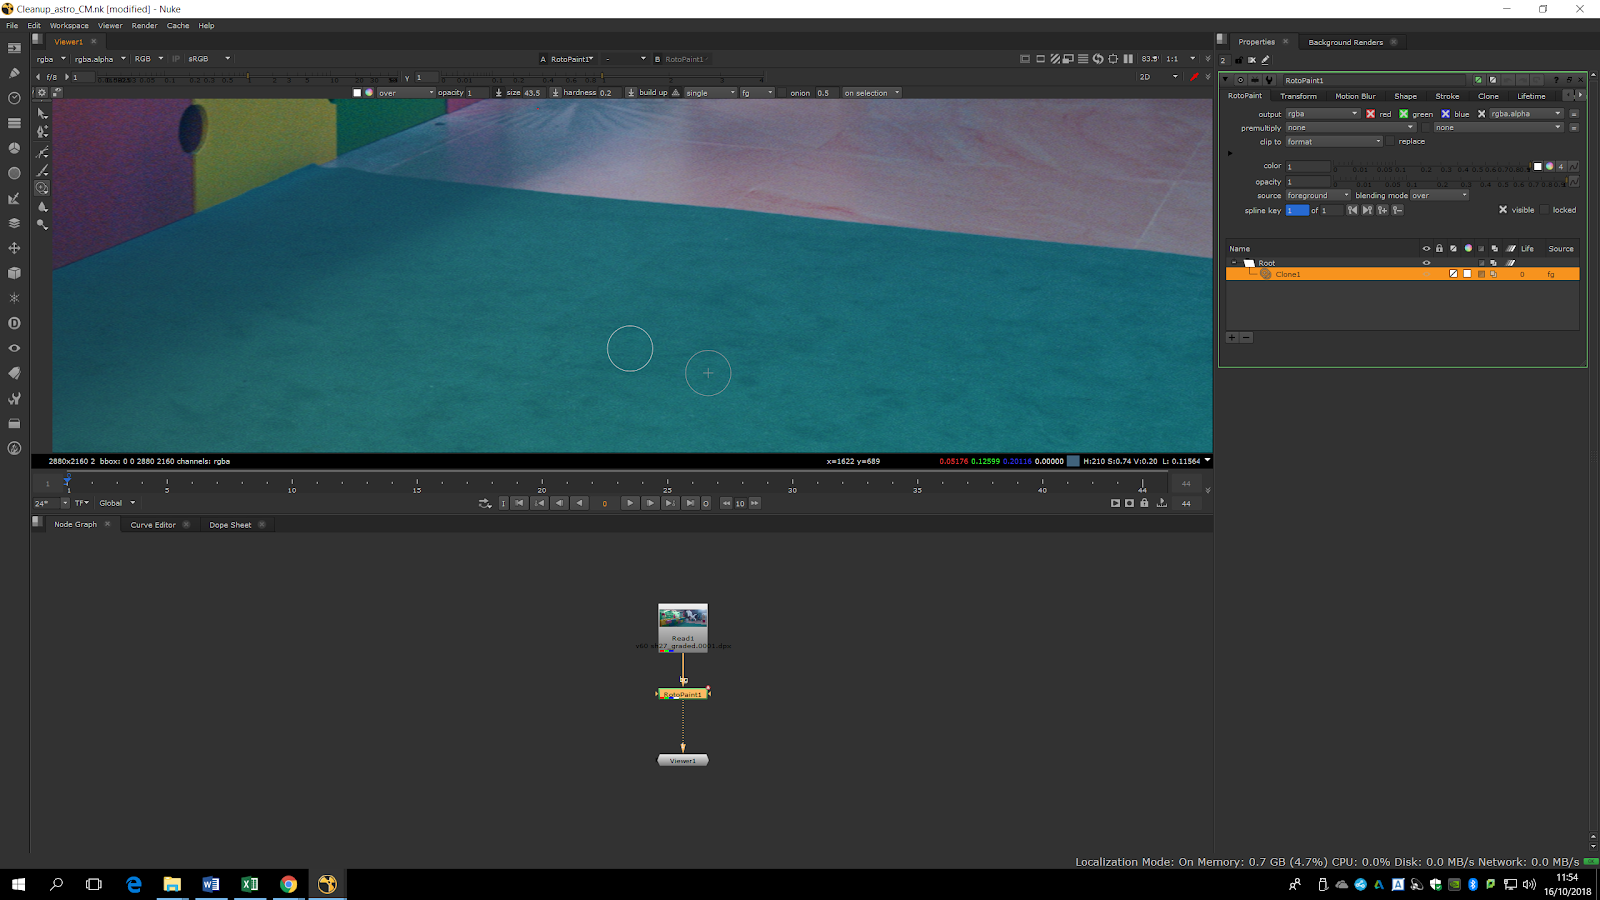
We also have a toolbar in the top in which we can choose different settings has the hardness. A harder brush will be better just for details. From frame one, we can start painting the shadow slowly in order to make it disappear.

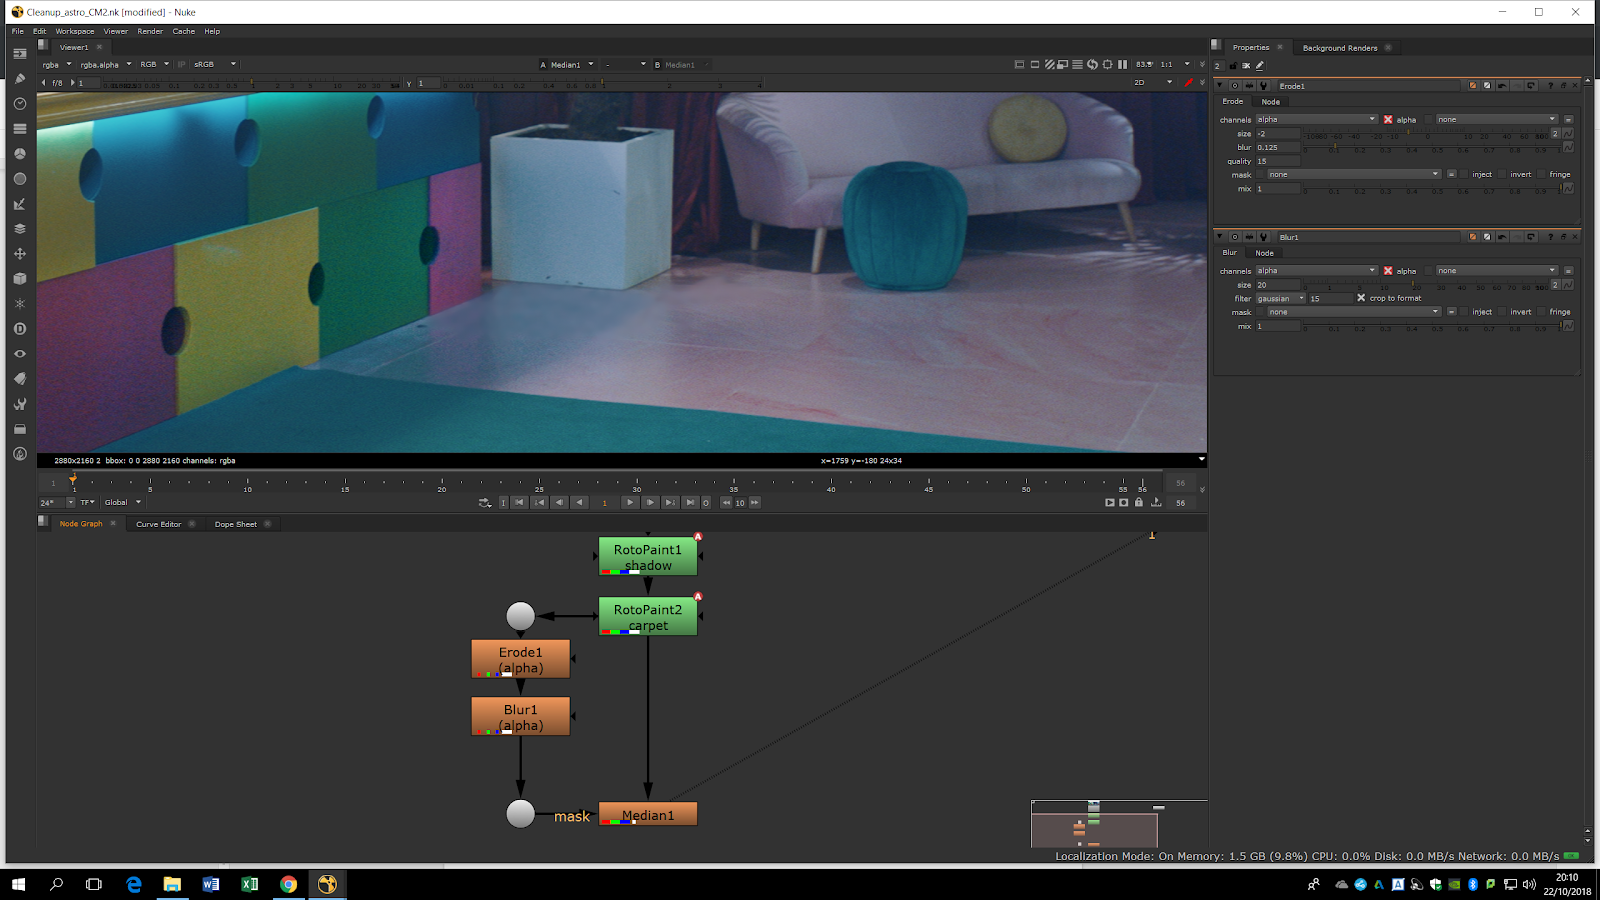
Once we are happy with the result, we can blur it in order to blend it better with the image. To bring up a blur note, we will need to press B, but in this specific case we would like to keep the edges clean, so the better note for us will be a Median Blur. This tool allow us to blur the colors of each shape but maintaining the edges sharp and with contrast. We do not want to blur the whole picture, so we will plug the mask input of the roto painting into the median.

Now, the only area that is blued with the median is the area in which we have made the roto painting. To soft the contrast between this area and the footage, we can put a Blur note in the mask input. In the blur options, we will need to select it to apply only the alpha channel. 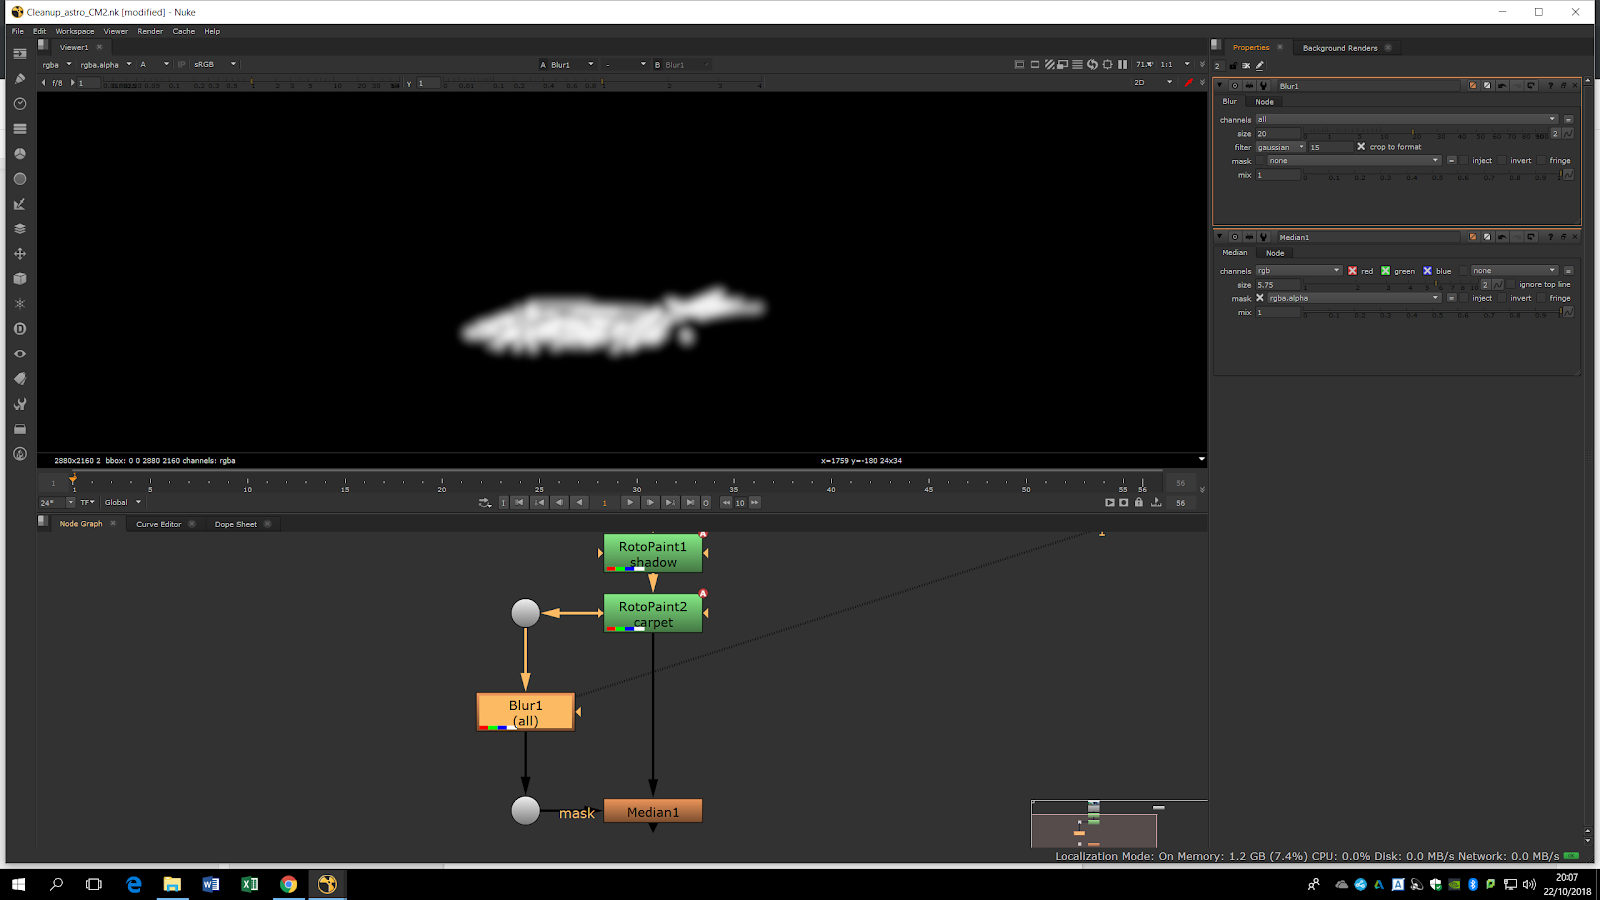
In order to have an even more uniform shape, we can add an Erode note as well to the alpha channel. We can see the different result of the alpha channel will be as shown in the picture.
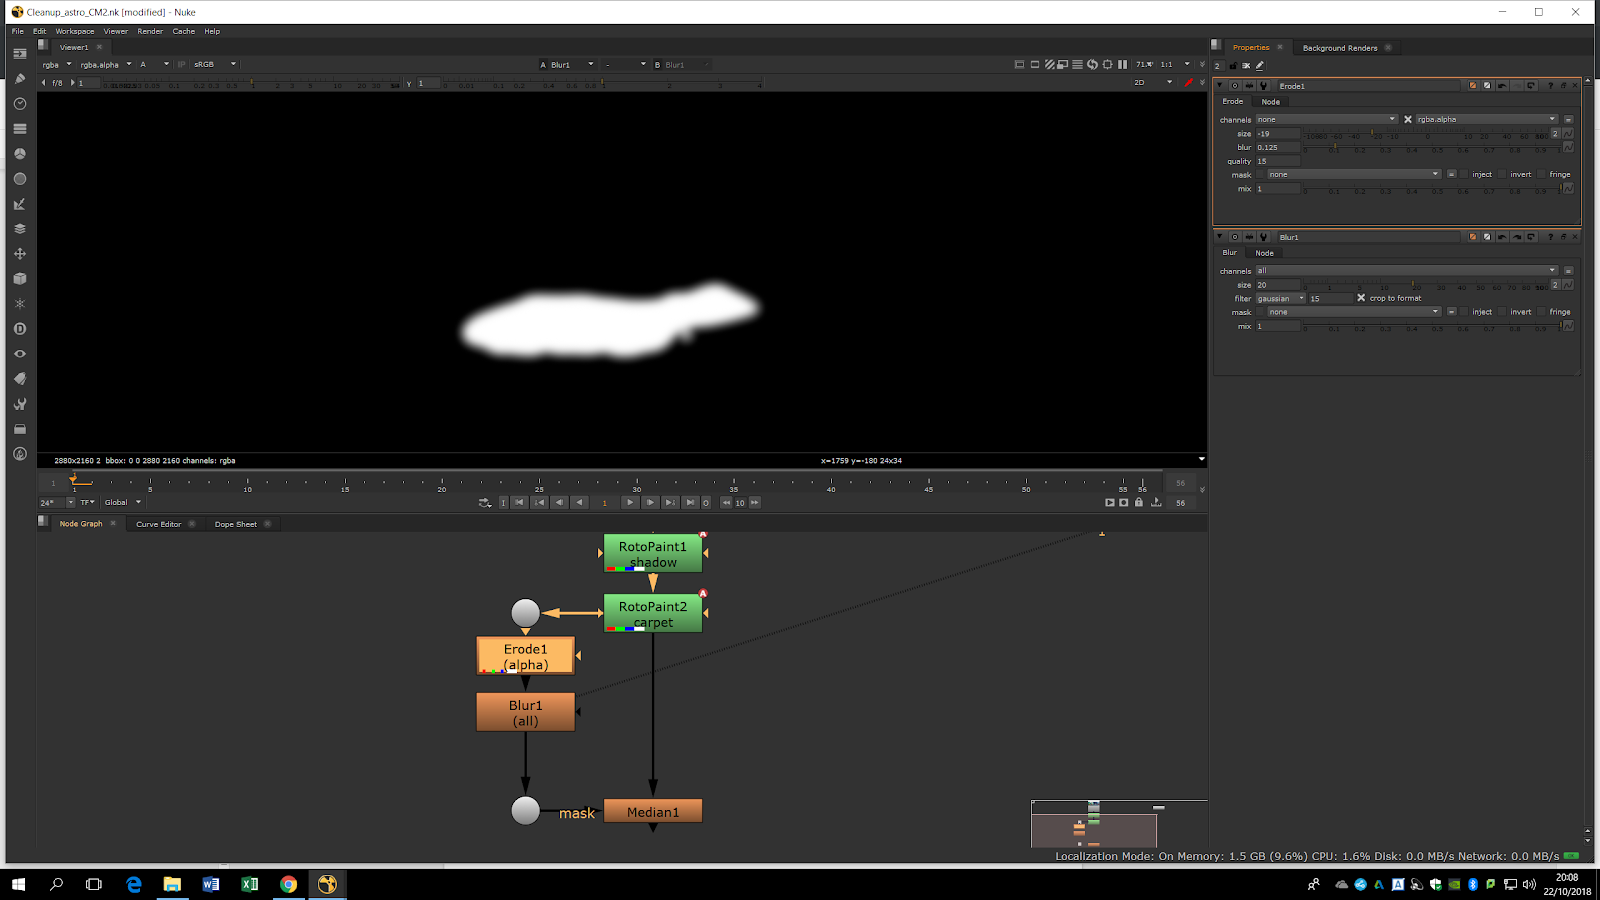
As we can see, the difference between the both parts of the picture is not so notable.
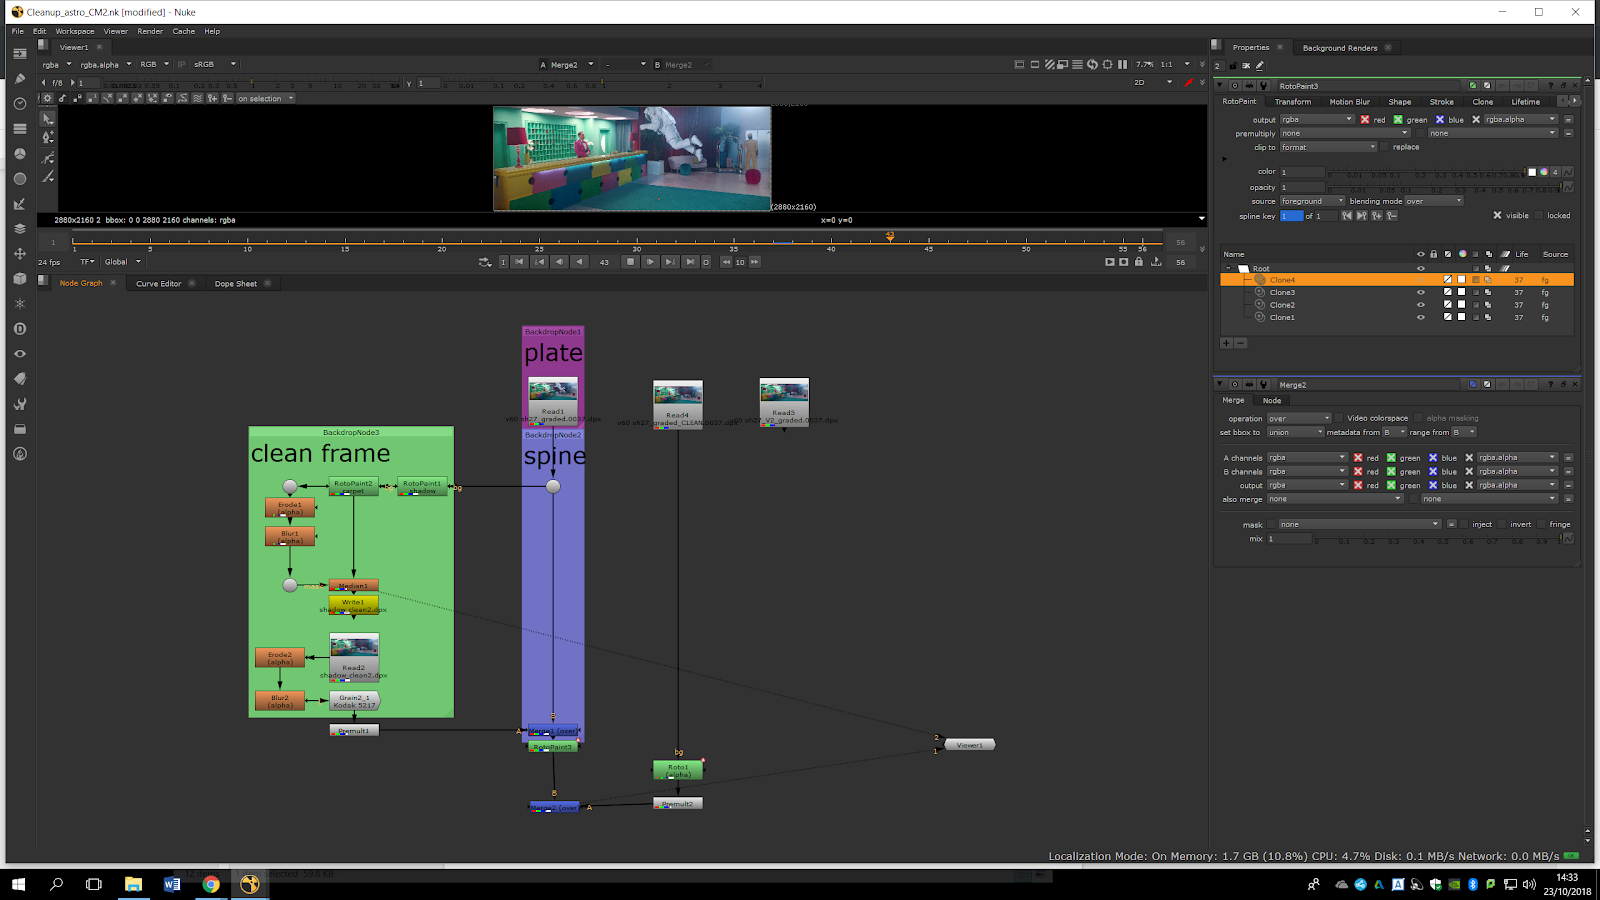
As the Median Blur is really heavy to process, we will render it out to make it easier to process and avoid slowing down the computer. Therefore, we will press W to write the content and render. As we are rendering the background and it is static, we will only need to render one frame. Having a clean frame is really common while doing cleanups.
We can see that the roto area is much softer that the normal footage. Therefore, we will add grain into the roto area. For that, we will add grain into the rendered frame. We will want to add grain into the alpha channel of the footage. If we preview the alpha channel of the rendered footage we will notice than the alpha channel is the same we had in the roto painting, but the erode and the blur notes does not apply. Therefore, we will copy the median and the blur of the alpha channel and paste them between the rendered footage and the grain note. In this way, the gained part will be the same than the one in which we have applied the median.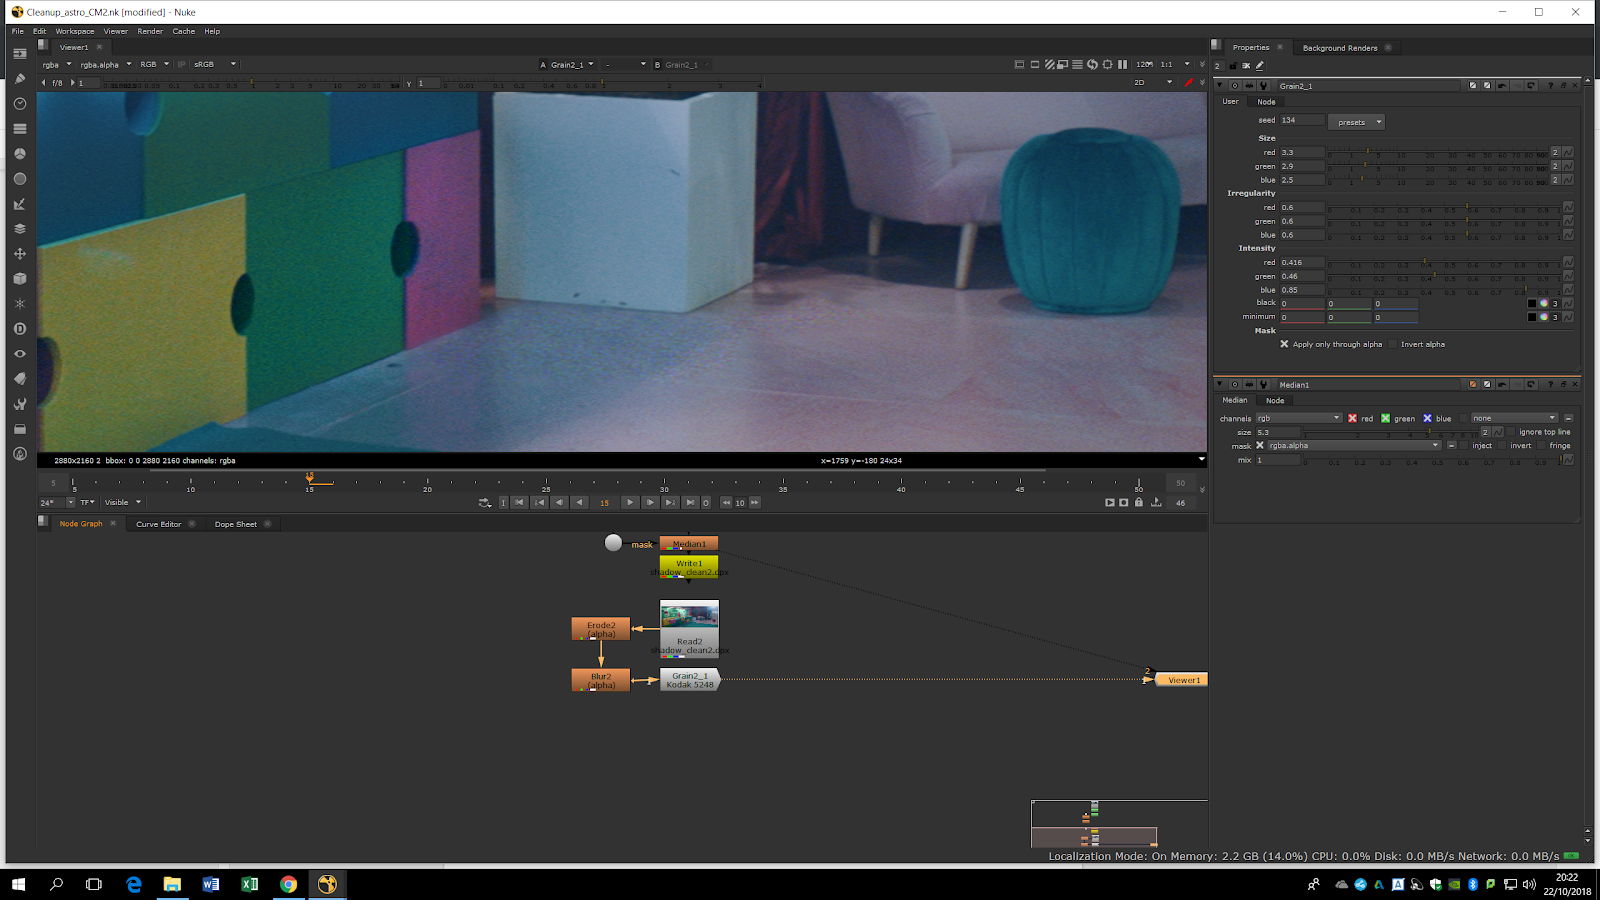
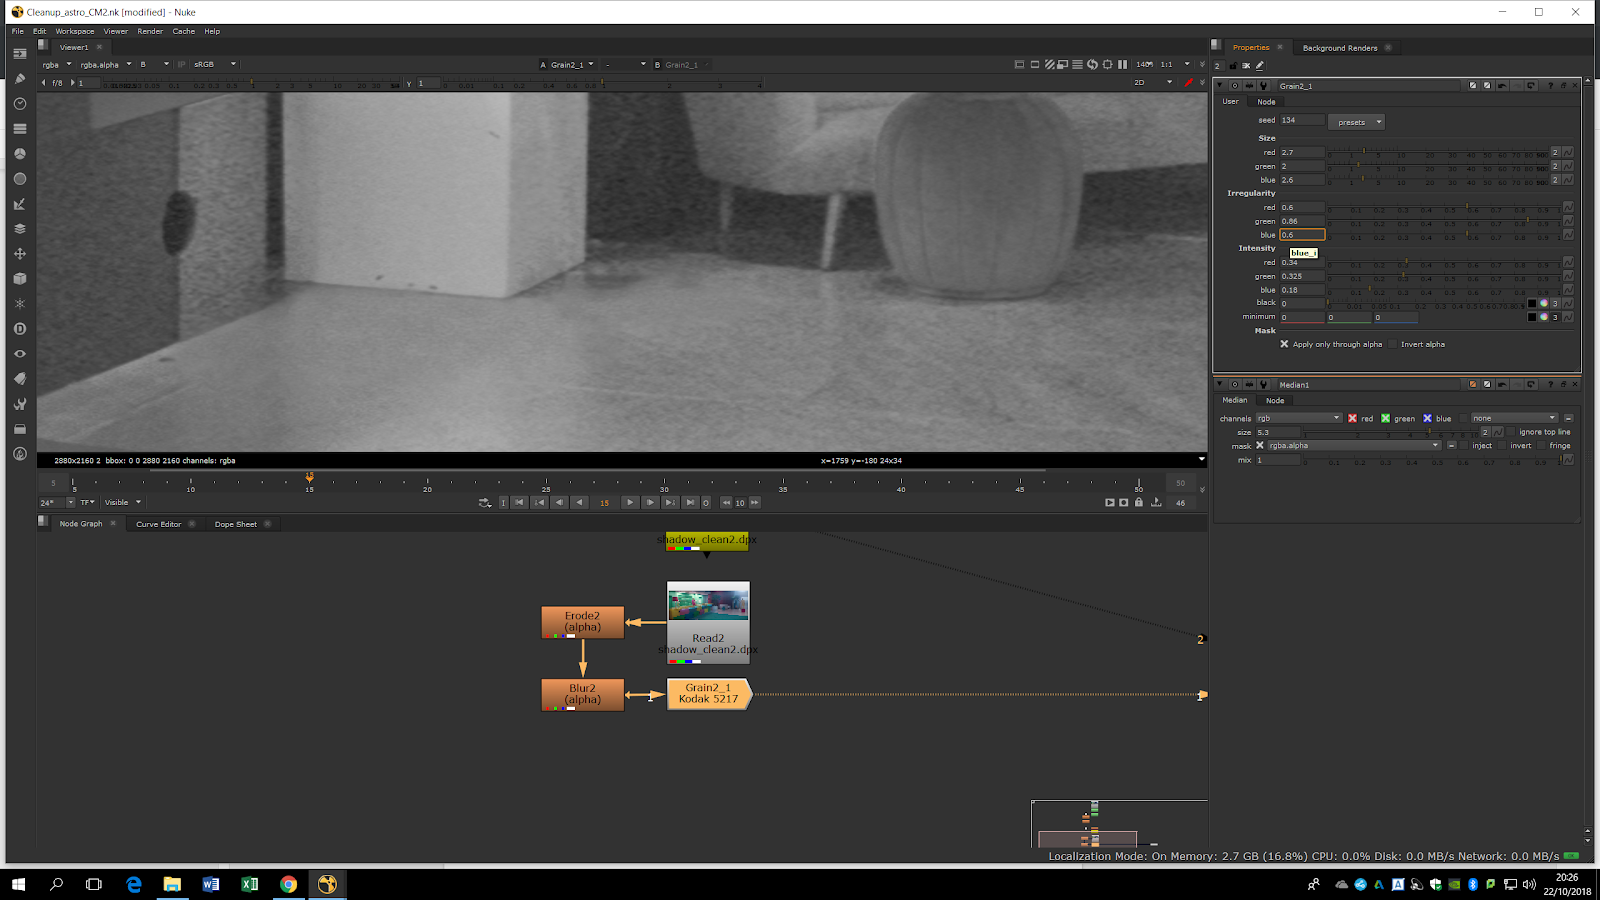
Now, we will edit the noise note previewing it channel by channel to make the noise as much similar as possible to the original noise.
Once we have done this, we will have our roto area ready and we would like to add it into the normal footage. For that, we will add a Premult note after the noise in order to see only the alpha channel of the image we are working with. Then we can use a Merge note and plug in into the original footage.

Now, we will import the clean and graded pieces of footage.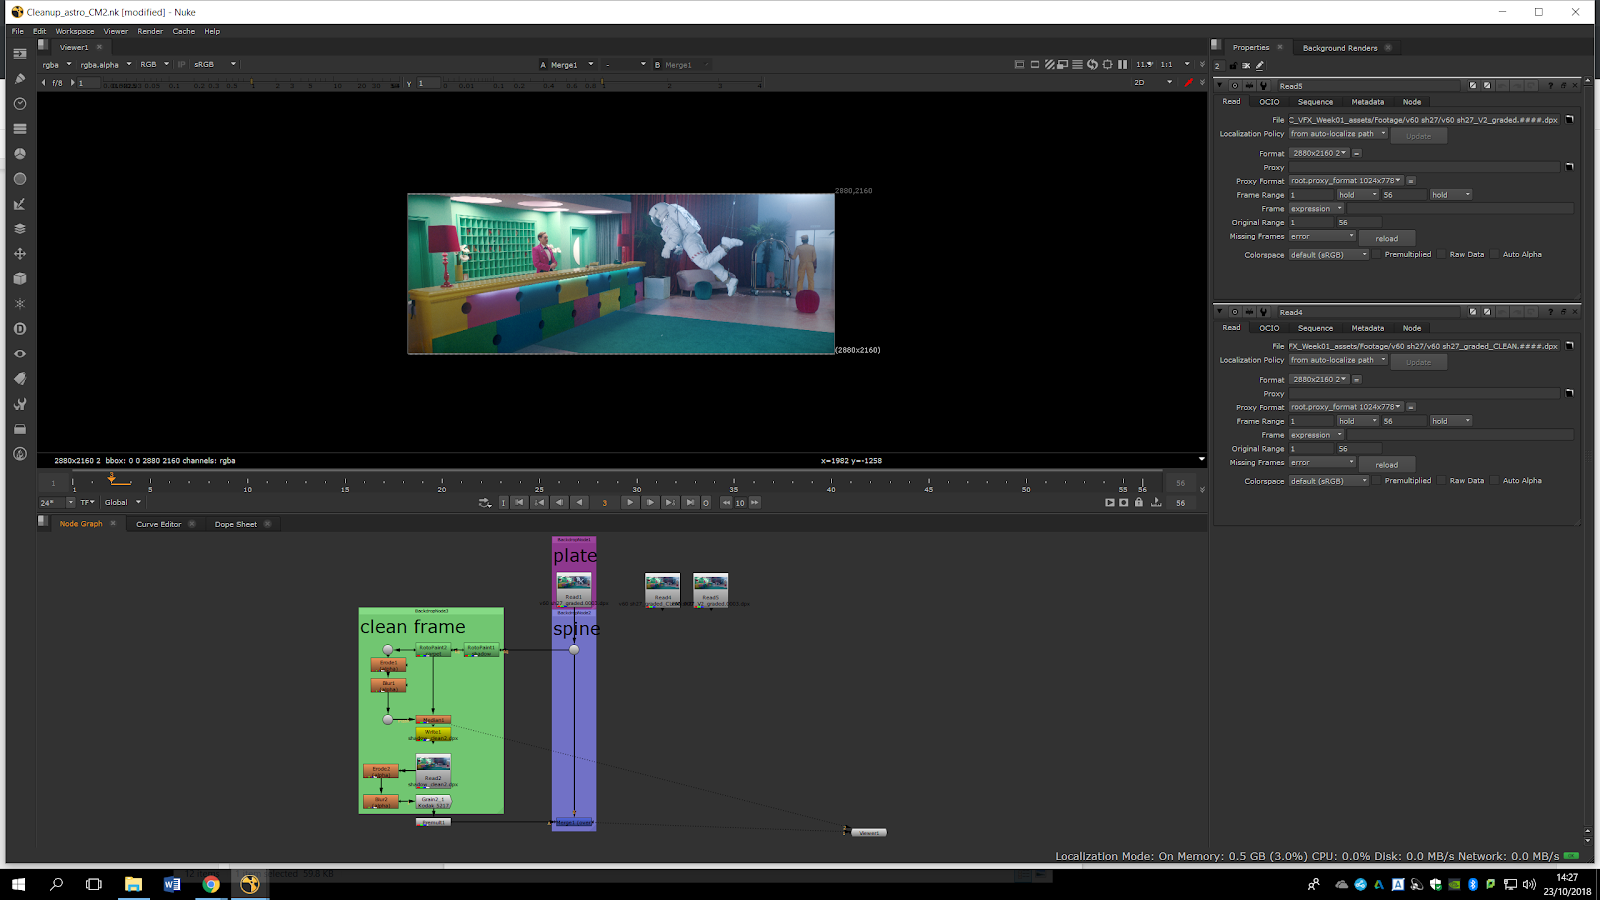
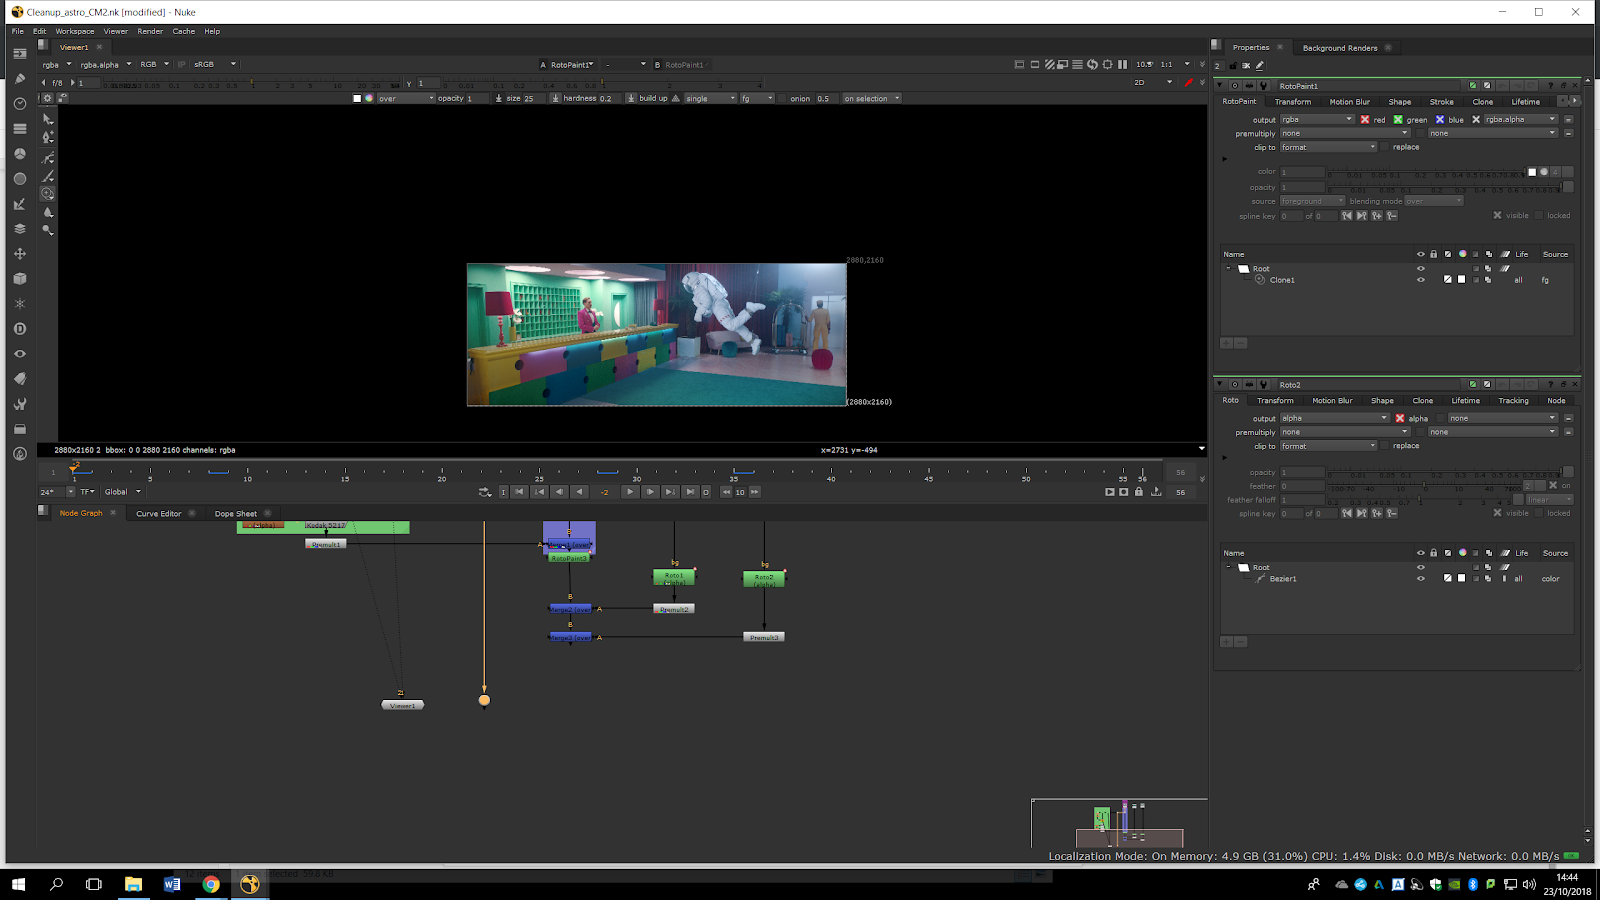
We can see that in the clean footage the person in the right has a little bit of movement. We are going to delete that and paste it into the other footage. In order to do that, we will press O and do a roto to isolate the man.
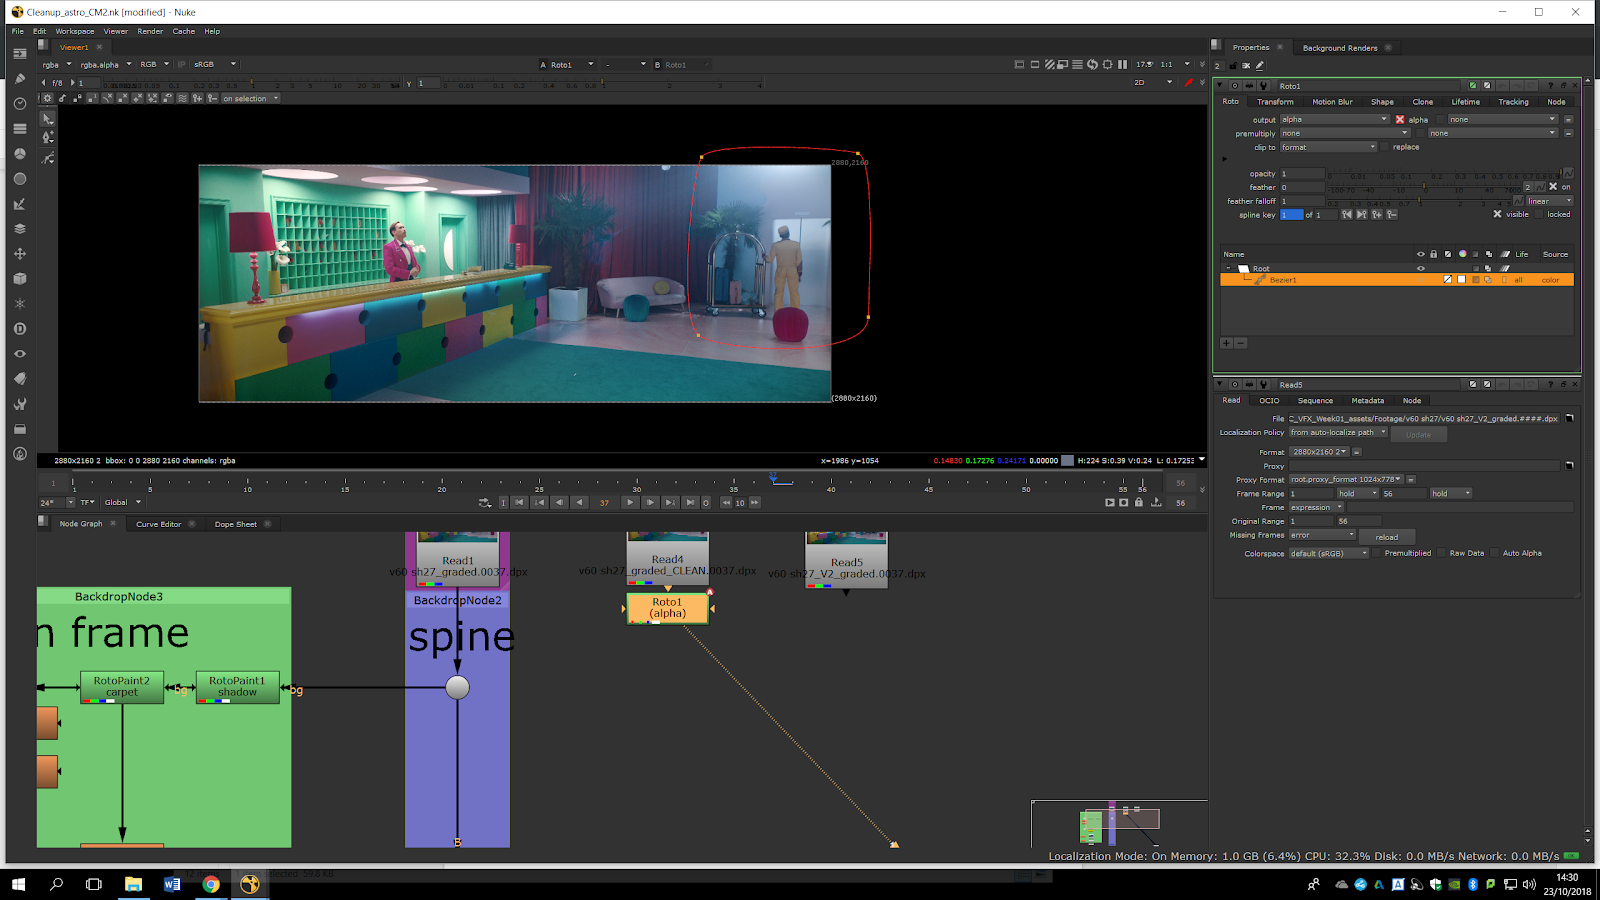
Now, we will premult it and merge it with the other footage.
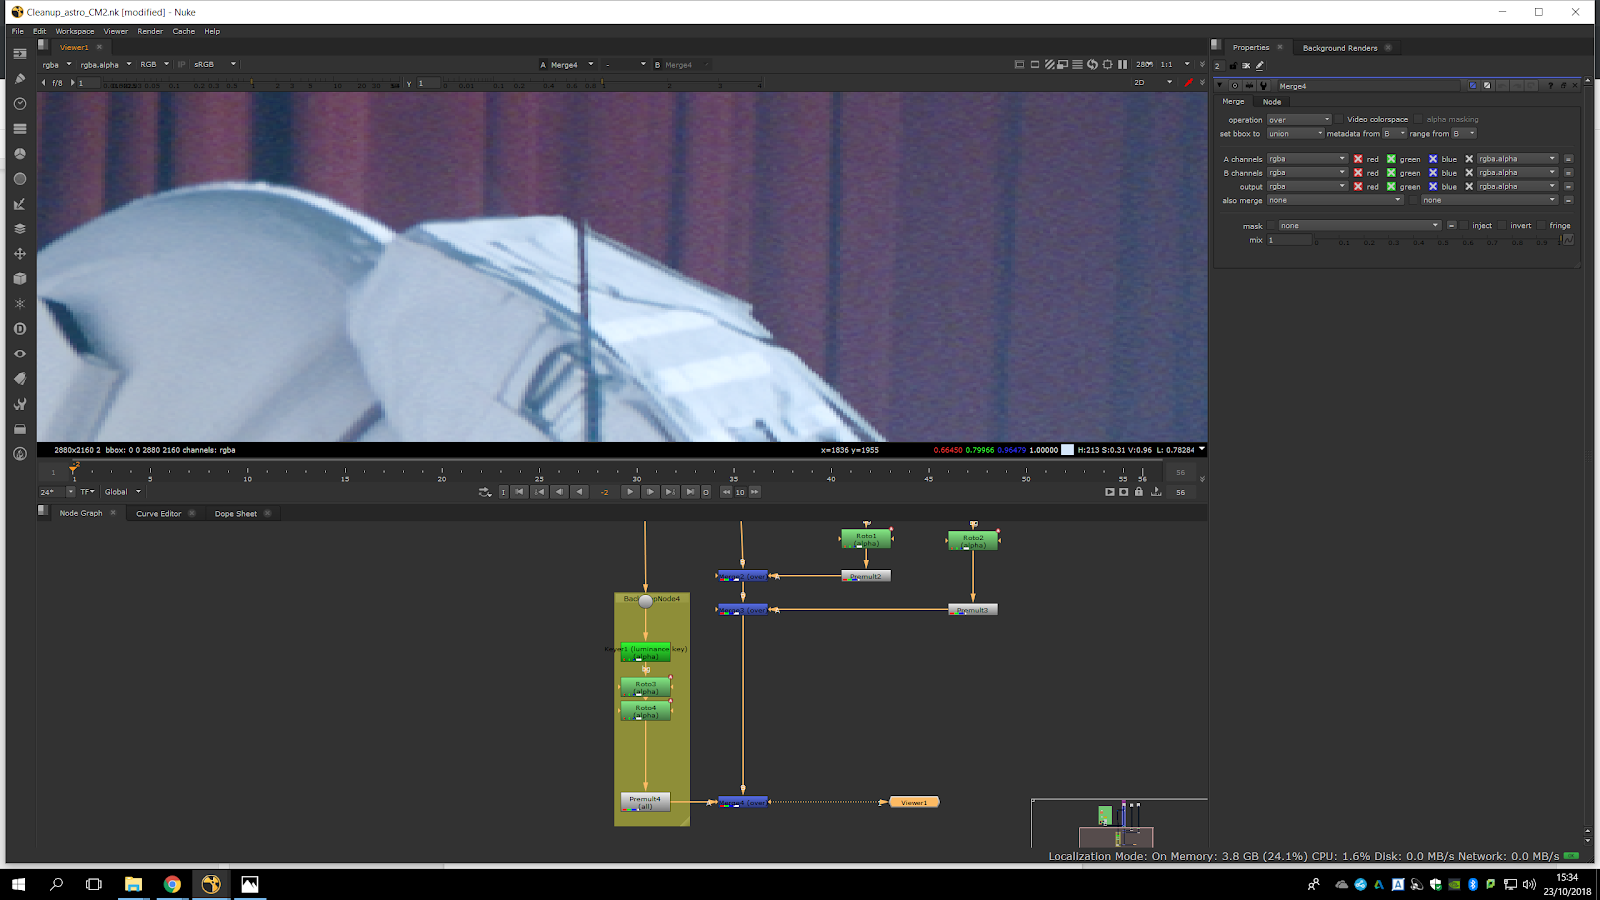
We can see how the guy is moving in the original footage. Now, we will try to take out the ropes. The graded footage is clean, so we can take the background from that footage in order to delete the ropes. For that, we will add a roto to the graded footage in the area behing the ropes.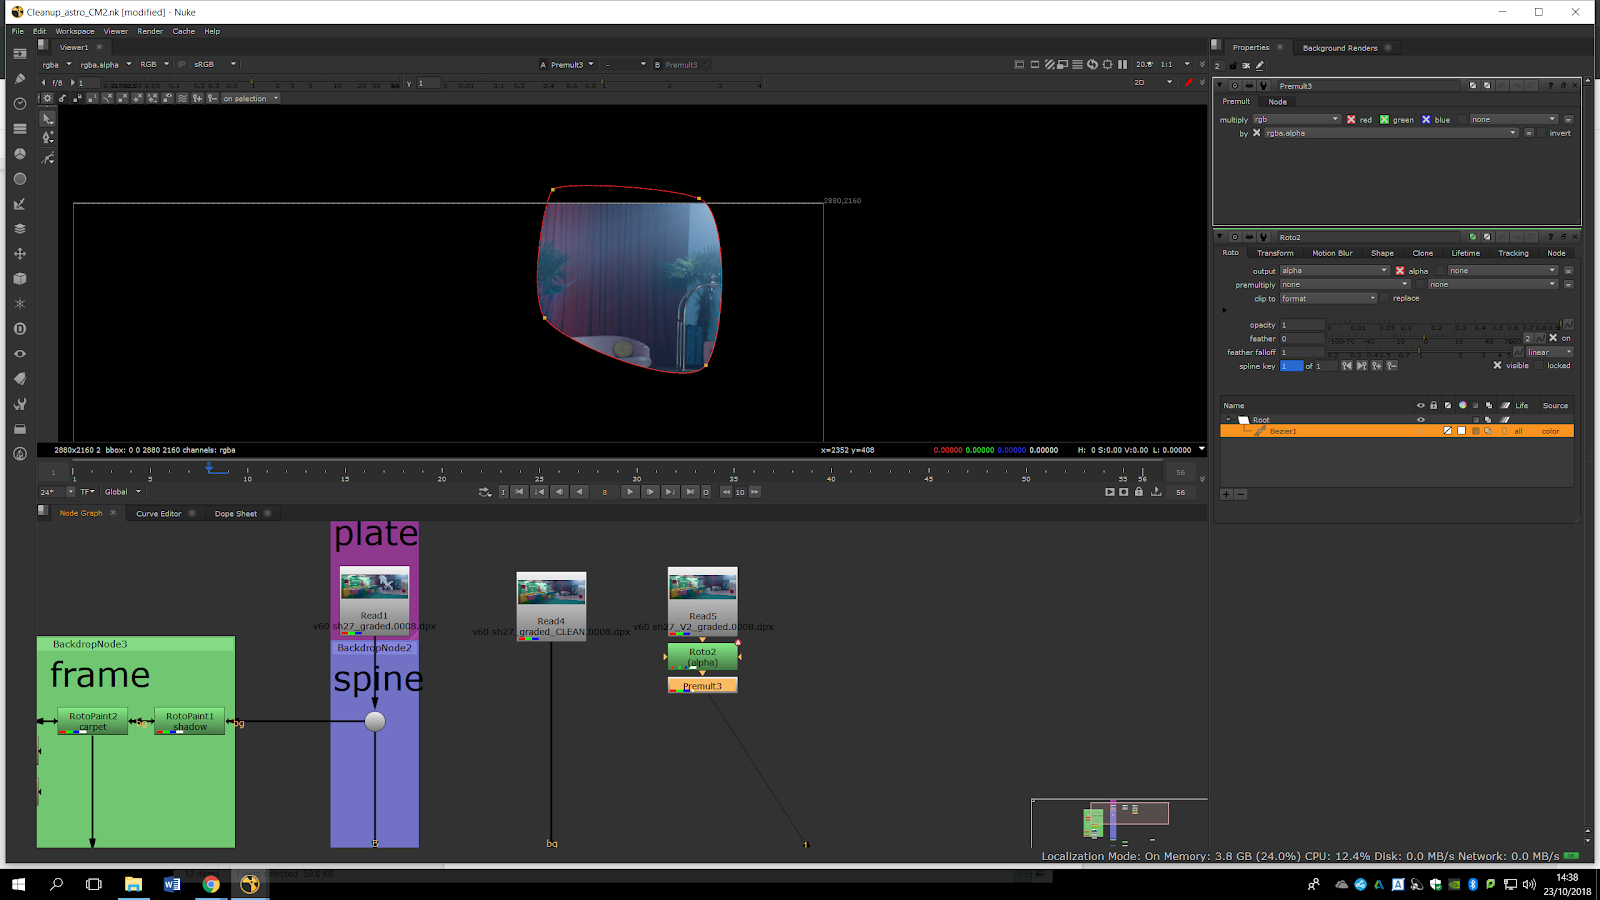
Then, we will premult it and merge it with the original footage.
In order to key the background and roto the ropes, we are going to do a Luminance Keying.
First of all, we will see channel by channel which one has more contrast. The image below displays the red channel. 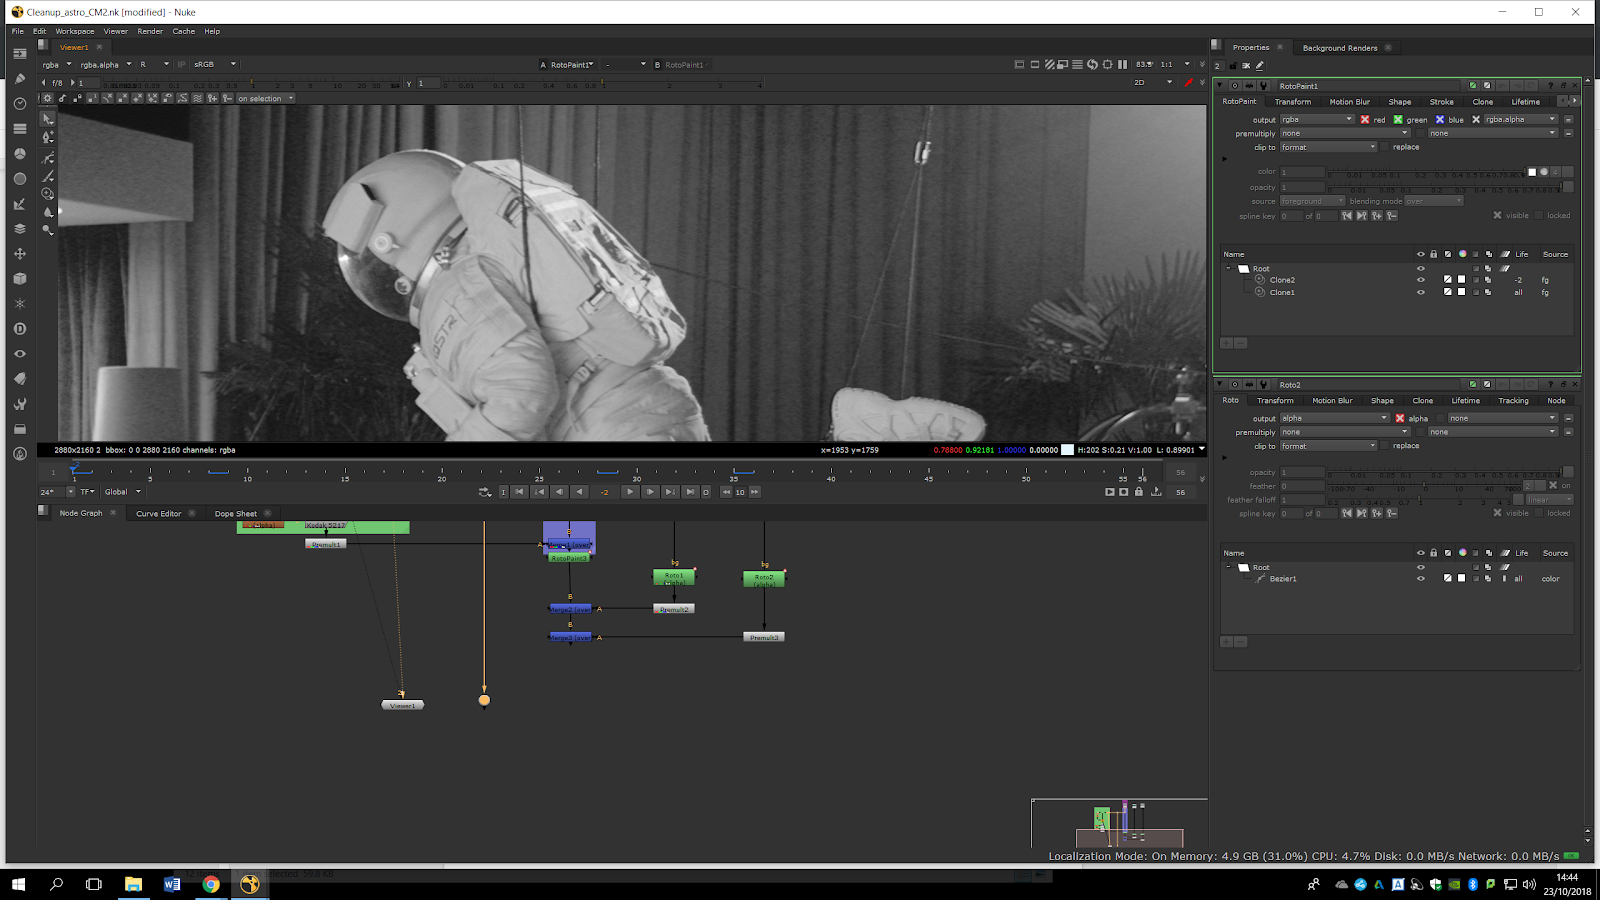
As we can see, it is not really contrasted, so we will use the green one which is much better.
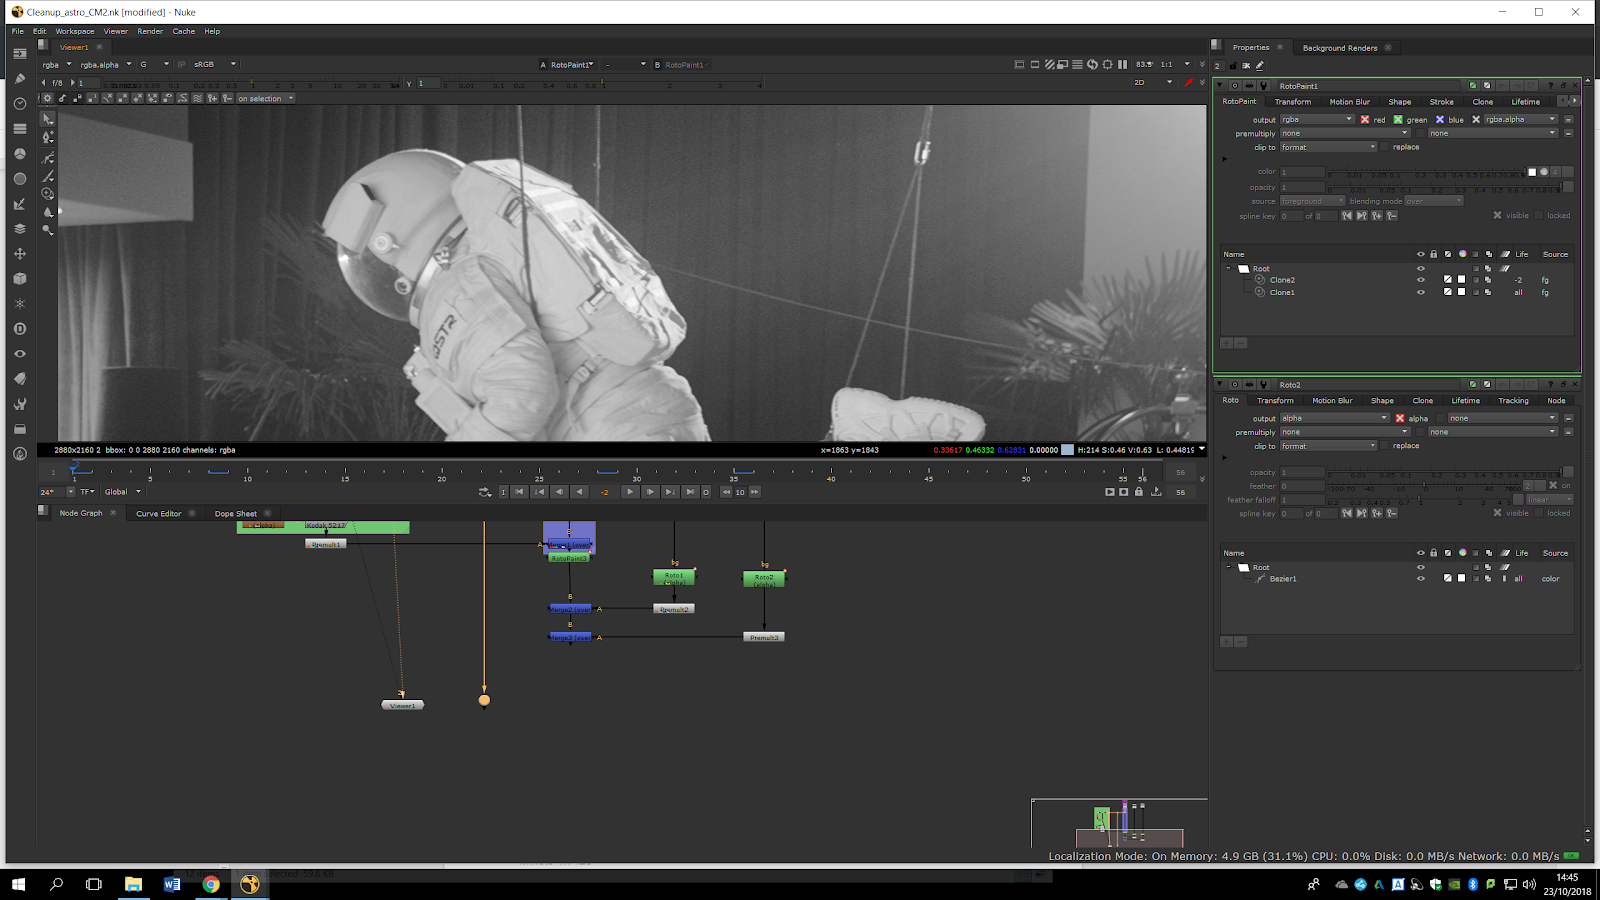
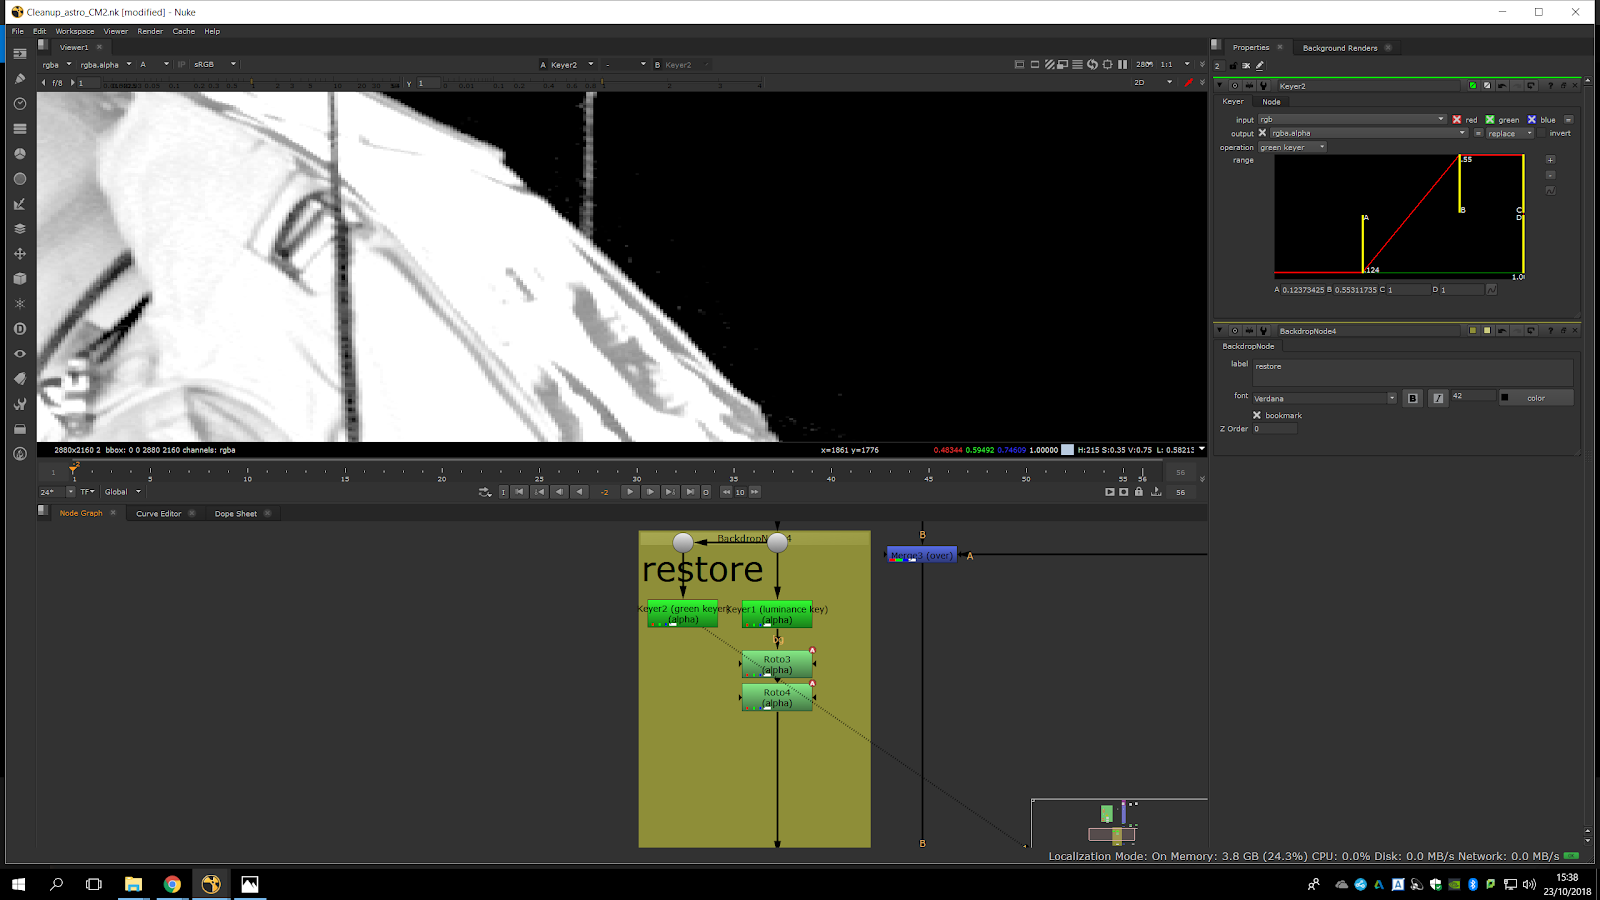
Now, we will add the Luminance keyer, with the output in rgb.alpha.
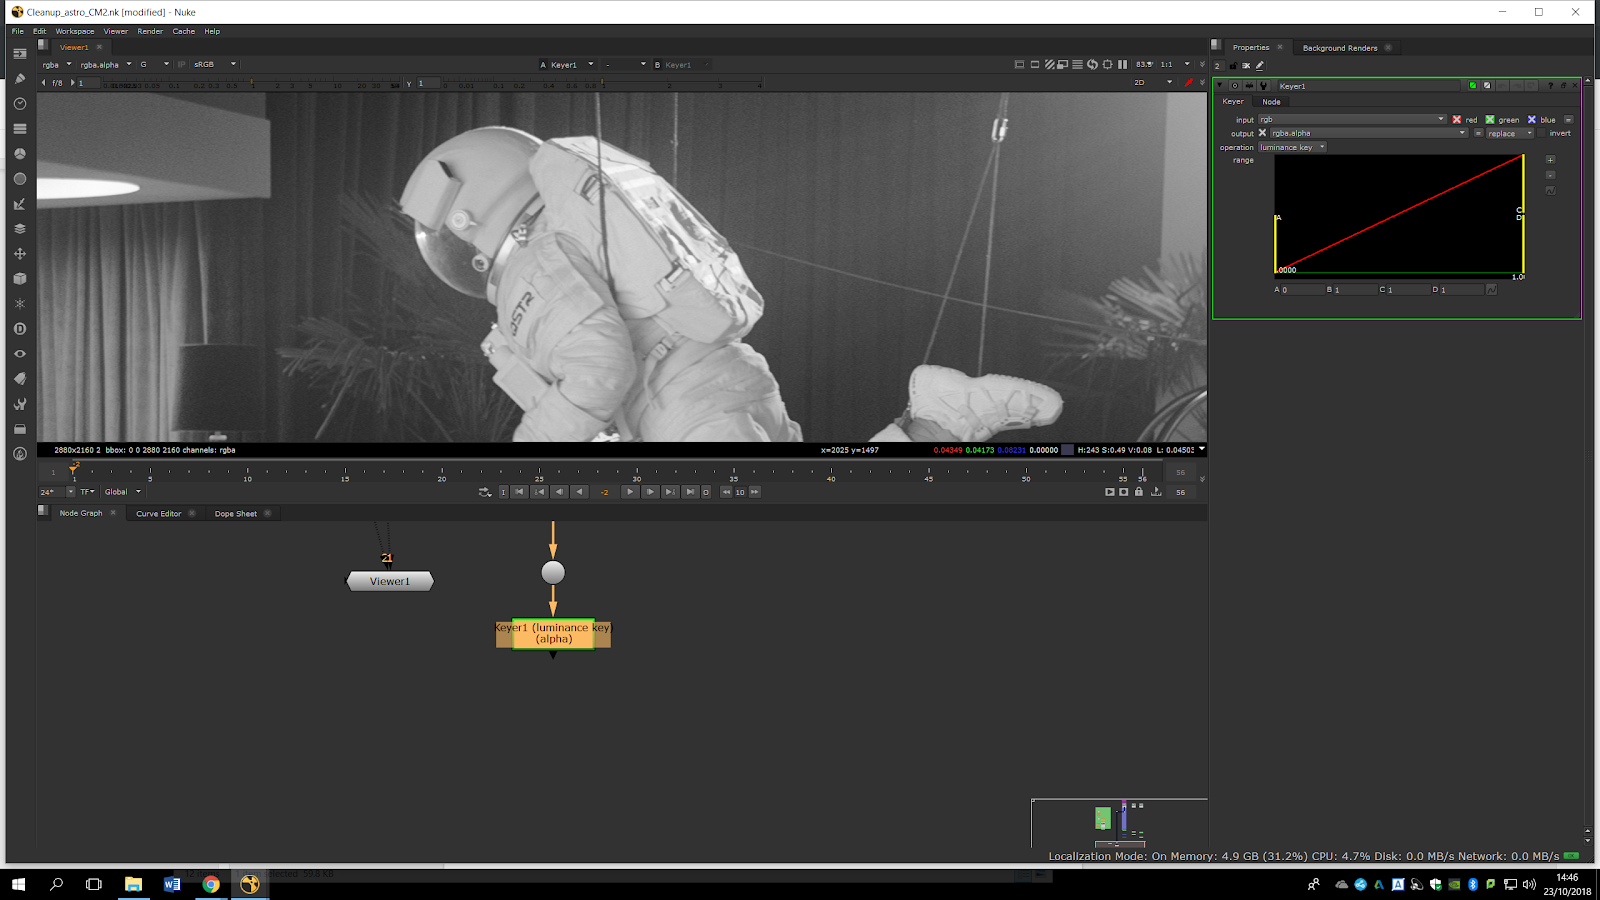
We will change the parameters in order to have the maximum contrast. But as we can see now, the contrast has generated a very crunchy edges, which is not what we are looking for. We need softer edges, as the edges we have in the real footage, so we will adjust it a little bit in order to fit our requirements.
After adding the luminance, we will do a roto in order to delete entirely the ropes.
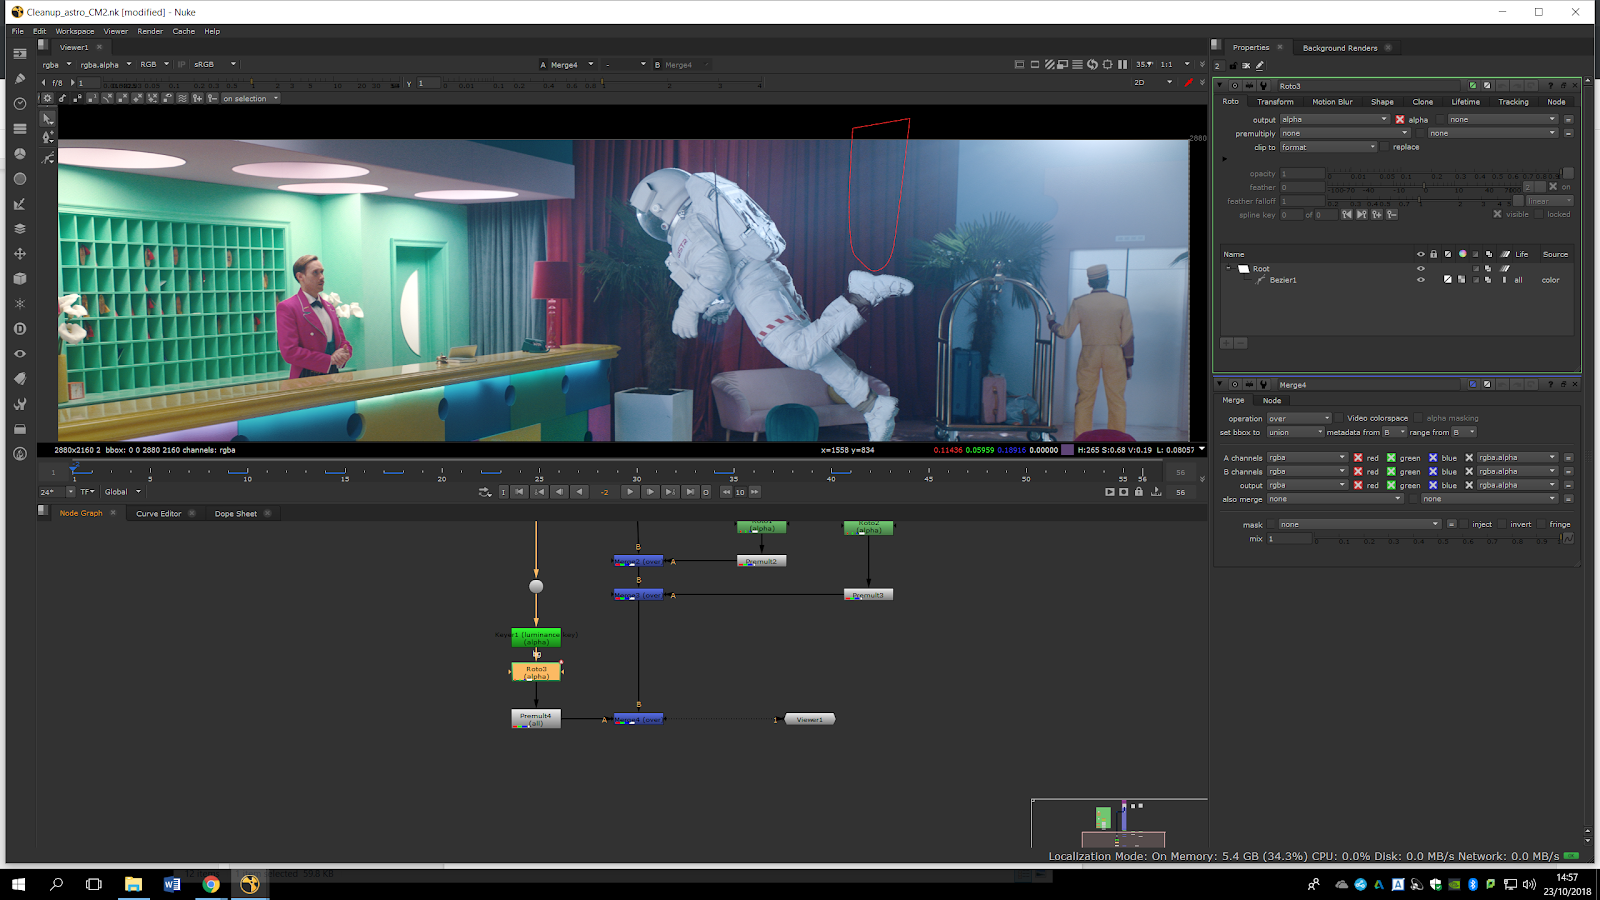
Now, we would need to animate that roto through the timeline. Once we have done that we will add a premult note.
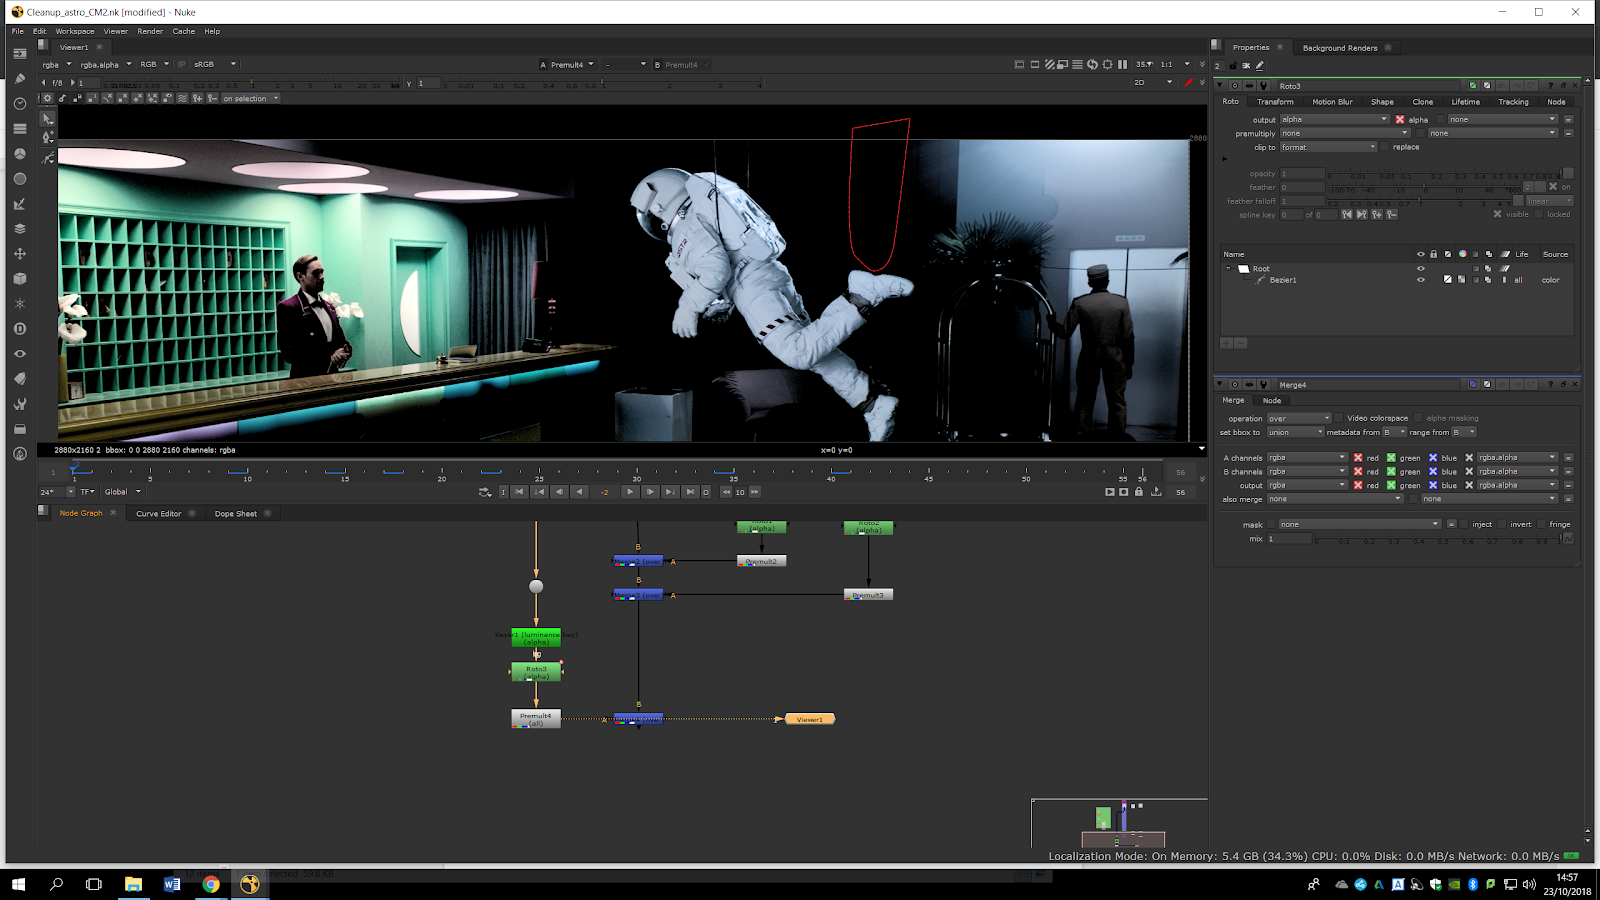
Now we have that footage and we can merge it over the clean background with the moving man. If we preview the merge, we can see now that we have the astronaut and the background without the rope.
We can do the same process to roto out the other rope.
Week 4
If we see it with detail, we will realize that we need softer edges since we have a lot of transparency.
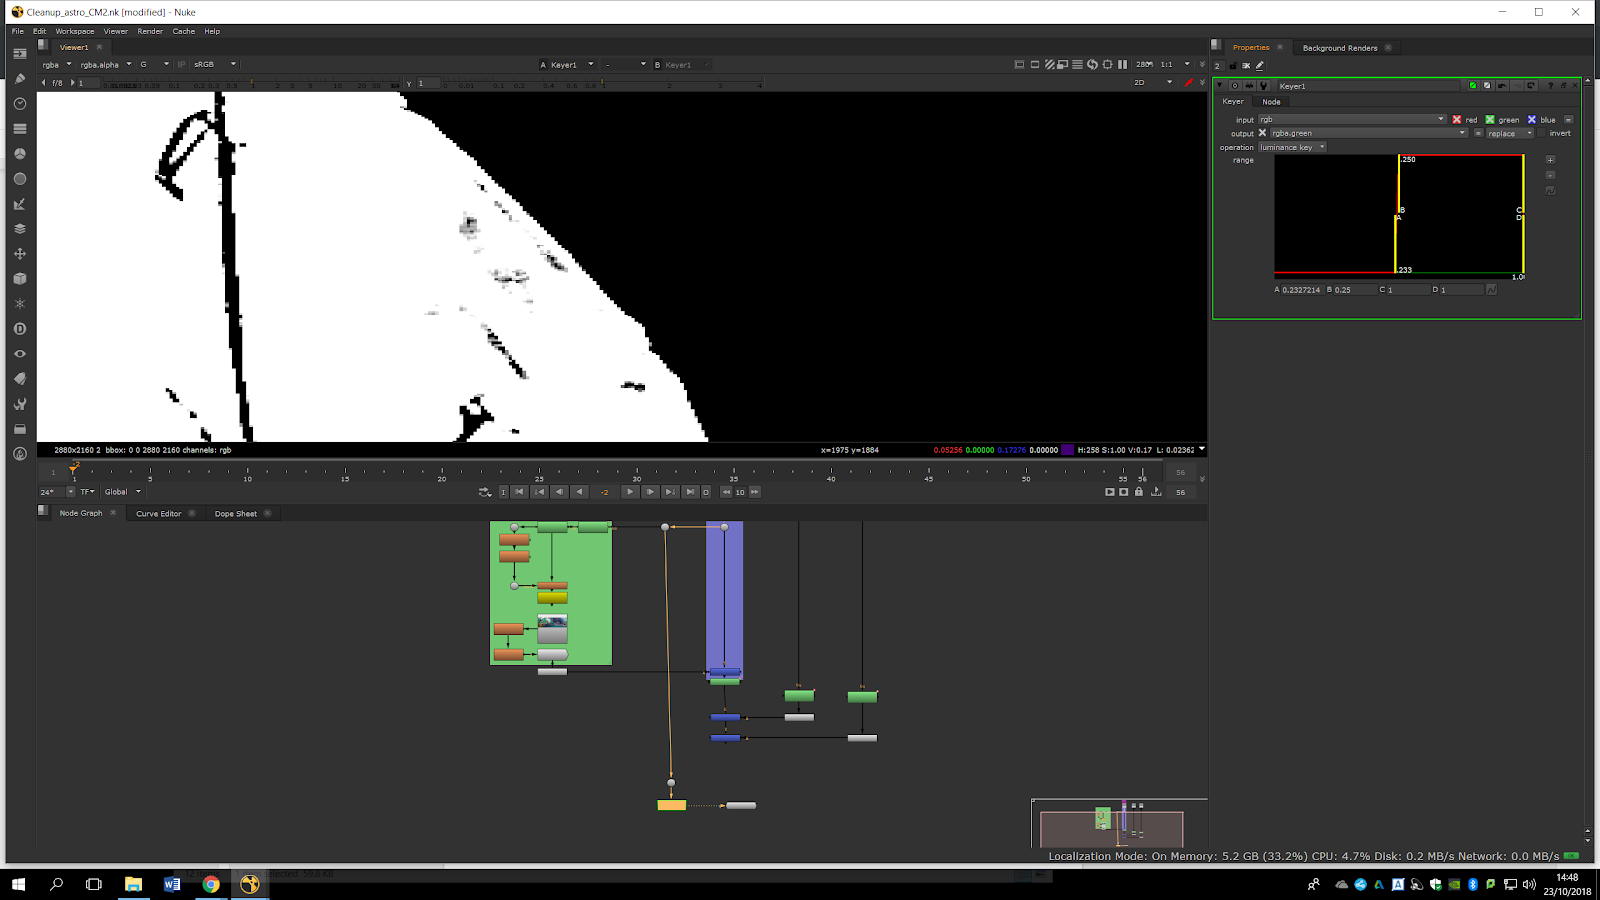
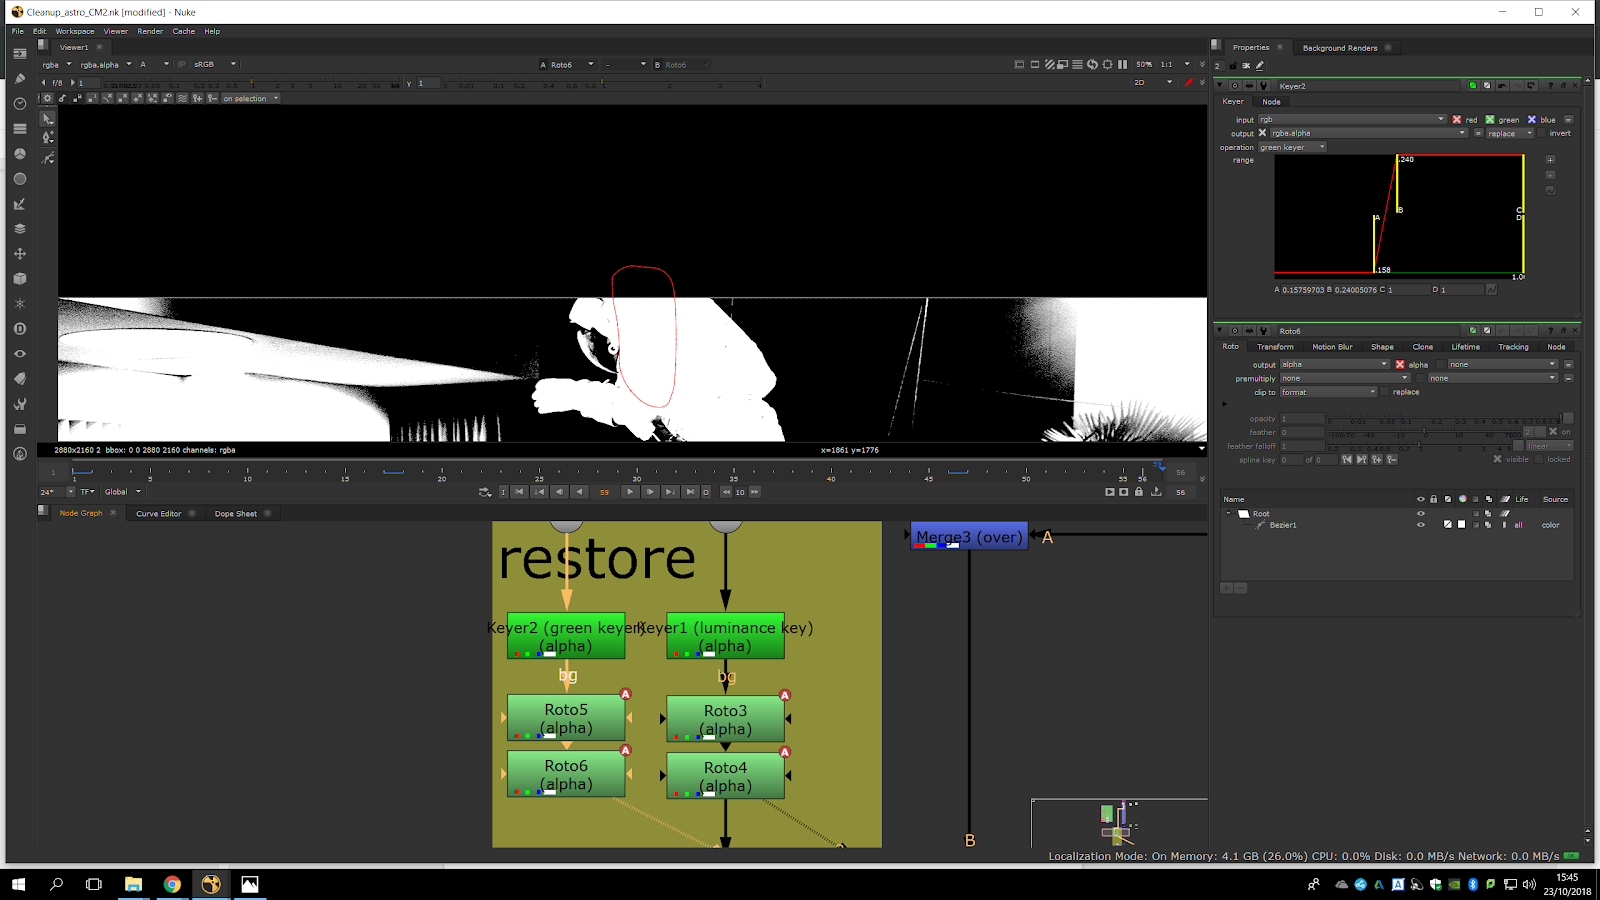
We would like to fill in the white parts of the alpha channel to take out the transparency. For that, we will use the green channel (because as we saw before it is the one with most contrast). Therefore, we will do another keyer, but this time we will do a Green Keyer.
If we compare the green keyer with the luminance keyer we will see it is more accurate. It still have holes but they are more in the center, which is not a problem because that would be easy to roto.

After the Green Keyer we can add an animate roto to fill the white area. We will have then, in one hand, a total white shape with crunchy edges, and in another hand, a not perfect shape with soft edges.
We will add an Addmix in order to blend them together. The Addmix would be the easiest way to combine them because it is only use to combine alpha channel. But as we can see, it left us crunchy edges.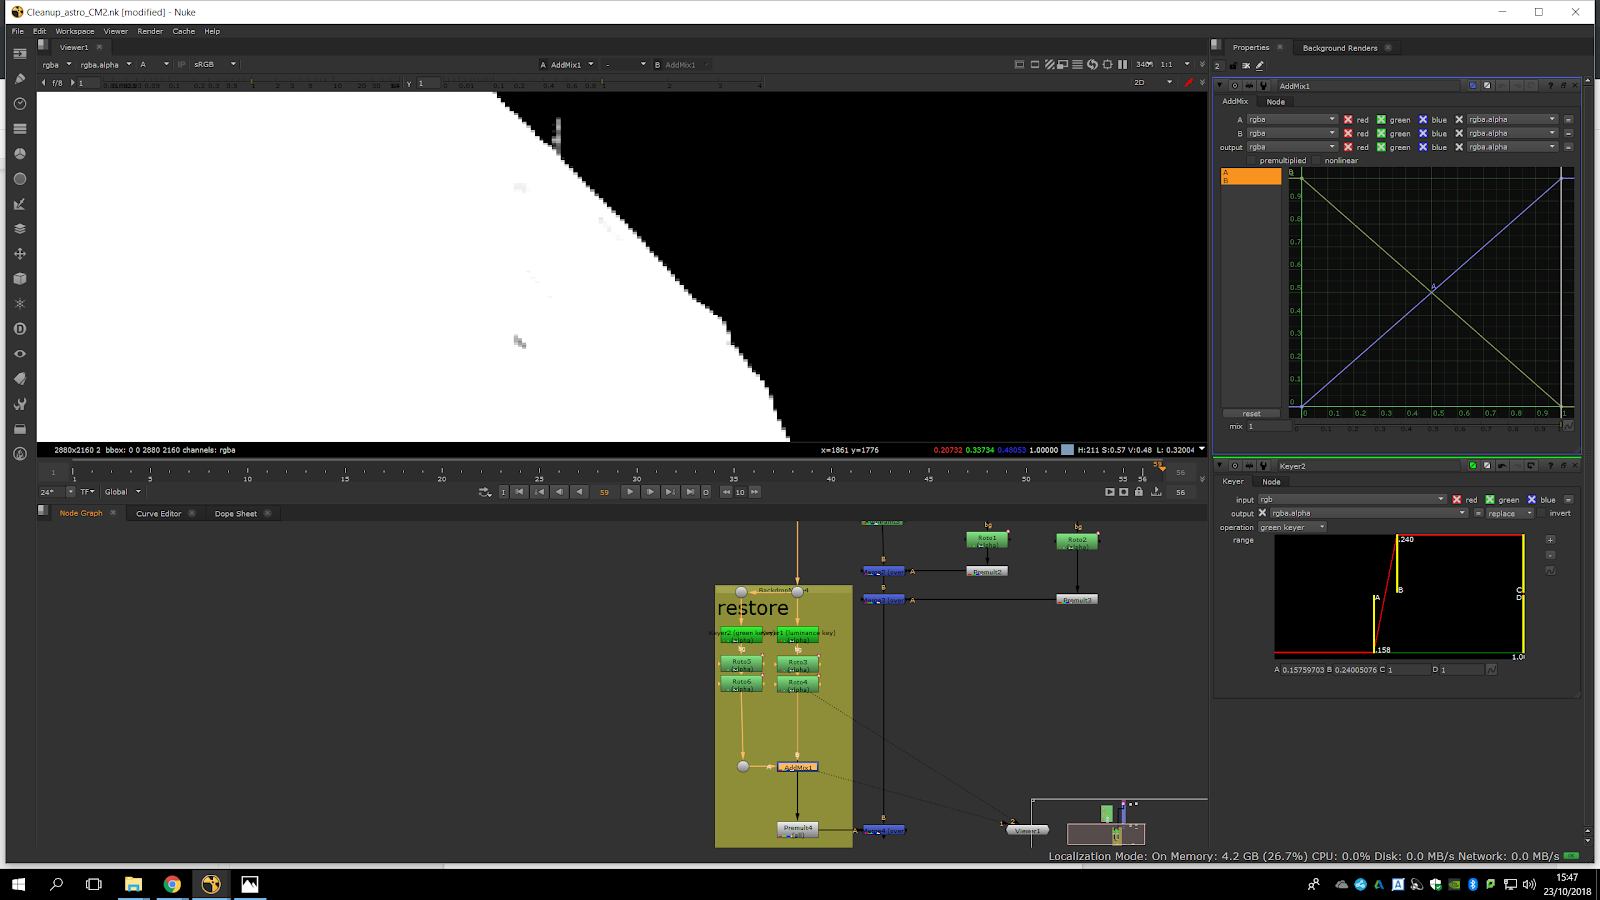
Therefore, in order to soften the edges we will add an Erode (blur) and we will shift edges to 1.Then, we will need to pull the edges a little bit inside. If we compare it to the addmis we will see how it is affecting our edges. As we would like to have the more soft, we will double the Erode note. Double it would be better thant just shift the edtes to 2, becouse in that way we would lose detail. 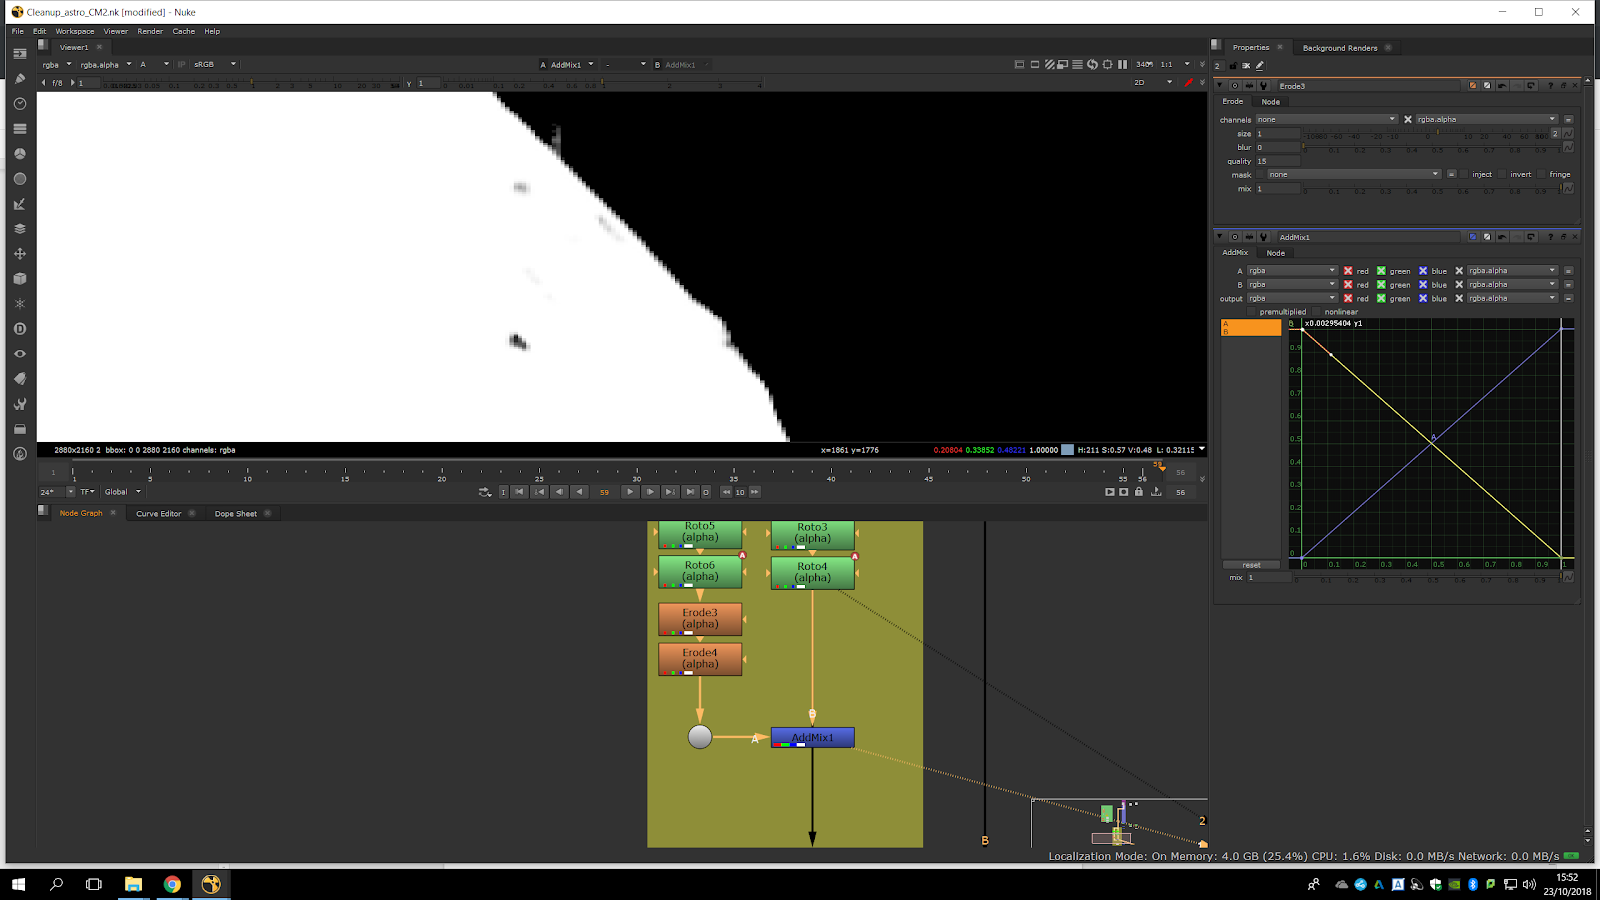
Finally, it is done!