In this session we are going to explore how to illumiante a scene in order to key correctly. When we are recording a shot in which we are using green screen, we need to guarantee that the green creen is lighted as uniform as possible, avoiding overexposured and shadowed areas, specially around the main character we want to key.
The reason why this is important is because when we do a keying, we are eliminationg a color in all the footage. Therefore, id the green within the green screen is different, the keying won´t be accurate, we won´t be able to delete some green or we will delete some parts of the foreground.
In this practical exercise, we recorded 2 shots, one close-up and one medium shot. We recorded both shots with good lighting and bad lighting, and we are going to analyze both of them.
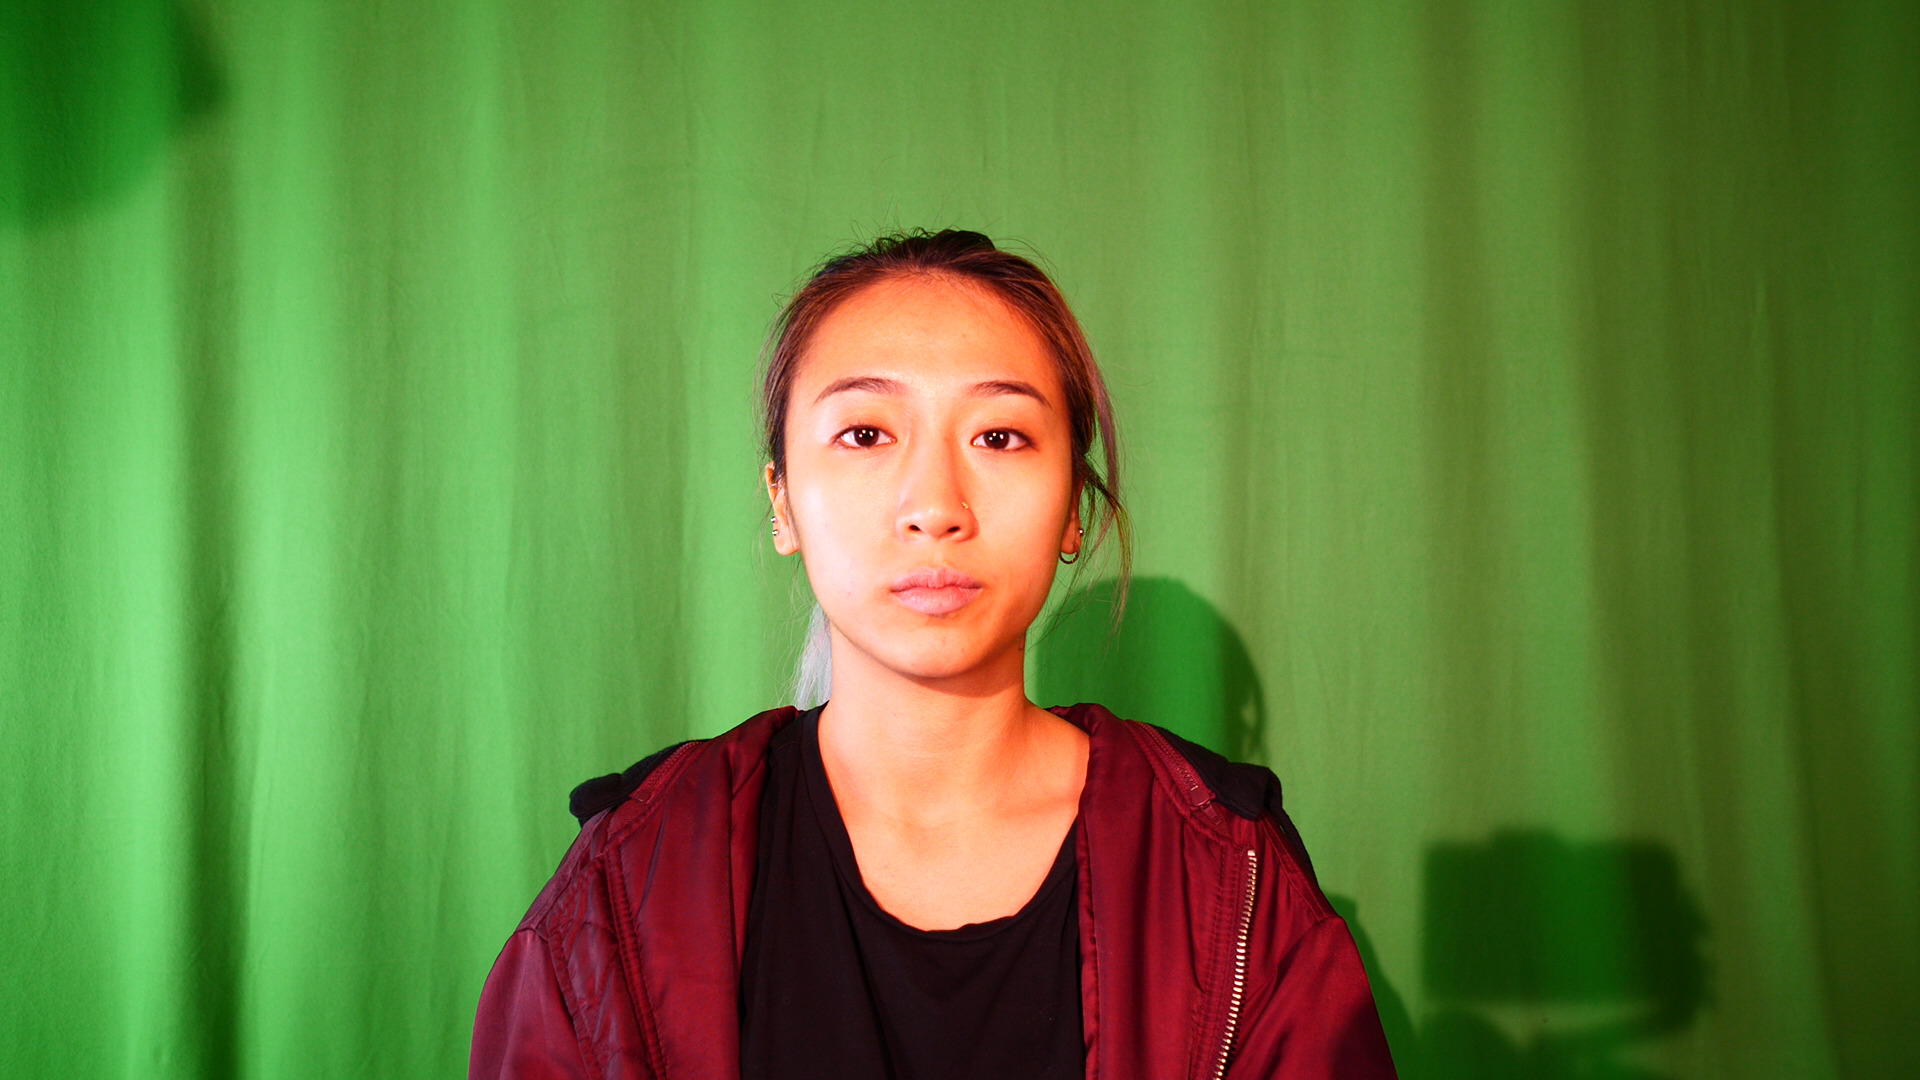
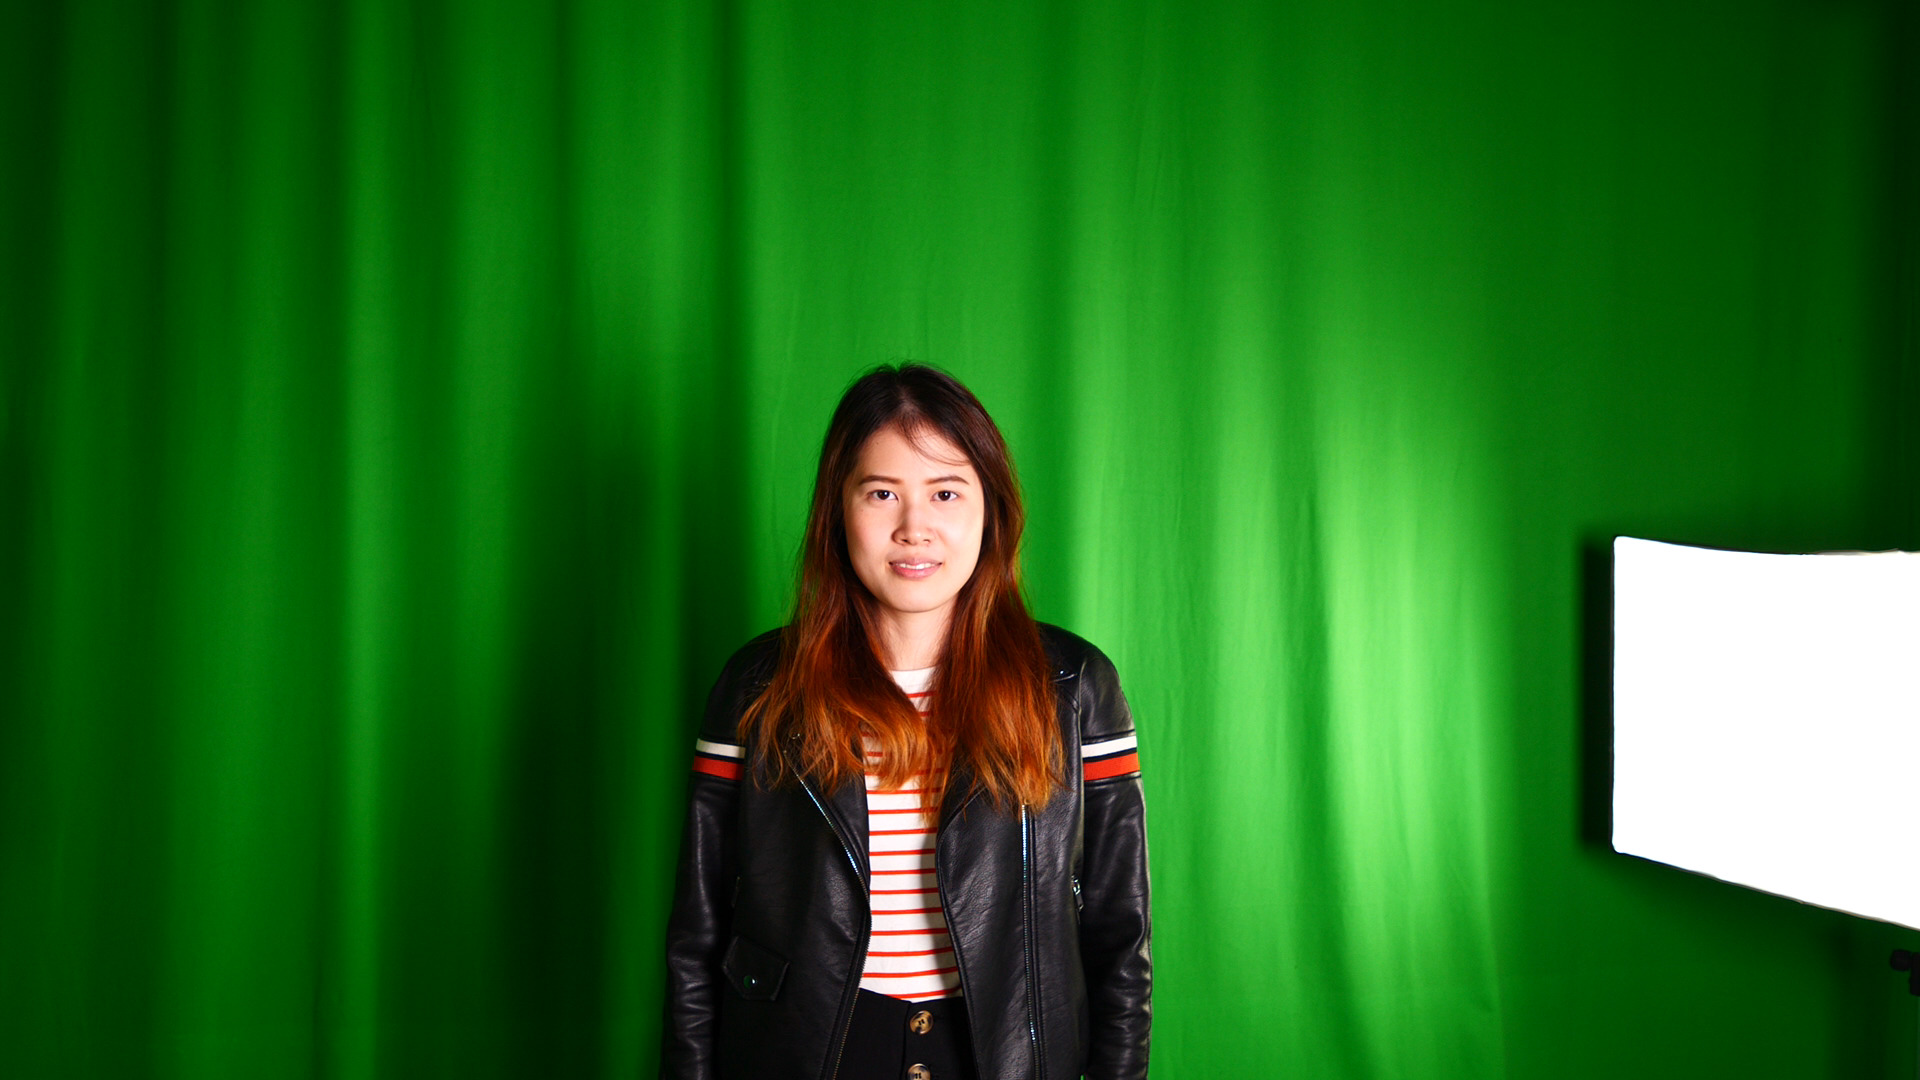
Good Lighting
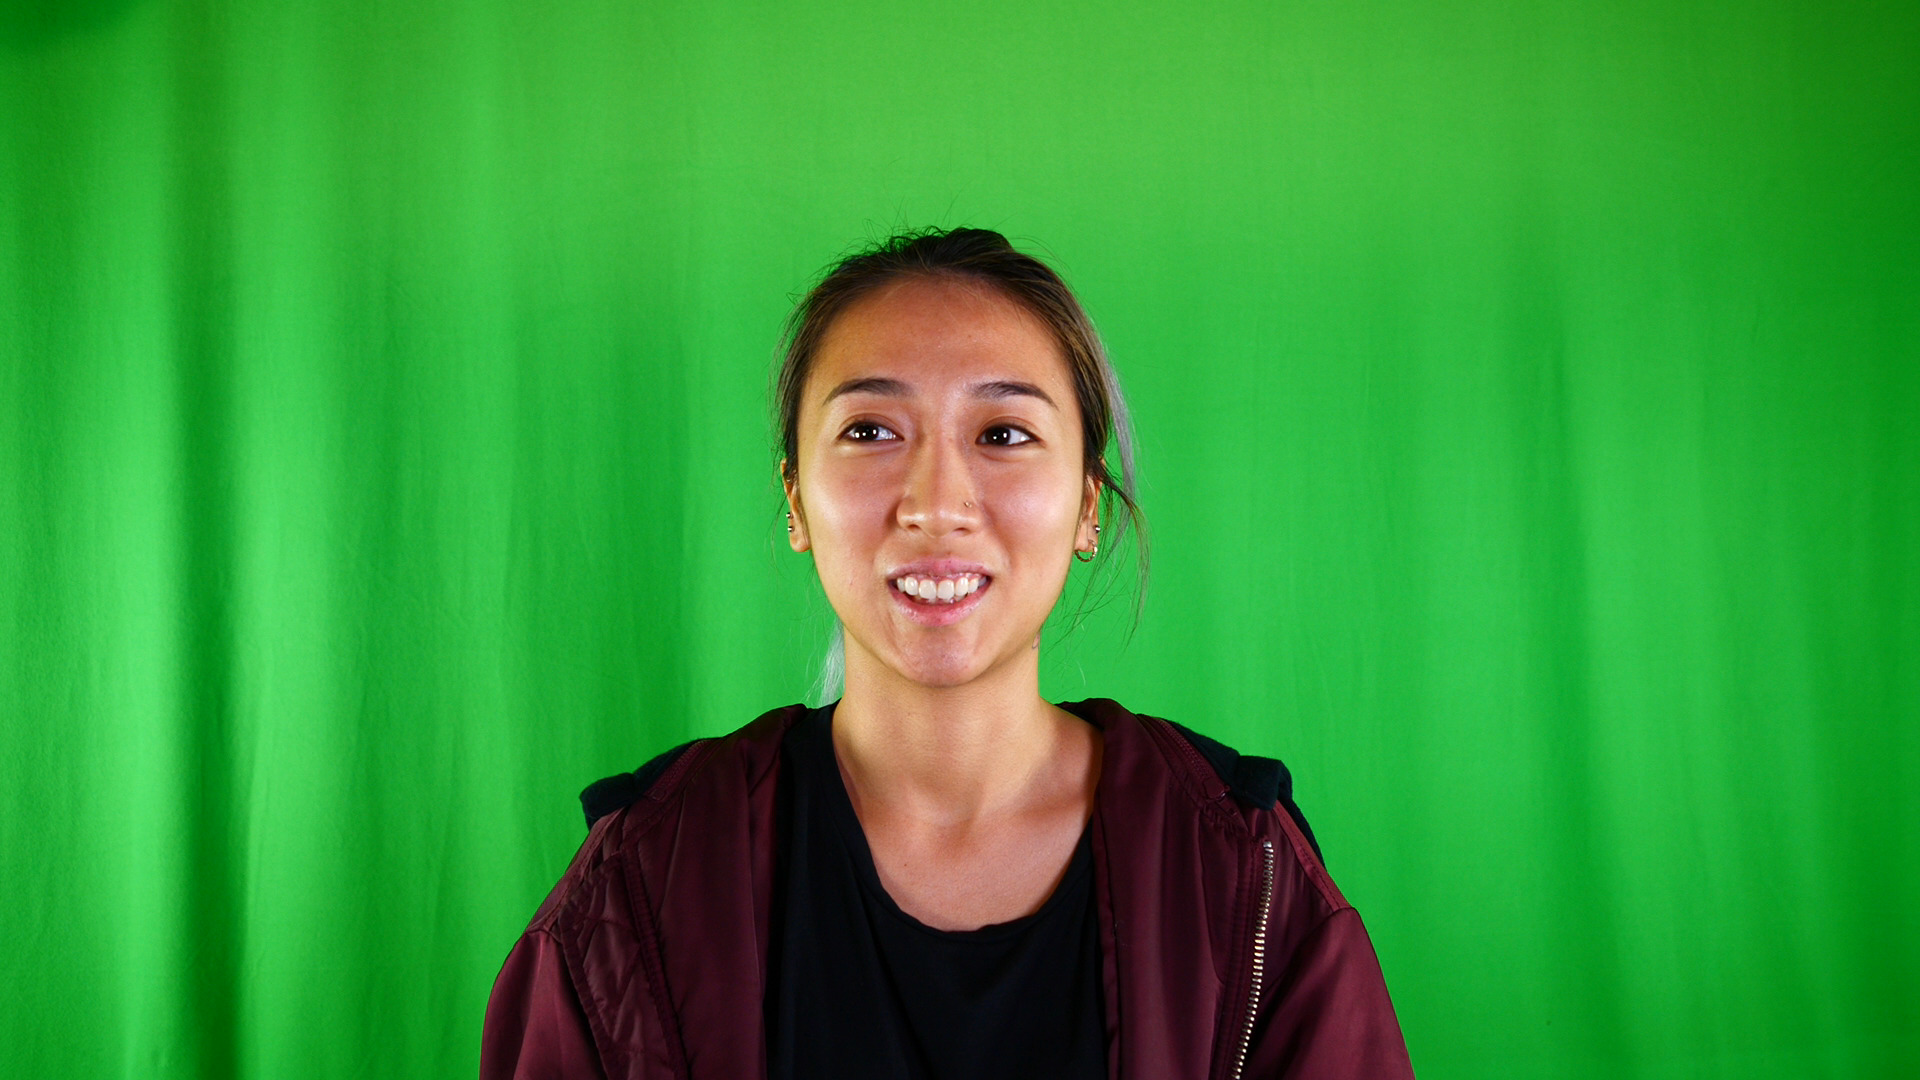
In this shot, we used the so-called standard lighting. In this lighting, the illumination is made by two front lights -one key light and one fill light-, situated at 45 degrees from the main object or subject, and one back light, situated behind the subject facing the background.
- Key light: It is the primary light, it defines light and exposure.
- Fill light: It defines the behavior of the shadows
- Back light: It is used to control the silhouette and depth. It helps to find the relation between the shot and the back, and also helps to eliminate the shadows if using a green screen. Over more, it creates a shallow depth of field.
As we can see, in this shots the background around the silhouettes is quite uniform, we do not have strong shadows or light ones touching the subject. We have some vignetting and slight shadows by the edges of the frames, but that would be easy to eliminate by a beizer rotoscopy. Therefore, even if it is better to avoid it in order to save some work time, it is not mandatory, since it is quite easy to get rid of it.
Also, by lighting the background we have two advantages: on one side we delete the shadows created by the subject in contrast with the frontal lights. On the other side, we increased the contrast with the character and the background, which makes it more easy to separate. Thanks to this back light we have a quite shallow depth of field which will be really helpful in order to key the scene, since the edges of the silhouette are sharper.
The subjects themselves are also good lightened, they do not have huge differences between the lighter and darker areas, and we do not have any part under or overexposure. The white balance is quite accurate, which means the light were not too warm or too cold. Also, we do not have strong shadows within the figure, which makes it attractively effective.
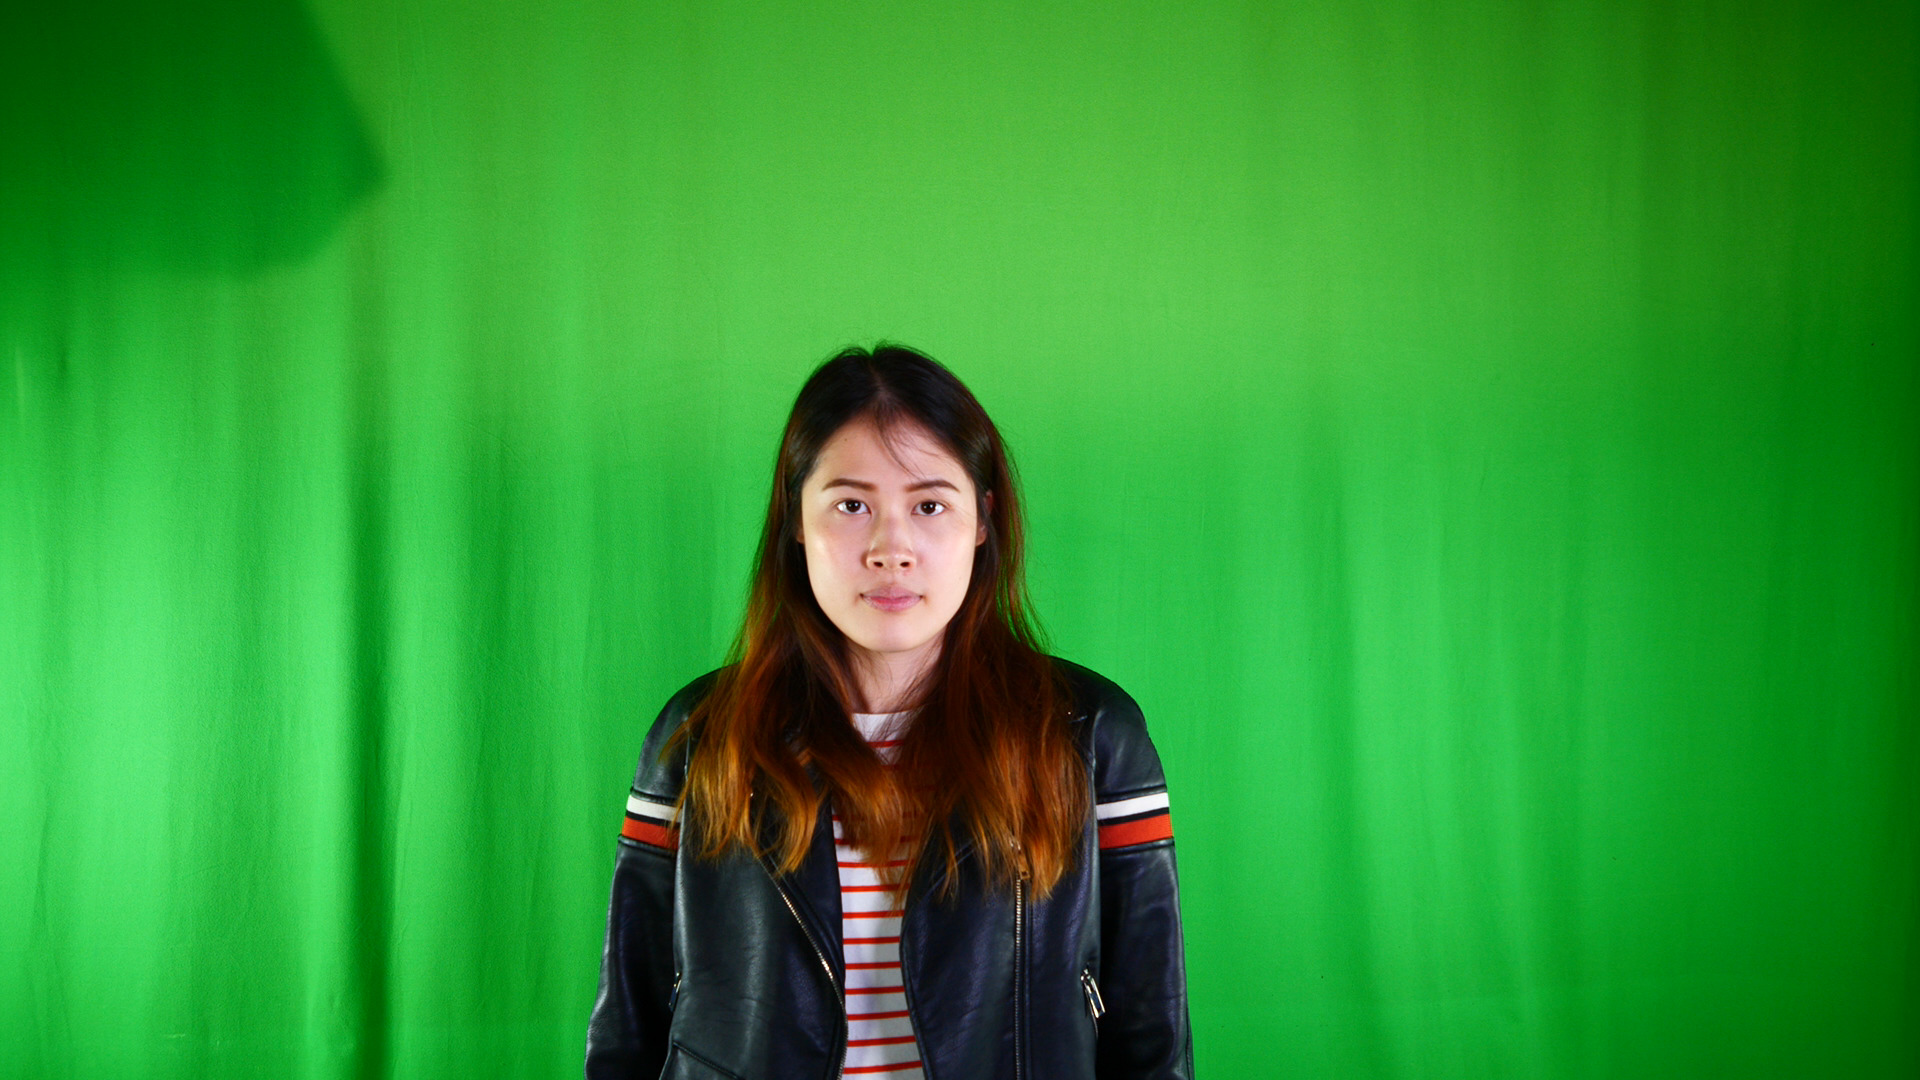
Medium shot | Bad Lighting
In this shot we did not use the standard lighting, and we made use only of 2 sources of light.
As we can see, there is a huge difference with the previous shot. The background has a lot of differences of tone within itself. This will mean that the keyer that we use in one part of the screen is not going to work on the other part in which the color is lighter or darker, so we will need to make much mole keyers and the work won’t be accurate either way.
Also, the contrast between the character and the background is quite low in the darker areas, making the automatic keying almost impossible. Therefore, we would need to do a manual roto for those parts, a process which will take a lot of time and accuracy.
The color balance is quite irregular, specially in the first shot. We can see that the scene is much orange than it should. It makes the image much less attractive and the green of the screen more neutral, so it will be more difficult to delete without deleting more colors.
Also,m the figures themselves had a lot of irregularities, going from overexposure areas to black areas. The irregular lighting also produces really strong shadows in the subjects which makes them look much worse.
To end up, the key of a good VFX work is not also the post-production techniques, but also the good recording of the footage. A good footage will make the work much easier, quicker, and will get the way better results. The recording of a bad footage will sometimes also require to record the footage twice, and that is a huge lost of time and money.
While recording green screen, we might ensure that the scene is proper lightened, and that it has all the requirements we stated in this post. We can experiment with the lighting if we want to get different results in the footage, but we will always ensure to keep the background regular, contrasted and with a swallowed depth of field.
