In this Nuke’s Session we will show how to do keying.
First of all, we will import our footage in the notepad. This green screen is quite messy: in it, we have a lot of green spill, hair and also green clothes.
There are different ways of keying, the first we are going to try is the Primatte. Therefore, we will add a Primatte note and we will pick the color we want to start with by using the eyedropper.
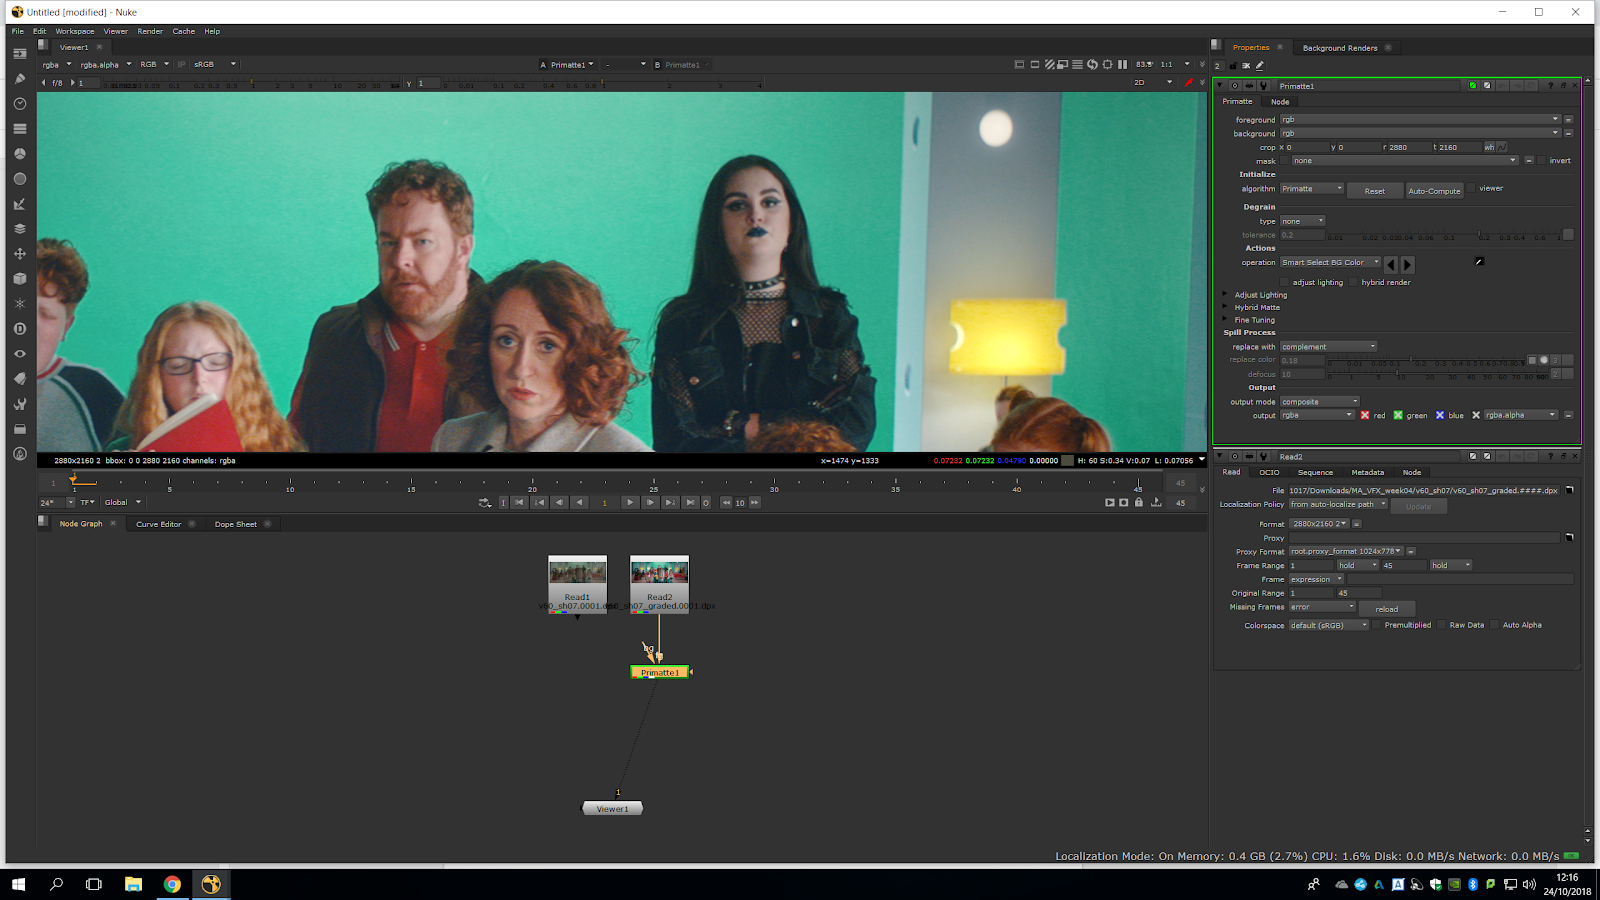
Wew will use Smart select bg color. We press Ctrl+click in an area in our script and it will sample the color. depending on where are we sampling we will get a slightly different result.
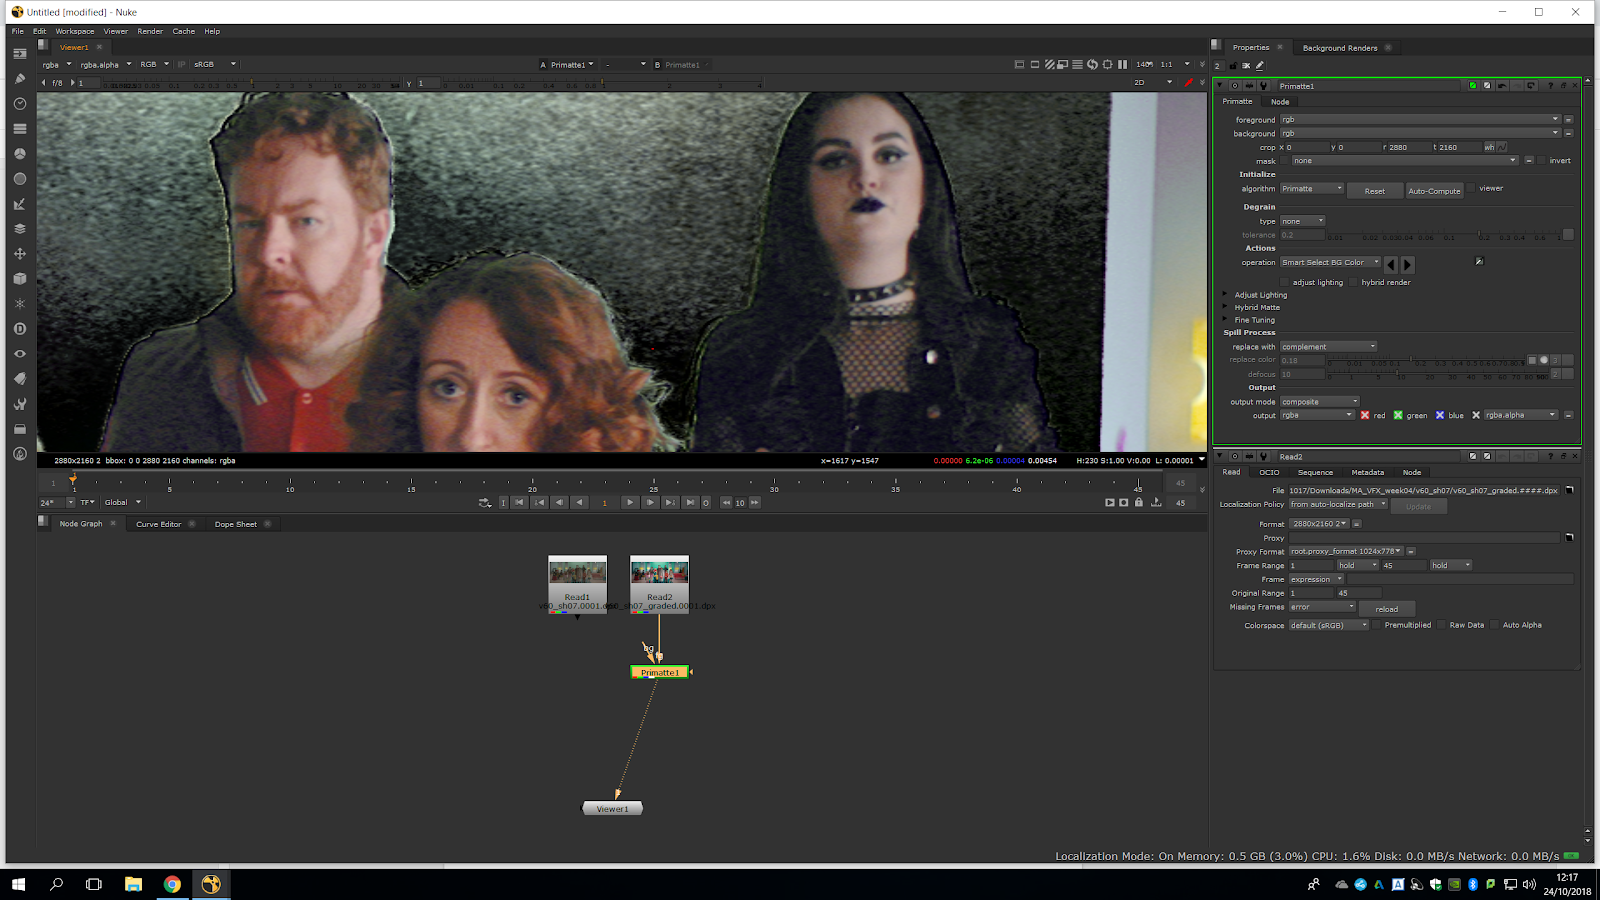
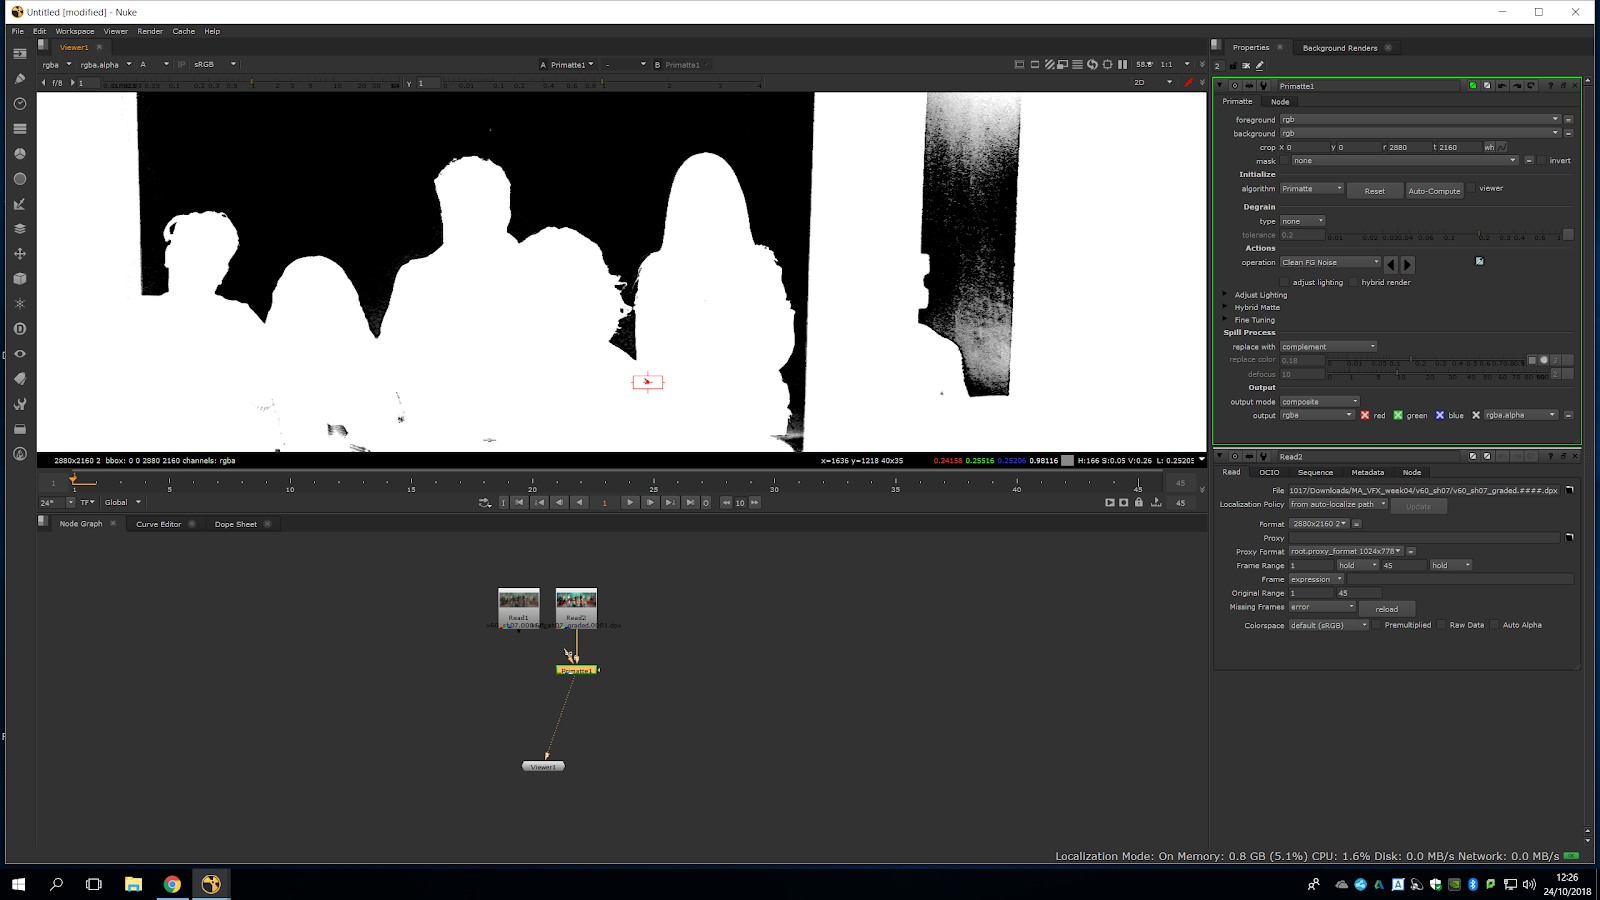
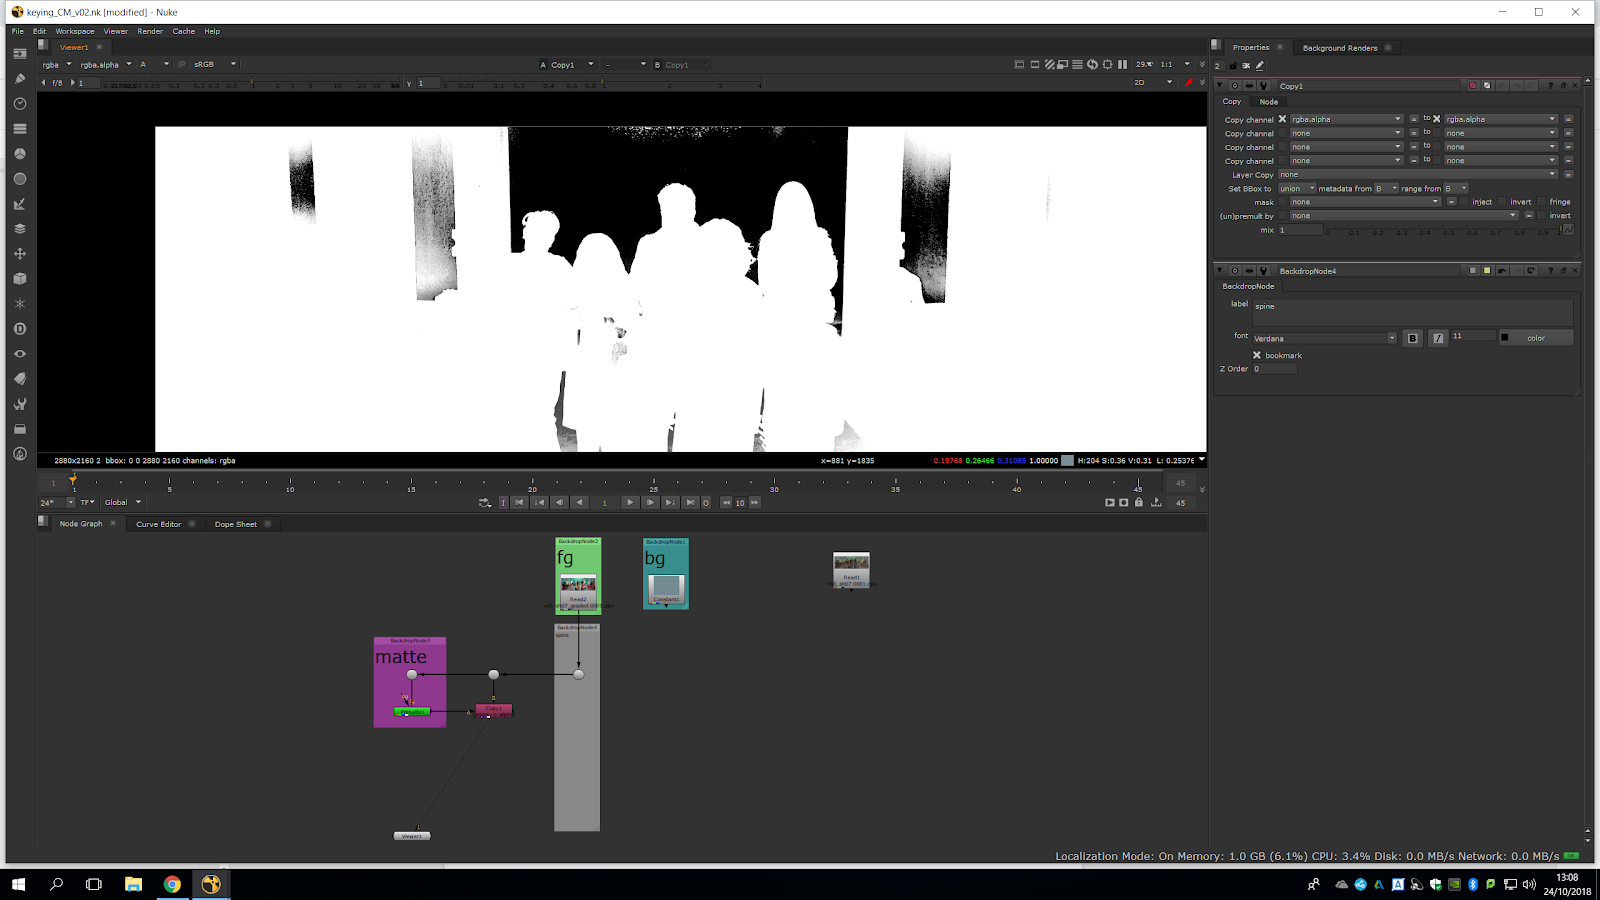
Now, everything which is green became alpha. This keyers are limited, because it is also deleting all the green split which should not be alpha channel. Over more, it also creates a bad grain in the normal footage. This is really unhelpful because is taking away a bit of green which is actually in the foreground.
Once we have selected the color, we will look at our alpha channel to see better the result. will sample more areas to know which one will be the best starting point.
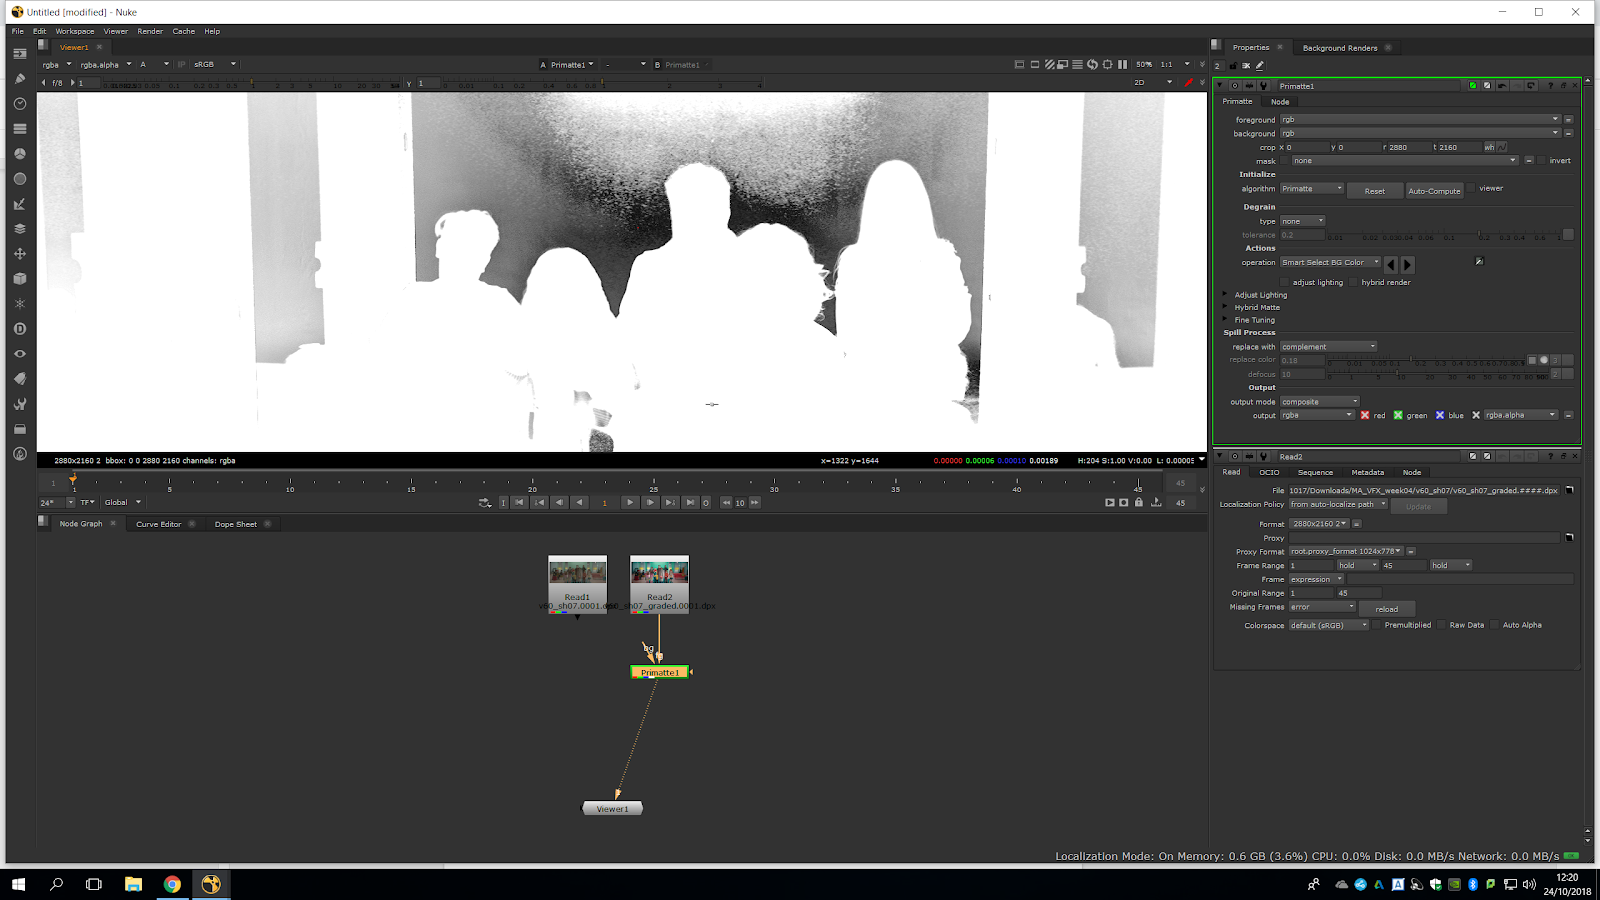
The green in the background is different in each area, therefore, we will separate the footage in different areas and key the green which is near the subject. Also, there is a lot of grain in the image, we can not see the grain in RGB that much, but it is clearly visible when we switch to the alpha channel. By now, we are going to do a slash comp (as known as rough comp), that means that we will do a very quick keying and roughly merge it into the comp.
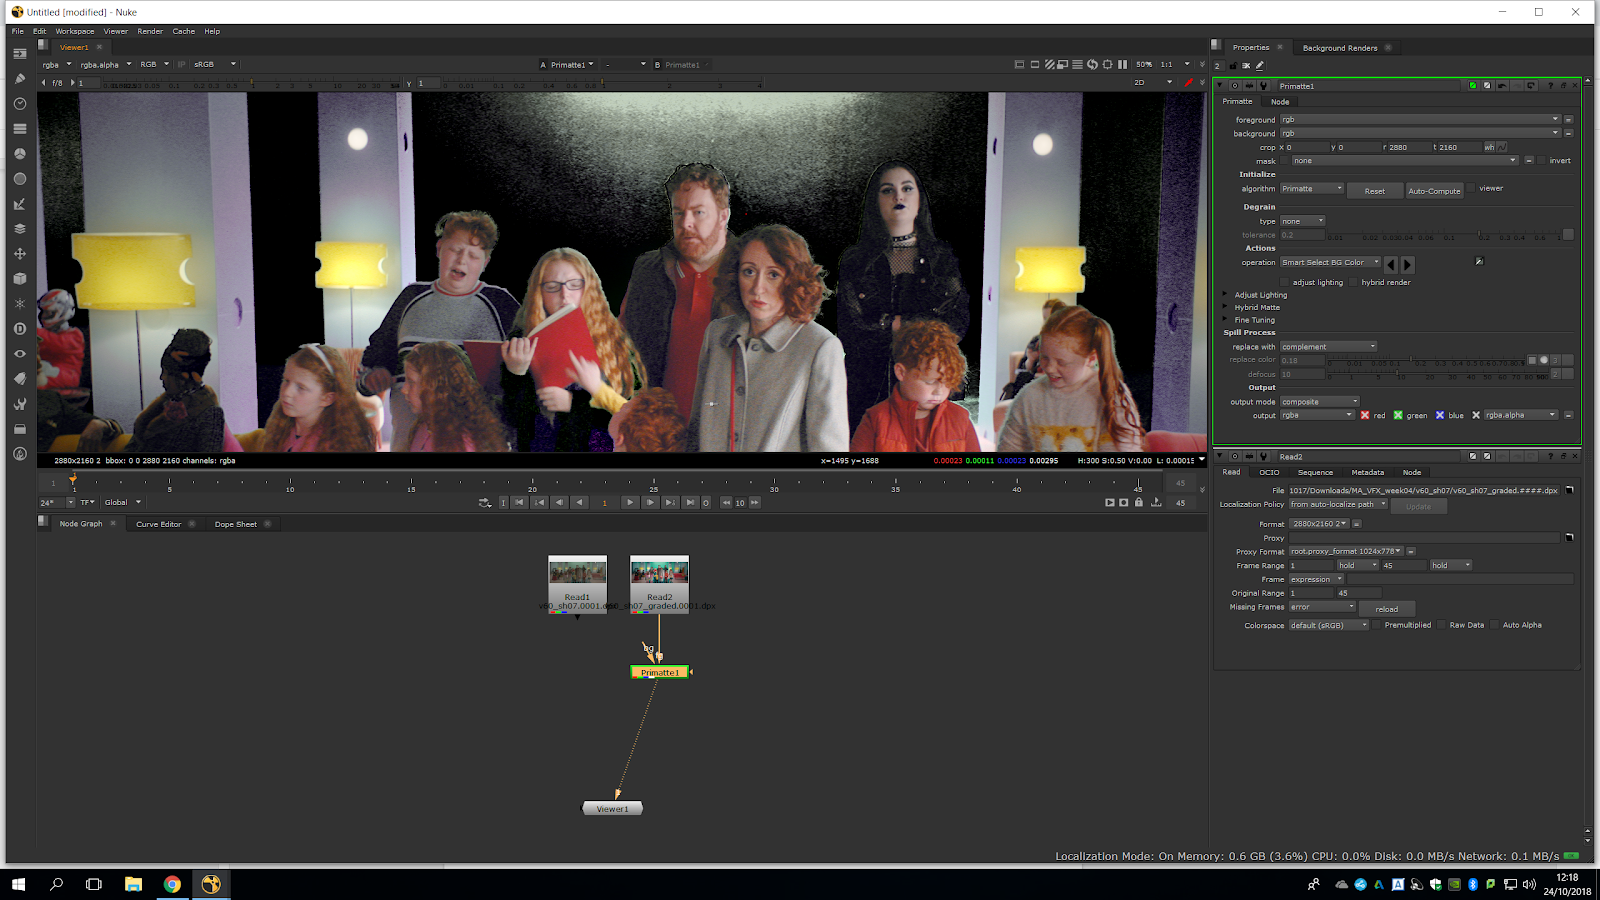
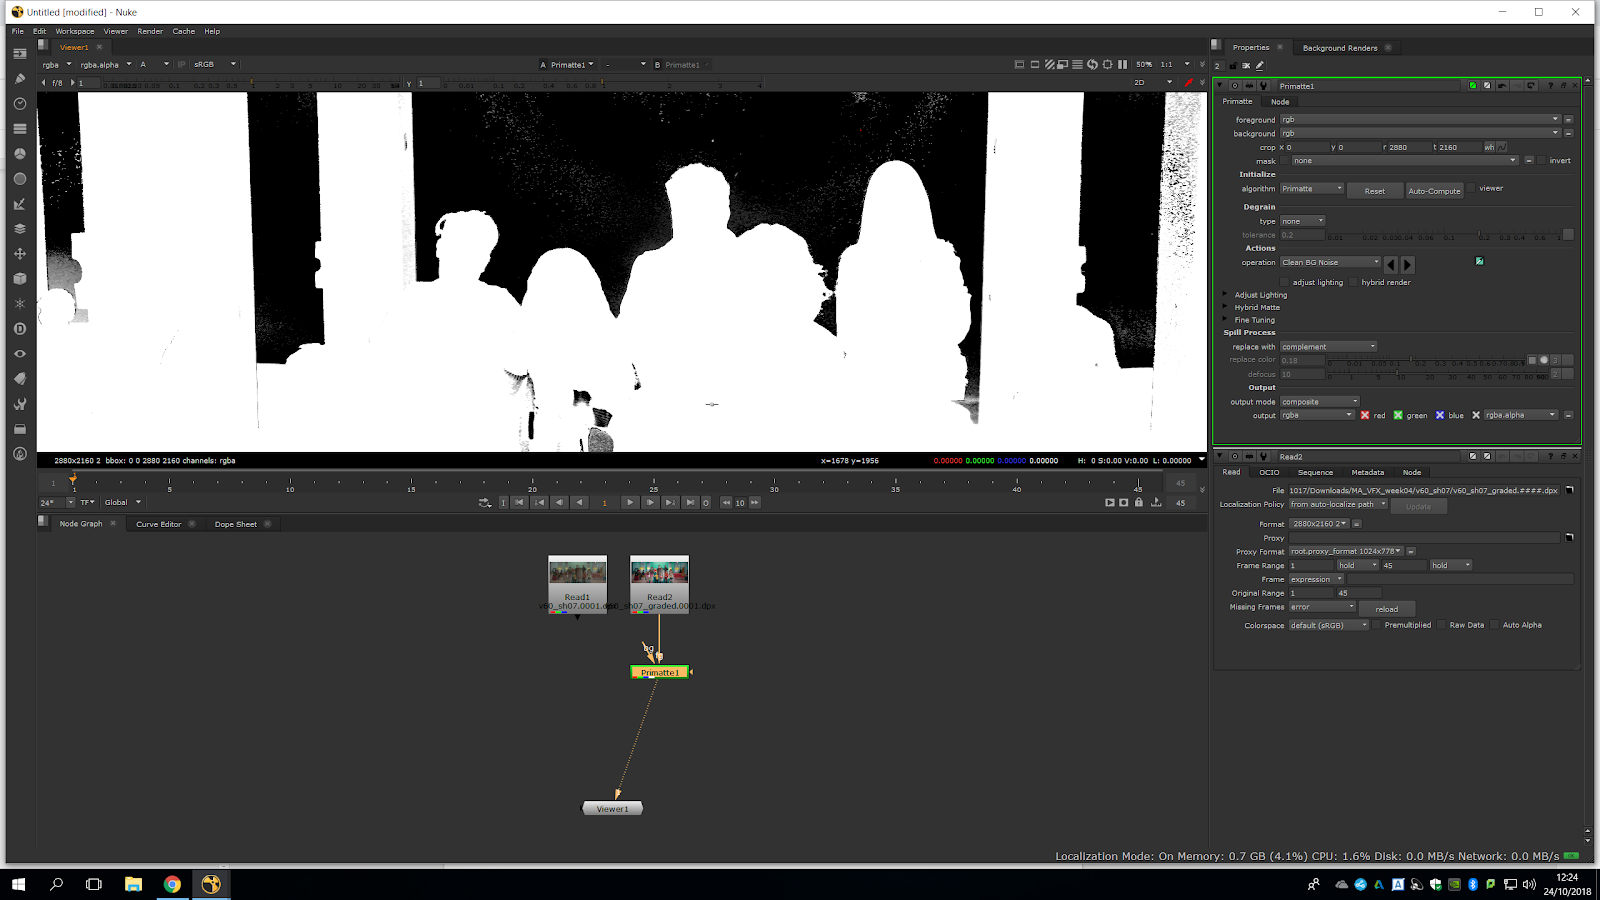
We will use Smart Select, since Simple Select has some smoothness but is less accurate. Now, we will press Clean background noise, and as we can see we got rid of the background.
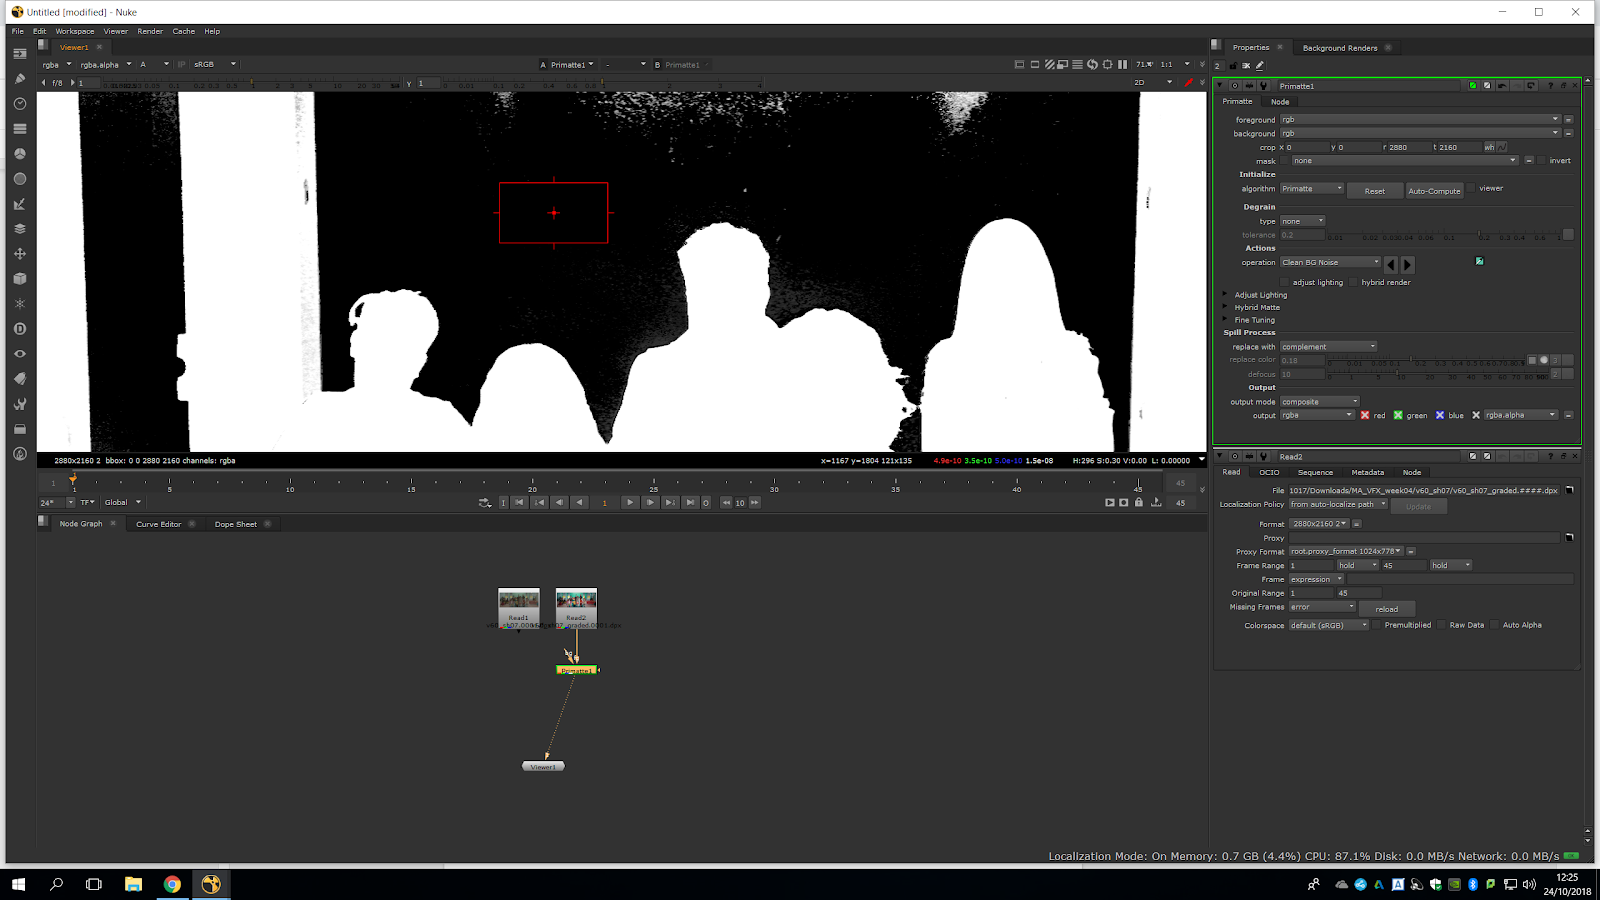
We can also do it within an area by pressing Shift+ctrl and drag.
For a real Keying it is not a good method, but for a quick key it is perfect, because we can easily get rid of the grey background.
Now, we can do the same with the positive areas, to make them visible.
We should not focus on keying accurately those areas which are easy to roto.
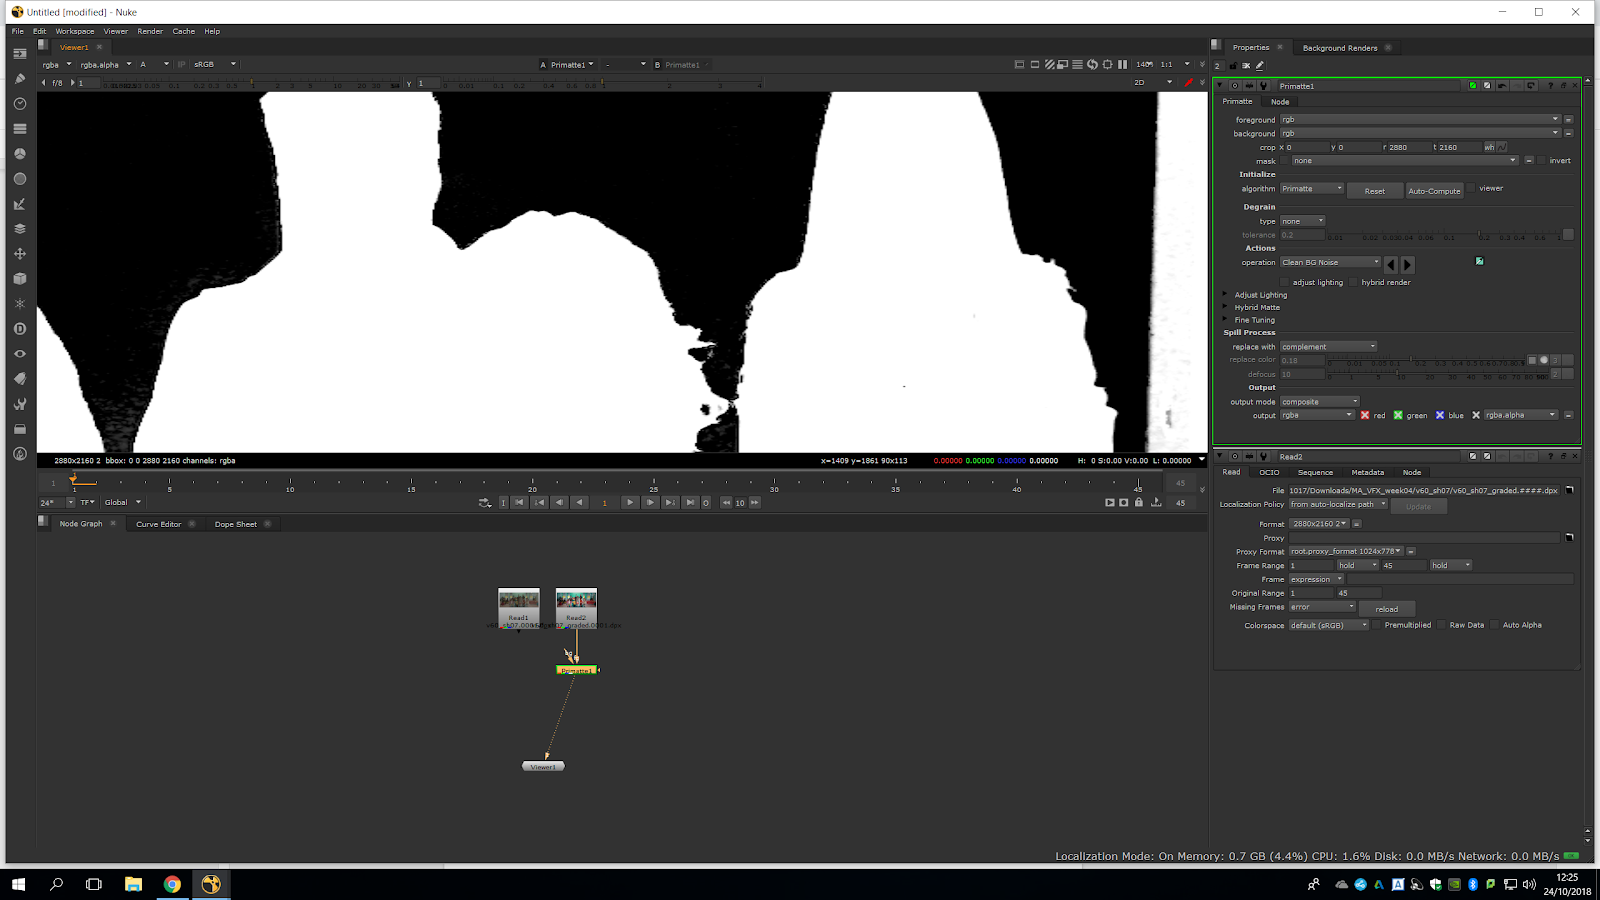
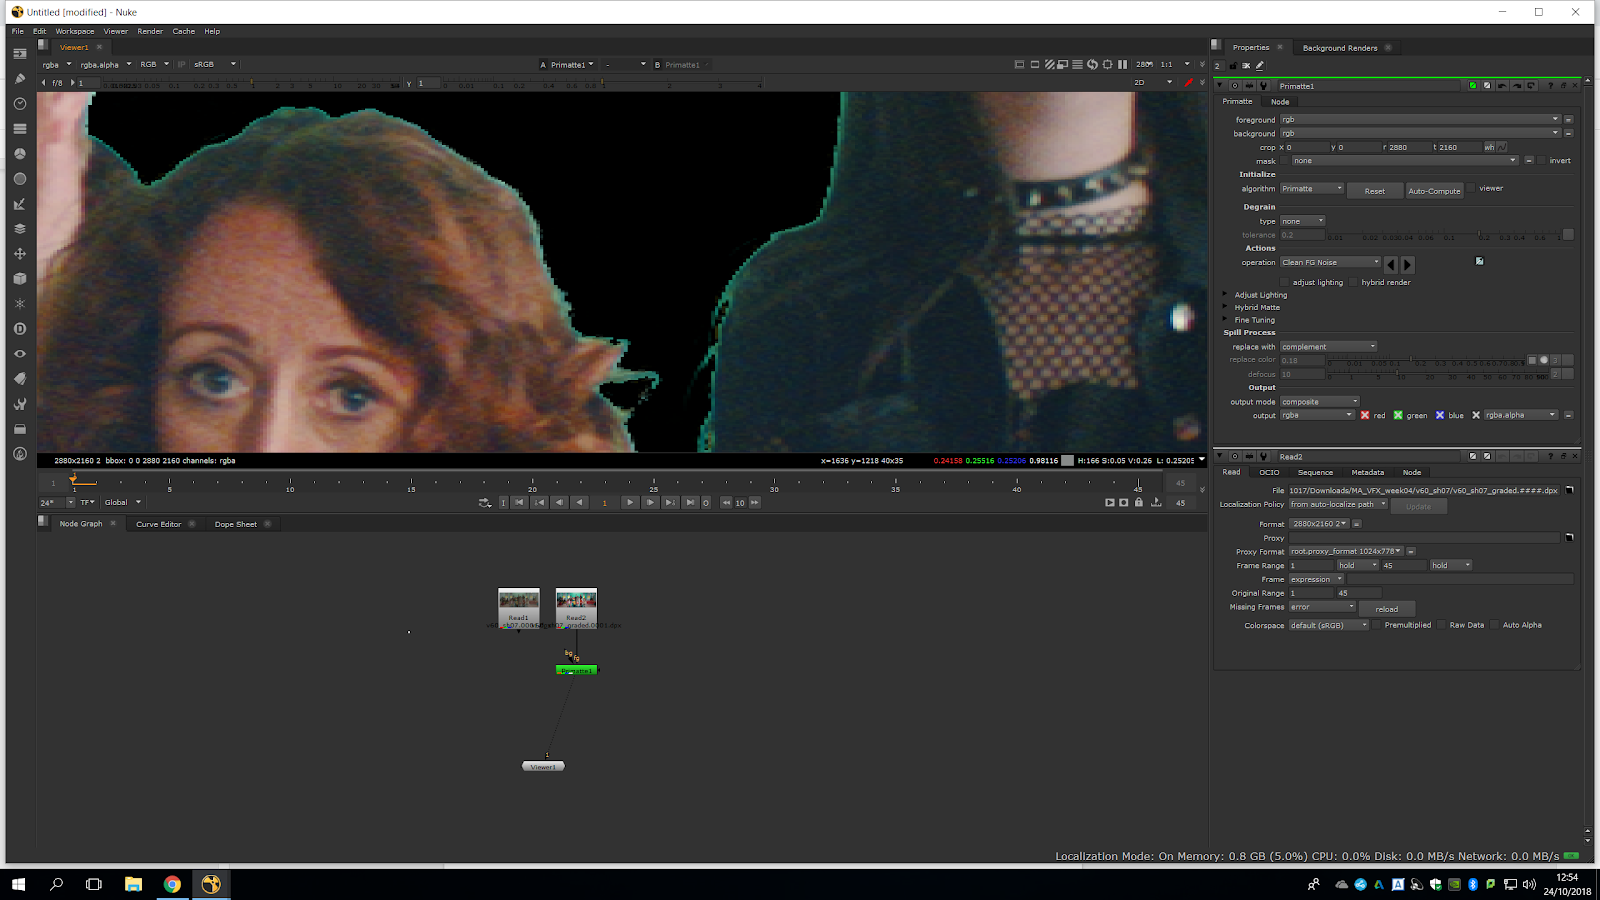
The result is completely unacceptable itself, it has a lot of rough dodgy edges and they are really crunchy, nothing to do with the real edges.
To test the key, we can bring a constant (flat color) and make it grey. We can either find the grey in the color wheel or extract it from the footage. If we attach them, we can preview how it roughly looks like.
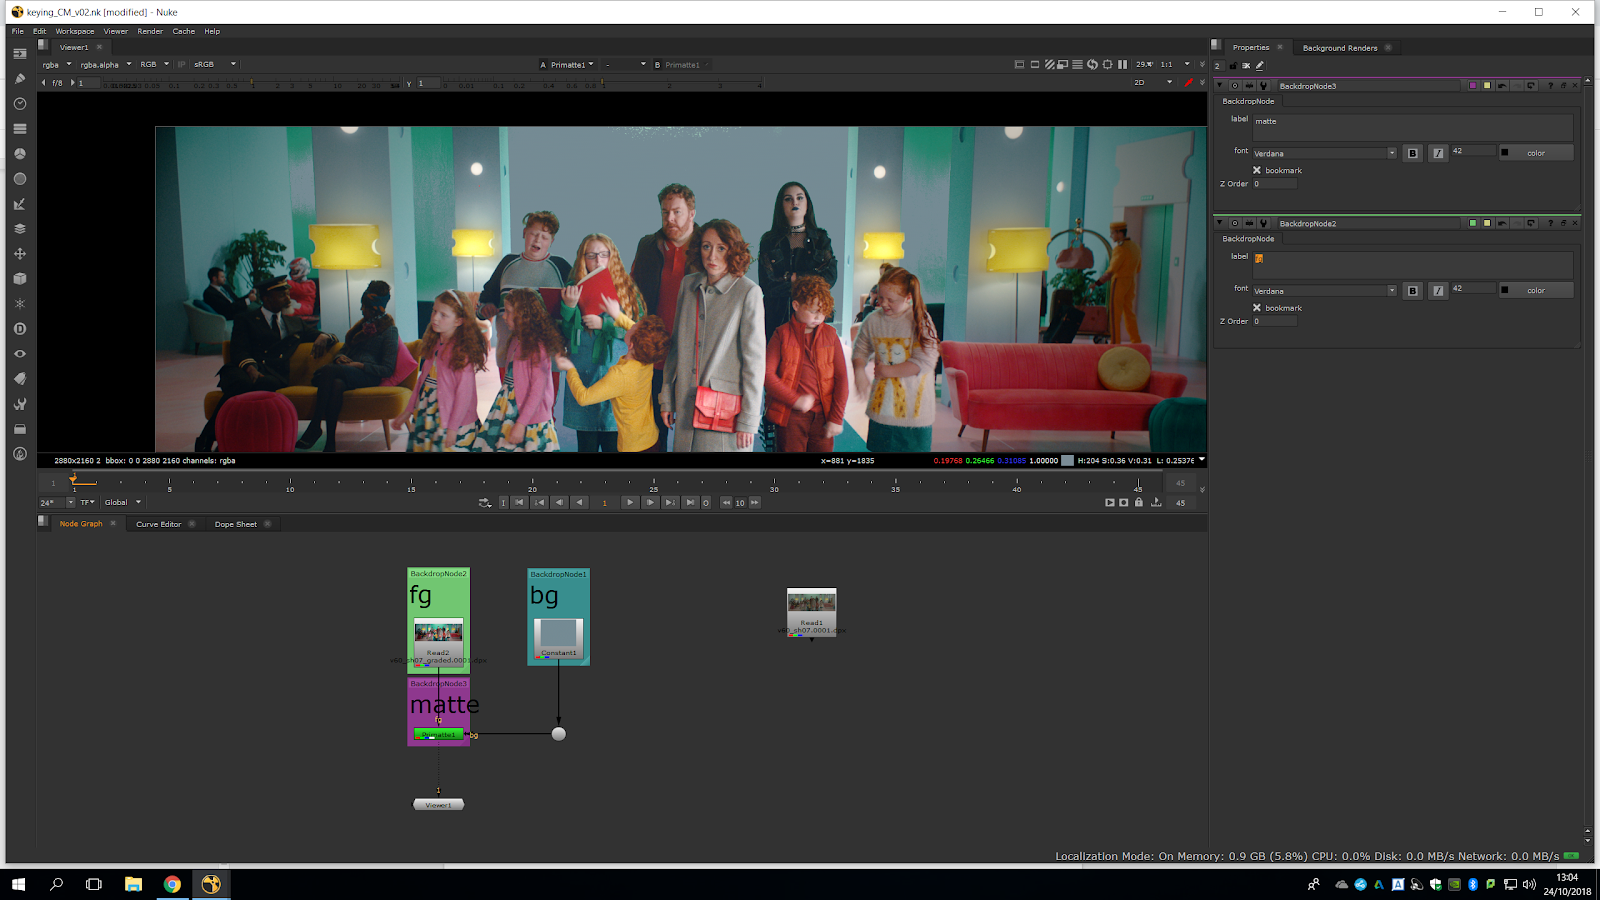
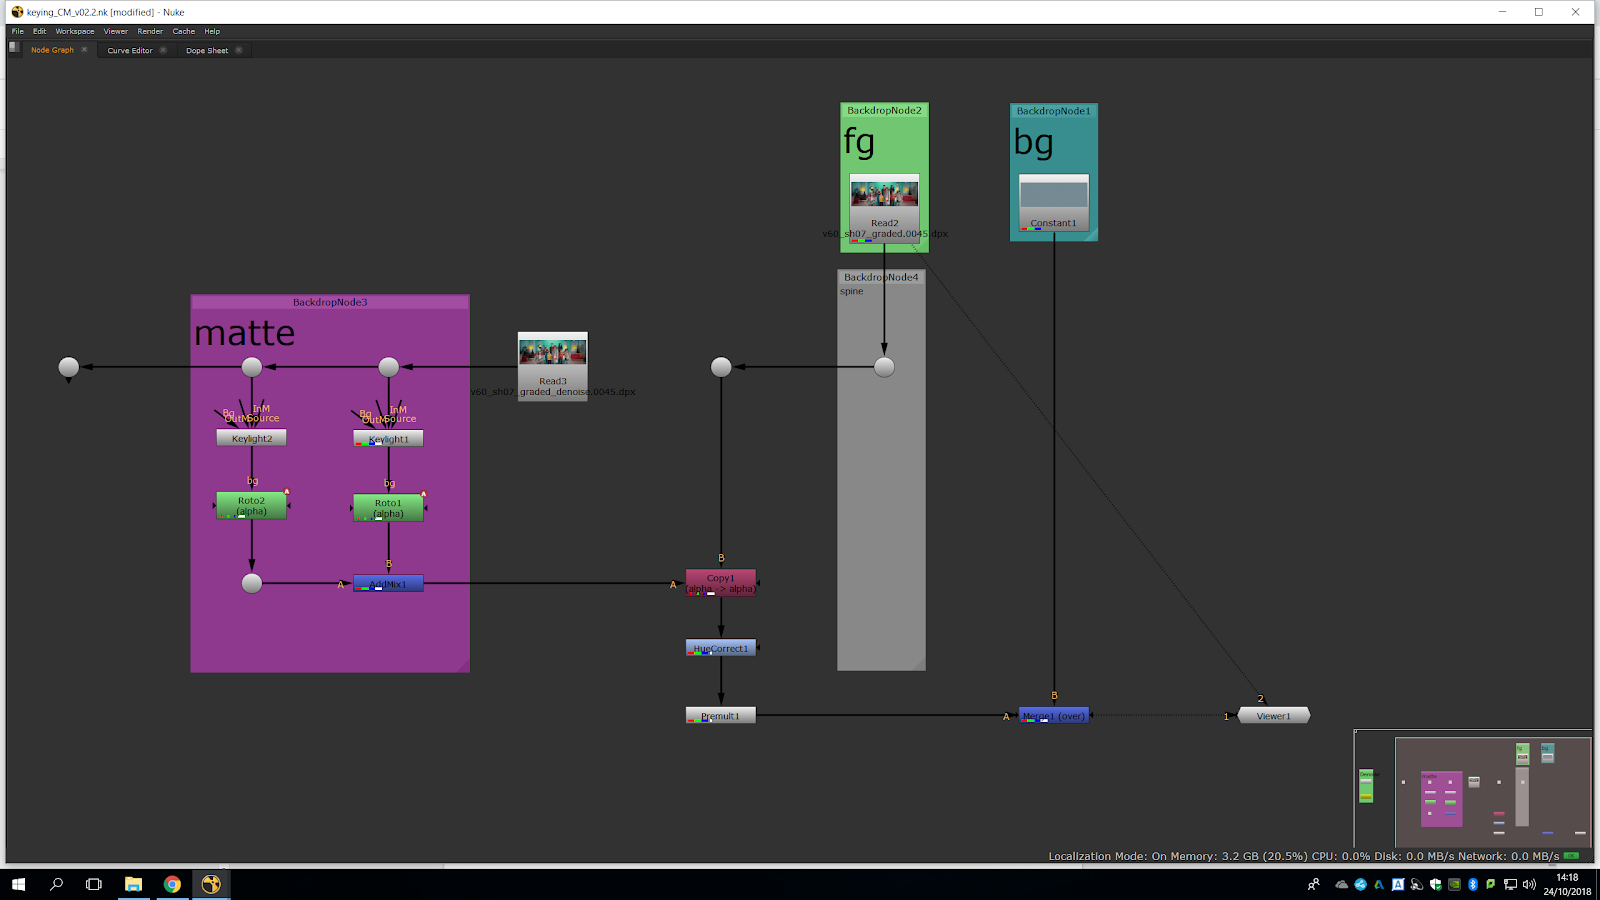
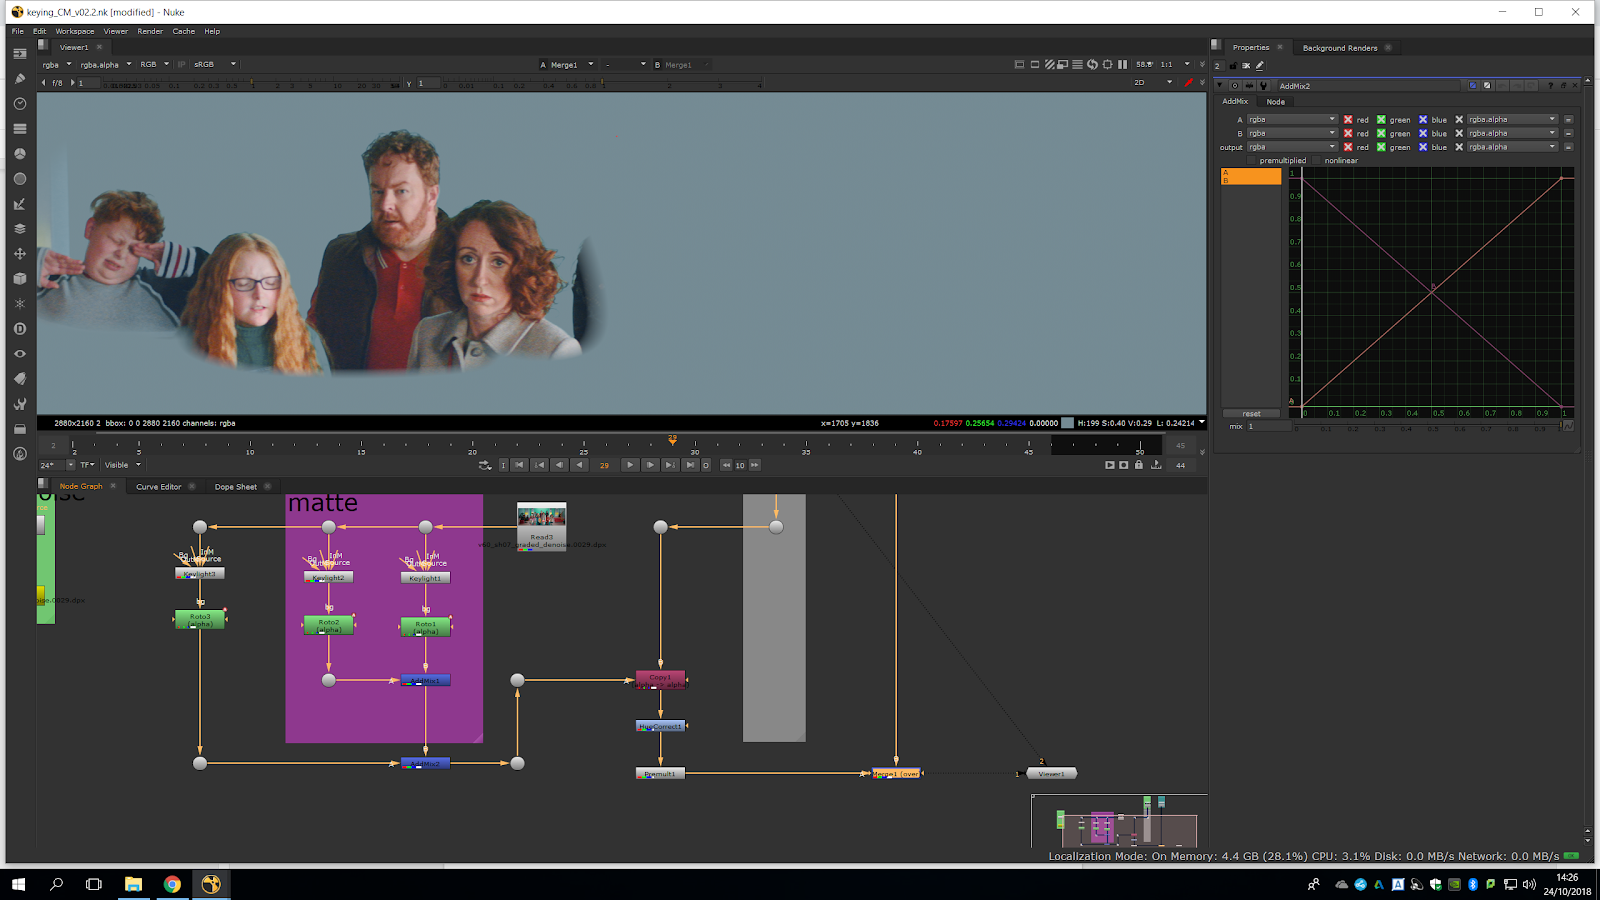
Now, we are going to embed it properly. We are going to copy the alpha channel of the primatte back to the original footage and we will premultiply that. We are copying the matte and combining it with the original plate image by using a copy note, so we get the original plate but keeping the alpha channel of the primatte.
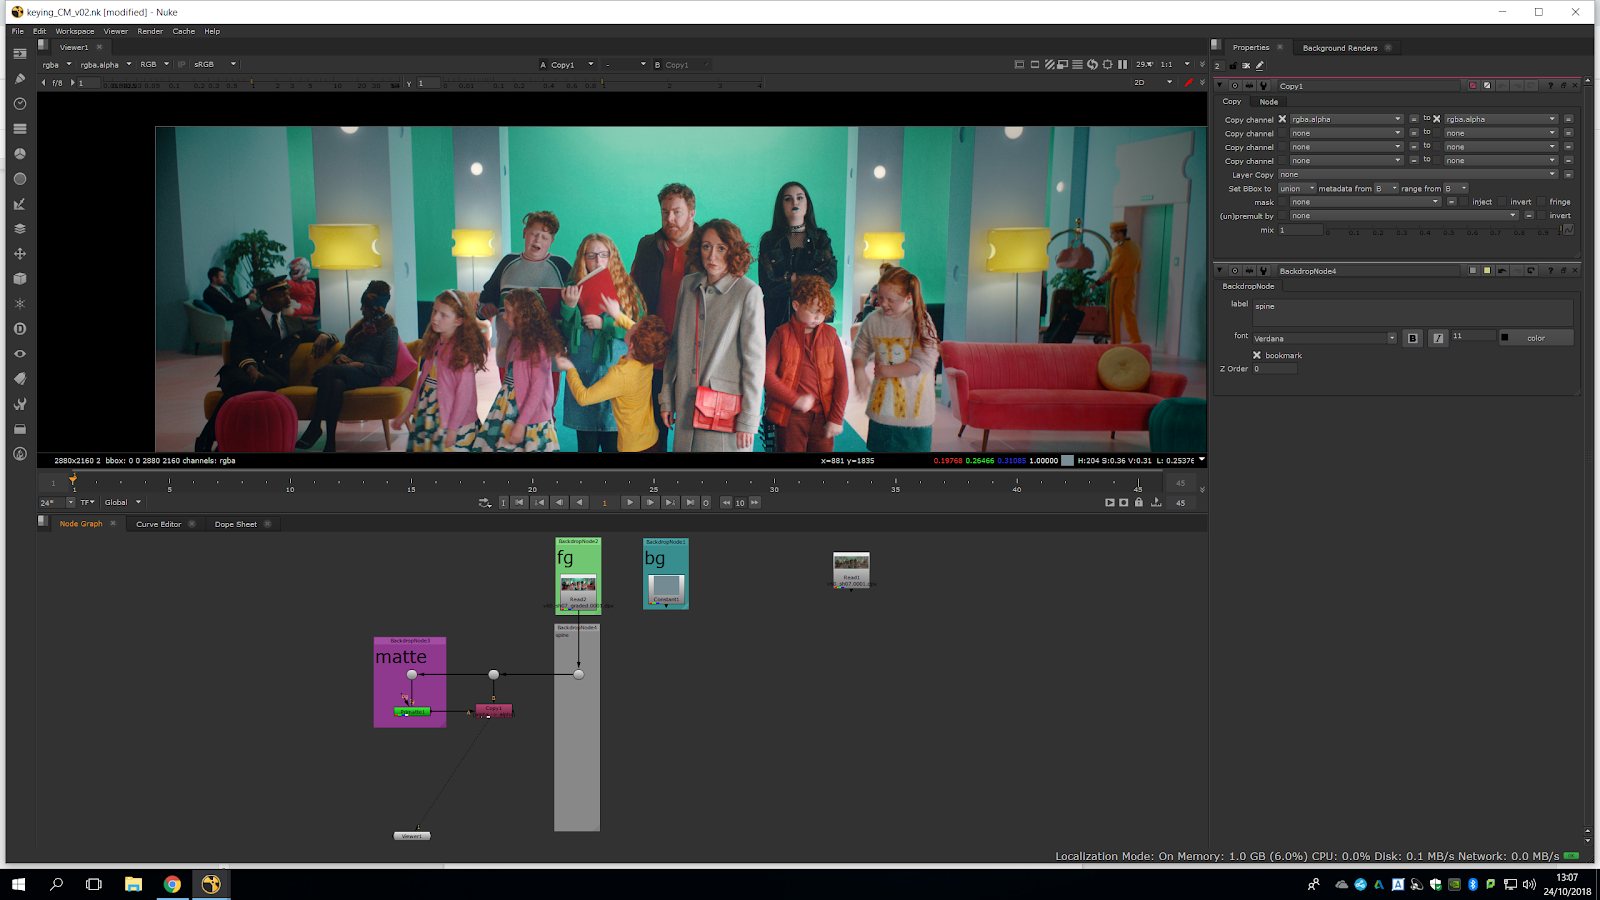
Then, we will add a Premultiply note into the Copy note and we will attach it to the Matte. That is how it should be merged.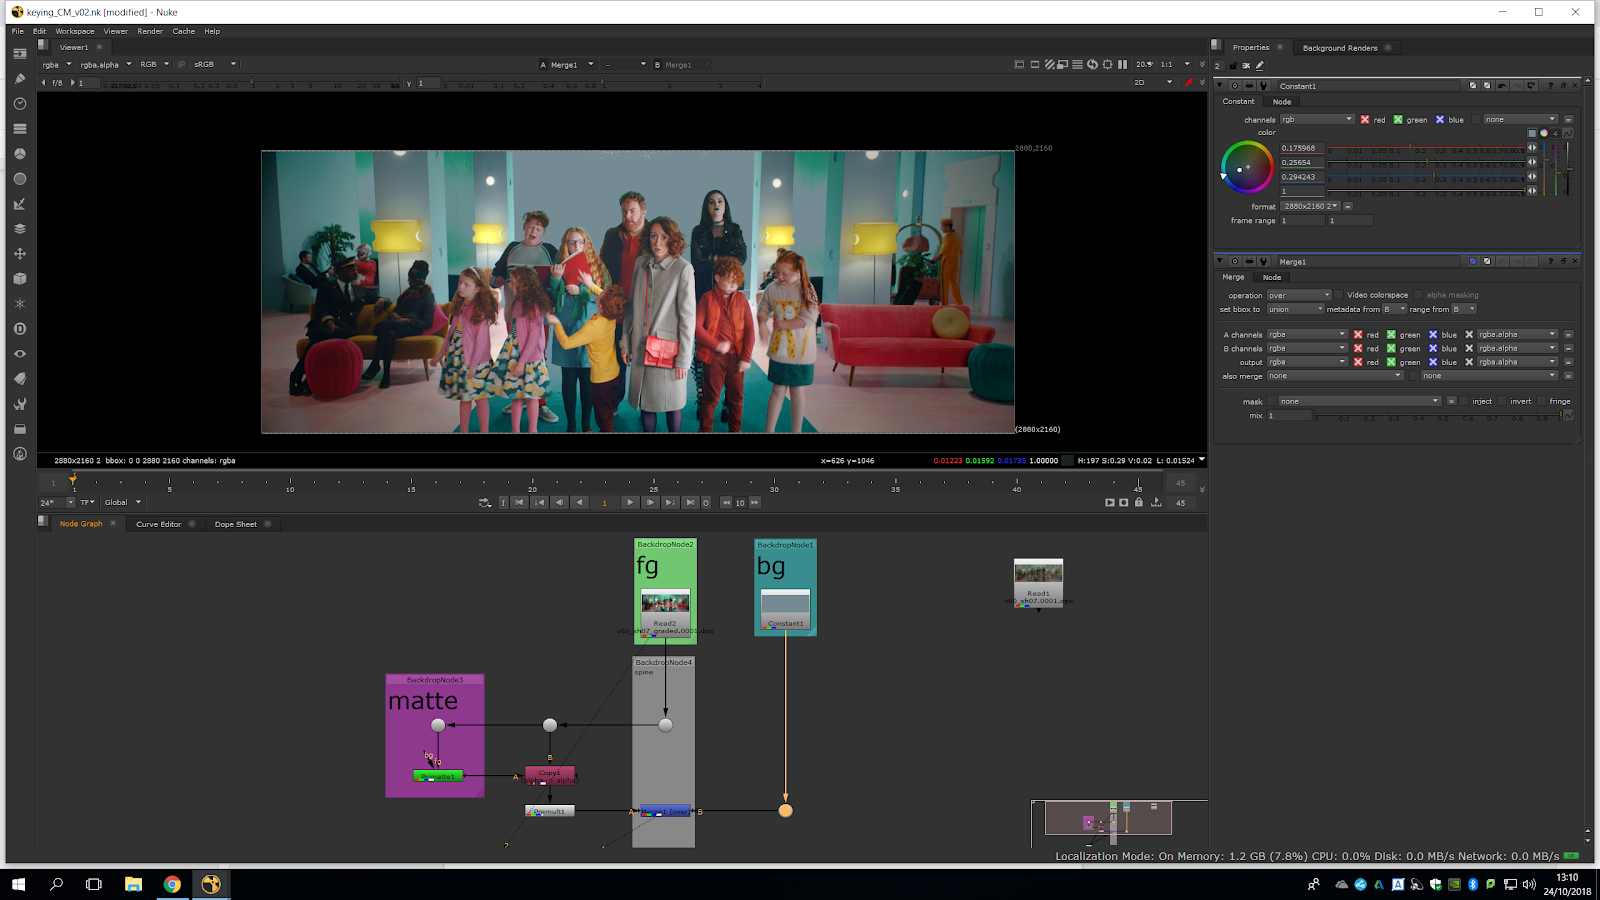
Now we will do a proper correct keying to get really nice edges.
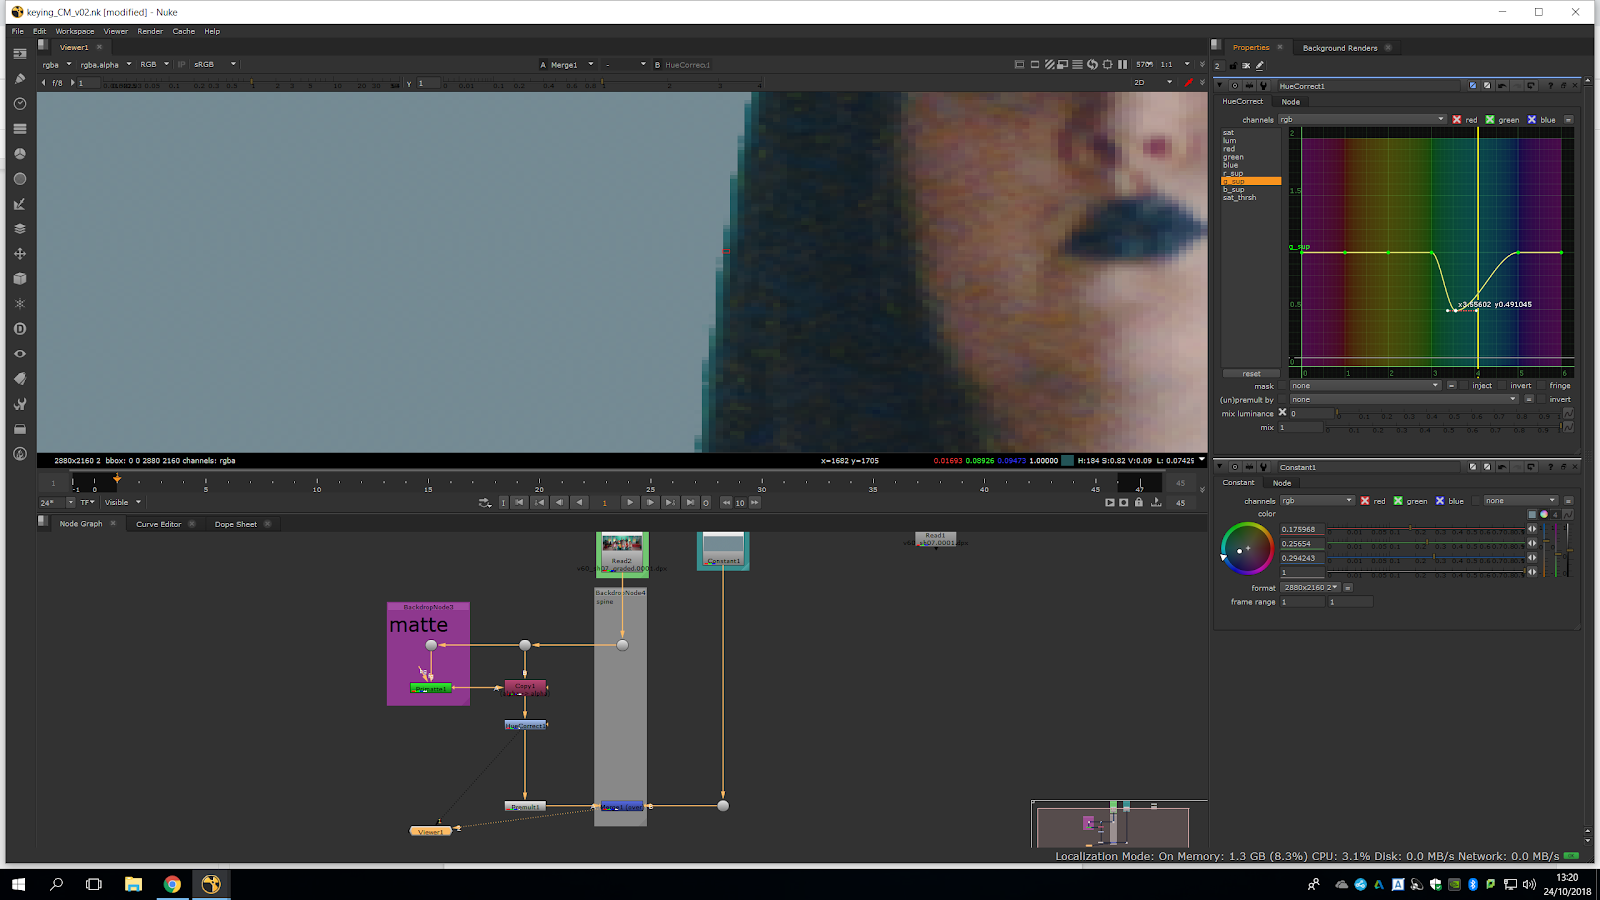
We are going to do a spill suppression really quickly with a hue correct. We will copy it into our picture, not our alpha.
We need to take in consideration that a good color correction really relies to a good resolution. The color correction will be slight, and it might decrease the quality of the picture, so we should put it on the top, so it does not spoil our picture too much.
Now, we just sample one of those color to plot a color picture value into our hue correction graphic algorithm.
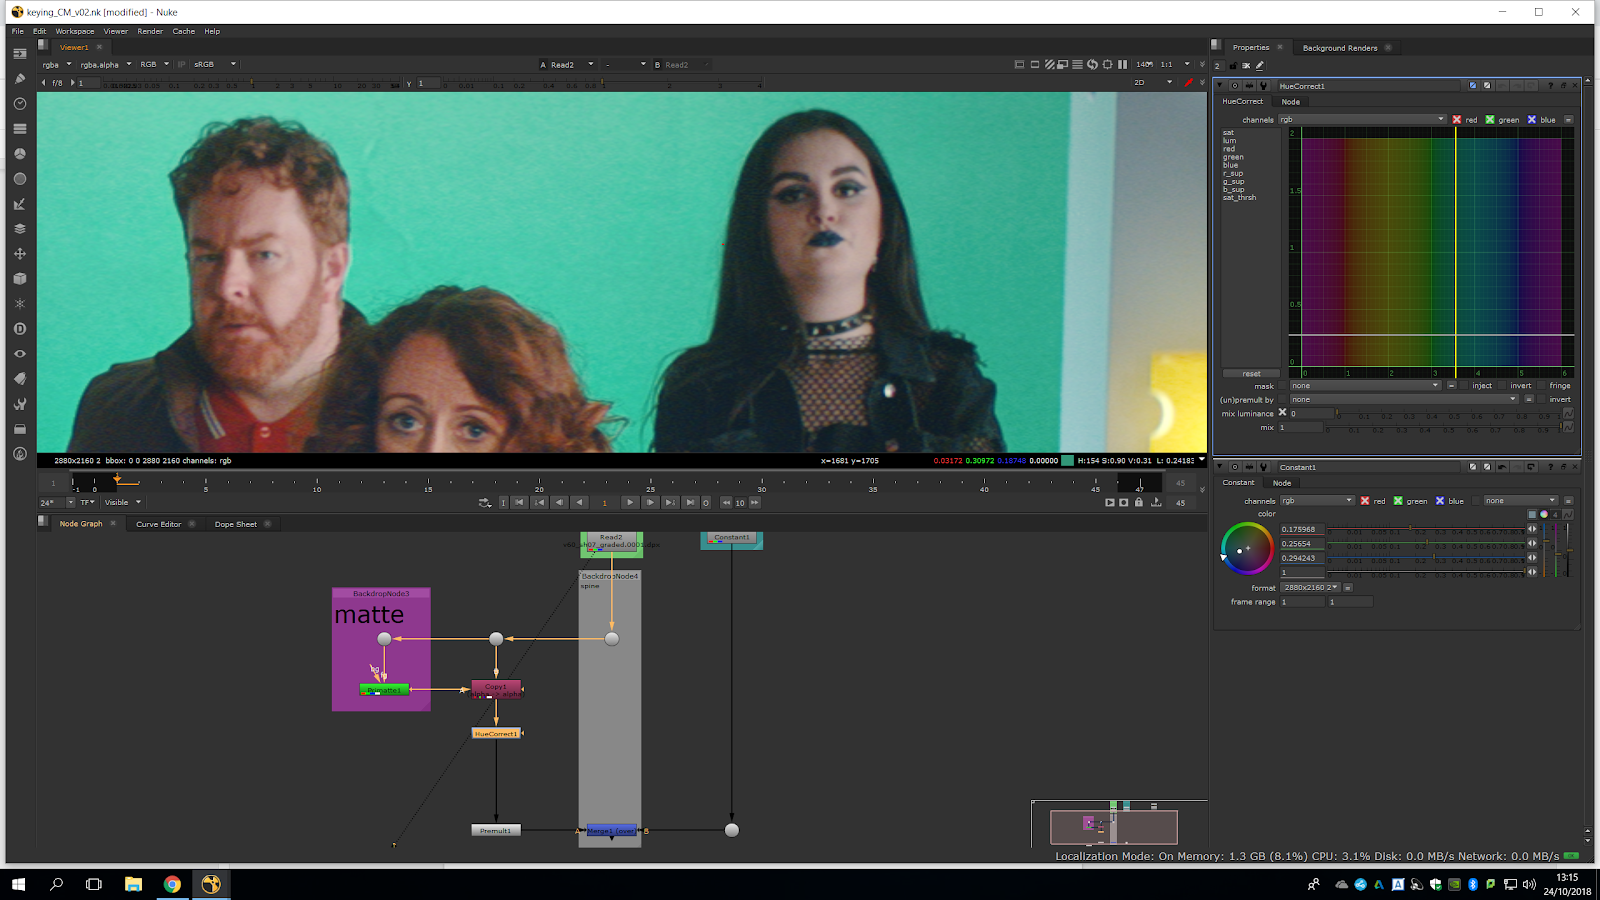
We will select a pixel rear to the hair of the character, the green screen is melting with the hair so we would want to delete the green in that range of color. In this way, we can delete some green in that picture and we will be able to delete the feathered green of the edges. We select a pixel with ctrl, near to the hair, and then we click green suppression.
Now, we get a bar with some points and we will need to pull the pint down in the line we will sample it, approximately.
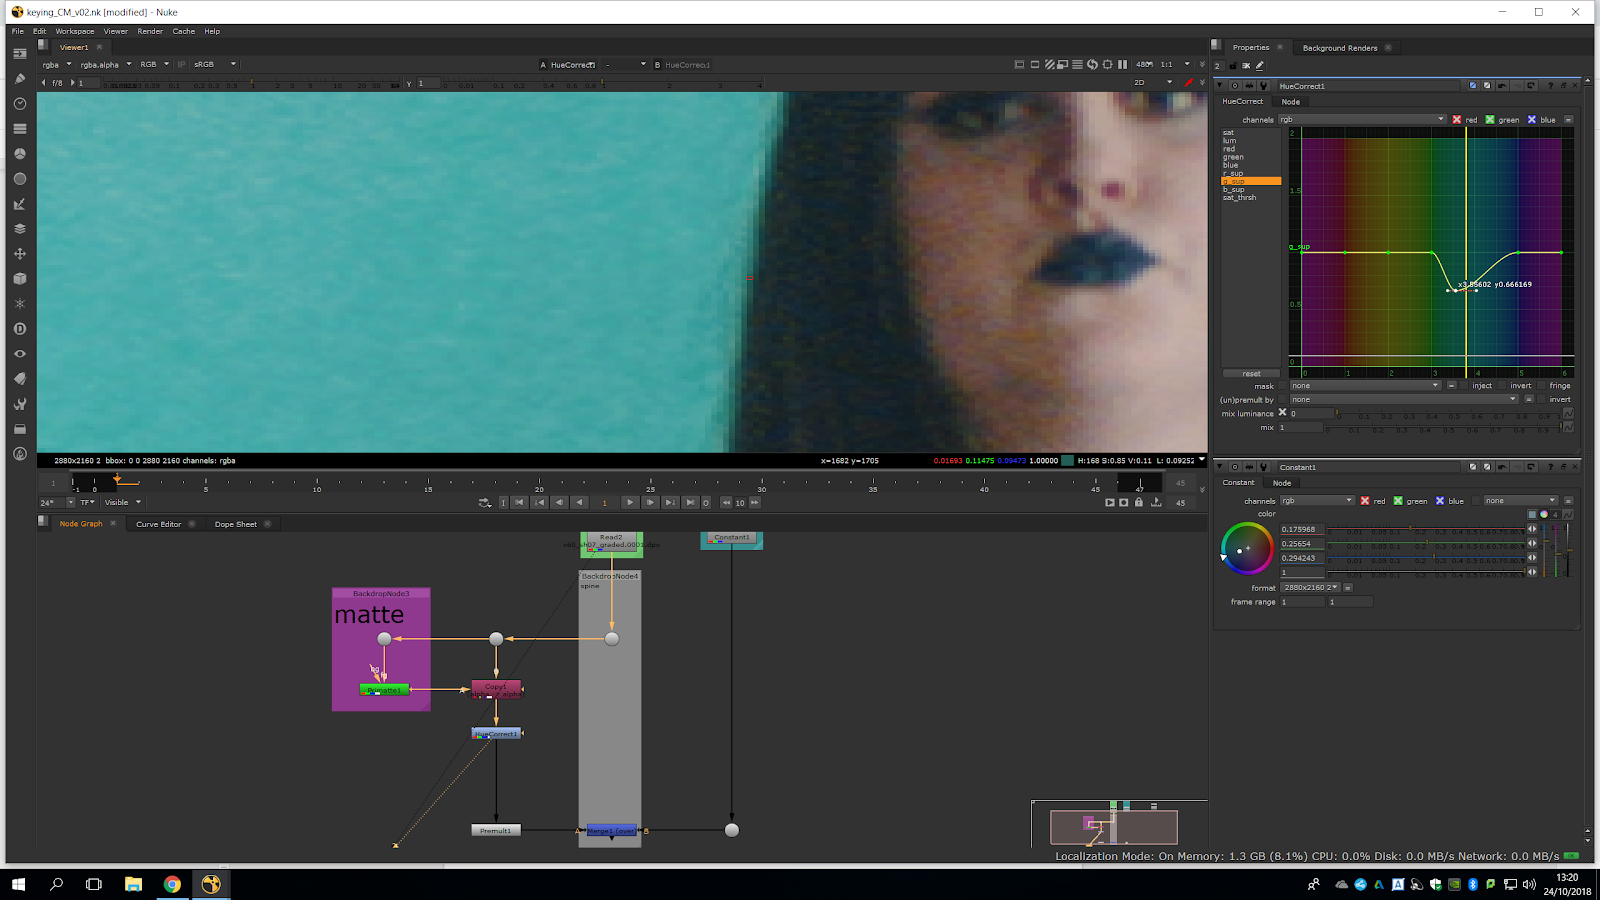
We do not want it to goo really blue. If we preview the merge, we can clearly see how our edges are reacting.
Now, we have horrible dark edges. Therefore, we should not go too far with that correction, since it would e better to leave those edges green.
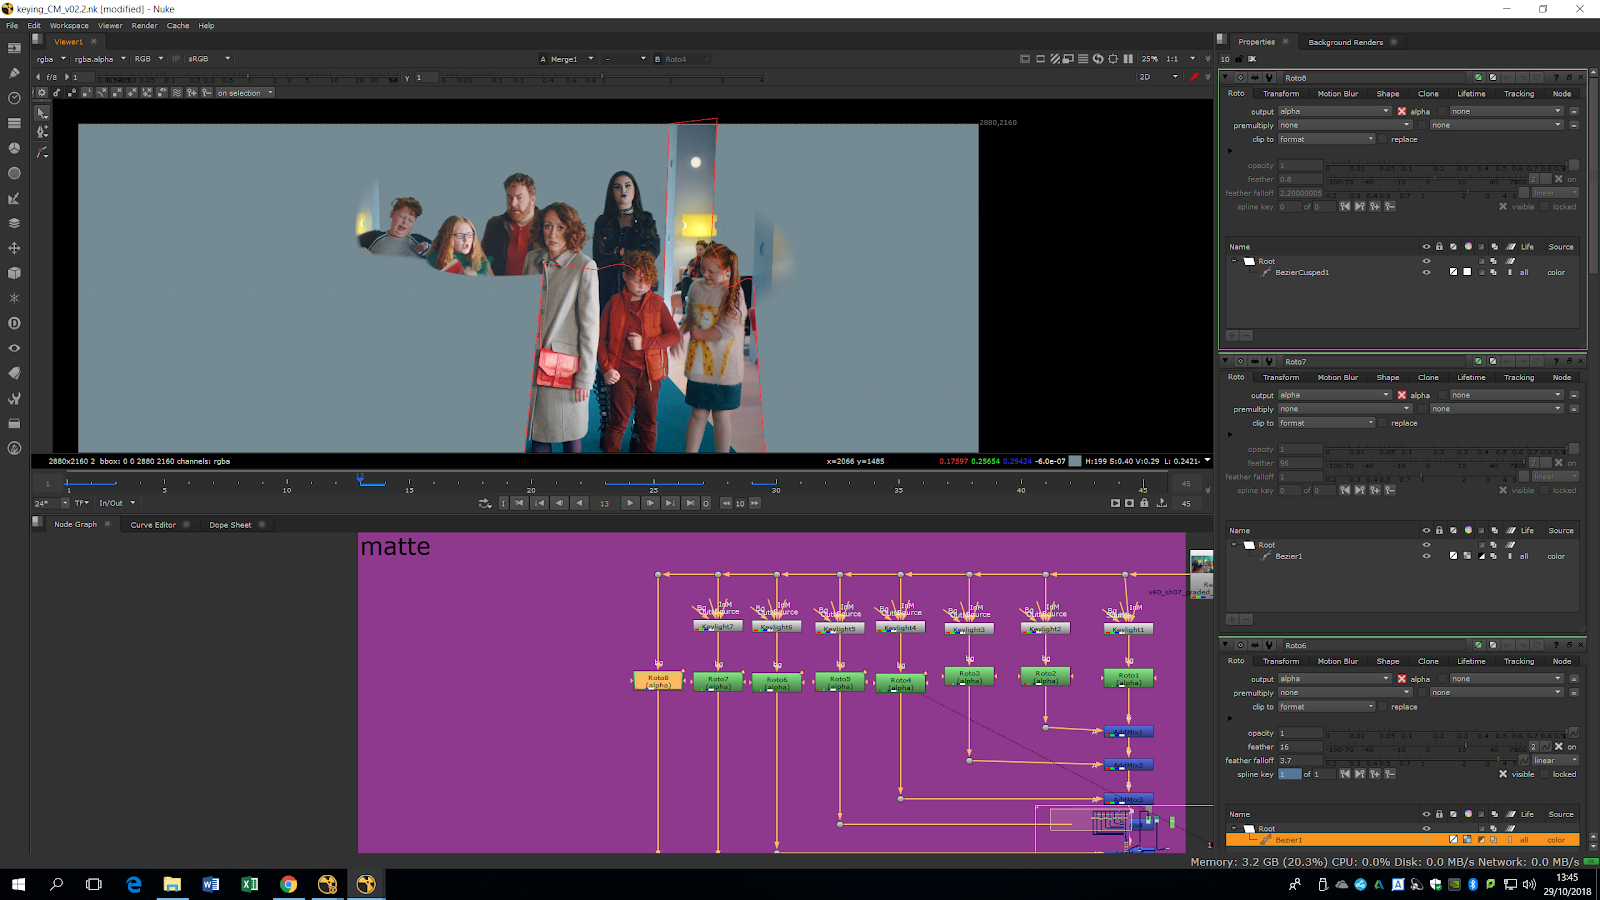
Now, we will start building an accurate matte. We will do a save as, and we will leave this scrip aside.
This process would be something that we will do before doing a keying, just to test it and realize there are not any serious issues with the background.
New process
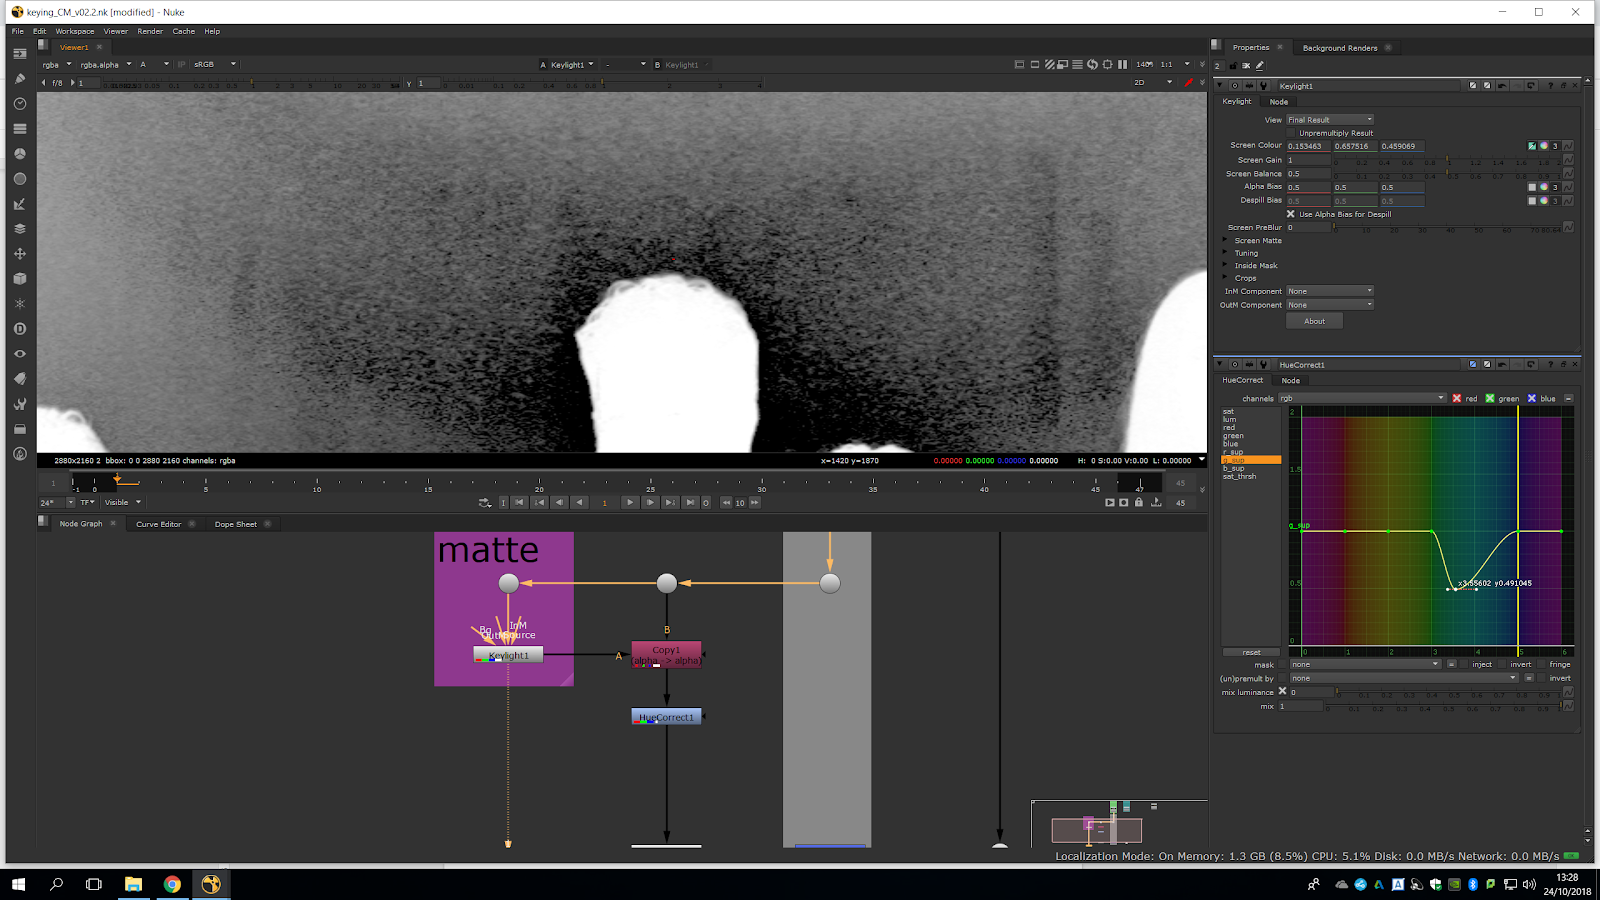
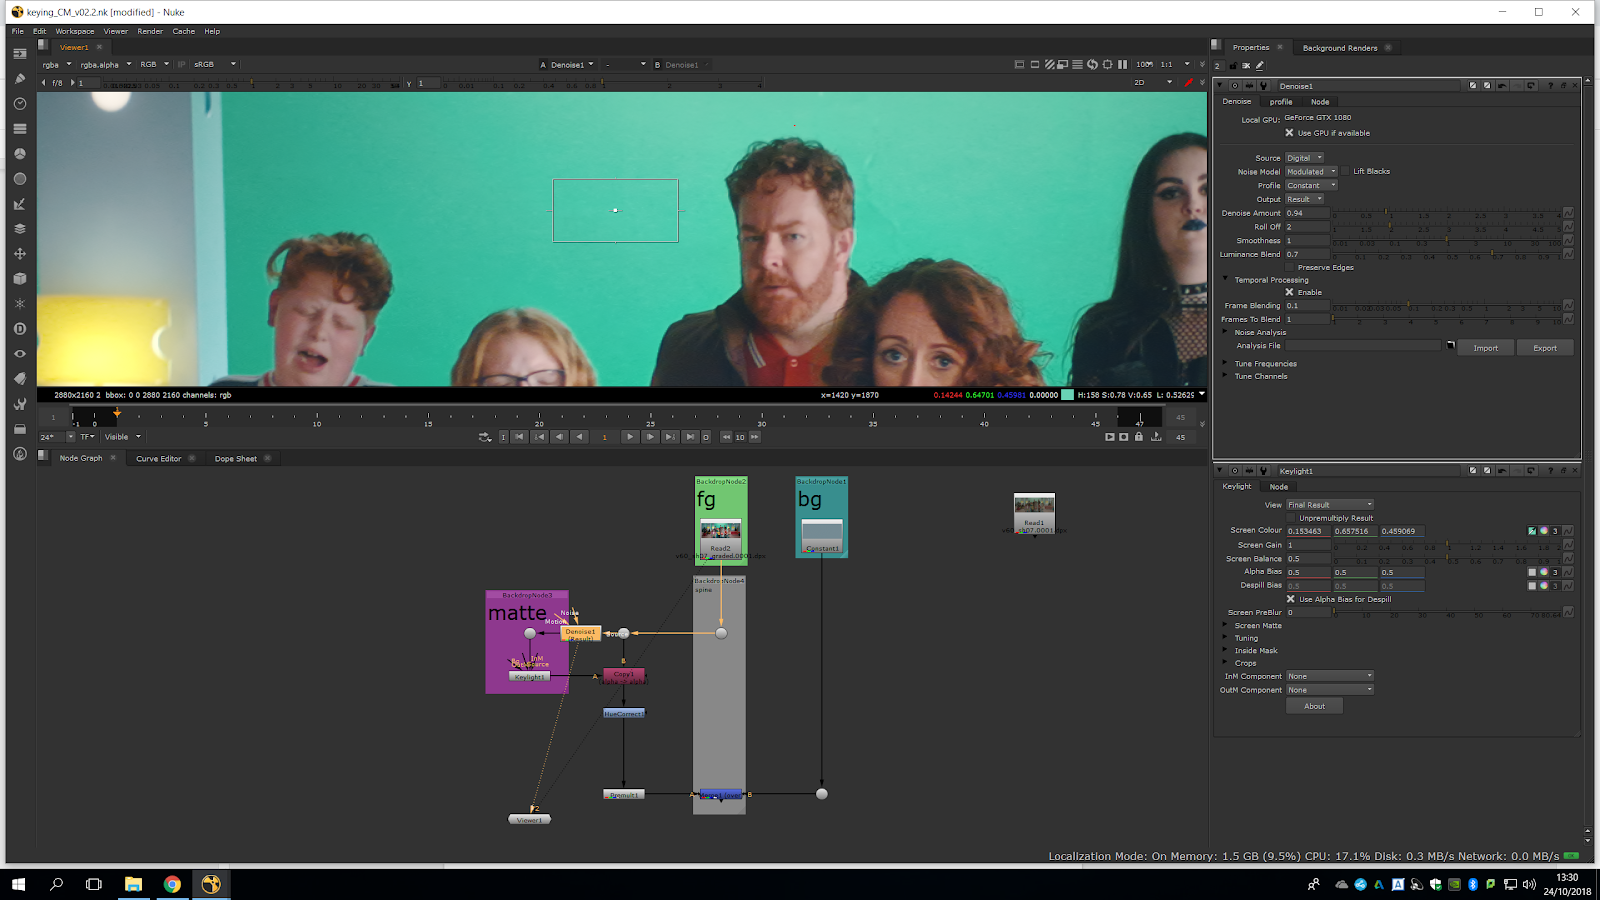
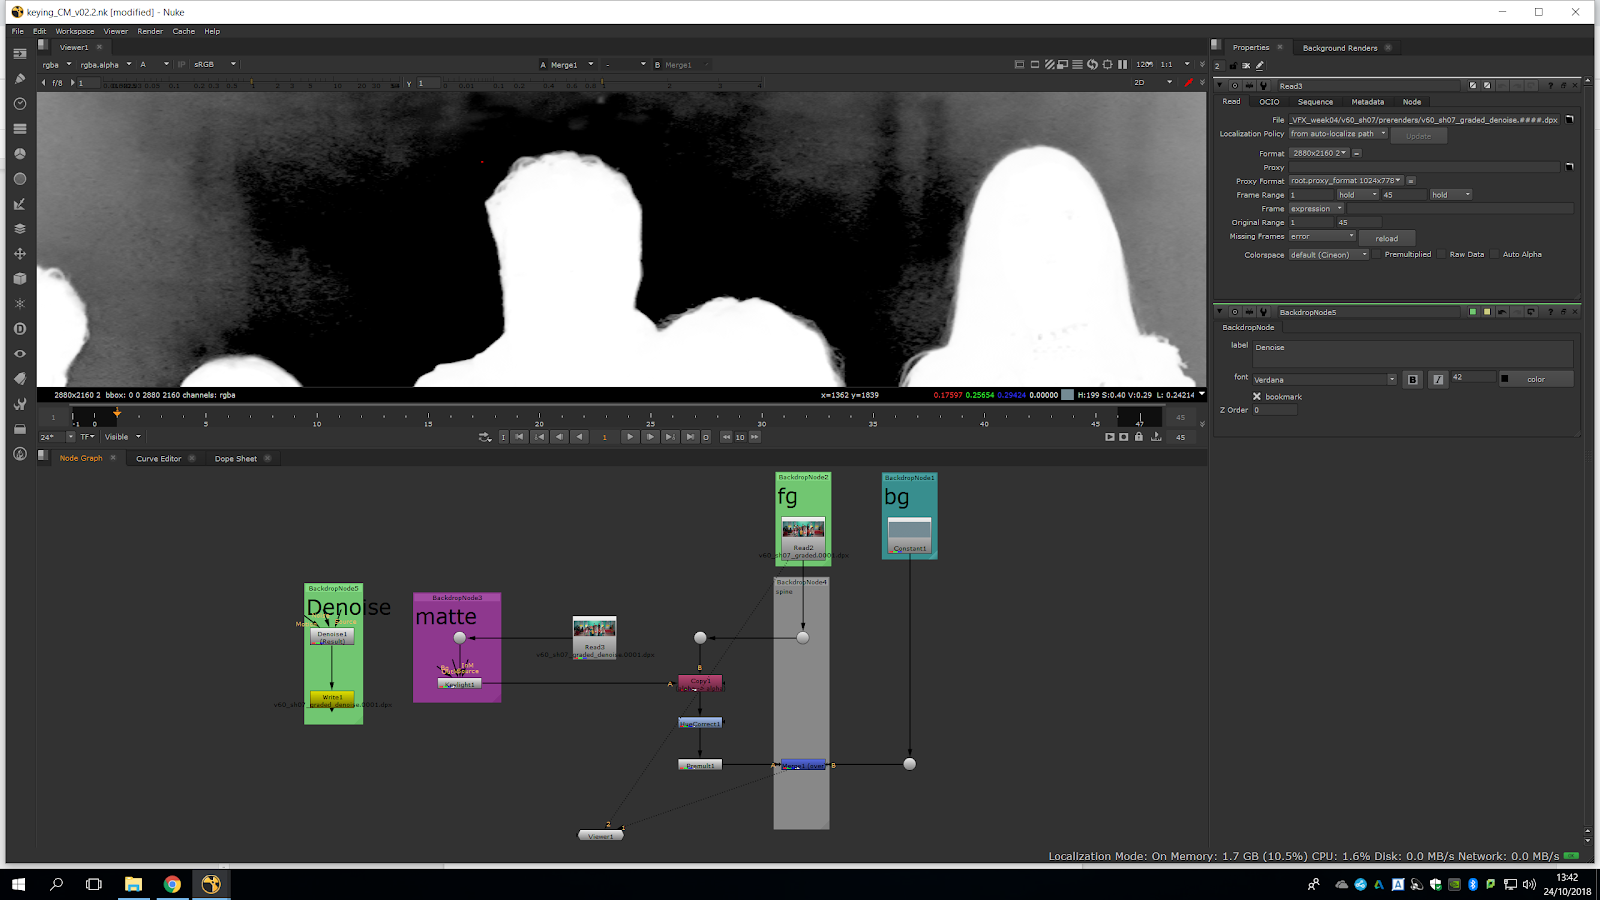
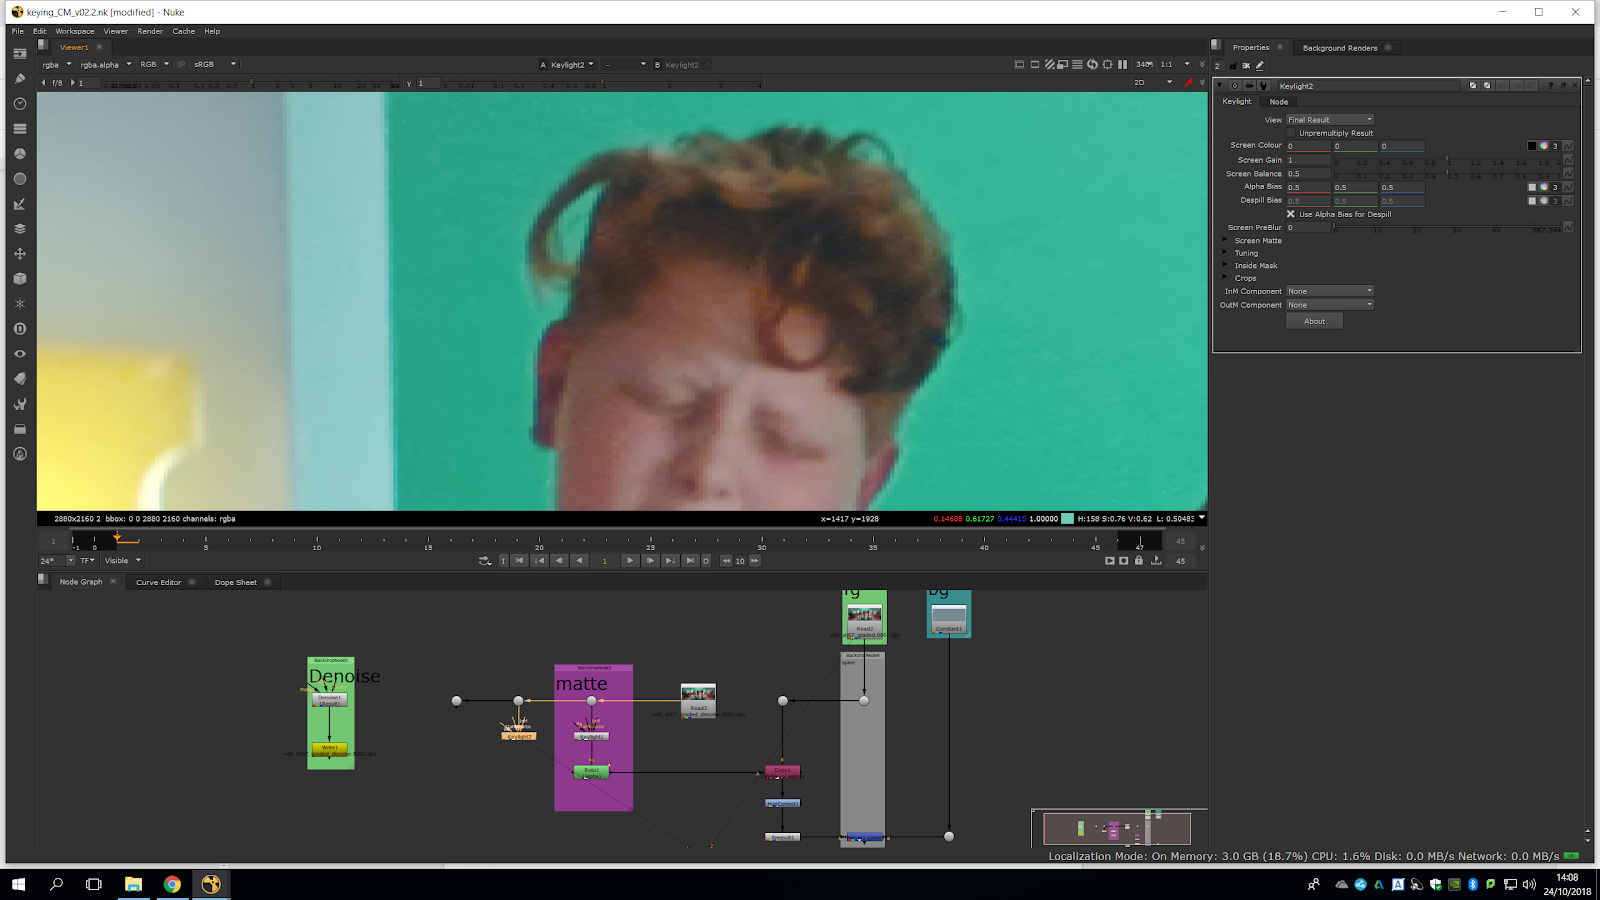
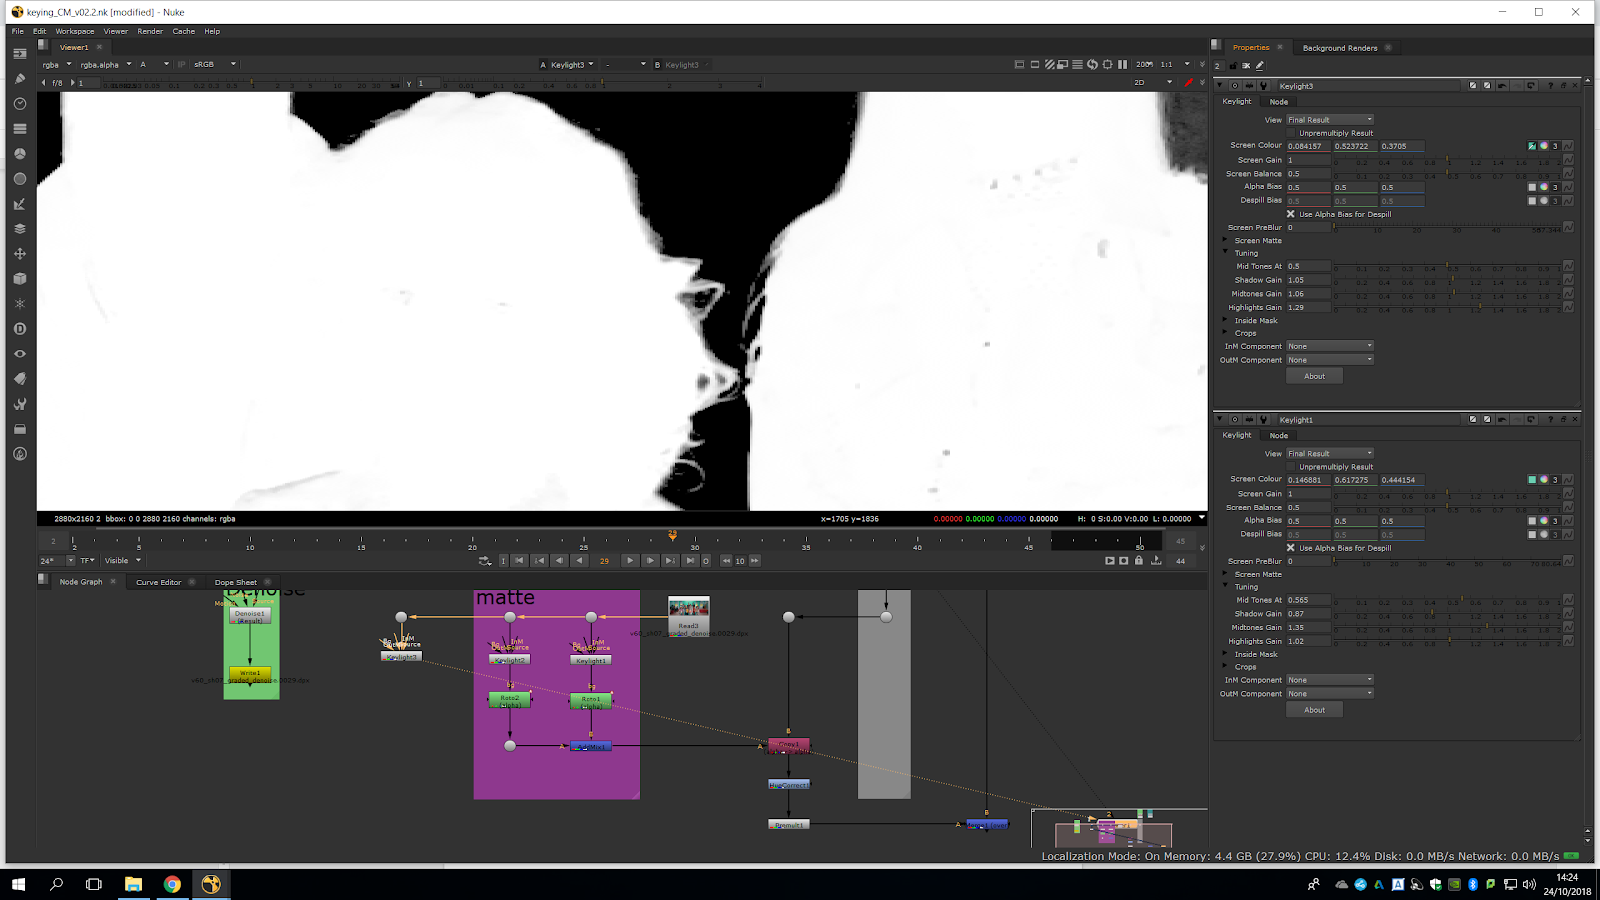
In this new version, we are going to delete the primatte, and add a Keylight instead.
We will plug the source where we had the primatte. The keylight has the same principles, but it keeps a bit more of a luminance. With it, we are not able to control as much the background and foreground, but we will be able to have soften edges. Now, we will select the chroma color to sample it.
Now, what we want to do is isolate every area of the key, because we want to sample the figure near that area. We will start with the hair of the man, so we will sample around it to get a nice soft edge.
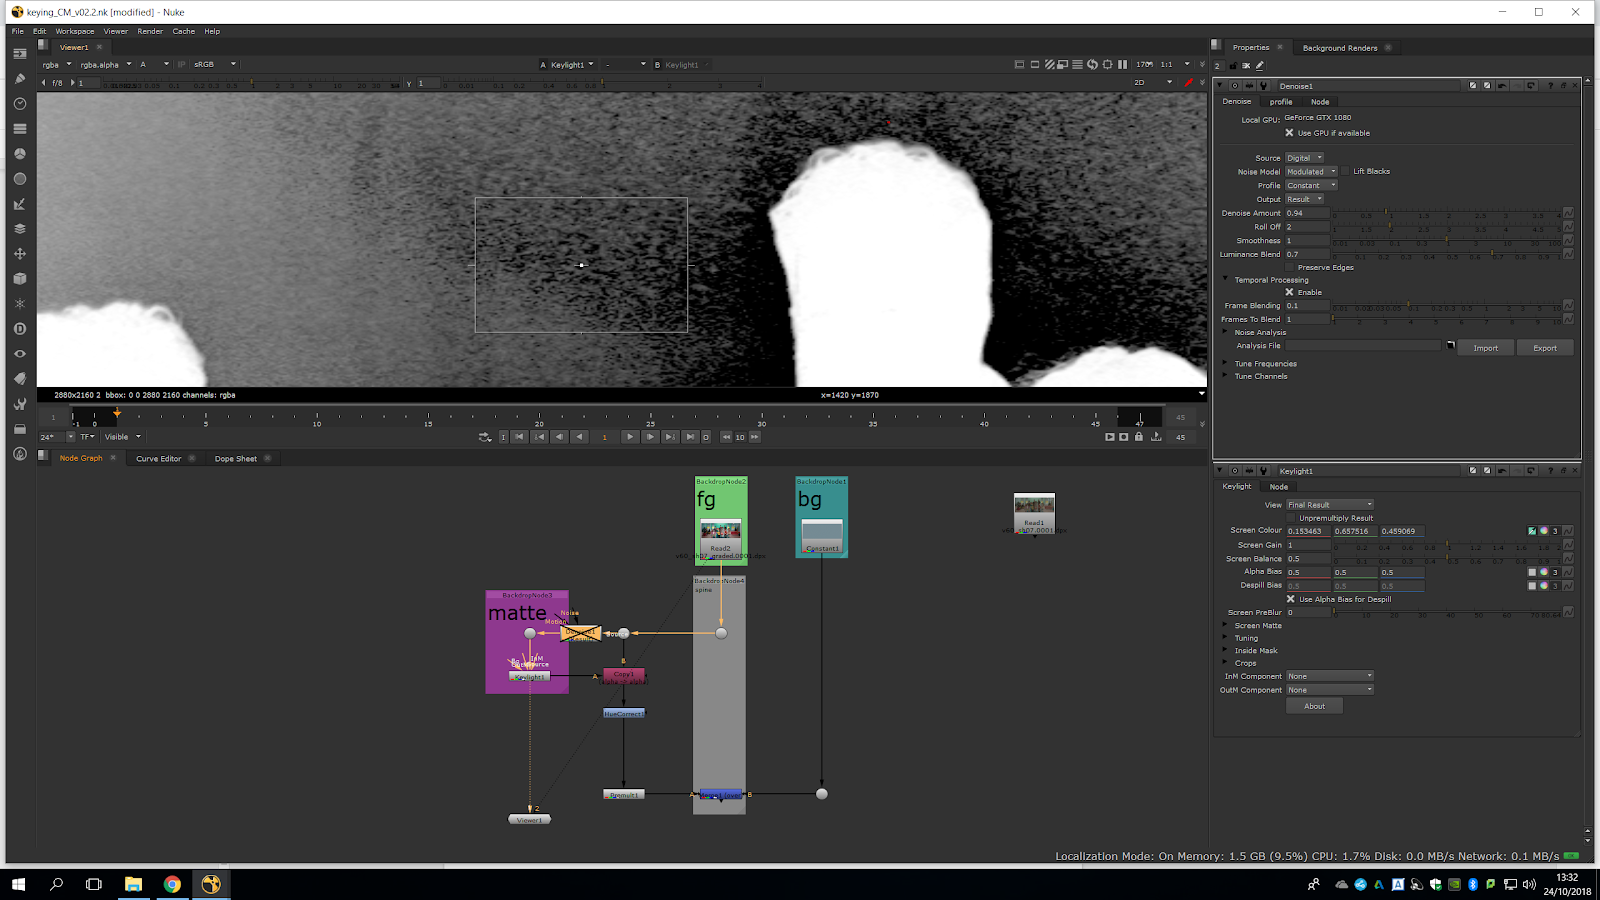
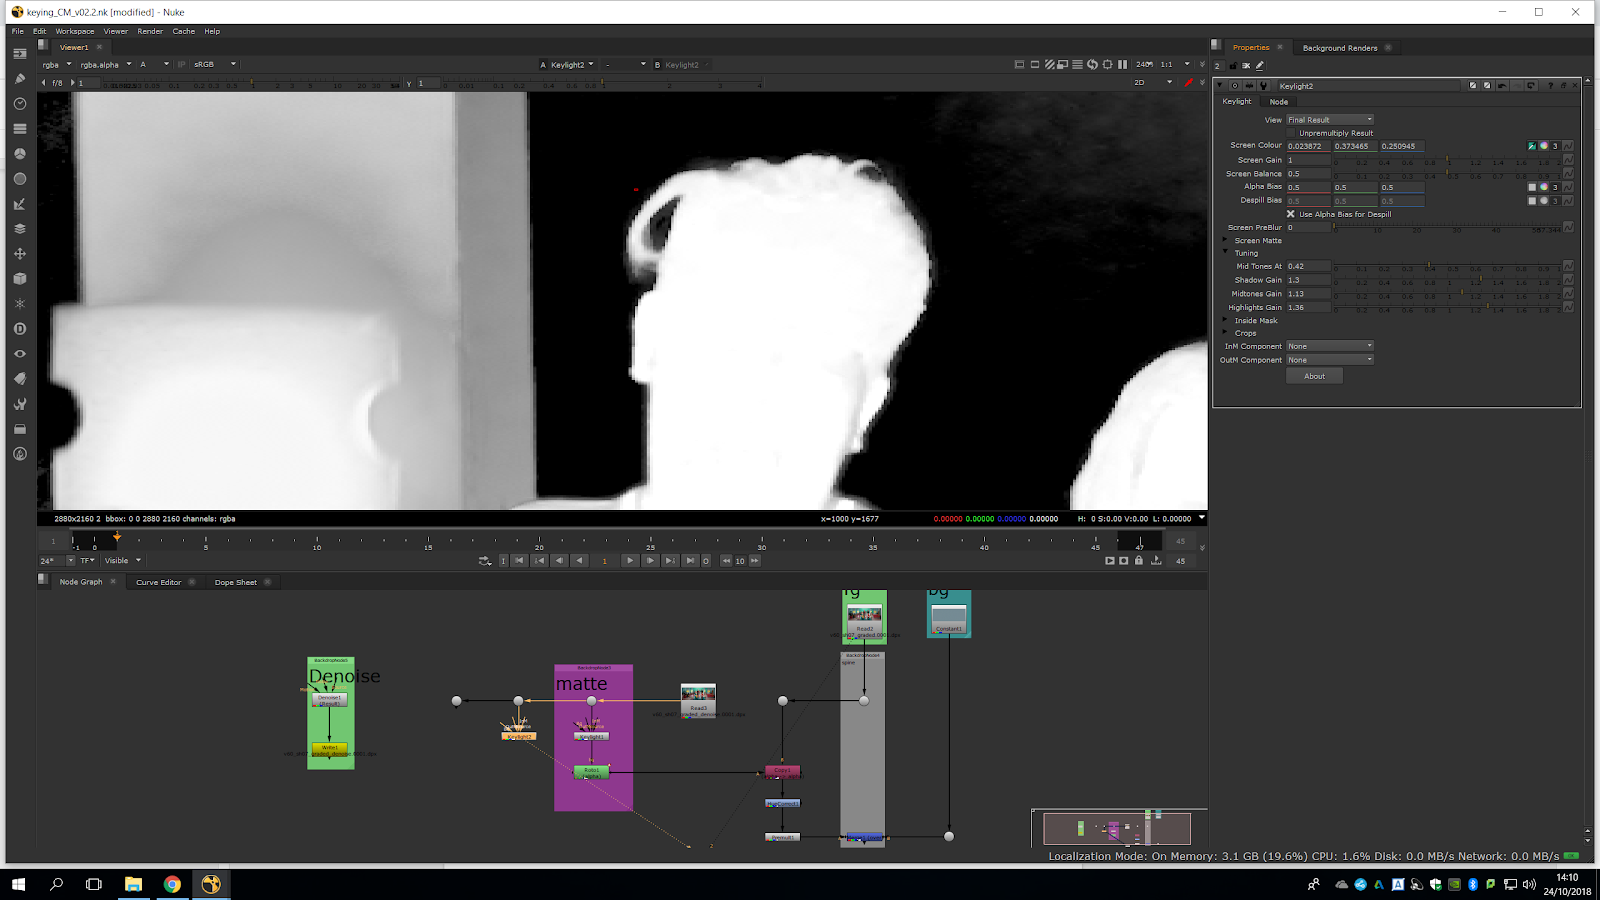
As we can see, we have a lot of grain.
Grain is totally no good for keying so we are going to do a denoise. We do not want to do a denoise on the beginning, so we can keep the picture totally untouched. Therefore, we will make the denoise in the matte part, so our footage is untouched for the merge. 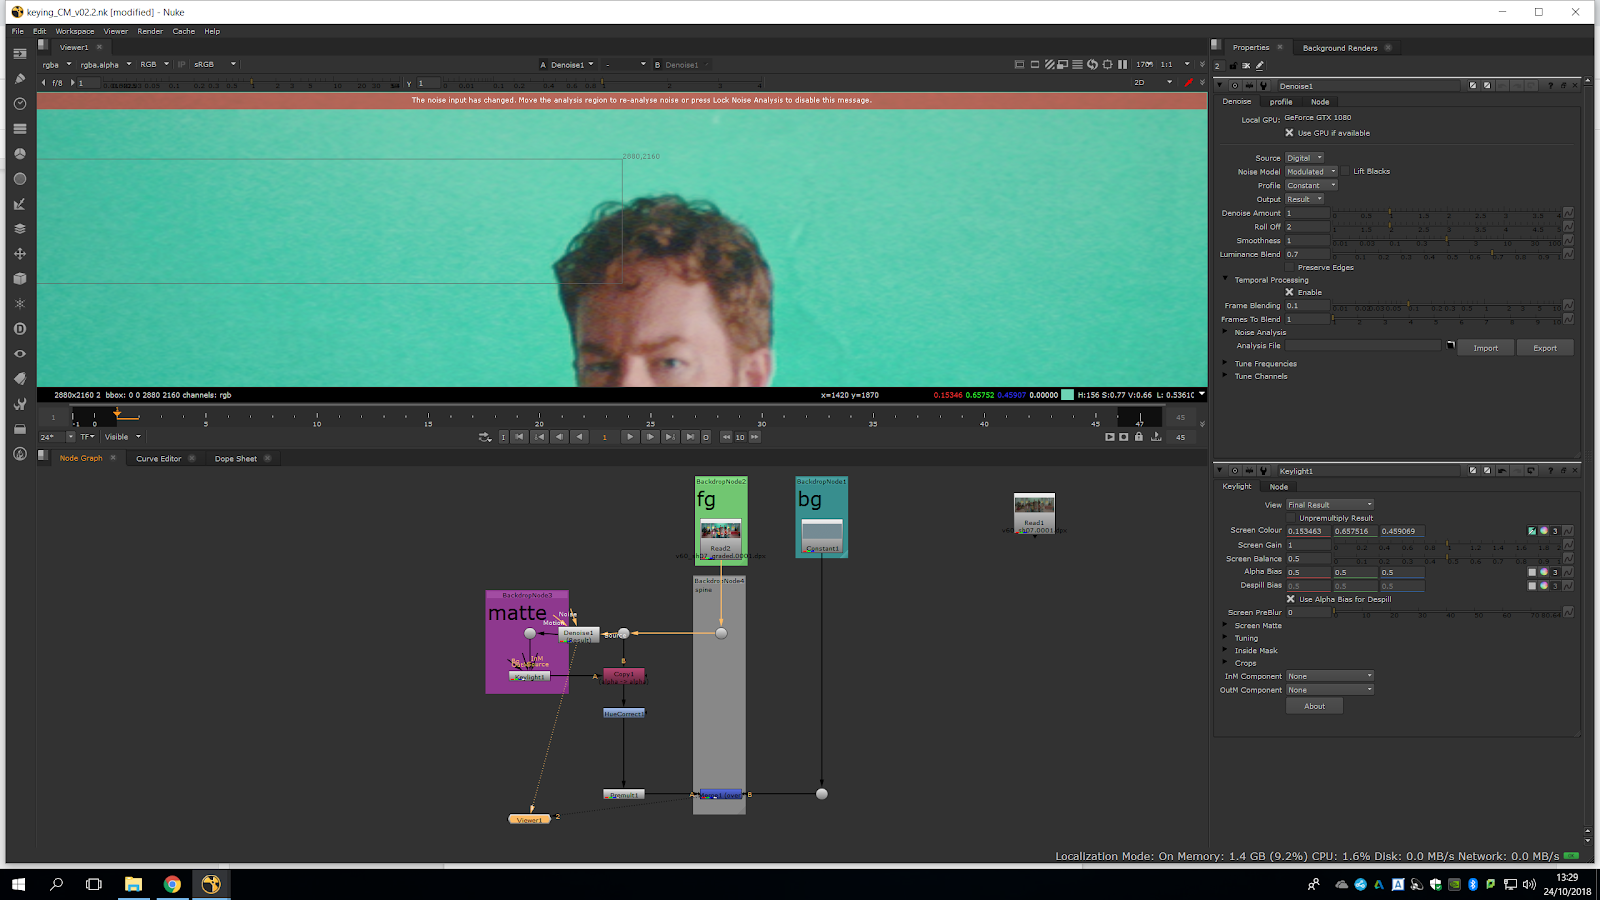
We take the marker of the denoise, which is in the bottom left corner, and we will put it near the area we want to key, so it denoise the full image taking that as a reference.
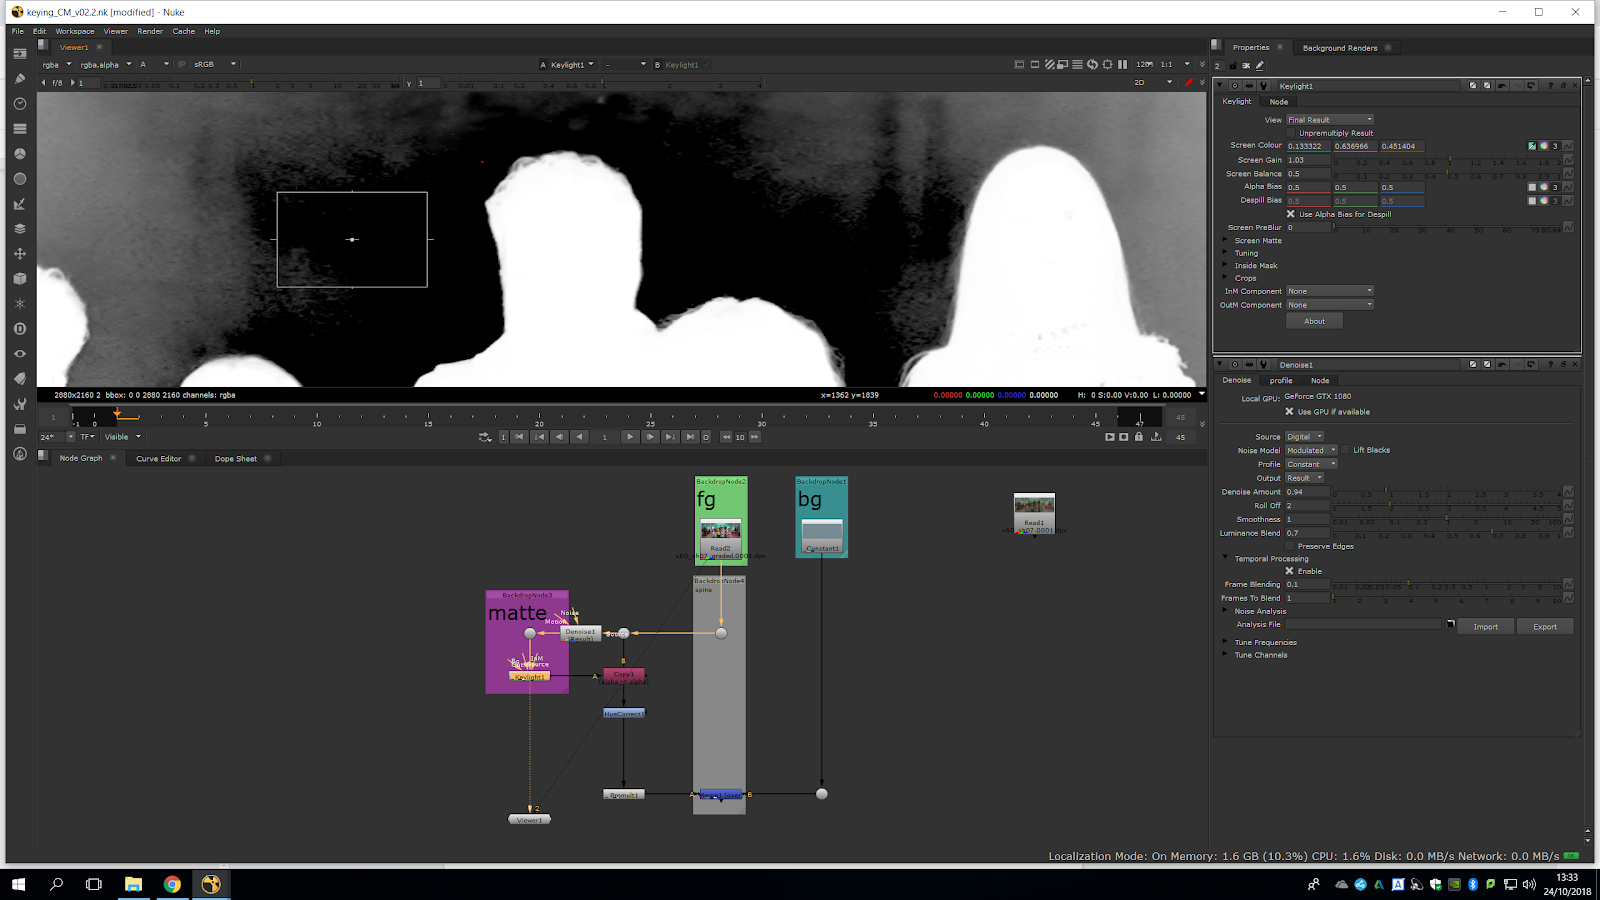
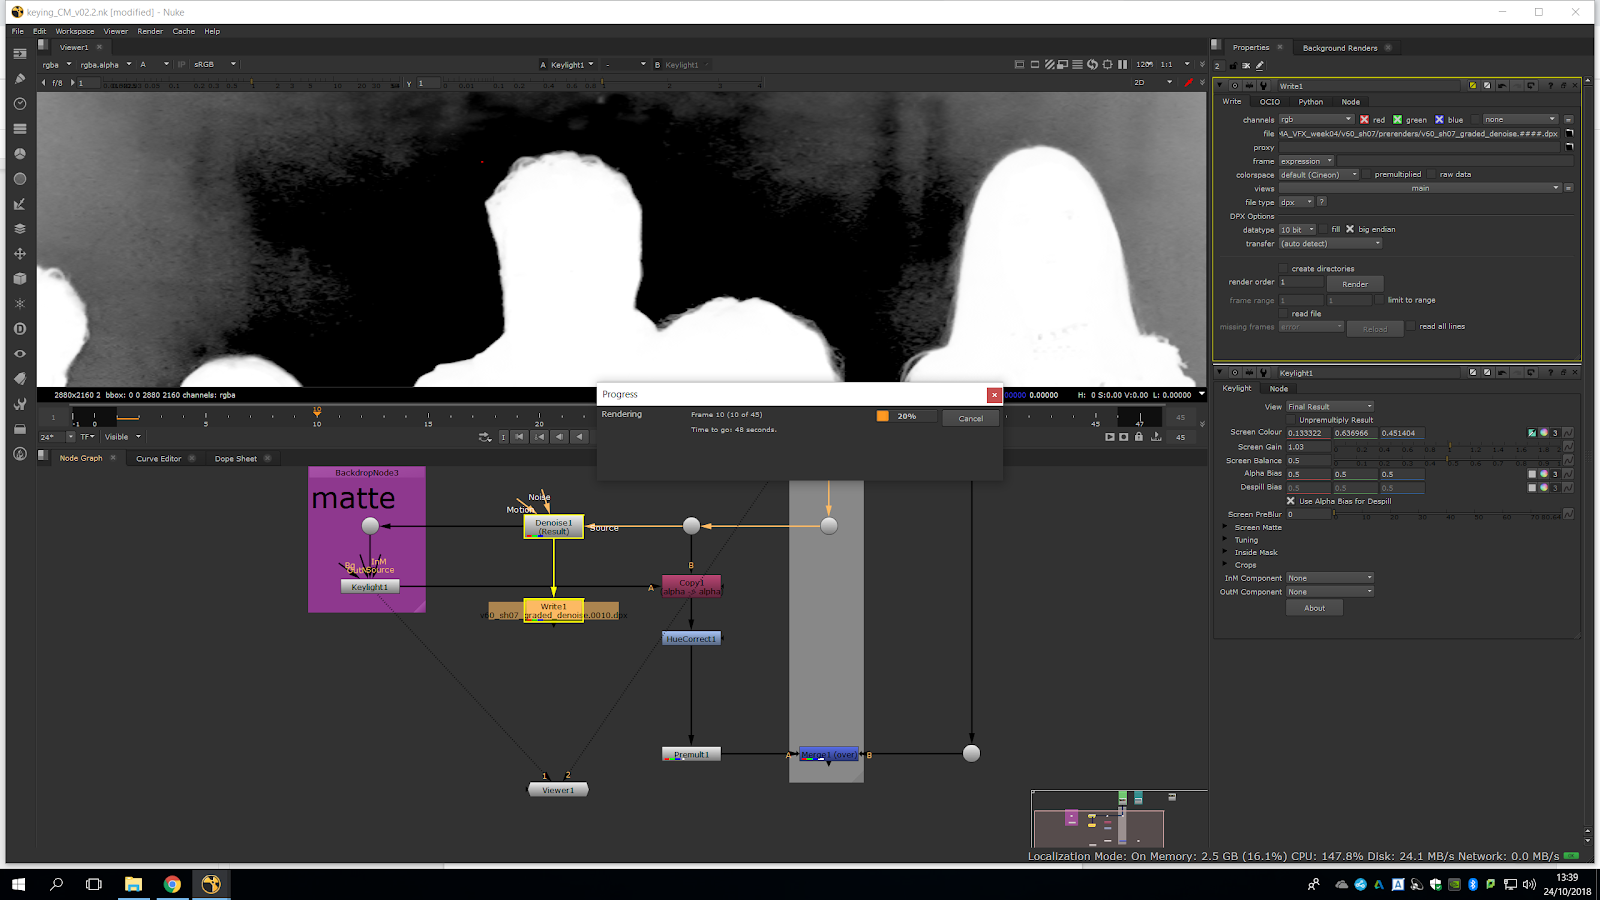
It slows down our computer so wewill need to render it out.
We can see the difference in the alpha channel.

Once we have refined it, we are going to render it, because the computers work really slow with the denoise.
In order to render, we will make a write note under the denoise, and we will locate it in a new folder inside of the folder where our footage is. We will name it the same, so we know is the same footage, adding a _degrain so we know is the degrain version. Now, we need to add #### as is an image sequence, and we will add .dpx because that is the format.
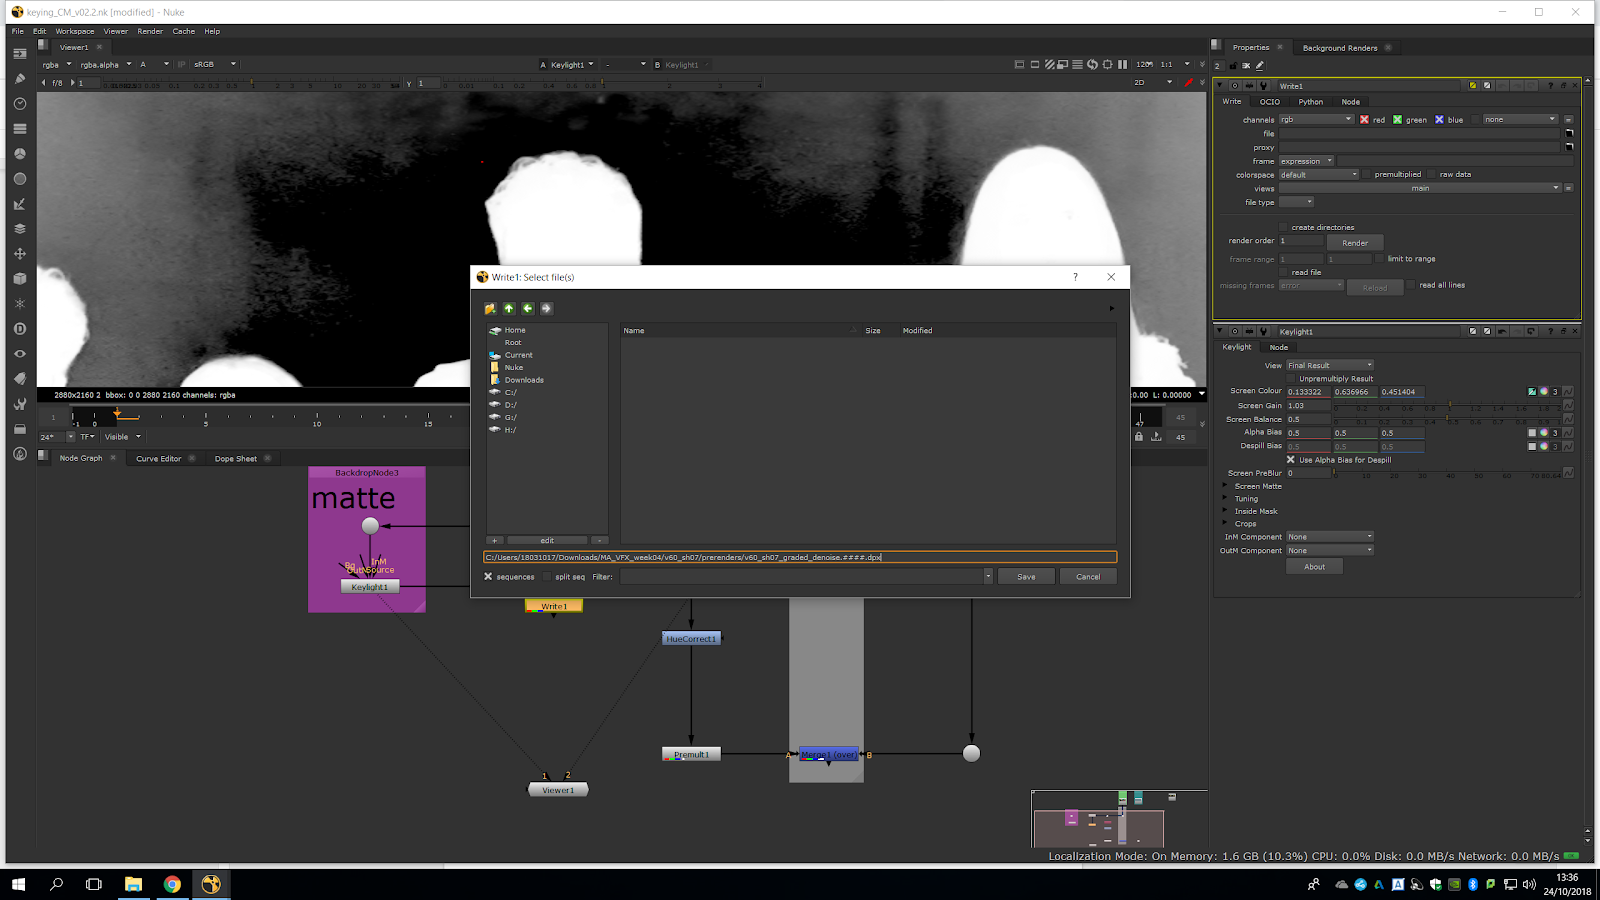
We take out all any kind of compression, and we ensure we have the same color space. Then, we wait until is rendered.
Now we read the denoise footage that we just rendered, and we attach it in the place in which the denoise was, so it does not slow down our project.
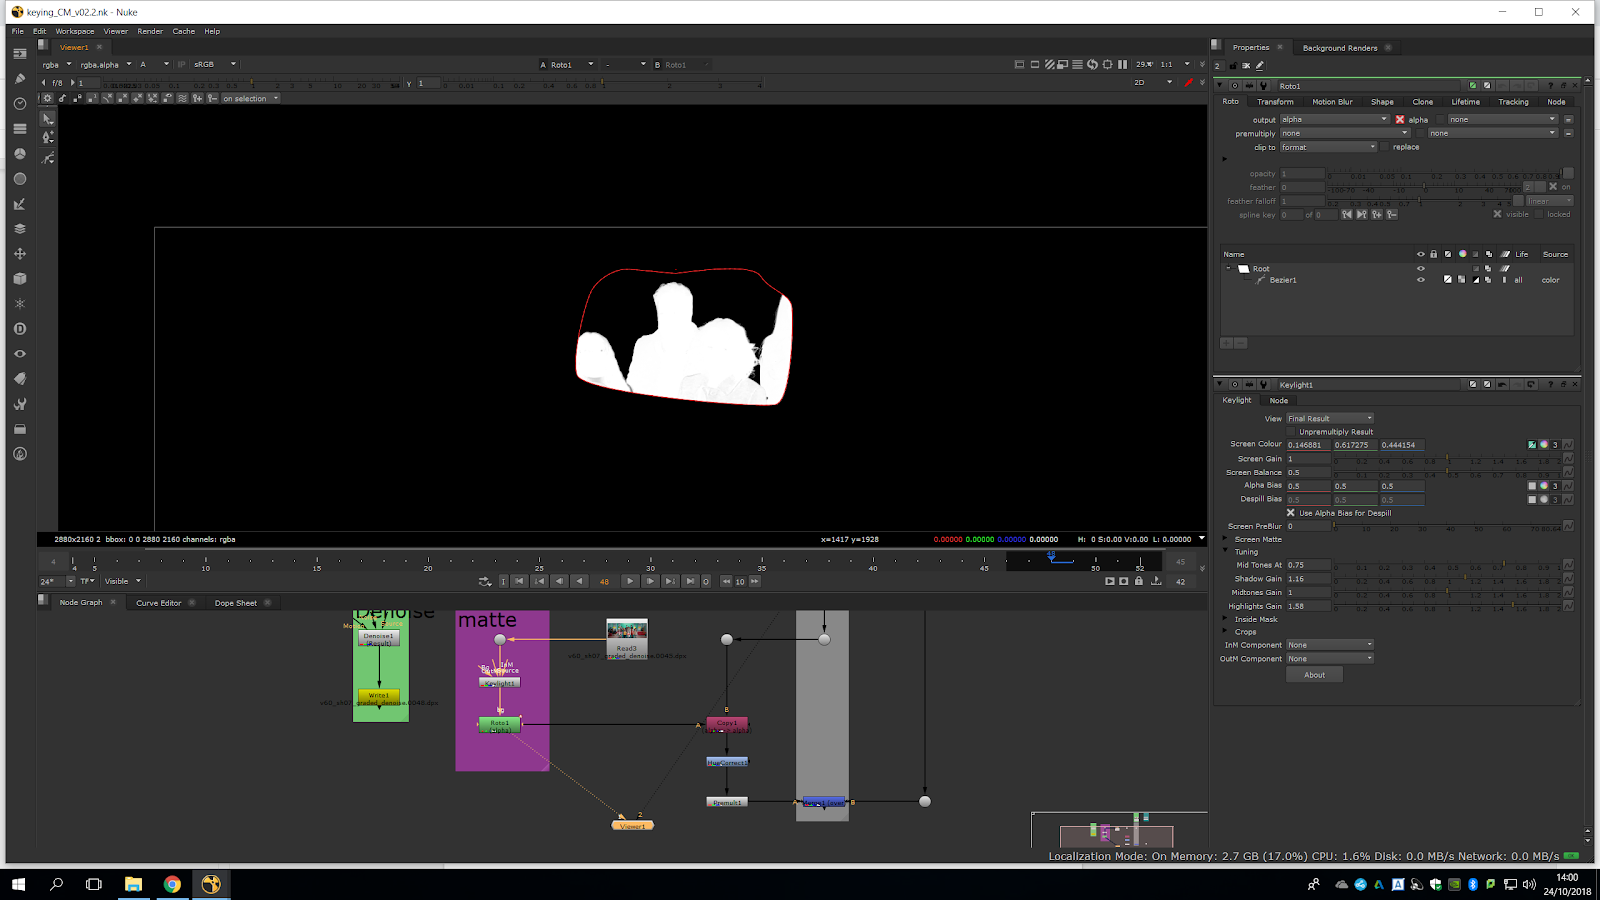
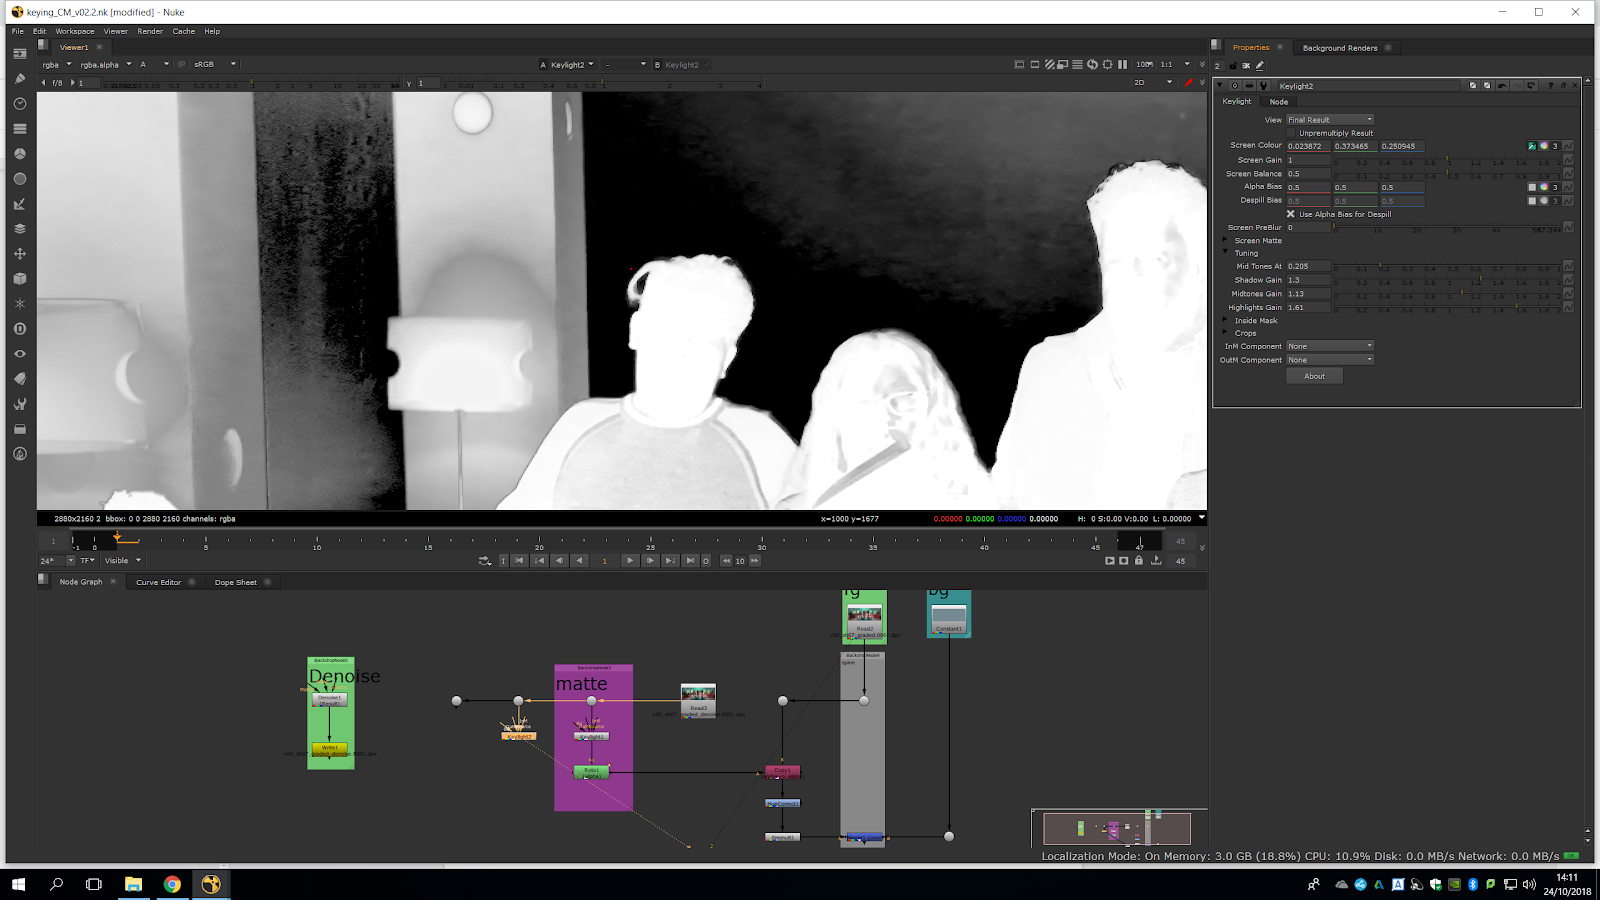
We have a nice dark area around the hair and shoulders if the man. So we can extract that.
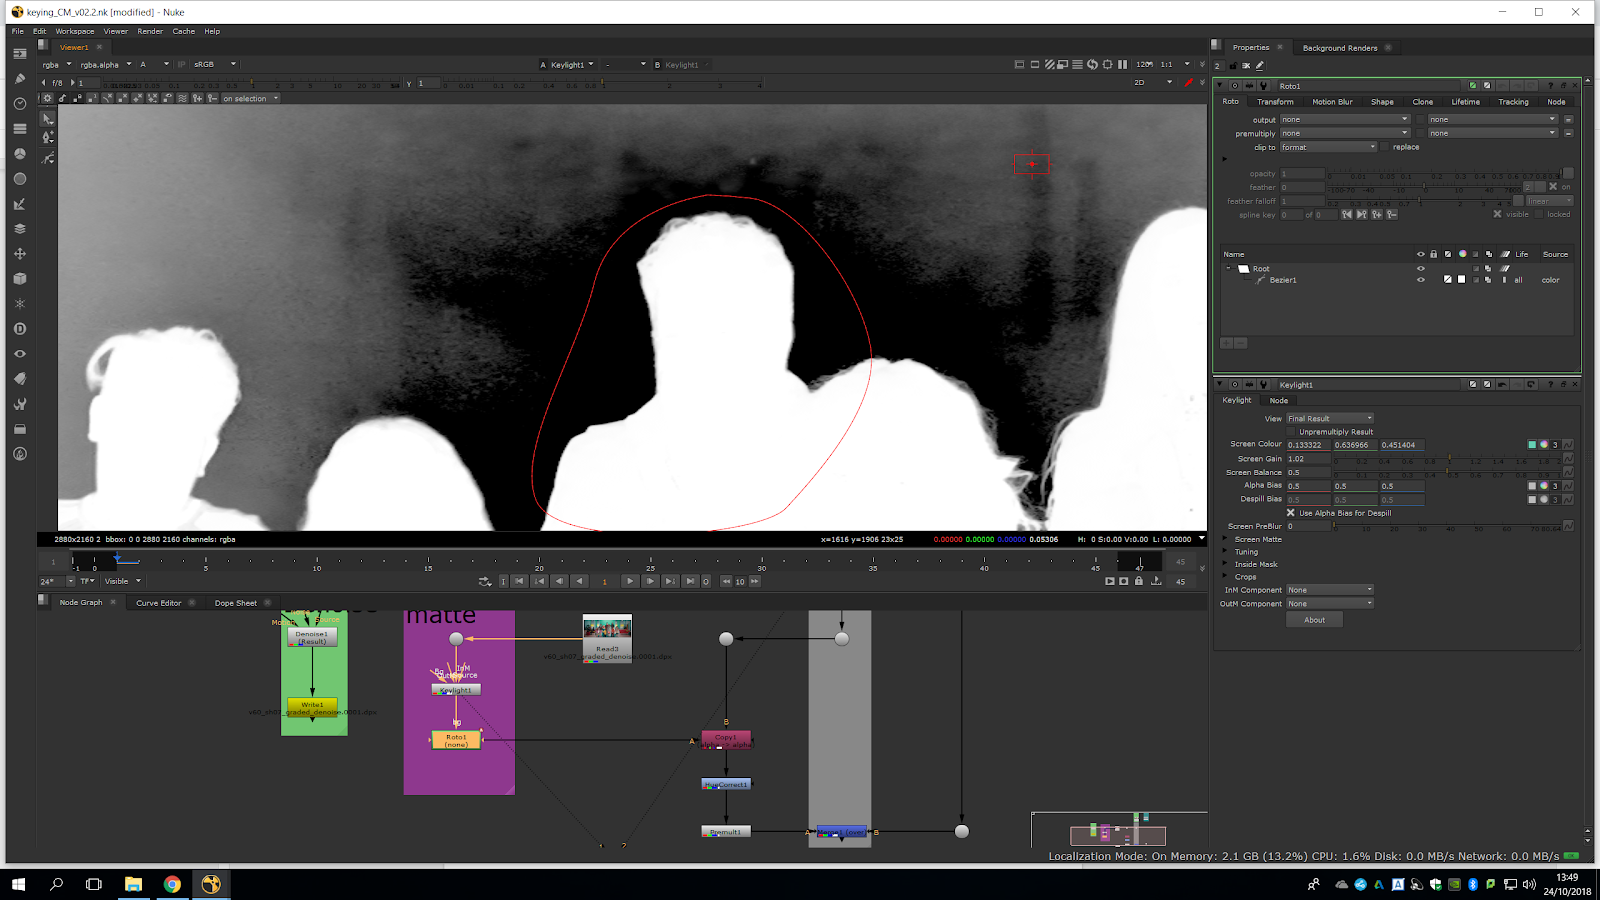
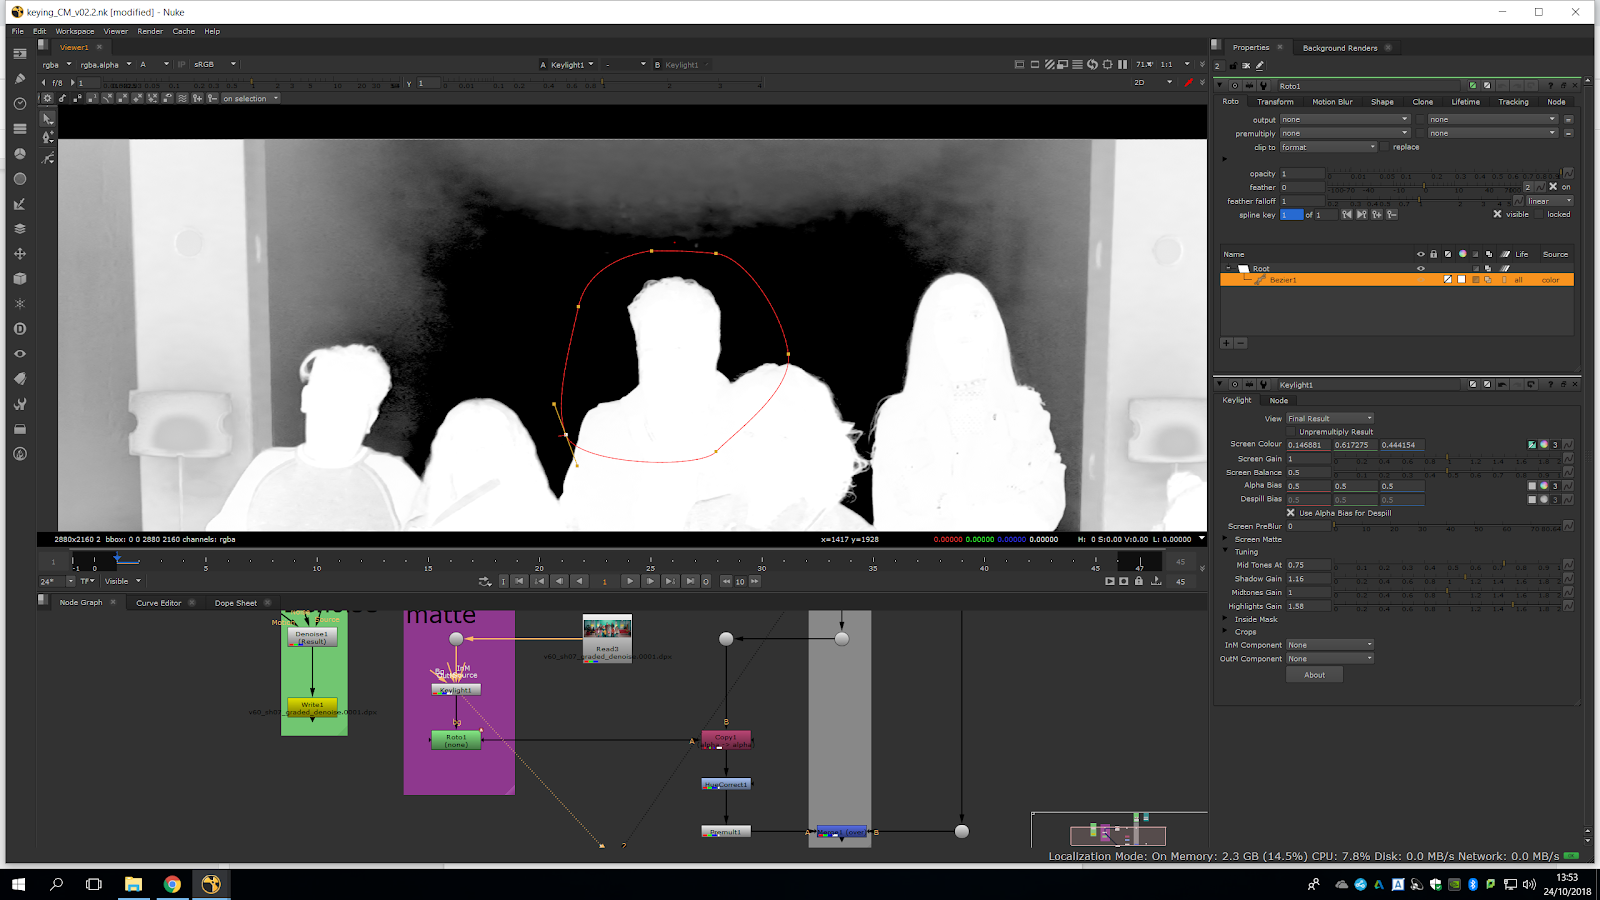
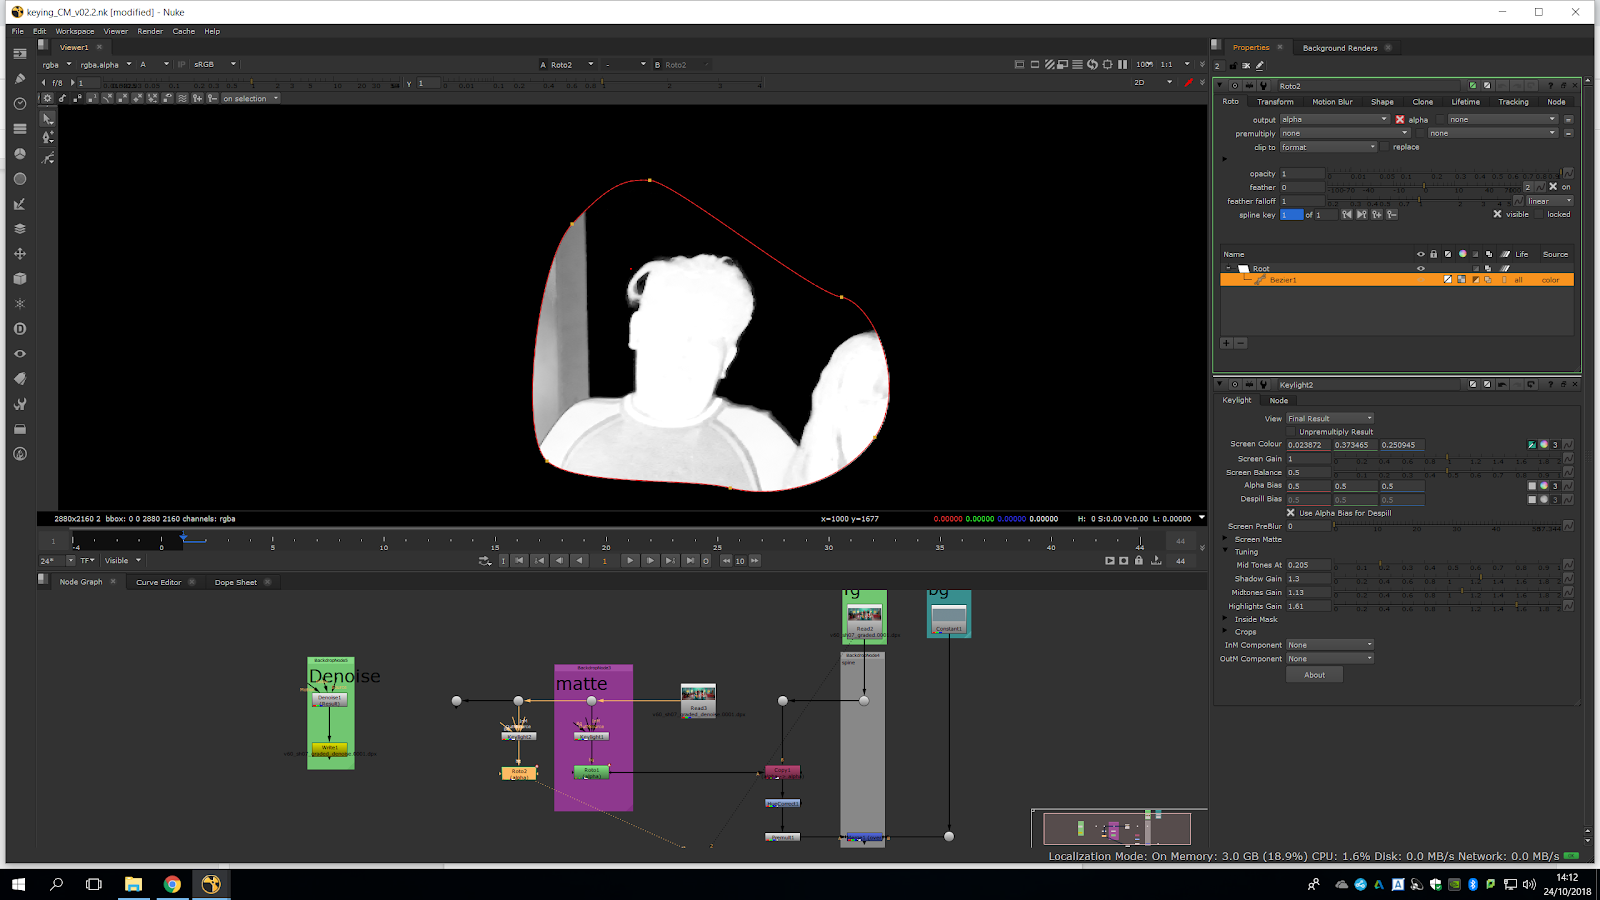
For that, we go to frame one, and after the keylight we add a roto. We should take in consideration that the closer you go to the subject the harder is going to be to roto.
We will try not to do a lot of dots, because otherwise would be much harder to animate. We should consider that we are not doing a proper roto, we are just isolating.
A part of grey is too close to the man, so we maybe would like to refine the mask, so we will refine it.
To refine the screen, we will use the tuning, and not the screen gain, because it will spoil a bit our selection.
We will refine the edges. The highlights and shadows edges are working the best, because its getting rid of the grey areas without harming much the edges.
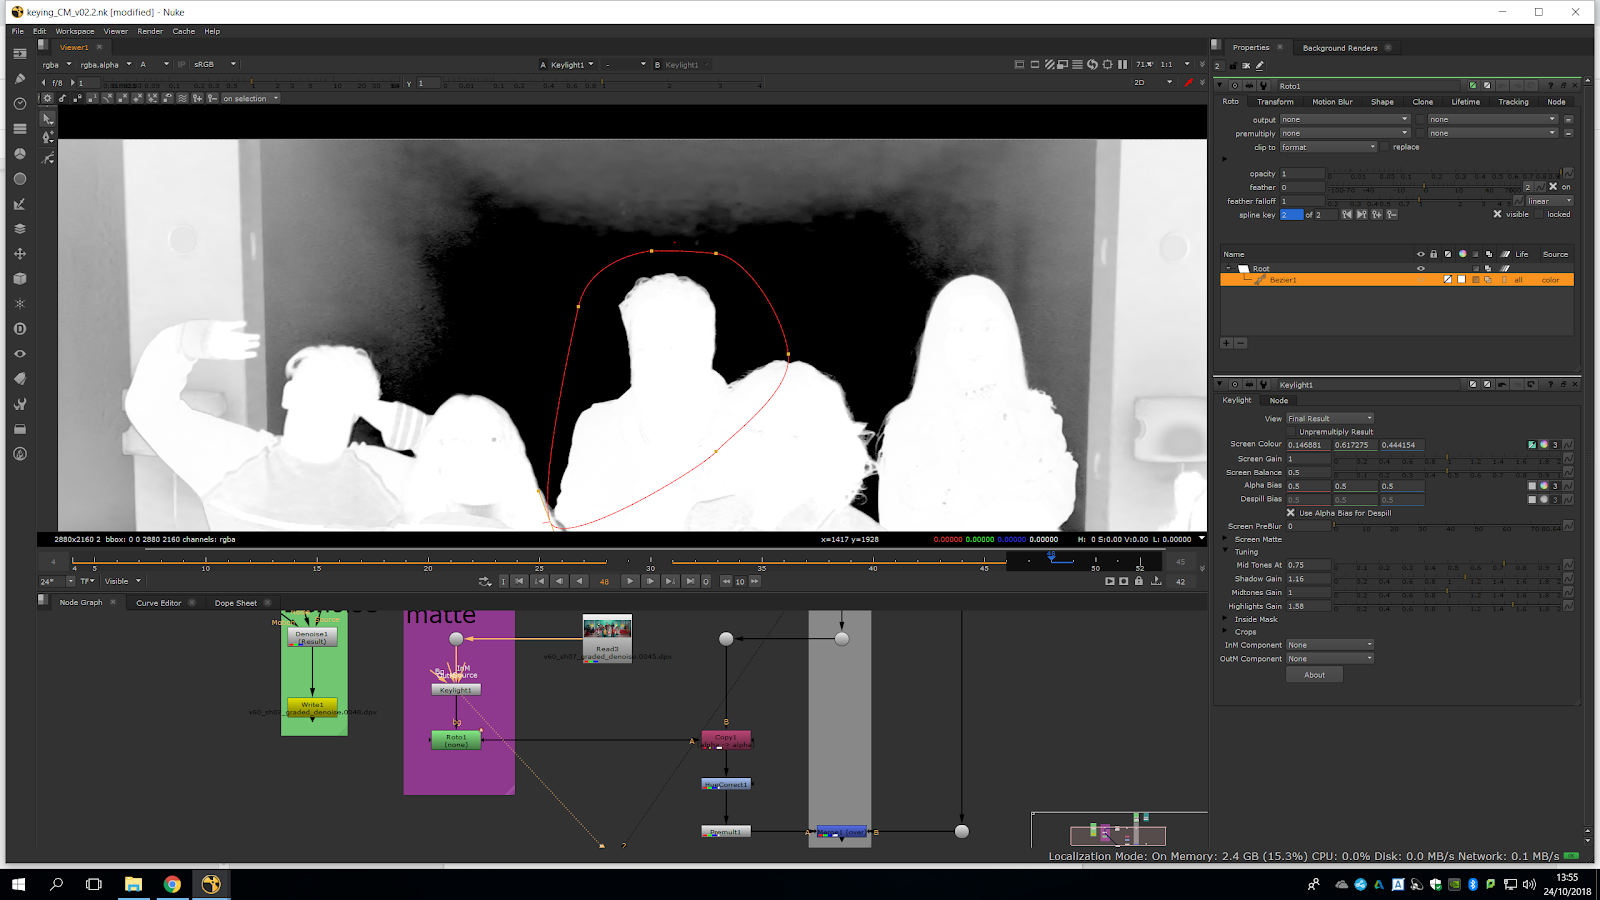
Once we have refined the edges, we can see that the space easier to roto.
Now we can make another roto without worrying too much to keep it near the hair, and its going to be much easier to do.
We go through the shot and we see it’s isolating quite nicely.
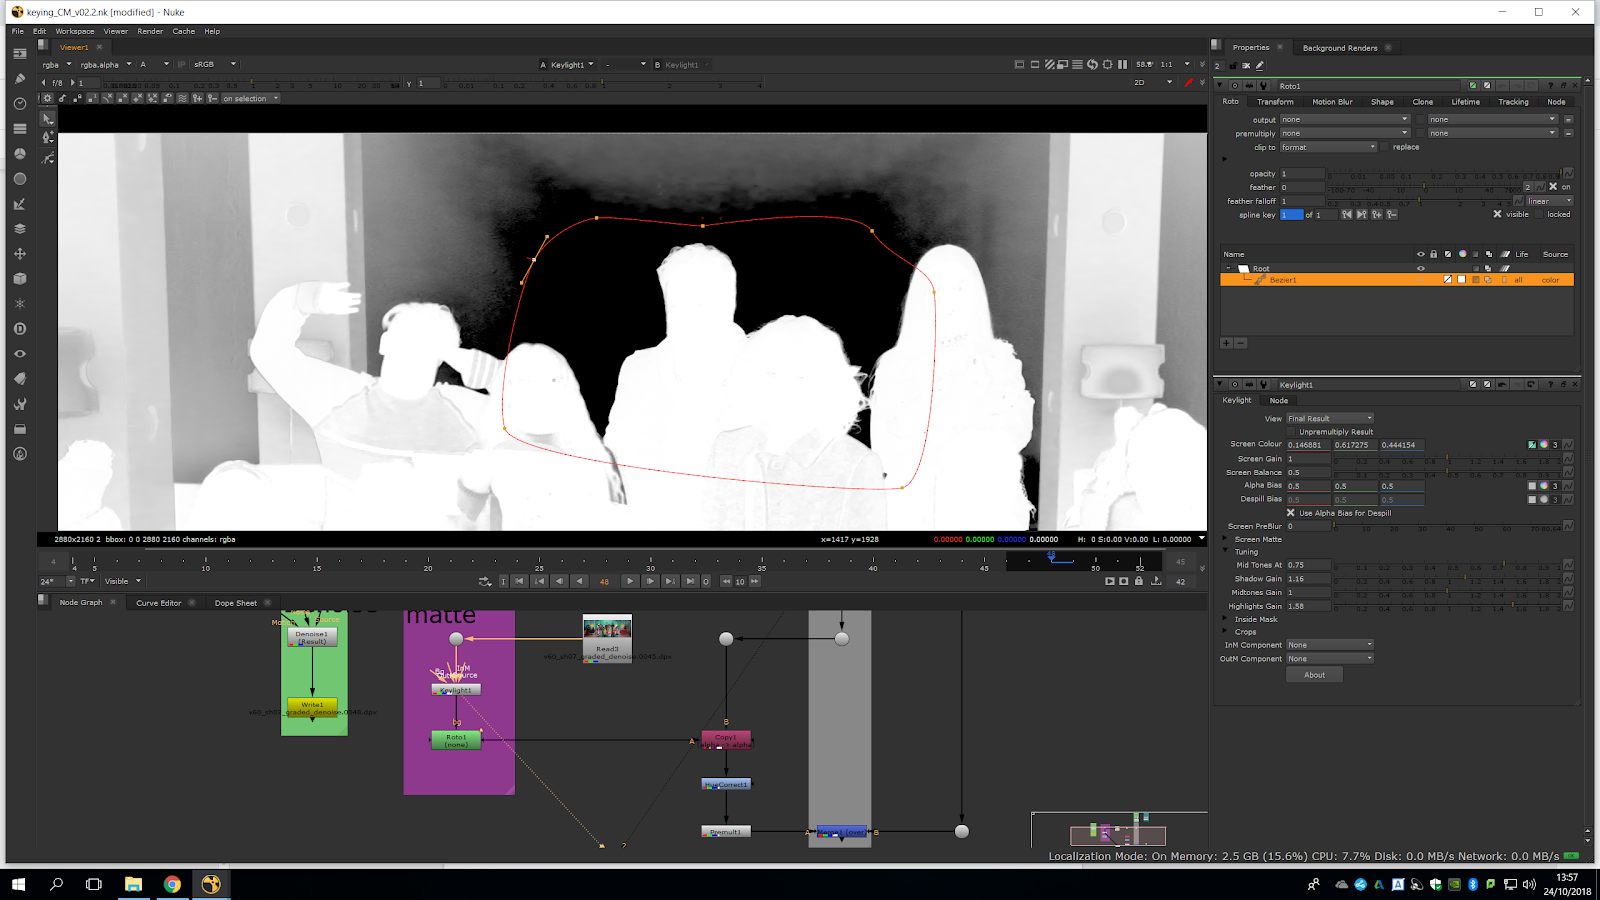
Anyway, as the dark area is bigger and we don’t need to have if totally accurate, we can expand the roto area to do it quicker.
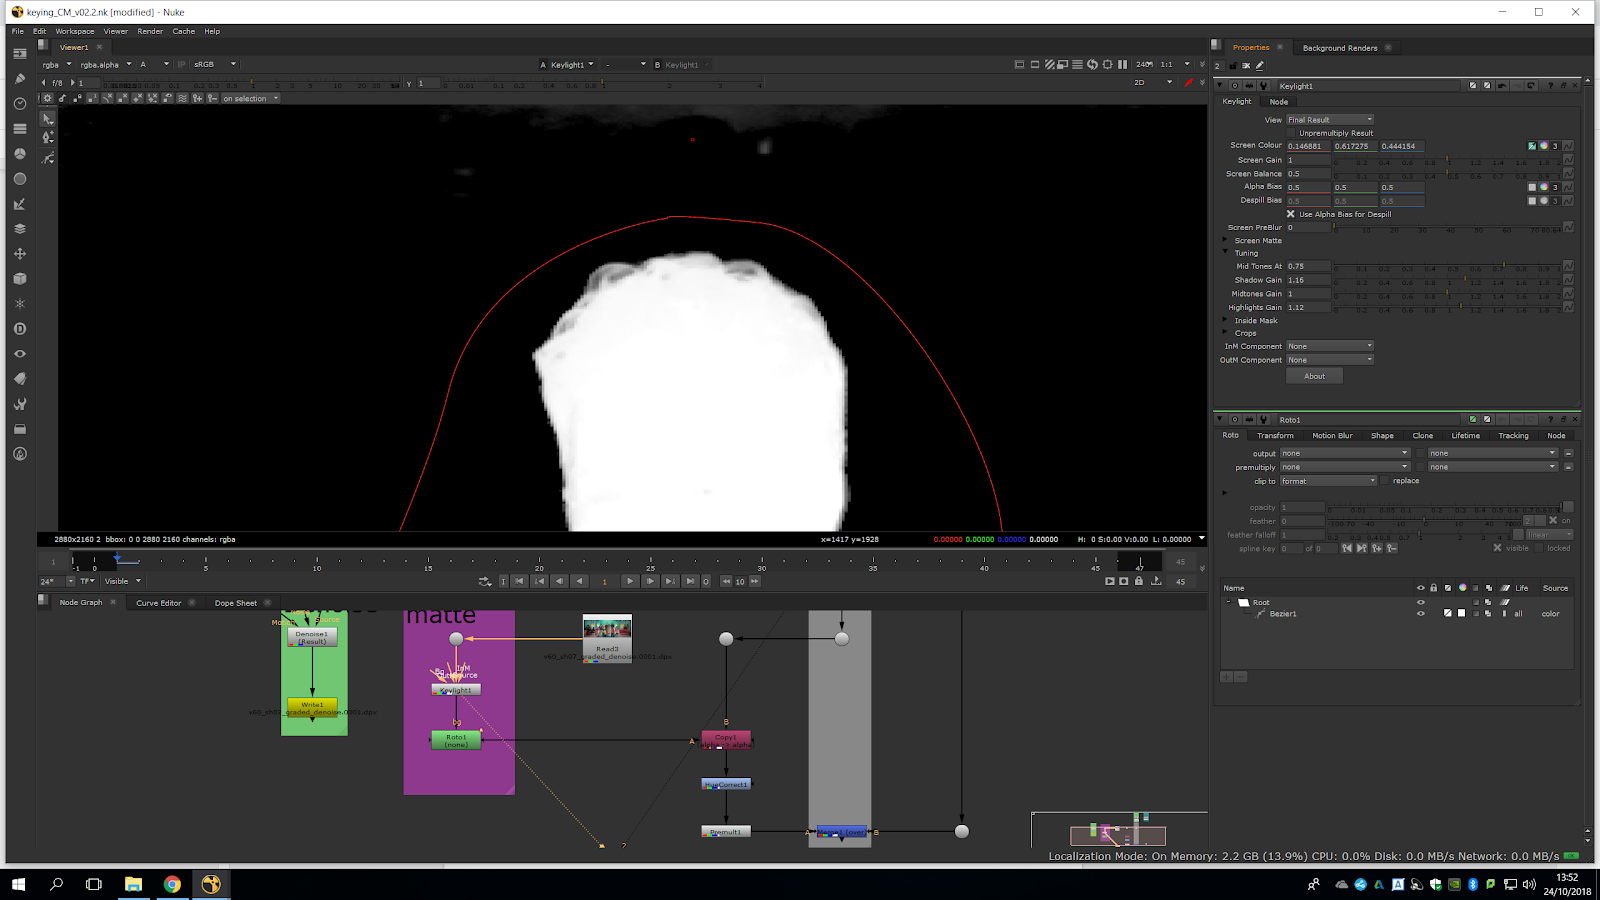
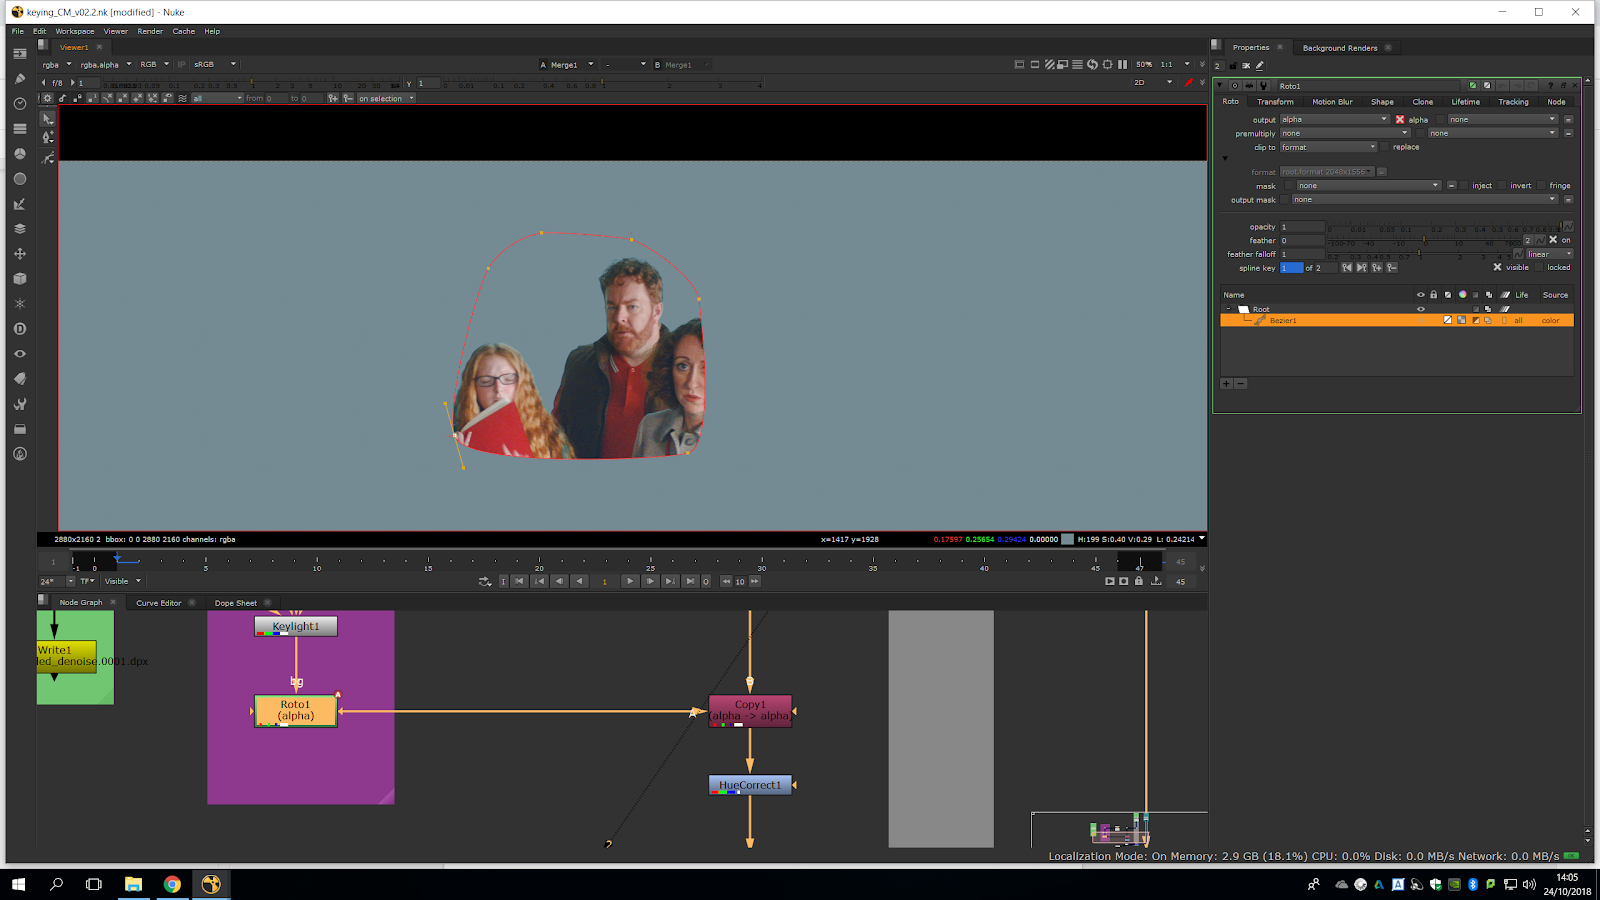
Now we will put the output back to alpha, and we press the third box in the beizeer menu in order to invert the mask and isolate it.
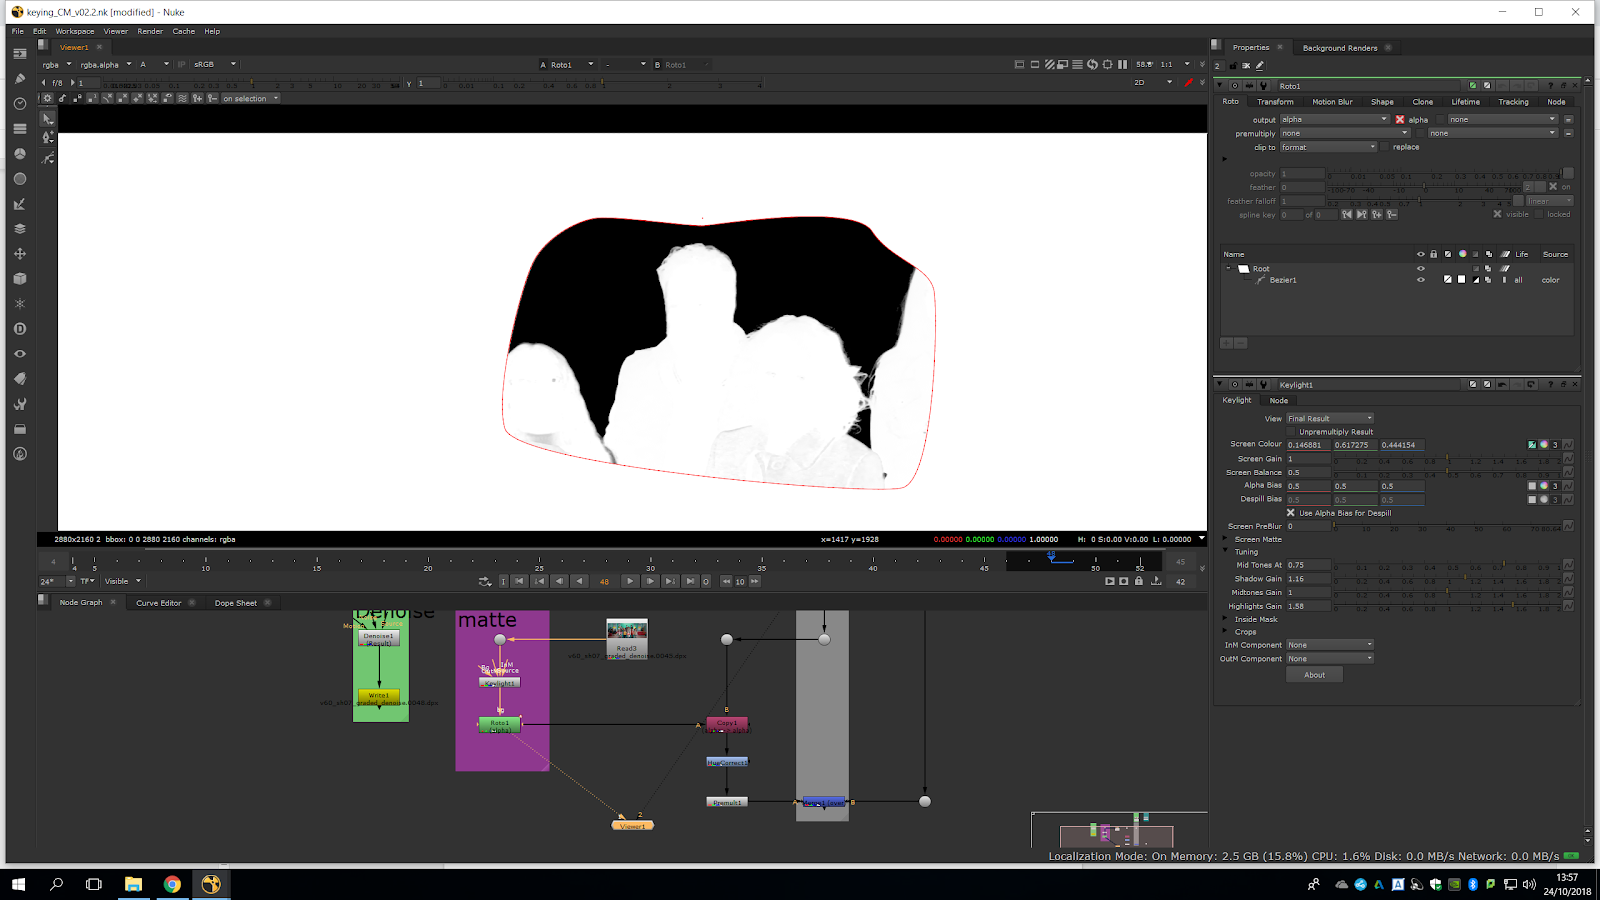 But we want the other area to be black, not white. For that, we will open the dropper underneath the color wheel and we take the A of alpha (since its an alpha matte) and we pull it all the way down to 0, so it’s black, which means transparent.
We play it to make sure we haven’t got any fuzziness inside the roto.
We can see the hair is much better, and we are starting to get a reasonable good edges near to the achievement of the composition. But the hair area is still not completely good.
Therefore, we will go back to fame one and we will open the roto, making sure we are in the keyframe. We select ripple edit -so it changes in all the keyframes- and we pull out that hair.
Now, we can delete the hair area, and we can always come back and adjust it.
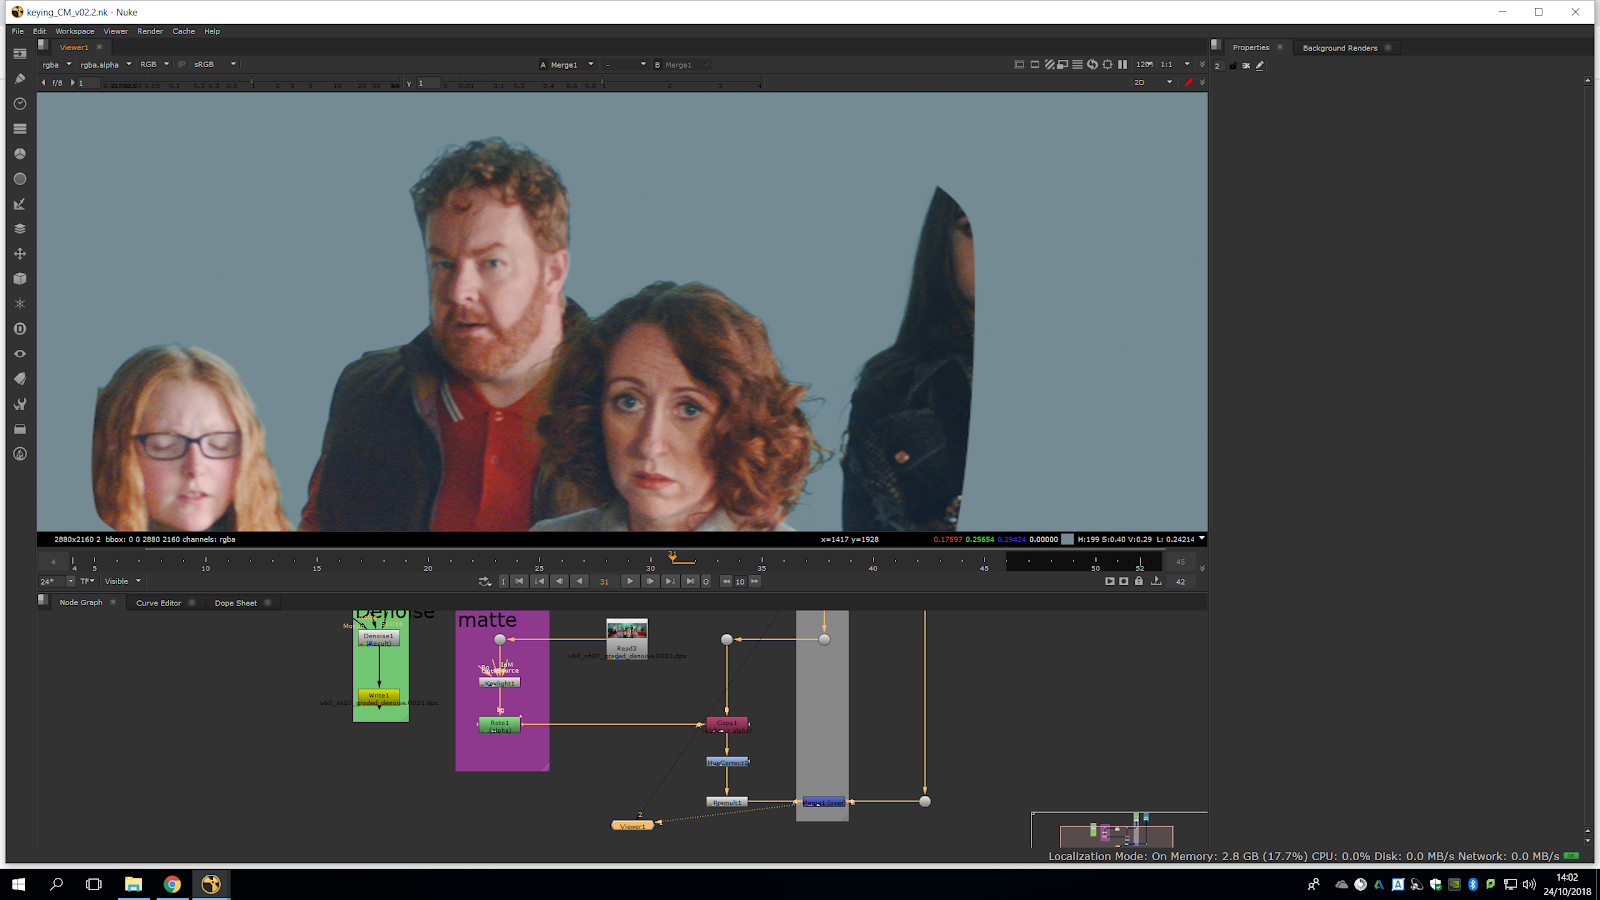
We can do the same process over again into different areas from the same graded video.
We can see that we have a bit of chromatic aberration within the edges.
We will try to get a nice starting point, and then we will do a bit of tuning.
We will try to have a bigger black area without affecting much the edges.
Now, we will repeat the process: we will bring up a roto and we do the same as last step (output alpha, invert, and color to 0).
Now we will combine them by bringing up an addmix.
Now we can see both together.
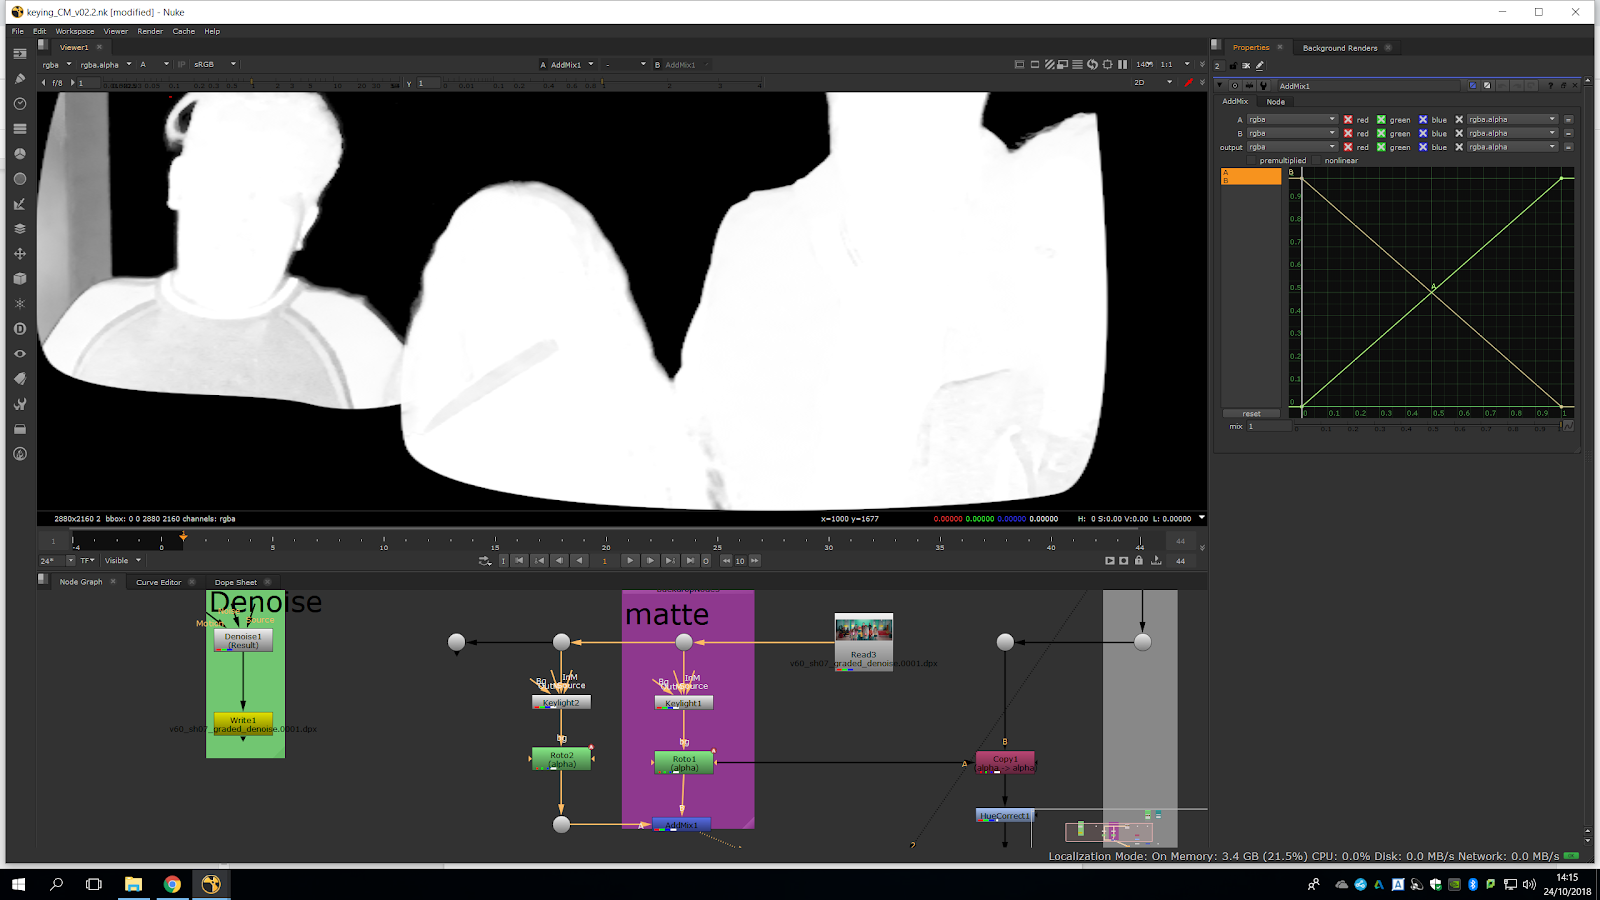
The issue is that when we combine them, we can see the hard edges. To merge it properly, we just need to soften the roto by selecting the beizer and bringing up the feather.
We should not feather it too much, in order not to bring gray areas in the selection.

To preview it we just need to view the merge, and plug the copy to the addmix note.
We are going to try to key the woman’s hair, even though is really hard to do.
As it would be hard to roto, we will tune it to get the main hear area with soft edges. Just to search softness, no matter the grey.
Now, we will roto around her. It looks a bit better, but not perfect.
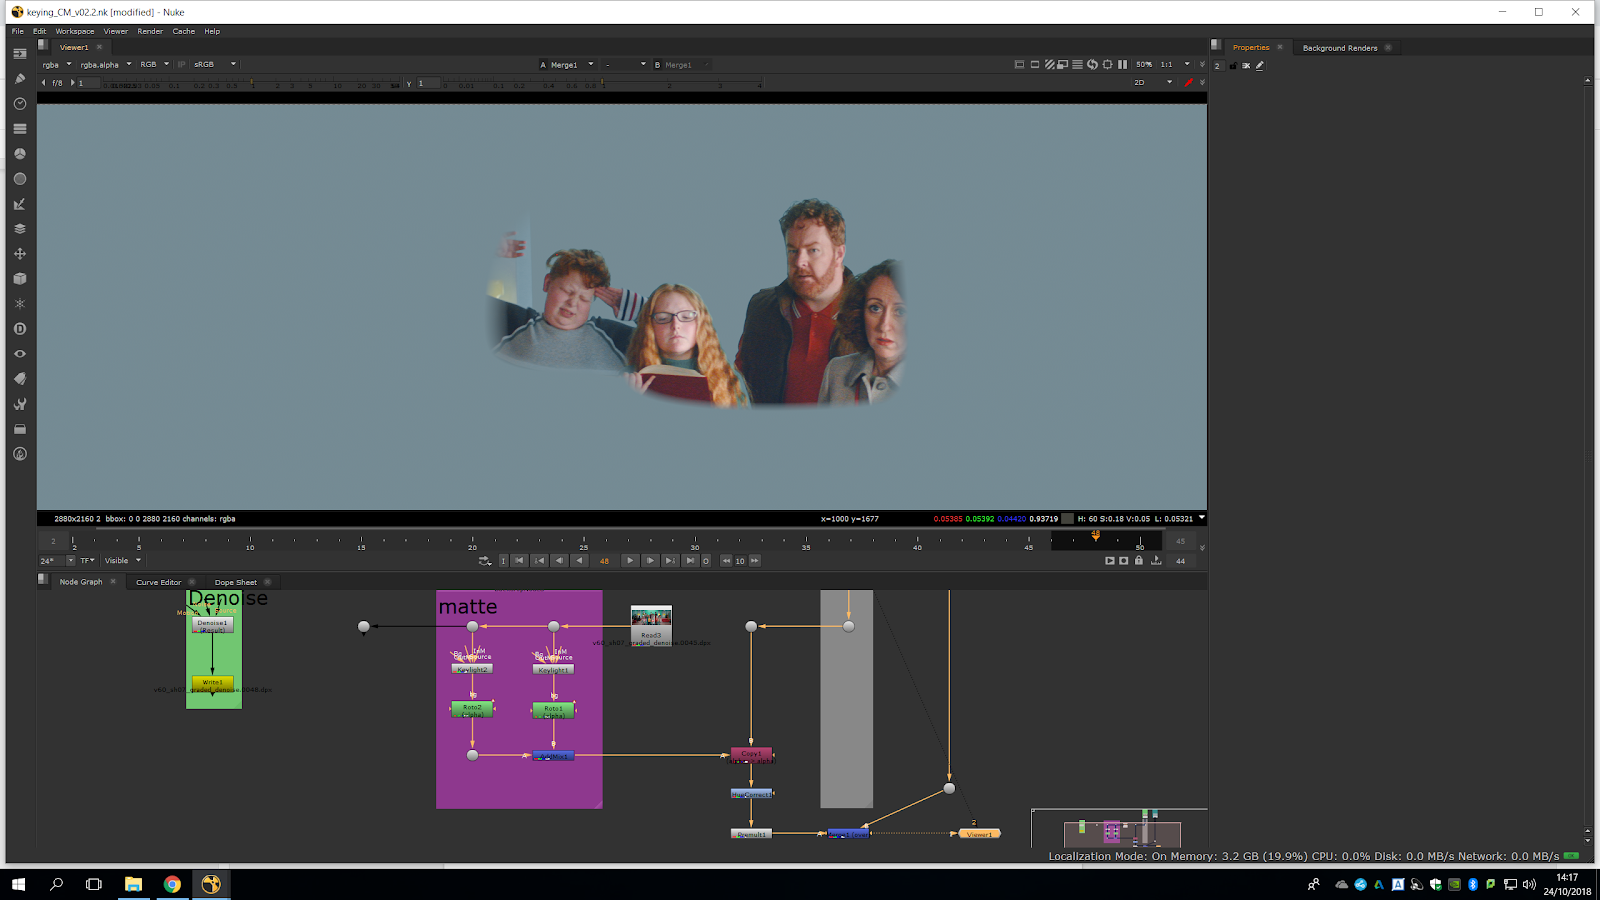
Once we have finished roto, we can add the grain at the end, and now we can change the white point to fill the alpha and gray out the areas inside our map. We should only do it with the alpha so it does not affect the edges. Once we have graded the edges, we can add an erode filter few times to soften the edges after the grade. We paste it several times until we get the softness we want and we group them and name them.
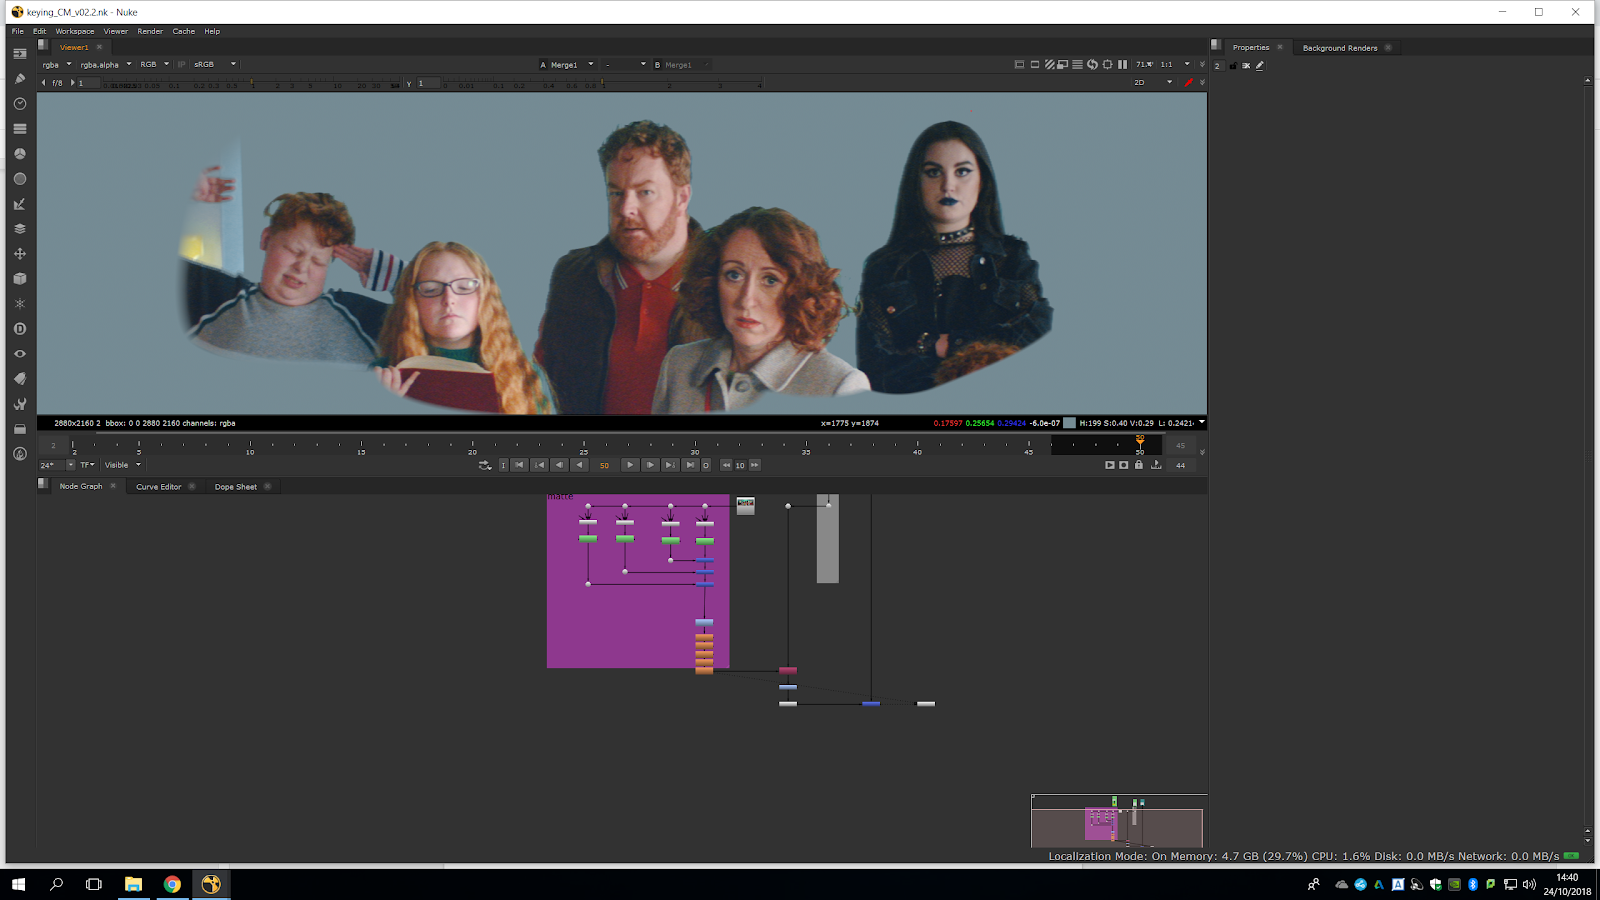
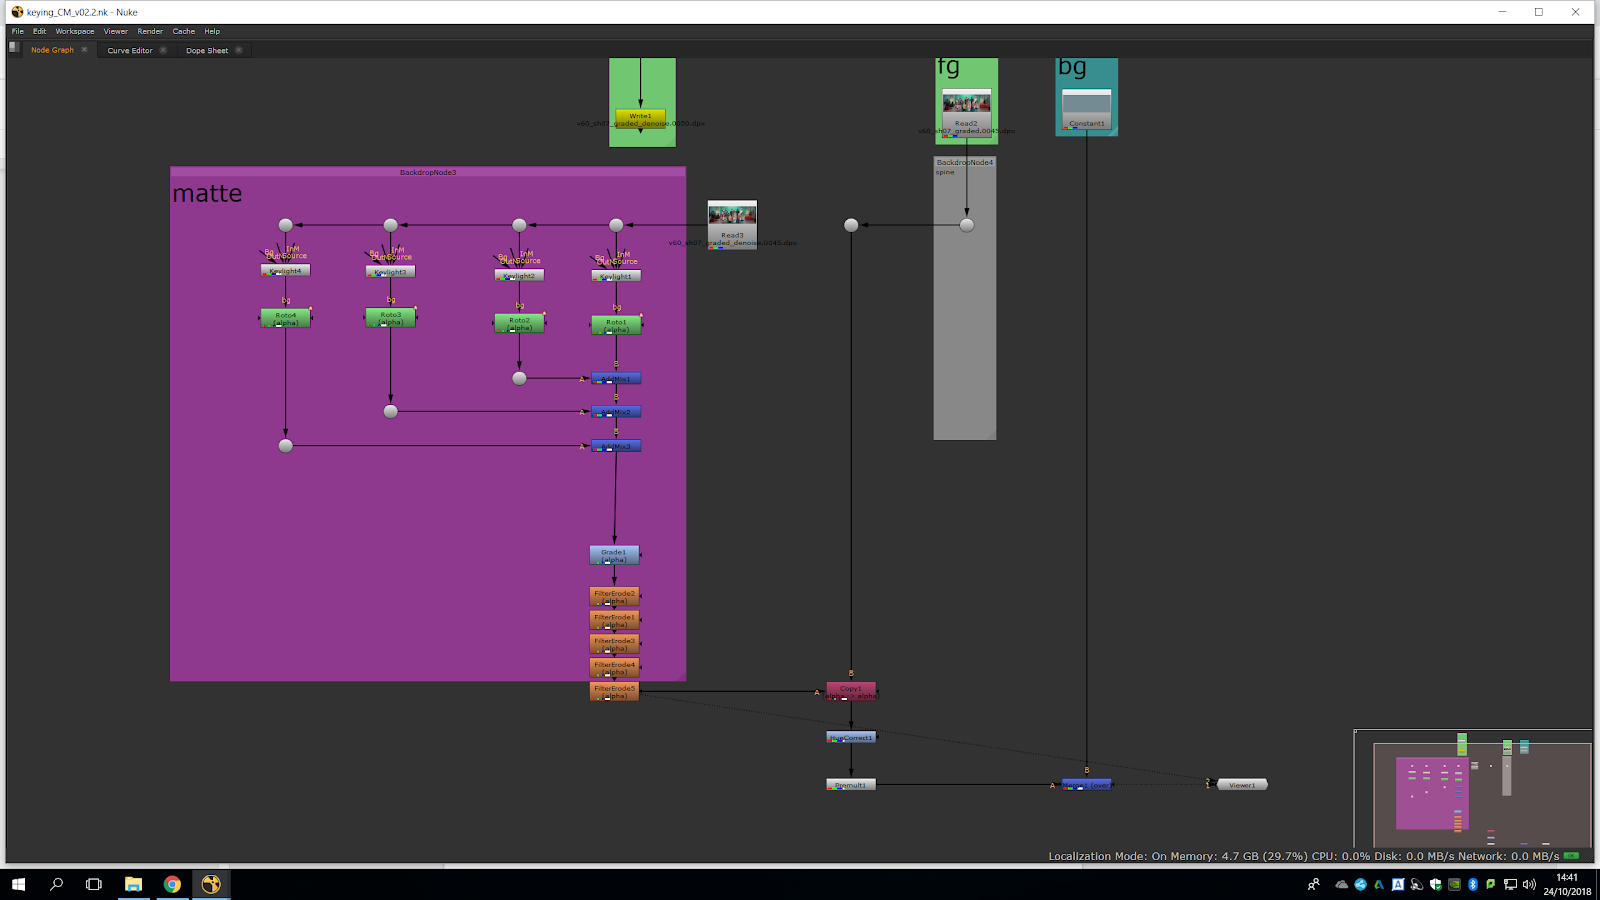
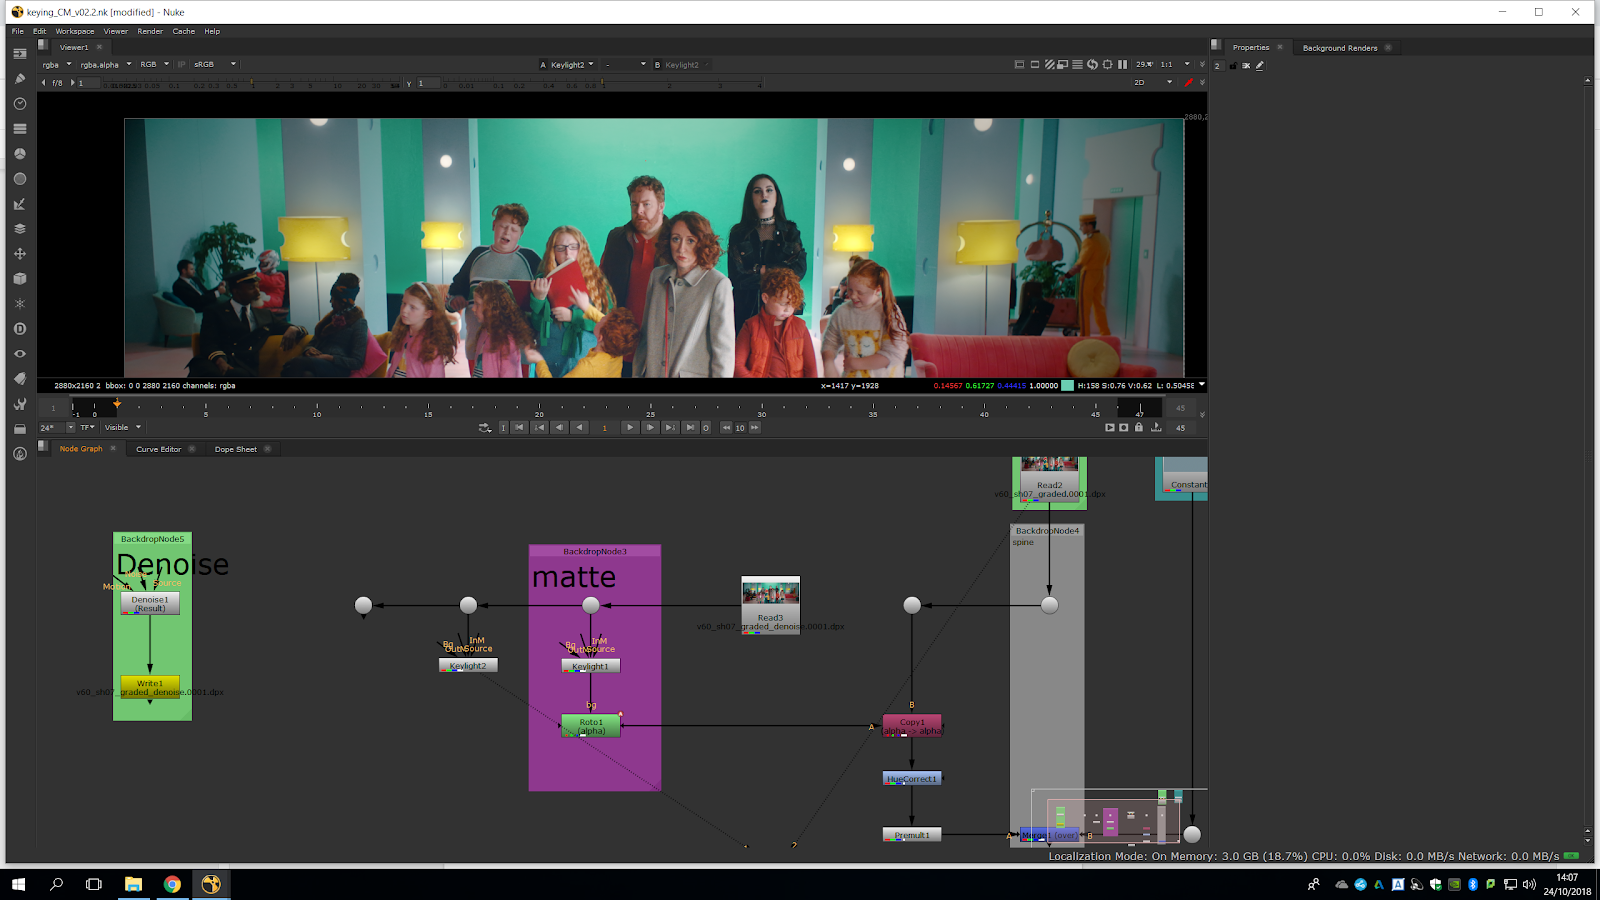
Finally, we can repeat this process with all the characters and areas in order to accurately roto the whole scene.