For this task we will need to key different footage of people walking over the same green screen in order to blend them together. Therefore, we will need to do the key of all the footage and then blend them together using a blank background frame as a guide.
The process will be the following one:
DENOISE
In order to smooth the keylight, we will add a denoise filter. This will help us to smooth the mask and have a more global area masked, and a smoother edges. We will place the square in an area of the green screen near to the subject we want to key.
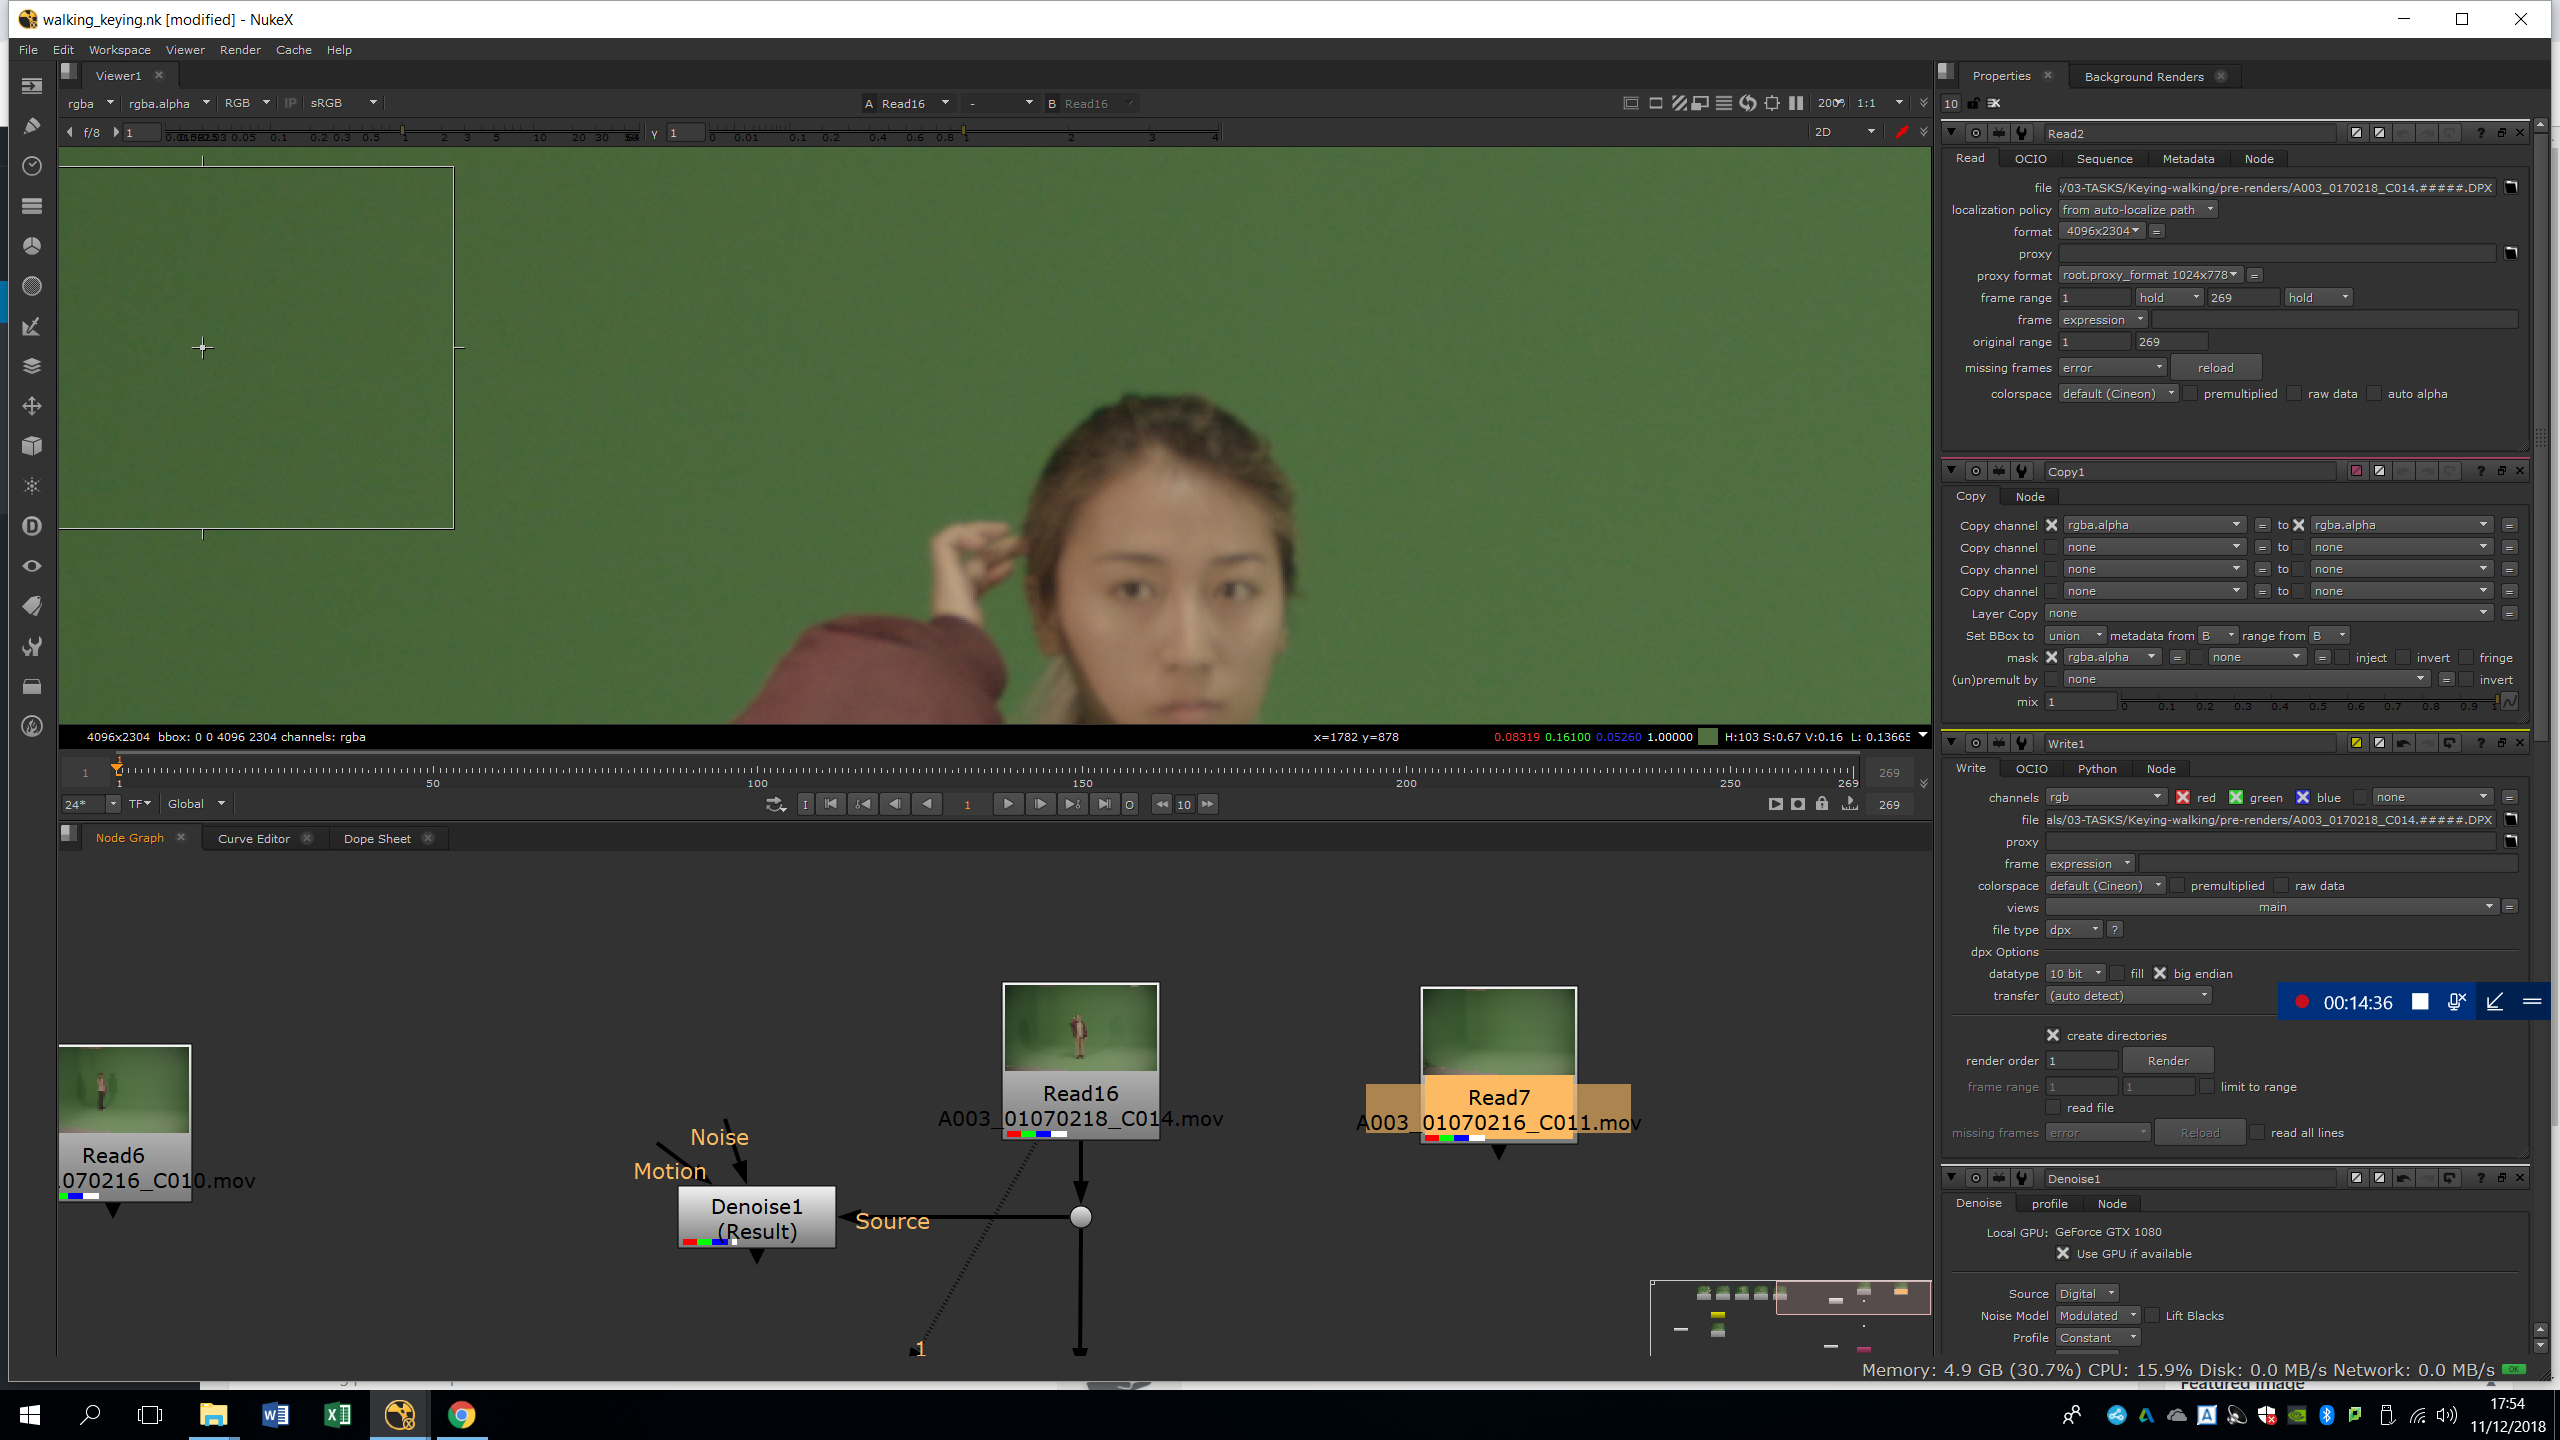
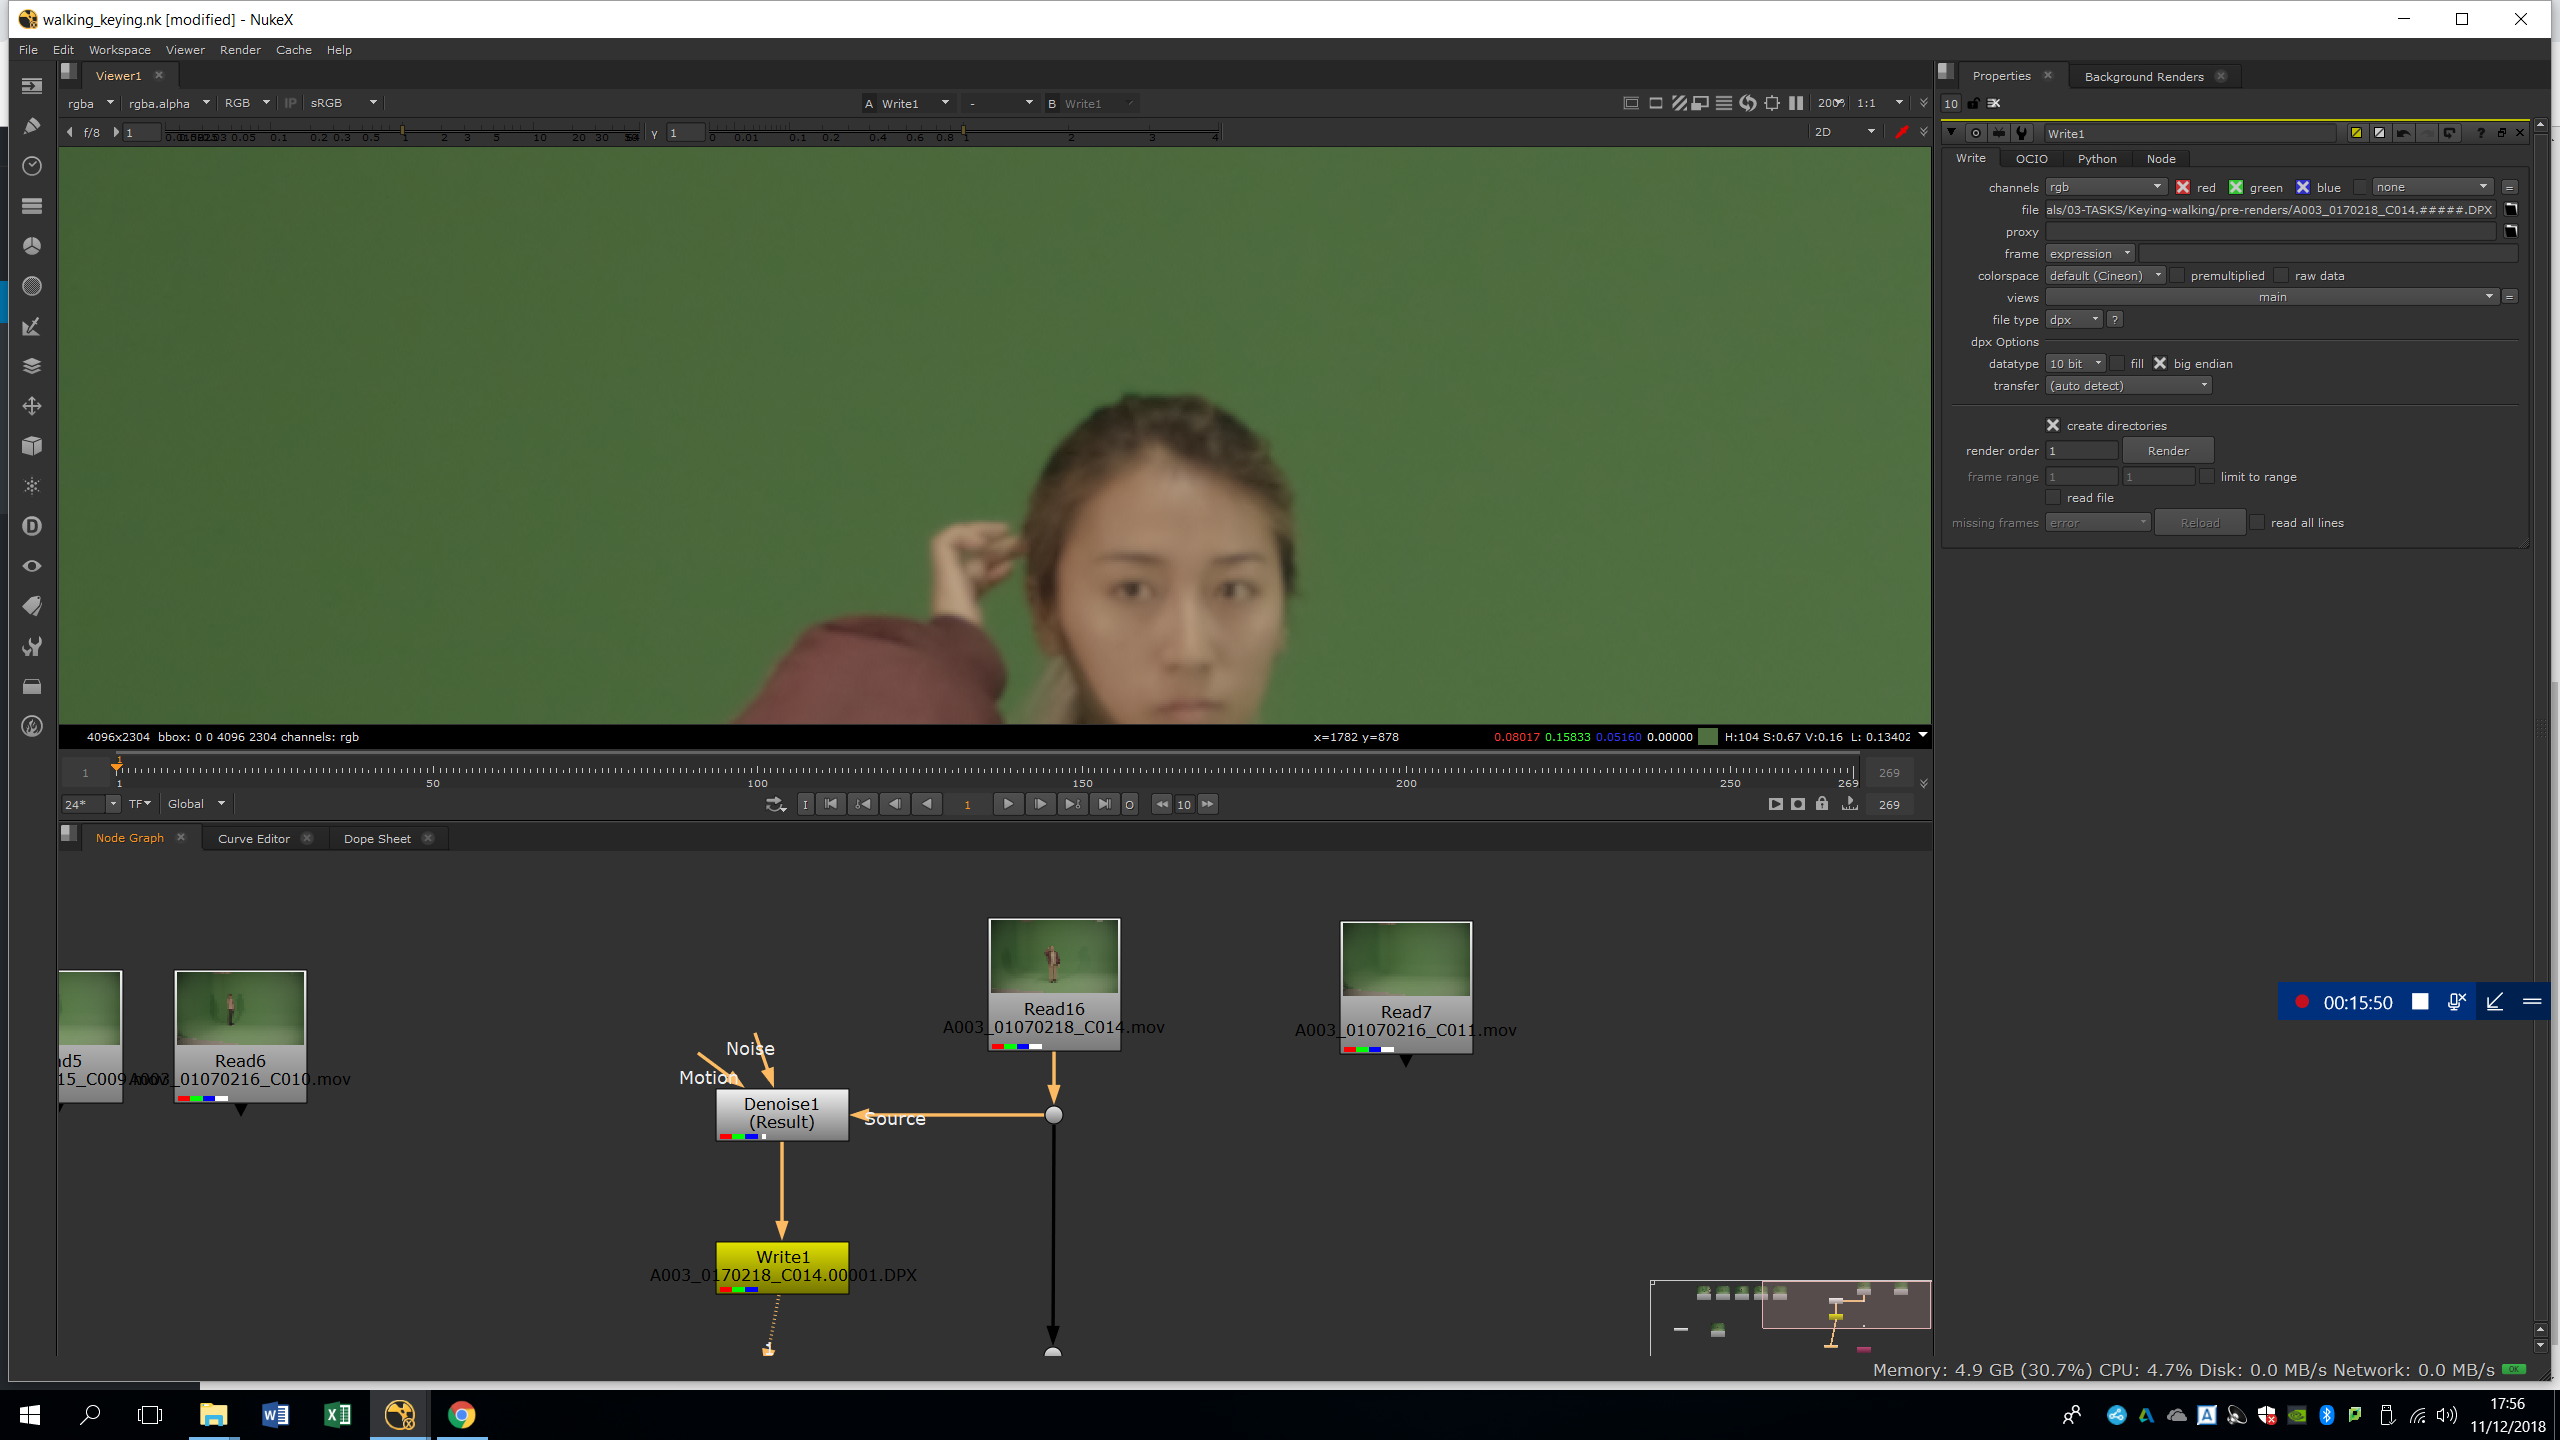
WRITE
As the denoised footage is really heavy to process, we will write it in order to import it directly and work with it easier.
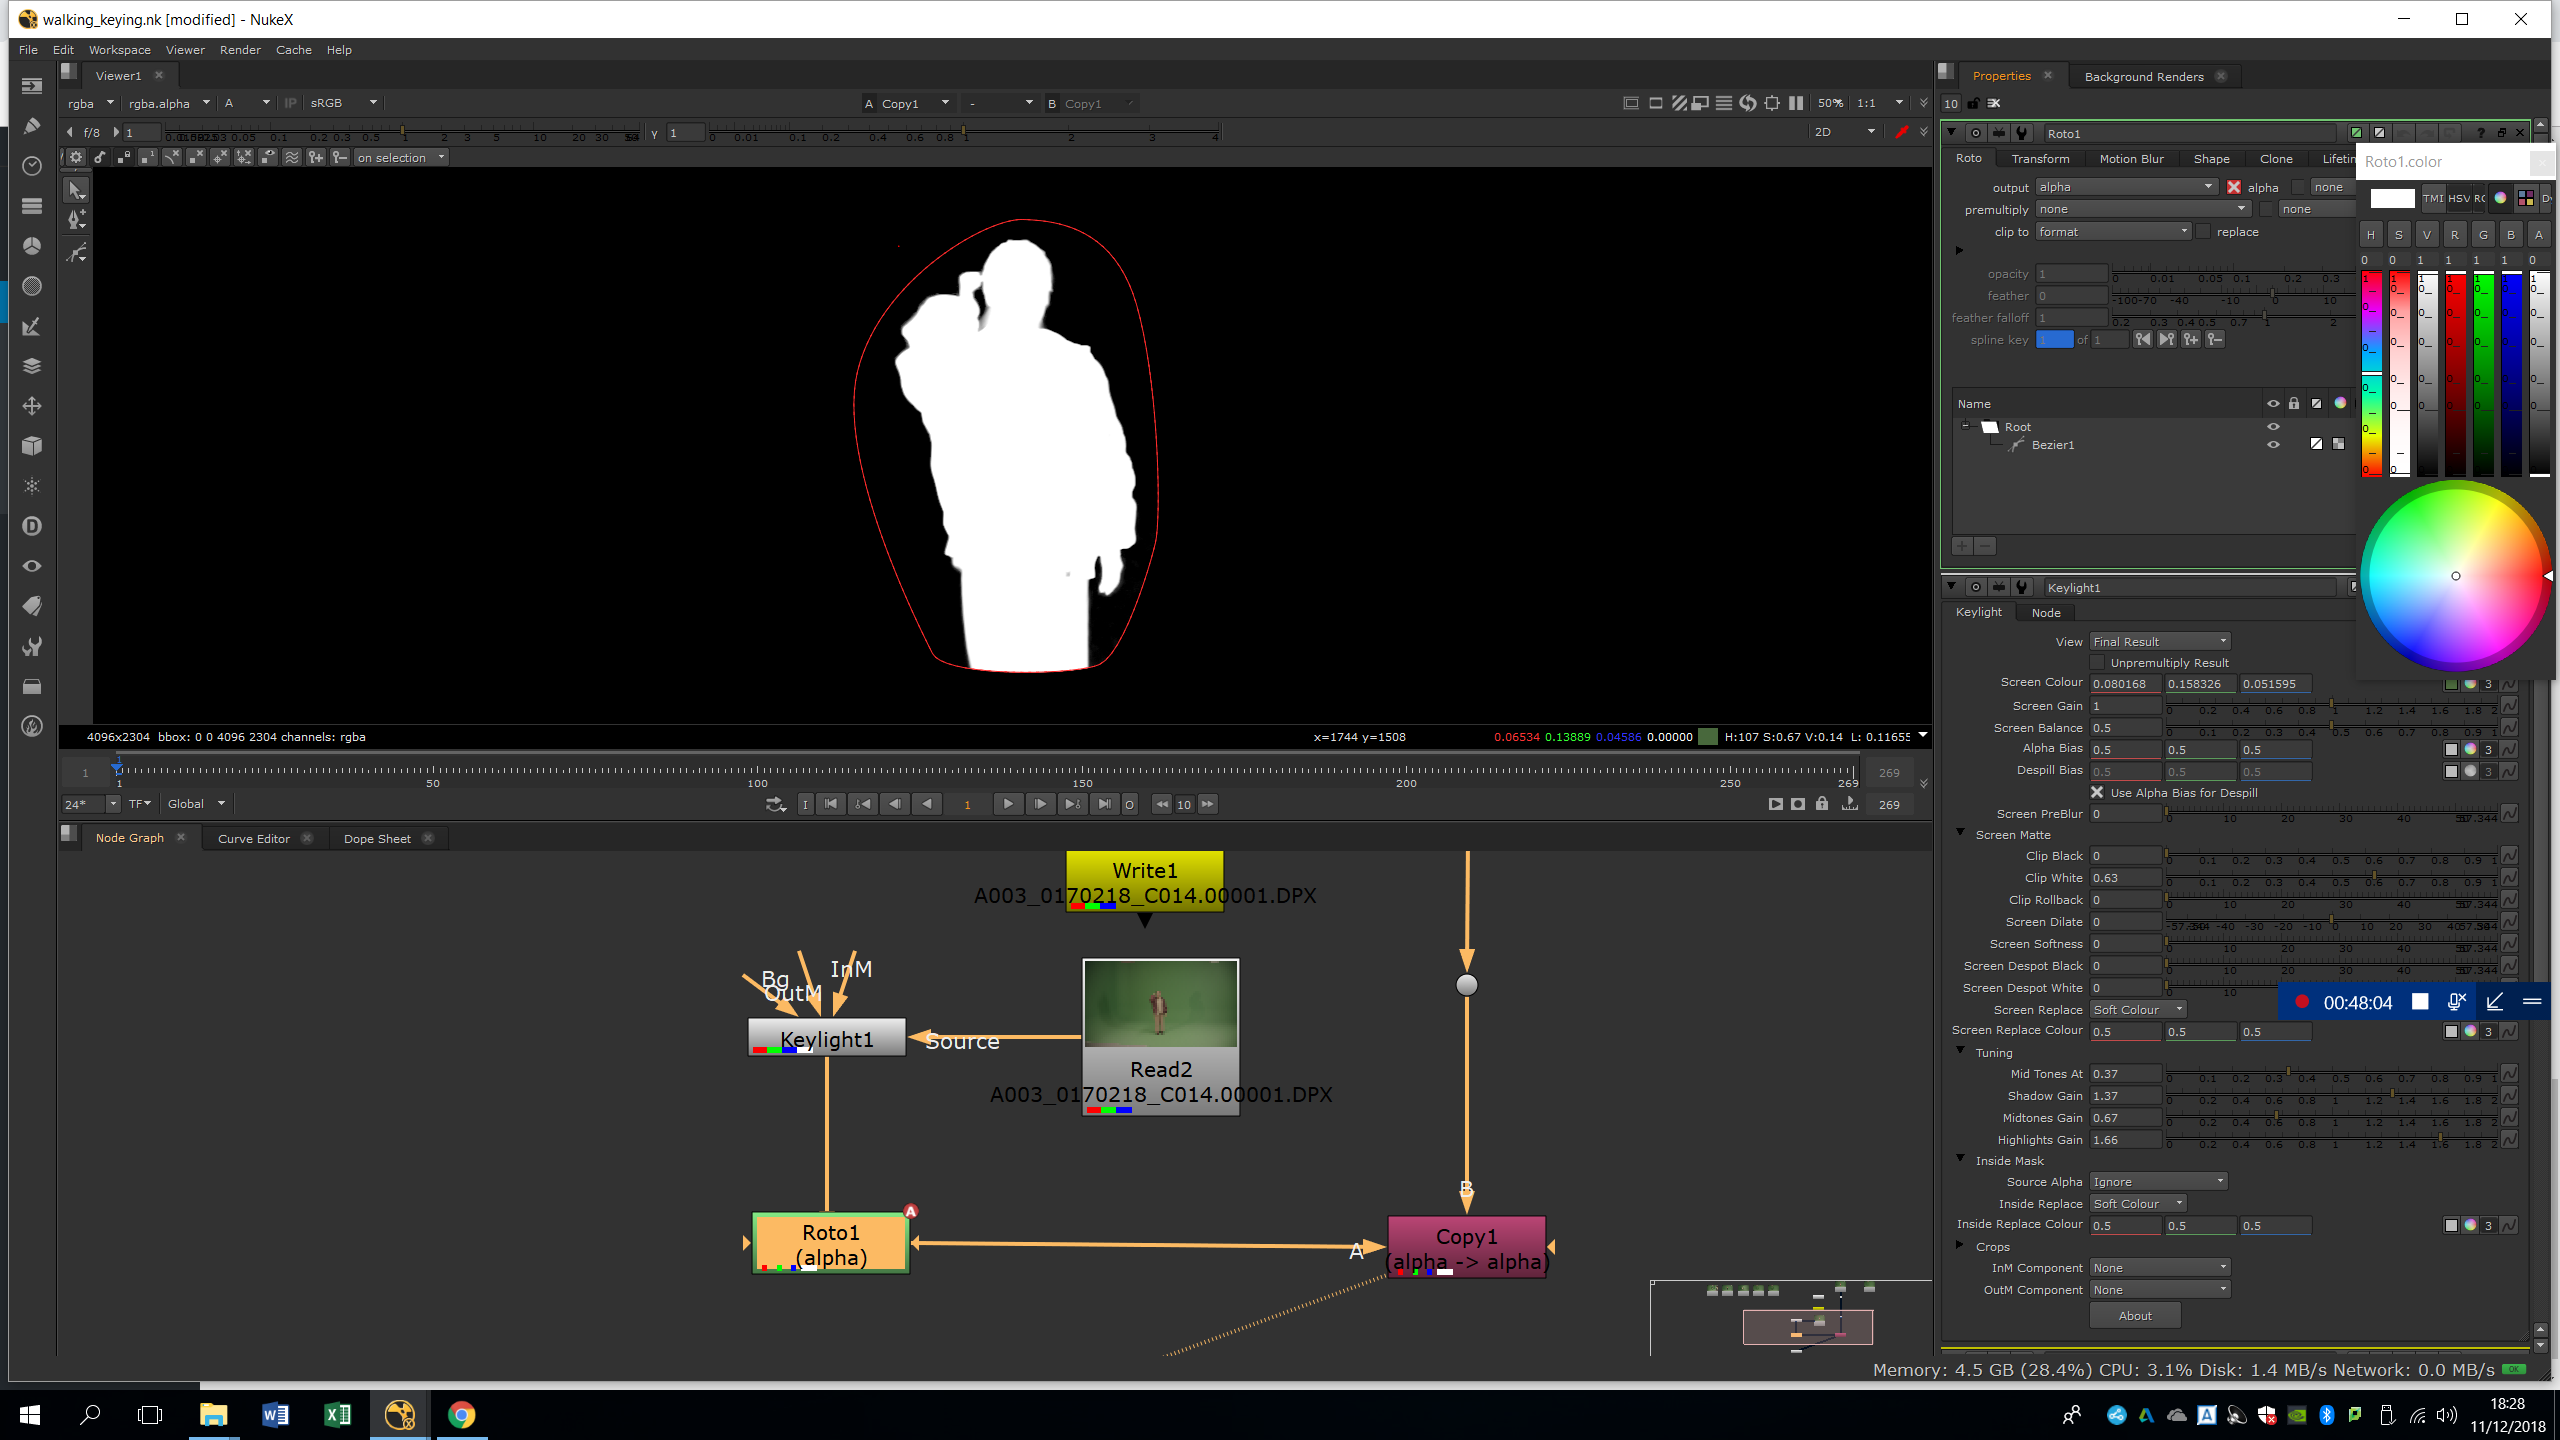
KEYLIGHT
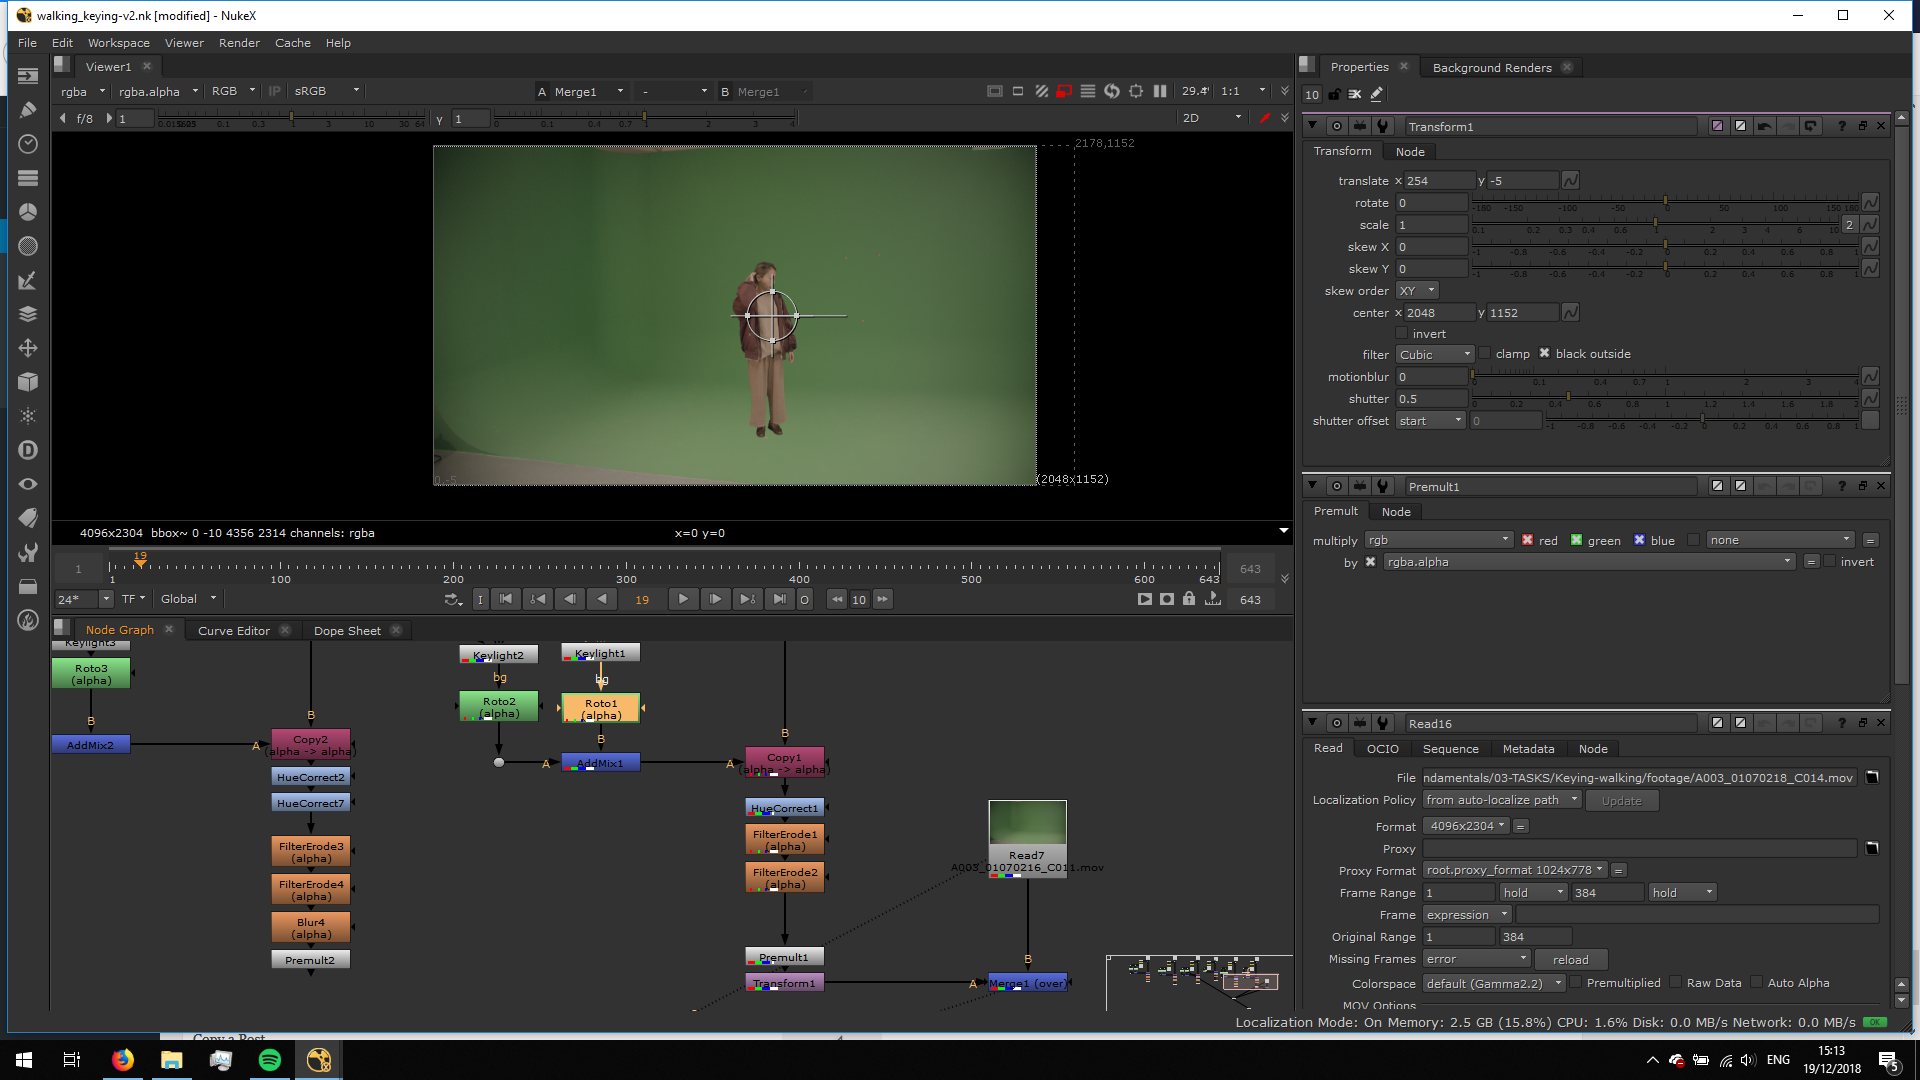
We will import the denoised footage we just exported, and we will add a keylight.
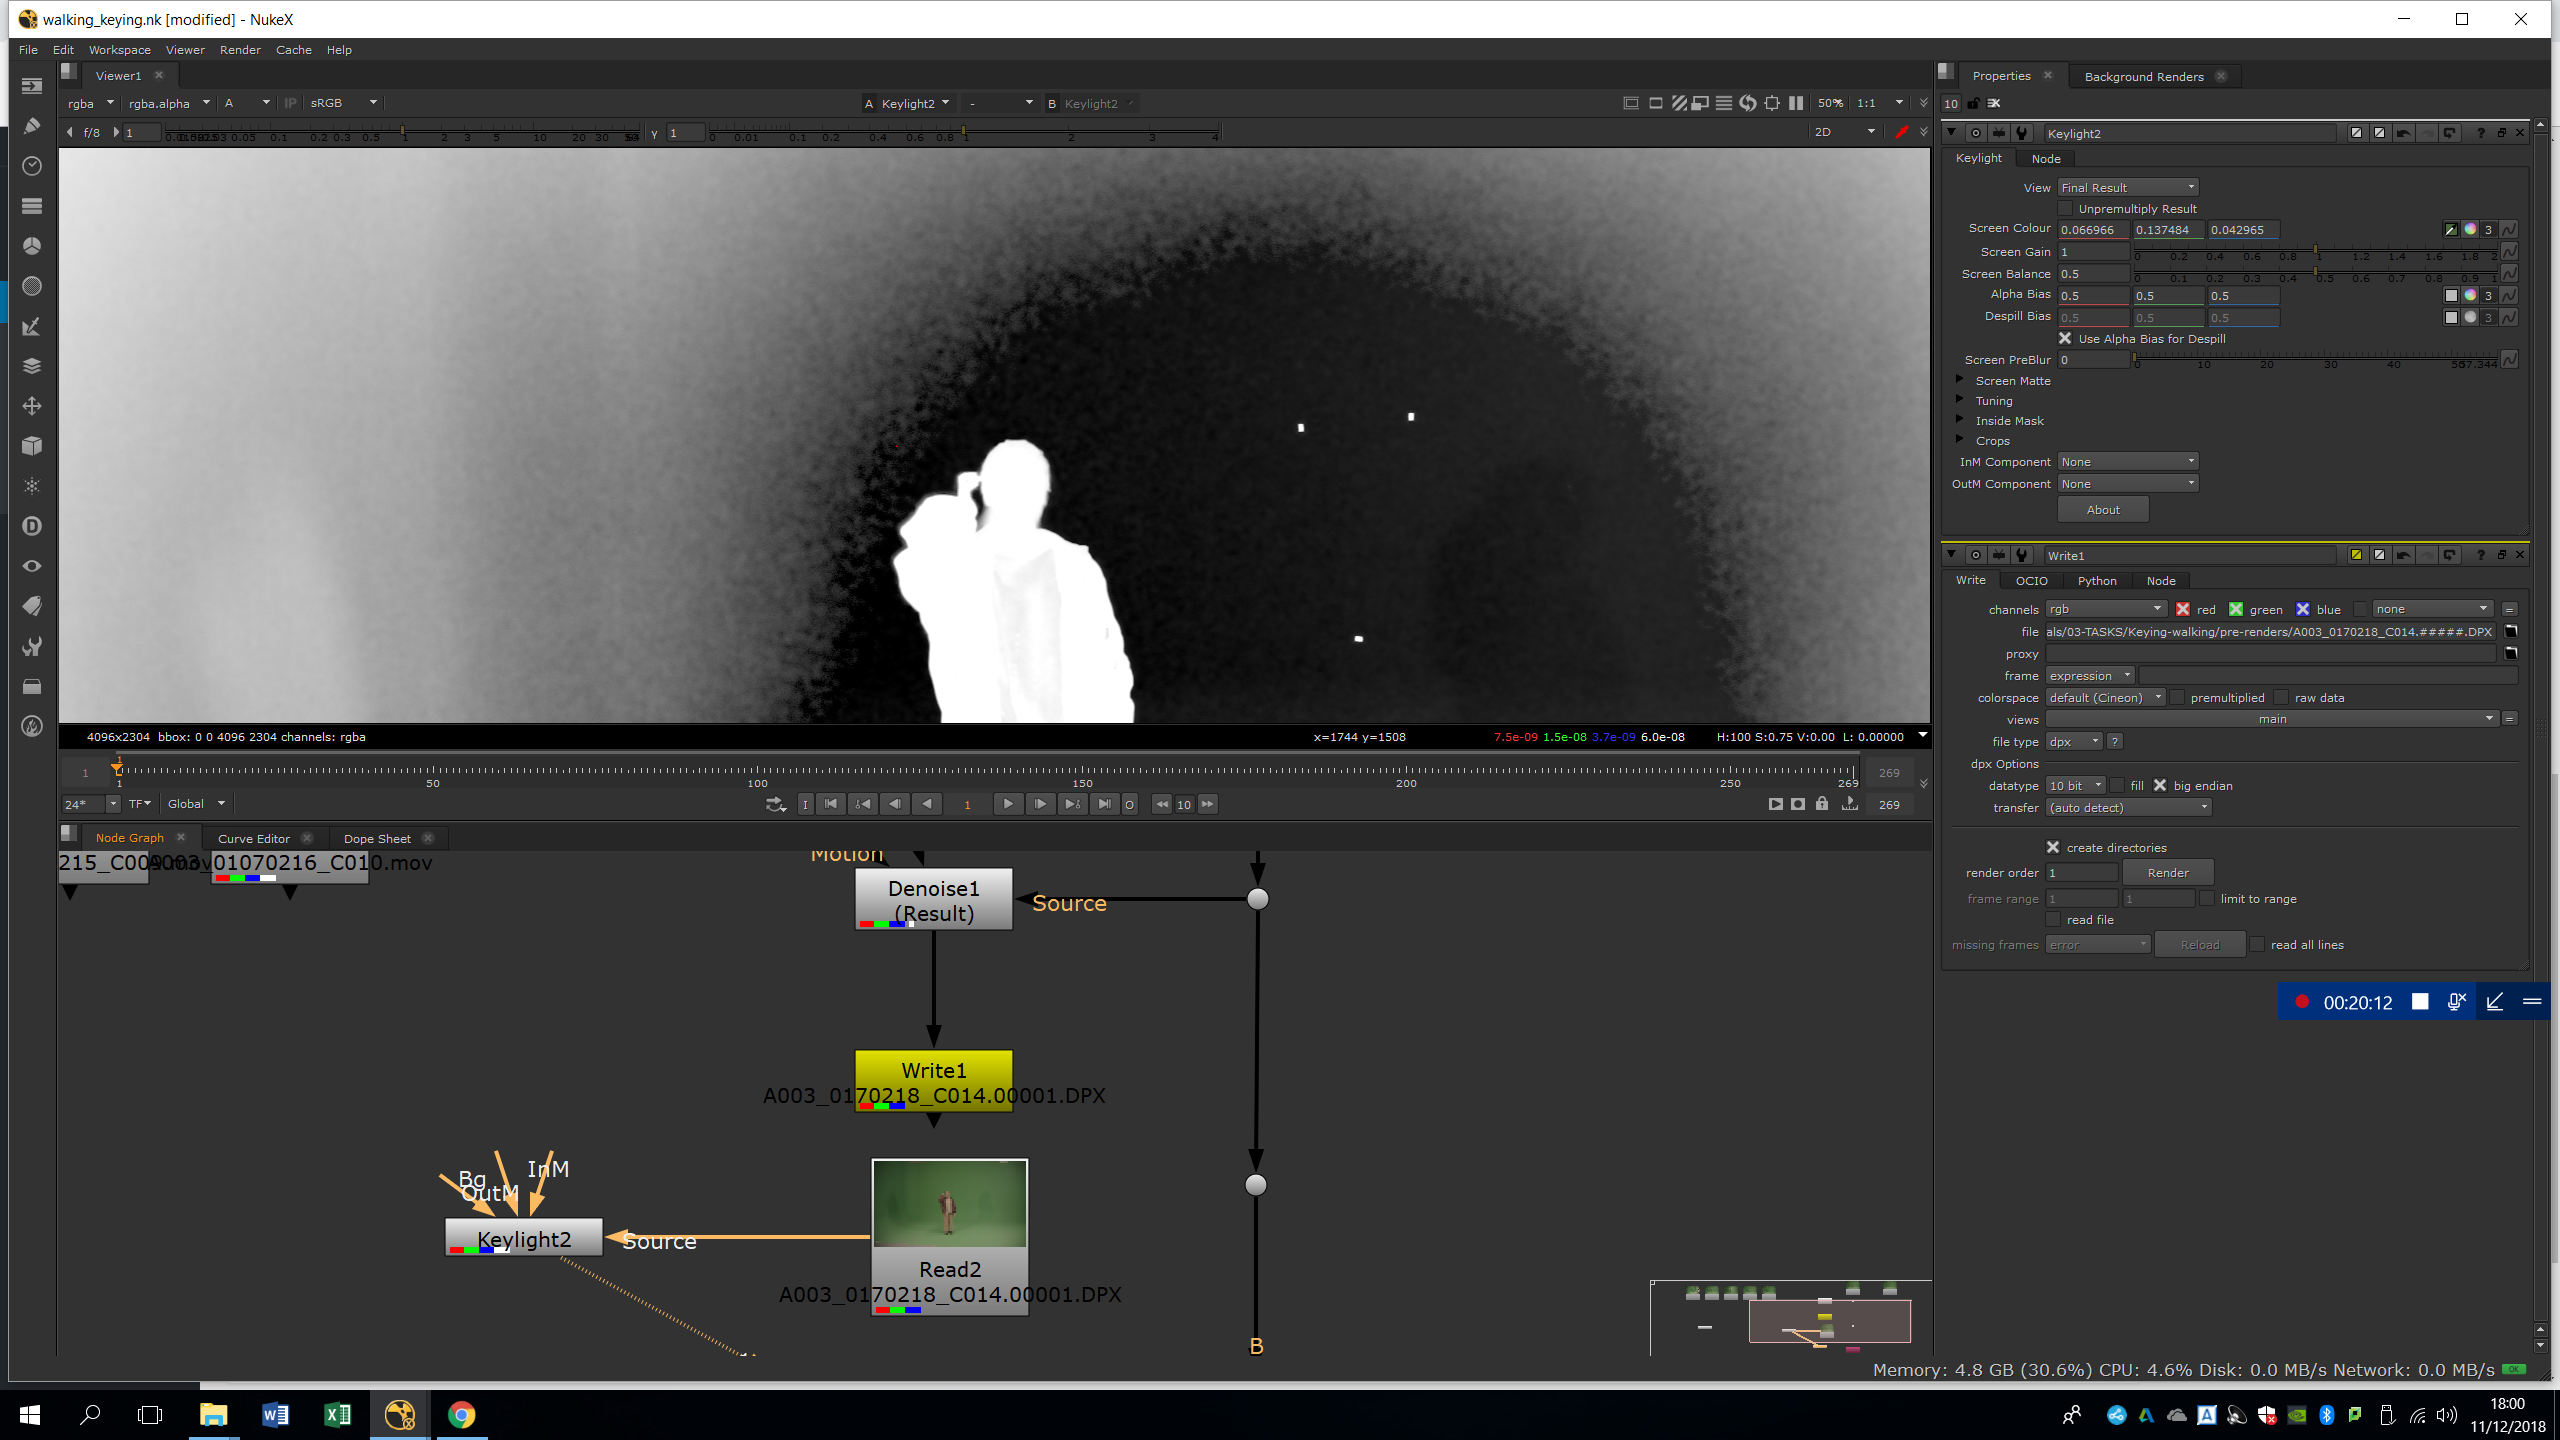
We will set the parameters to improve the keying.
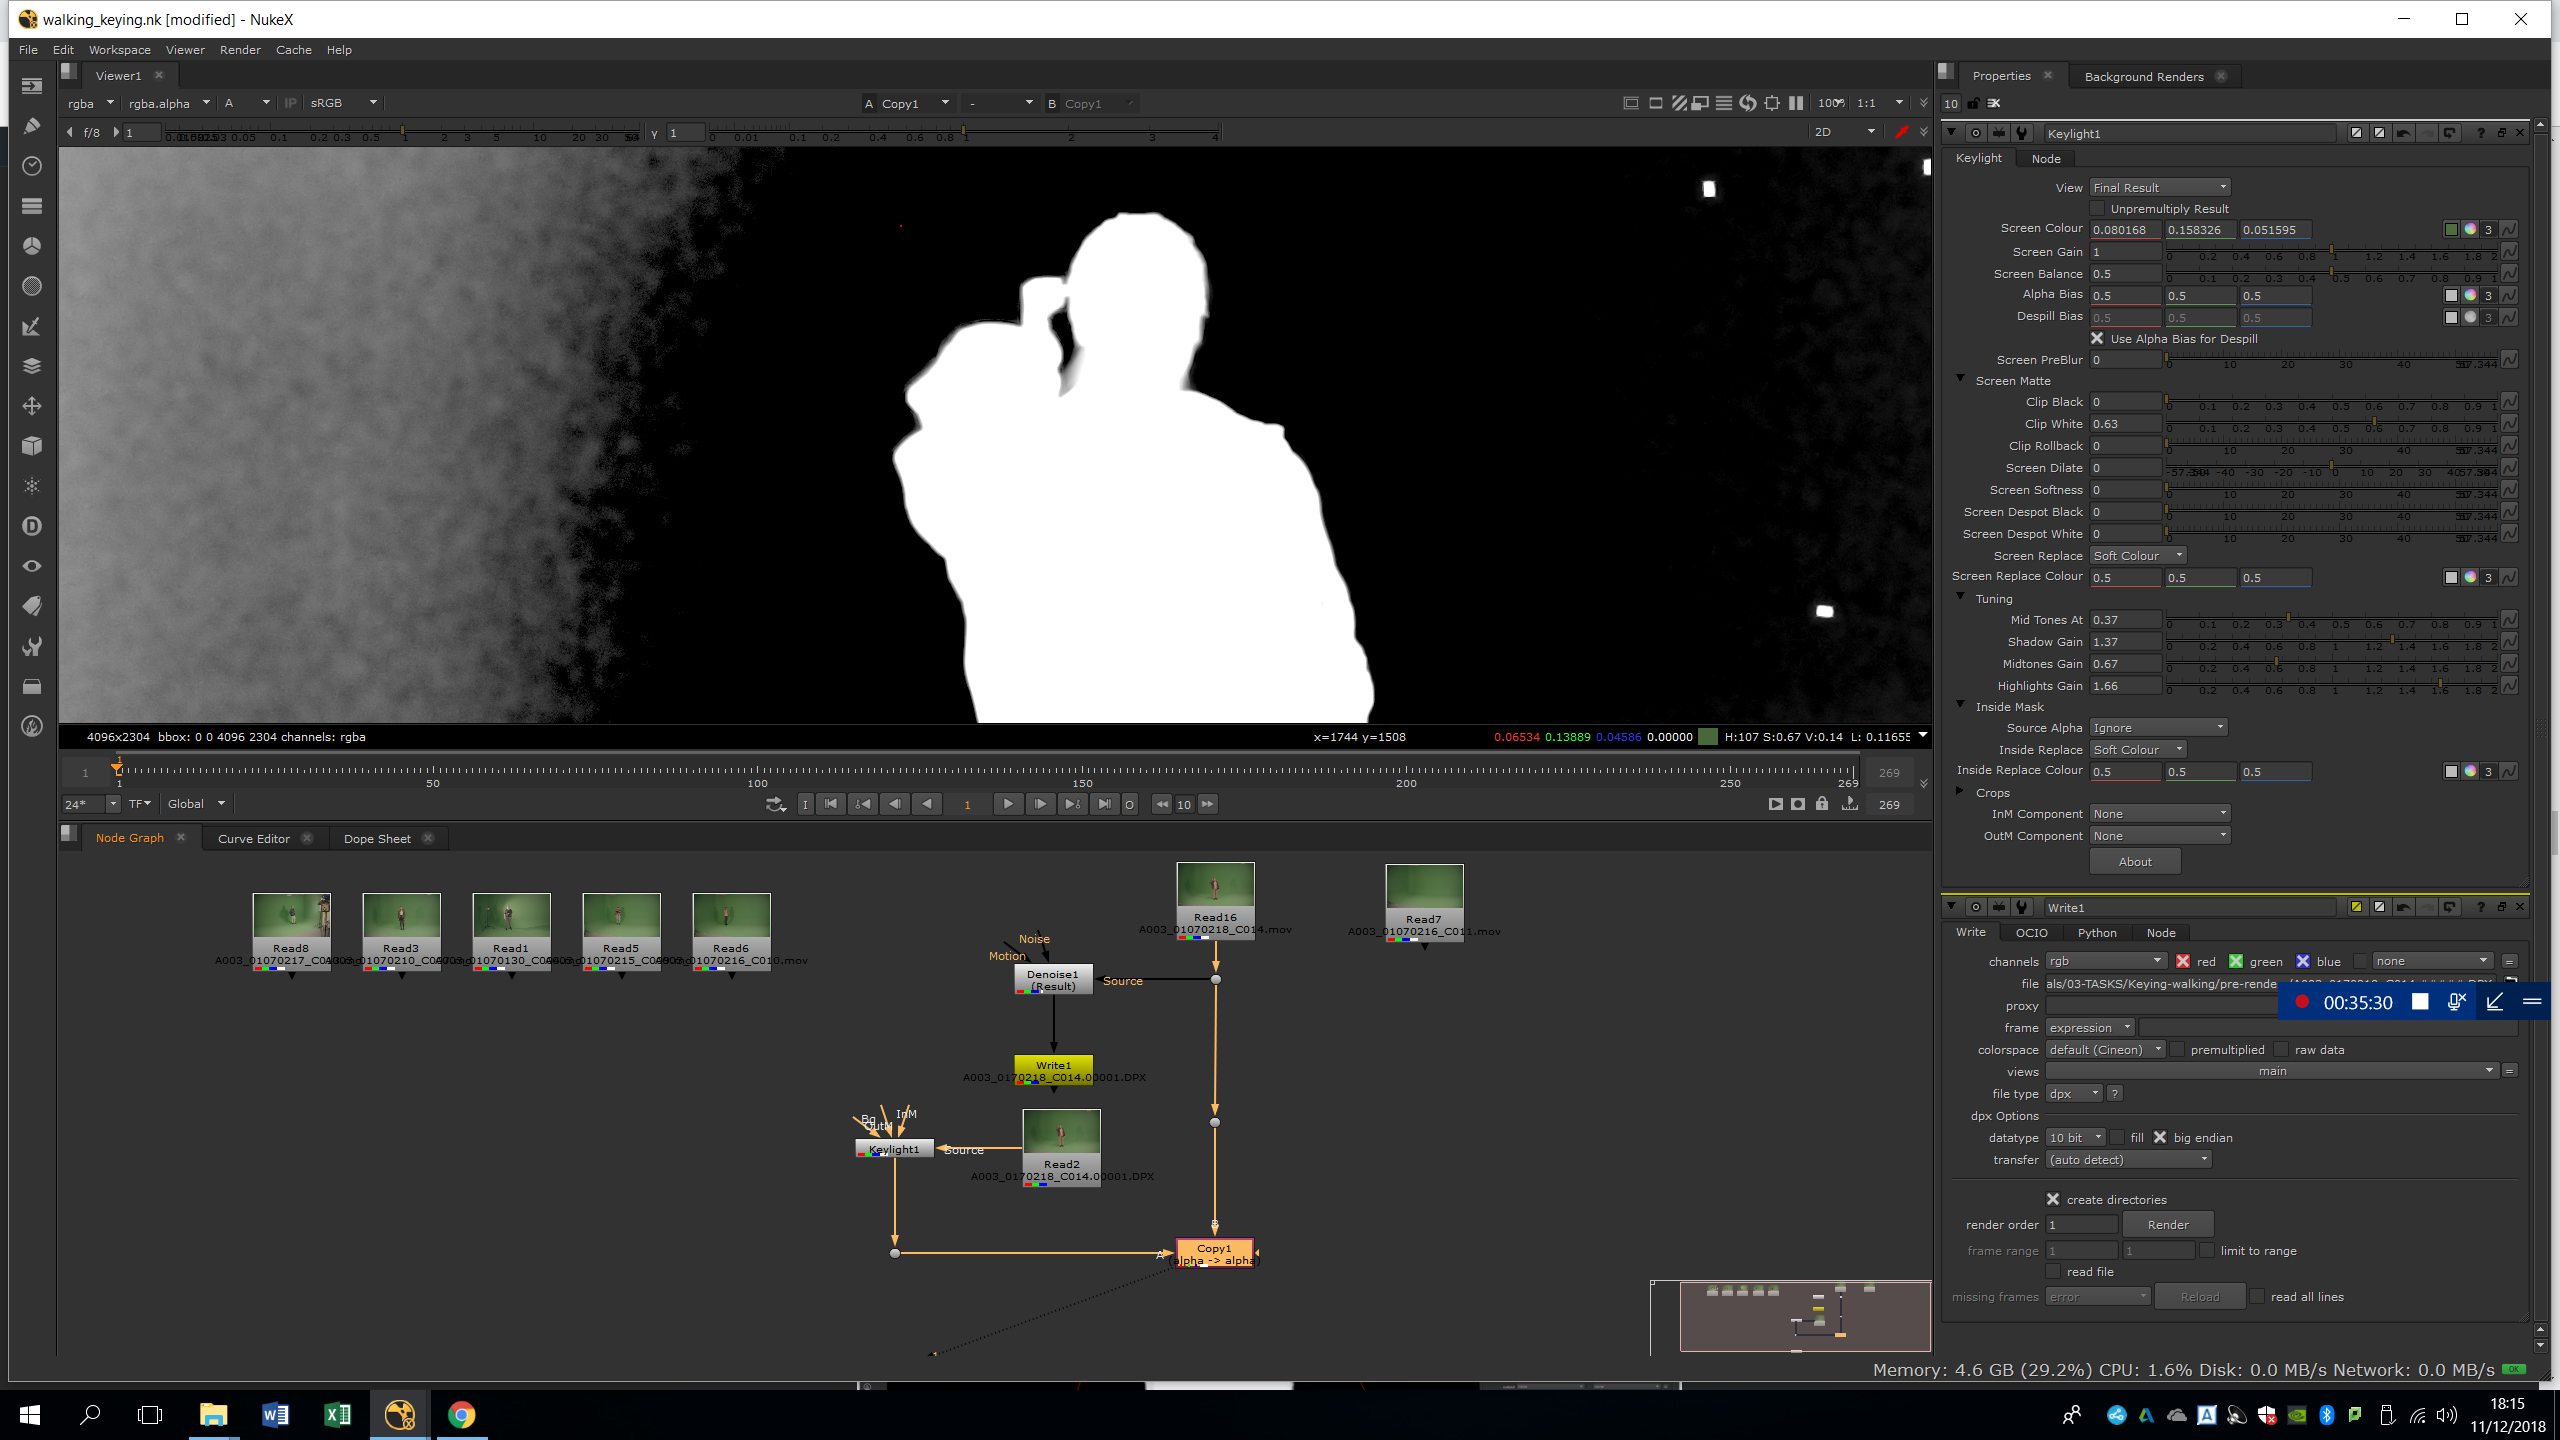
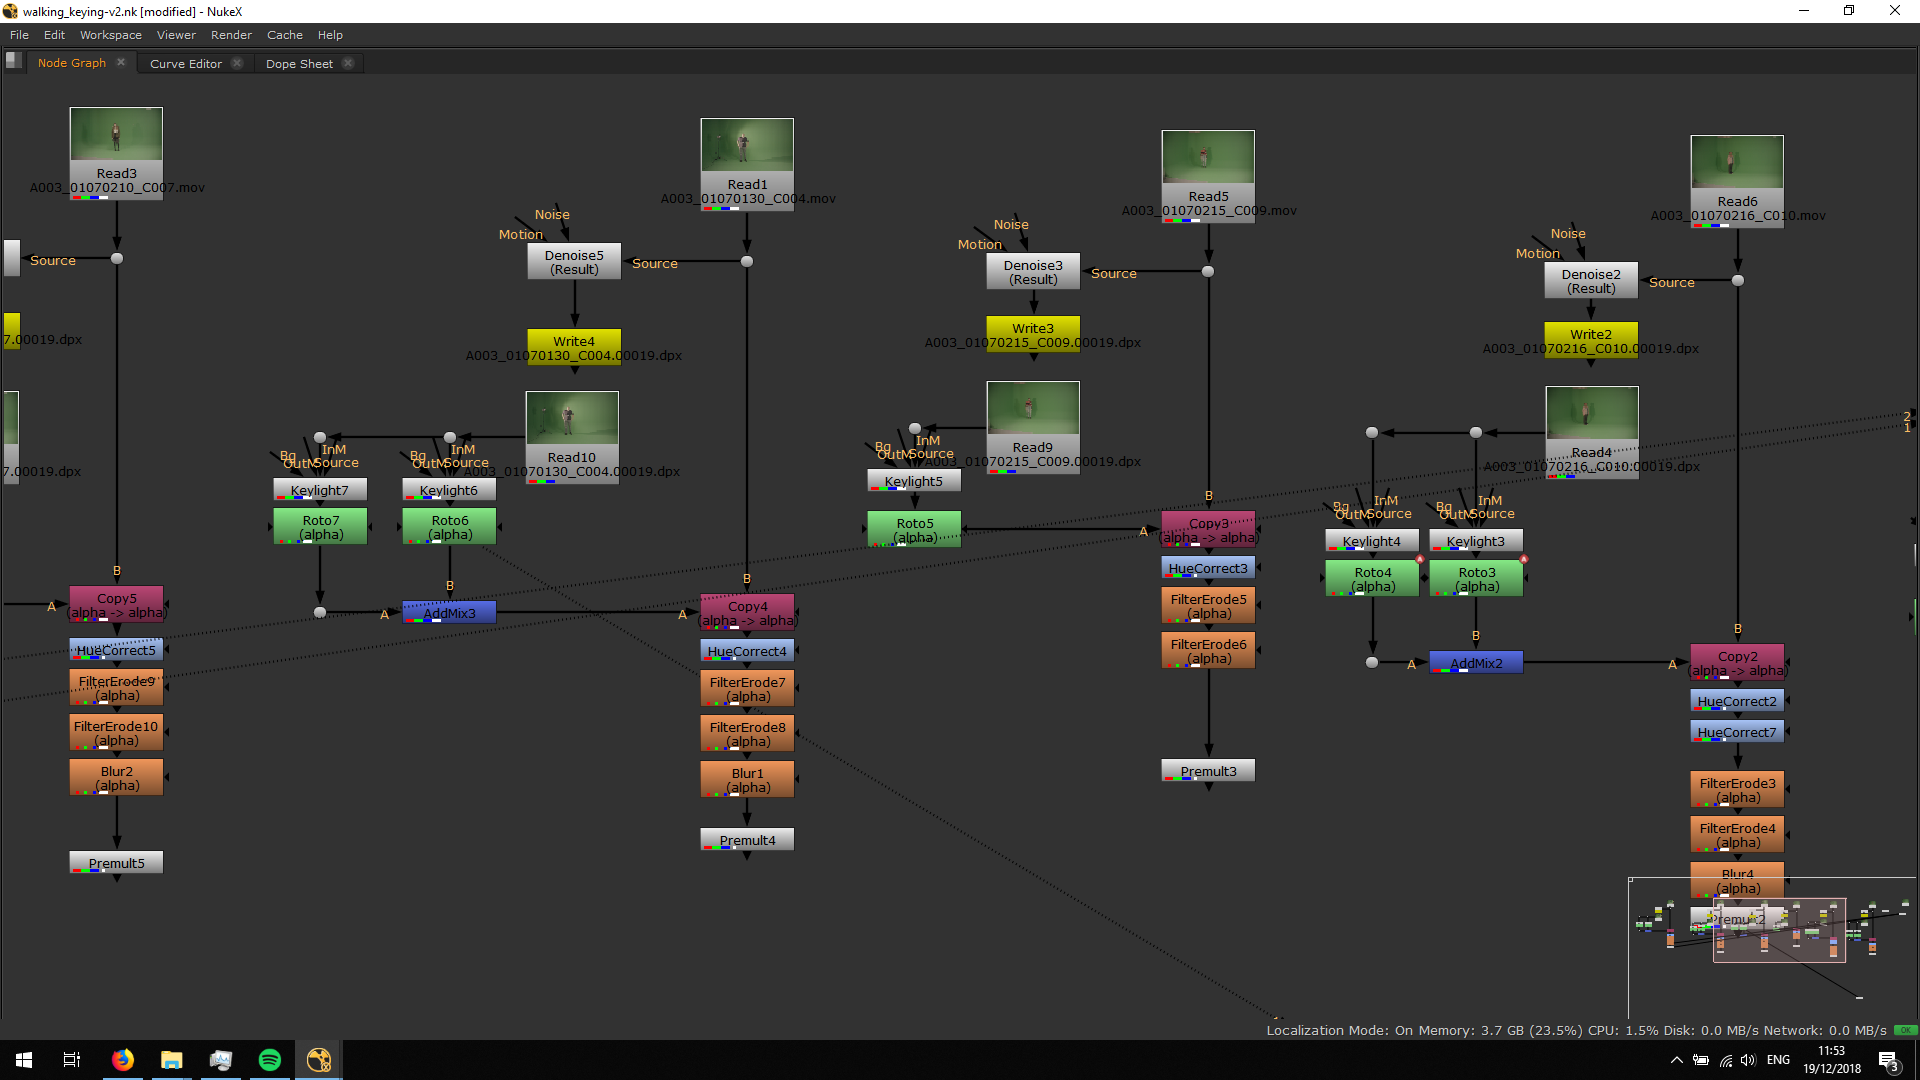
ADD A COPY
Then, we will plug the keylight mask into the original footage. In this way, we can use the denoised mask into the original footage. The copy note takes the alpha channel from the keylight and applies into the footage.

ROTO
To refine the keying, we will roto the silhouette to delete all the grey parts.
We will animate the roto along the timeline following the silhouette, and we add some feather in order to blend it with the other roto.
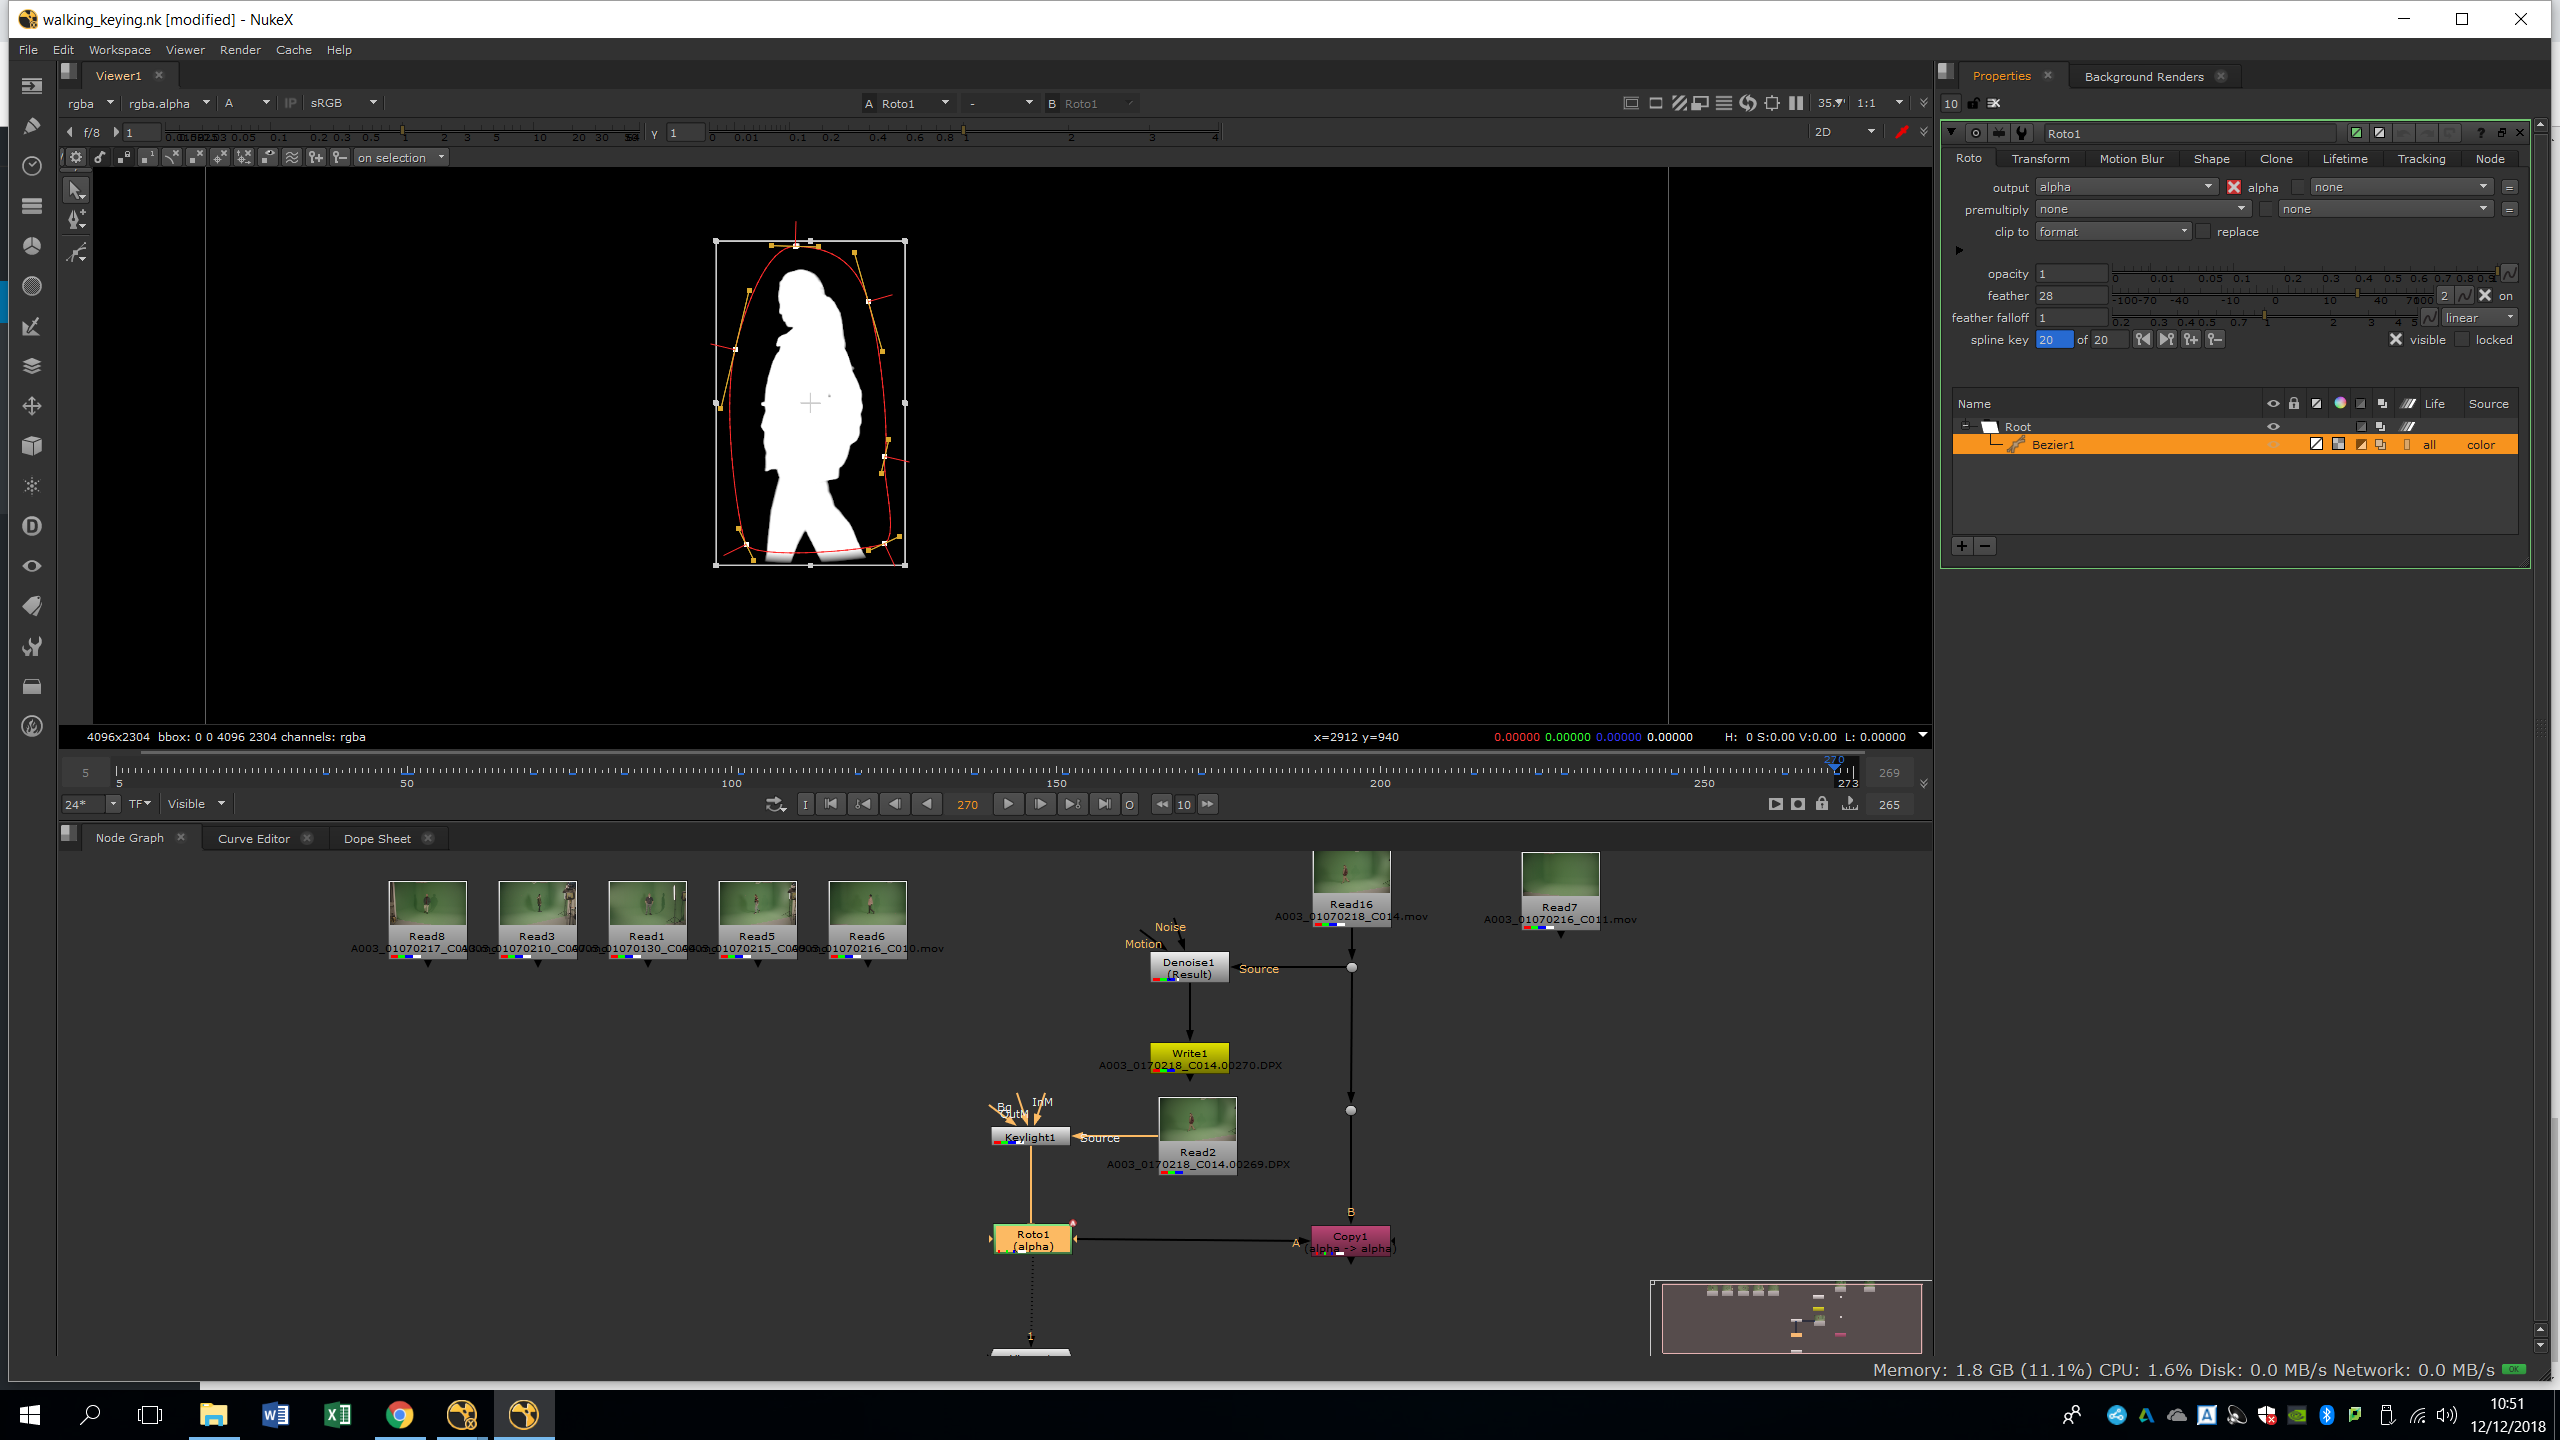
Now, we are going to do a second roto for the feet. We did not include it in the past roto because the green screen is darker due to the shadows, so the keylight will work better with a darker green screen color.
Therefore, we attach another Keylight to the denoised footage, and we attach a roto to that keylight as we did with the other one. We will set the parameters of the keylight in order to have the bottom part perfectly keyed.
Now, we will do a roto animating it along the timeline to isolate the feet area.

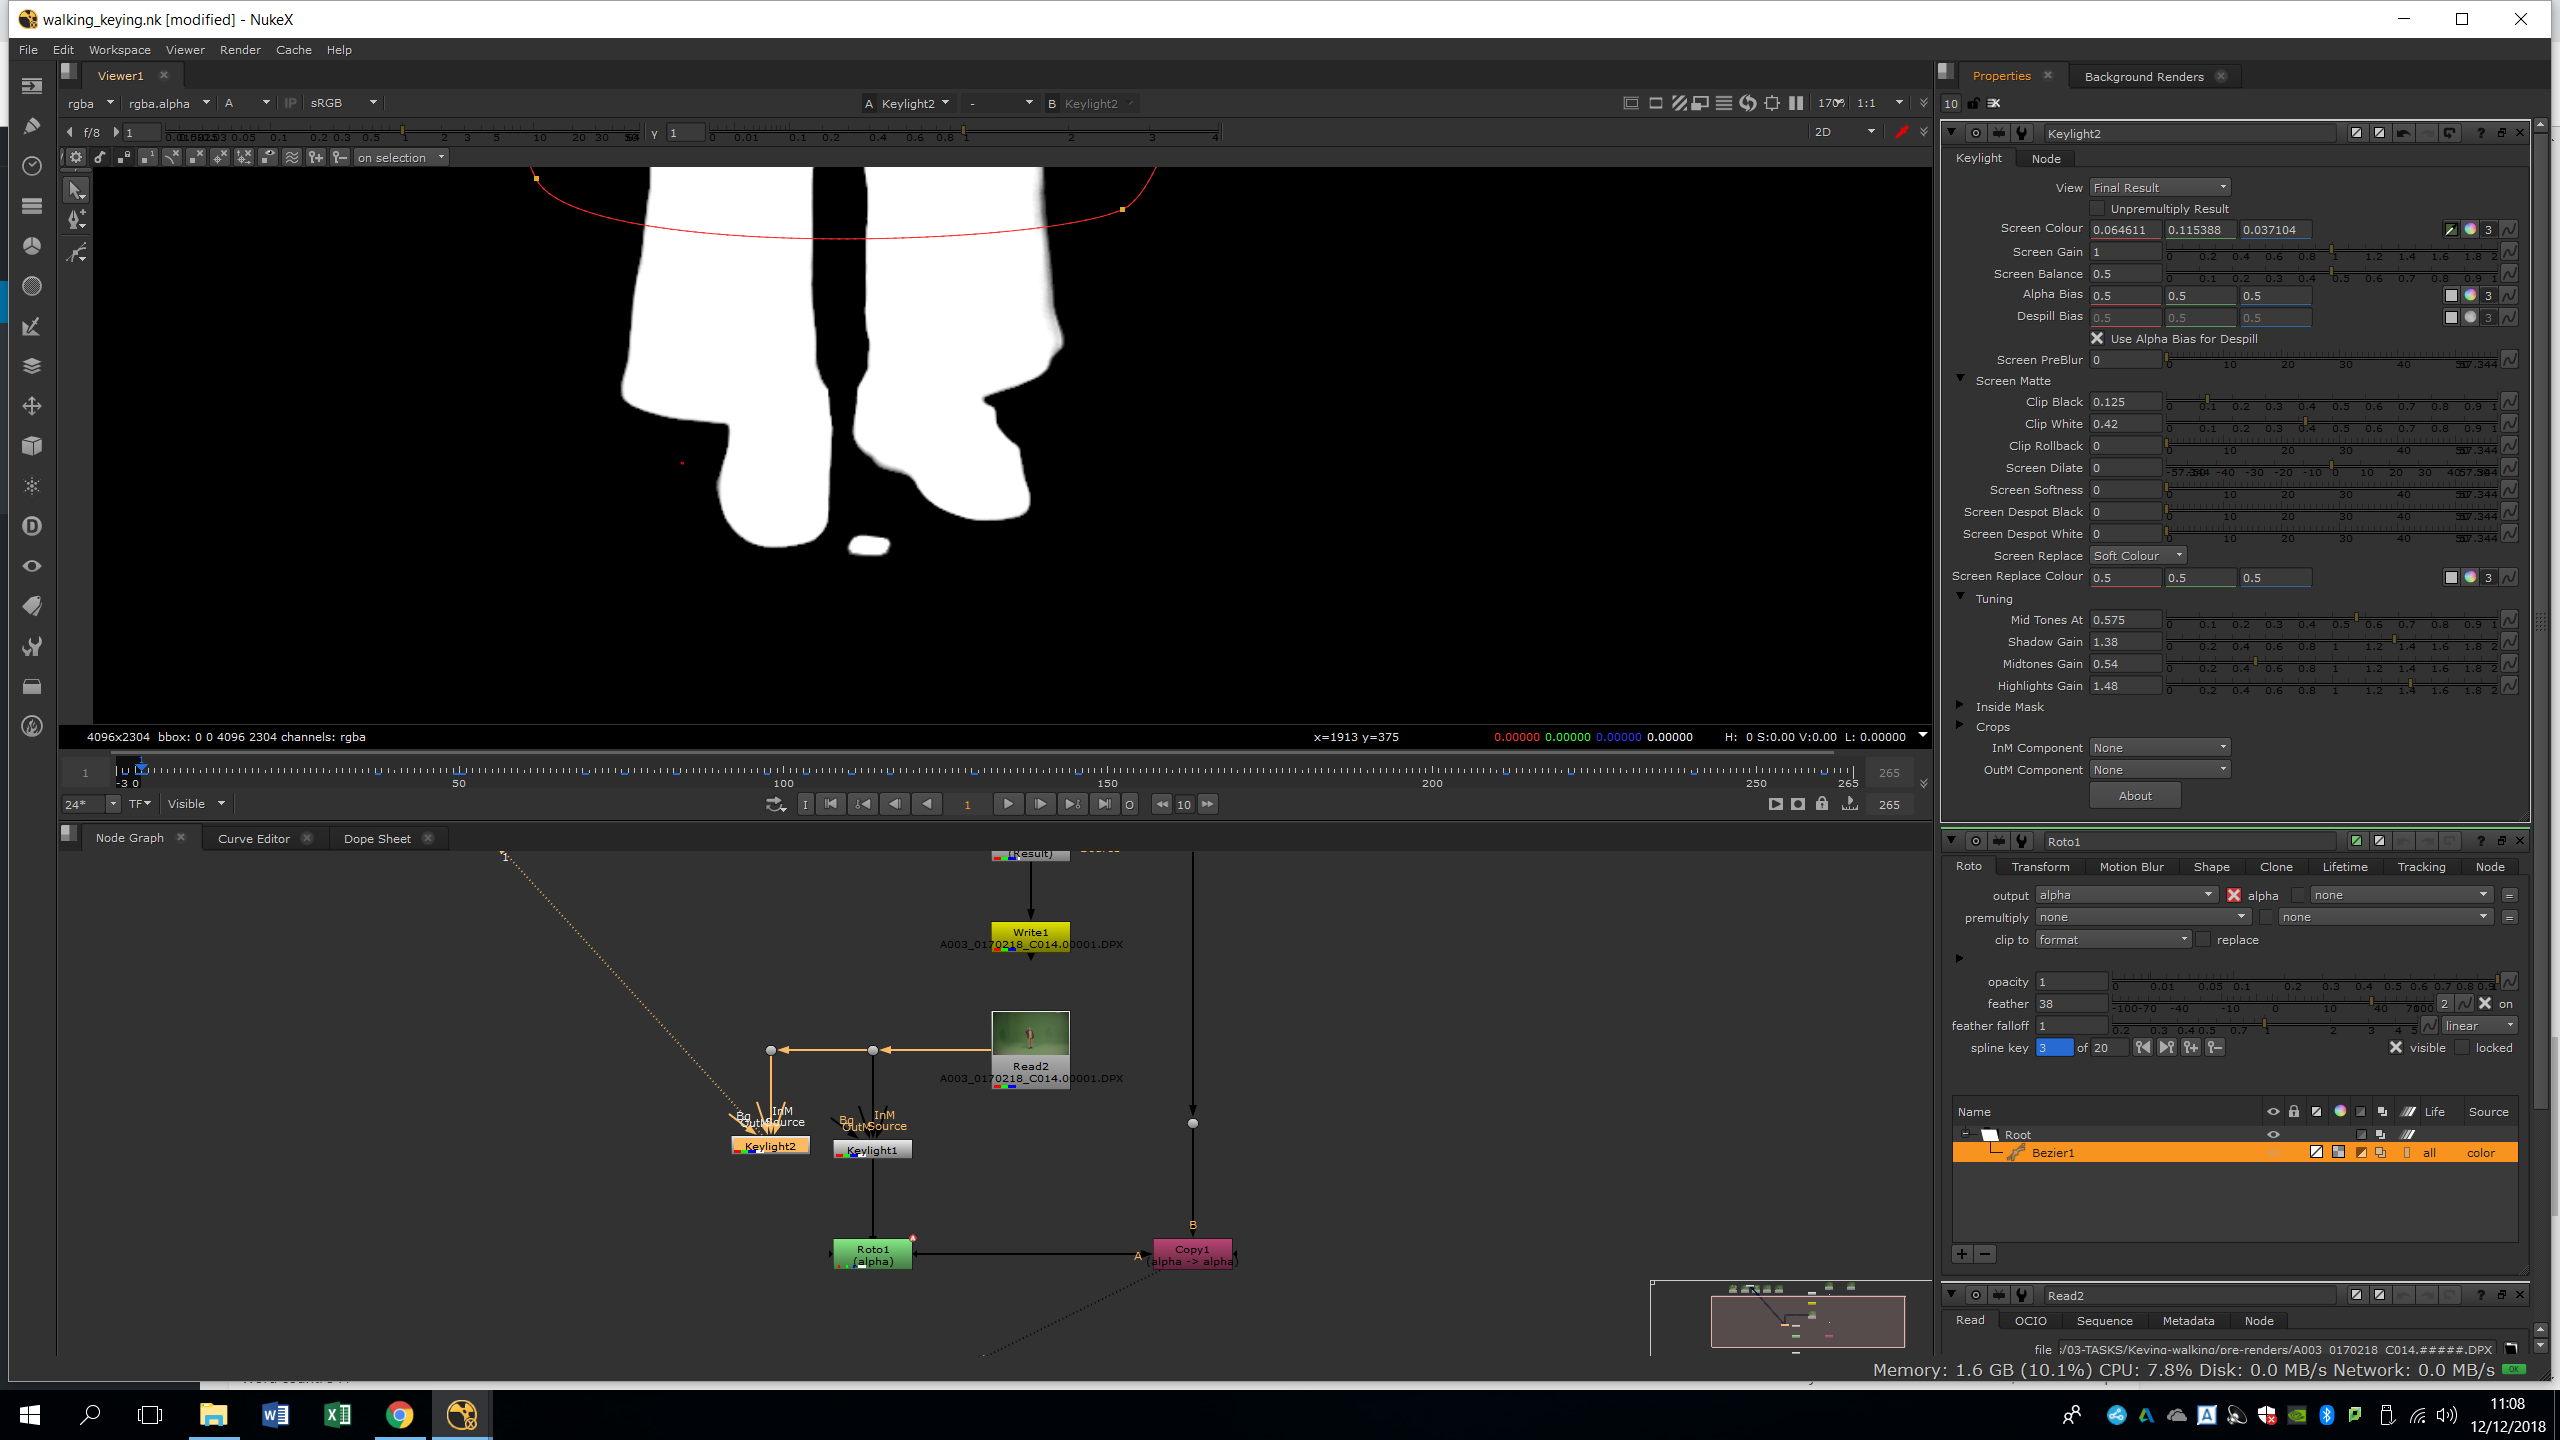
GENERATE THE ALPHA CHANNEL
In order to combine both keylights, we will need to add an AddMix note. With this note, we will be able to sum the alpha channel and blend them together. Thanks to the feather in the roto, this blending will be soft. We will animate the feet roto watching the result of the AddMix to ensure we do not cut out any area.
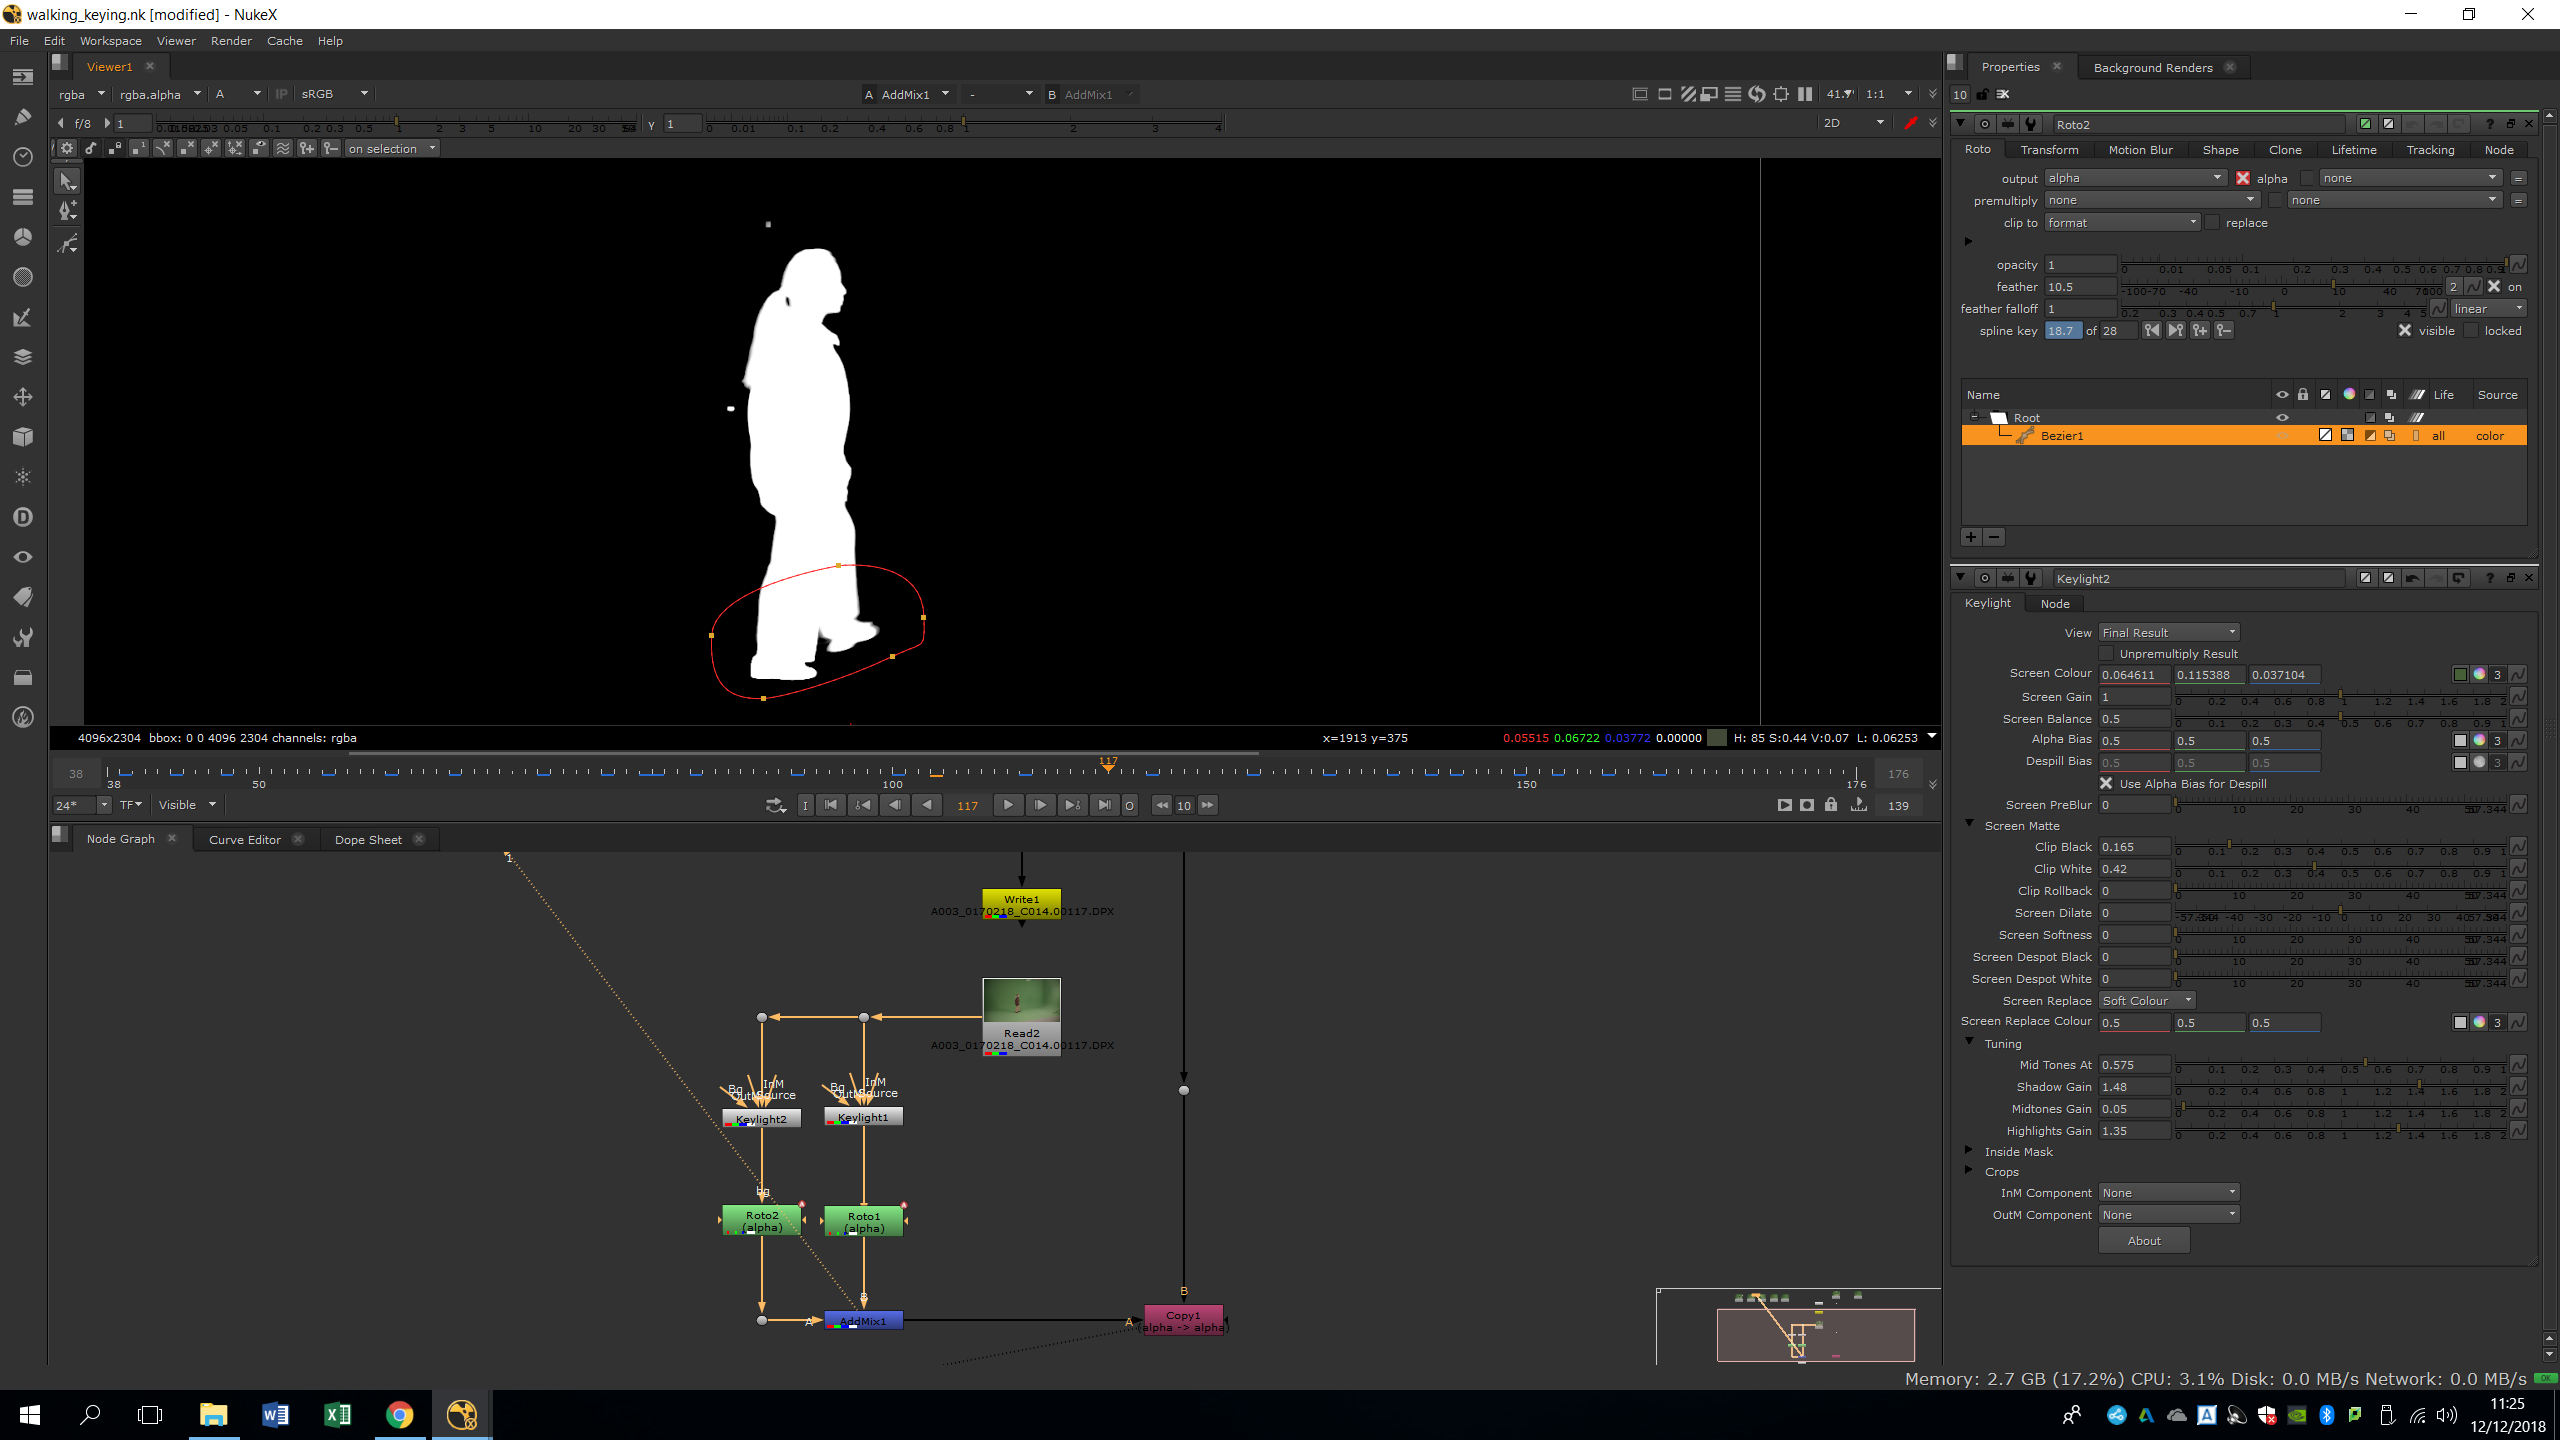
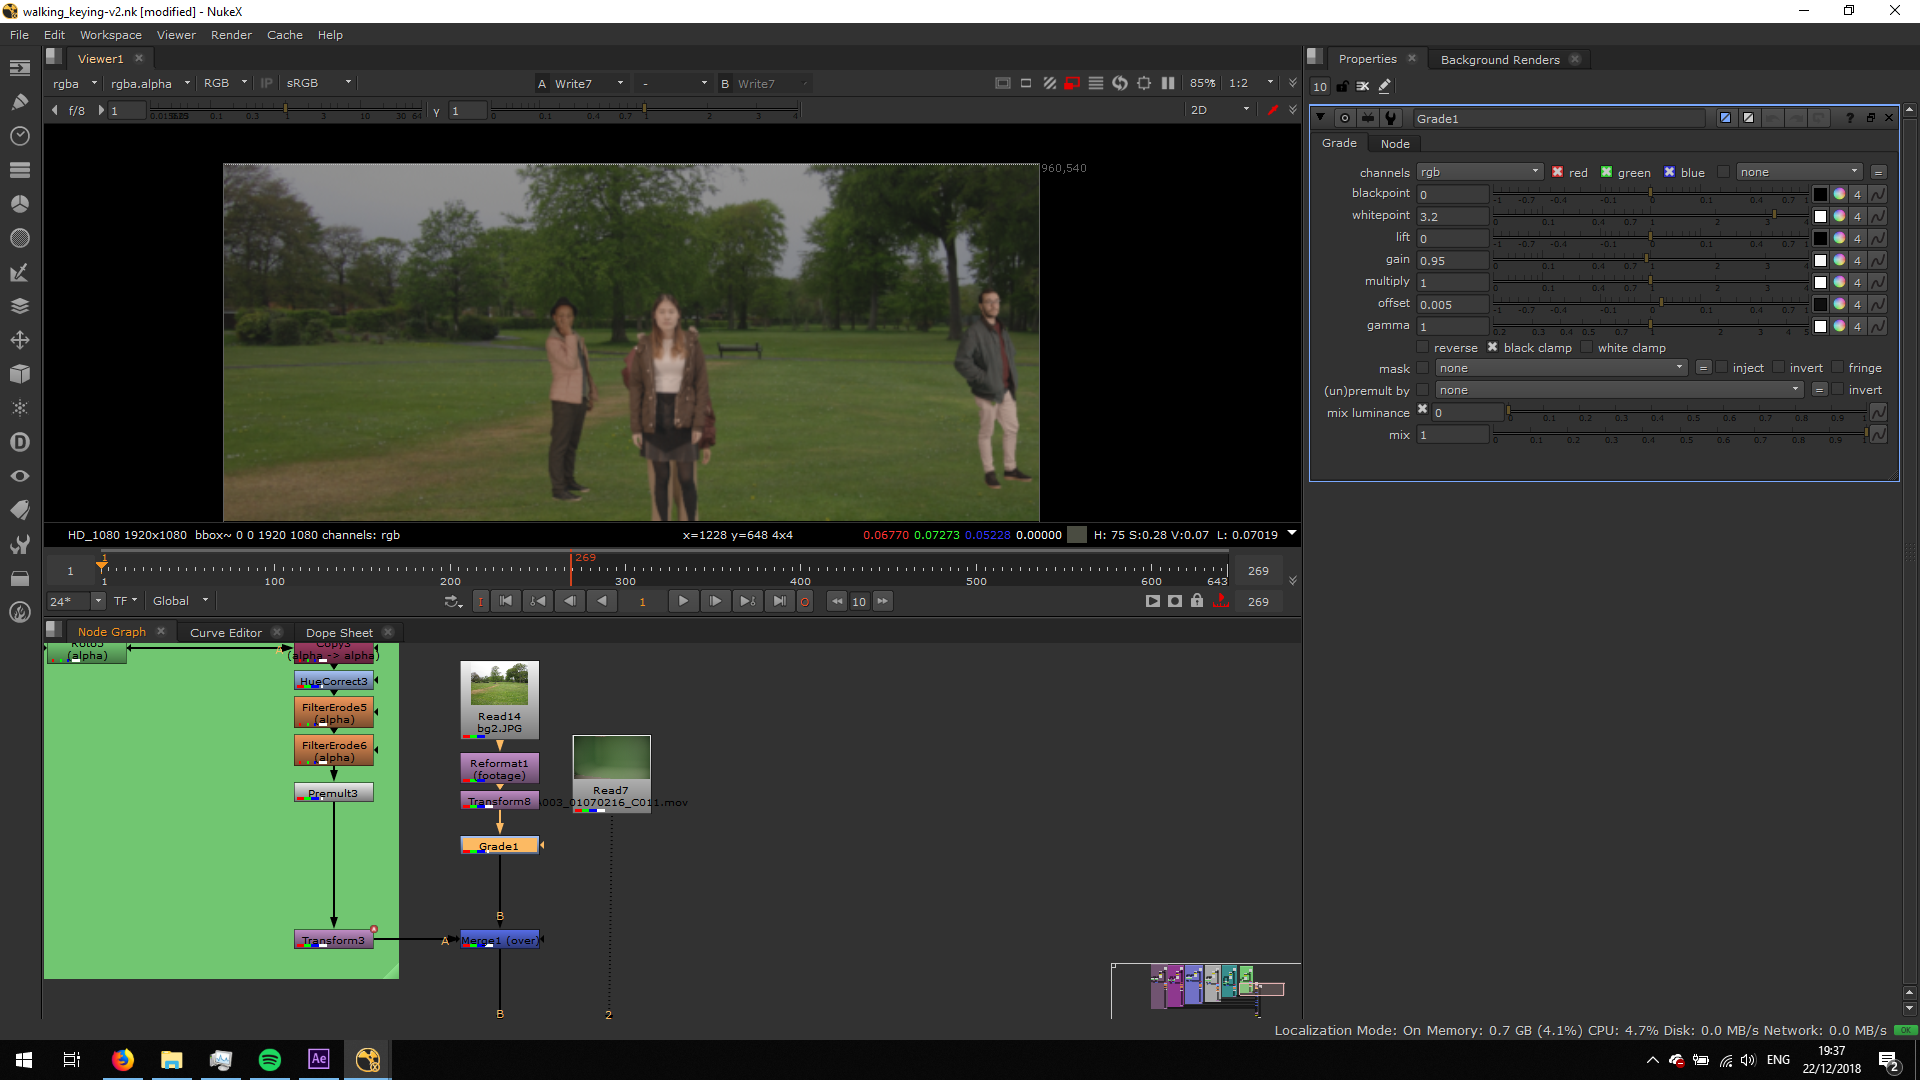
Once we have done this, the keying will be almost ready. To preview it, we will do a Premult after the copy note. By doing this, we will isolate the alpha channel of the keying applied over the original footage.

REFINE THE EDGES
As we can see, we have a bit of green edges in our roto. In order to eliminate them without affecting too much the edges, we will add a Hue correct after the copy.
In the hue correct, we will choose Green Suppression, and we will select a green pixel near the character. Then, we will turn down the dots near the vertical line in order to eliminate the green. In this way, we are taking out the green of the edges in the whole composition, eliminating the green border but keeping nice soft edges.

We will also add a couple of Erode filters in order to smooth the edges a bit more and take out more green borders.

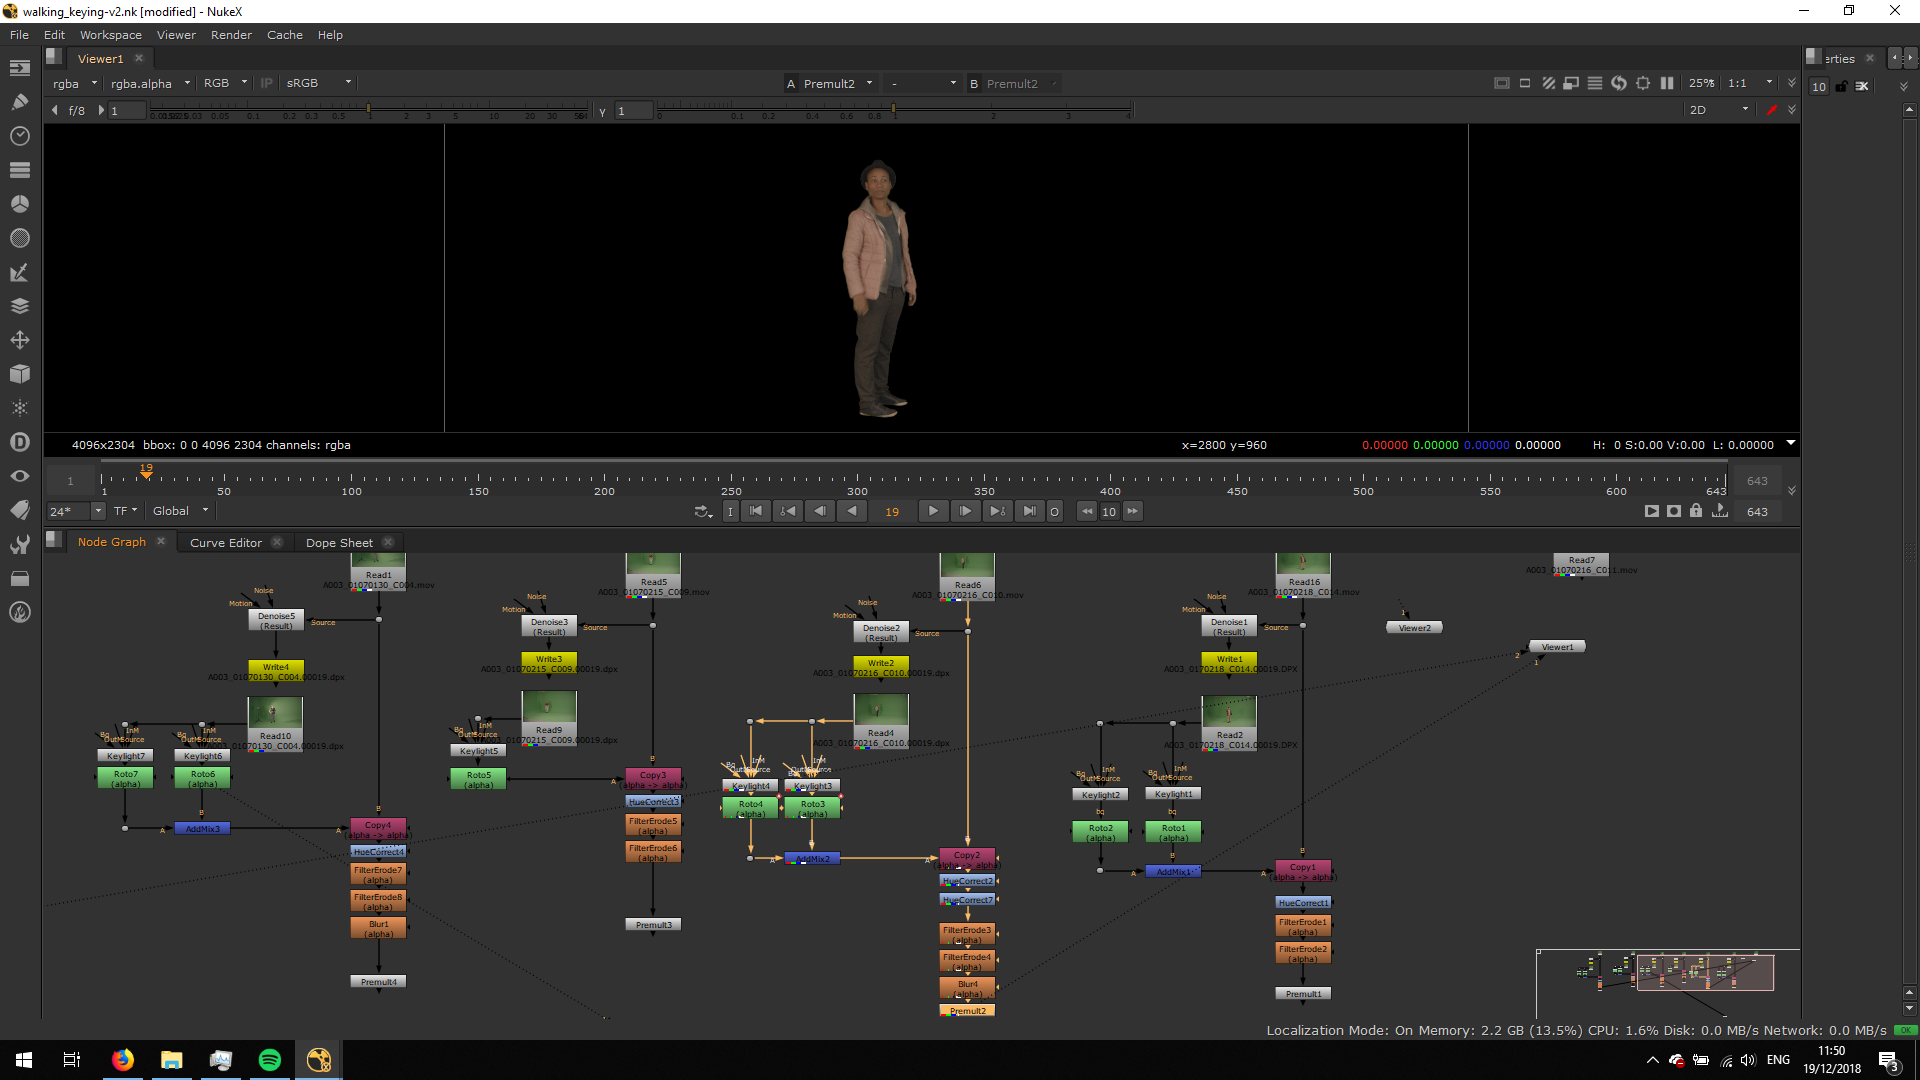
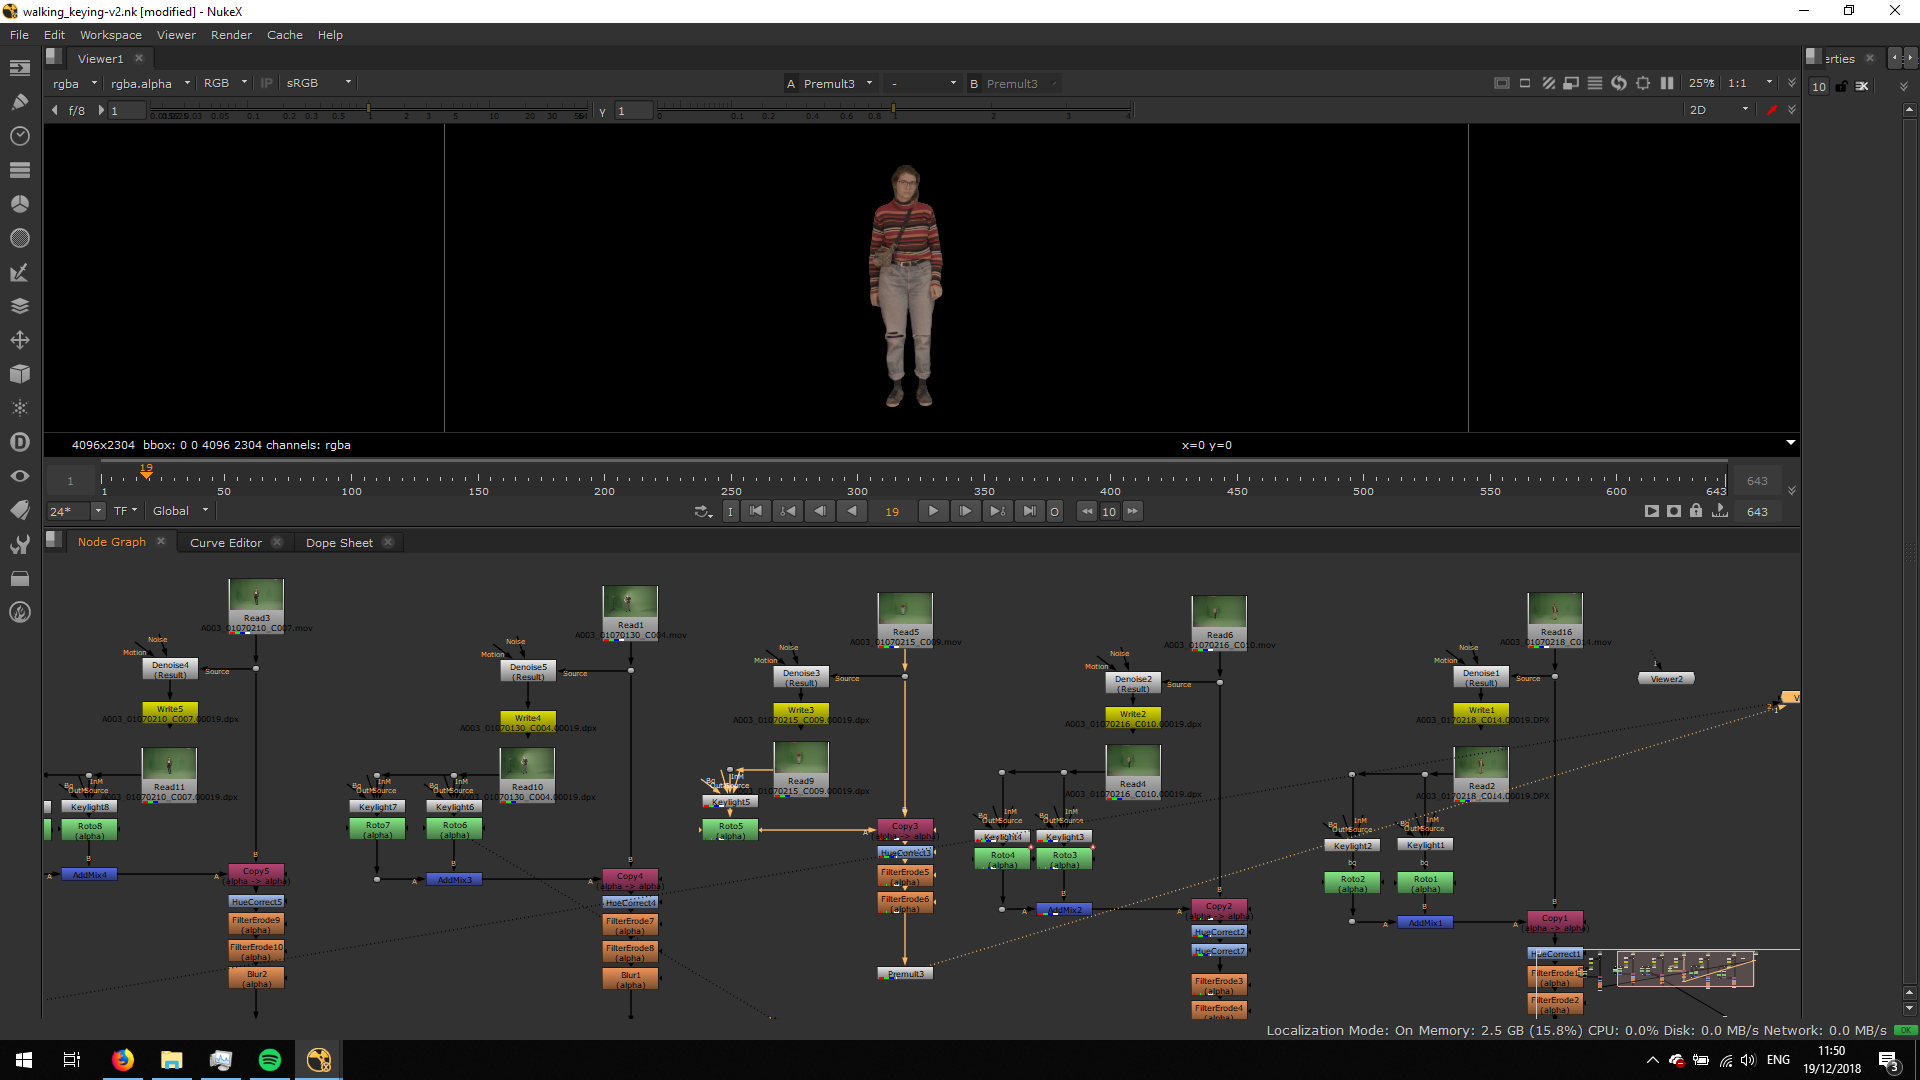
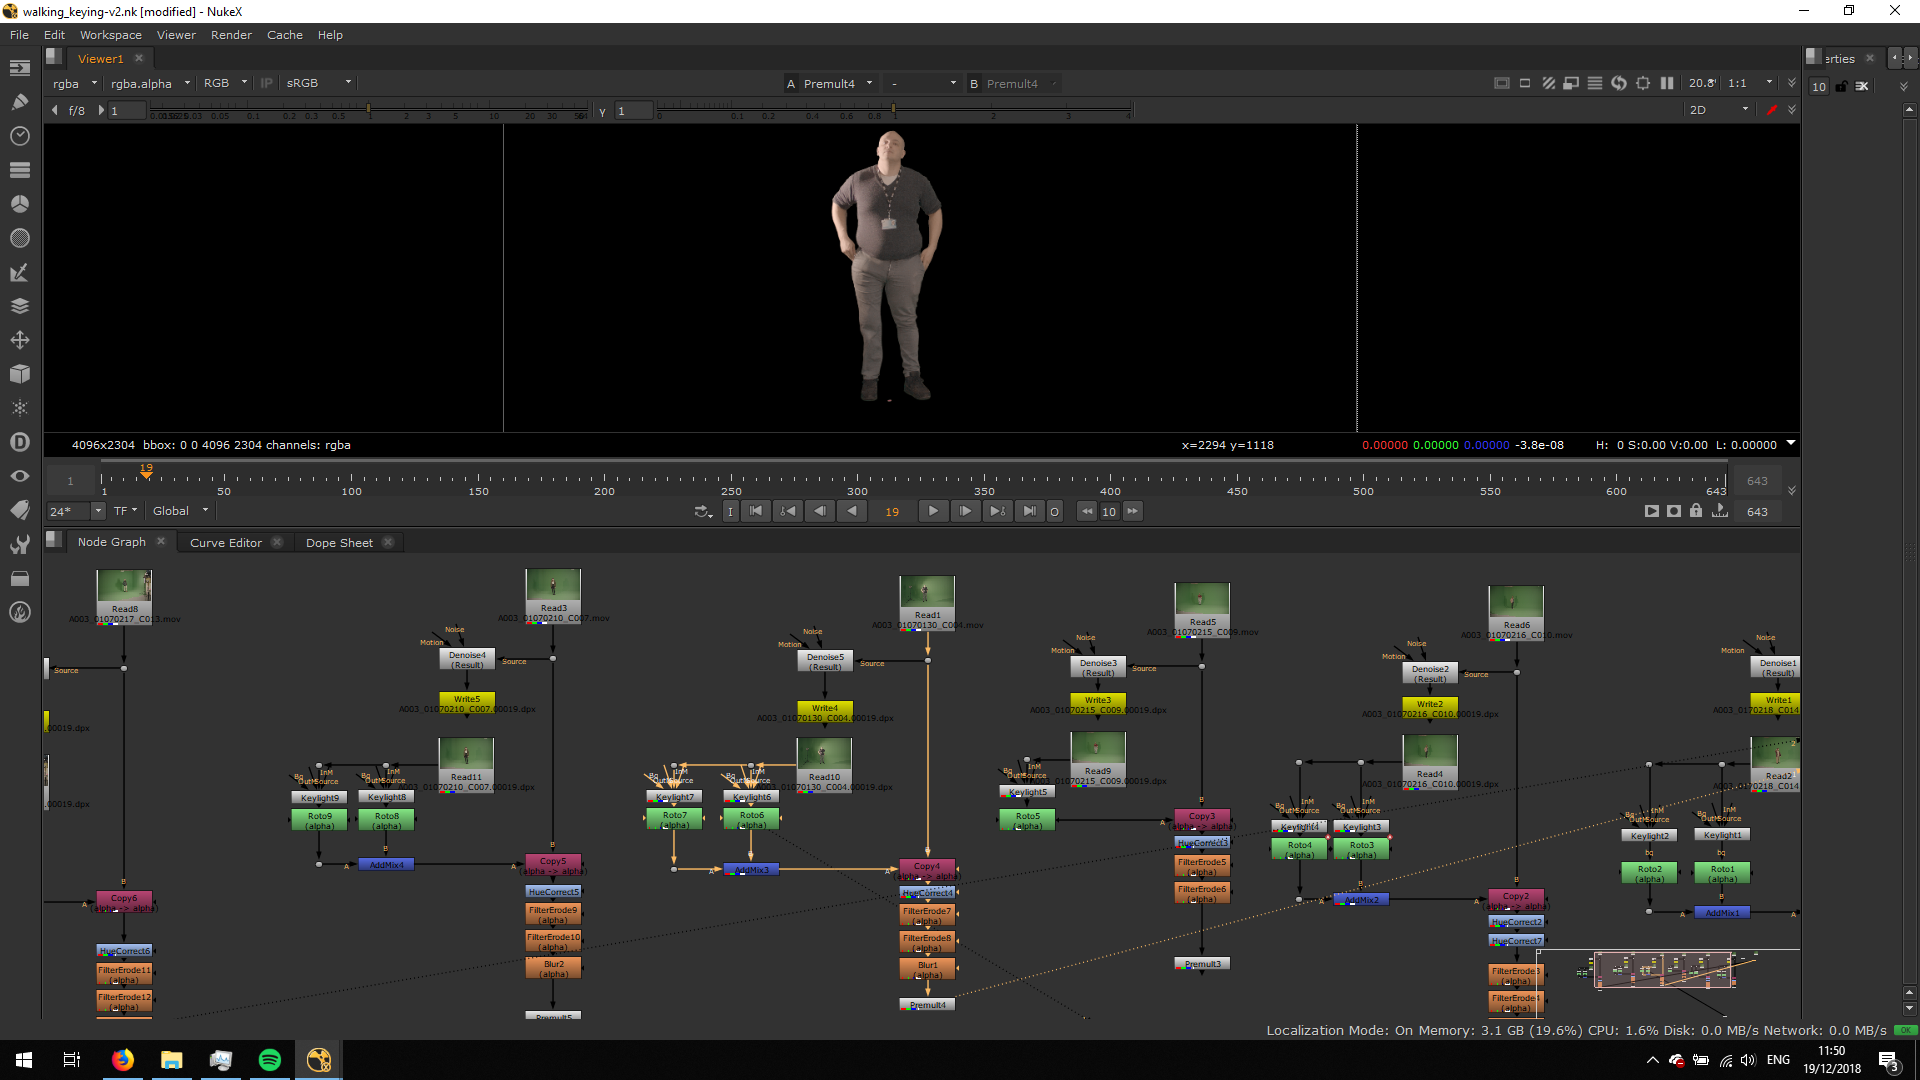
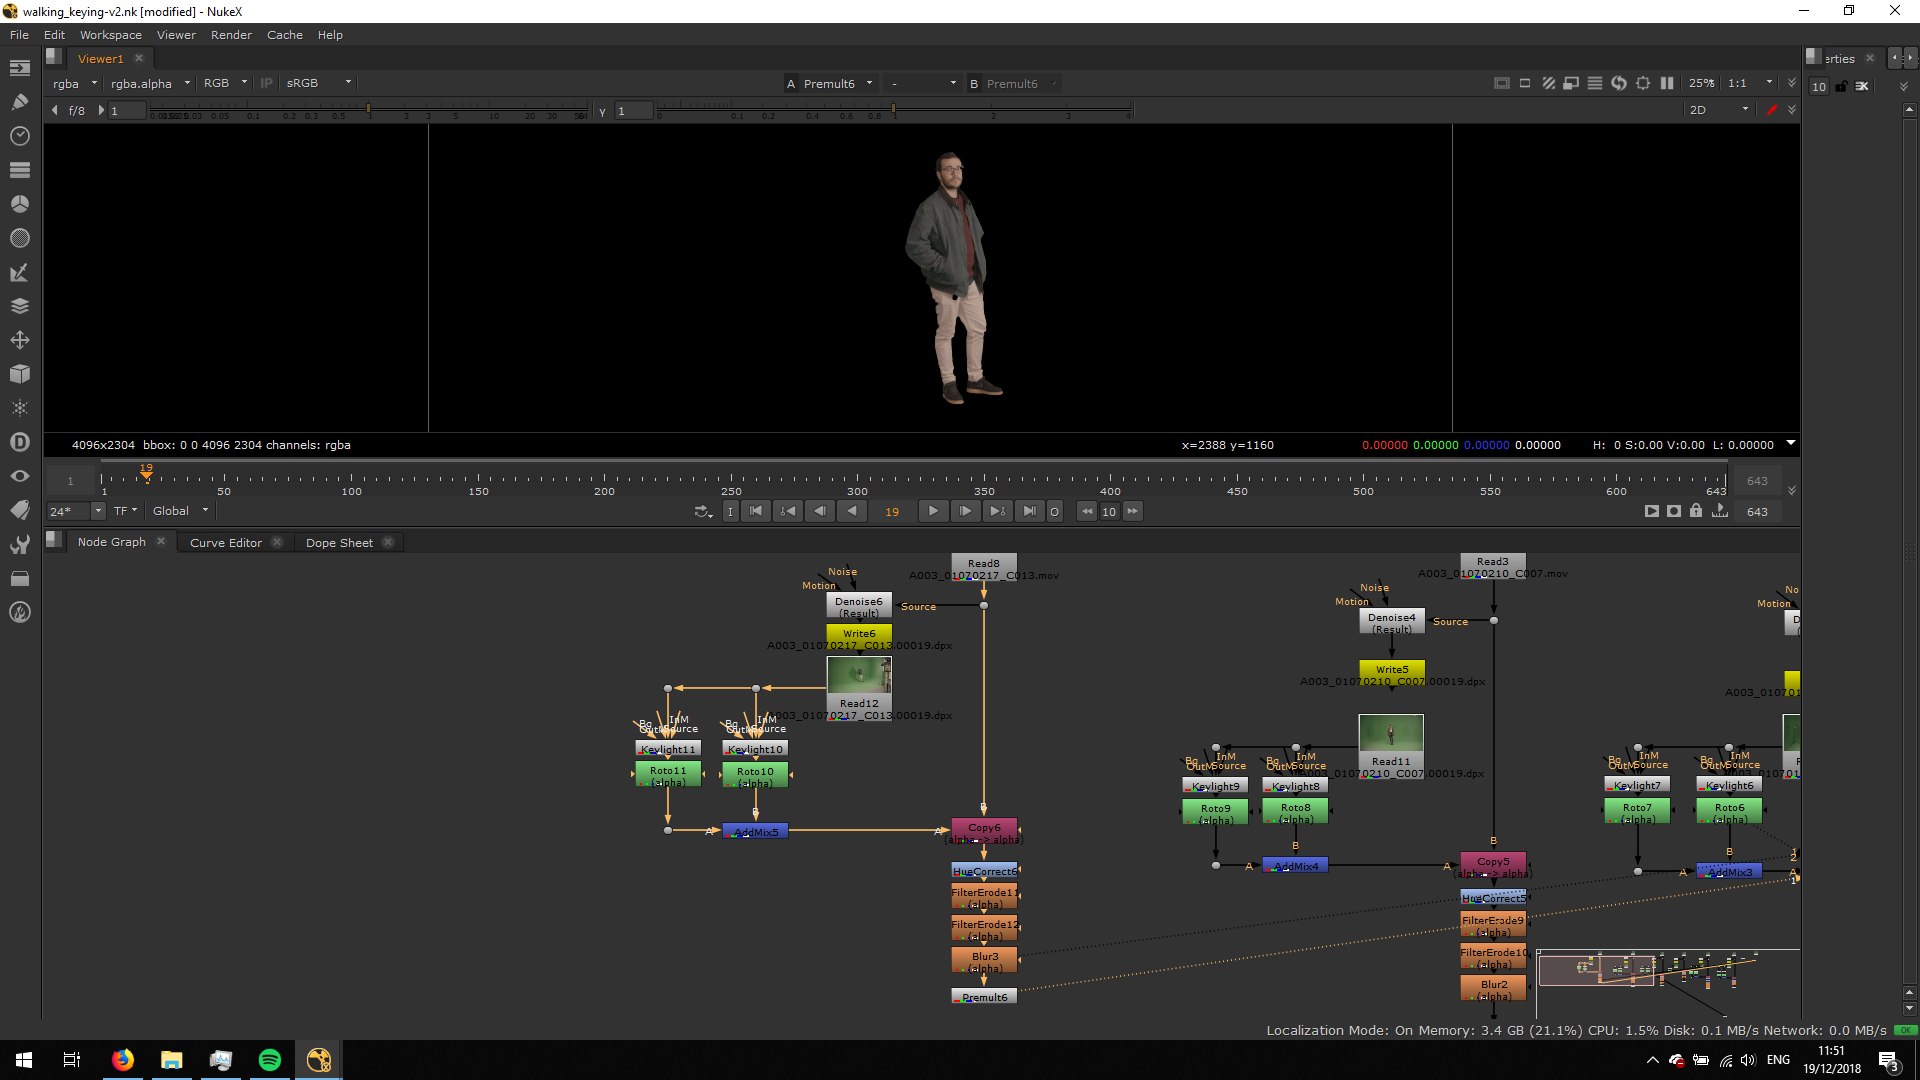
Now, the keying is ready for this footage. Therefore, we will repeat exactly the same process with all the other footages.

MERGE THE FOOTAGES
As we can see, we have done all the keylights and we have all our characters premultiplied. Now, we can merge them one over the other one so we can see them all together in the composition. For that, we will use the clear frame, and we will follow the tracking marks to place every footage in the same place and match the camera movement. This will help us matching the camera movement and perspective. We will do that first, using the Merge Over note with every footage and the blank note.
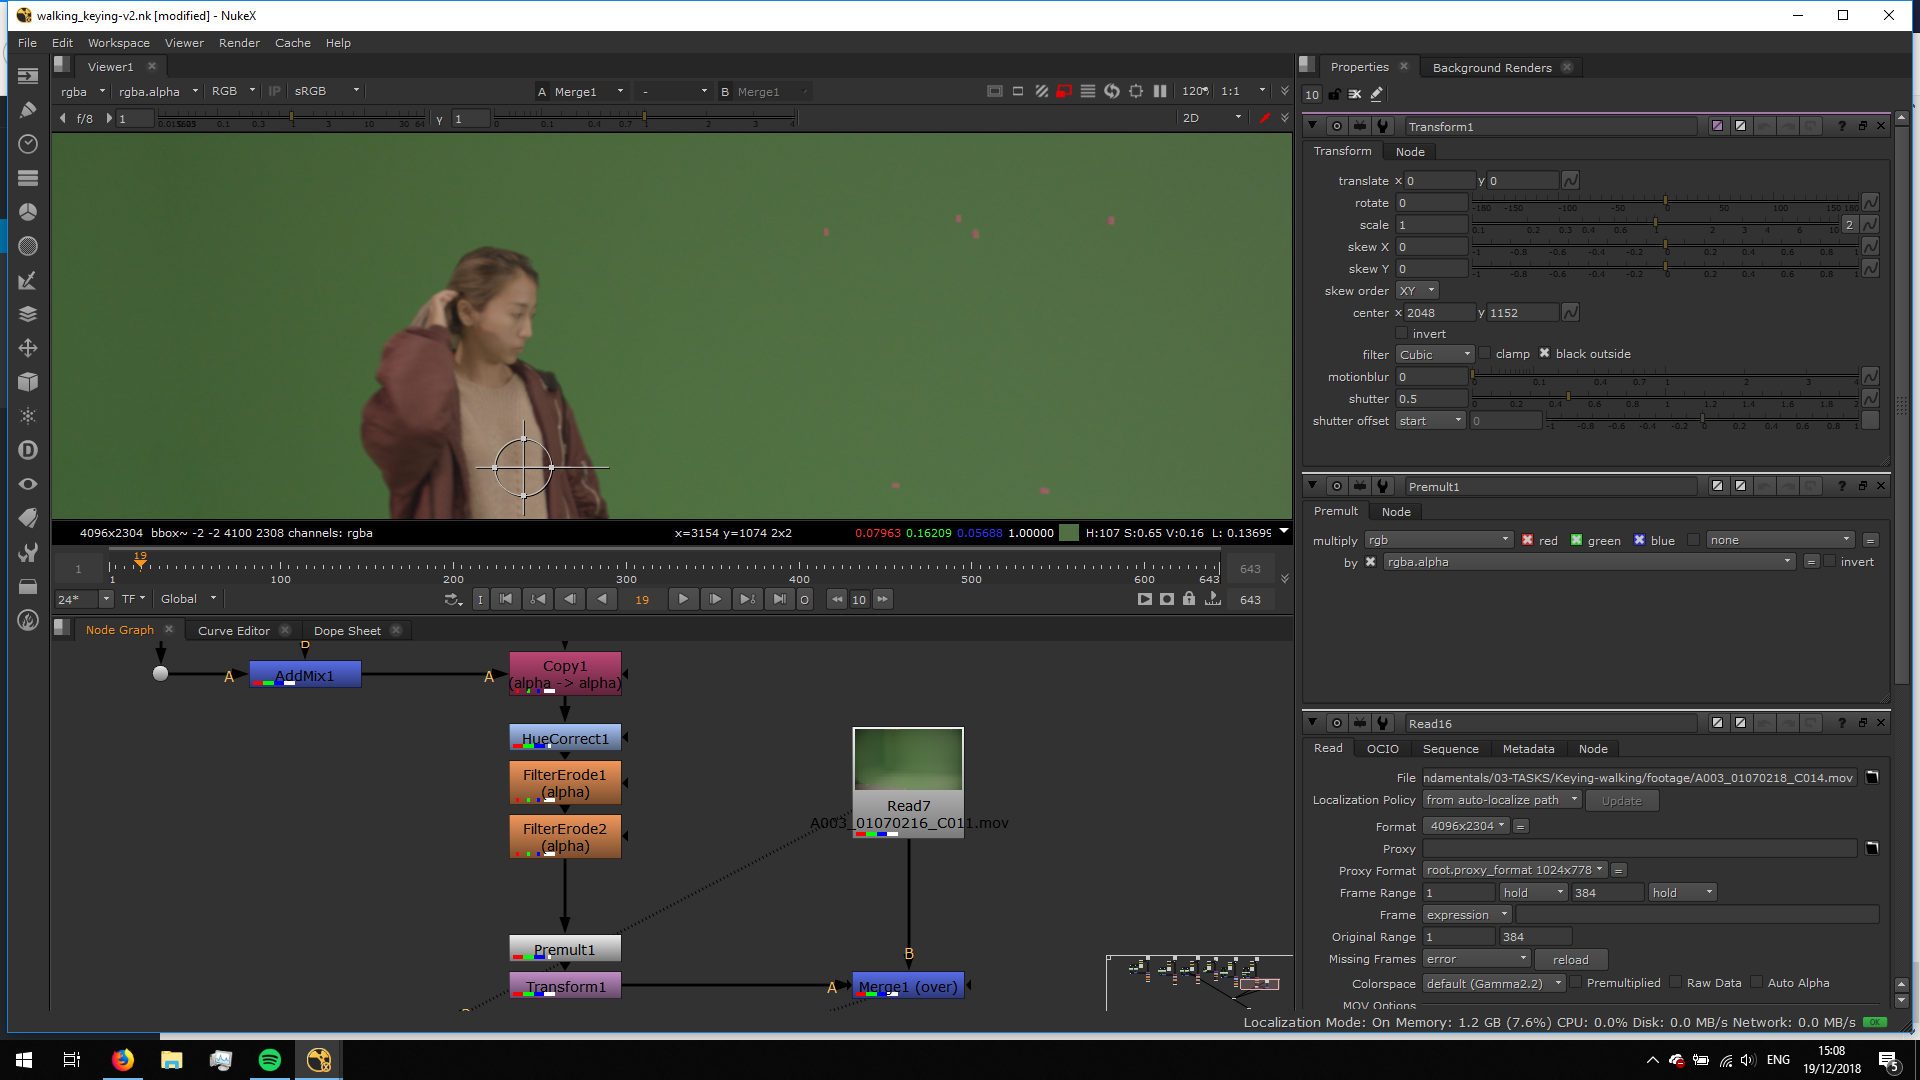
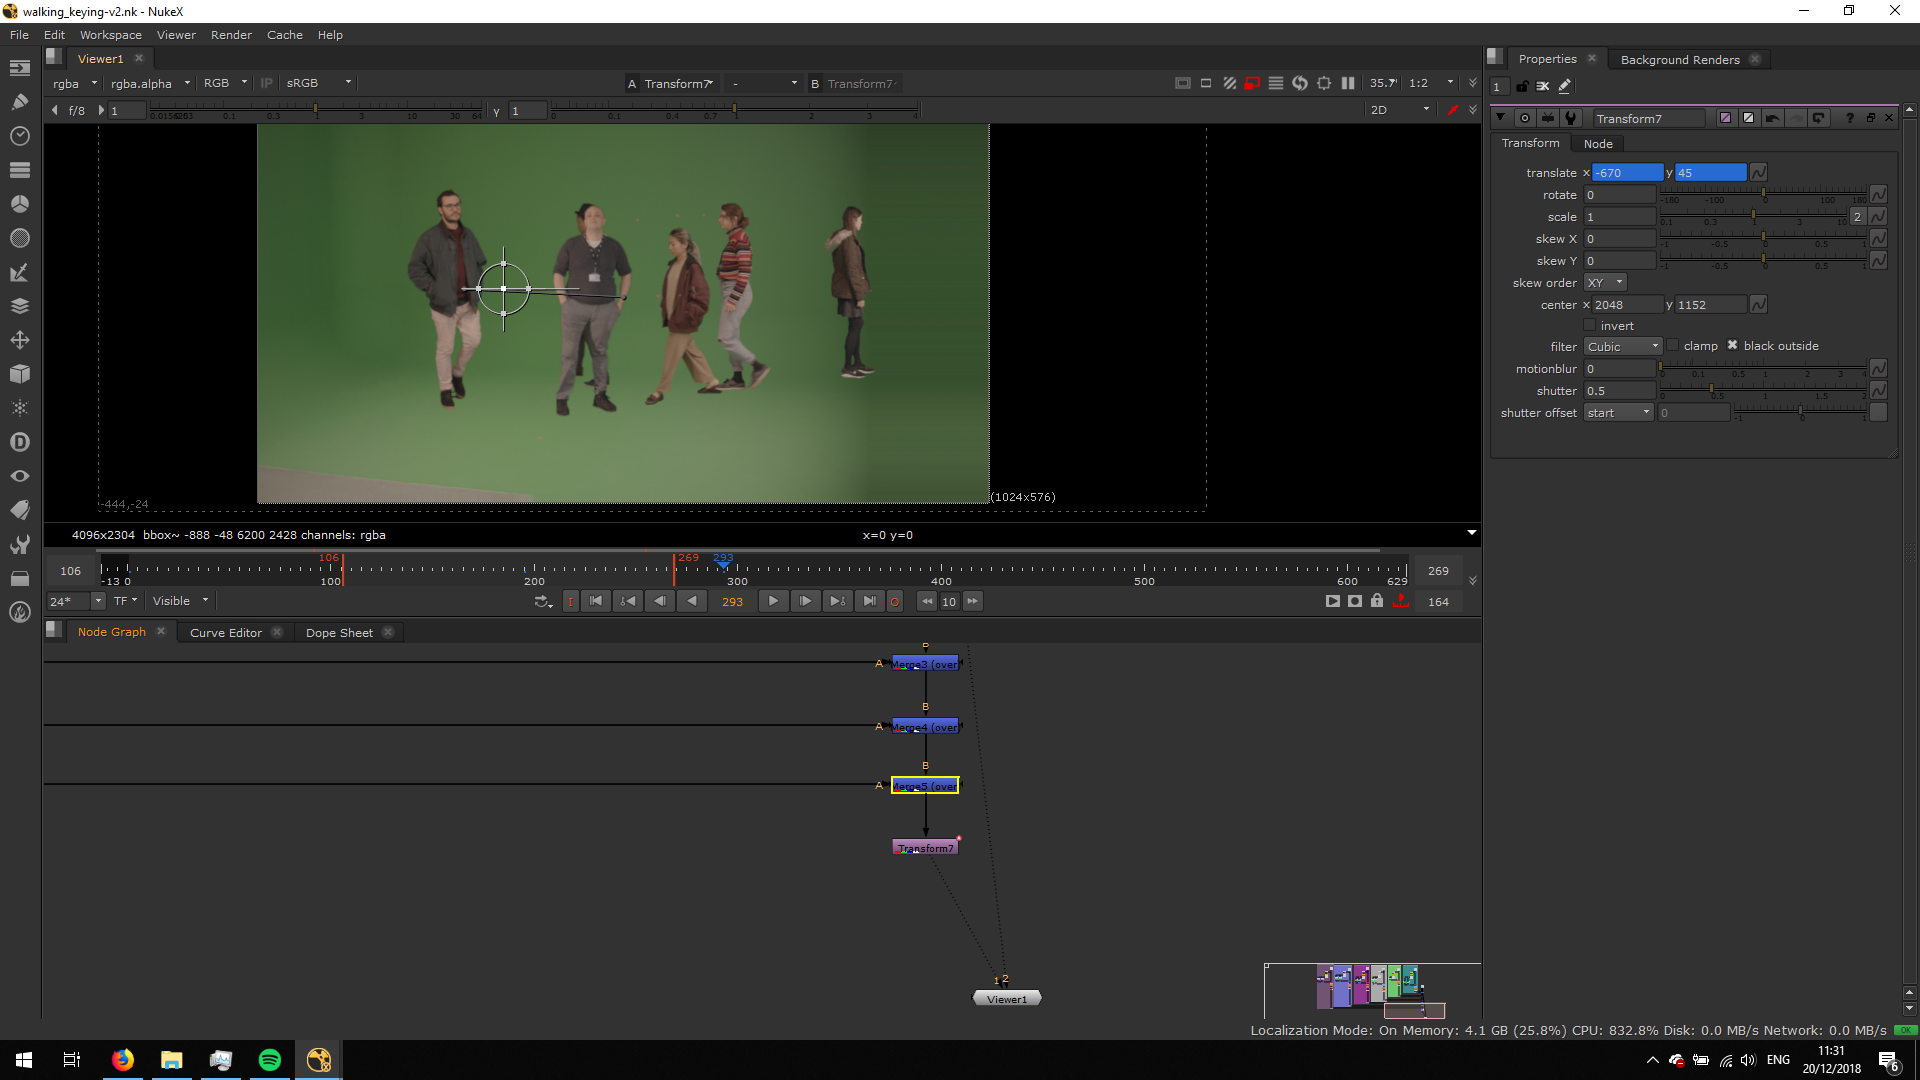
MATCH THE CAMERA MOVEMENT
Therefore, we will merge the first premultiplied footage into the blank frame. We will add a Transform note after the Premult in order to be able to change the position. As the keylight is rotoscopied, we will disable the roto. In this way, we will be able to see the tracker markers in the footage, and so we can match the tho compositions easily. 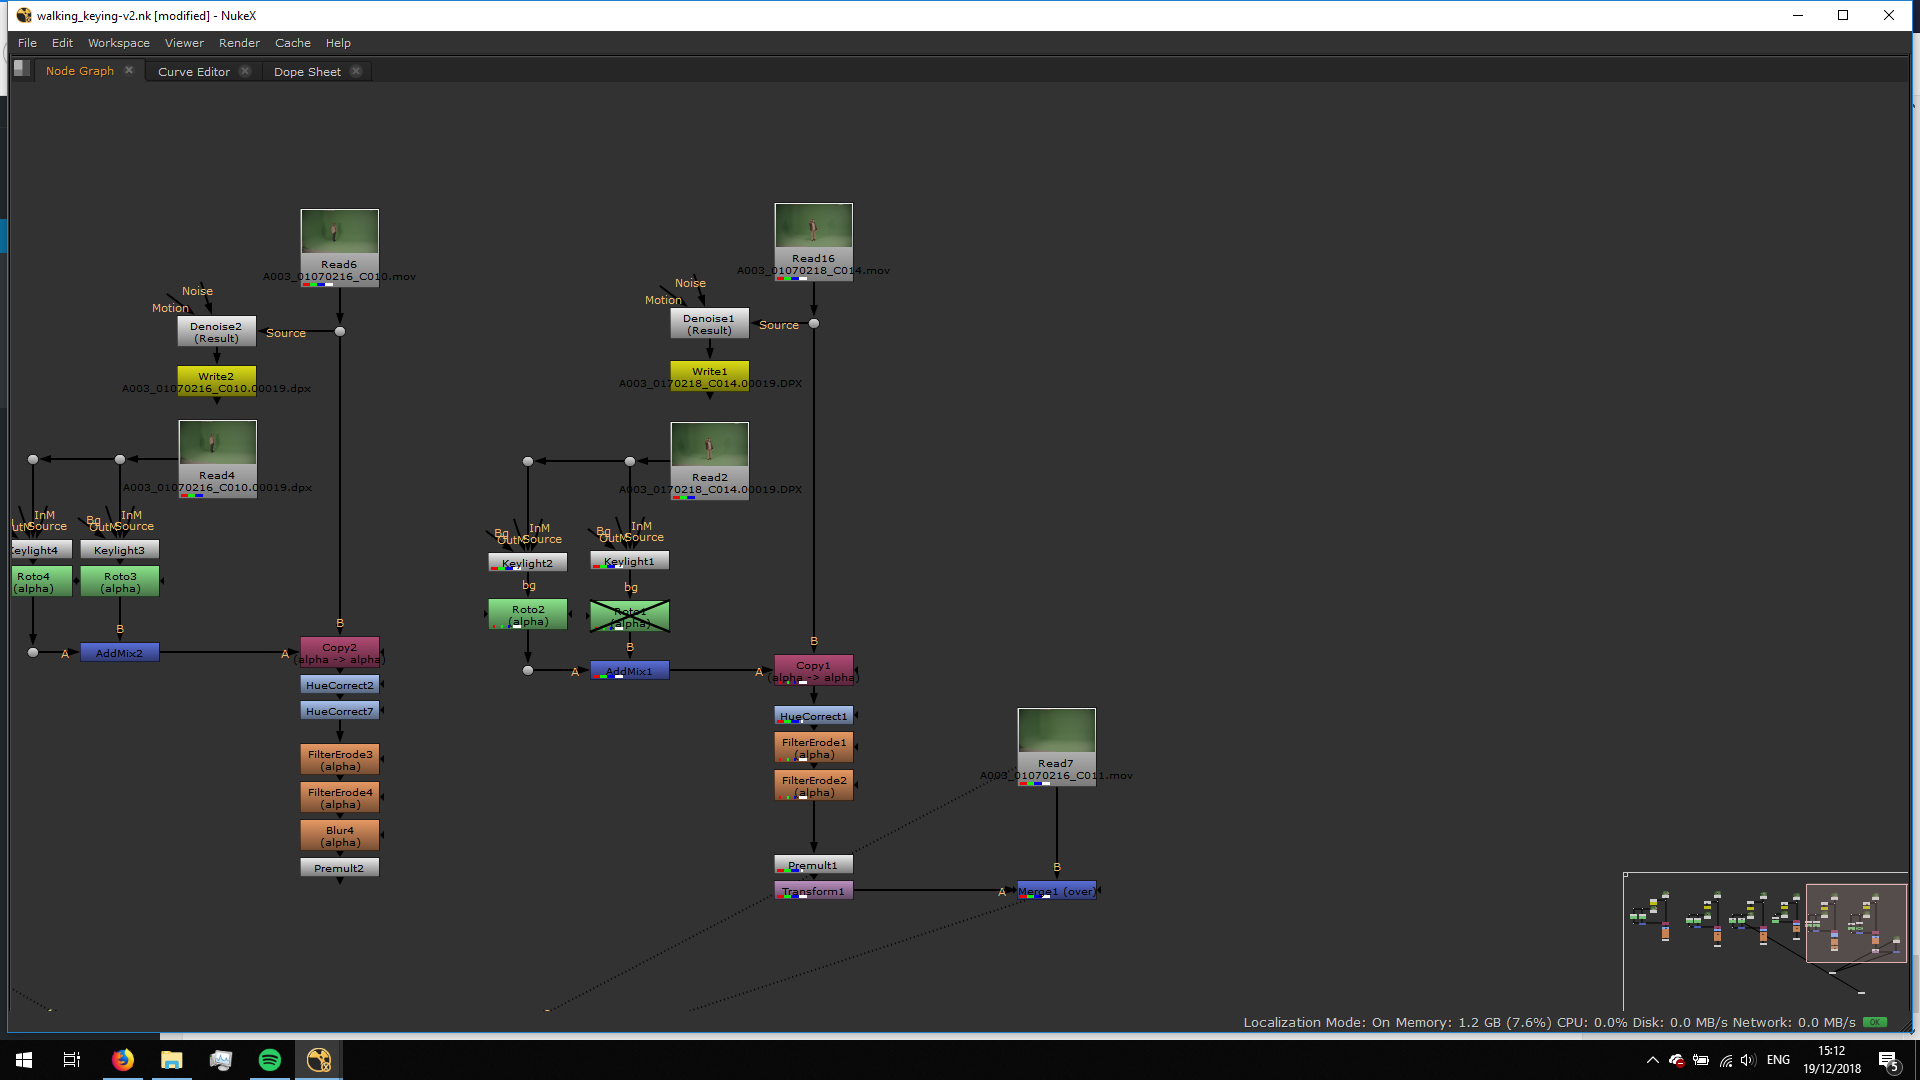
Once we have matched the points, we will enable the roto again. 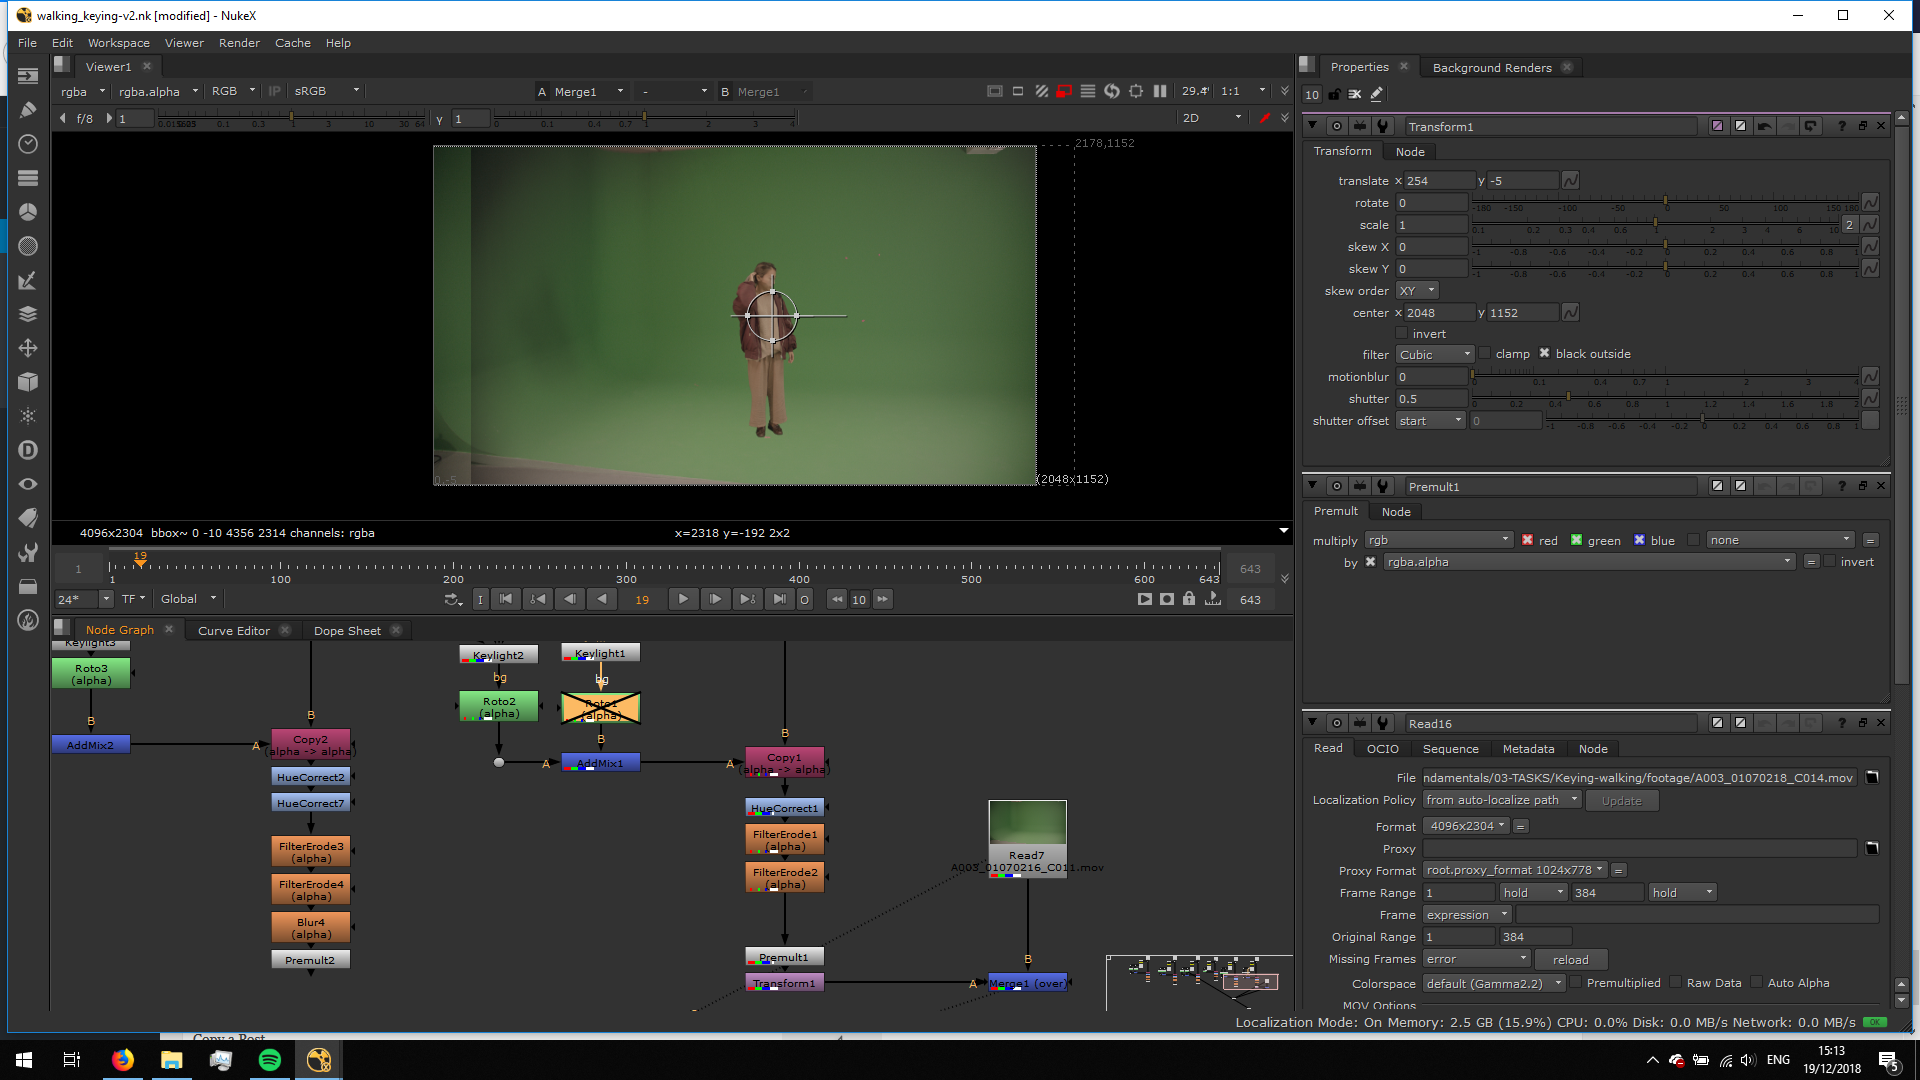
We will do the same process with al the pieces of footage, merging them over the previous one. 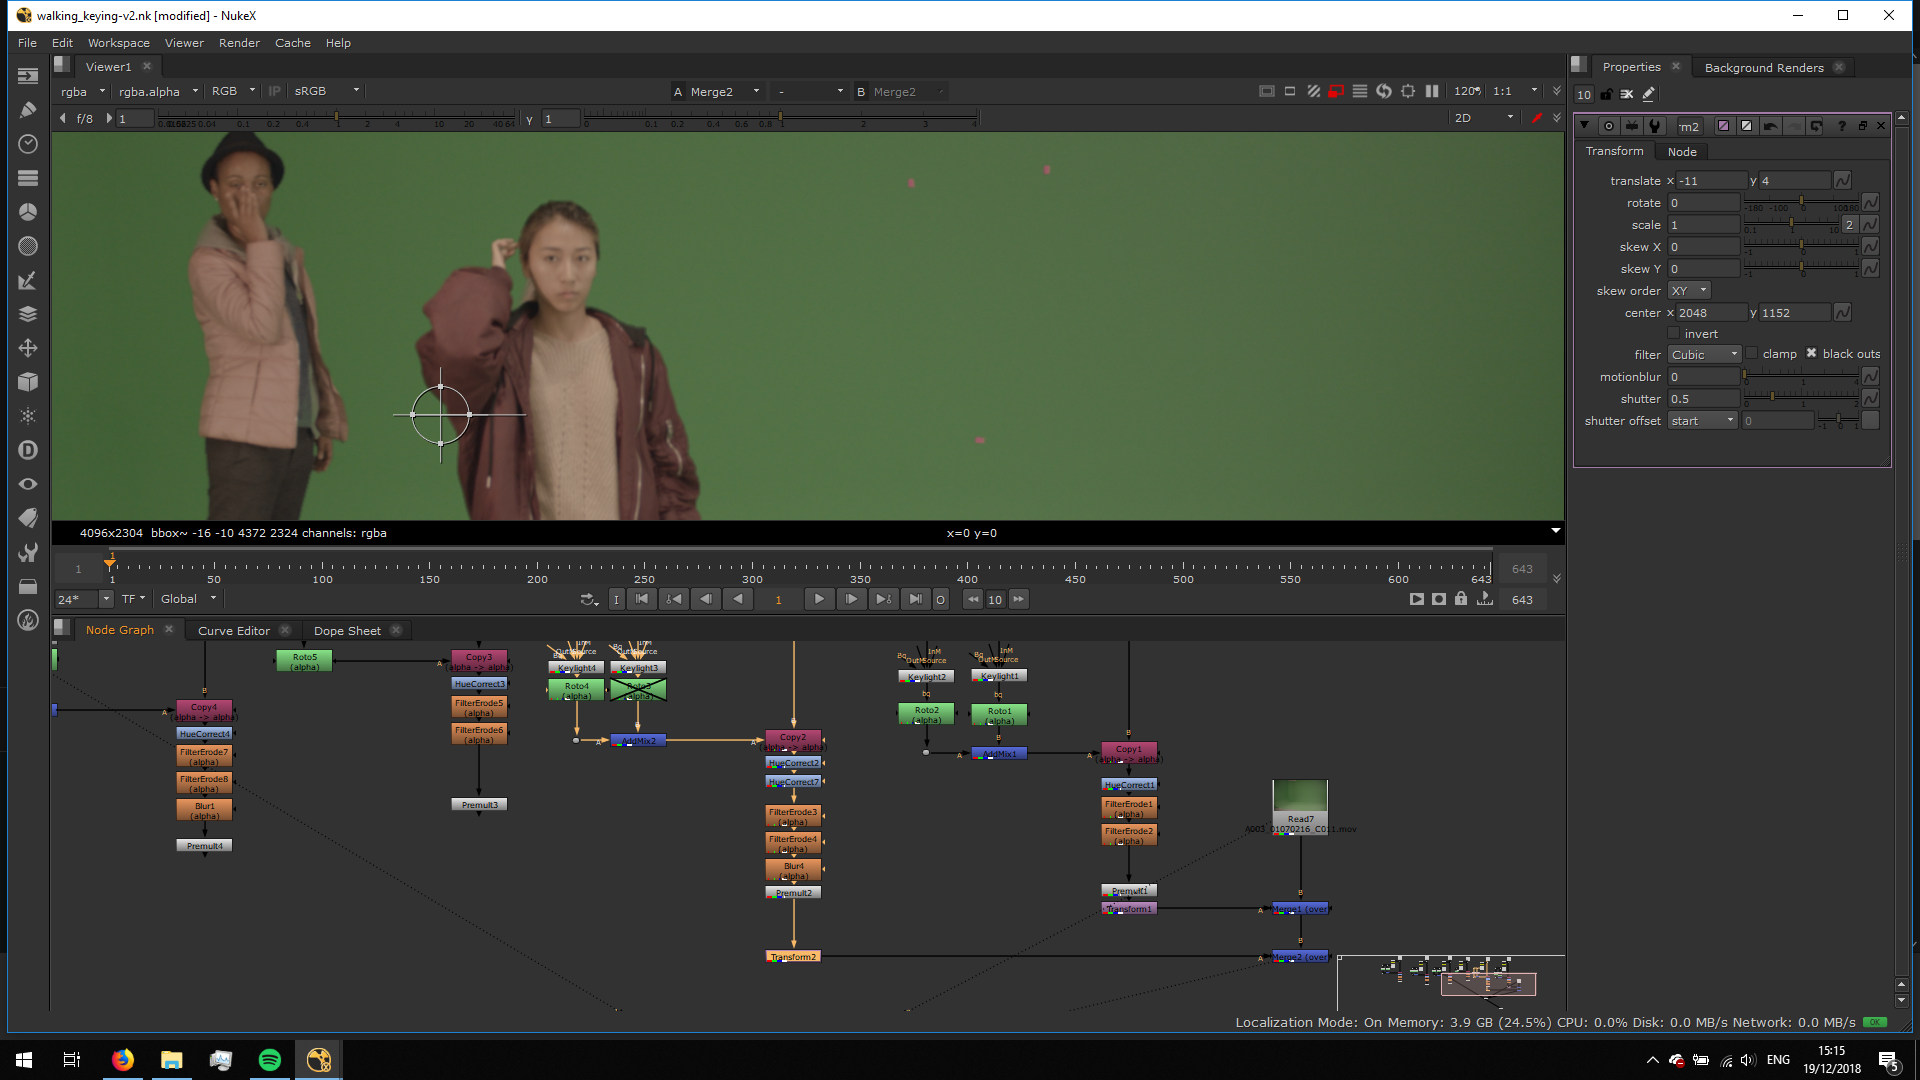
This will be the result. Now, to match the camera movement, we will animate every transform note to match the camera movement. 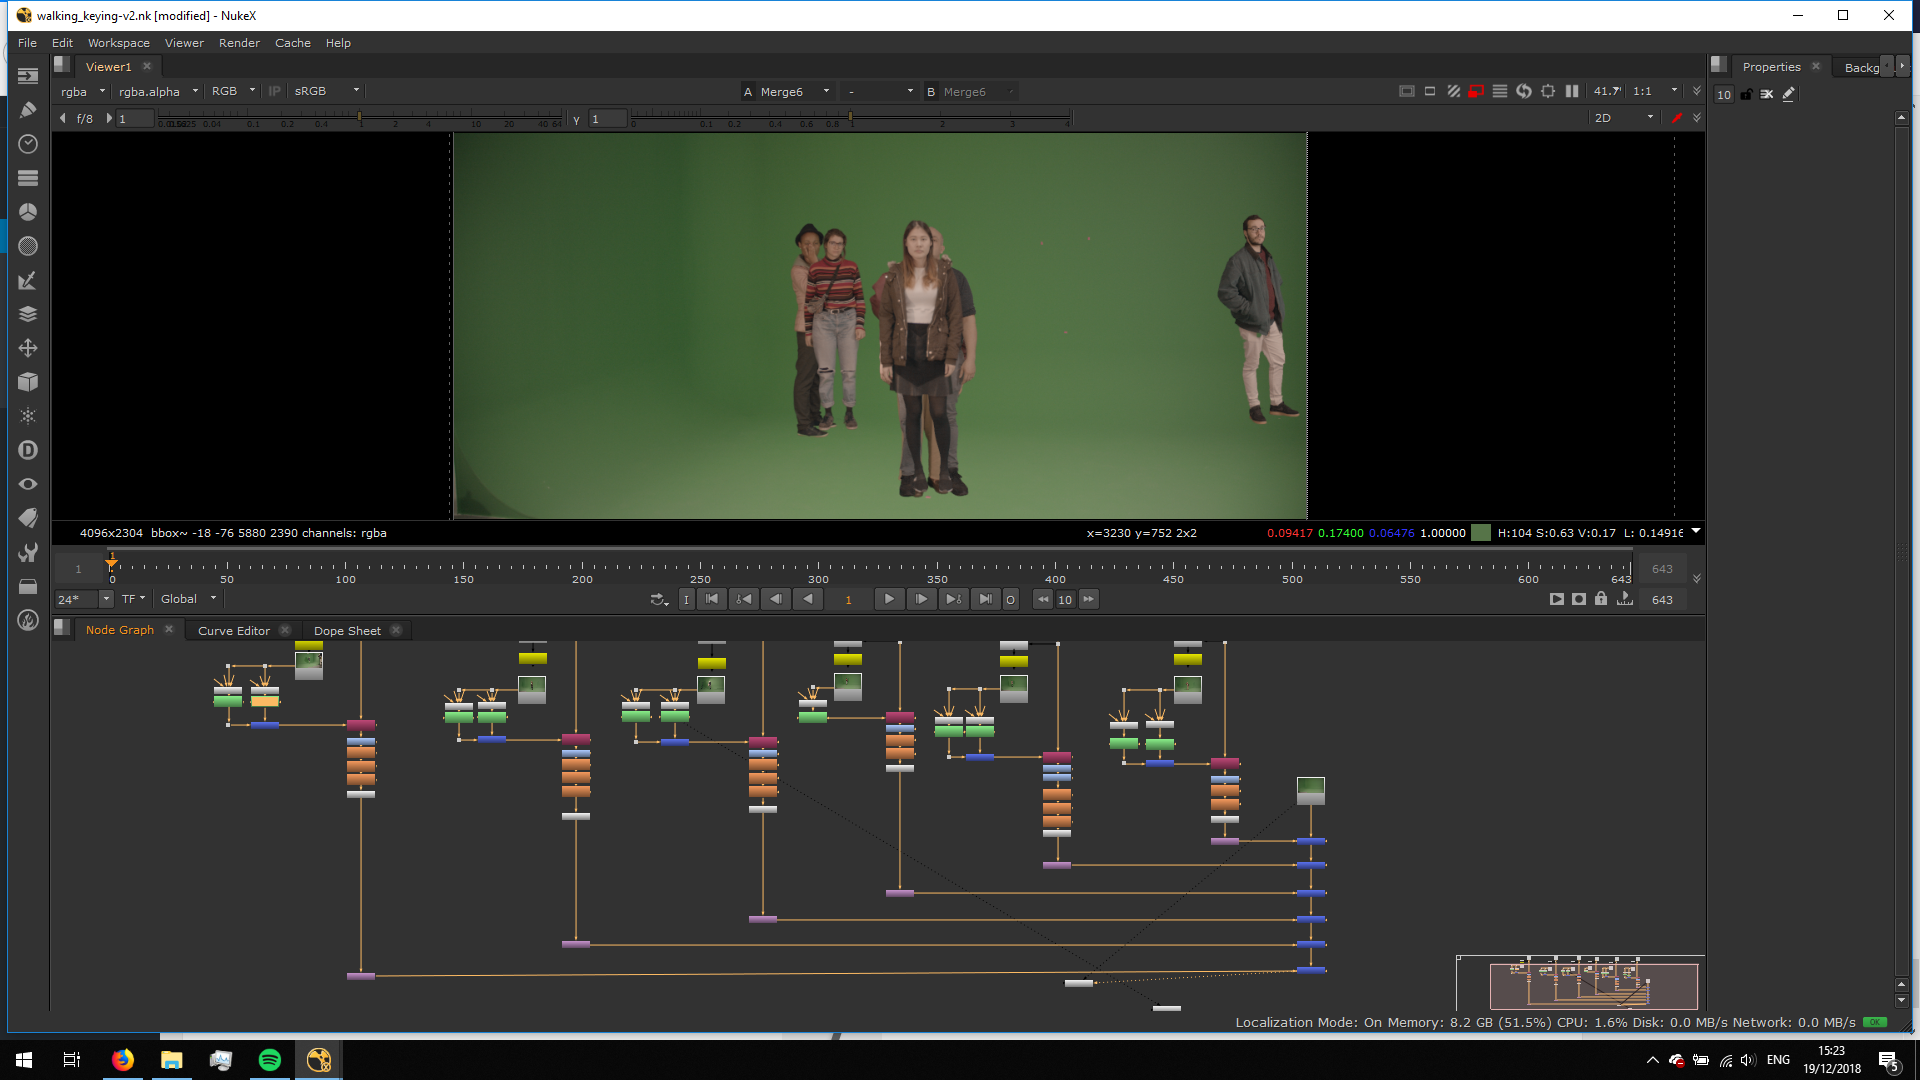
For that, we will set a key frame in frame one and we will set the other keys in the last frame. If the movement is not really matched in the middle, we can add more frames along the timeline.
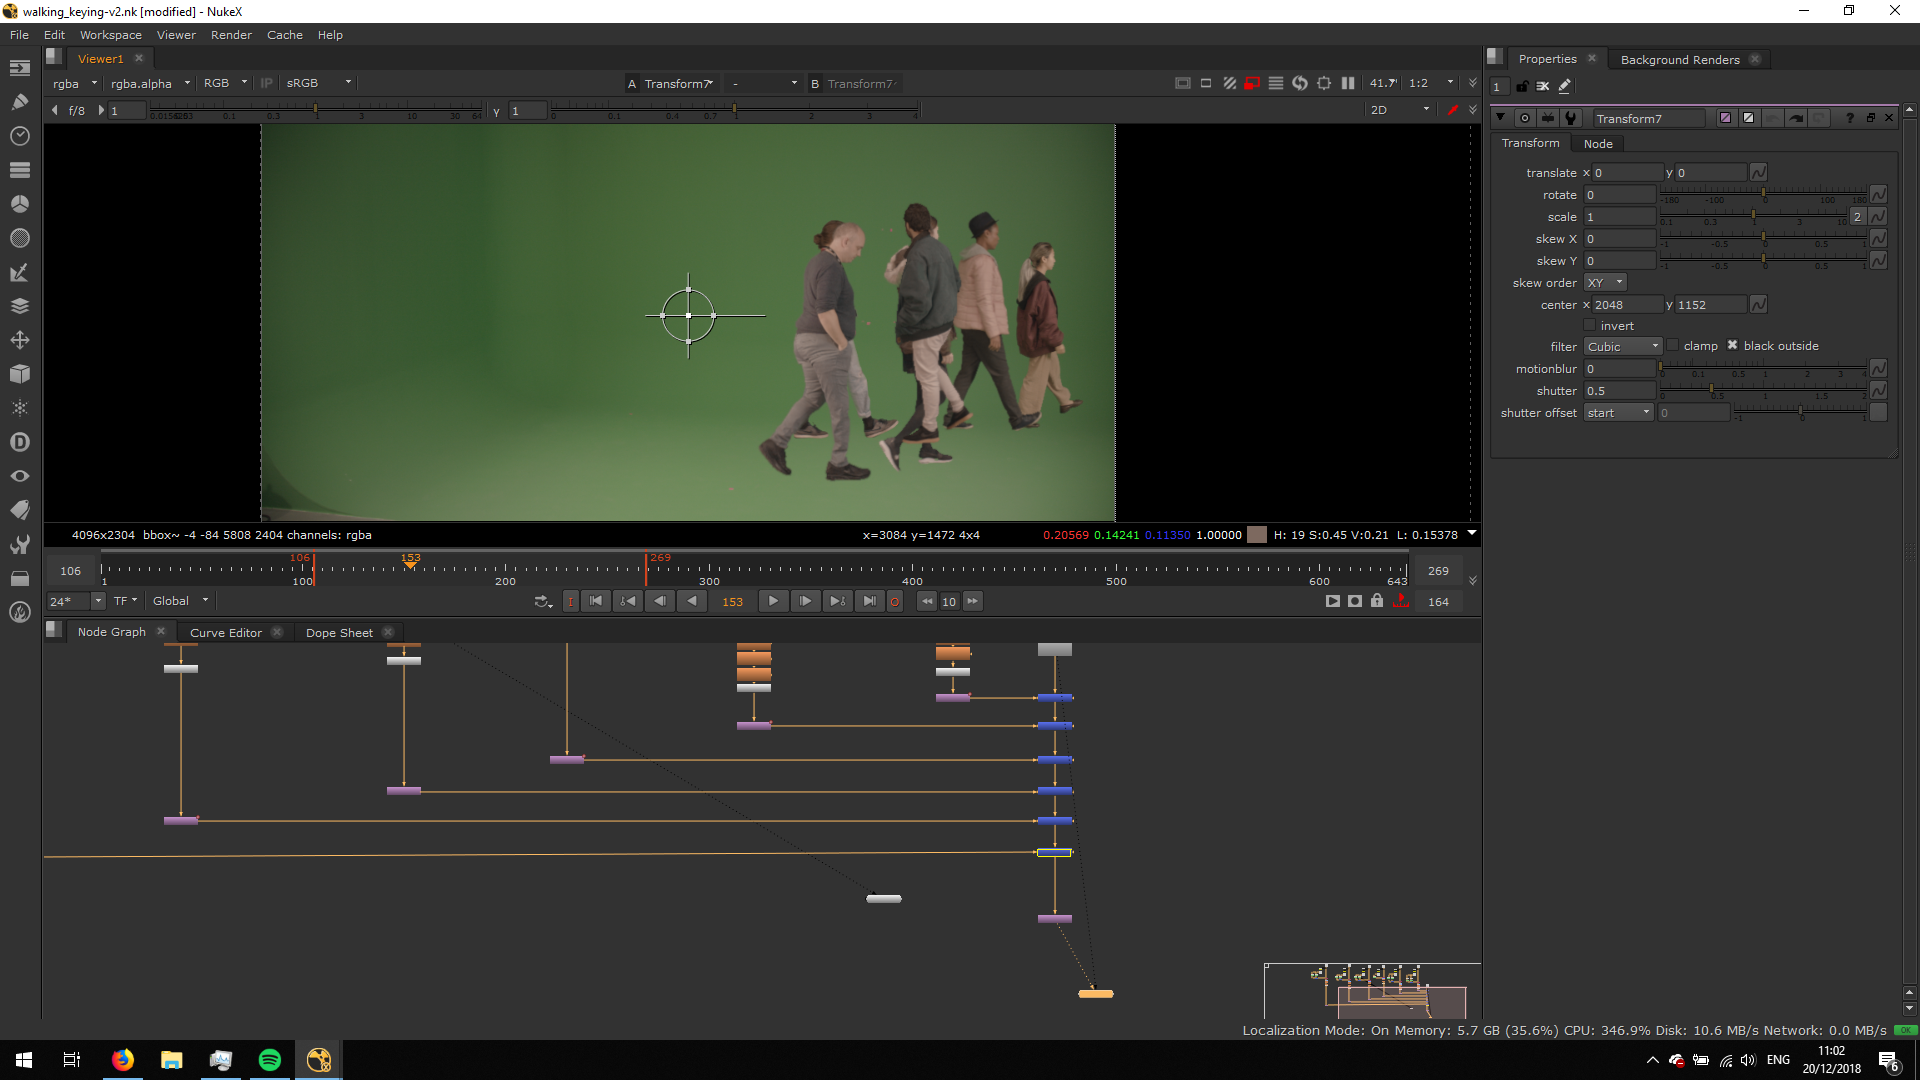
MATCH THE DEPTH
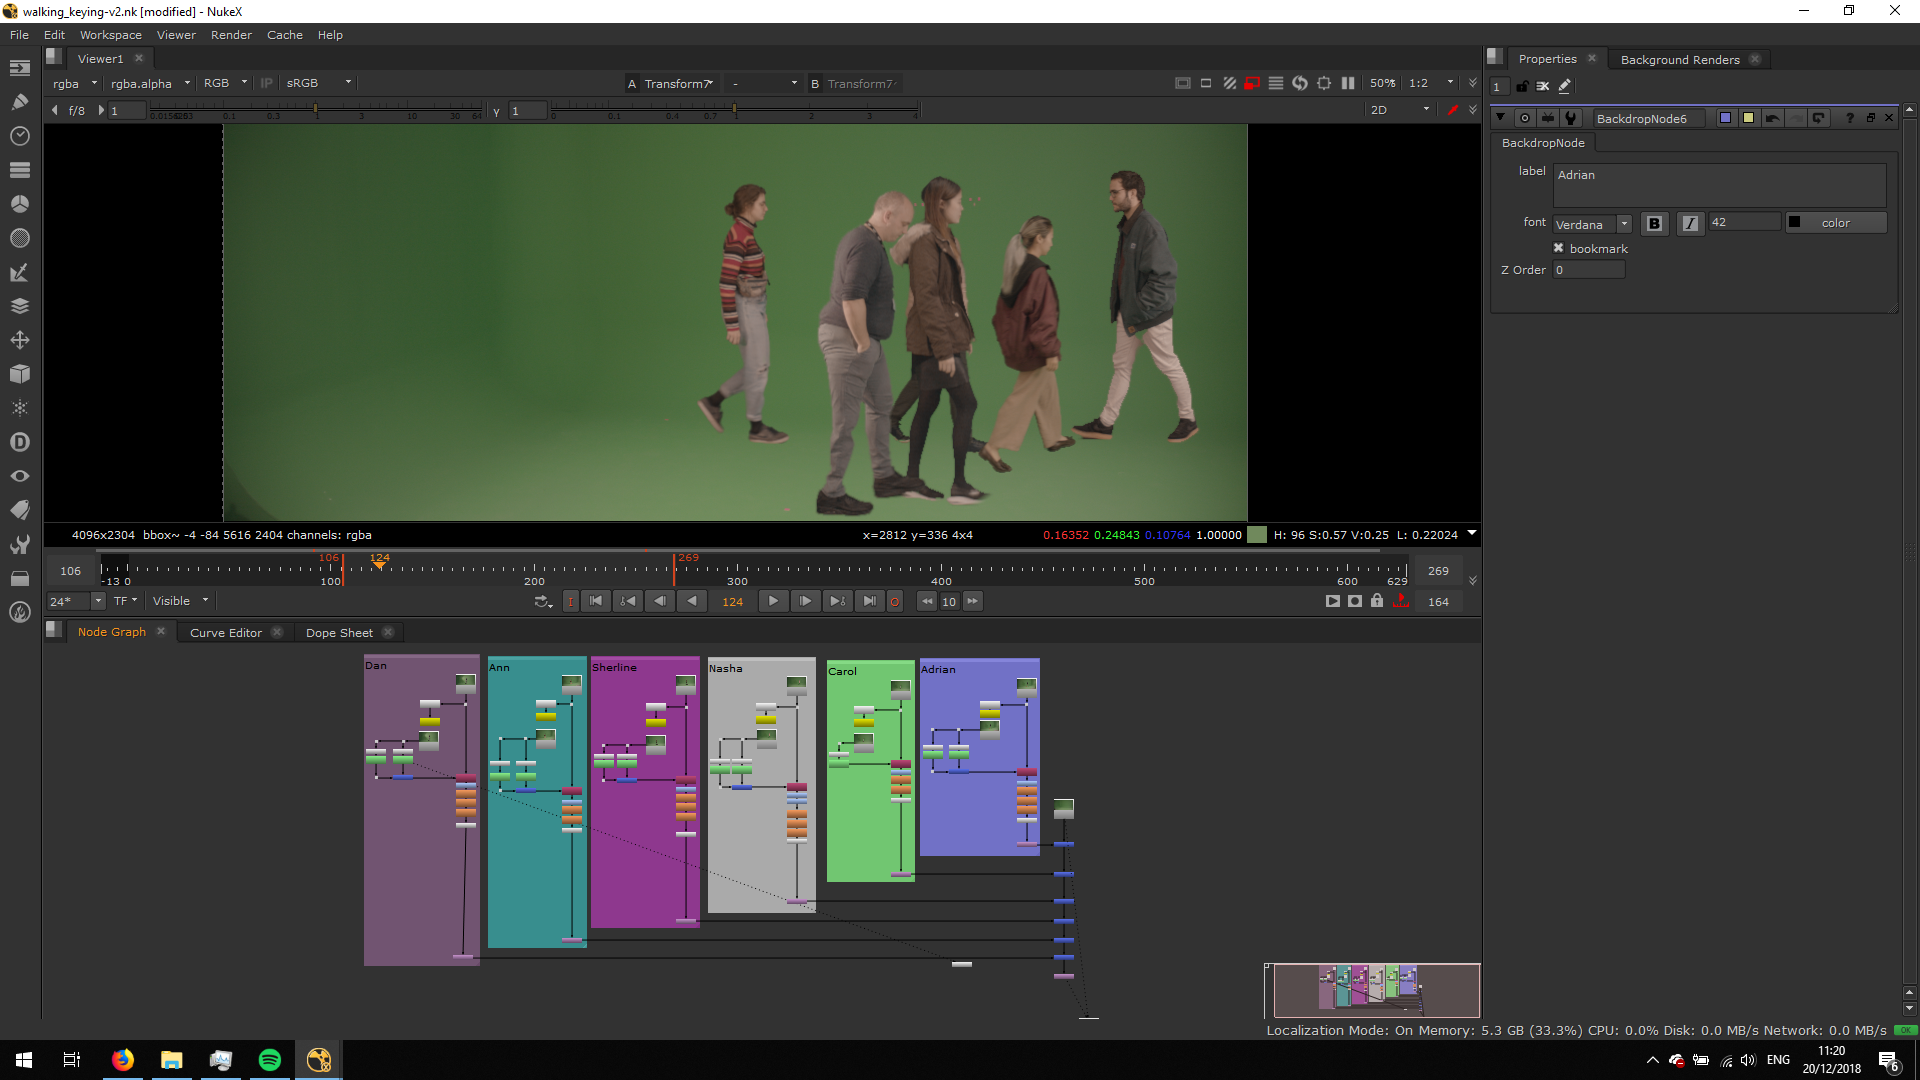
Now, we will arrange the characters not to overlap. We will merge the smaller figures in the back and the bigger in the front. It will be helpful to group every footage into a backdrop note with a reference, it will make us able to see the character we are referring to.
ADD MOVEMENT
Once we have all the movements matched and the character placed, we can add the camera movement at the end of the composition. For that, we can add a transform not enad put 2 feyframes, to follow the camera movement of the other footages and keep the characters in the center of the composition.
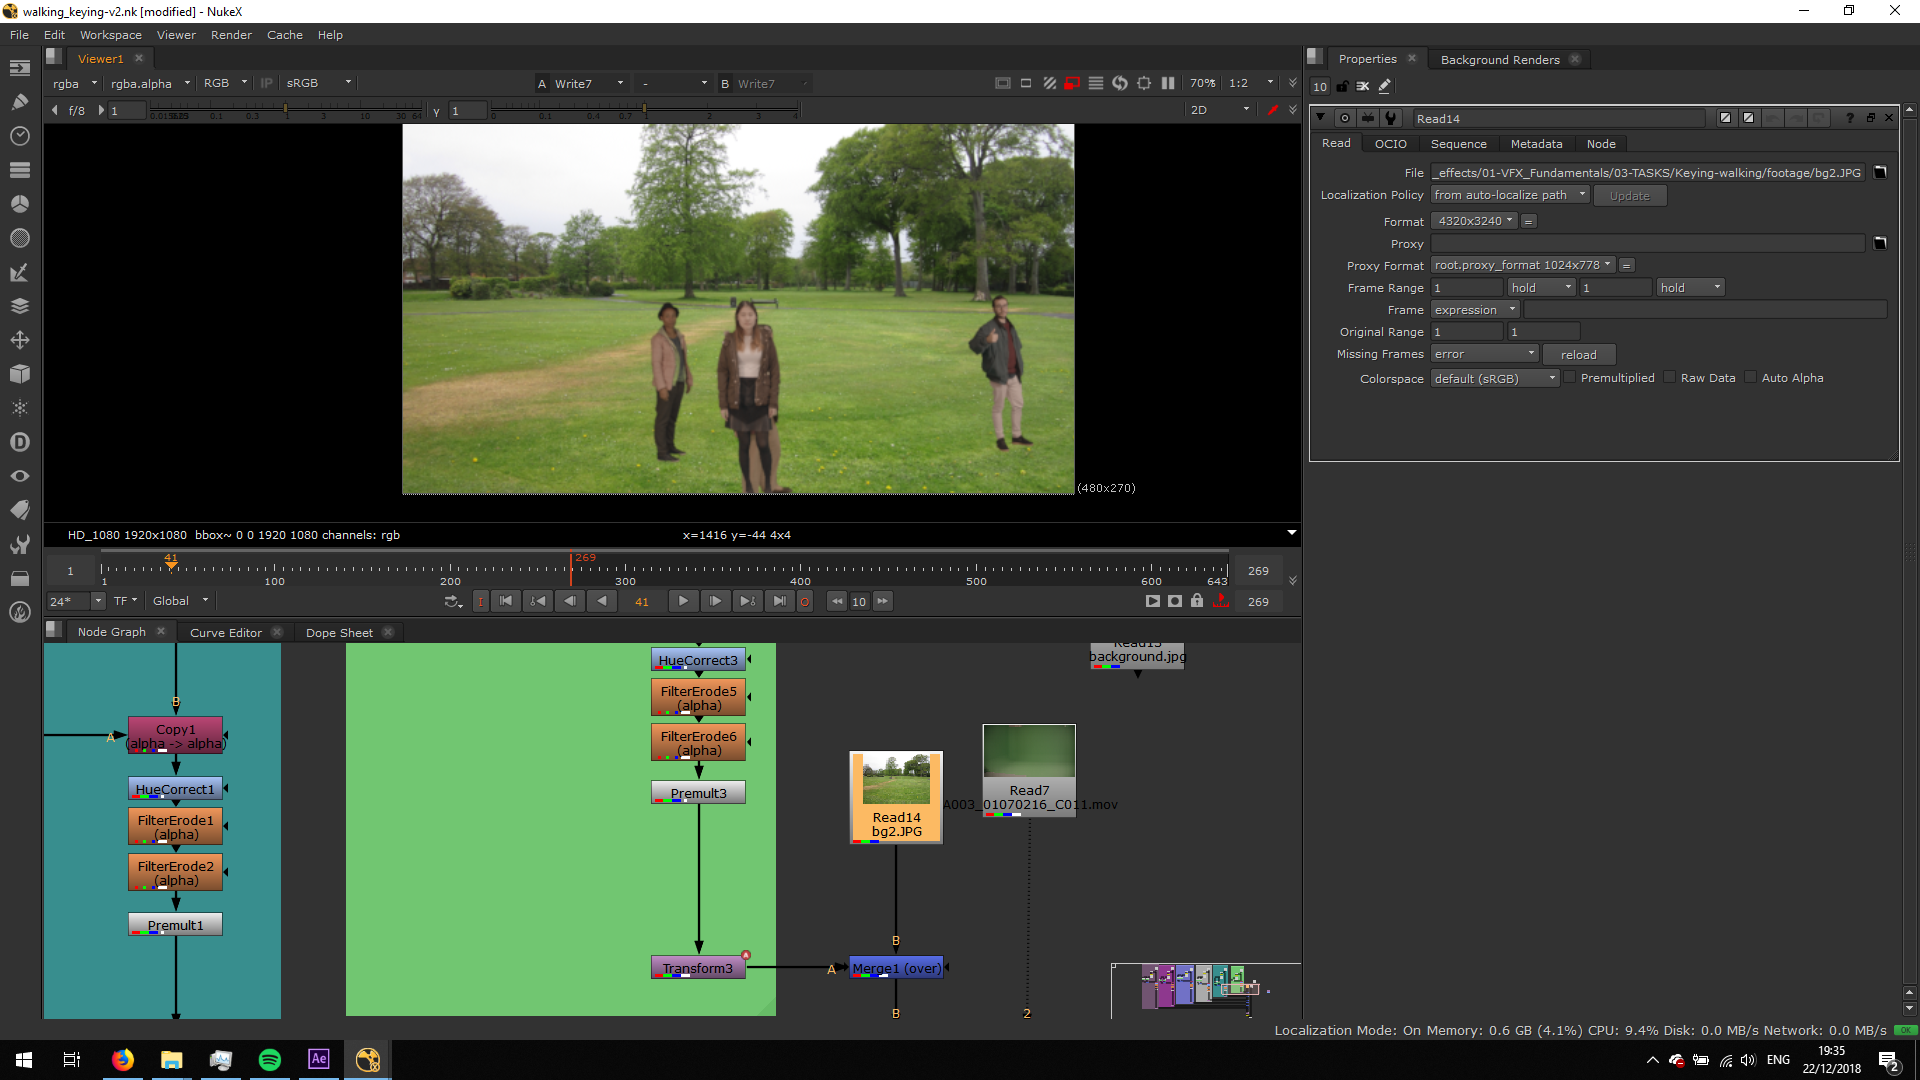
REPLACE BACKGROUND
Now, we will replace the background. For that, we will search any backgrond picture in internet, and we will read it into the compopsition. We will need to resize the image in oprder to match it with the composition size, therefore, we will attach a Reformat note, and we will match it with the footage size. Then, we will attach it to the script in the same place the black read note was.
We will resize the image in order to make it fit. Therefore, we will add a Transform note nad resize it from frame one.
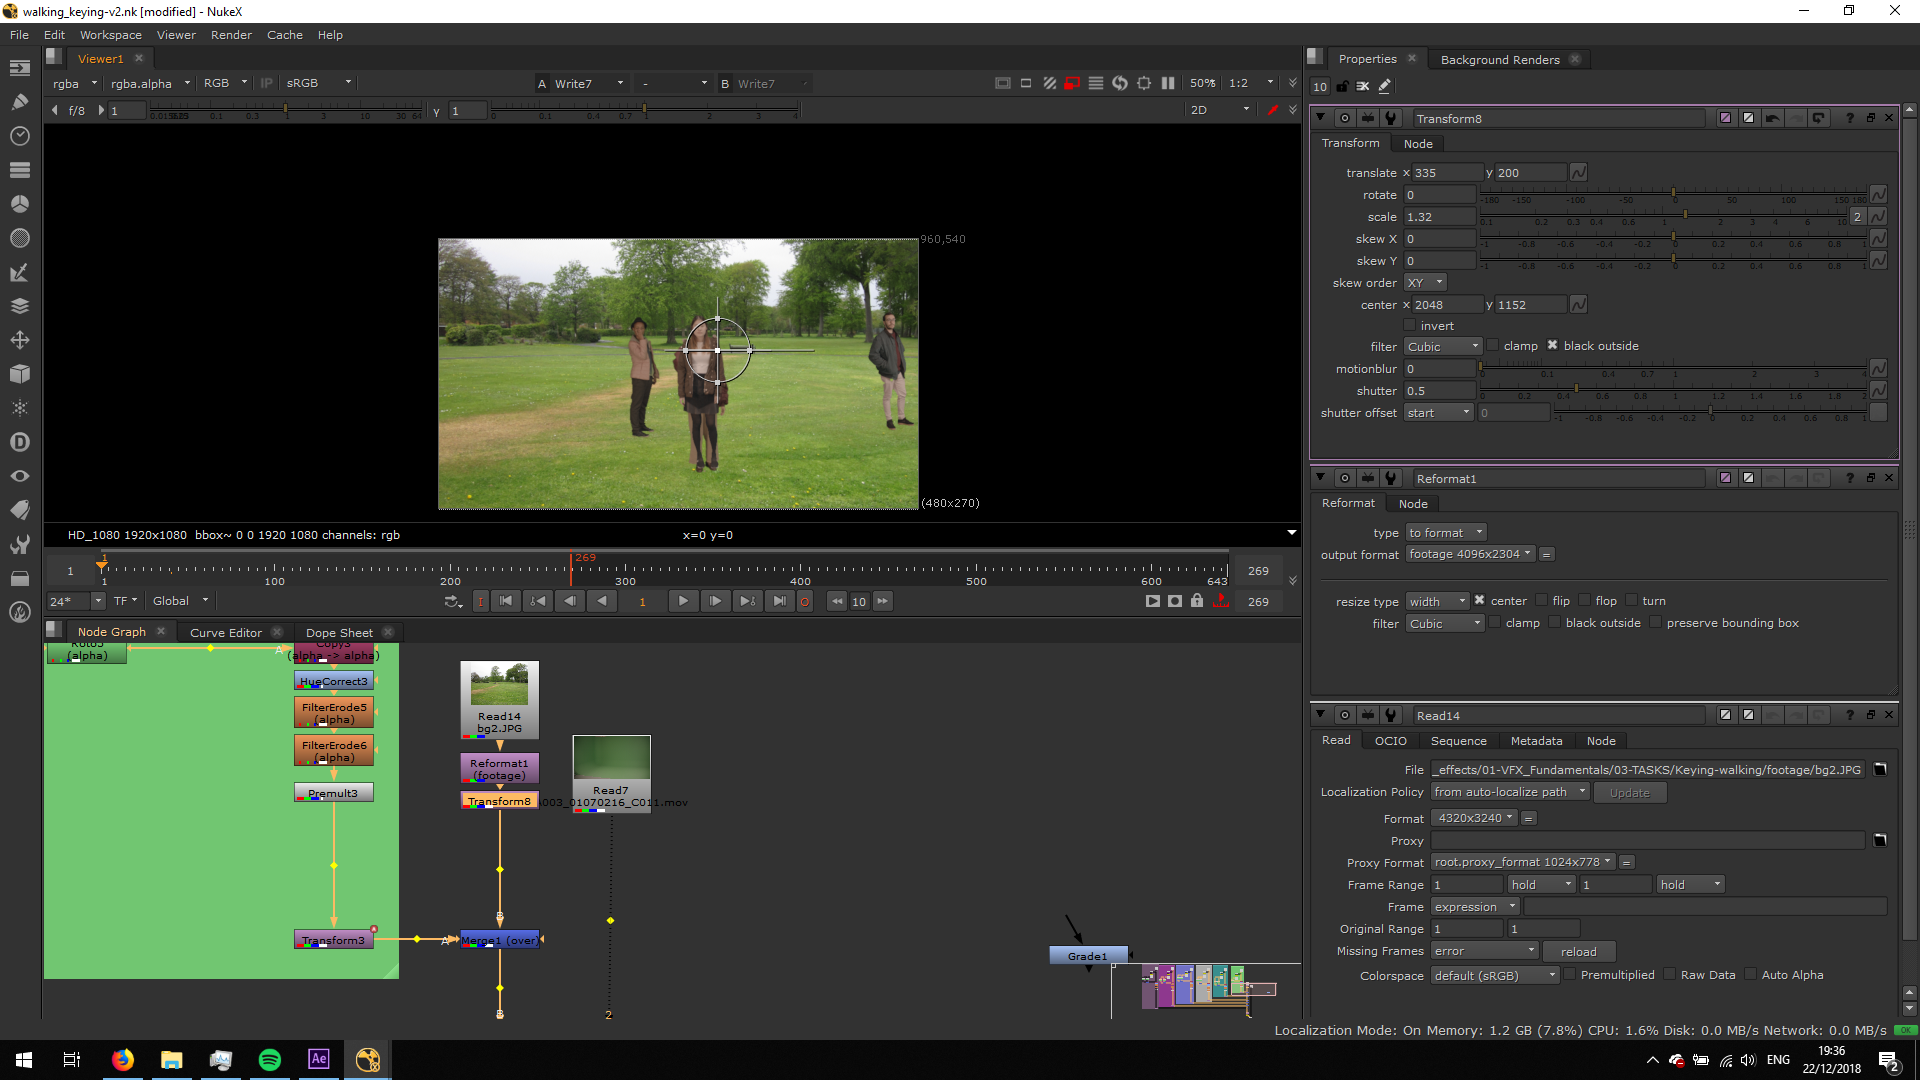
Now, we will grade the footage inm order to match the lighting with the footages.
EXPORT
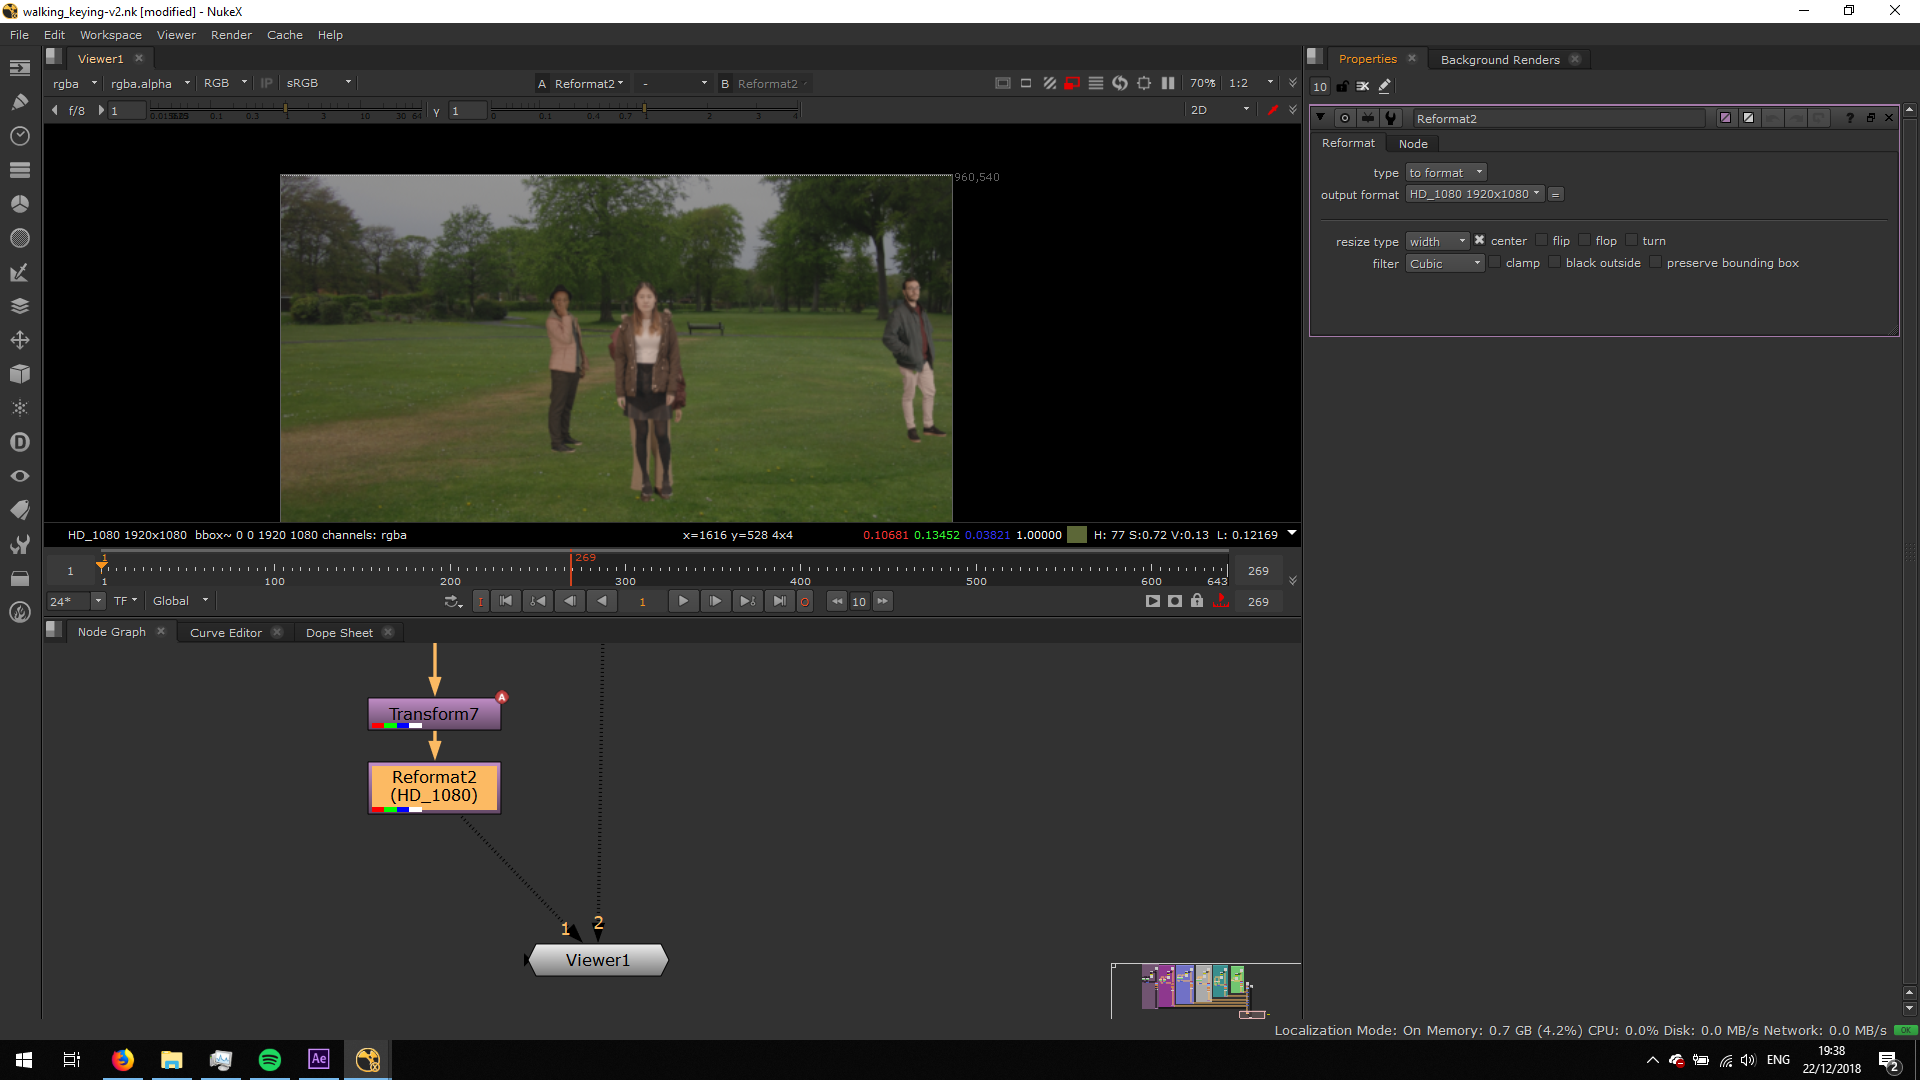
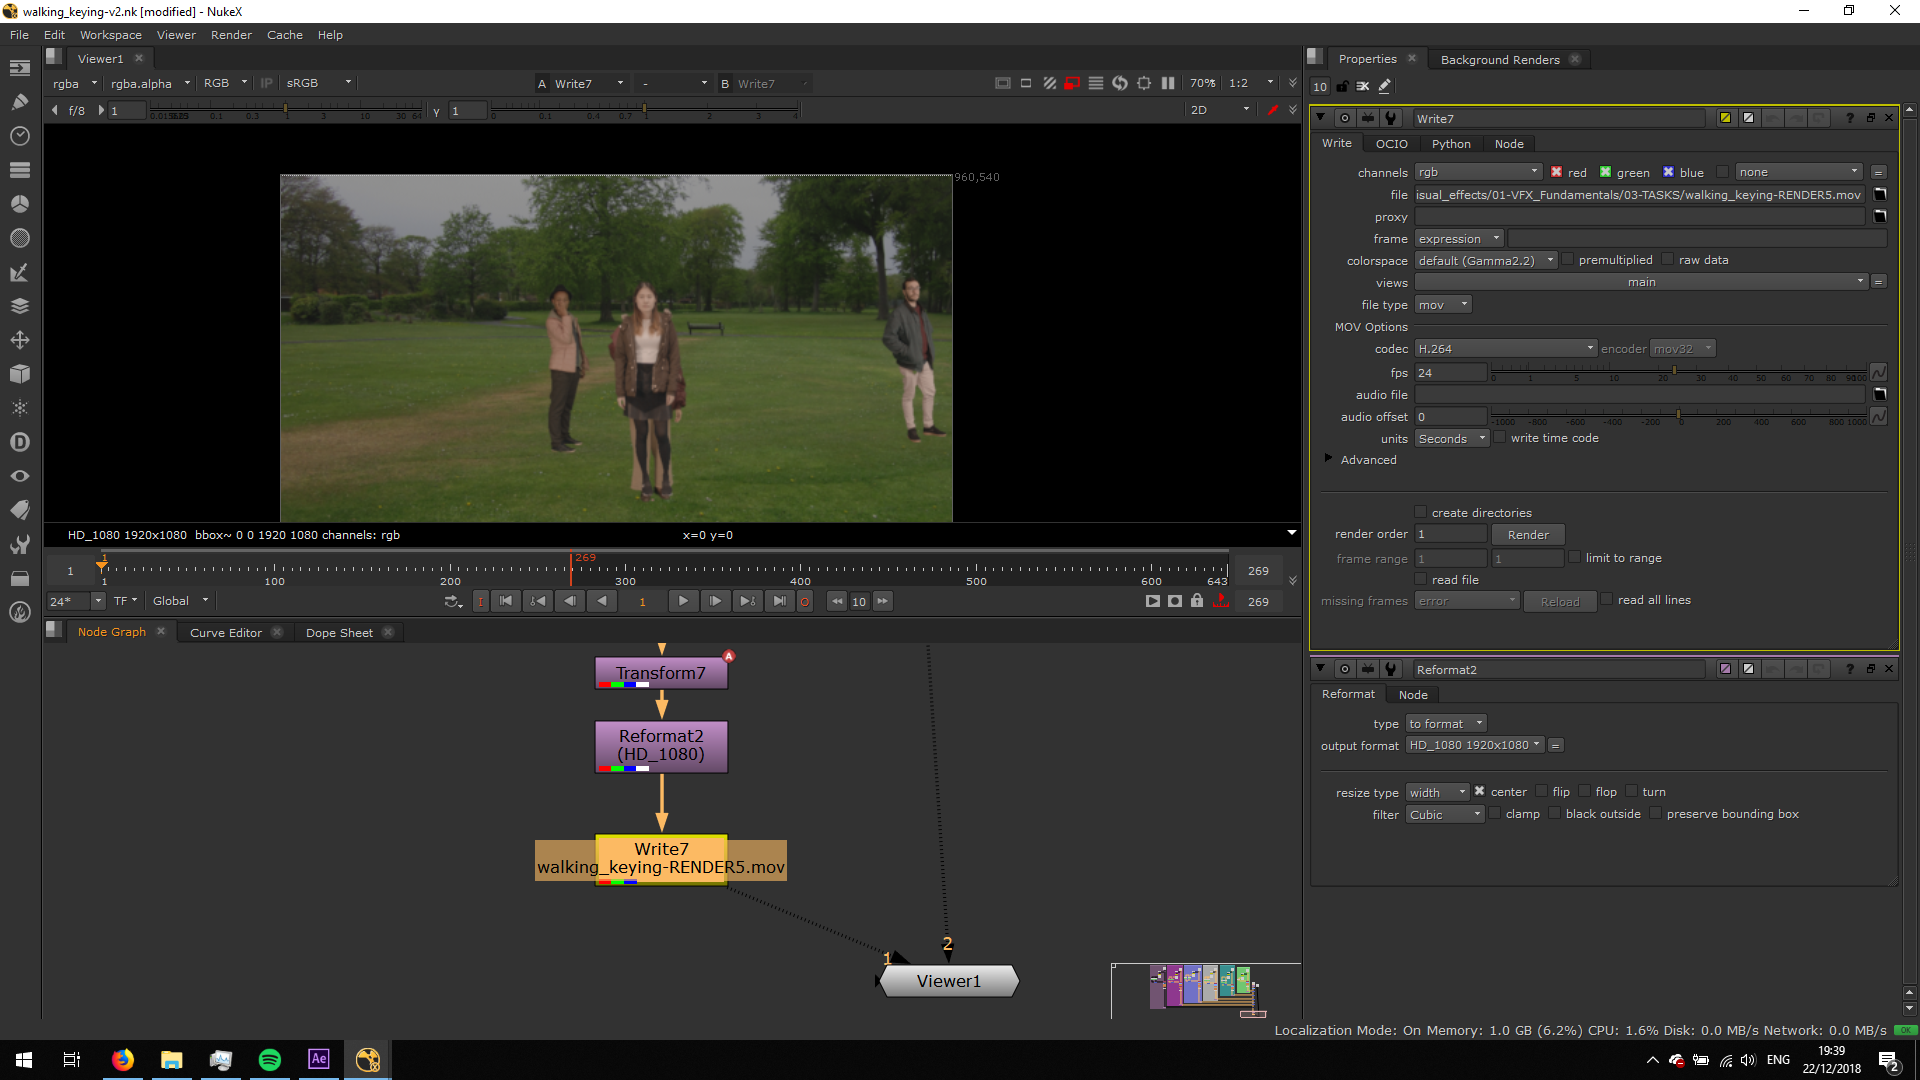
Now, we will prepare the footage to be exported. For that, we will add a Reformat note to fit the footage into the output format we want. We will choose, HD 1080p.
We will search a directpry to save the file and we will name it, addind the format expression .mov . We will select h.264 as codec and we will render it.
FINAL RESULT
