In this session, we worked along 3D Computer Animation students in orer to do a collaborative task.
The task consisted in helping them recording different shots, key them out and clean them up so they could use it as a model to do a 3D Animation of it.
Planning
First of all, we had a little bref about doby mechanics, to be able to recognize which kind of movements would be interesting for them to animate. Then, we had a little brainstorming in order to have some ideas about what to shot. Finally, we decided to shot 5 different actions. We recorded two good shots of each action, in order to ensure the quality of the work.
Shooting
During the redording, our main duty was
- Setting the camera: Ensuring all the characters were on focus. We decidesd with the 3DCA students that it would be better not to add camera movement on the shots in order to make their work easier.
- Setting the lighting: Make the lighting scheme in order to have good contrast between the character and the background, avoid stong shadows for the keying and have the character well lightened in order to not miss any detail in the movement.
- Recommed the best composition: Deciding the recording angle and shot, to see the action in the clearest way possible.
- Ensuring all the action is in the frame
- Ensuring we are recording in the right format and resolution
Finally, those are the final shots we recorded:
Keeing
After the recording, we choosed one of the shots in order to key them out for the 3DCA students.
The shot I choose was SHOT 1 | Try to pick up a heavy hammer.
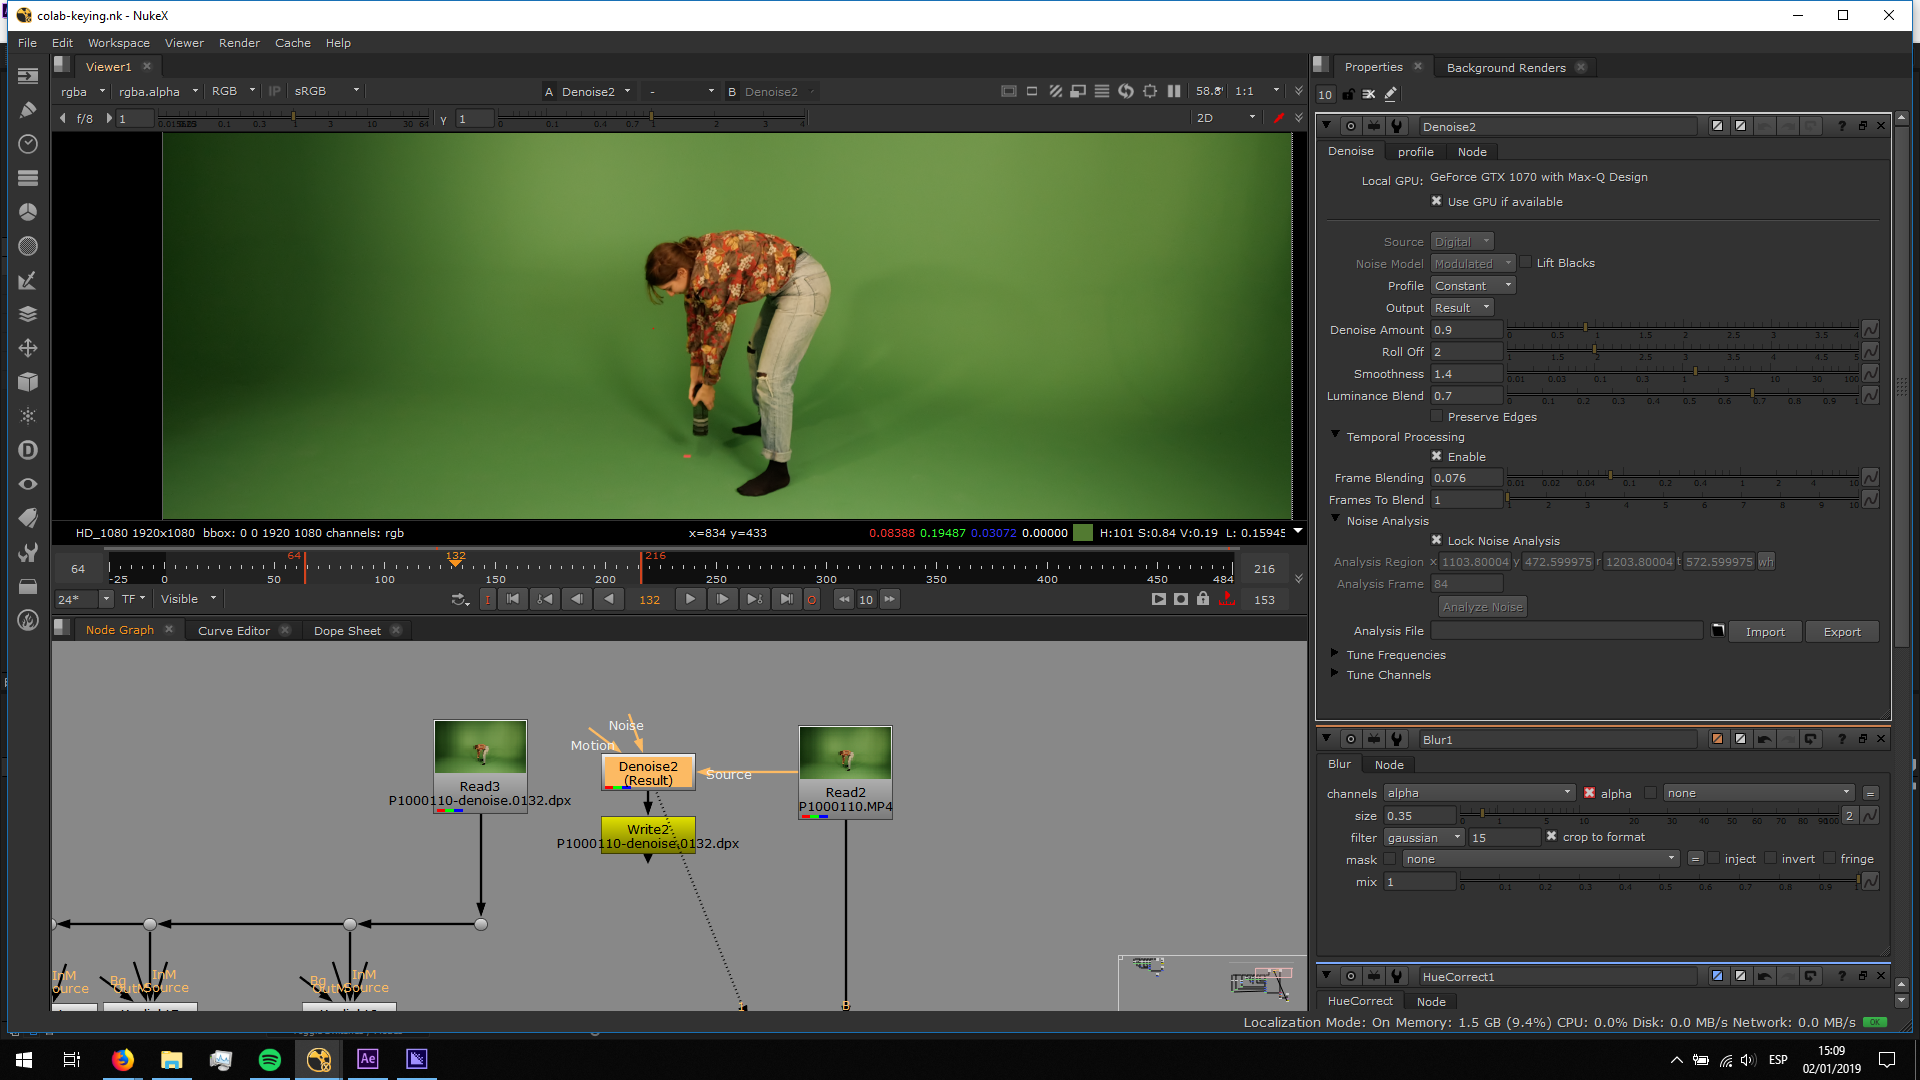
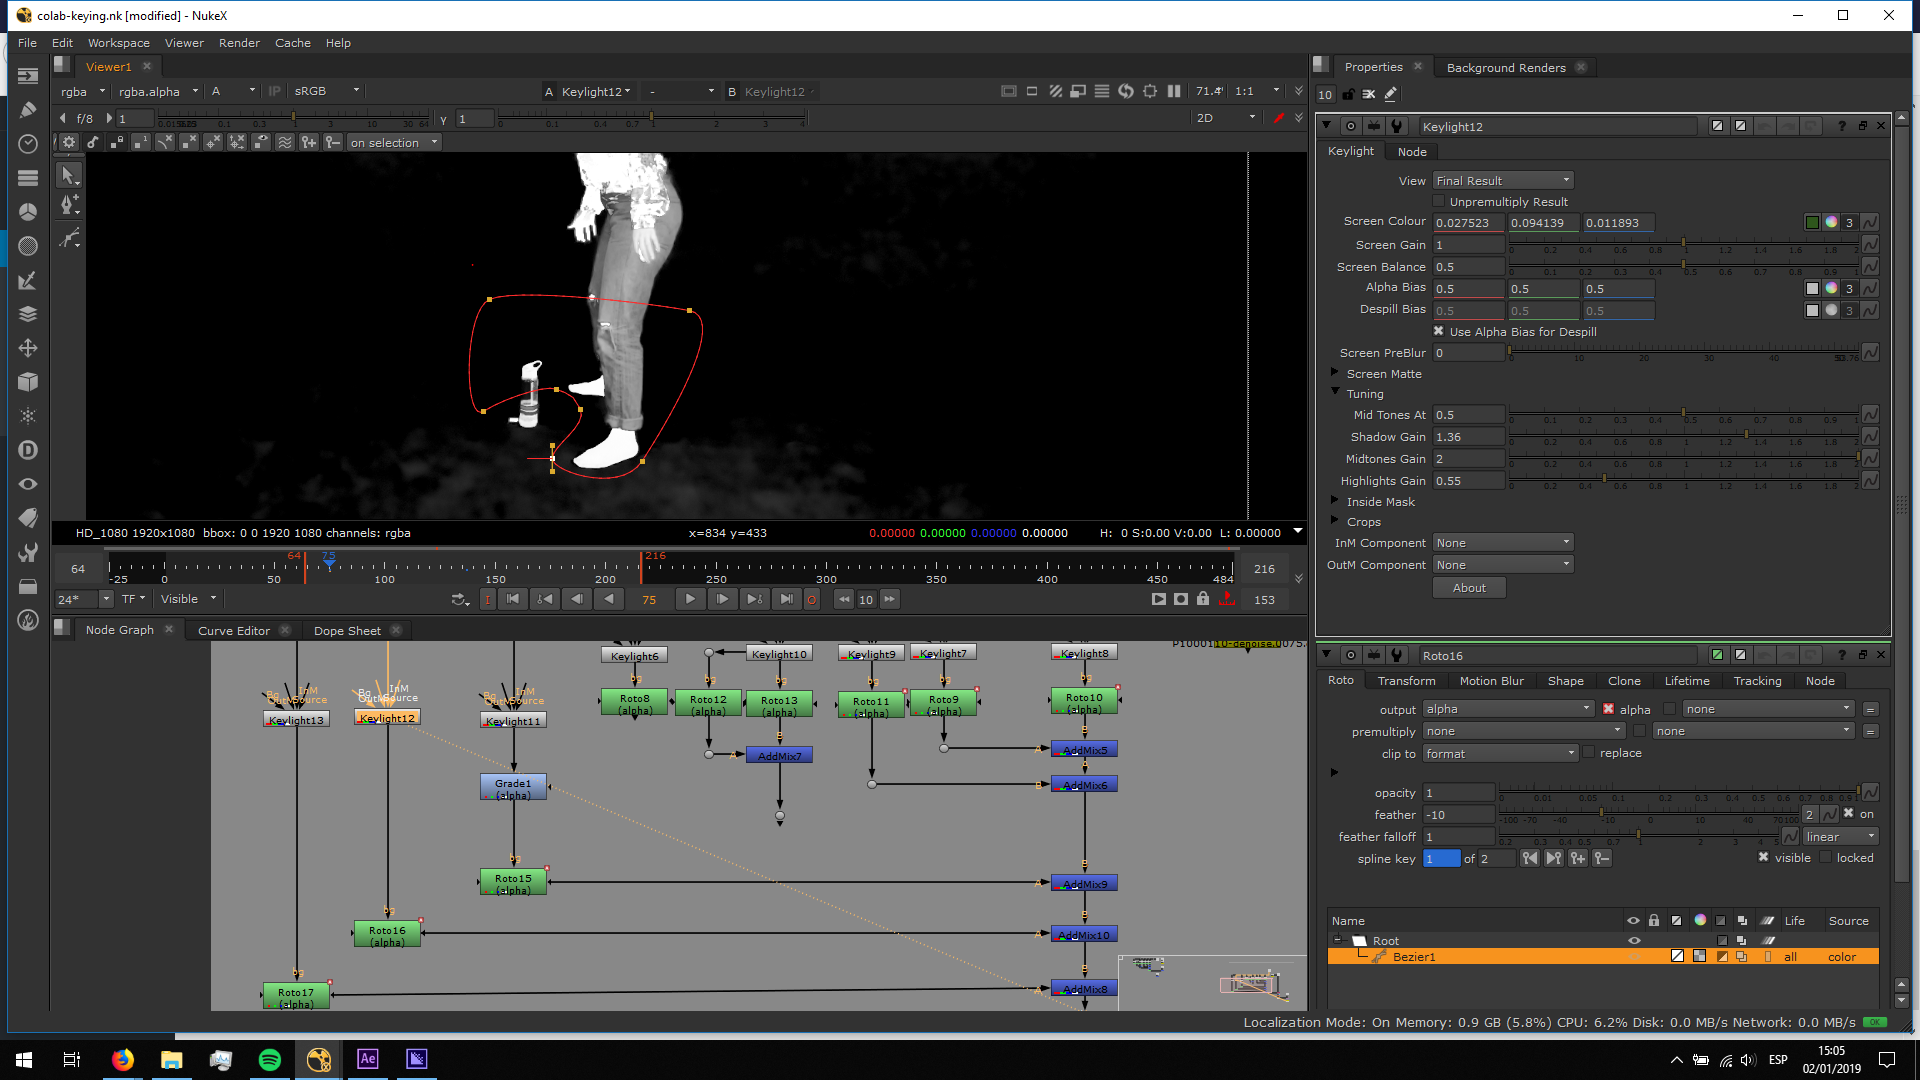
I did the usual Keying process, dividing the keyligts in different areas depending on the background color and the color of the clothes. Those are some screenshots of the final script, showing all the process and the different keylights used for each roto area:
First of all, I made a denoise in order to soften the keyers, and I added the keylight to the rendered denoised footage.
Then, I started doing different keylights for the different areas.
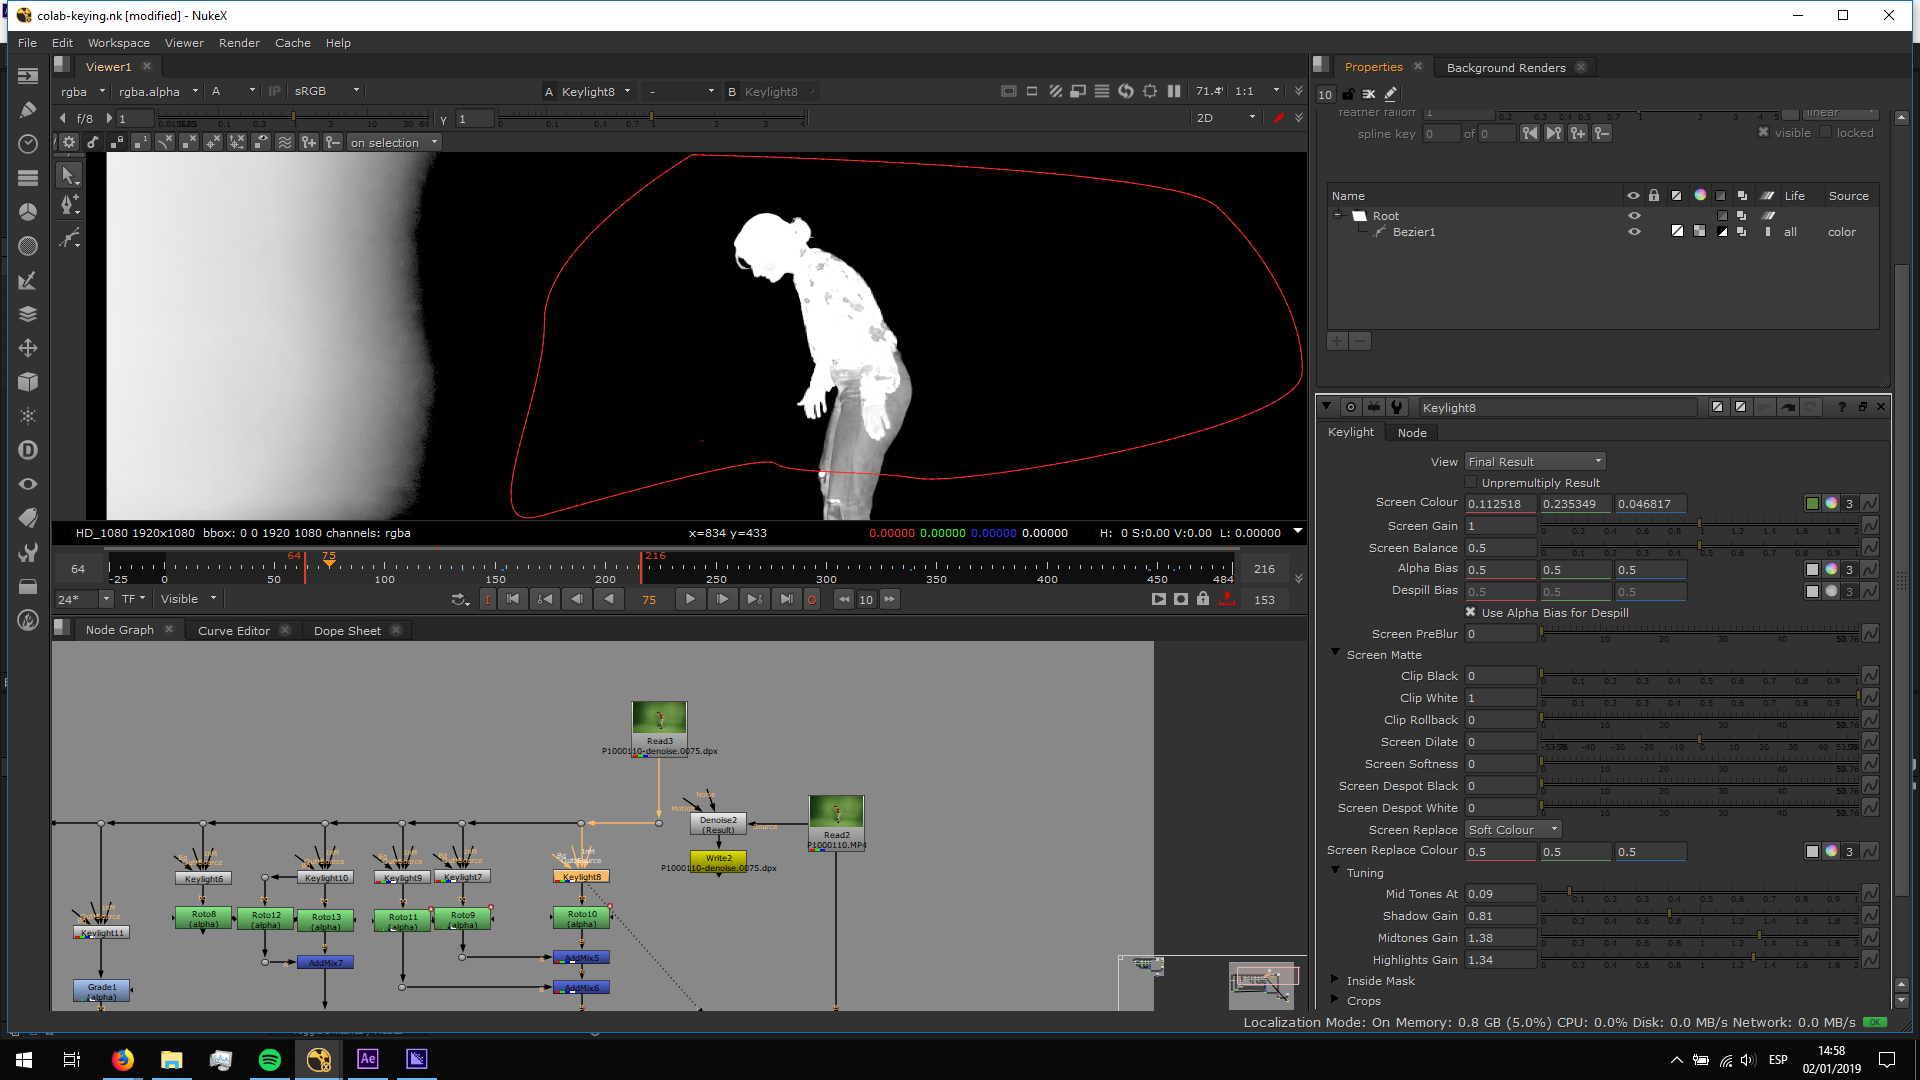 The trousers had a color really close to the keyed green, so we had to do a keylight with roughen edges in order to be able to avoid transparency.
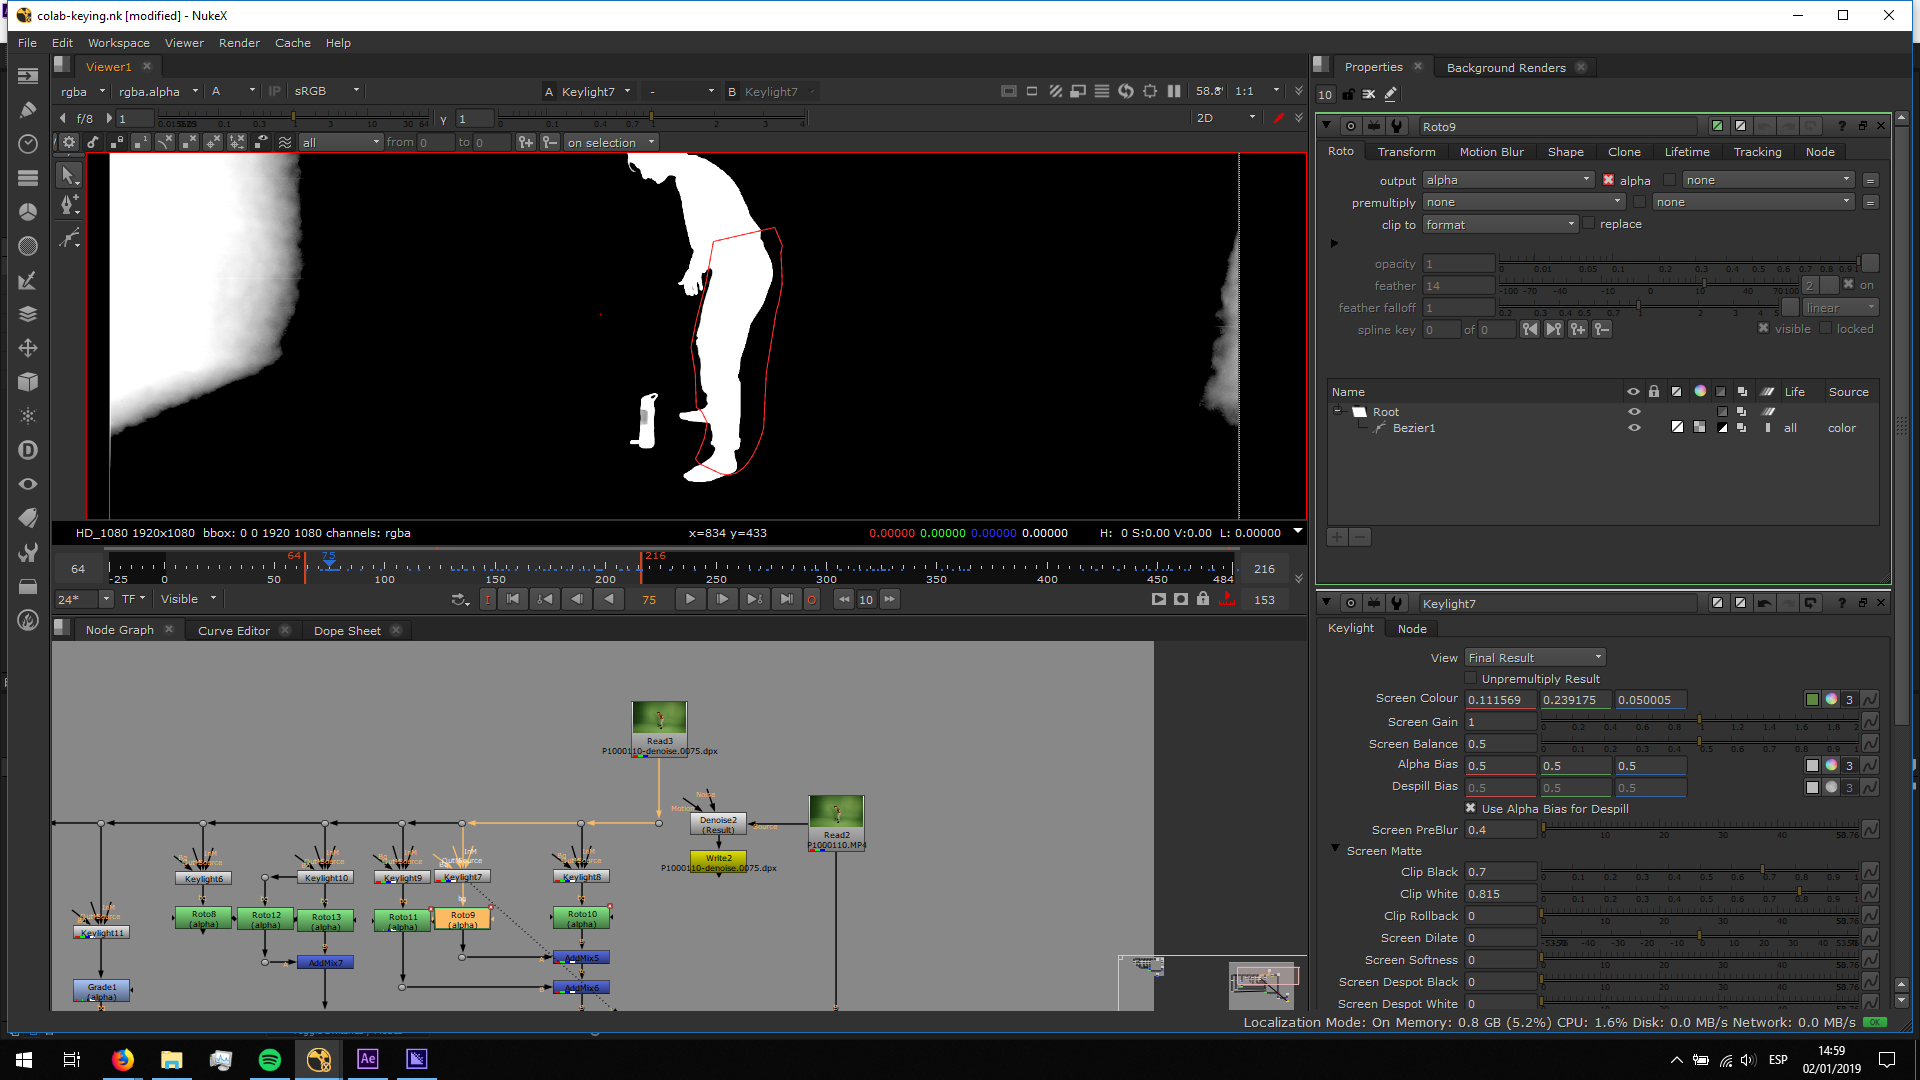
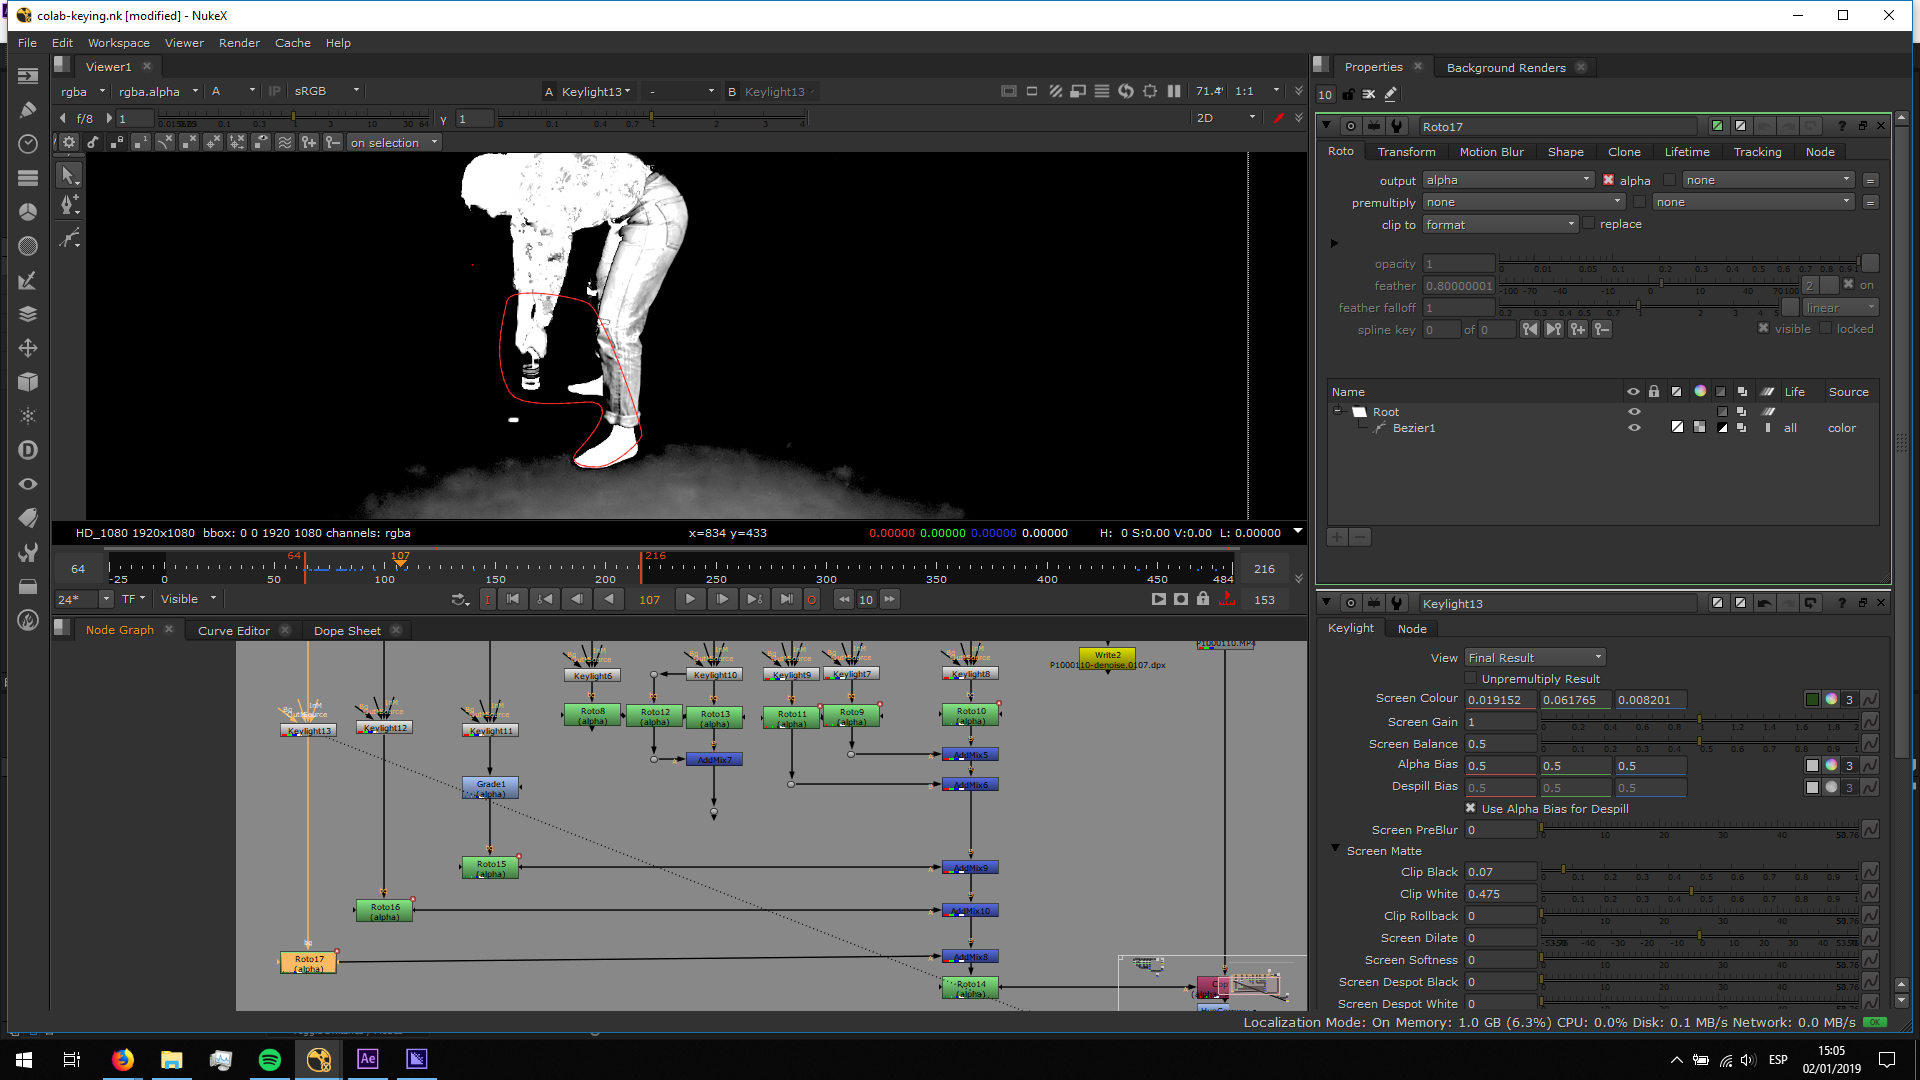
Also the shirt had parts with similar color to the keyed green, so I setted a special keylight only for it in order to avoid any transparency.
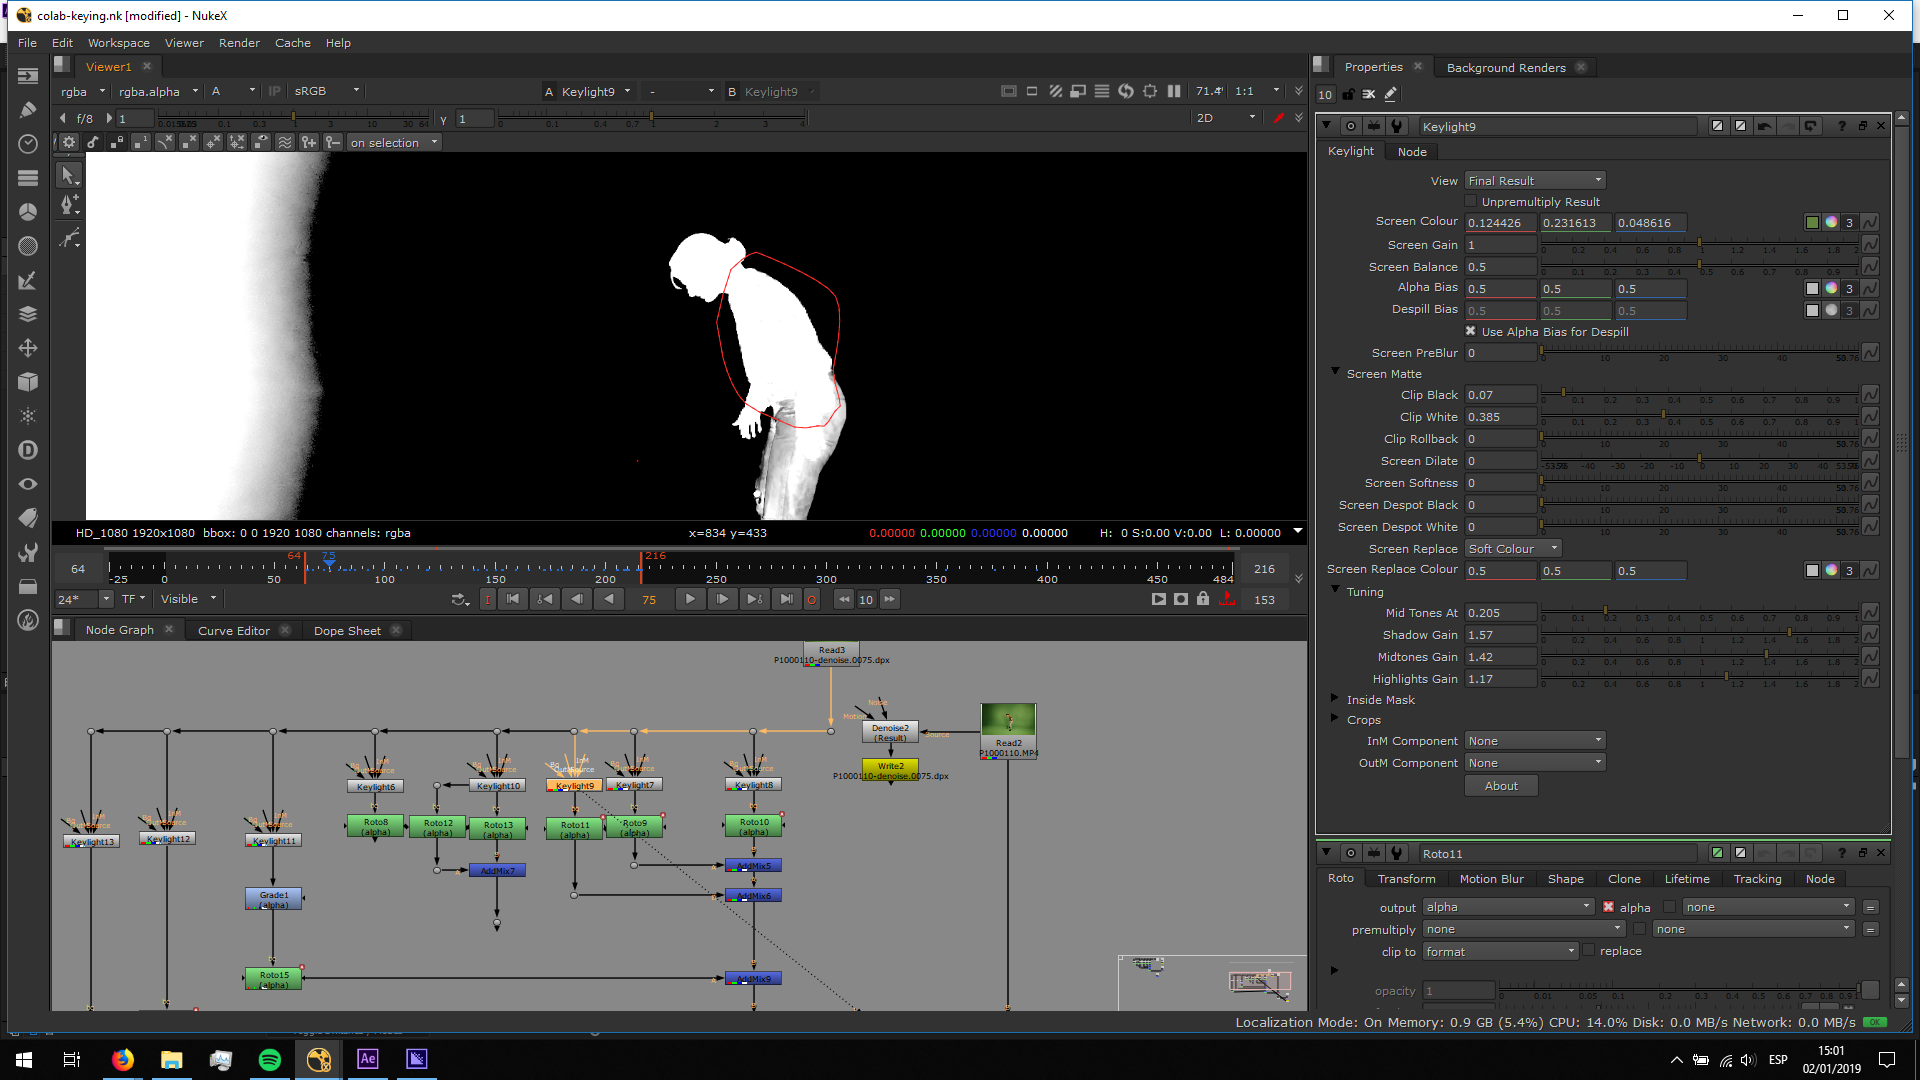

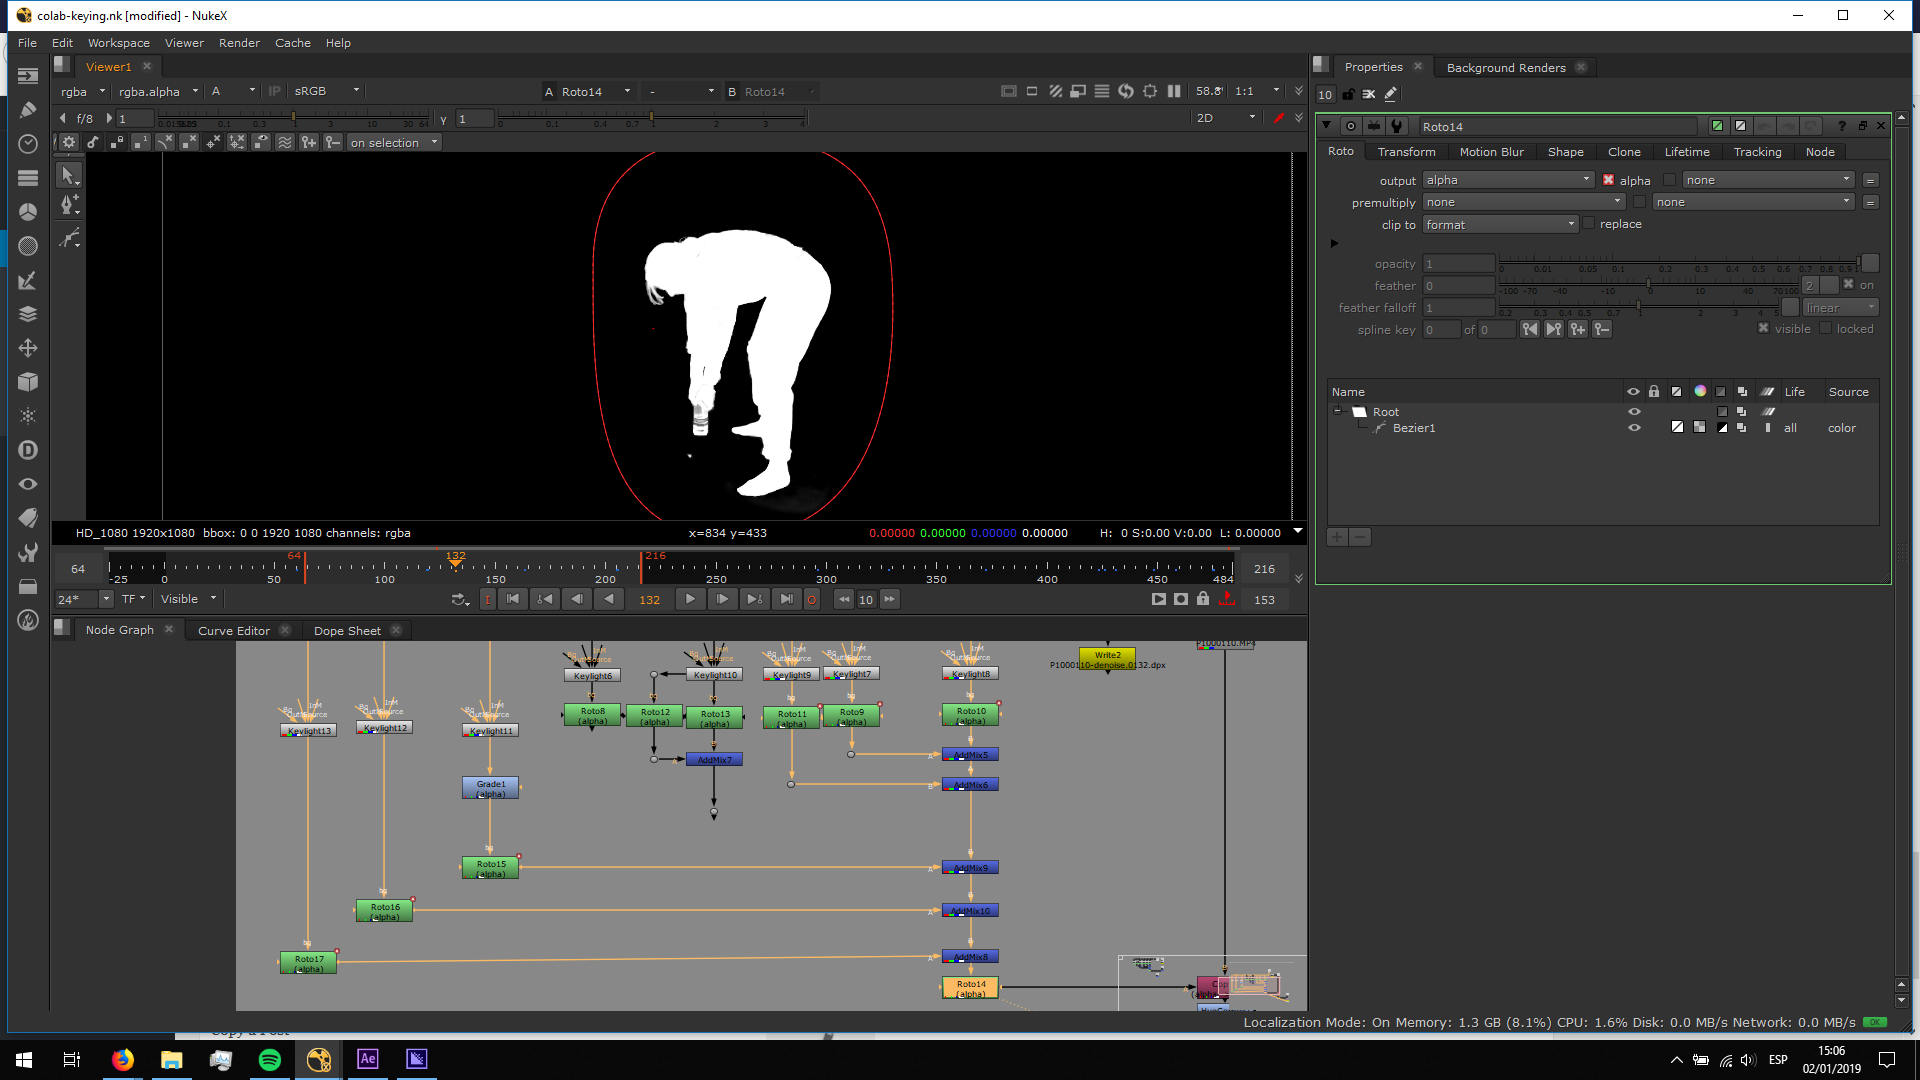
This is the seruld of the alpha channel that came out as the comnbination of all the alphas:
Afterwards, I added de copy note to attach the alpha channel to the original footage. I added a color correct and a blur note to refine the edges and delete the green spill.
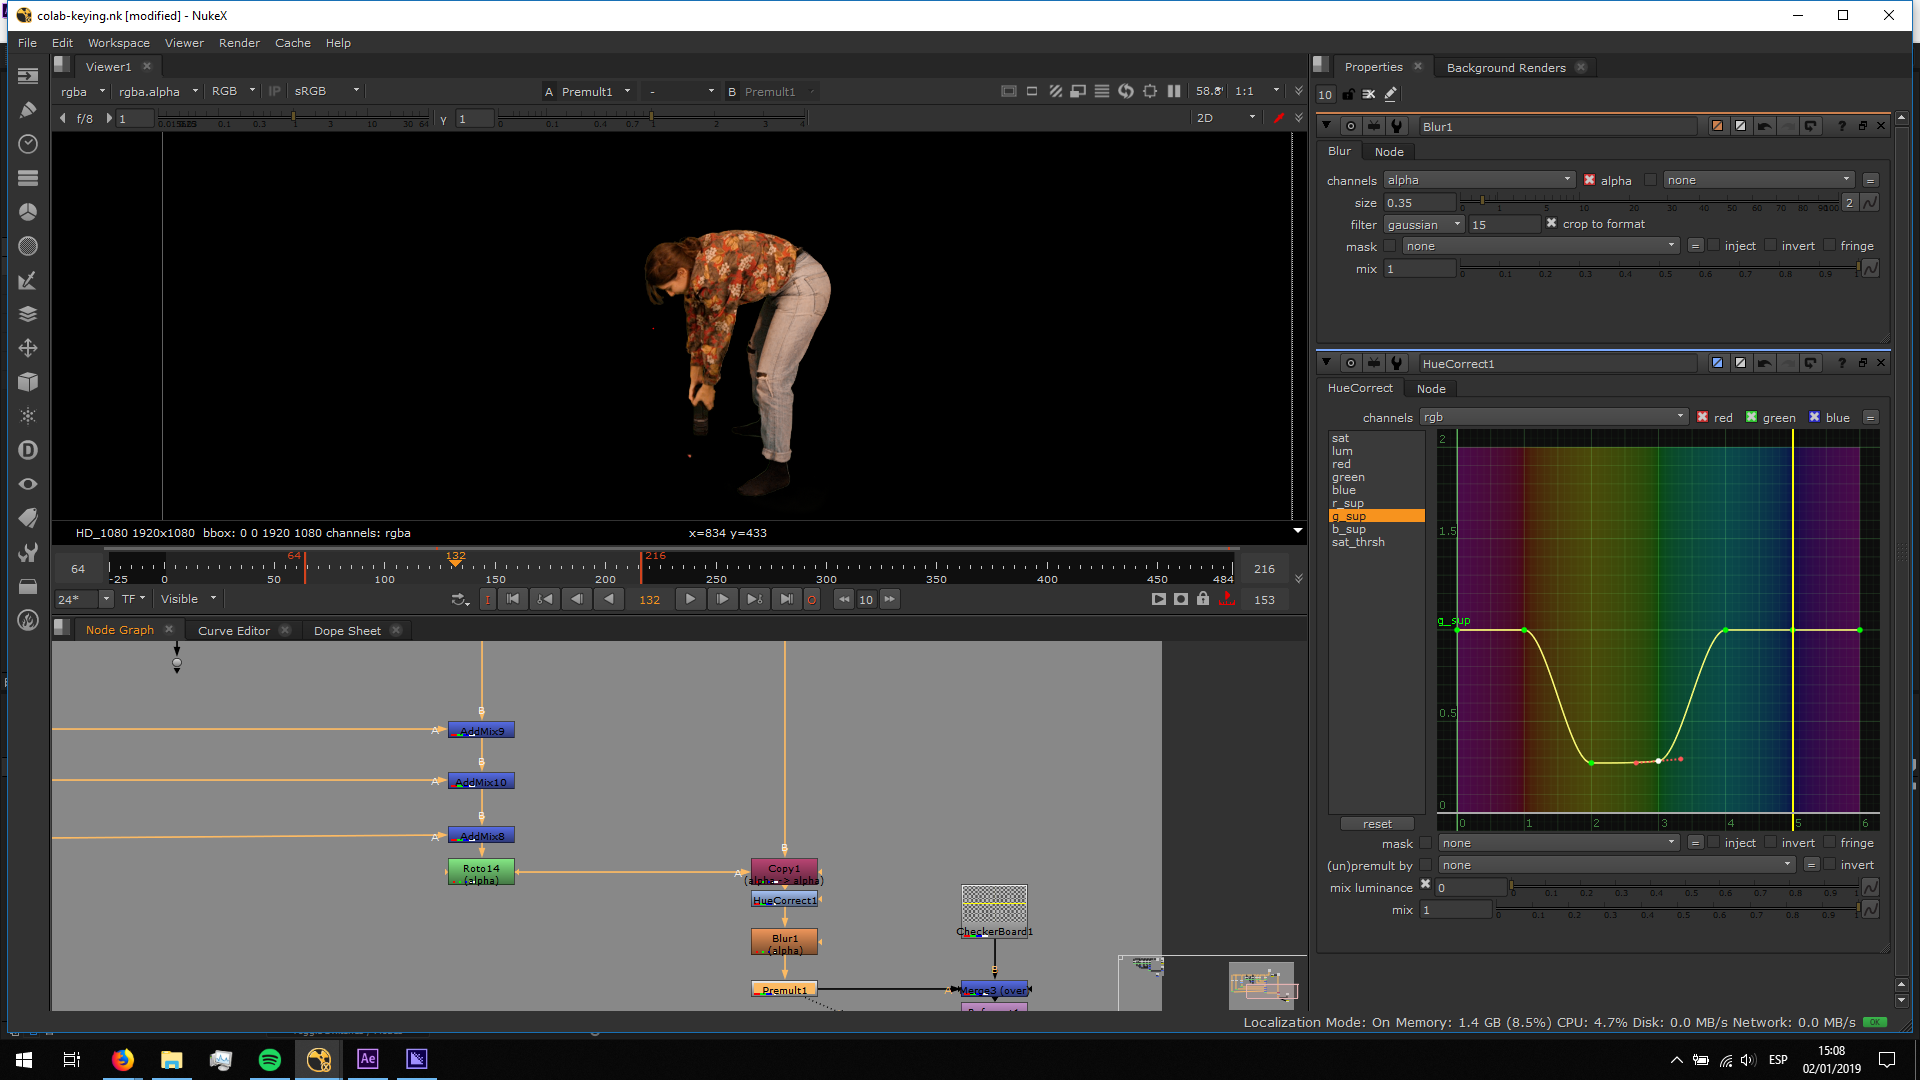 Finally, I merged the keyed footage over a checkboard, and I rendered the footage.
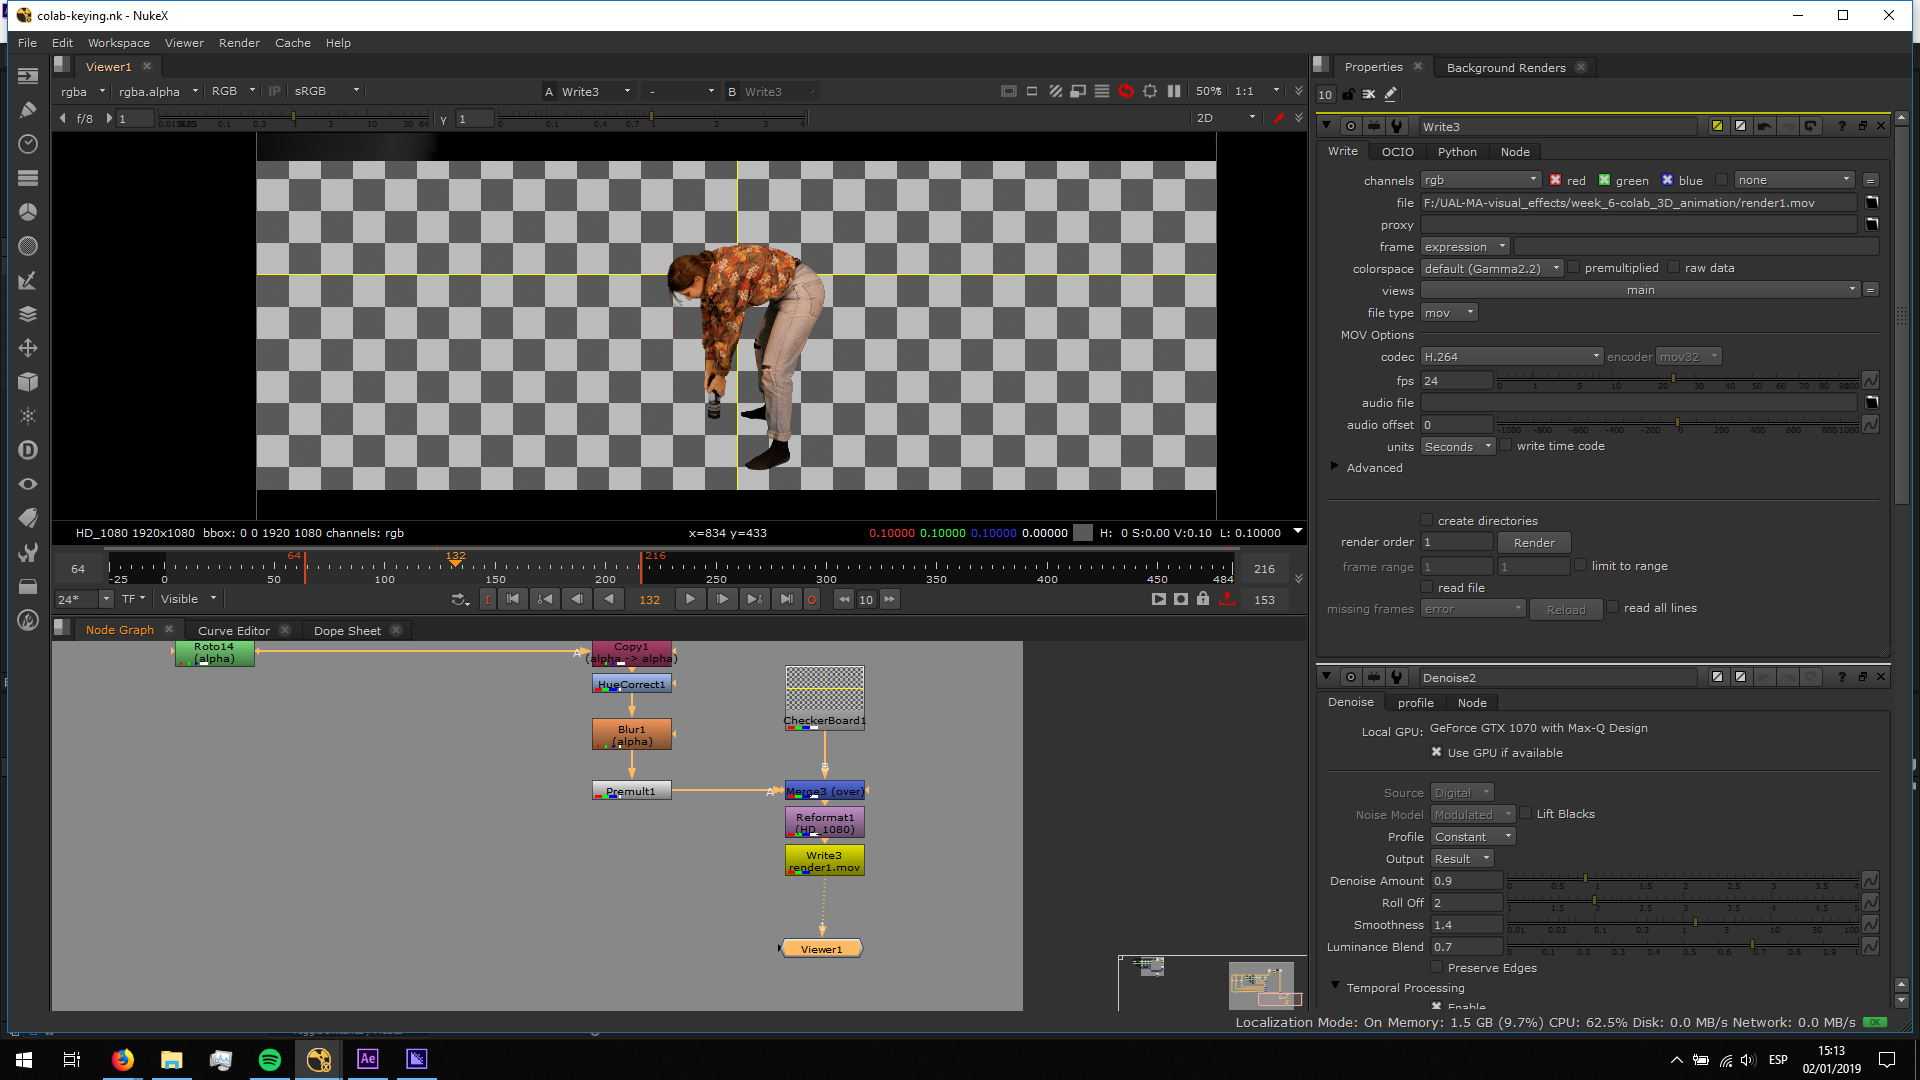
This is the final result:
