In this session of Nuke we will do a cleanup. We will replace the sky, changing it for another one. The other sky should not be really different from the real one , because otherwise we will need to grade it and relight the whole scene.
First of all, we will search a big picture of a sky in google and put the footage in.
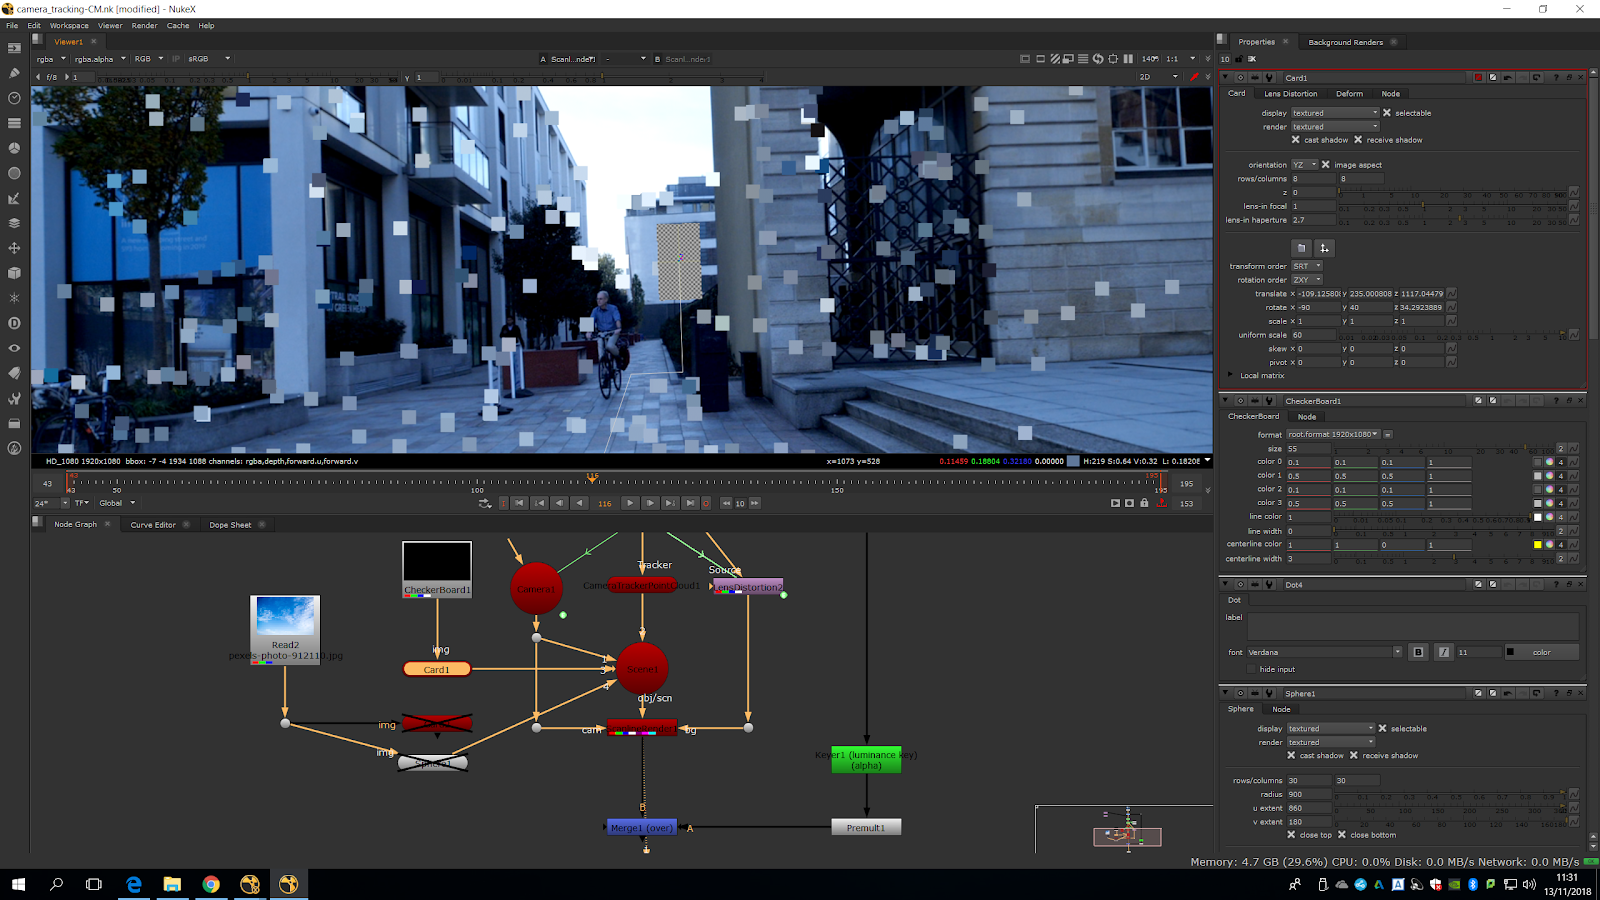
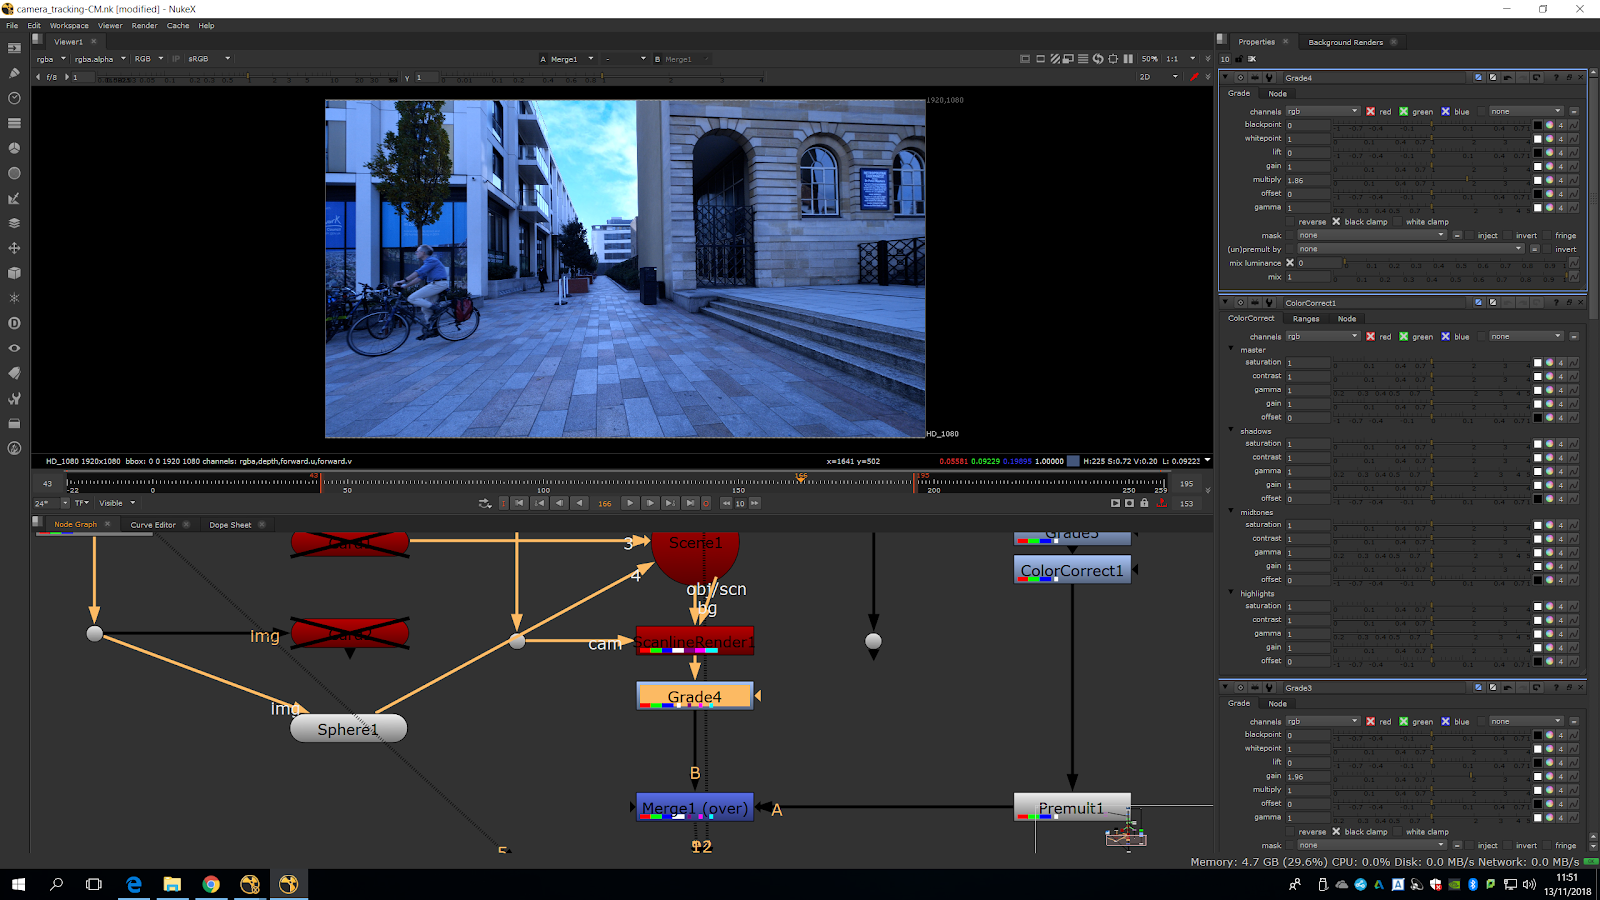
Now, we will copy and paste the card we created for the check board. We will plug the card to the sky and then to the scene. If we preview the render, we will wee both cards in the identical place.
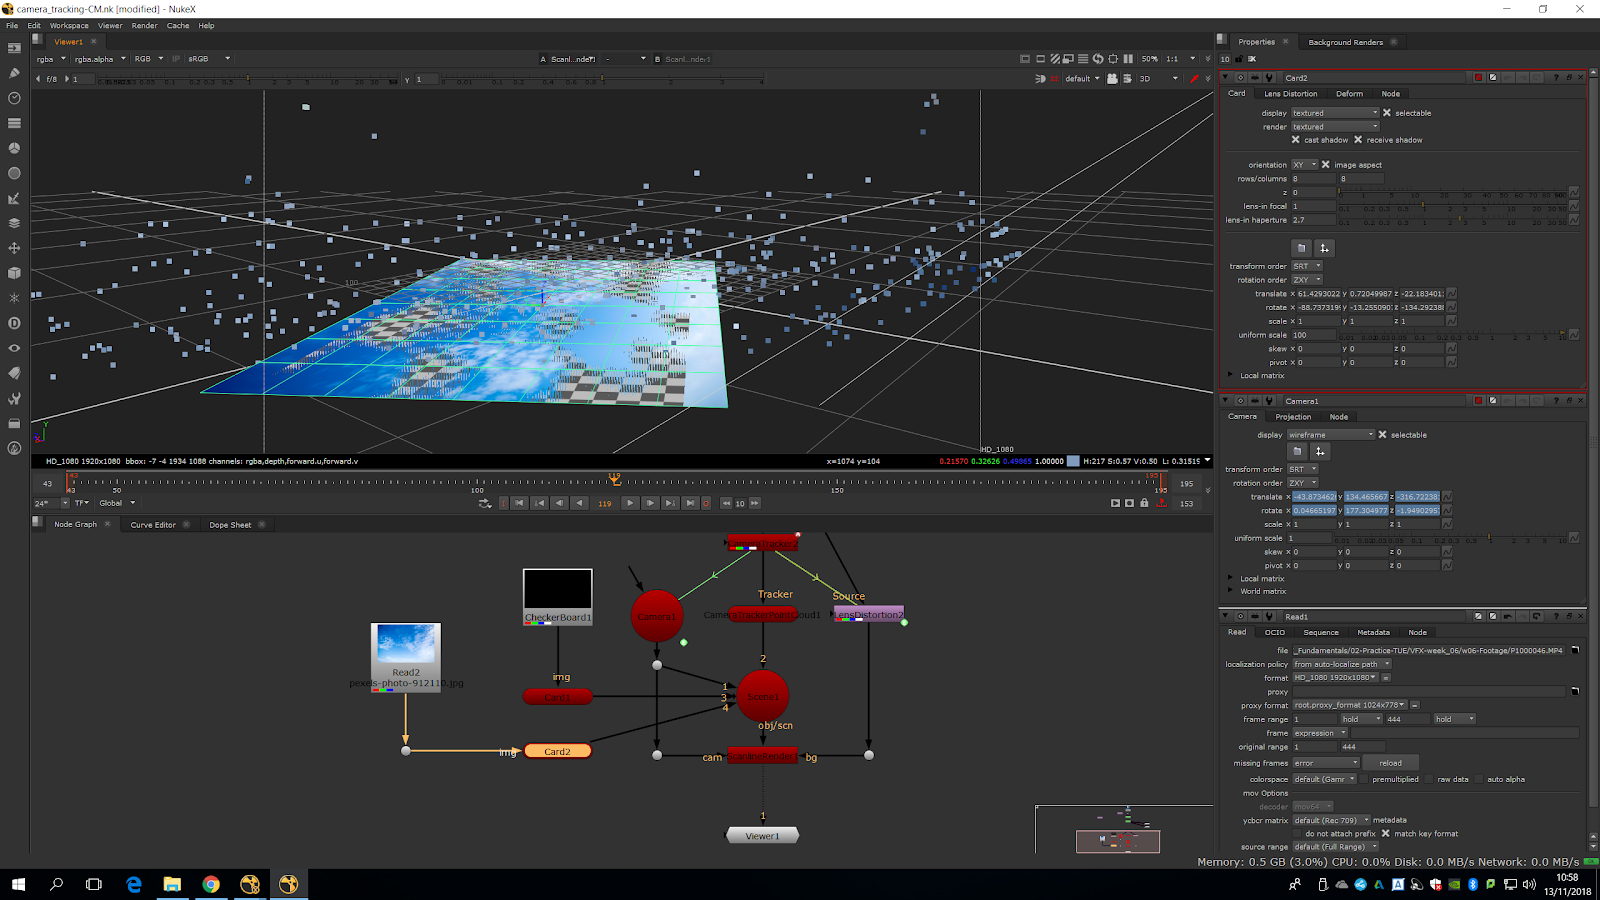
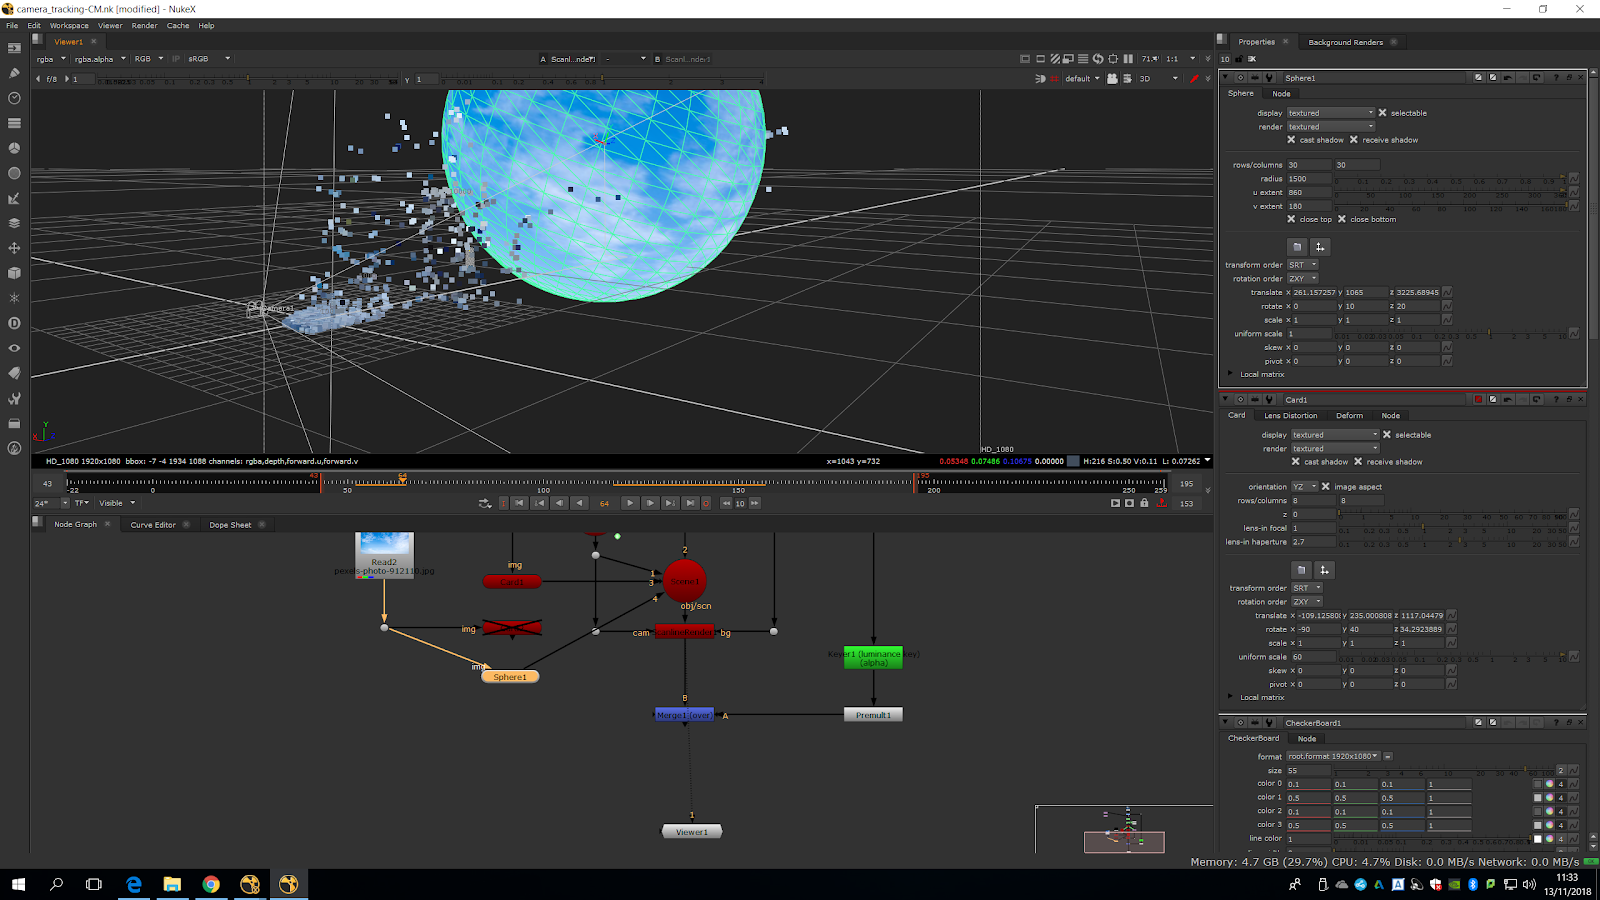
Now, we are going to plug the sky with a sphere instead of a plane, in order to make it more realistic.
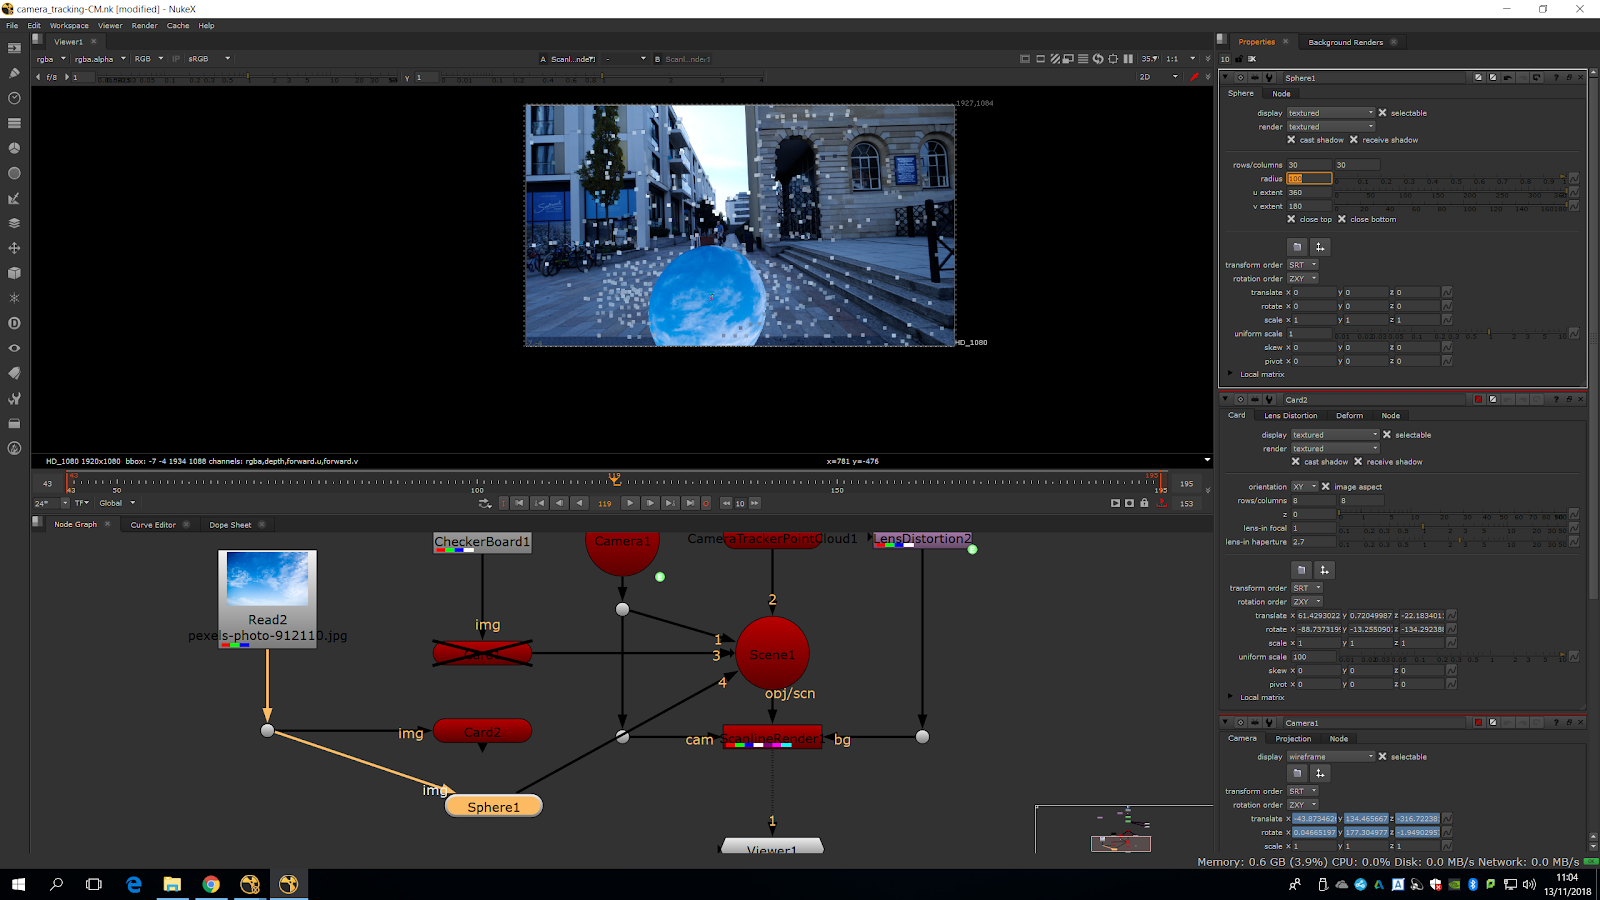
We will do it bigger and we will place it in the sky area. Now, we will do a luminance key in order to key out the sky
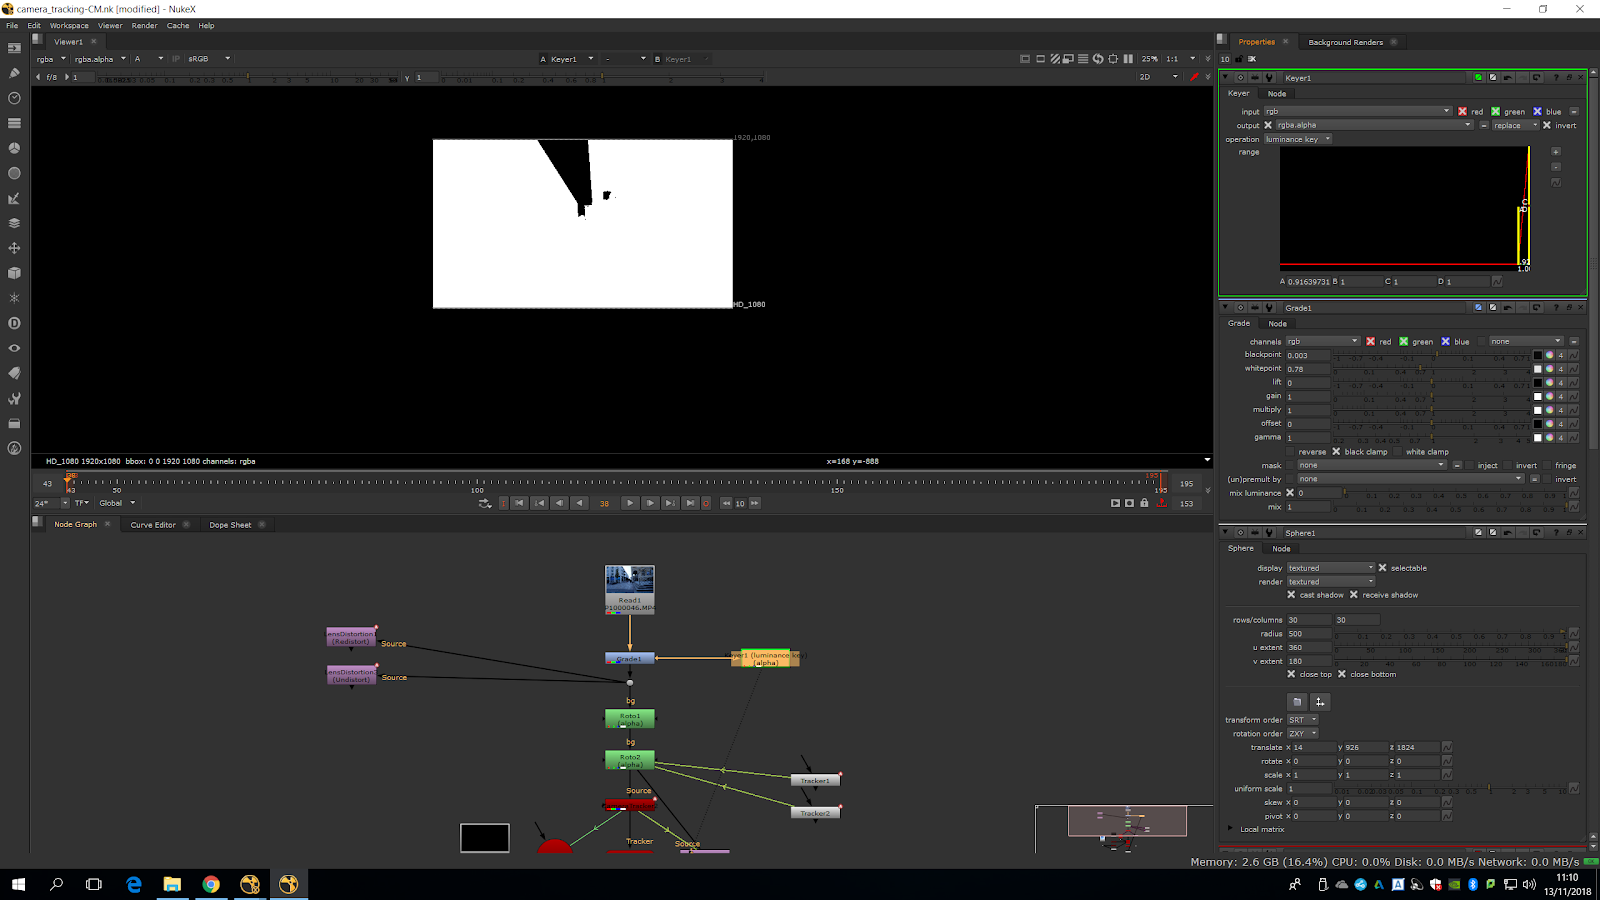
Once we are happy with the settings, we will attach a premult and see how the sky disappear.
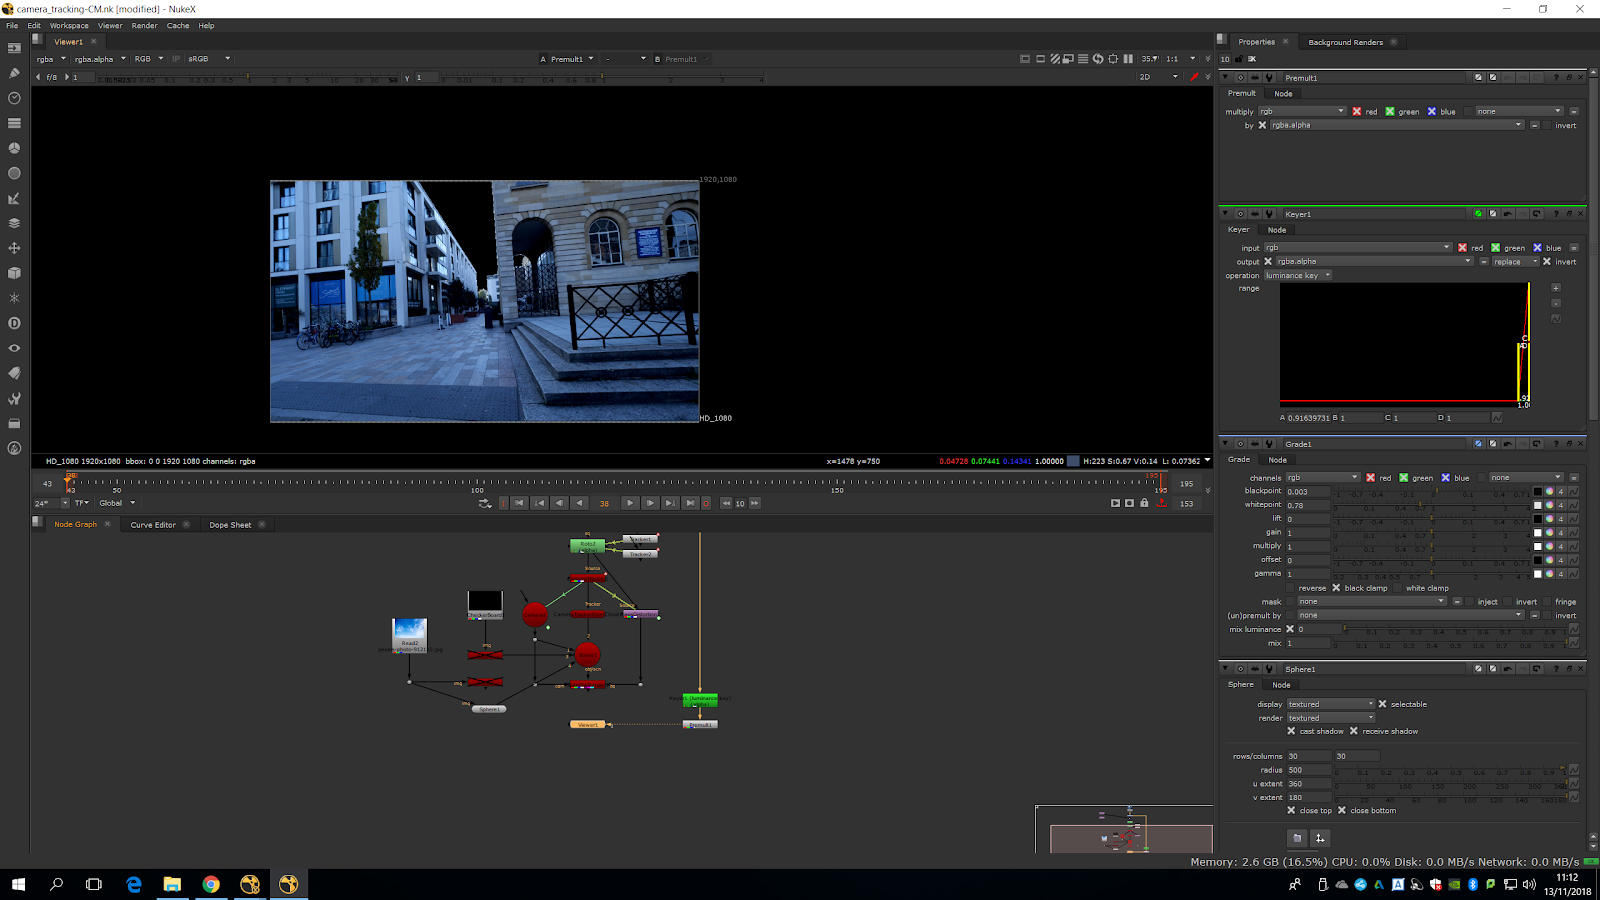
And now we can merge it over the scene.
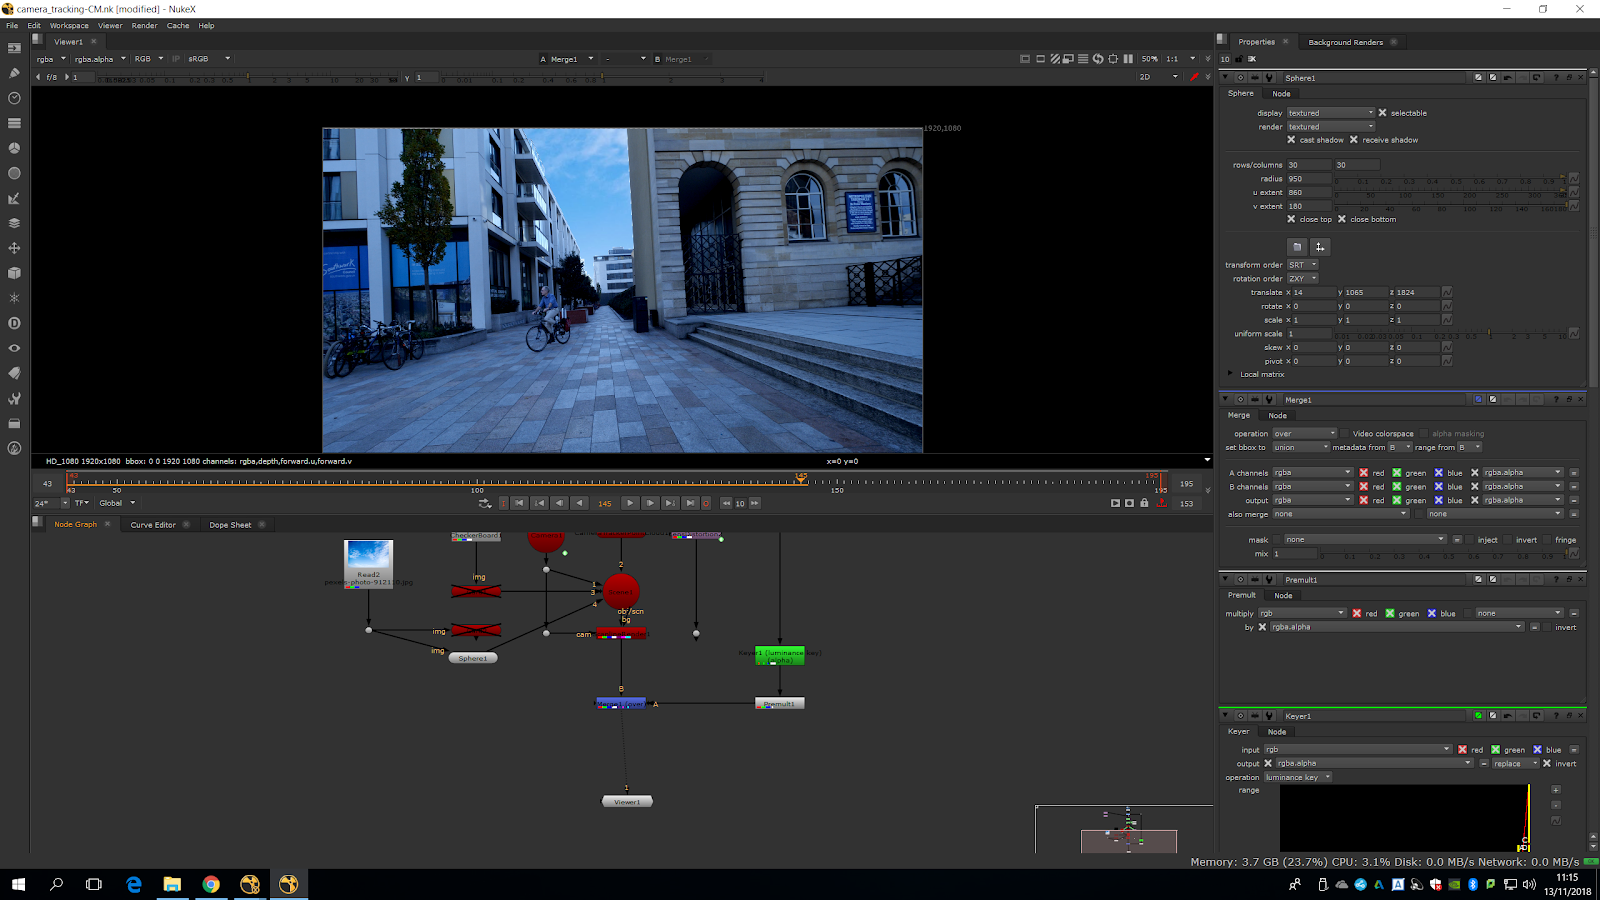
Now, we place the sky properly.
We can see that the sky is moving too much because of the parallax, so we will add a board in the last building.
We are just going to do the sky bigger and put it behind the building.
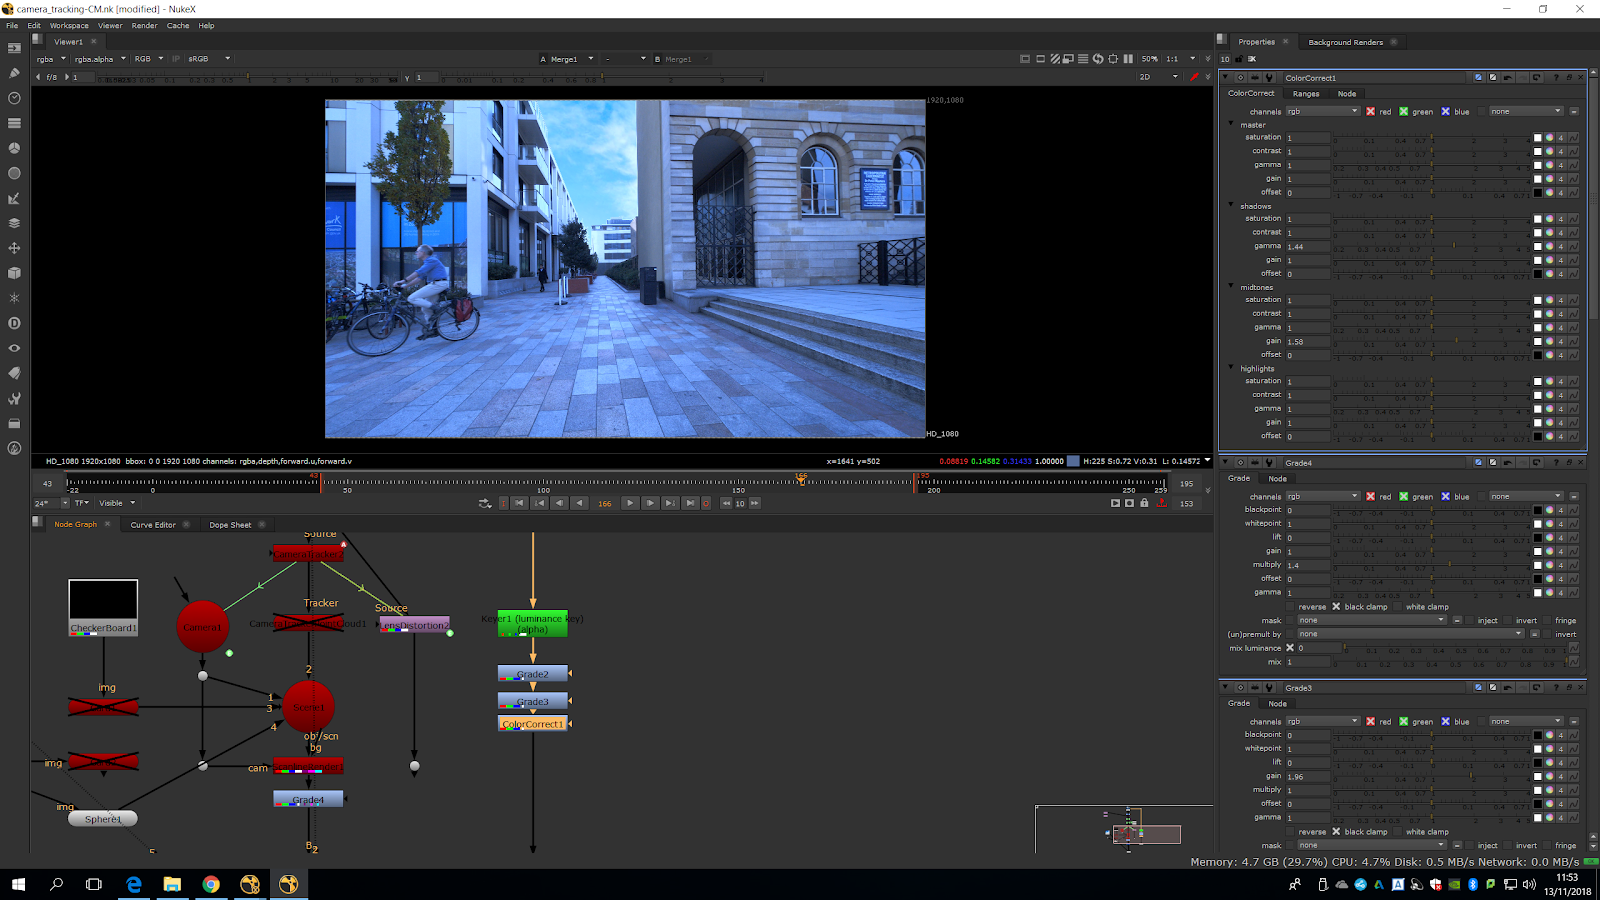
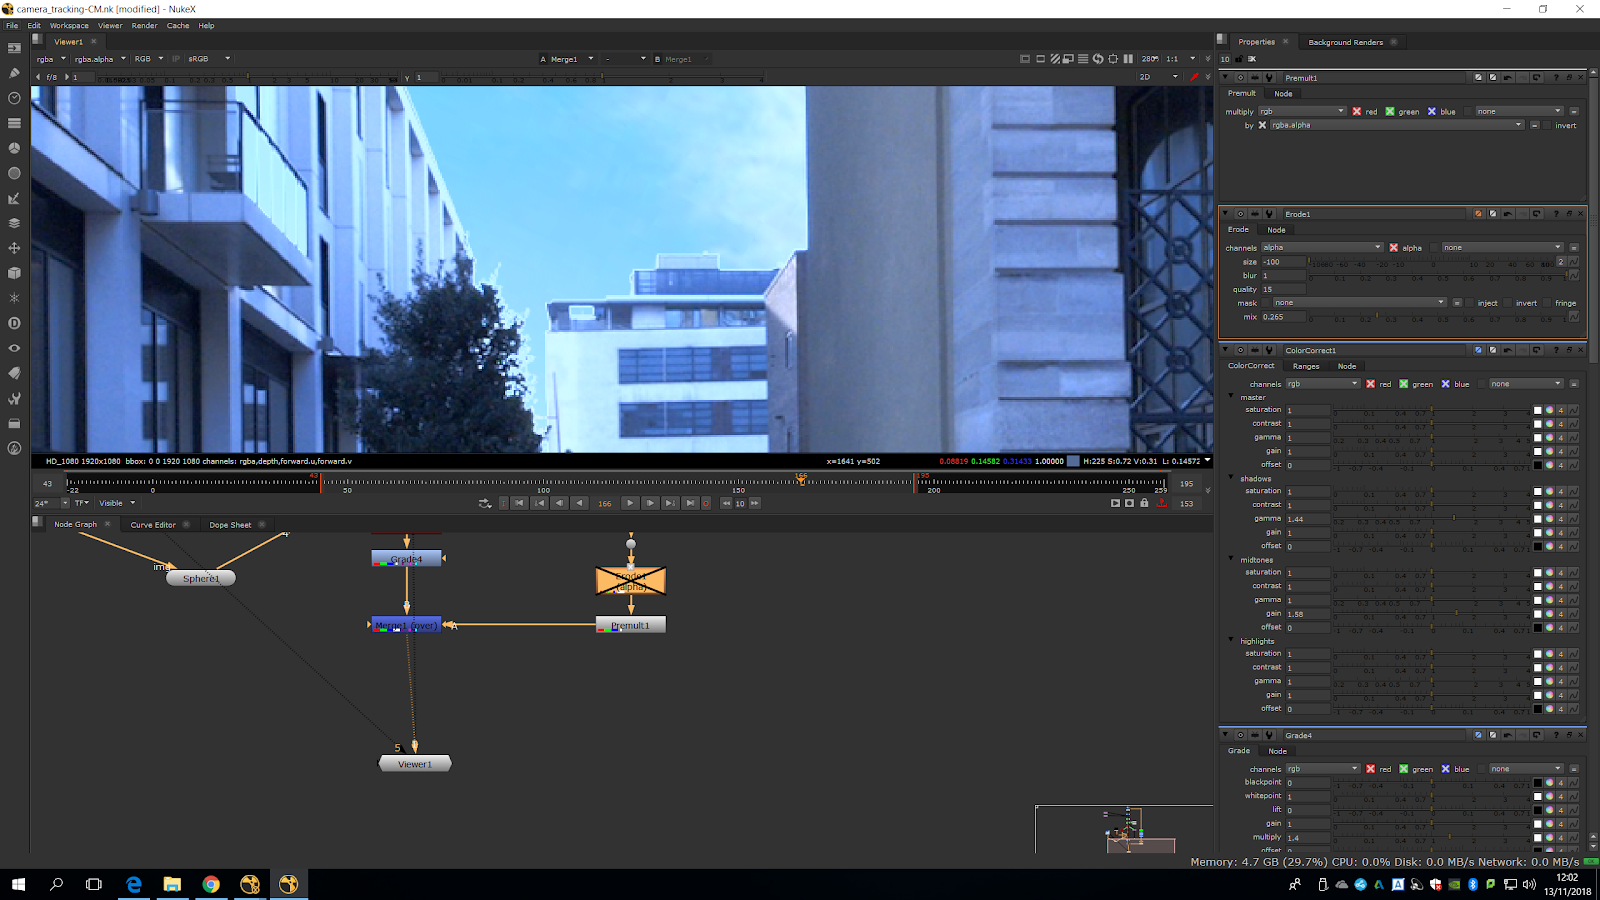
Now we are going to grade the sky.
We are going to add two grades. For the first grade we are going to sample the white sky in white point and then sample the gain from the whiten part of the fake sky.
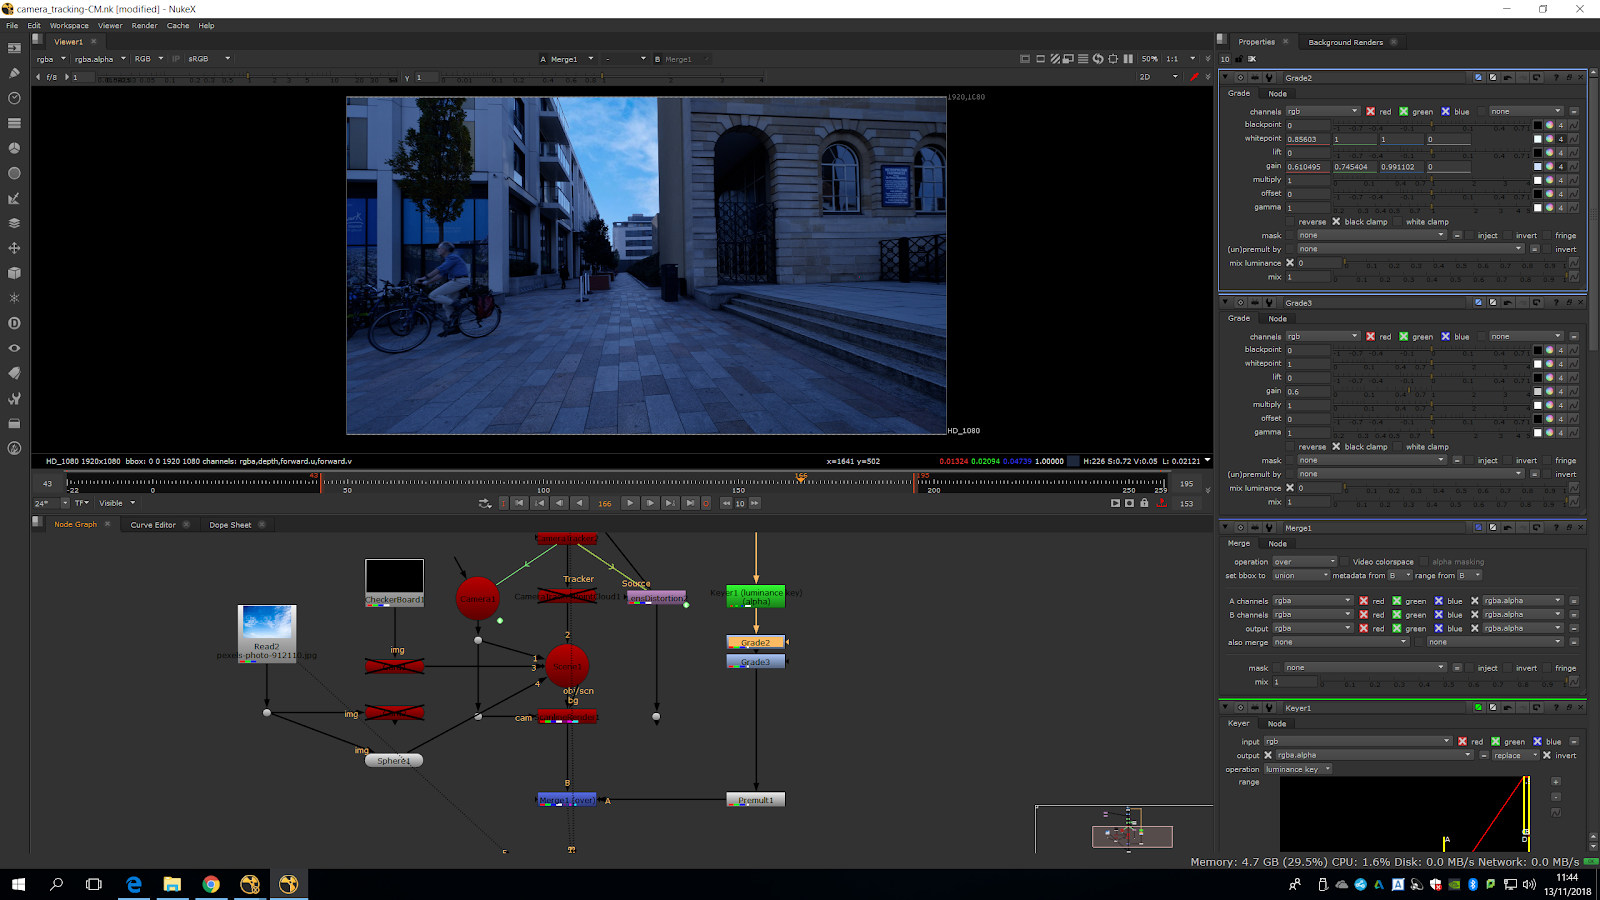
In the second grade we are going to try to correct the sky.
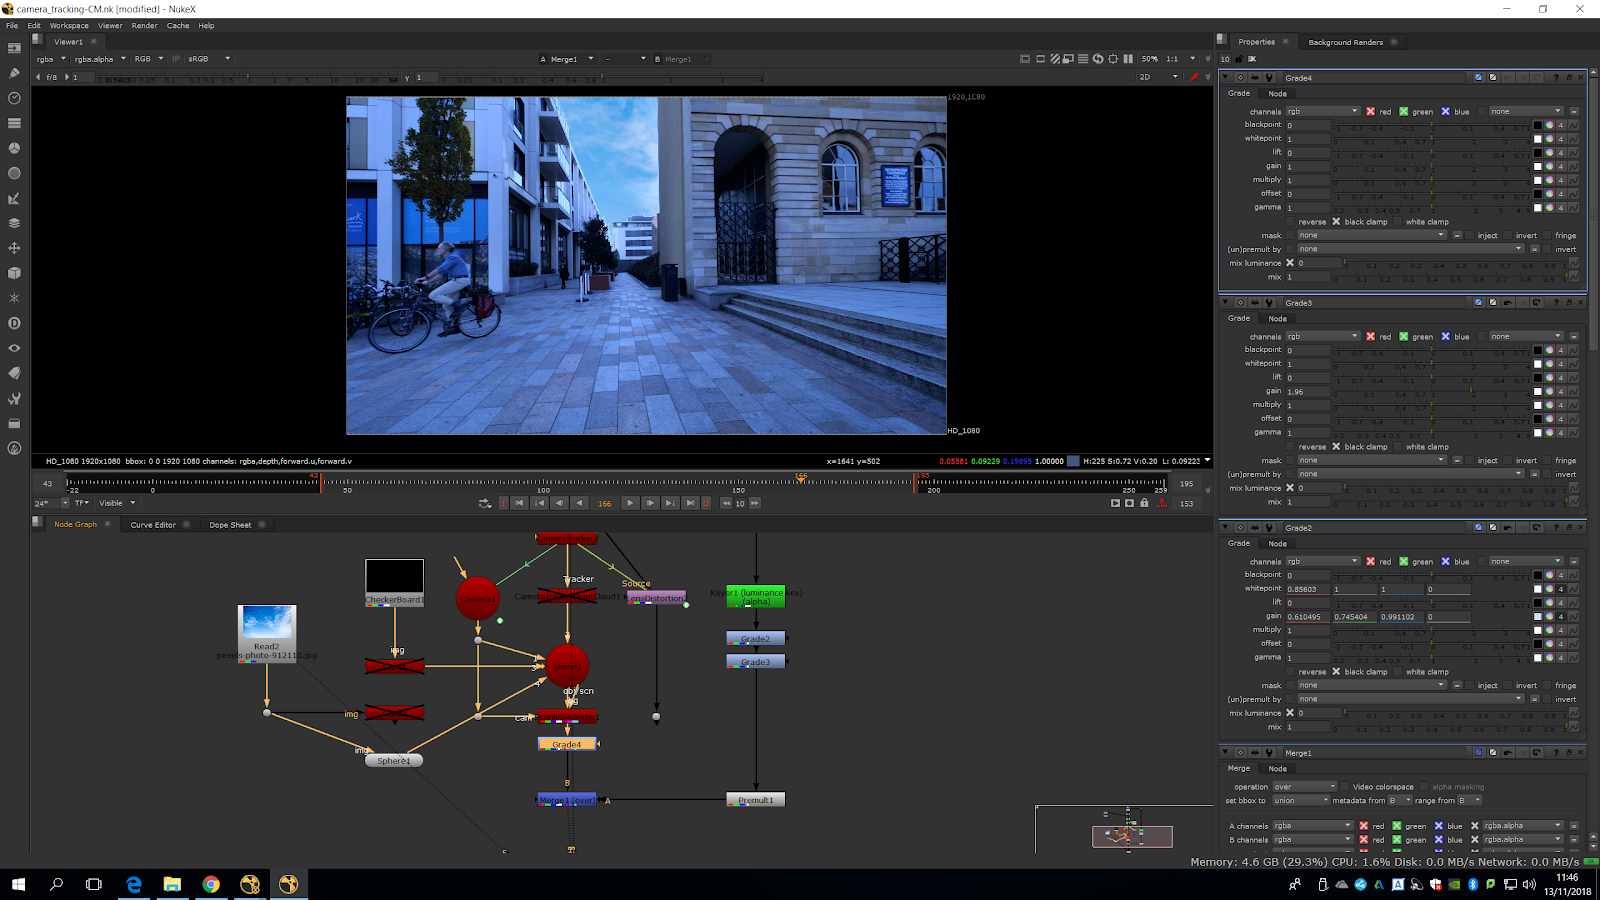
We multiplied a bit the sky, and now the edges are looking much better.
Now we will add a color correct fro ligh up the scene, and that helps a lot.
To soften the edges more, we will add an erode note in channel alpha after the premult.
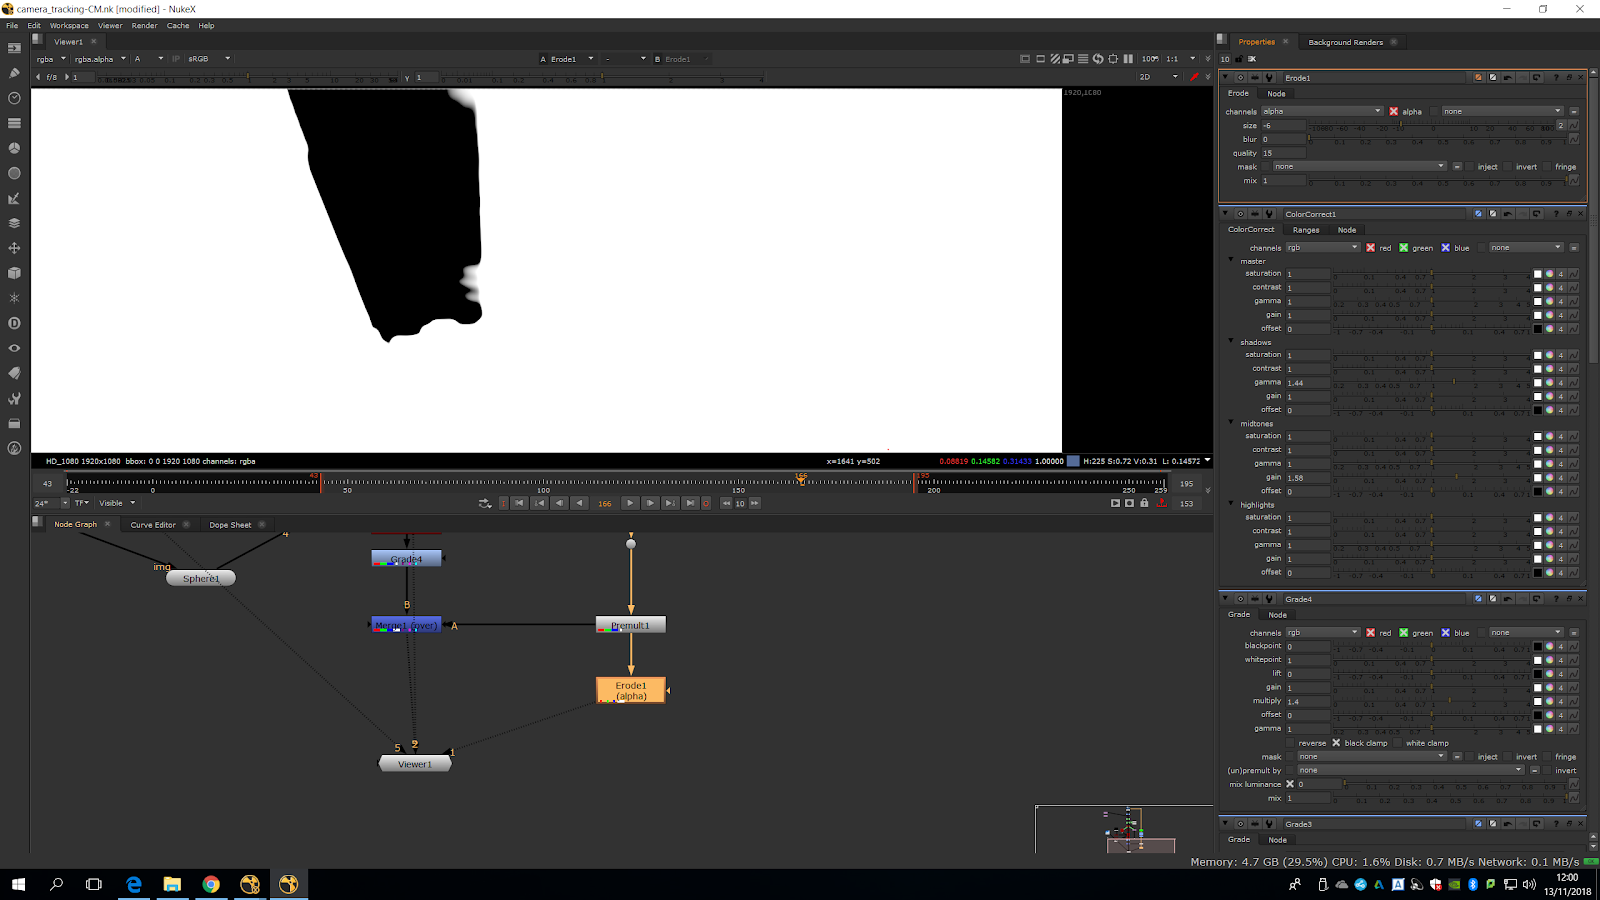
If we play around with the mix and the parameters we can blend the original sky with the new one, and the edges will look much better.
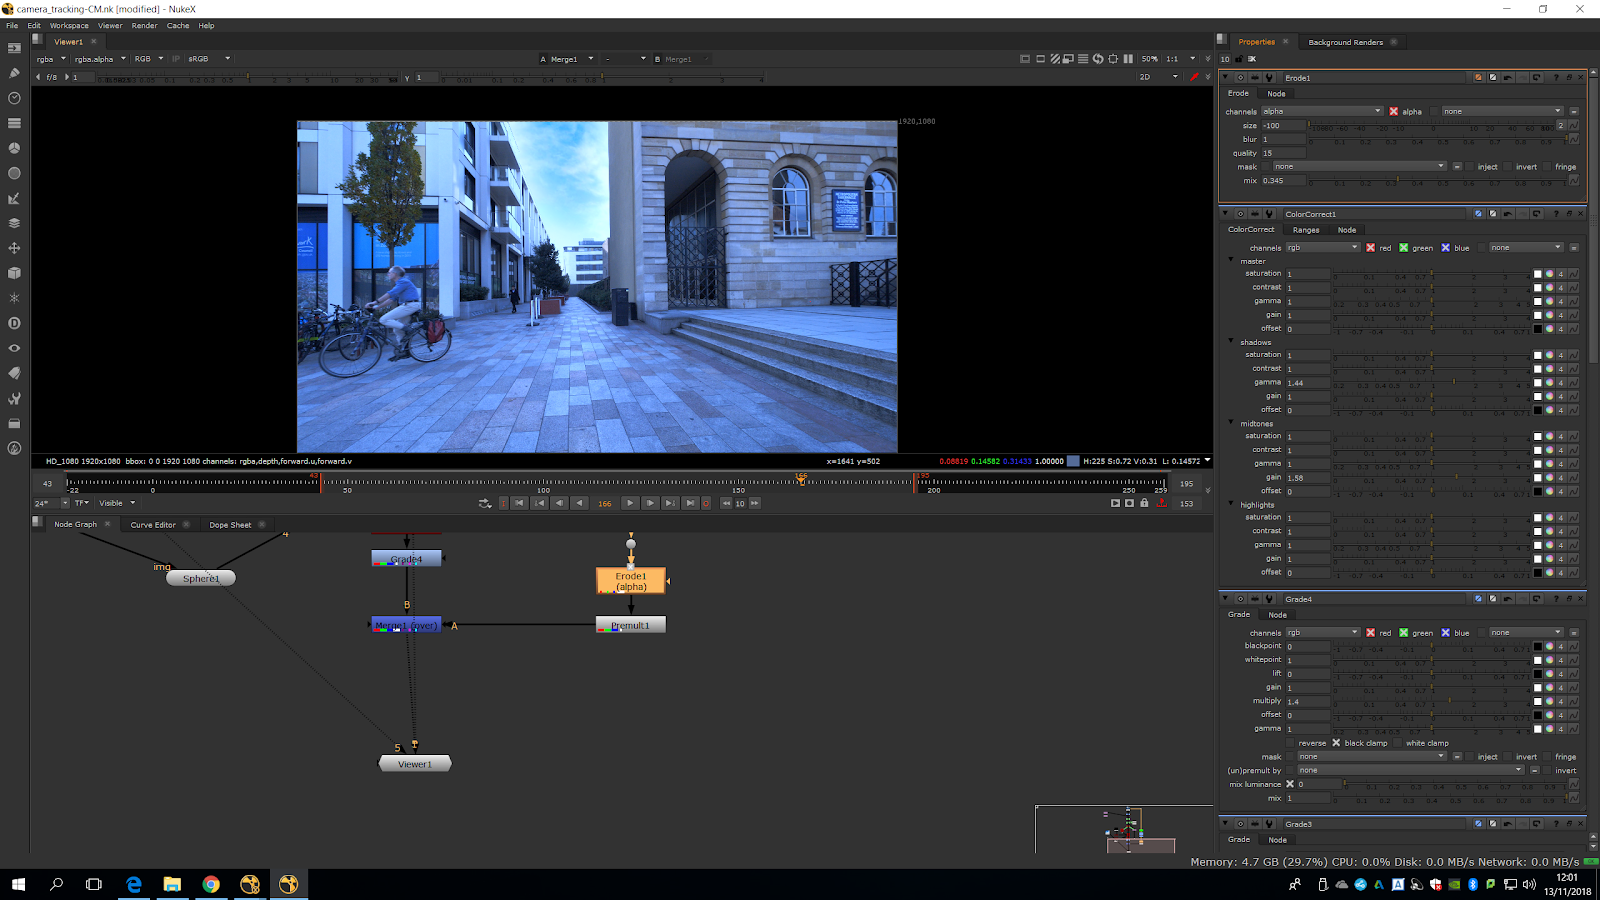
We can totally see the difference.

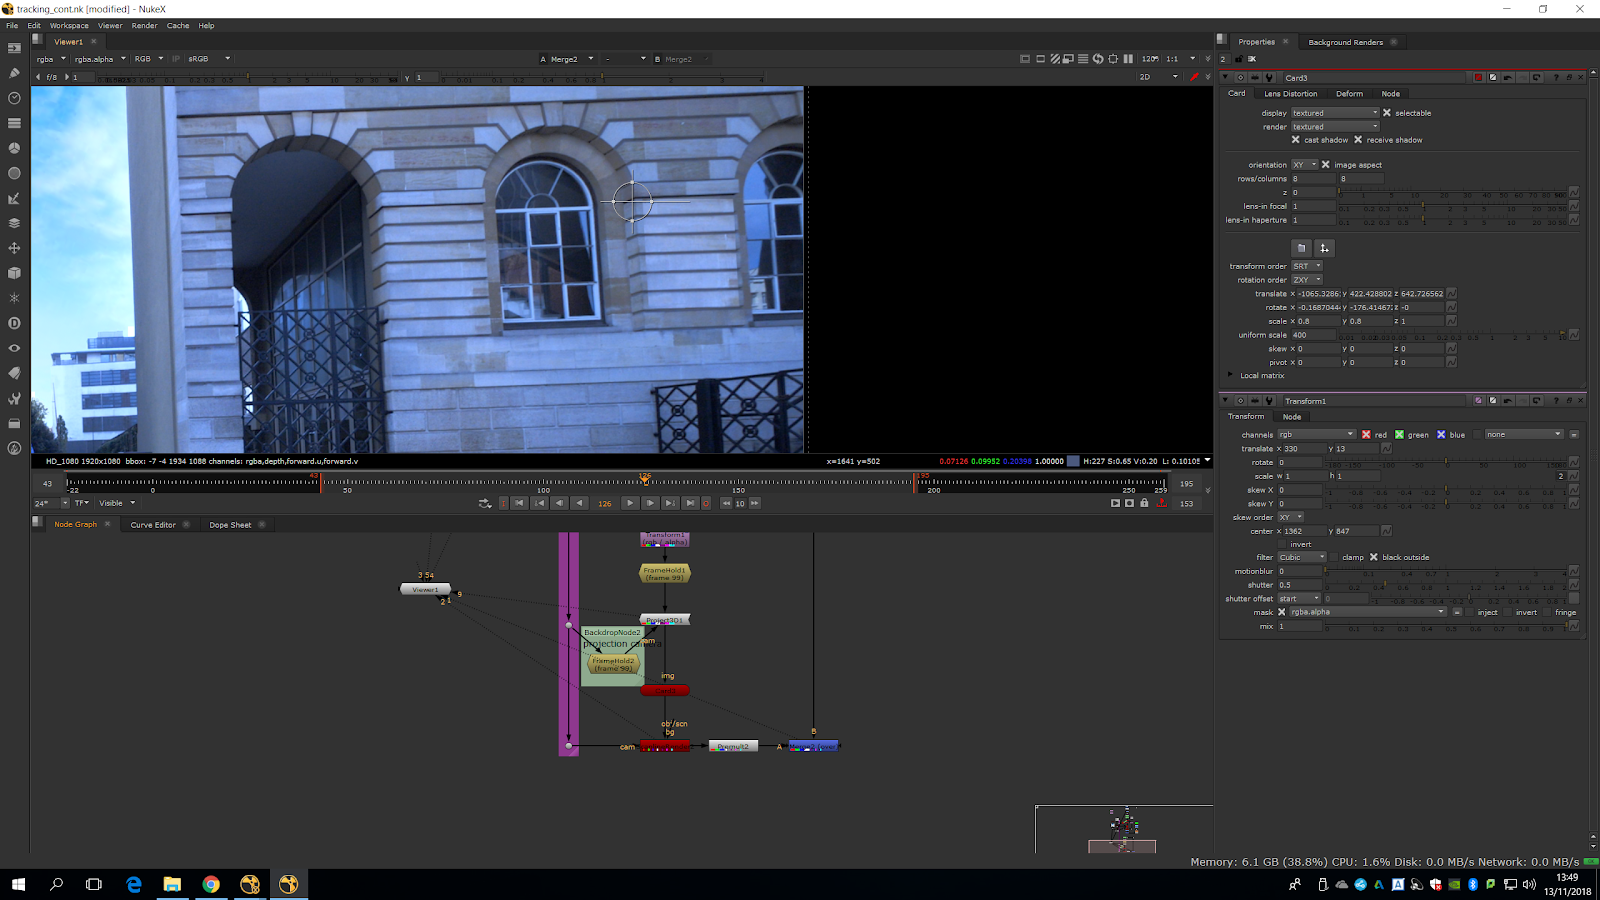
We are going to cleanup the poster, but the lens distortion will make it more difficult. For that, we will use a transform mask and a roto.
First of all, we are going to roto the area we want to clean, leaving some space, and then we will add a transform mask.
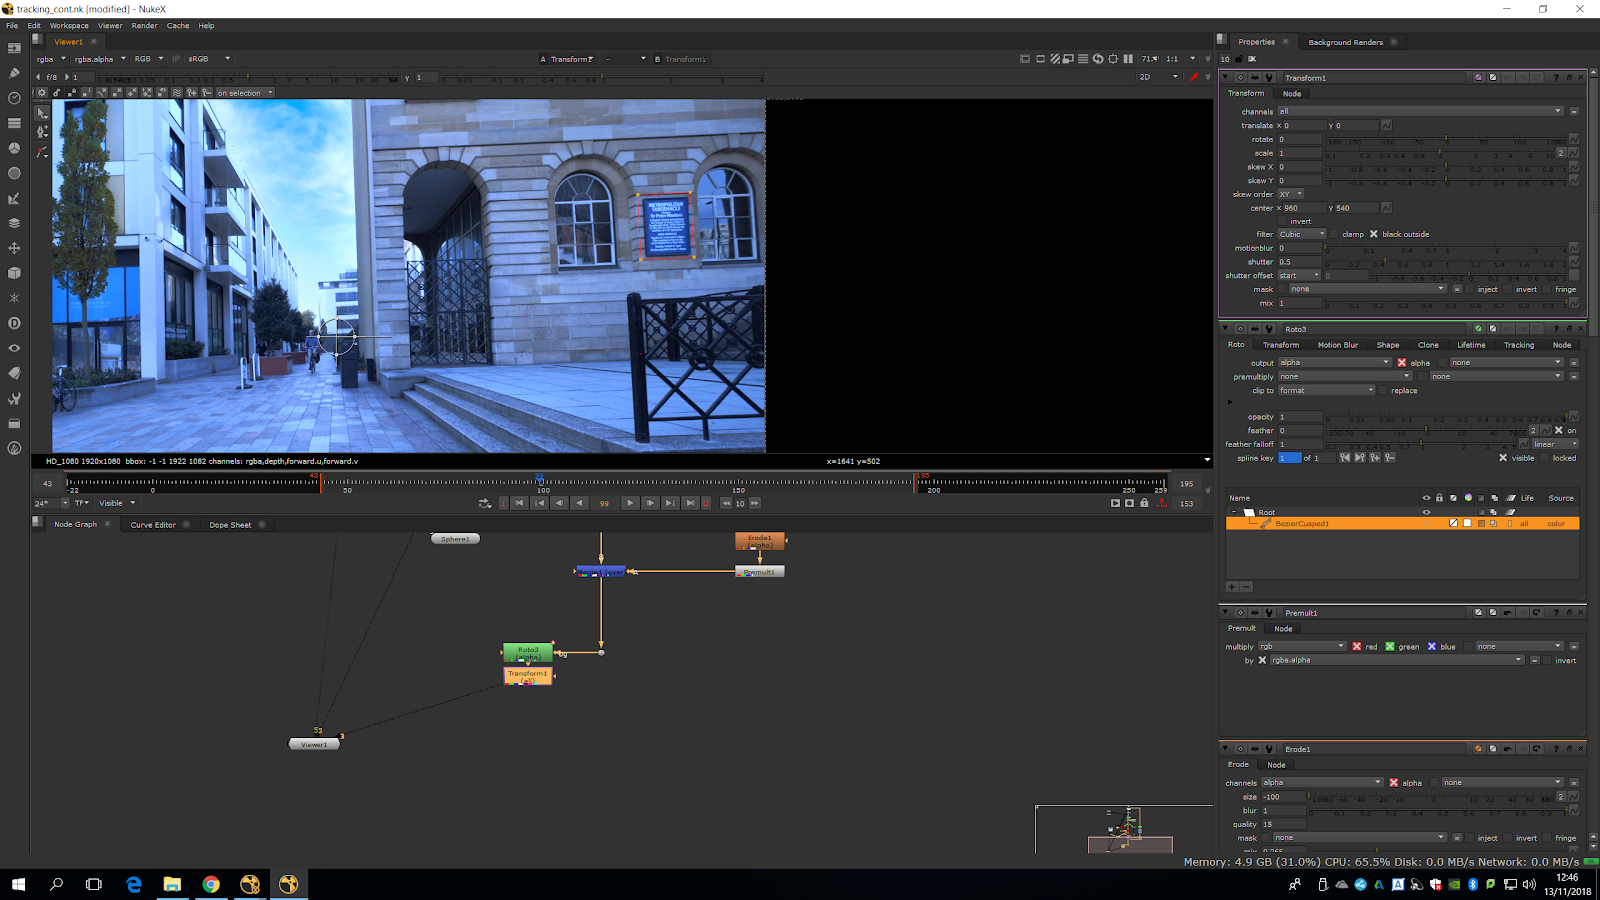
It is going to transform the masked area.
We fit it approximately to replace the wall.
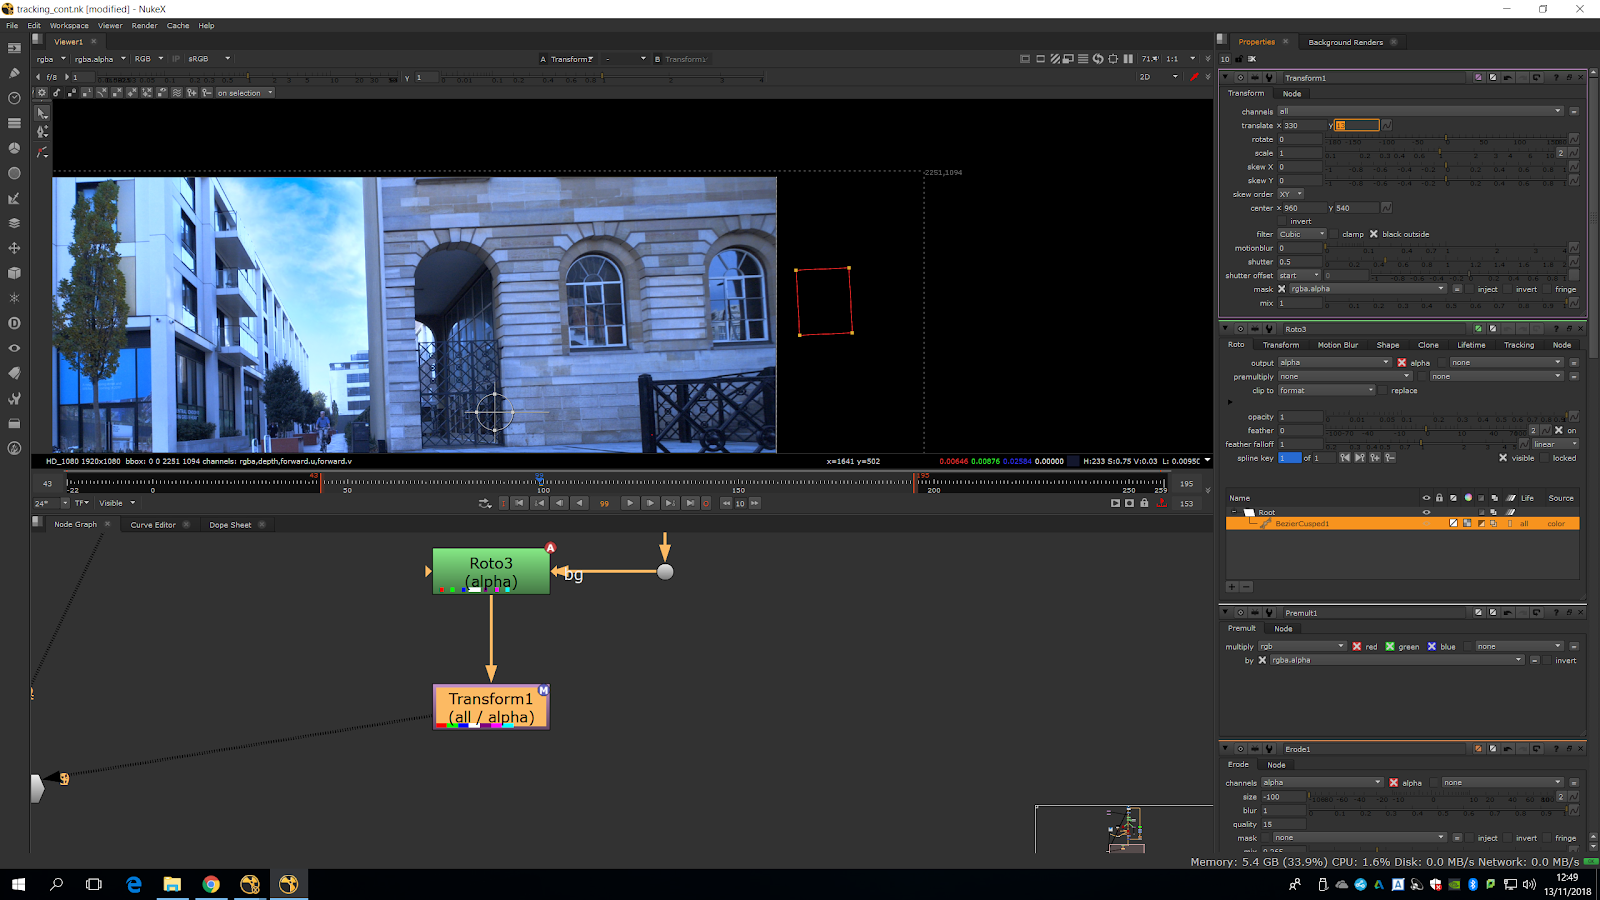
As it does not fit properly, we will need to slightly scale it in the Y axe.
Ctlr+click to change the center, then, we mark transform only for rgb, so it does not change the alpha channel.
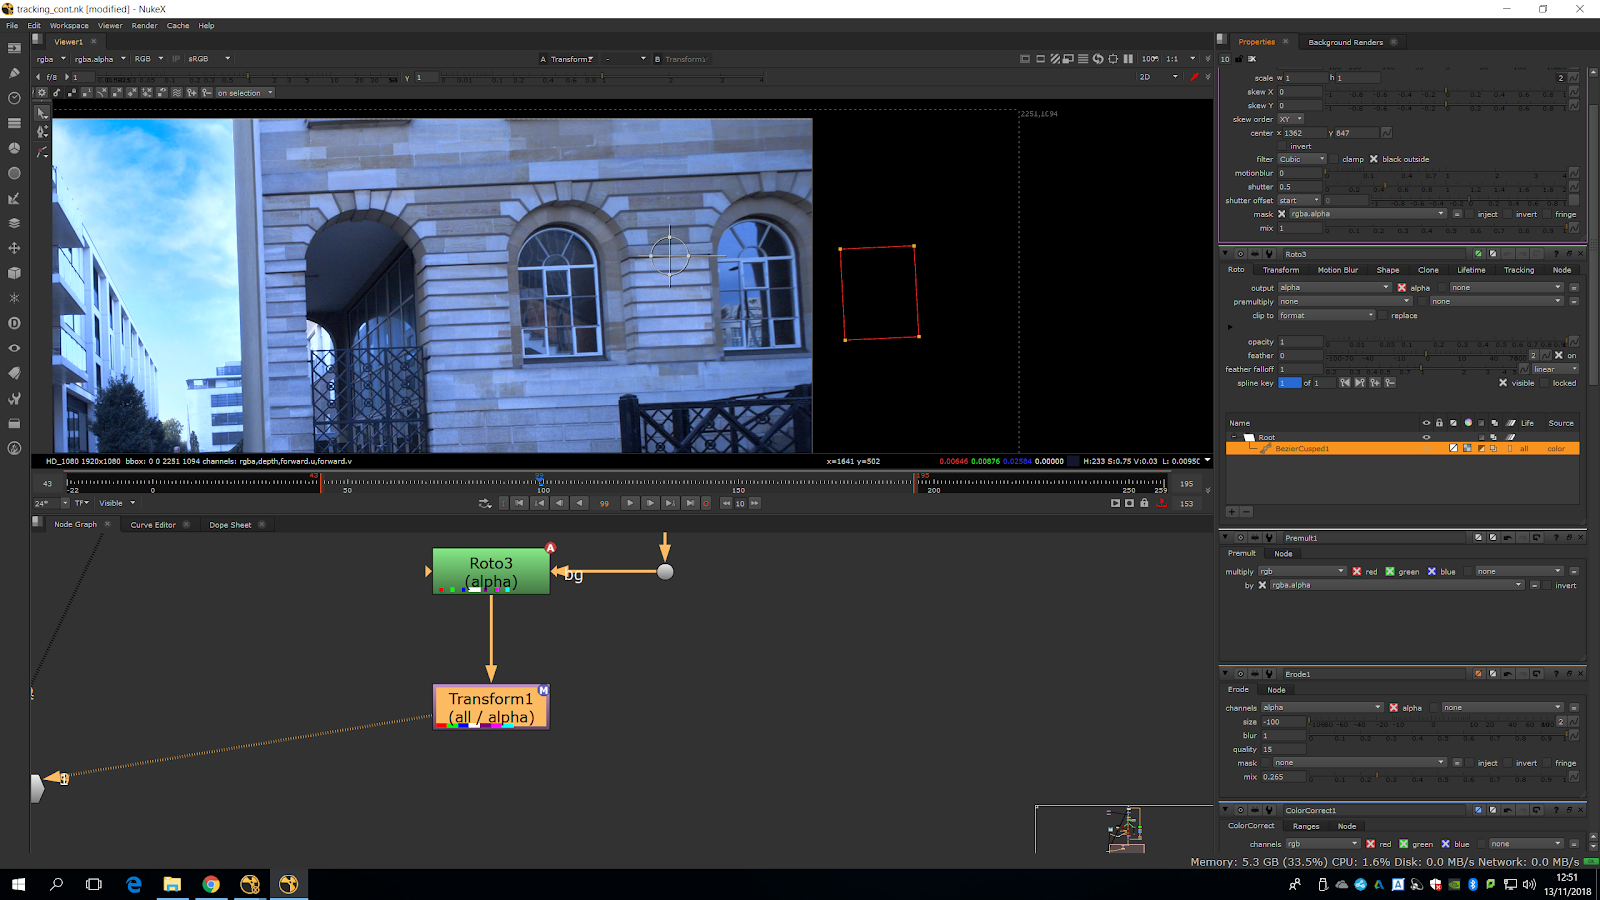
We adjust it and add a frame hold note, starting in the frame we made the correction.
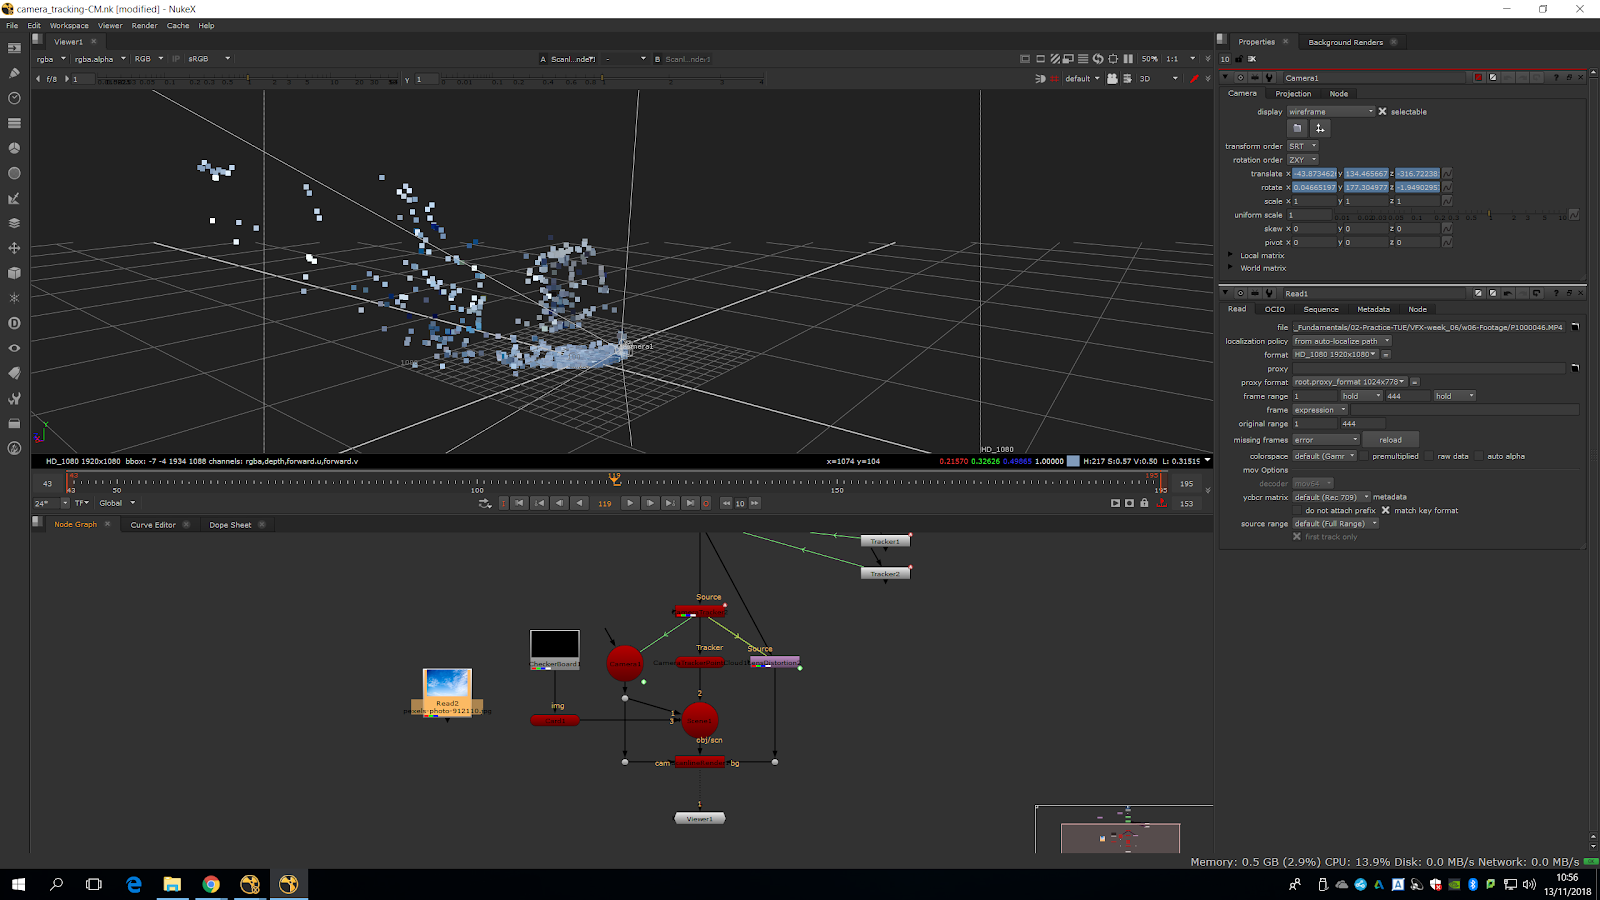
 We create a card where the poster is.
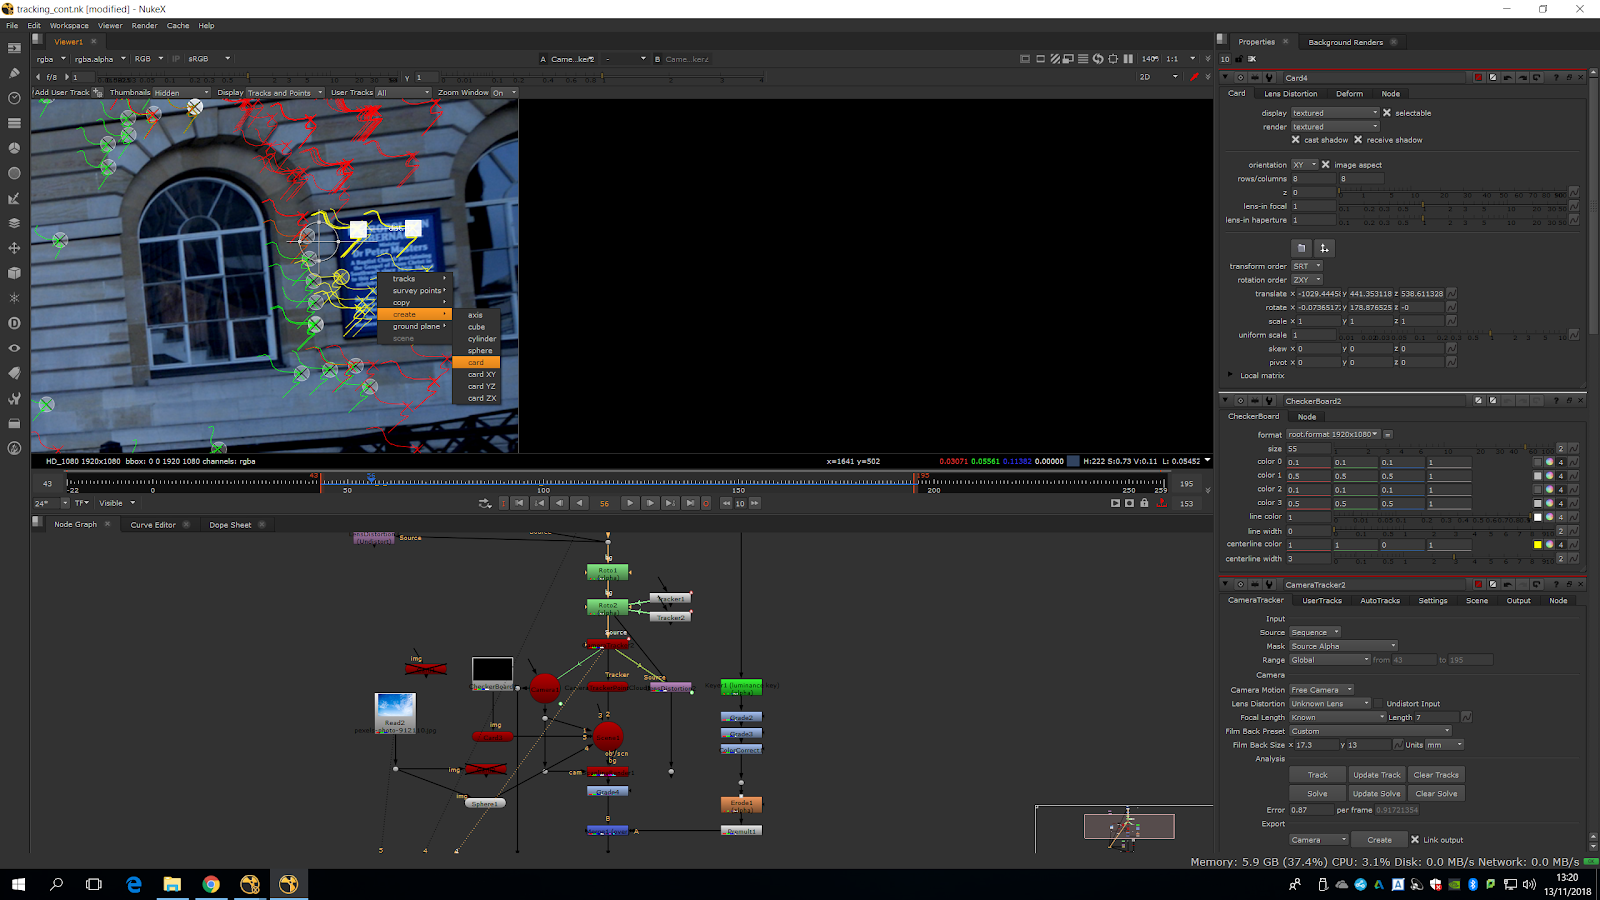
Then we plug the card into the scene.
We add a checkerboard to the card and place it correctly to see if works.
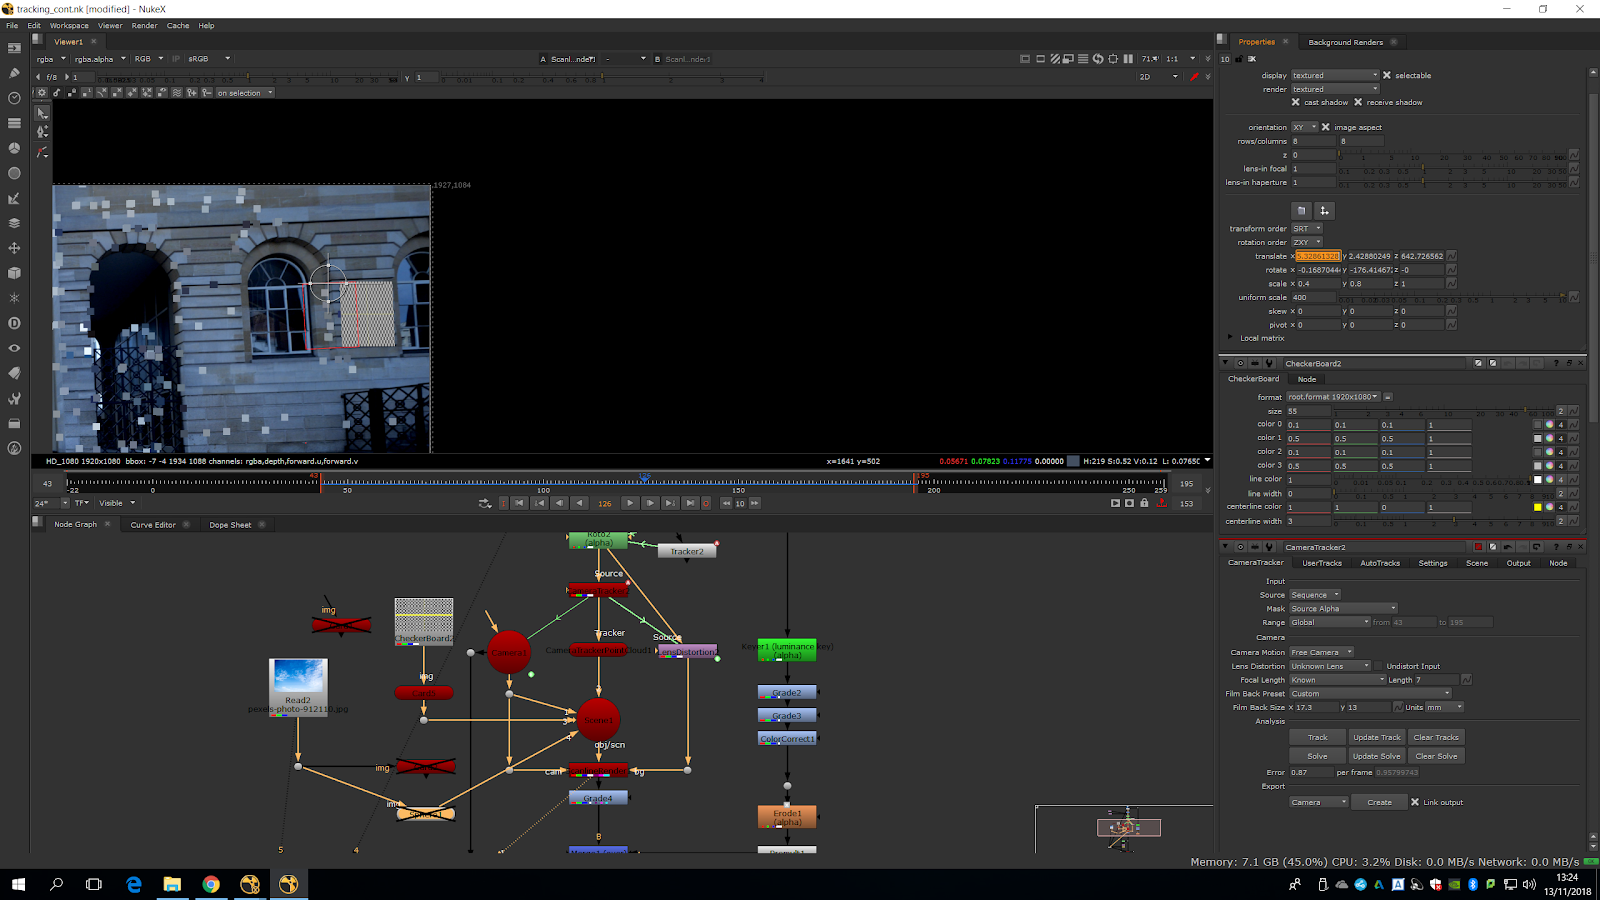
Now, we plug the card in the new clean space we made before, and plug it into the scanline render.
We see that it takes the whole frame, not just the area.
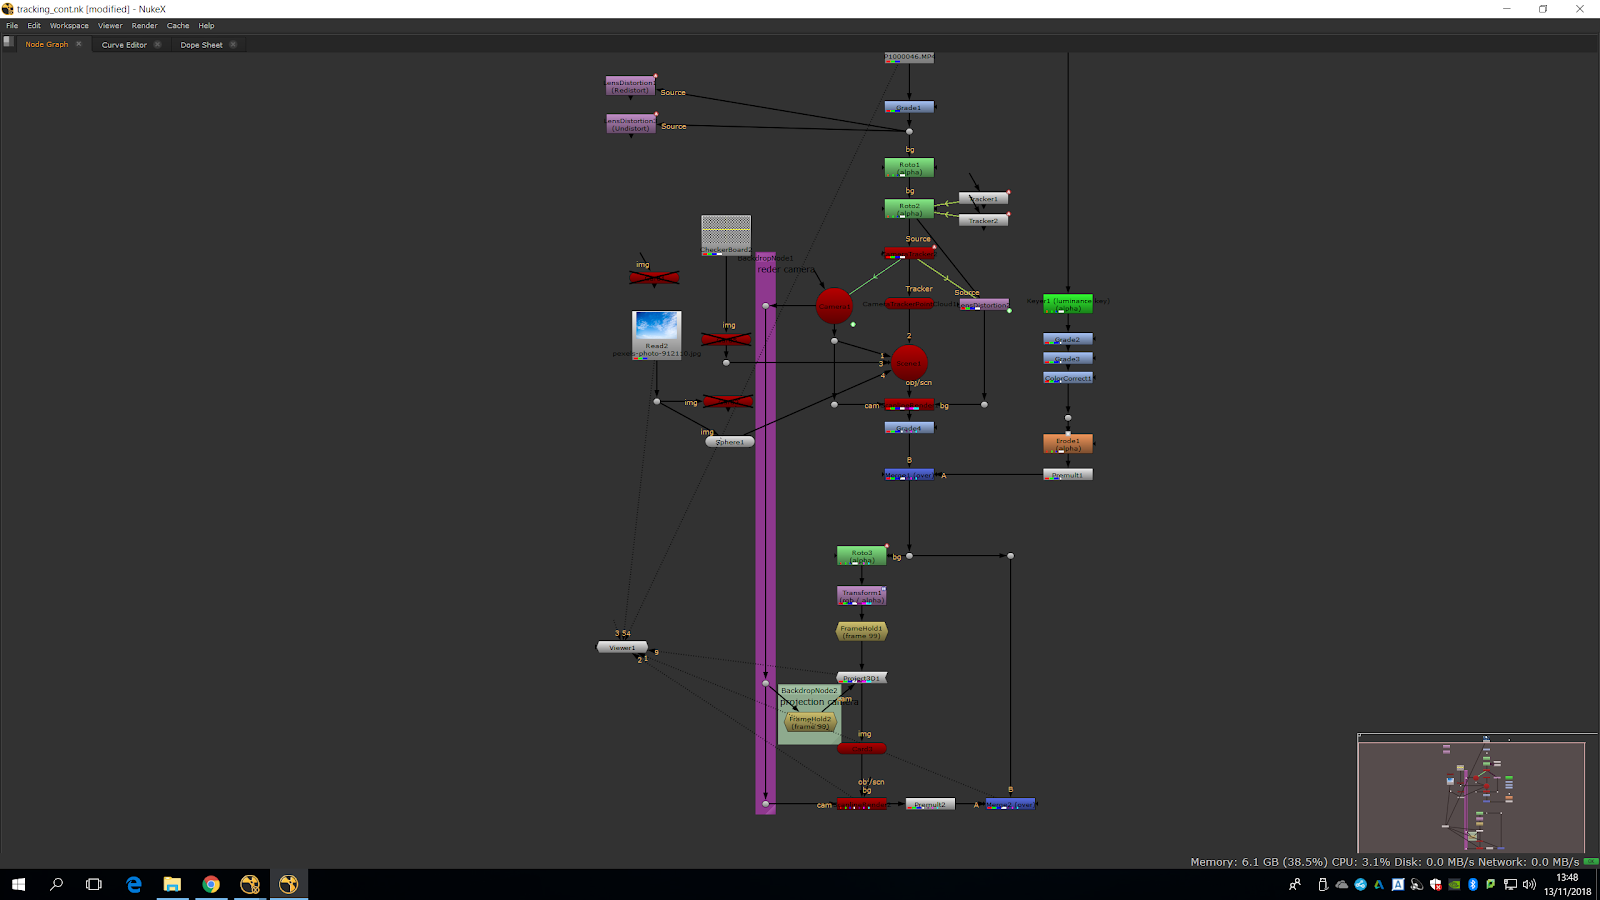
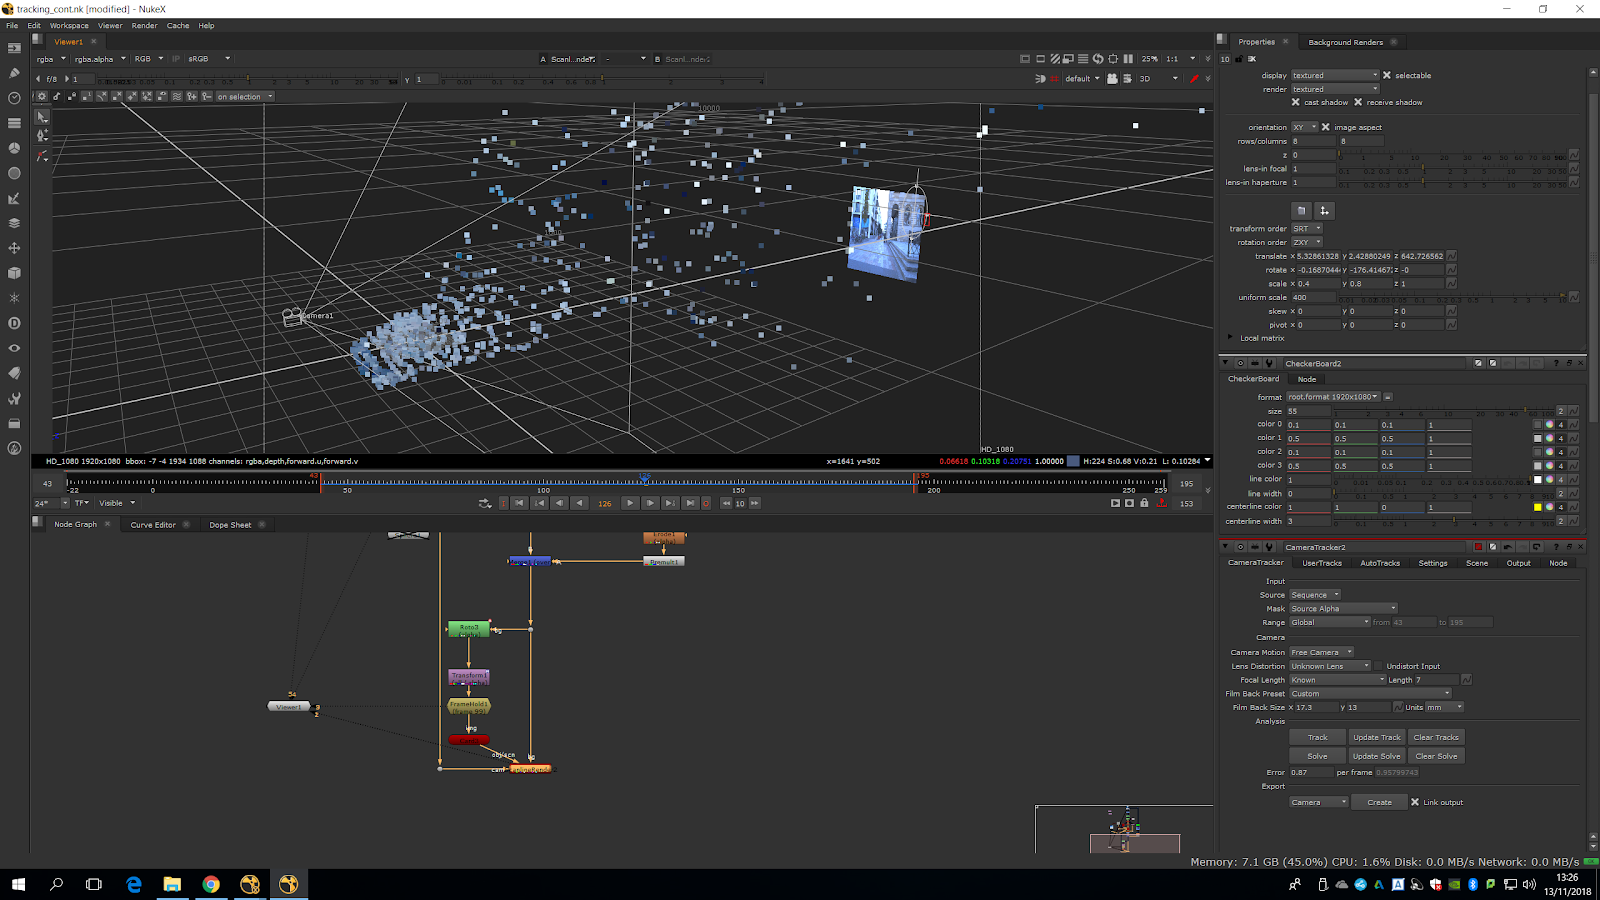
To avoid that, we need to add a project 3D card which goes into the image.
We will need to take the camera and freeze it in the right frame -in which we have made the adjustment of the wall.
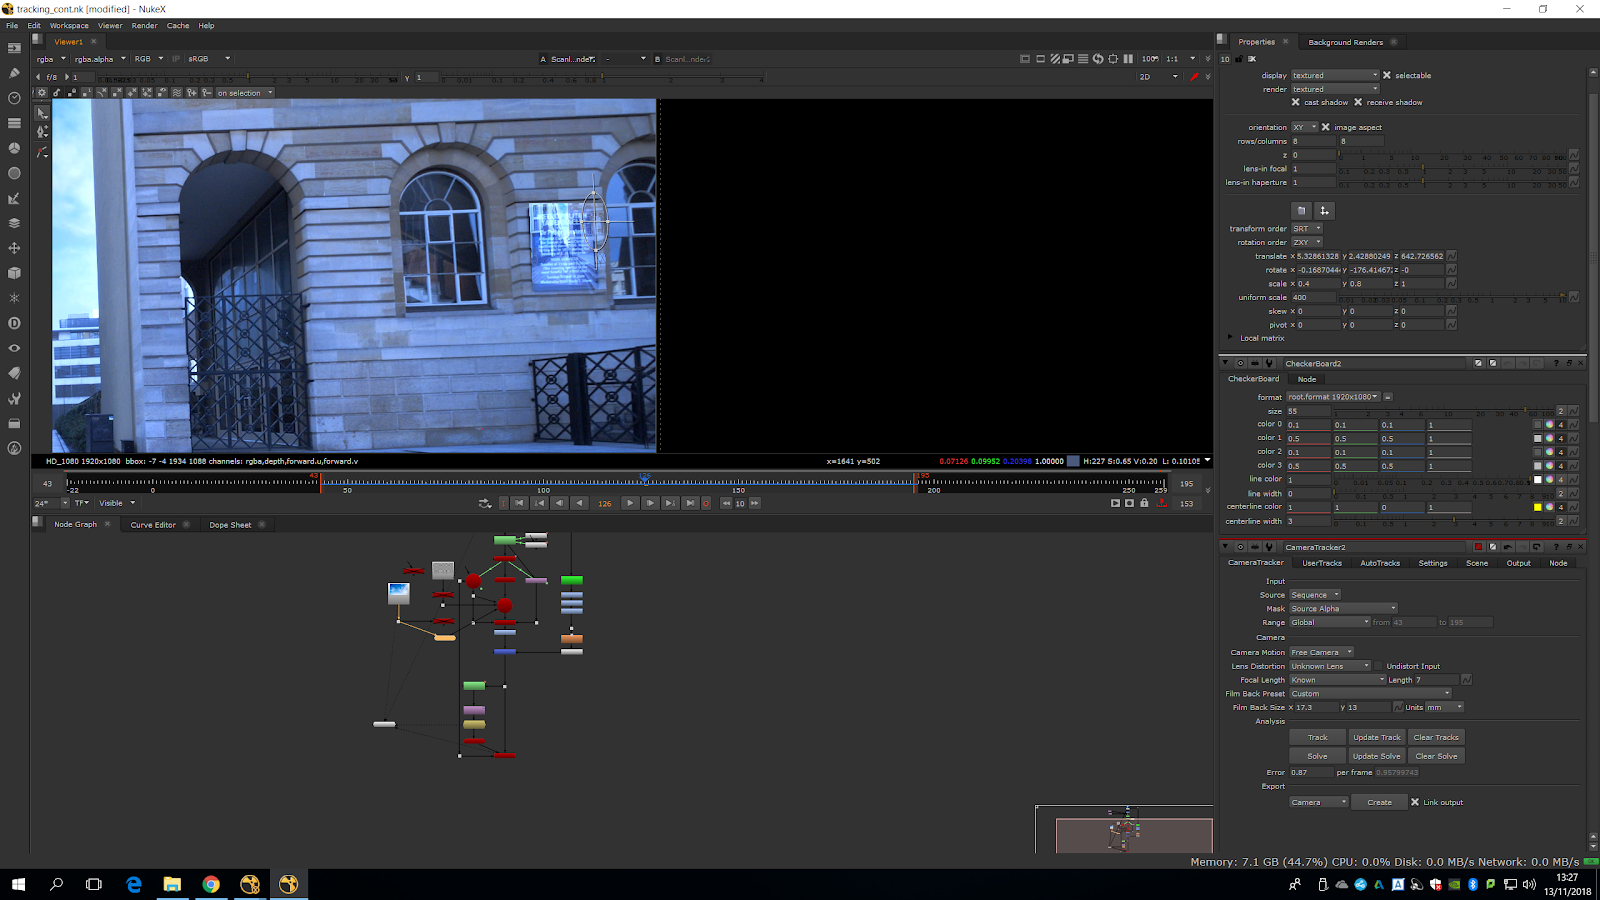
It will look like this when freezing the camera.
Finally, we need to premult the scanline render and plug it into a merge over the scene and it will look like this.