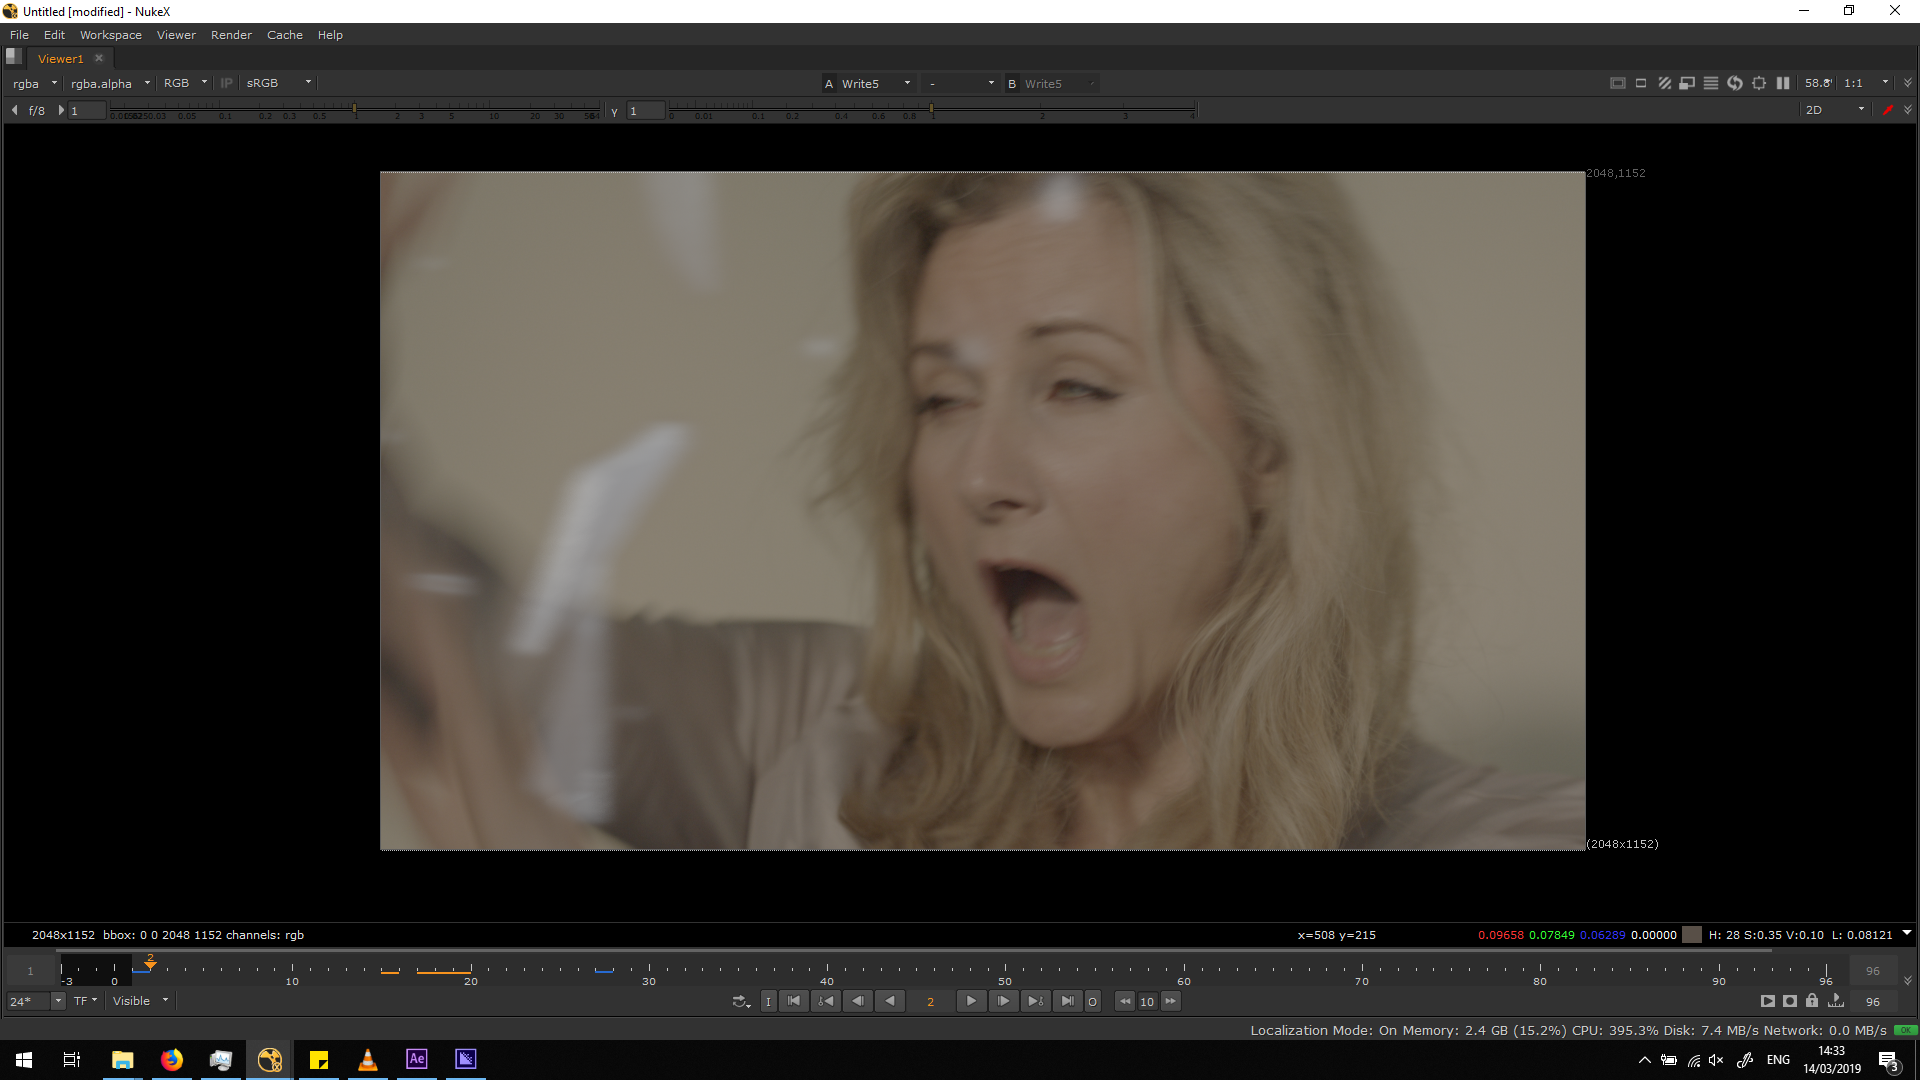
Presentation of the brief and final result
This shot is the continuation of the last shot edited, when she wakes up. The brief for this shot was to add some smashing glass into her real world – that disappears off as she realises it was a flashback.
In the following video, we can see the project, including the final version, the original version, all the previous versions, and the VFX breakdown.
Now, I am going to go through he whole script and the corrections, in order to explain how did I get to the final result and explain very step.
Analysis of the script
Prepare the footage
The first thing we need to make while editing a footage is exporting that footage into .dpx format. DPX format exports every frame of the footage as a single image with no compression, this means that is a lossless format, bigger than the original .mov format. Therefore, it needs to be done to preserve the maximum quality of the footage while working with it, in order to have a major quality in the final exportation. Otherwise, while working on a shot, it is unavoidable to lose some quality, but if we work over a .dpx this looseness it would not affect to our final exportation, since we are going to be working with a huge footage.
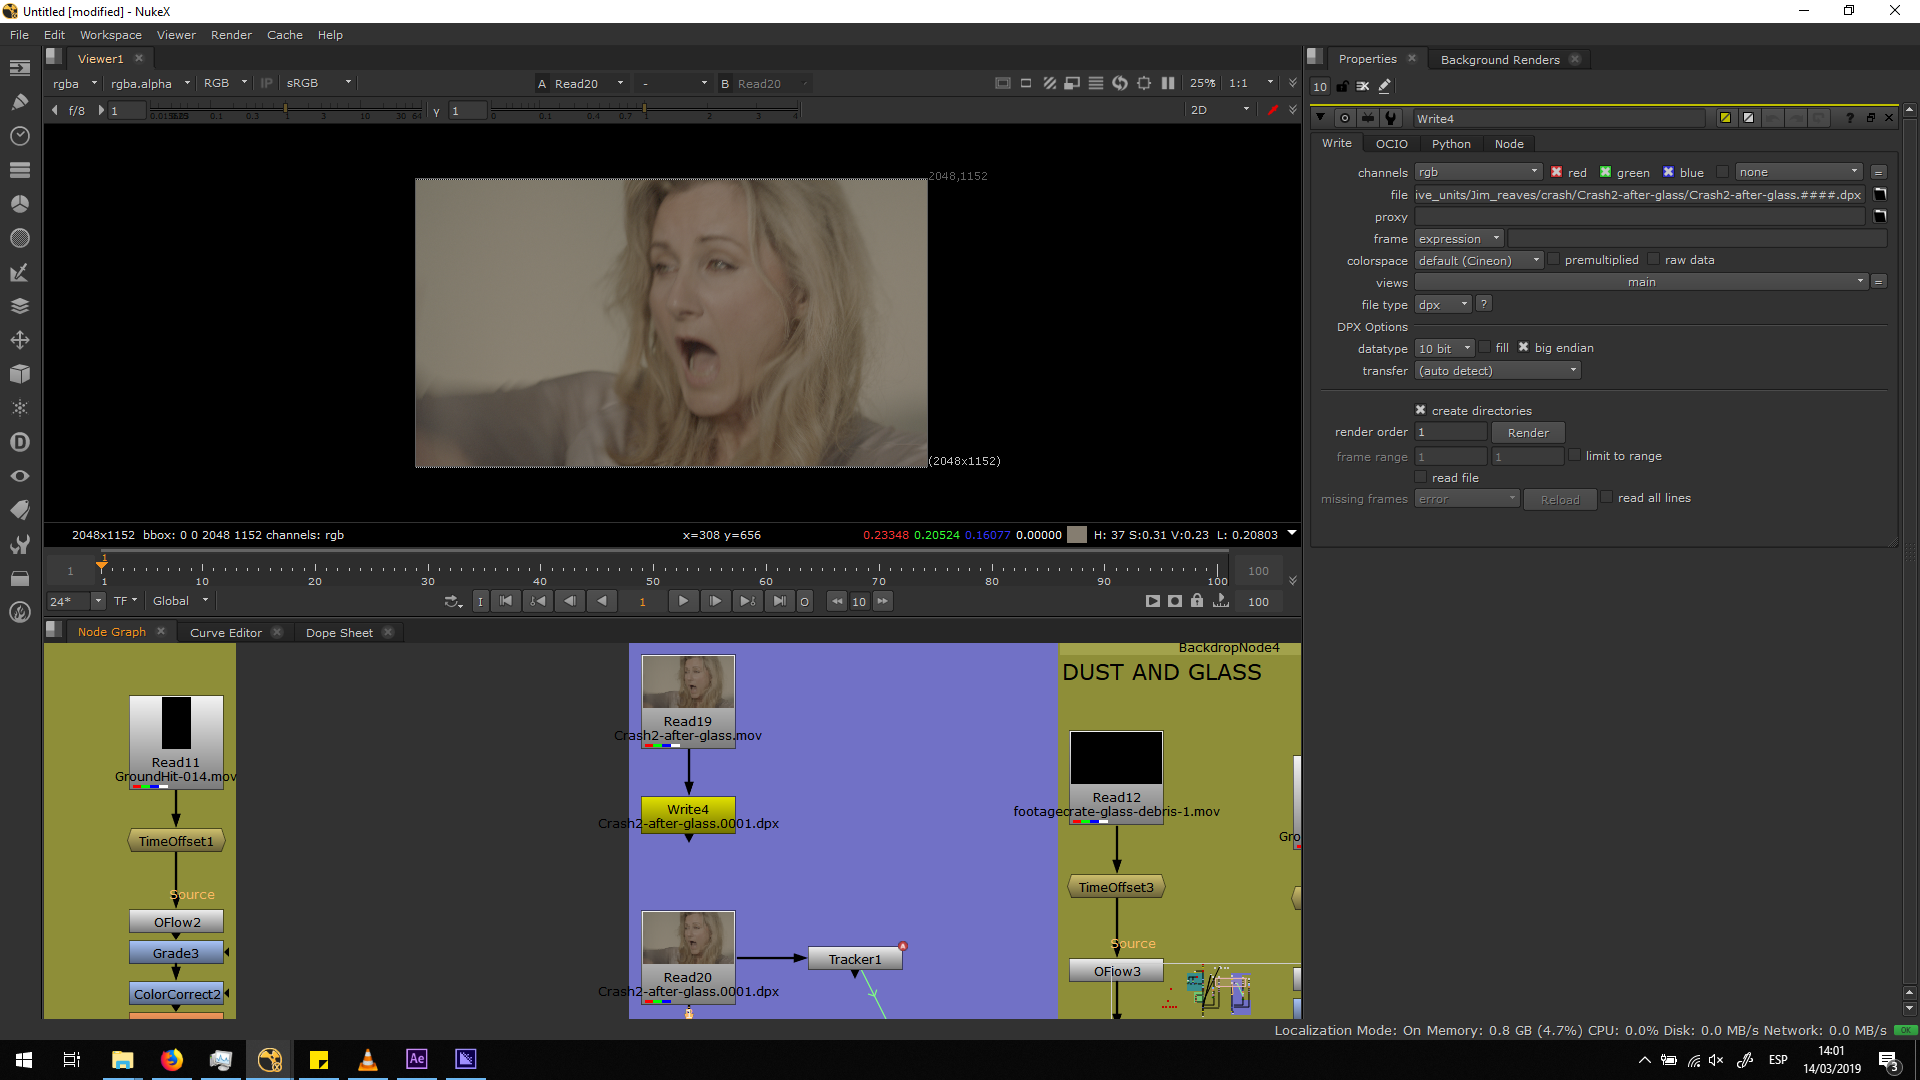
Add FX elements
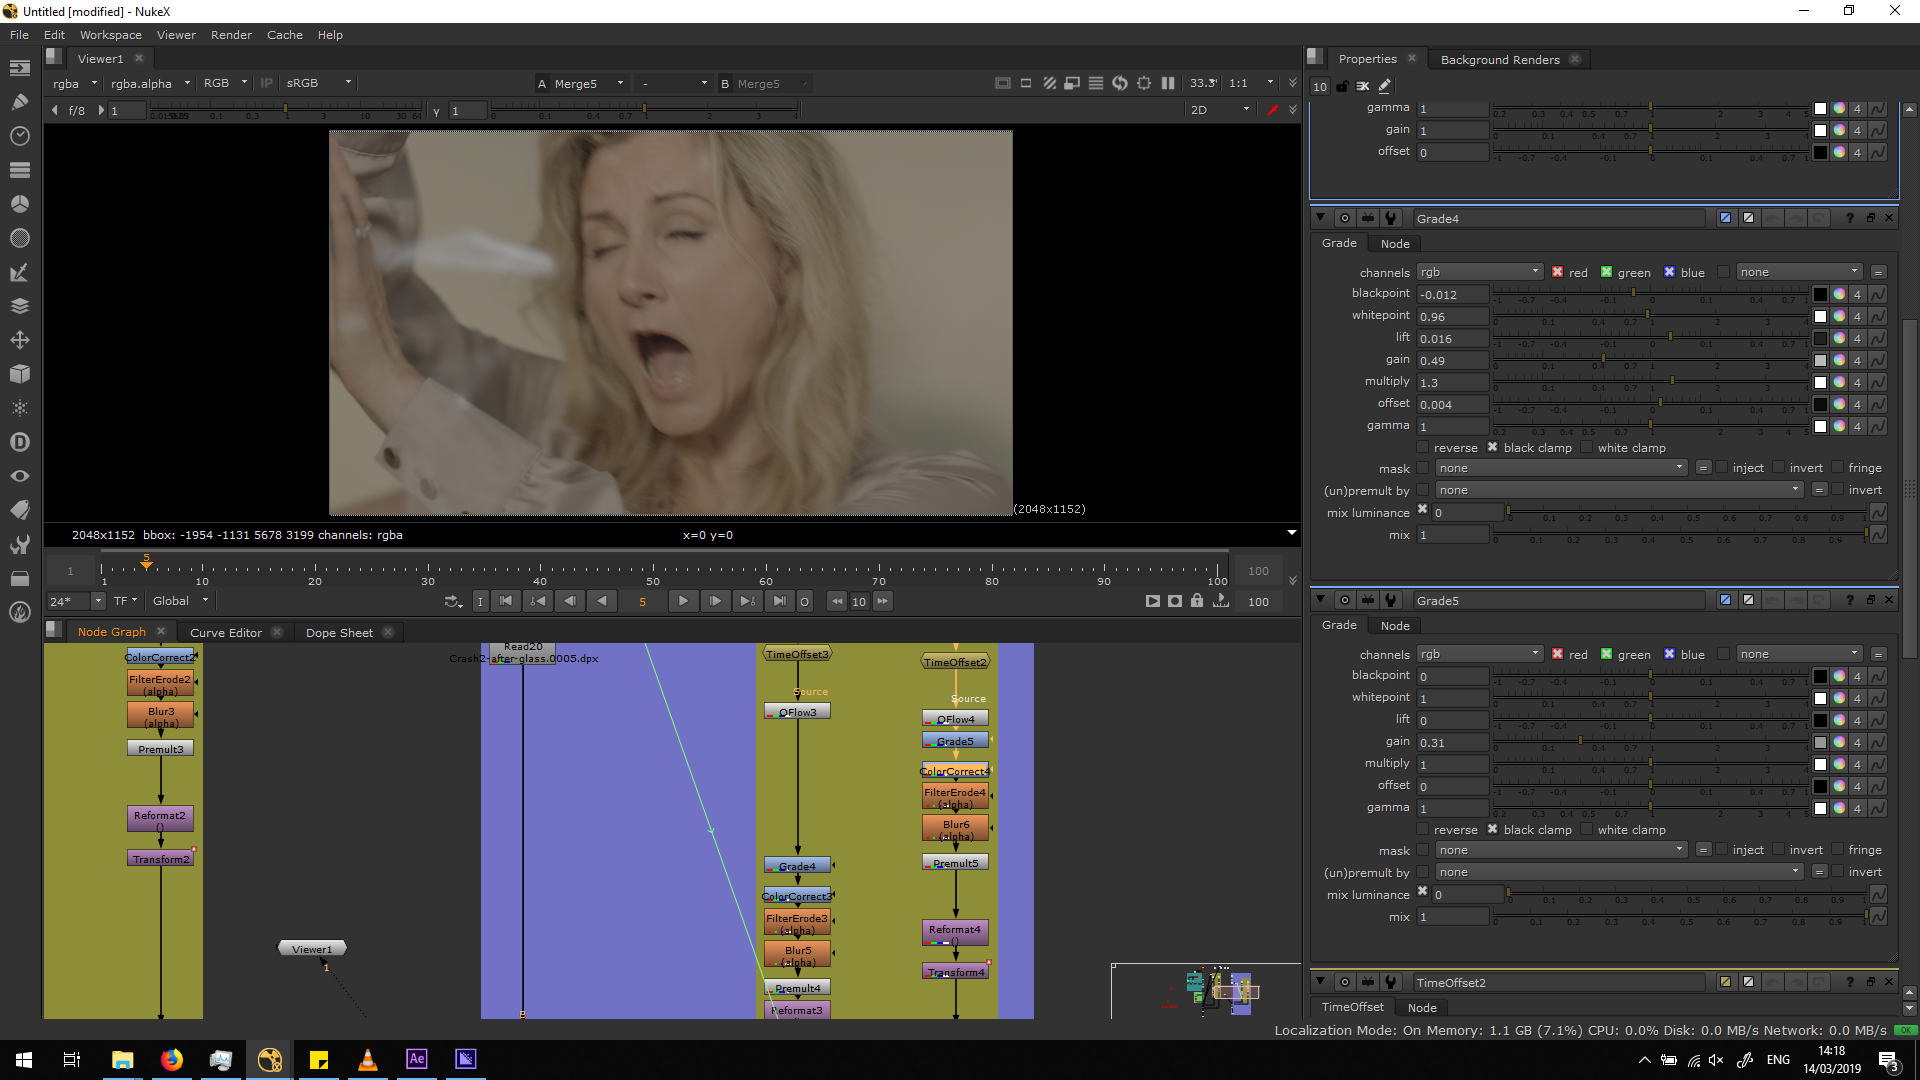
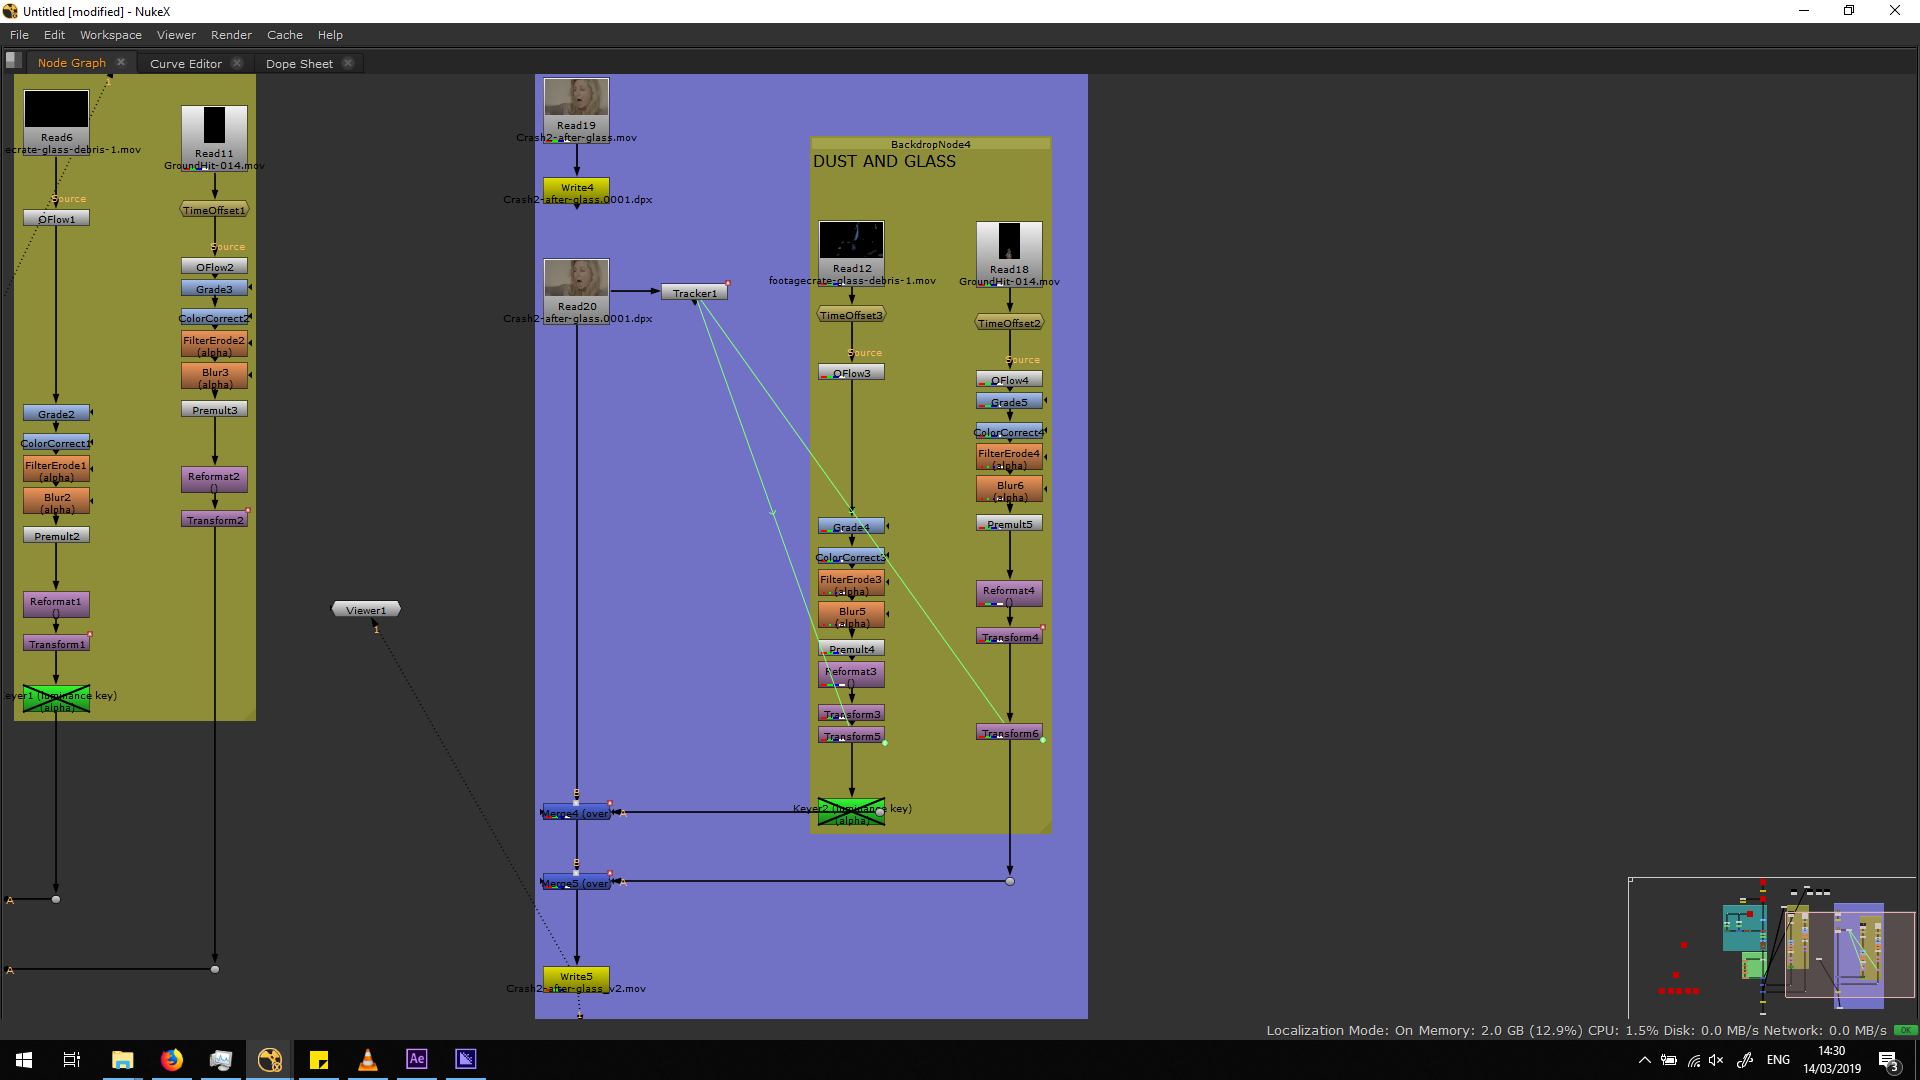
I did not need to edit the original footage itself, only adding some dust and glass effects, therefore, I just copied the dust and glass script from the Car crash 02, merge it over tha image and I started working from that script.
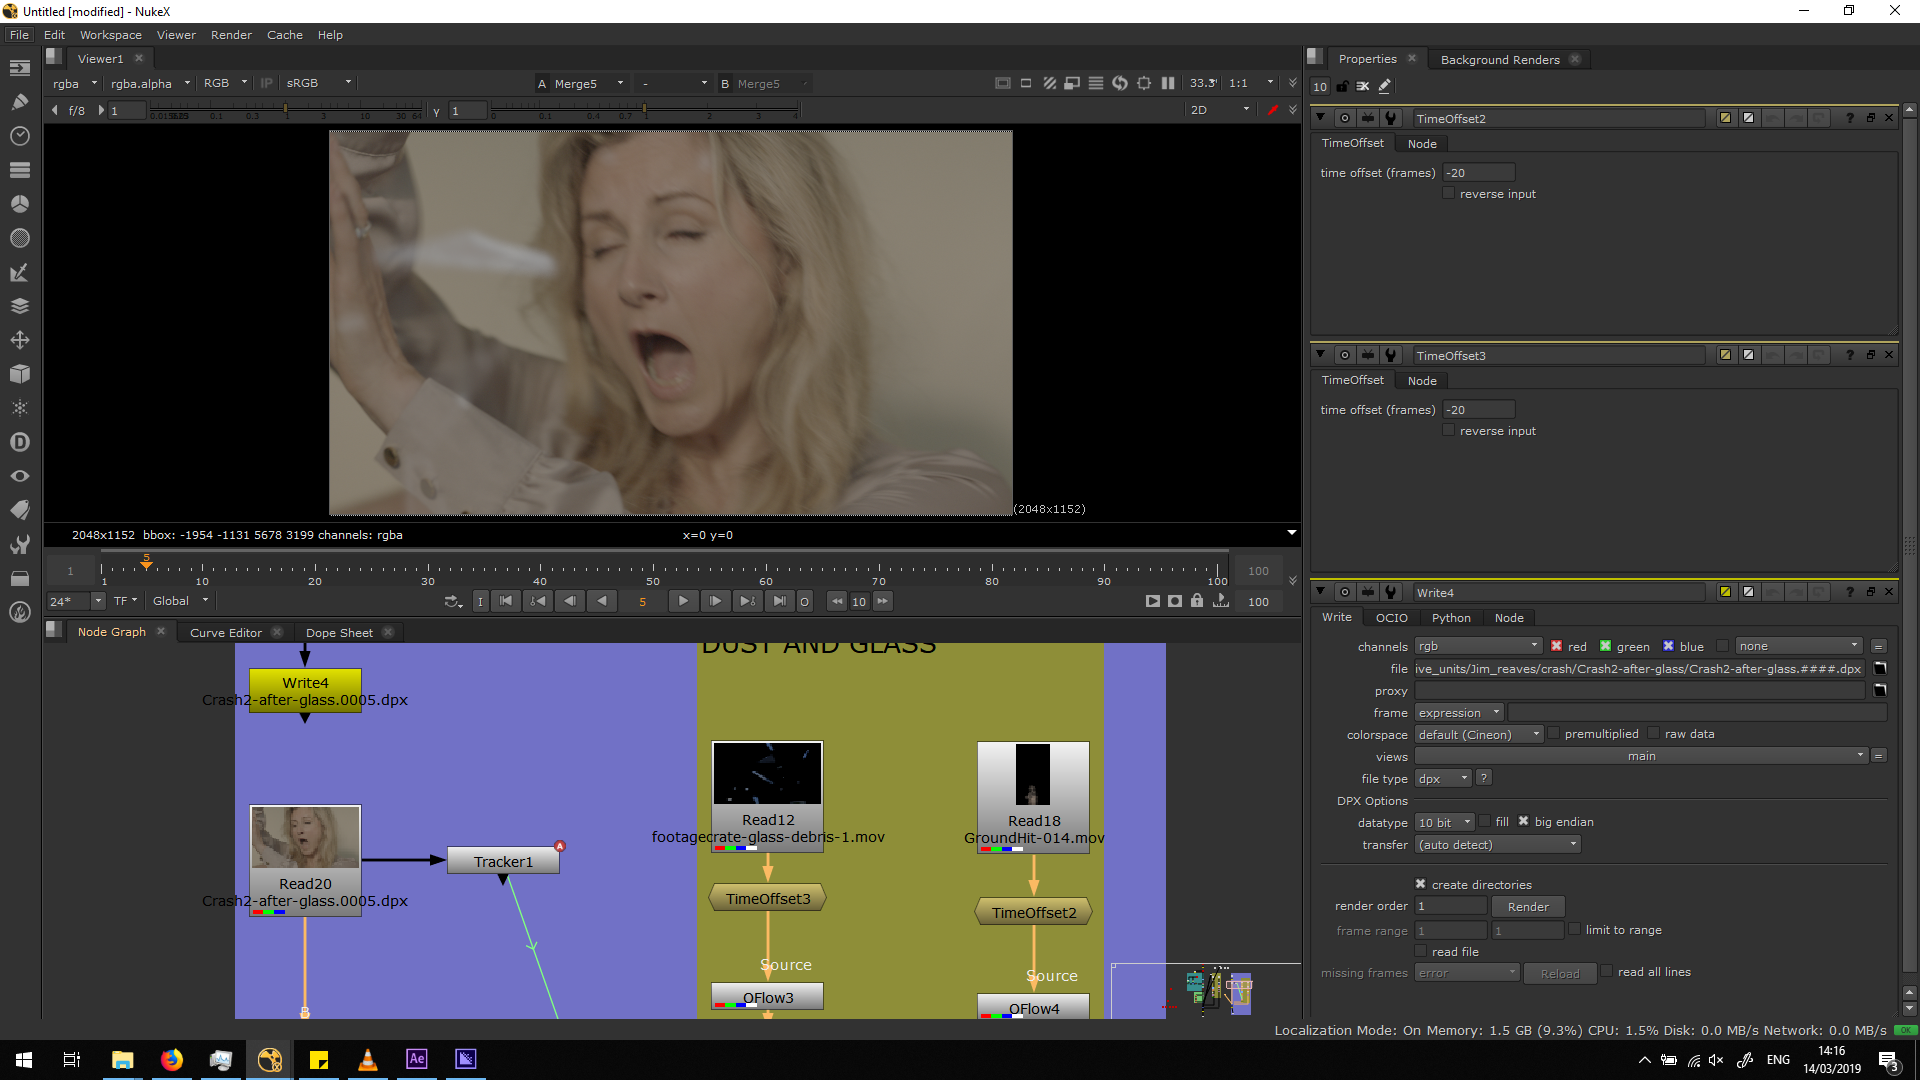
As this shot is the continuation of the other one, I added a time offset to both FX elements, to make them start the movement from the last frame of the previous video.
 Then, I refined the grade and the color correct in order to make the FX element blend correctly with the new background. We need to notice that the old background is black, and this one is really bright, so it makes a big difference in the blending process.
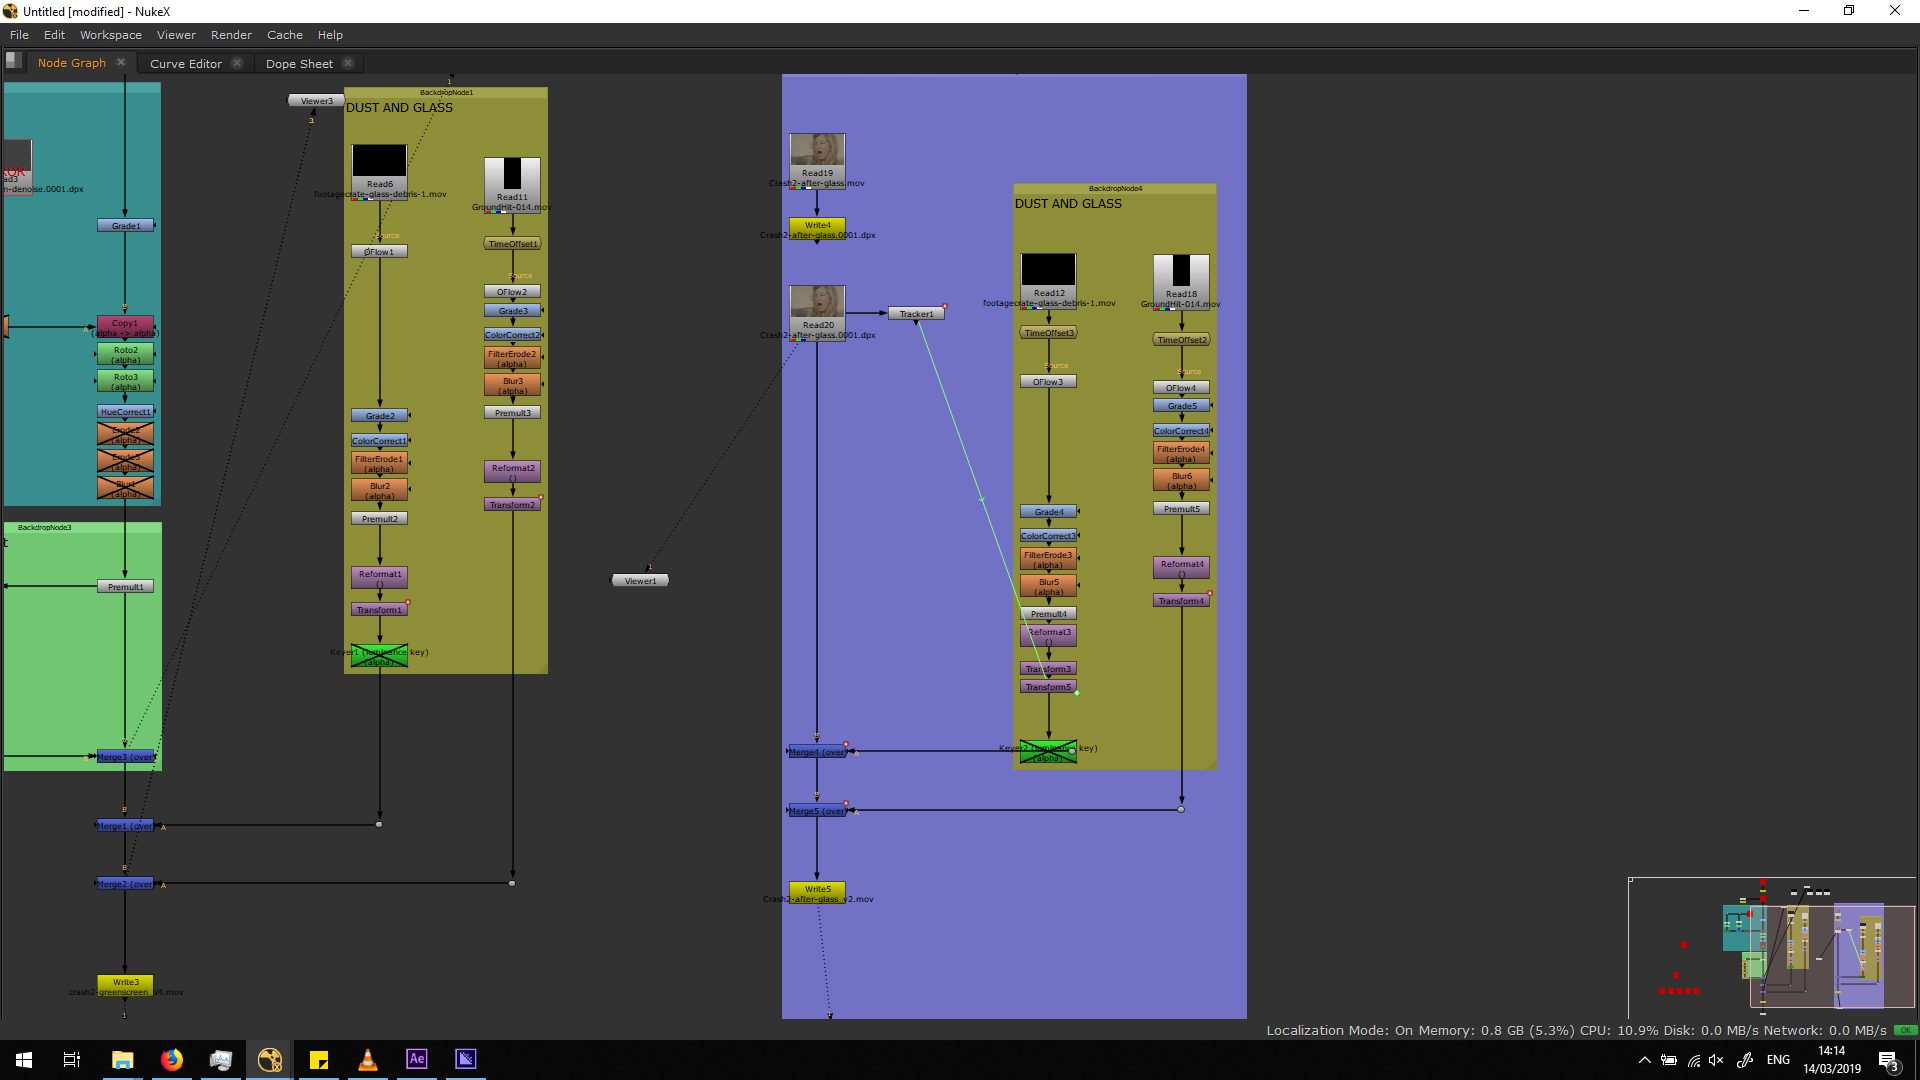
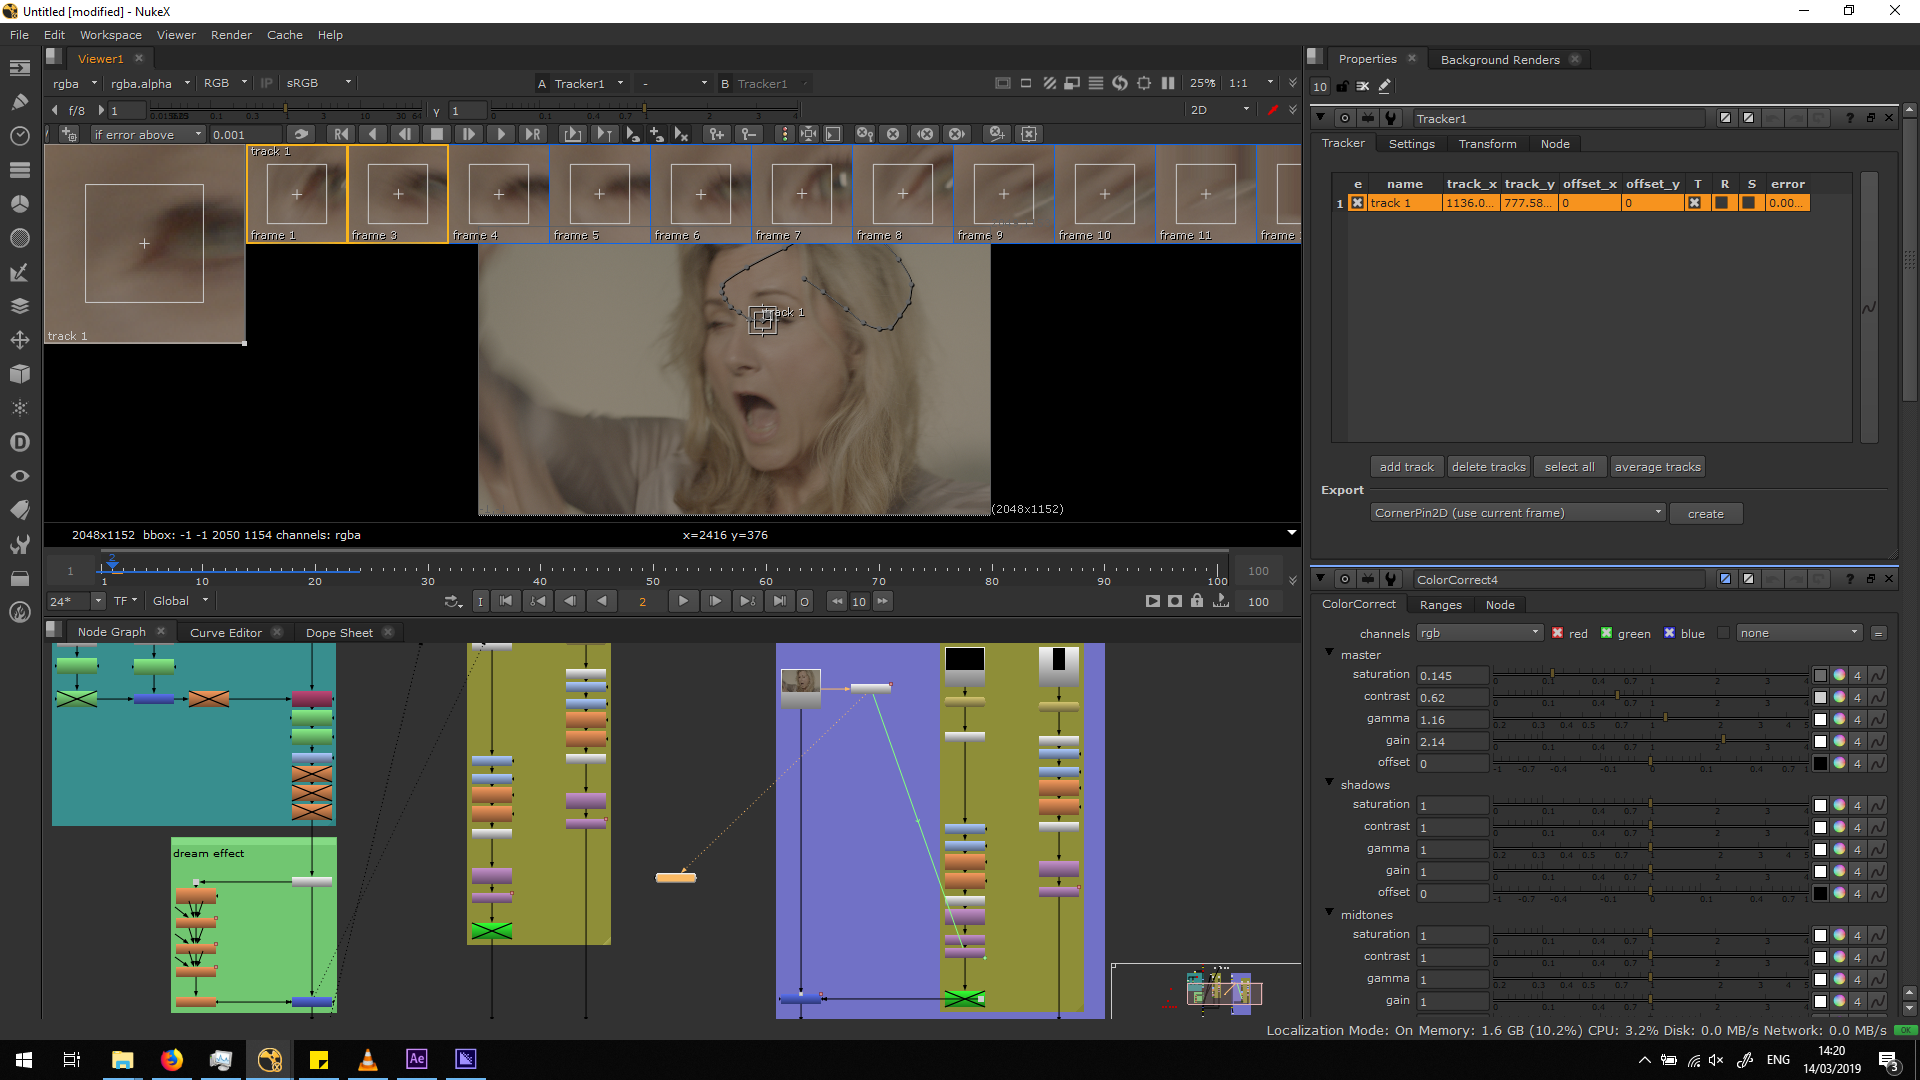
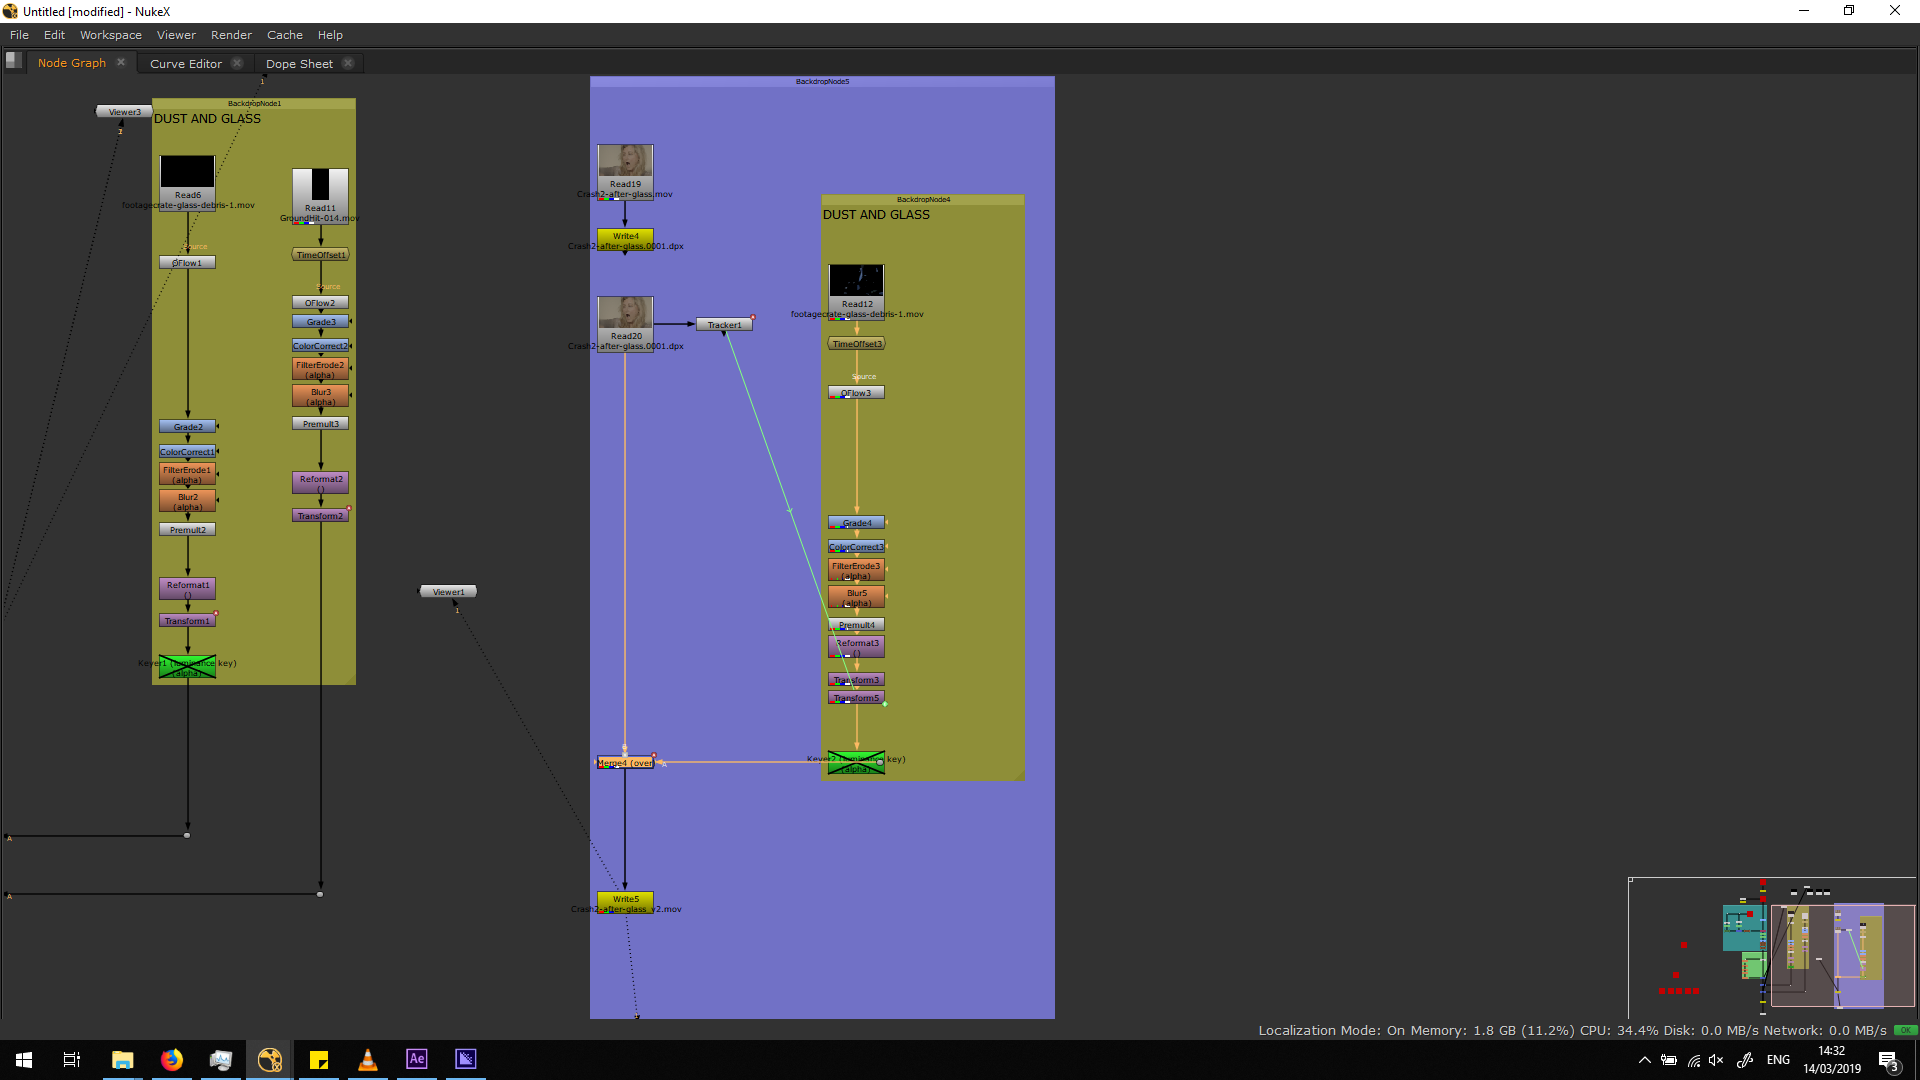
 In contradistinction to the last shot, this shot has some camera movement. In order to track this camera movement and apply the transformation to the Fx elements, I did a tracking mark. As we do not have prominent elements in the background that we can track, I had to do the track on the character, which is the only moving object. Consequently, this tracking won’t be accurate, since it will be also track the movement of the character. Anyway, we do not need this track to be extremely accurate, since it will be just an approximation. Also, we would only need to track the beginning of the footage, singe the FX elements will fade out, in which she stays almost in the same position.
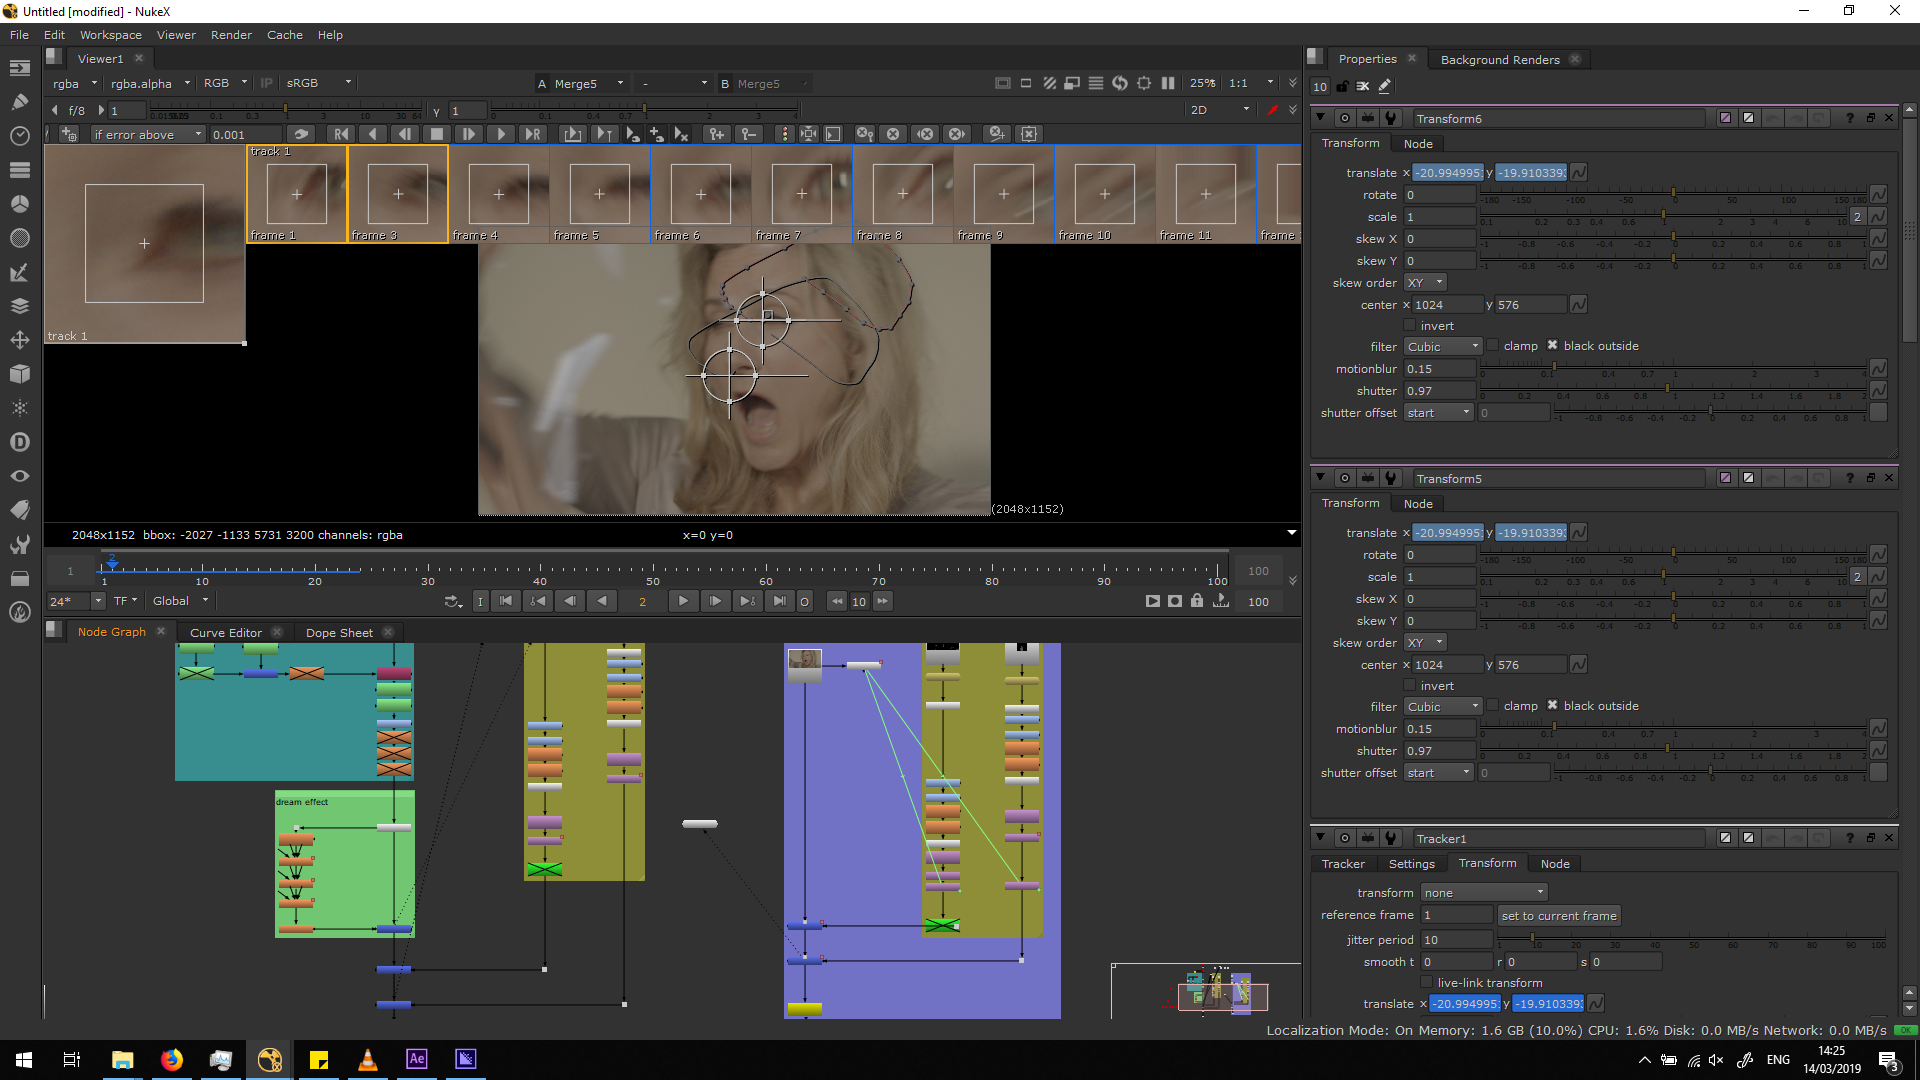
After doing the tracking, I linked it to a new transform note for both VX elements. I also added some shutter and motion blur, so when the camera shakes, the FX elements are also seen blury and shaky as it would have happen in the reality.
 Finally, in order to fade out the fx elements, I settled two keyframes in the mix of the merge note, setting them from 1 to 0, which means from major visibility of the merged object to the not visibility of it. In this way, the both gradually disappear.
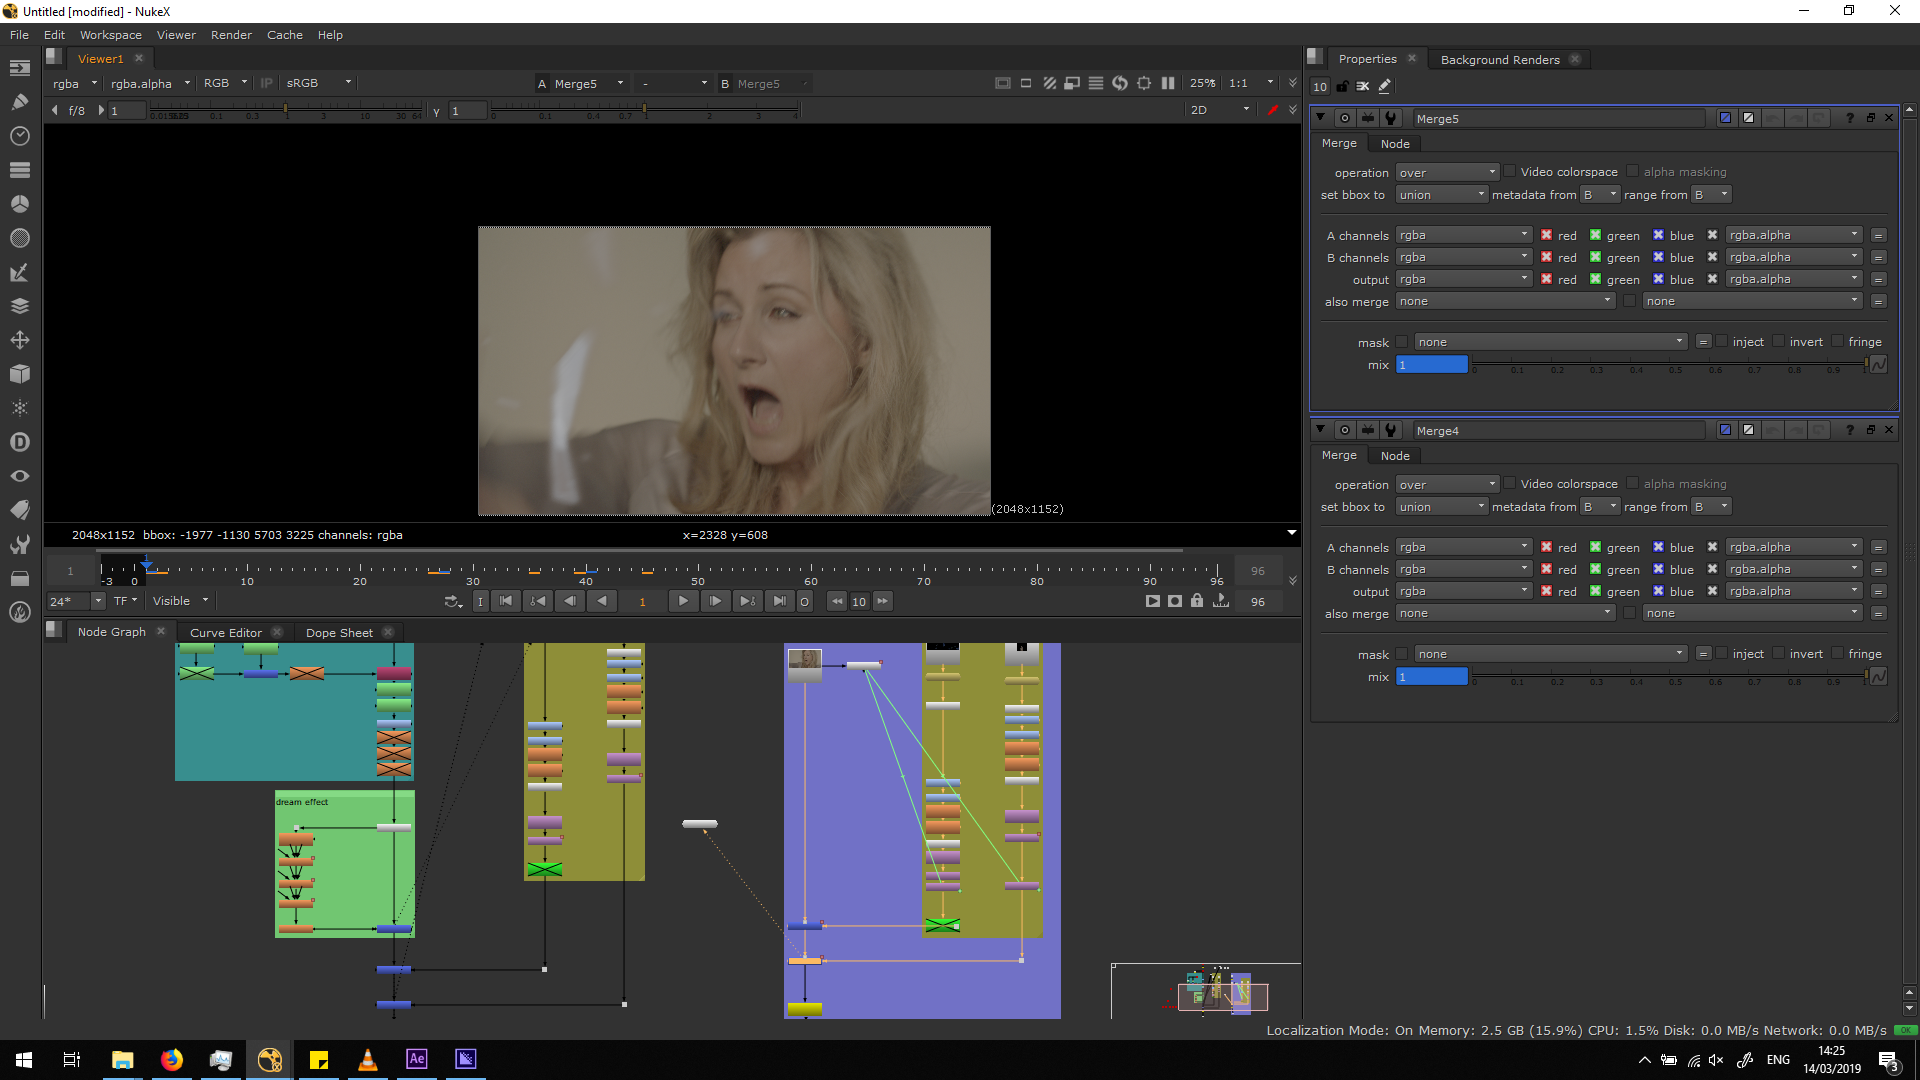
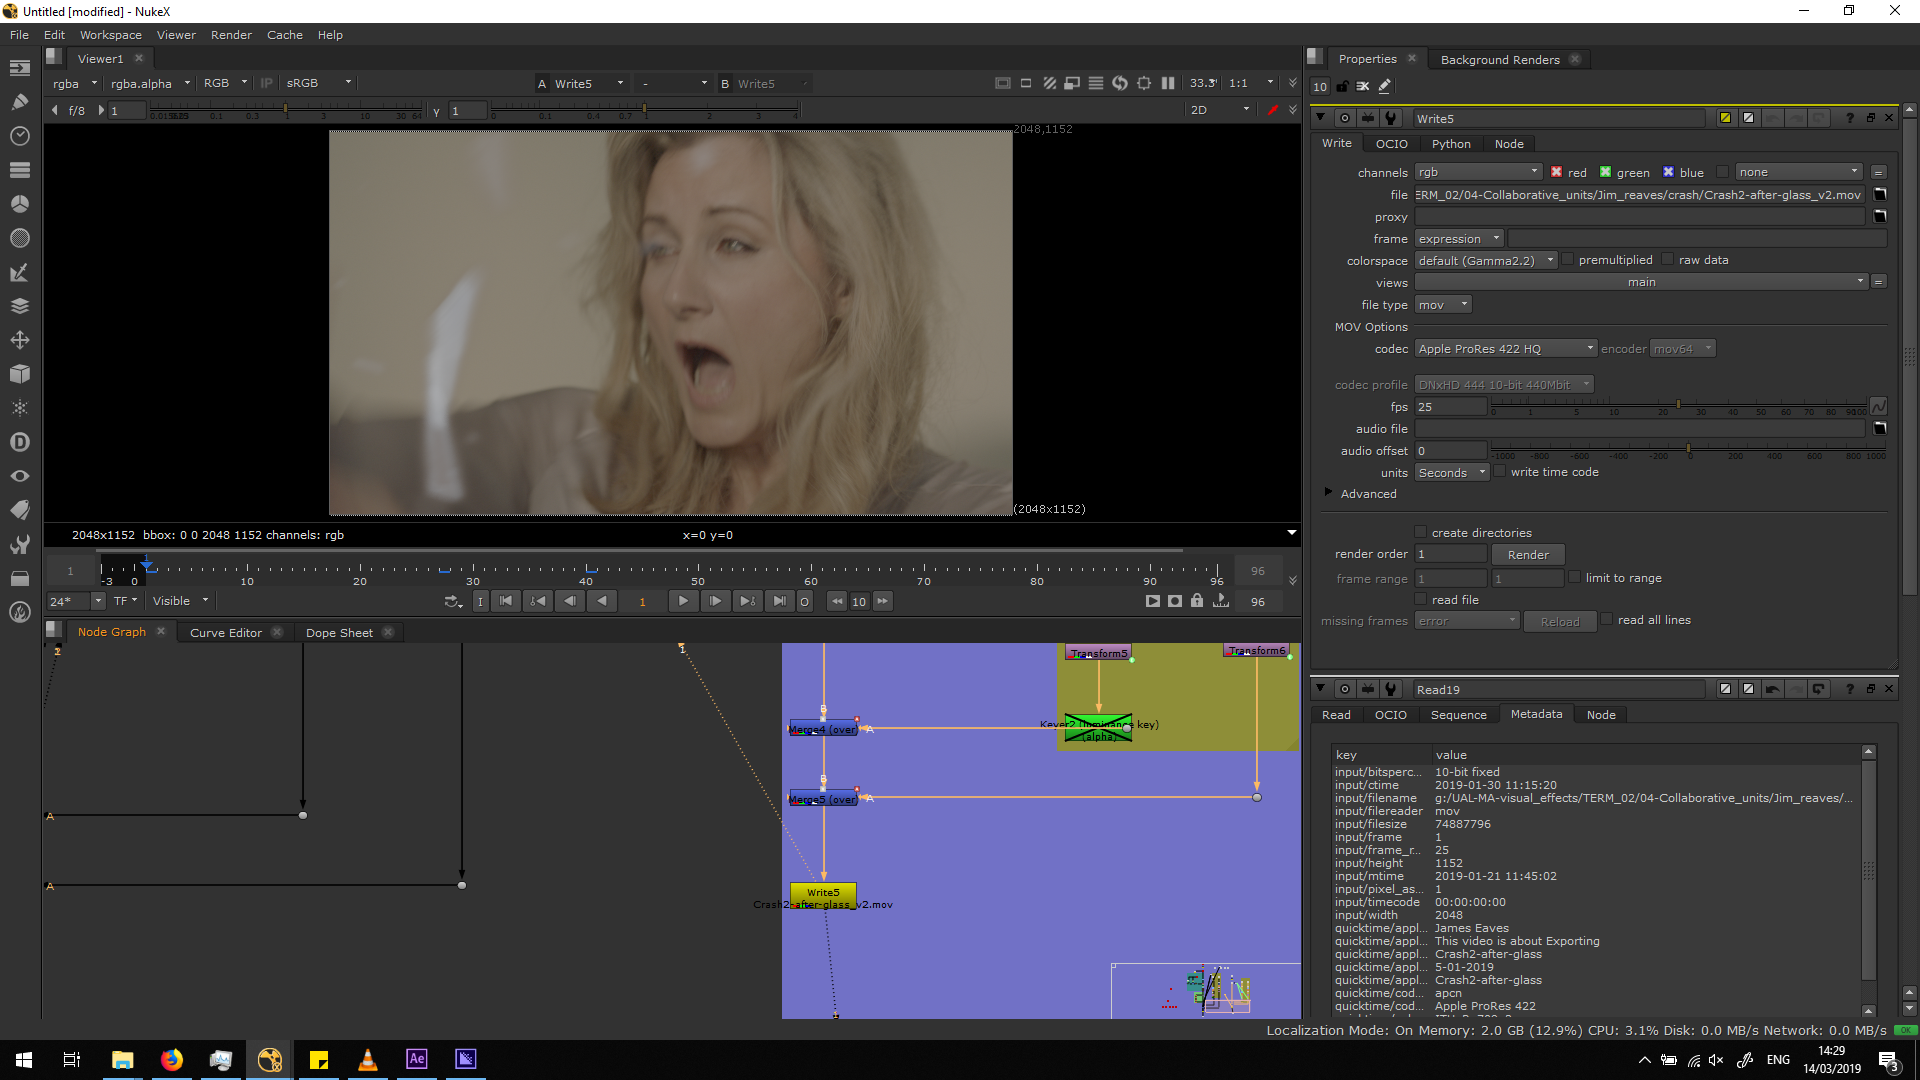
Export the footage
Finally, I exported the sequence in the format we were asked, which in this case is Apple ProRes 422HQ. Watch this blog entry to know more about Apple ProRes. When exporting, we should always take care about having the correct FPS and color space, matching the metadata of the original video.
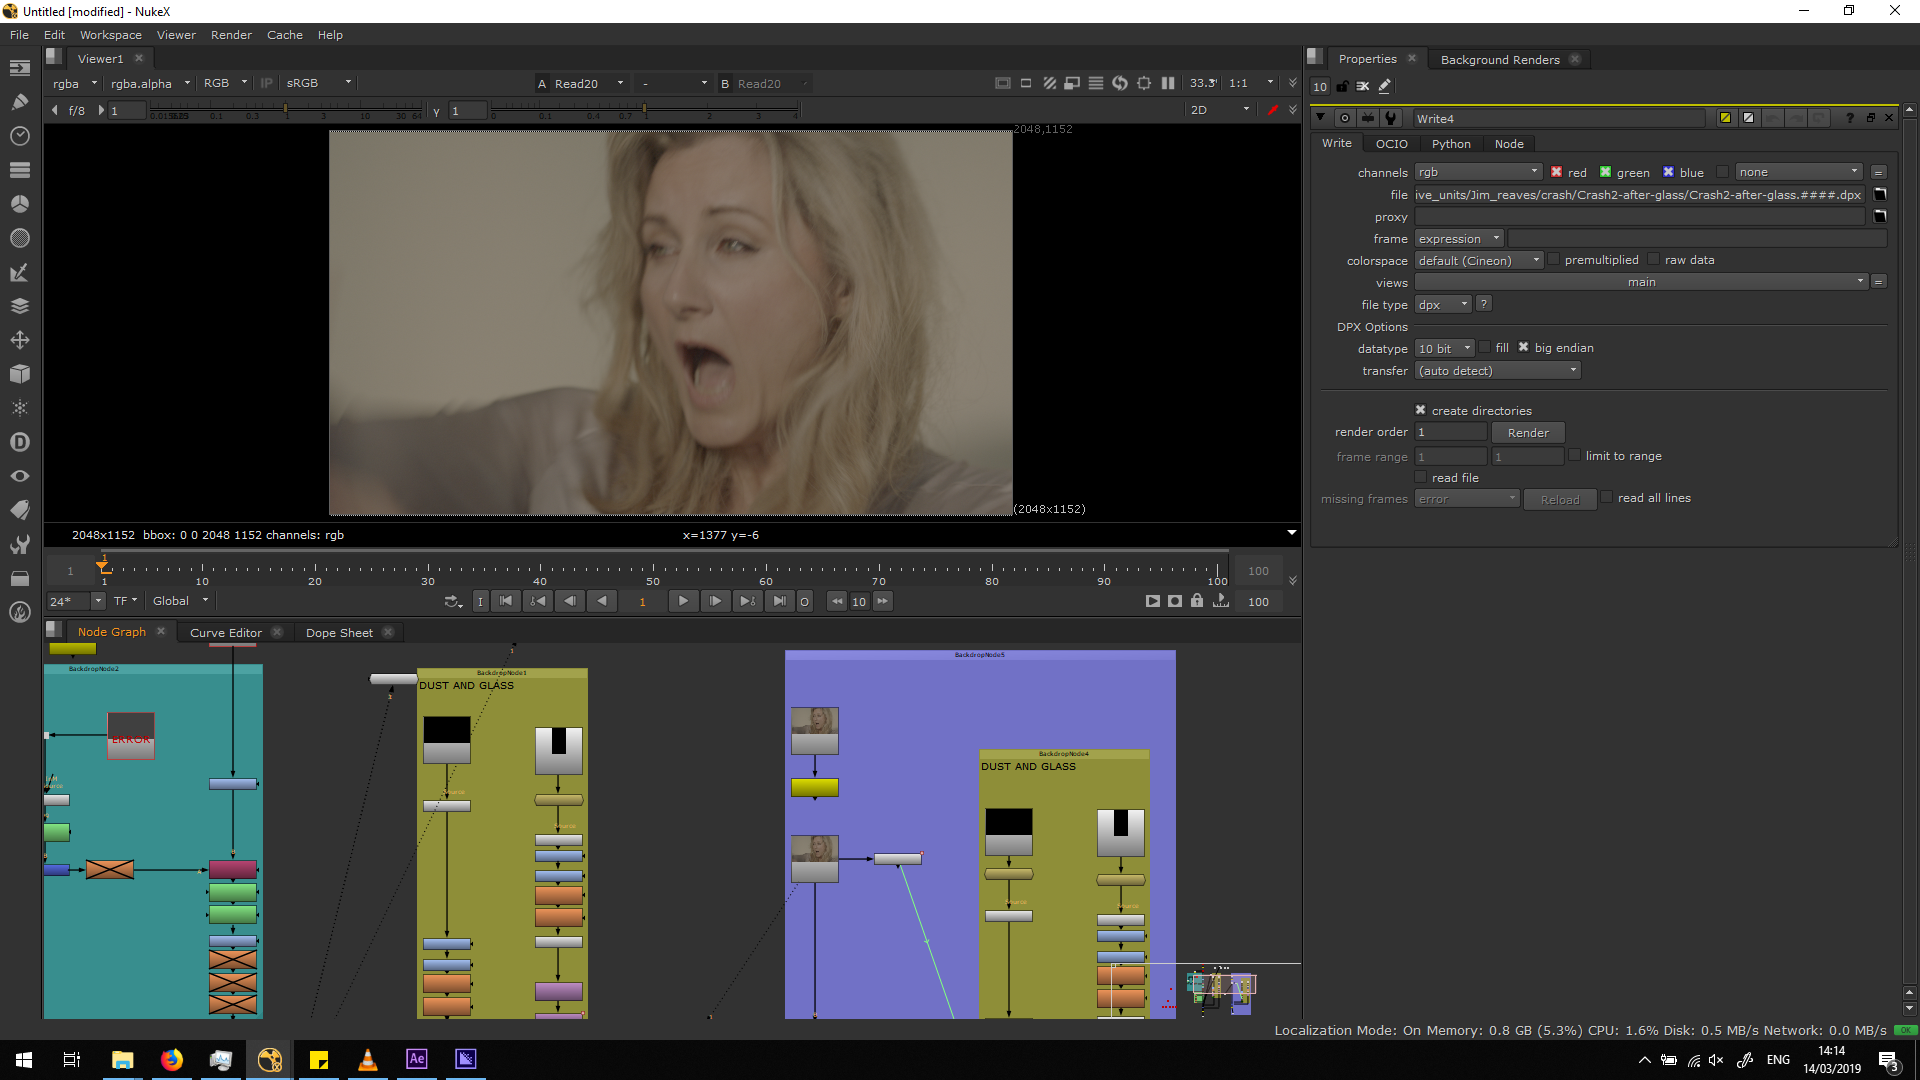
Script overview
Corrections
The only difference between the first version and the final version of the footage is the appearance of the dust, that was not added in the first version. Therefore, this was how the first version looked like, the script and the final output.
Difficulties and conclusion
I did not find major difficulties in this shot, since I was able to work from an already made script which belongs to the last script.
Even so, the blending of the FX elements in both scripts needed to be changed, because it made a huge difference in the blending mode by seeing them over a dark background and a bright one.
Also, the camera was shaking, so I needed to add the tracking to move the elements along with the camera and the subject. Then, I could add motion blur in order to add the feeling of camera movement also to those elements.
For the rest, it was really helpful to have an already setted blendling of both FX elements because it made the work the way quicker.
