Presentation of the brief and final result
This shot is a type of flashback that the main character has, remembering a car crash she had in the past. For this shot, the brief was to sett the background to black and add some smashing glass. Also, we were ask to creatively accentuate the motion effect and the feeling that she is in a dreamy memory that comes to haunt her.
In the following video, we can see the project, including the final version, the original version, all the previous versions, and the VFX breakdown.
Now, I am going to go through he whole script and the corrections, in order to explain how did I get to the final result and explain very step.
Analysis of the script
Prepare the footage
The first thing we need to make while editing a footage is exporting that footage into .dpx format. DPX format exports every frame of the footage as a single image with no compression, this means that is a lossless format, bigger than the original .mov format. Therefore, it needs to be done to preserve the maximum quality of the footage while working with it, in order to have a major quality in the final exportation. Otherwise, while working on a shot, it is unavoidable to lose some quality, but if we work over a .dpx this looseness it would not affect to our final exportation, since we are going to be working with a huge footage.
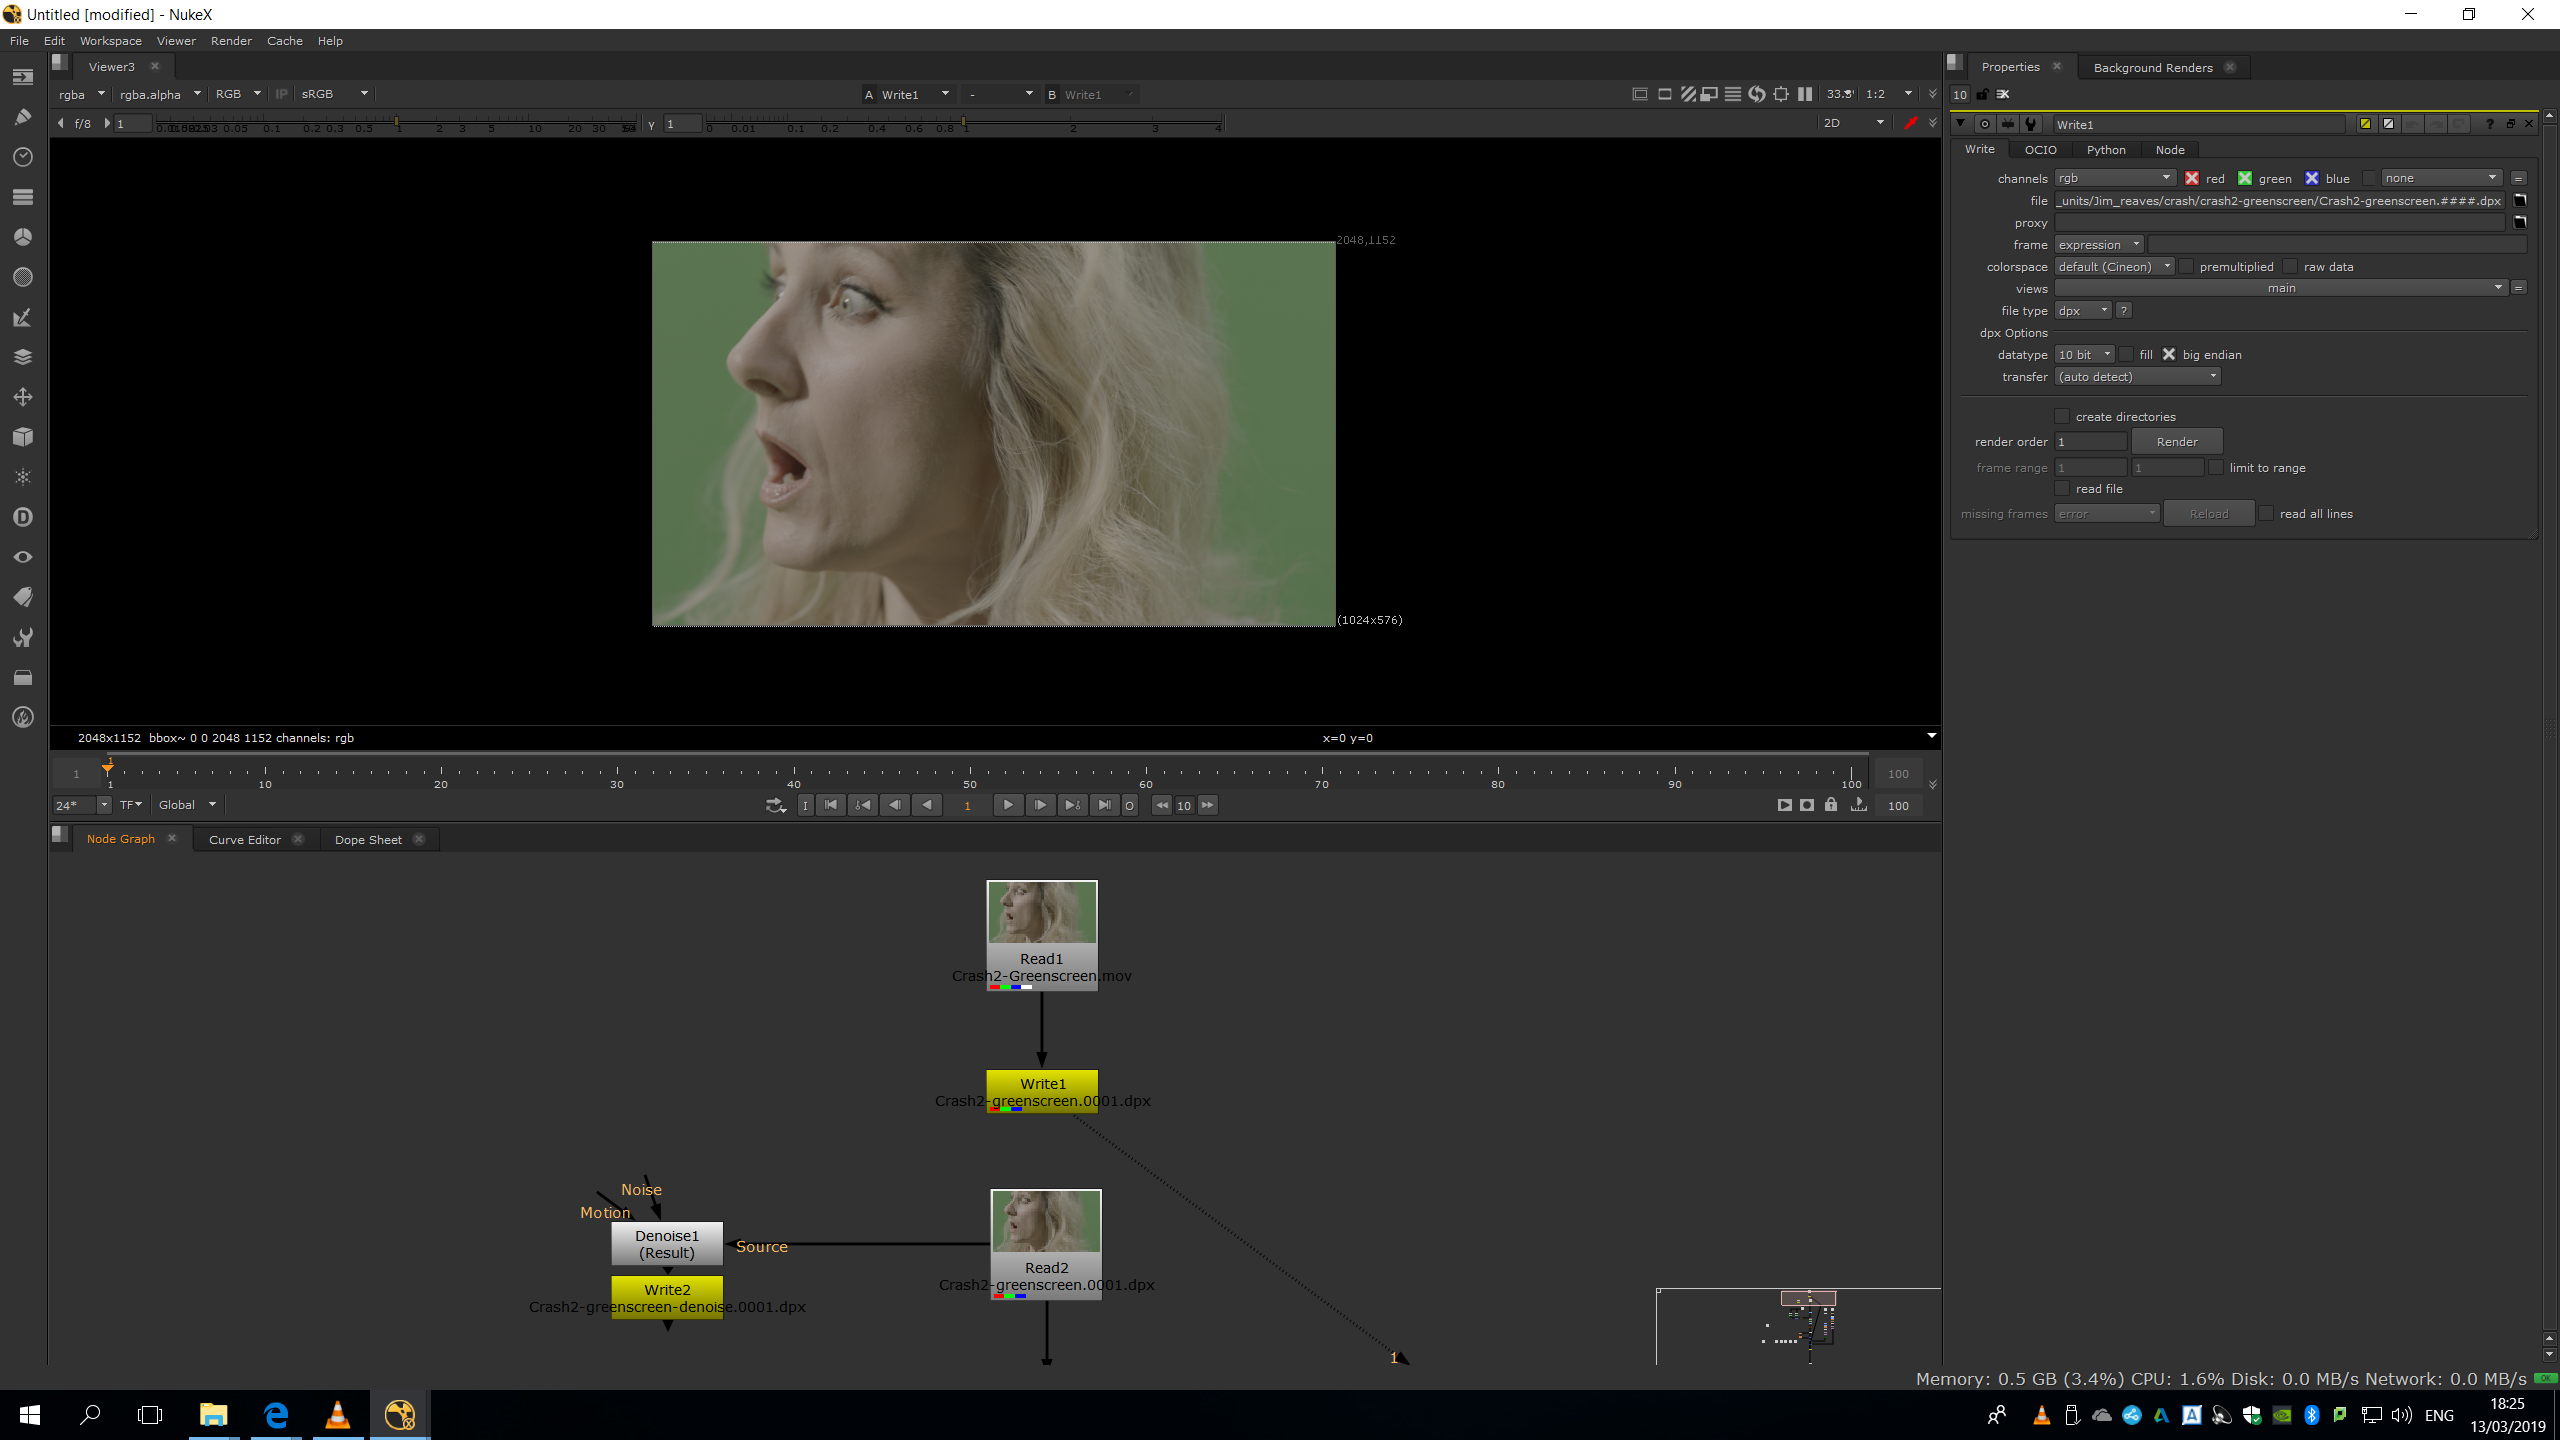
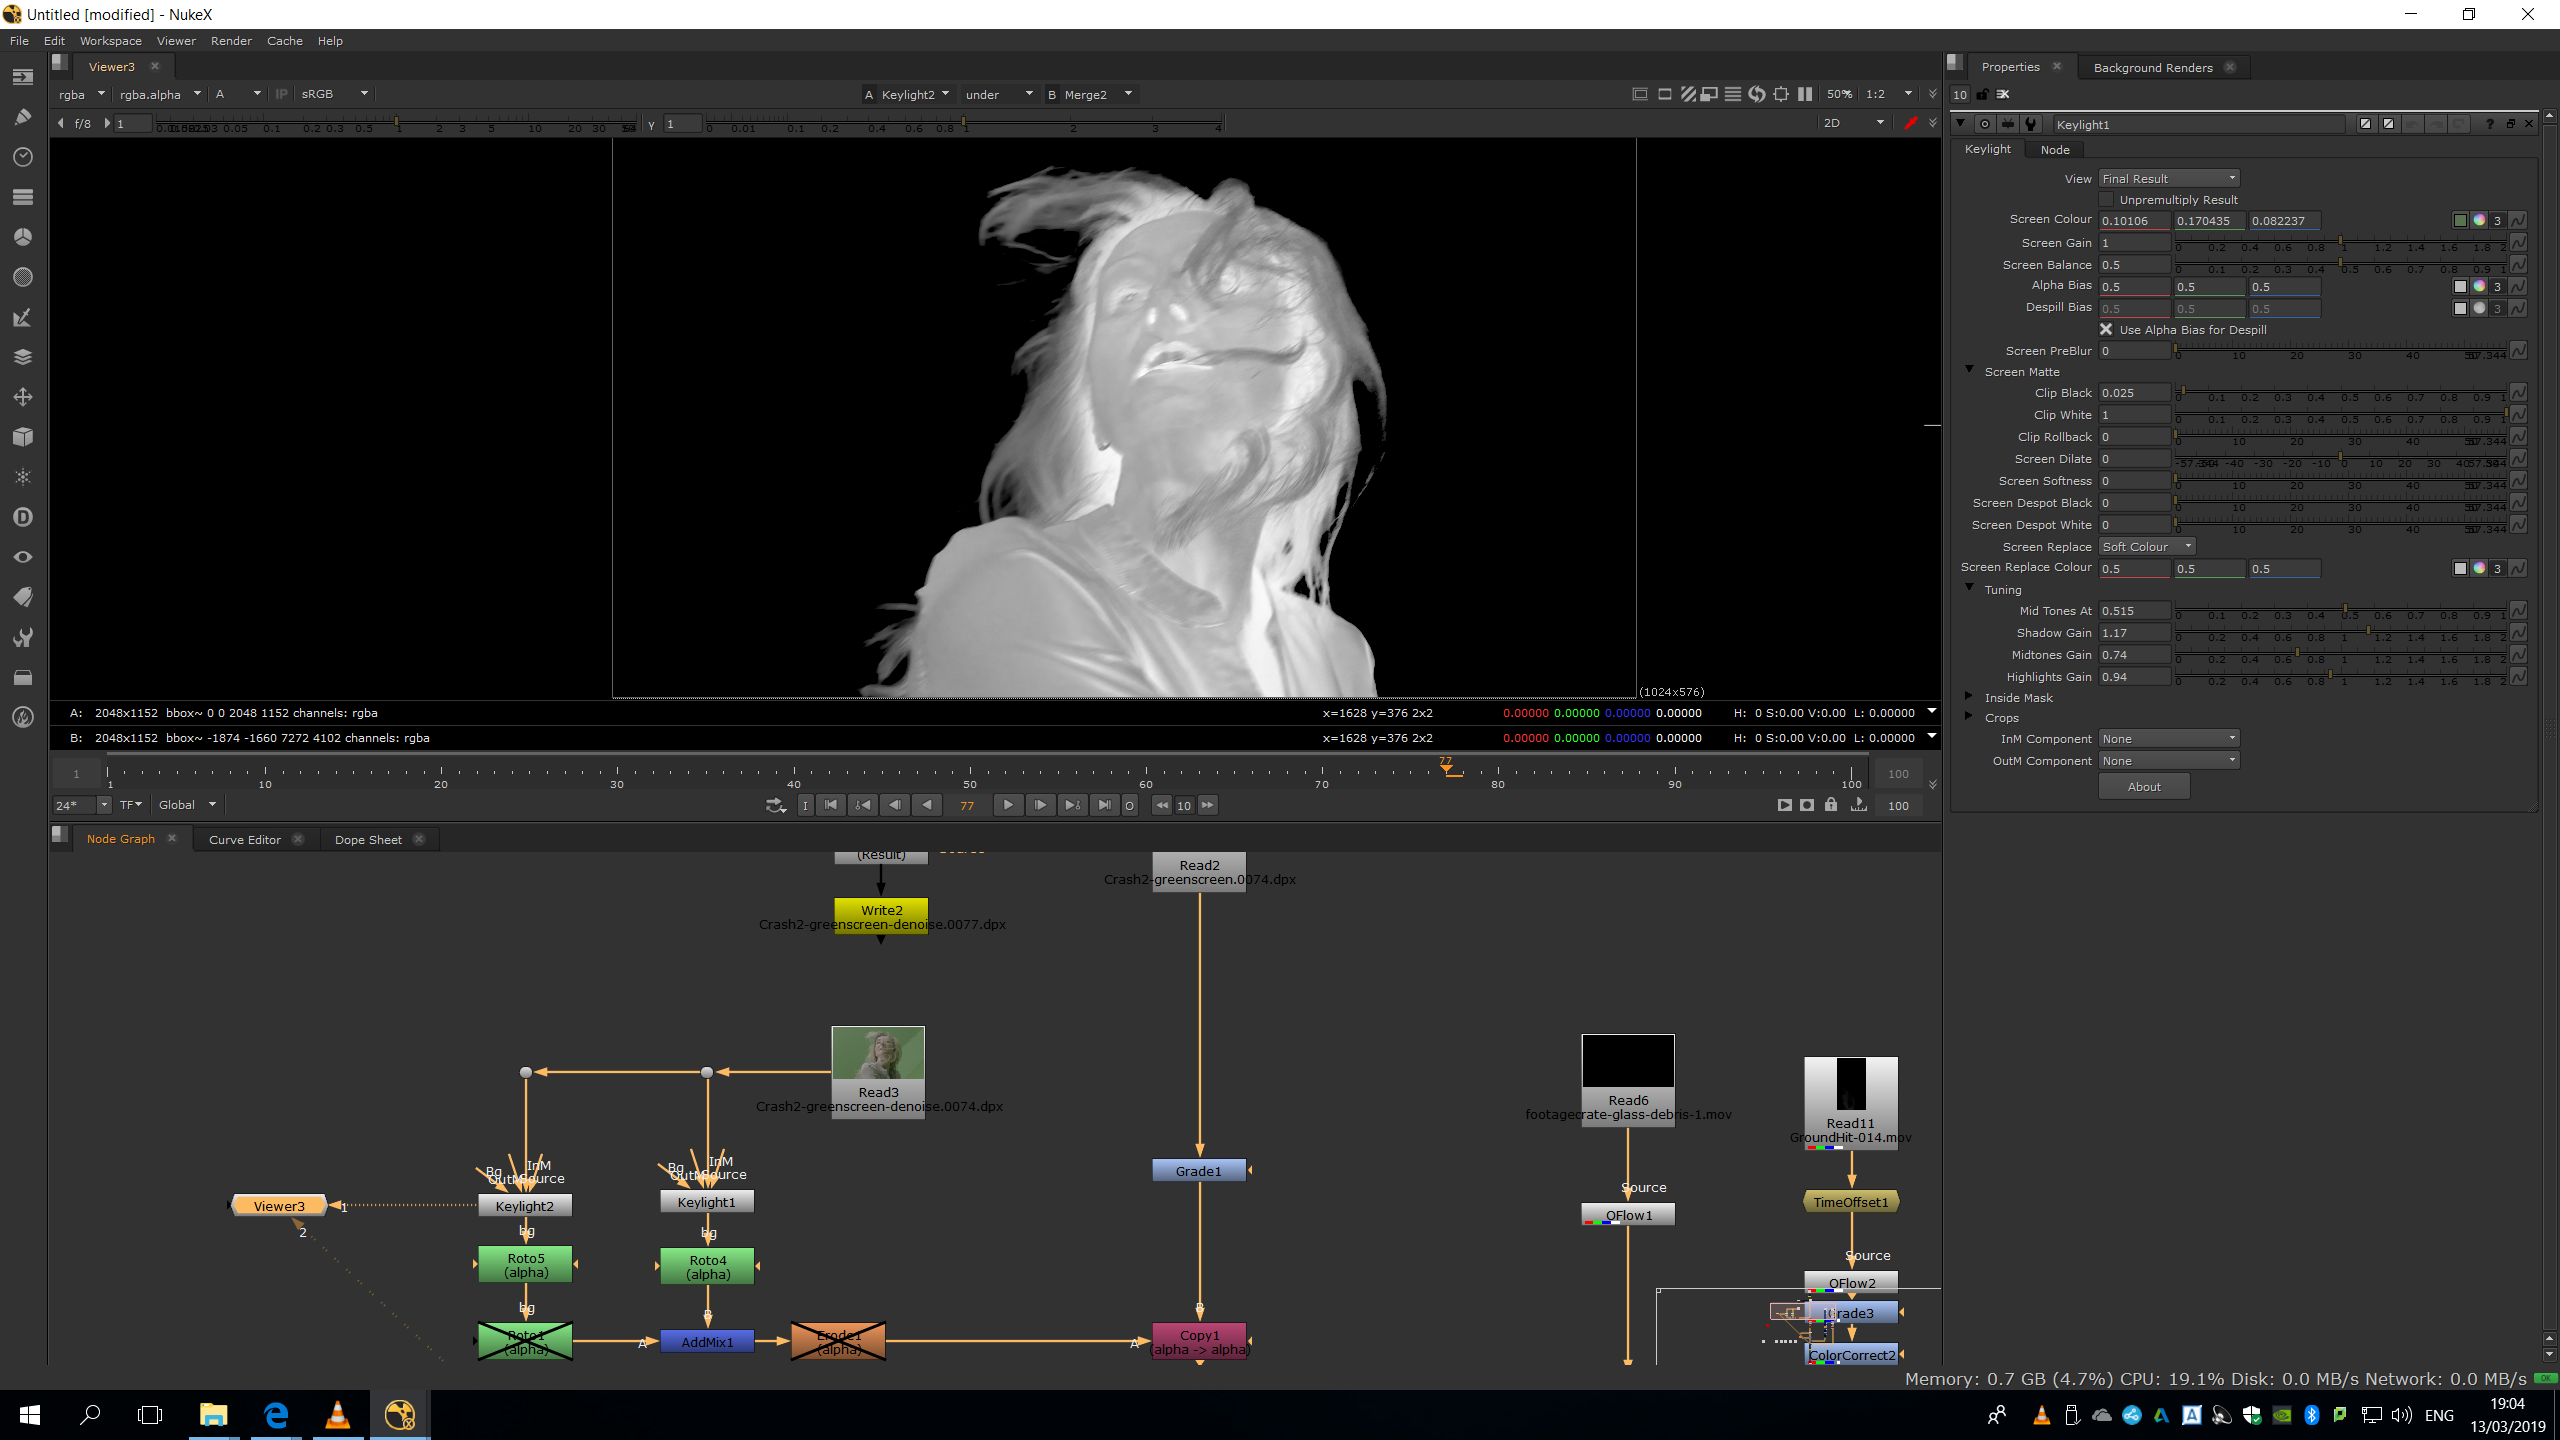
Remove the green screen
In order to remove the green screen, we will need to do a Keylight. With the Keylight, we can sample a pixel of the green screen and it will automatically detect all the pixels with similar color and turn them into an alpha channel. In order to have a softer edge in our alpha channel, we will add a Denoise filter to the original footage and export it as another . dpx image sequence. This will help us to reduce the noise and increase the similarity of the pixels around each other, so the mask generated by the keylight will be smoother. 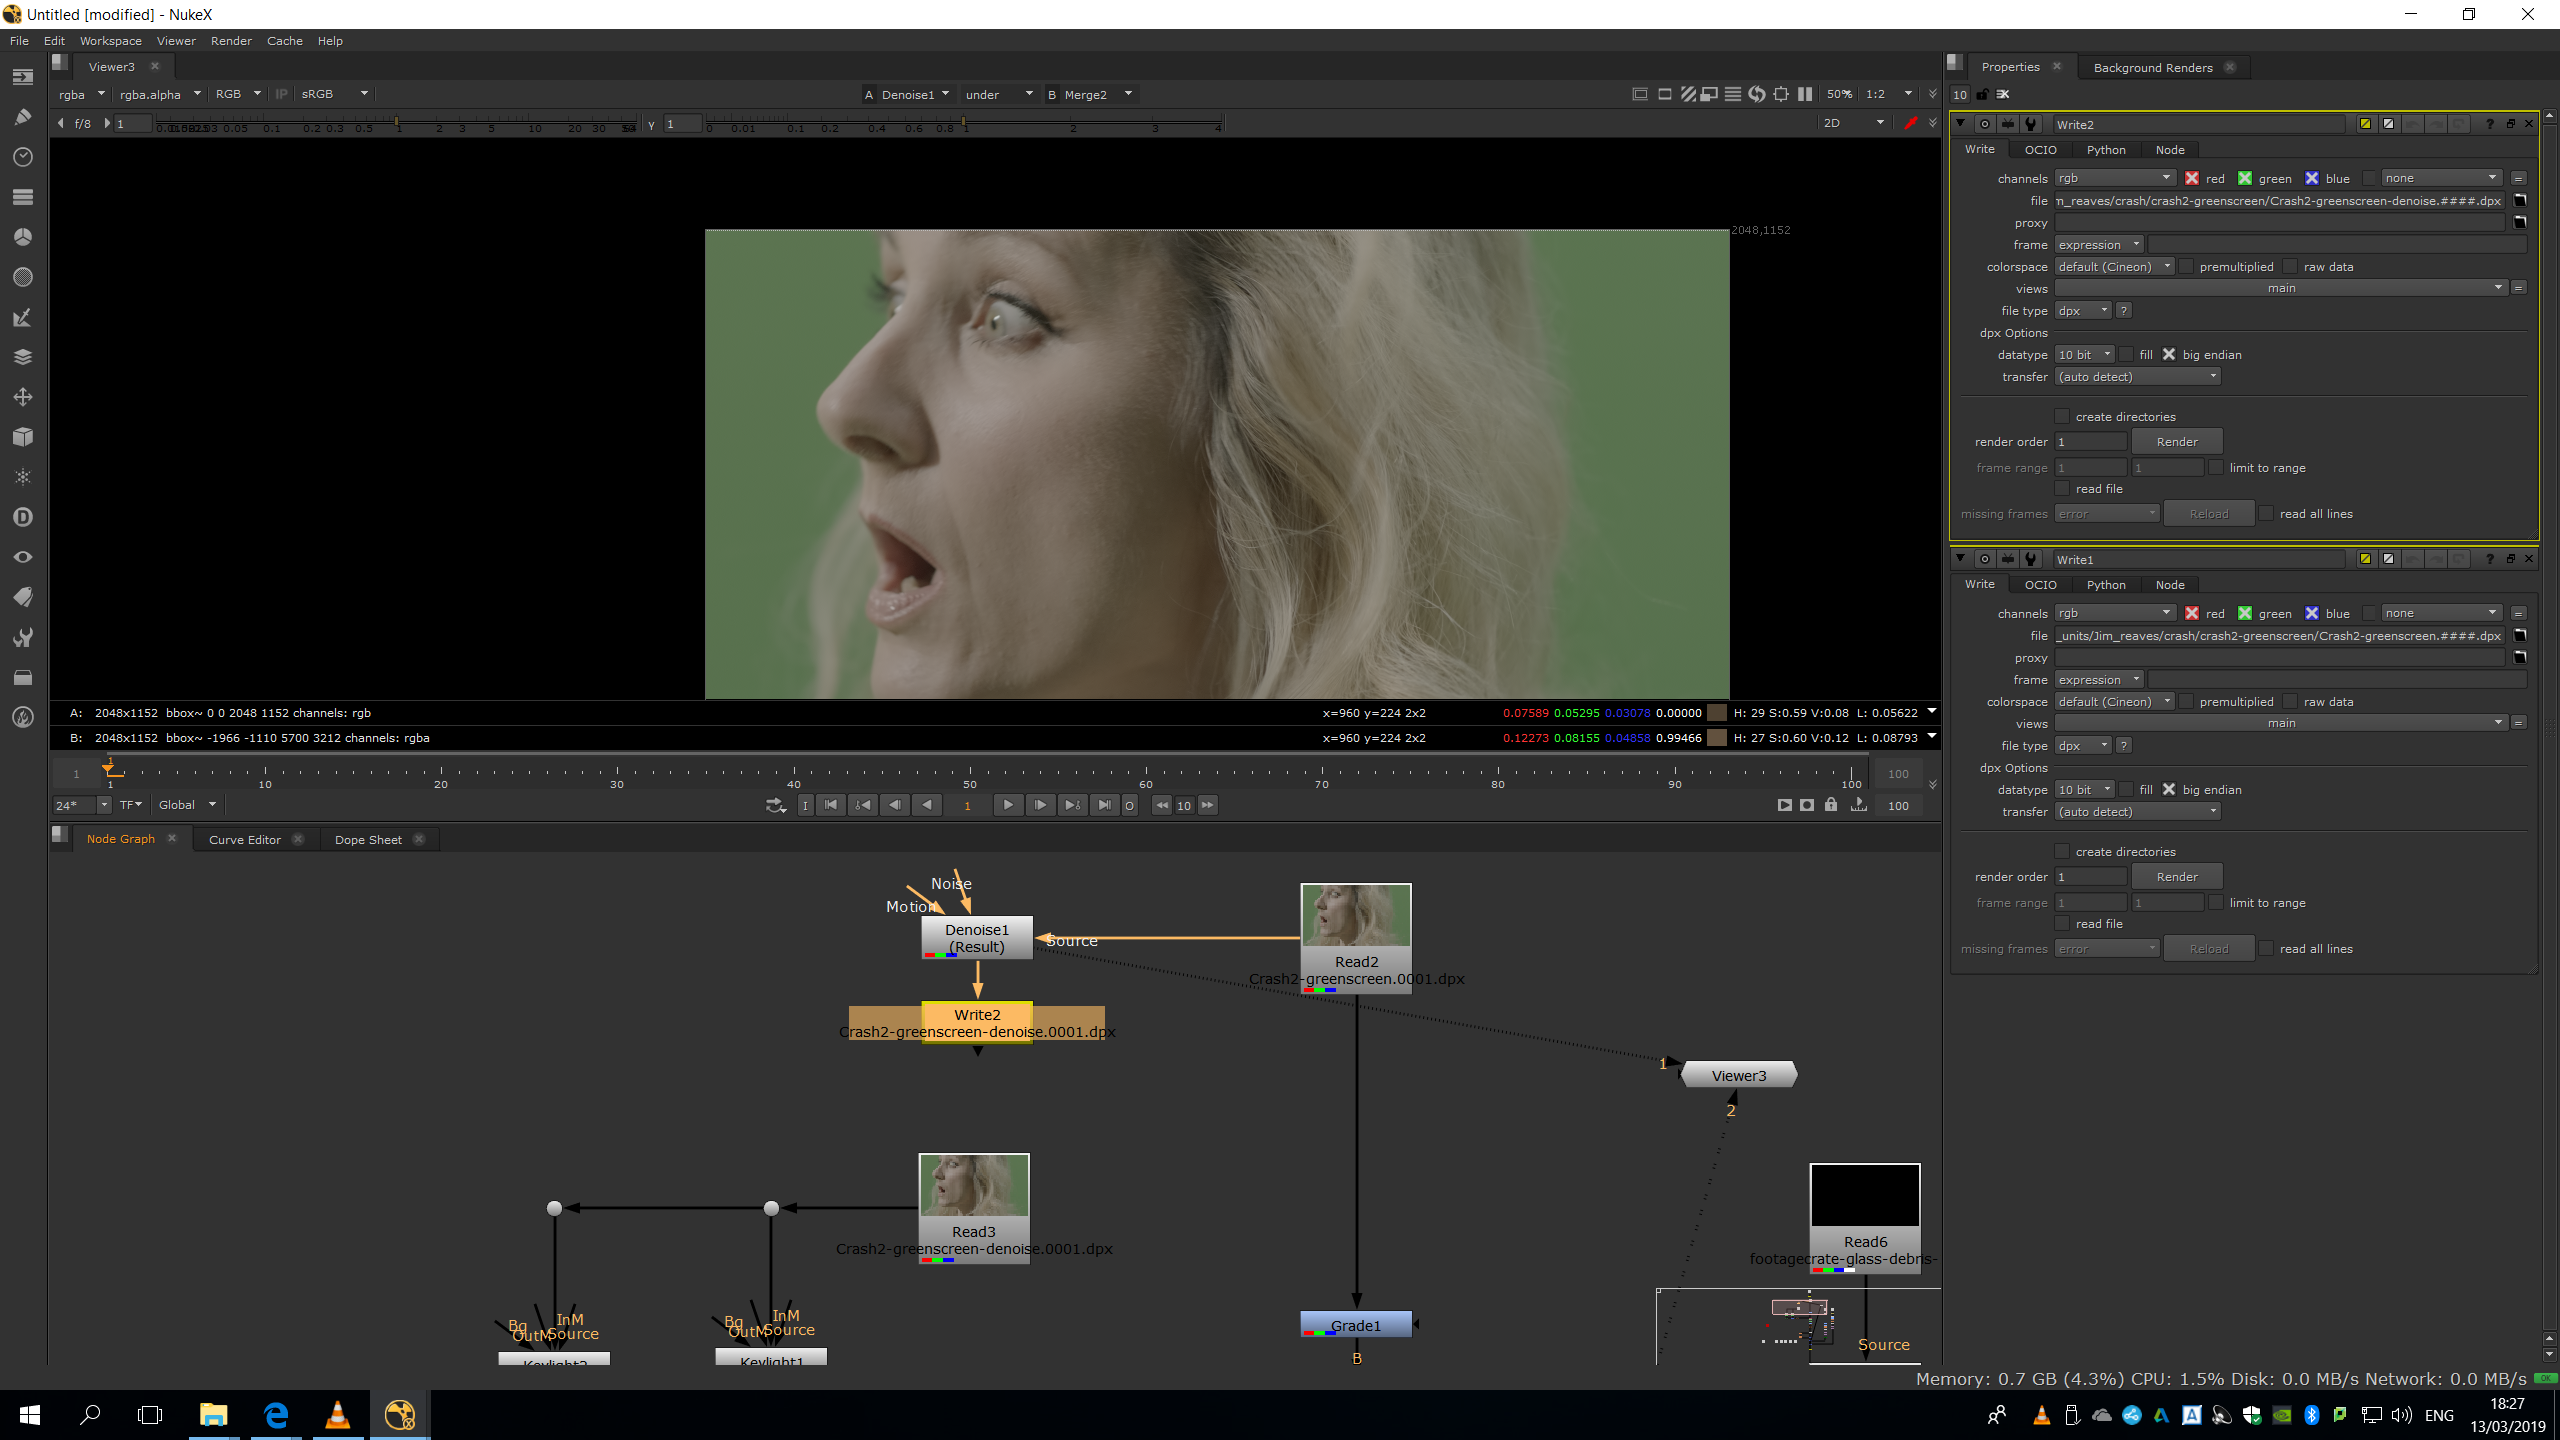
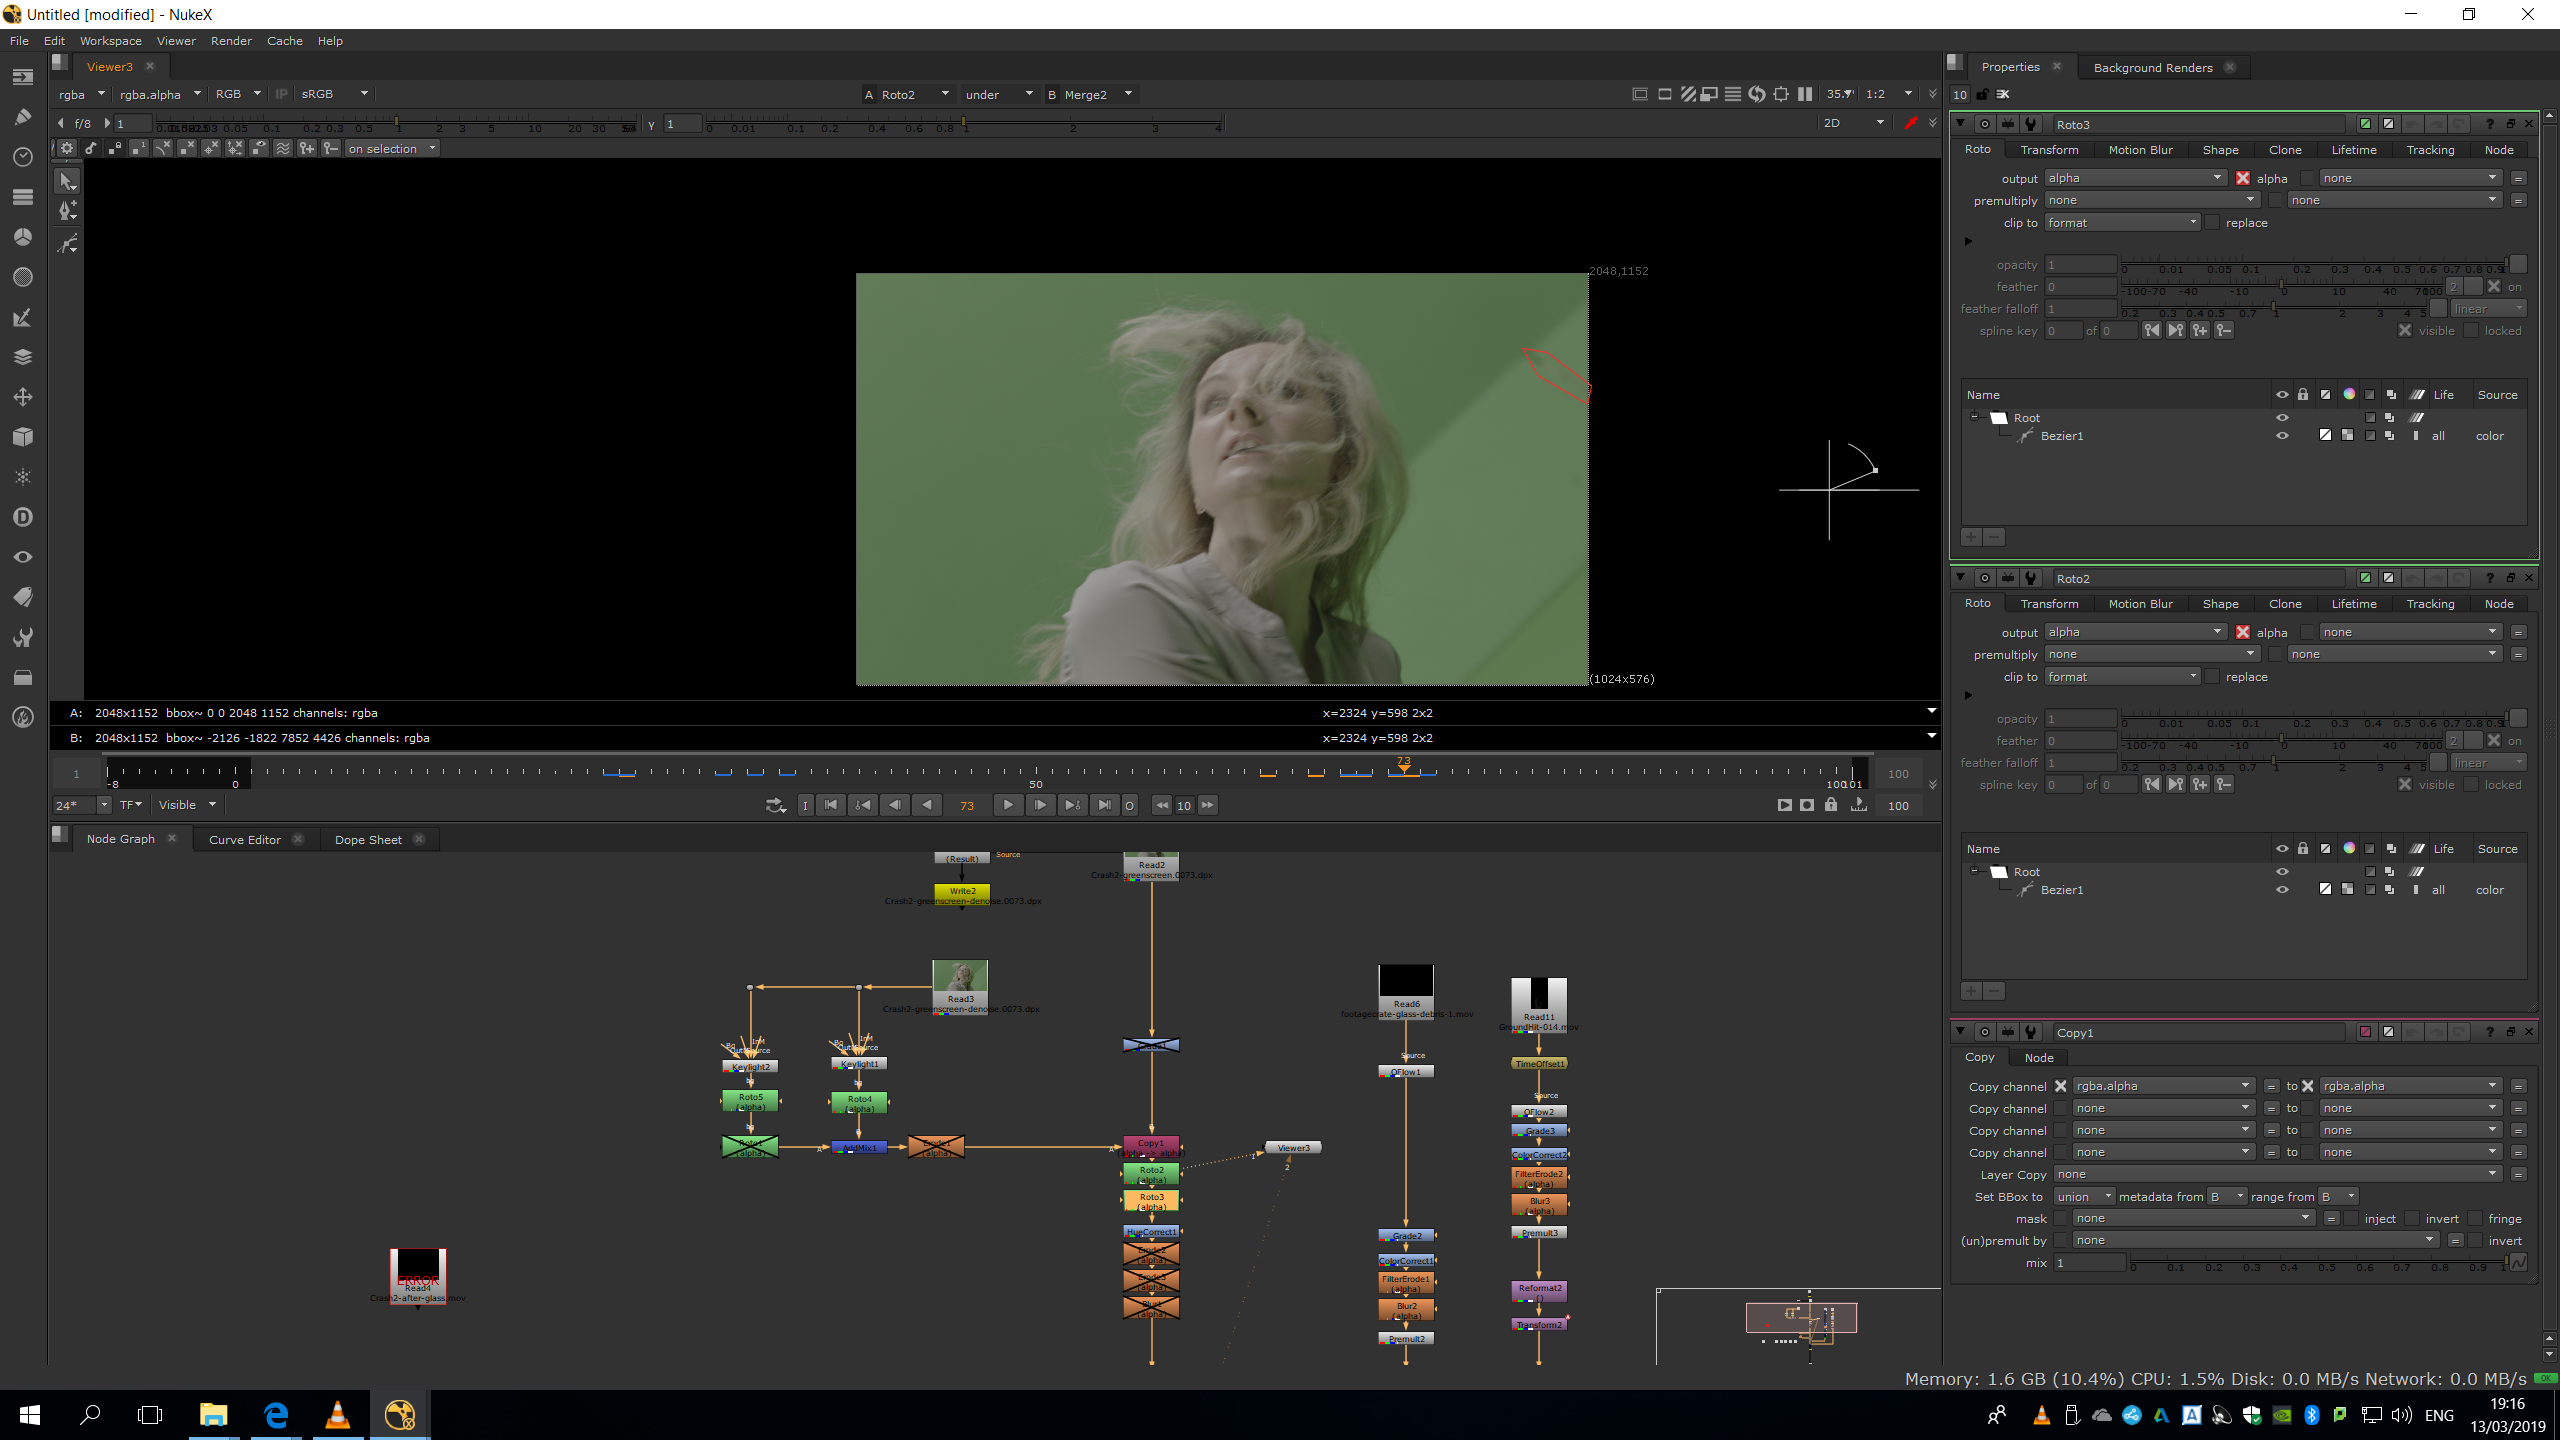
Now, we will have the footage ready to do the keylight. When doing a keylight, we might need to do different keylights to key different parts of the footage, since sometimes the green screen is not lightened uniformly and it has some hotspots that generate really different tones of green. In this case, the green screen is lighted very uniformly, except in this part, in which there is an obvious light ray passing through the background.
Therefore, we will need to do two keylights, one for the ray and the other one for the rest of the background.
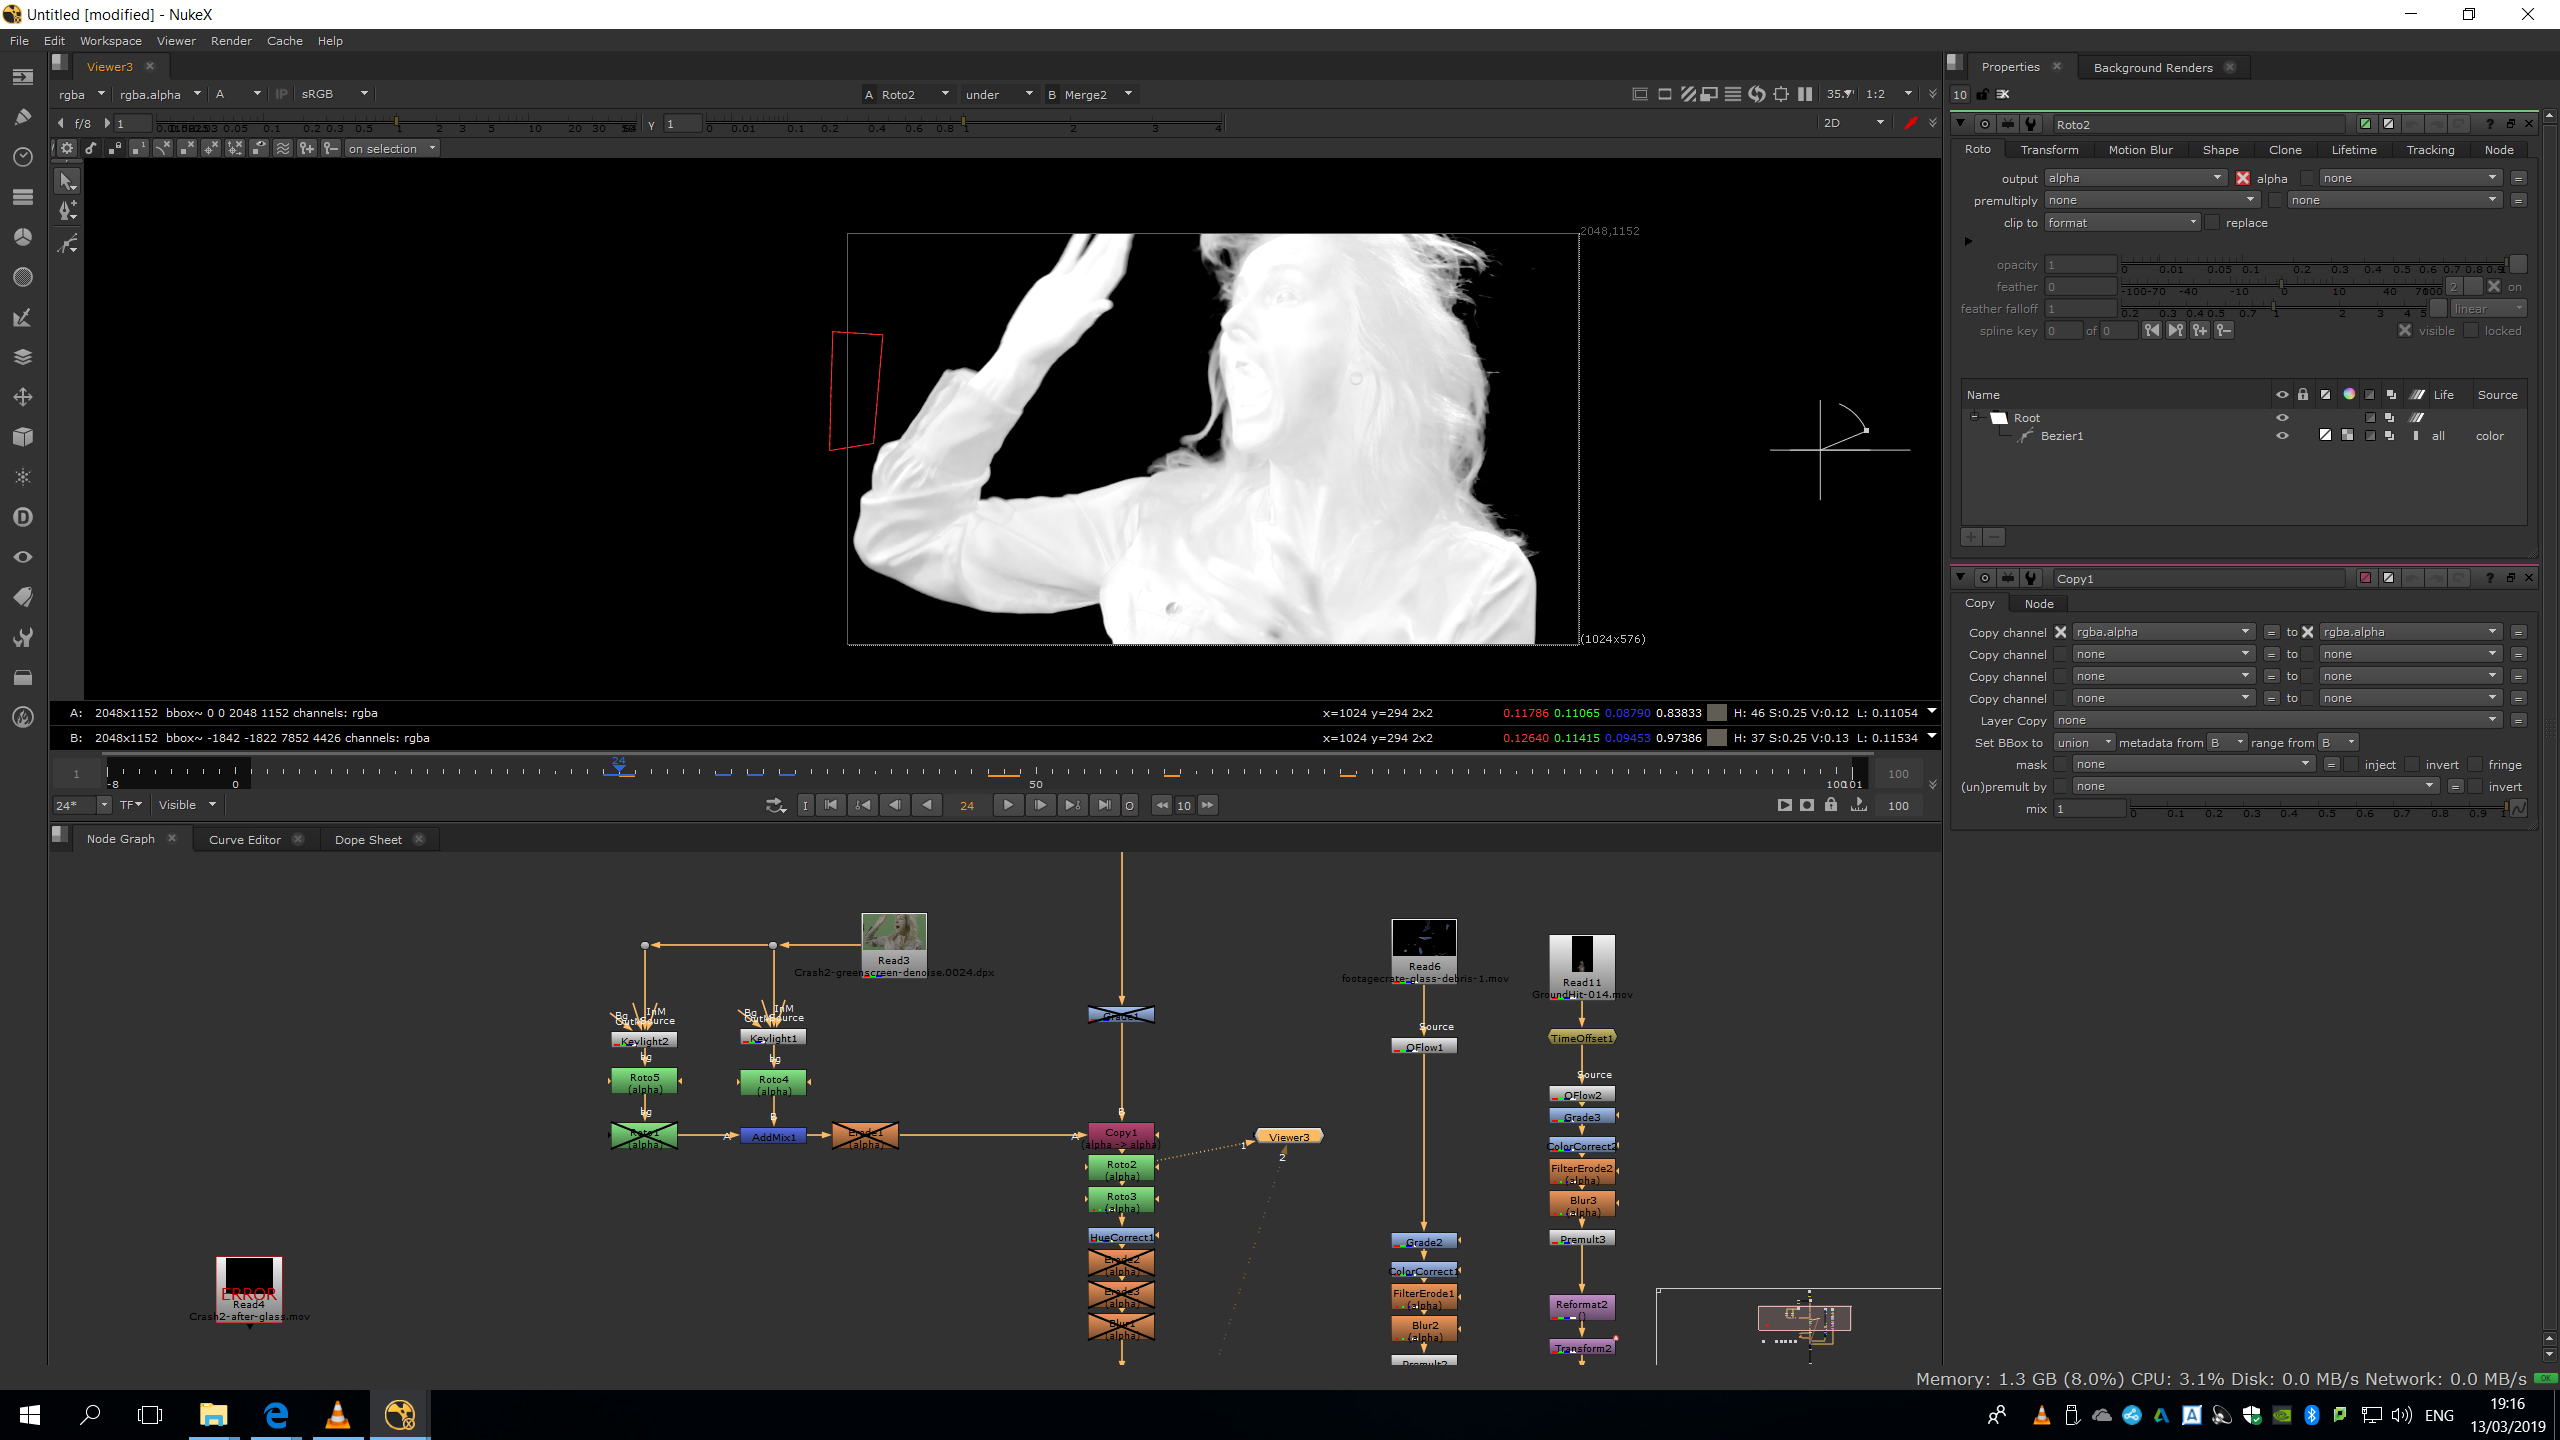
The first key will be for the background, and we will sample any pixel near to the main character. Then, we will adjust the parameters in the tuning to have it more accurate as possible, leaving the character as white and the background as black. 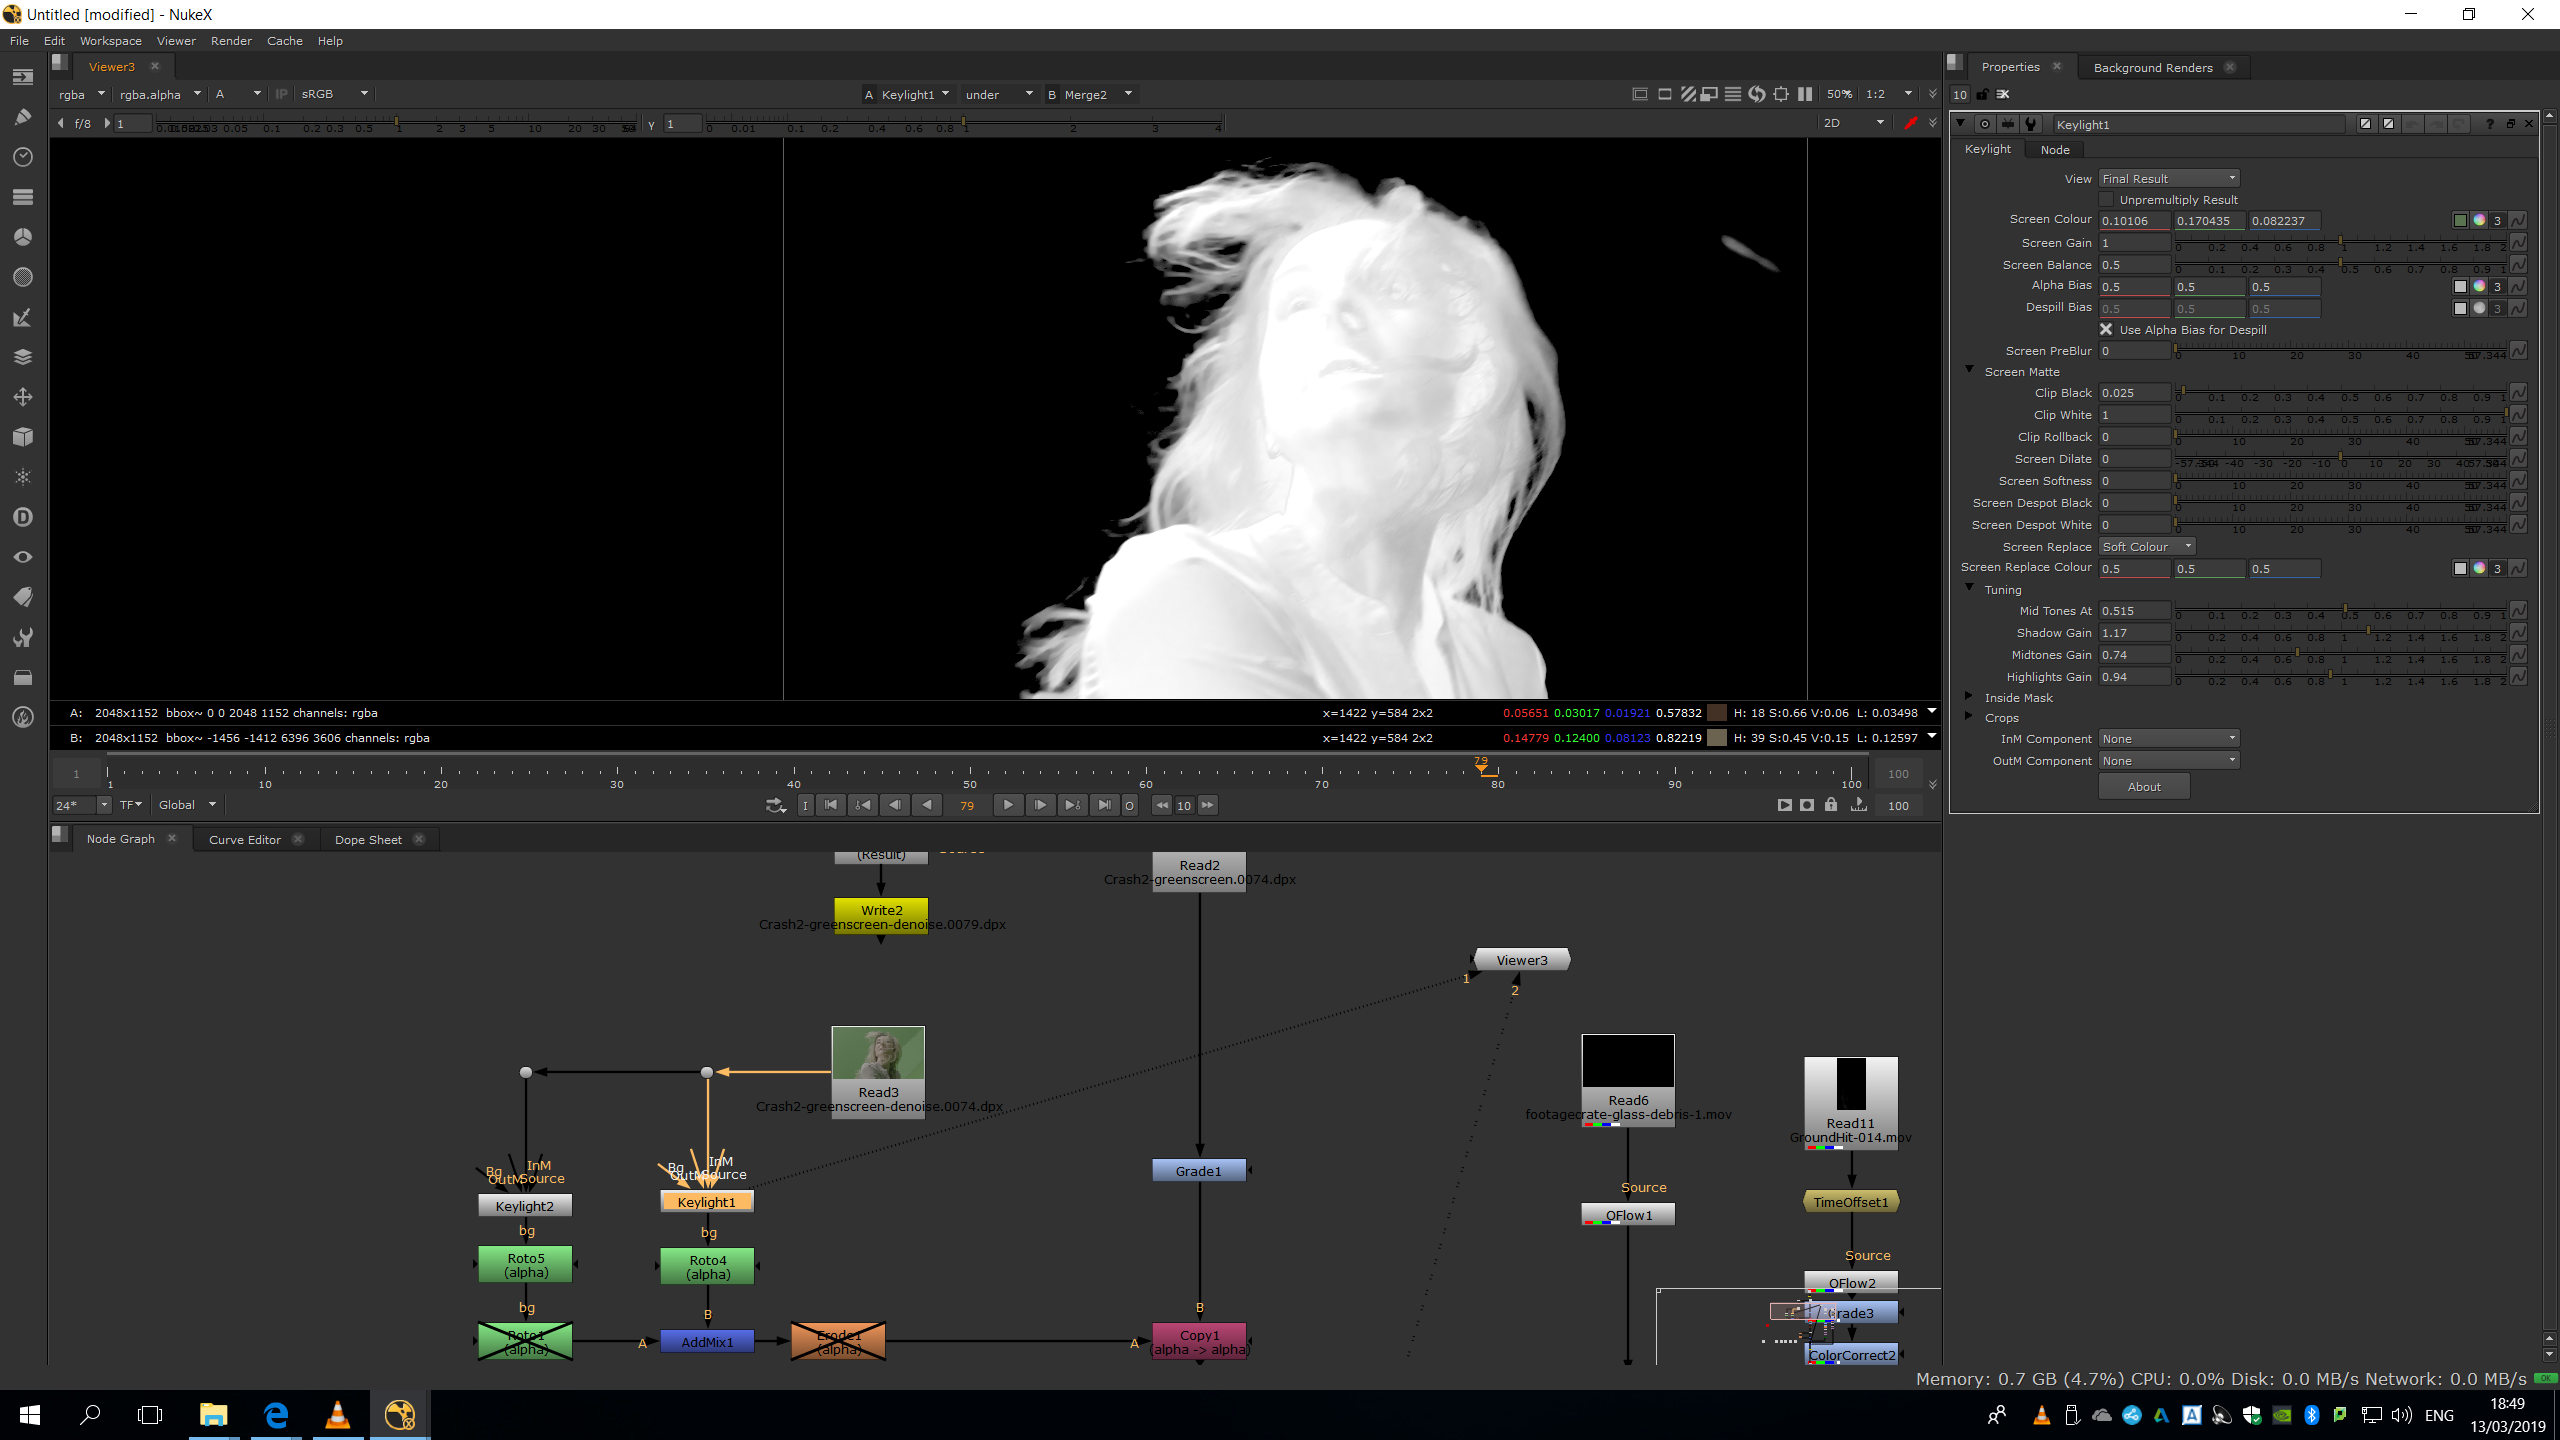
Then, we will do the keylight for the bright part, focusing on having soft edges only in that area.
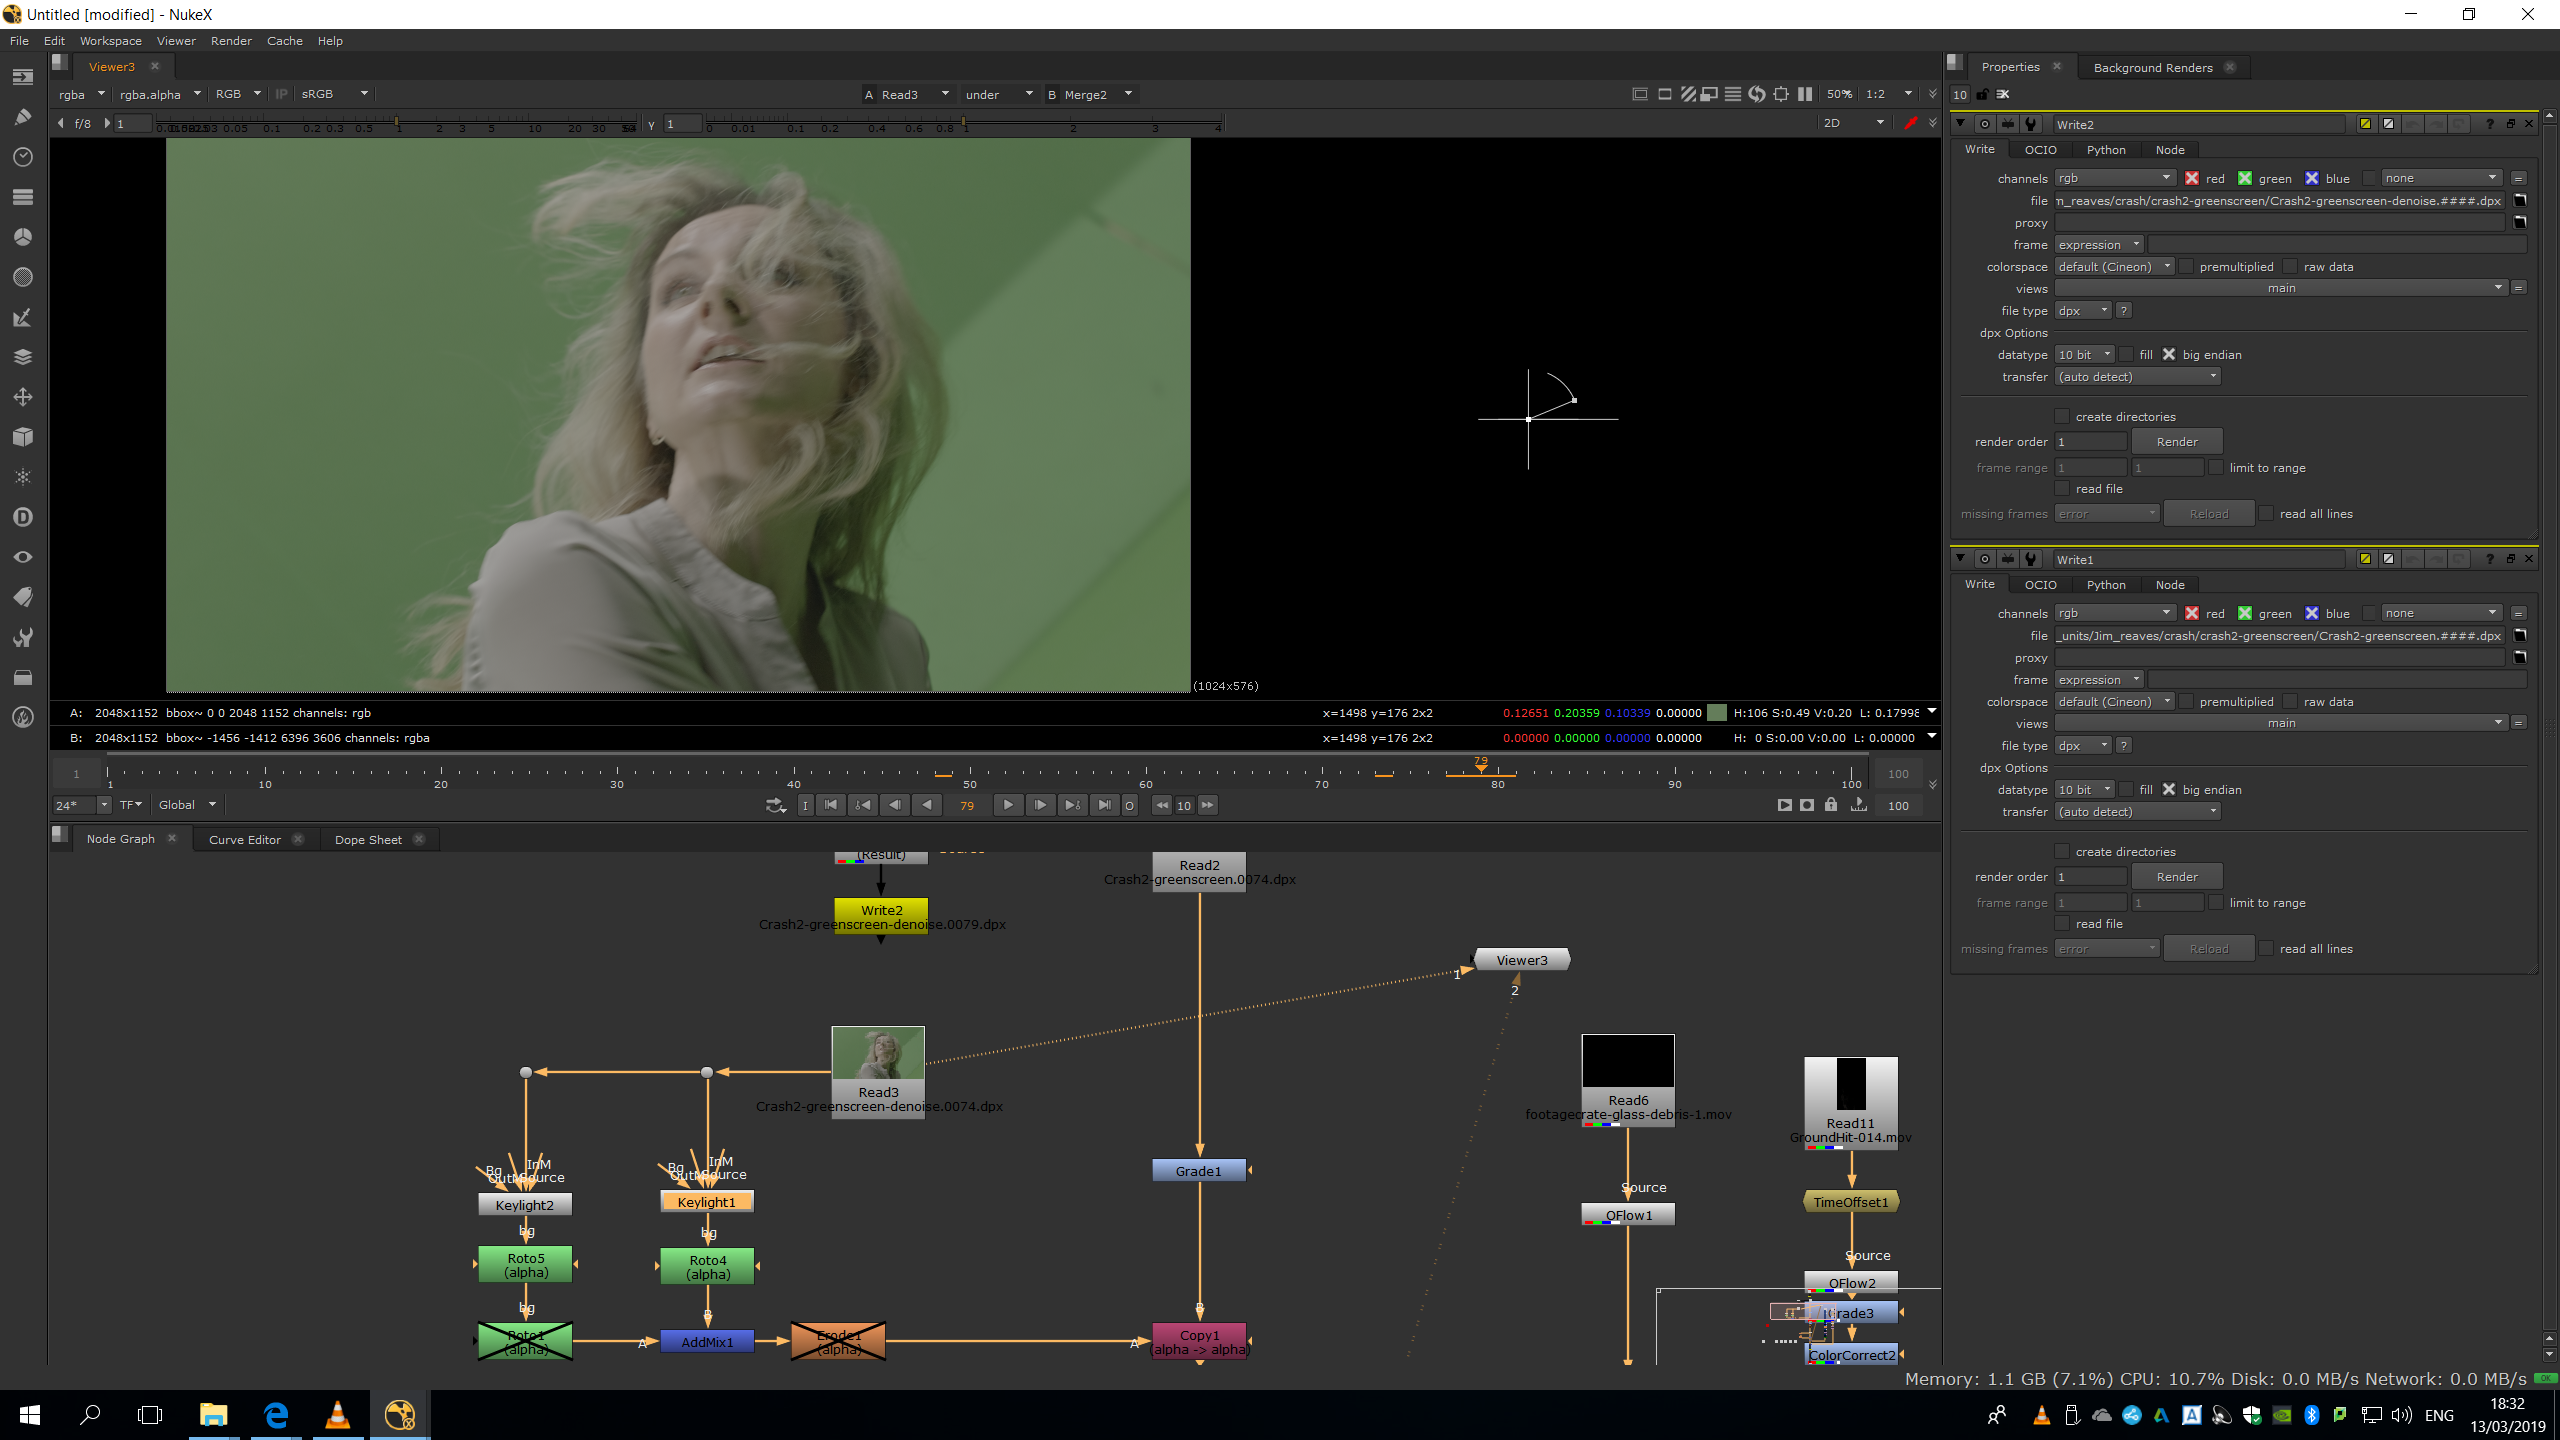
Then, we will do a roto to isolate that light ray and we will animate along the timeline as the ray moves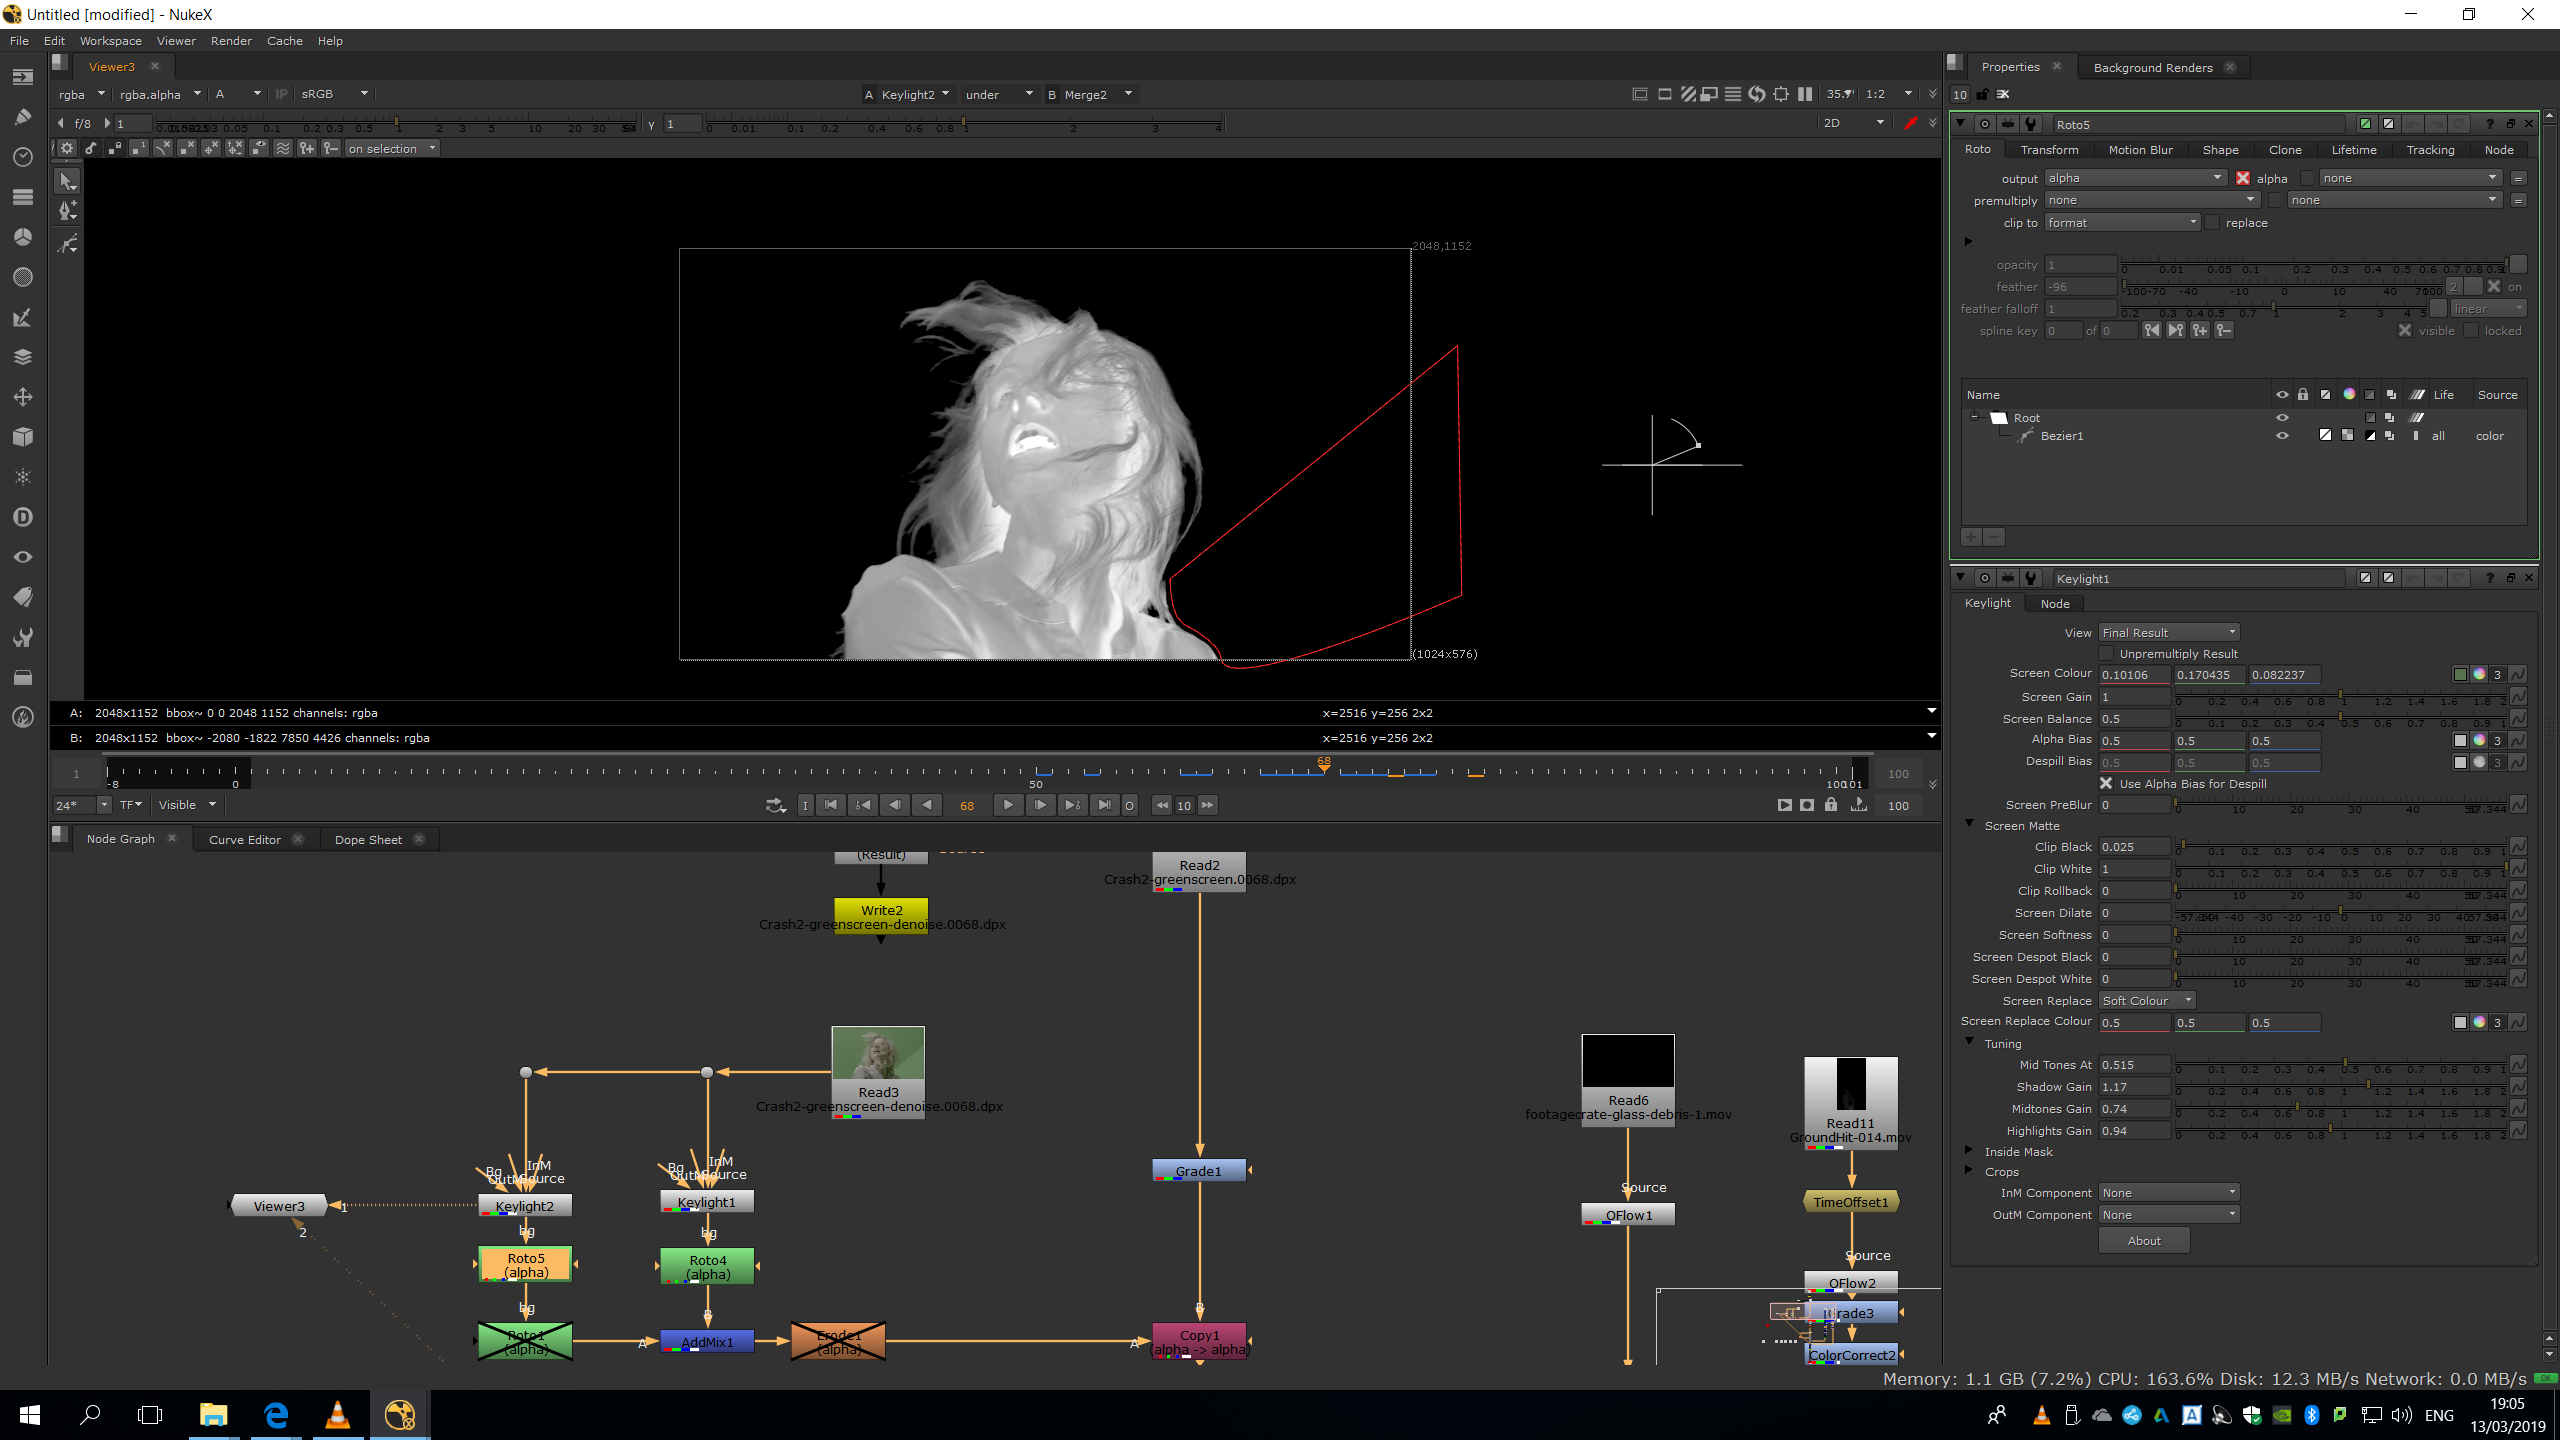 .
.
Then, we will copy the same roto, invert it, and attach it into the first keylight.
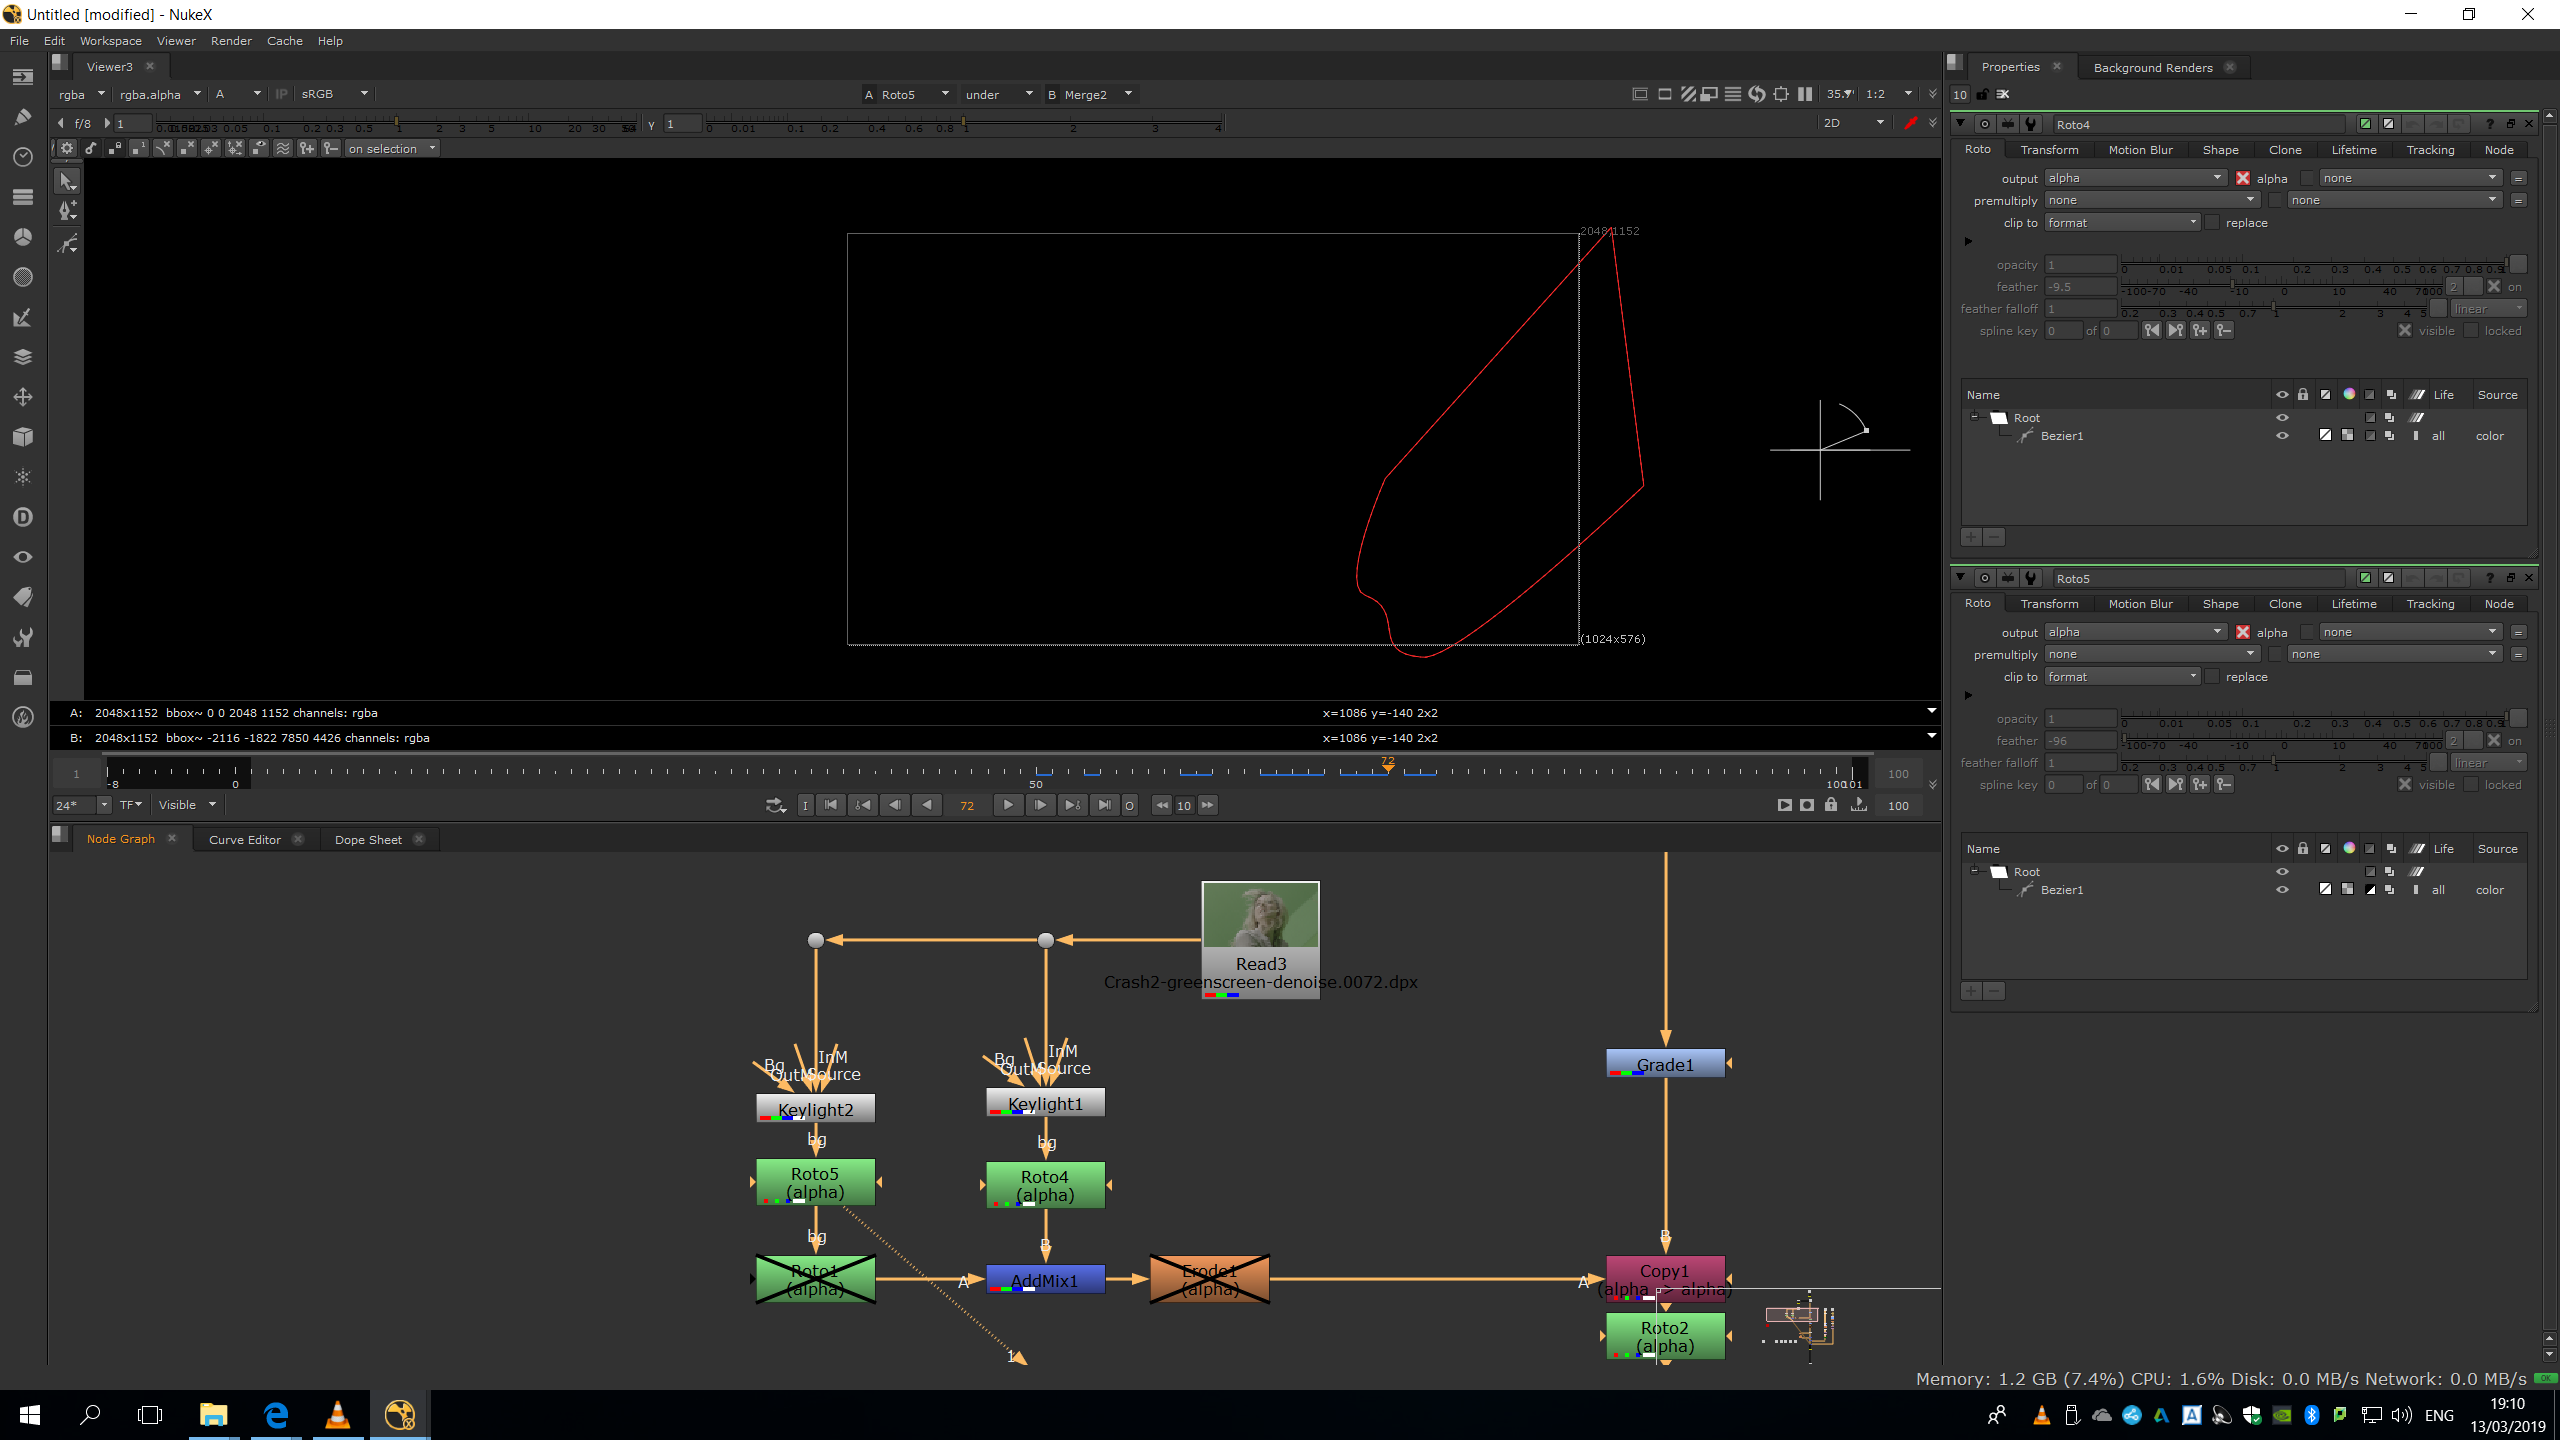
Now, we will need to combine both alpha channels by an Addmix.
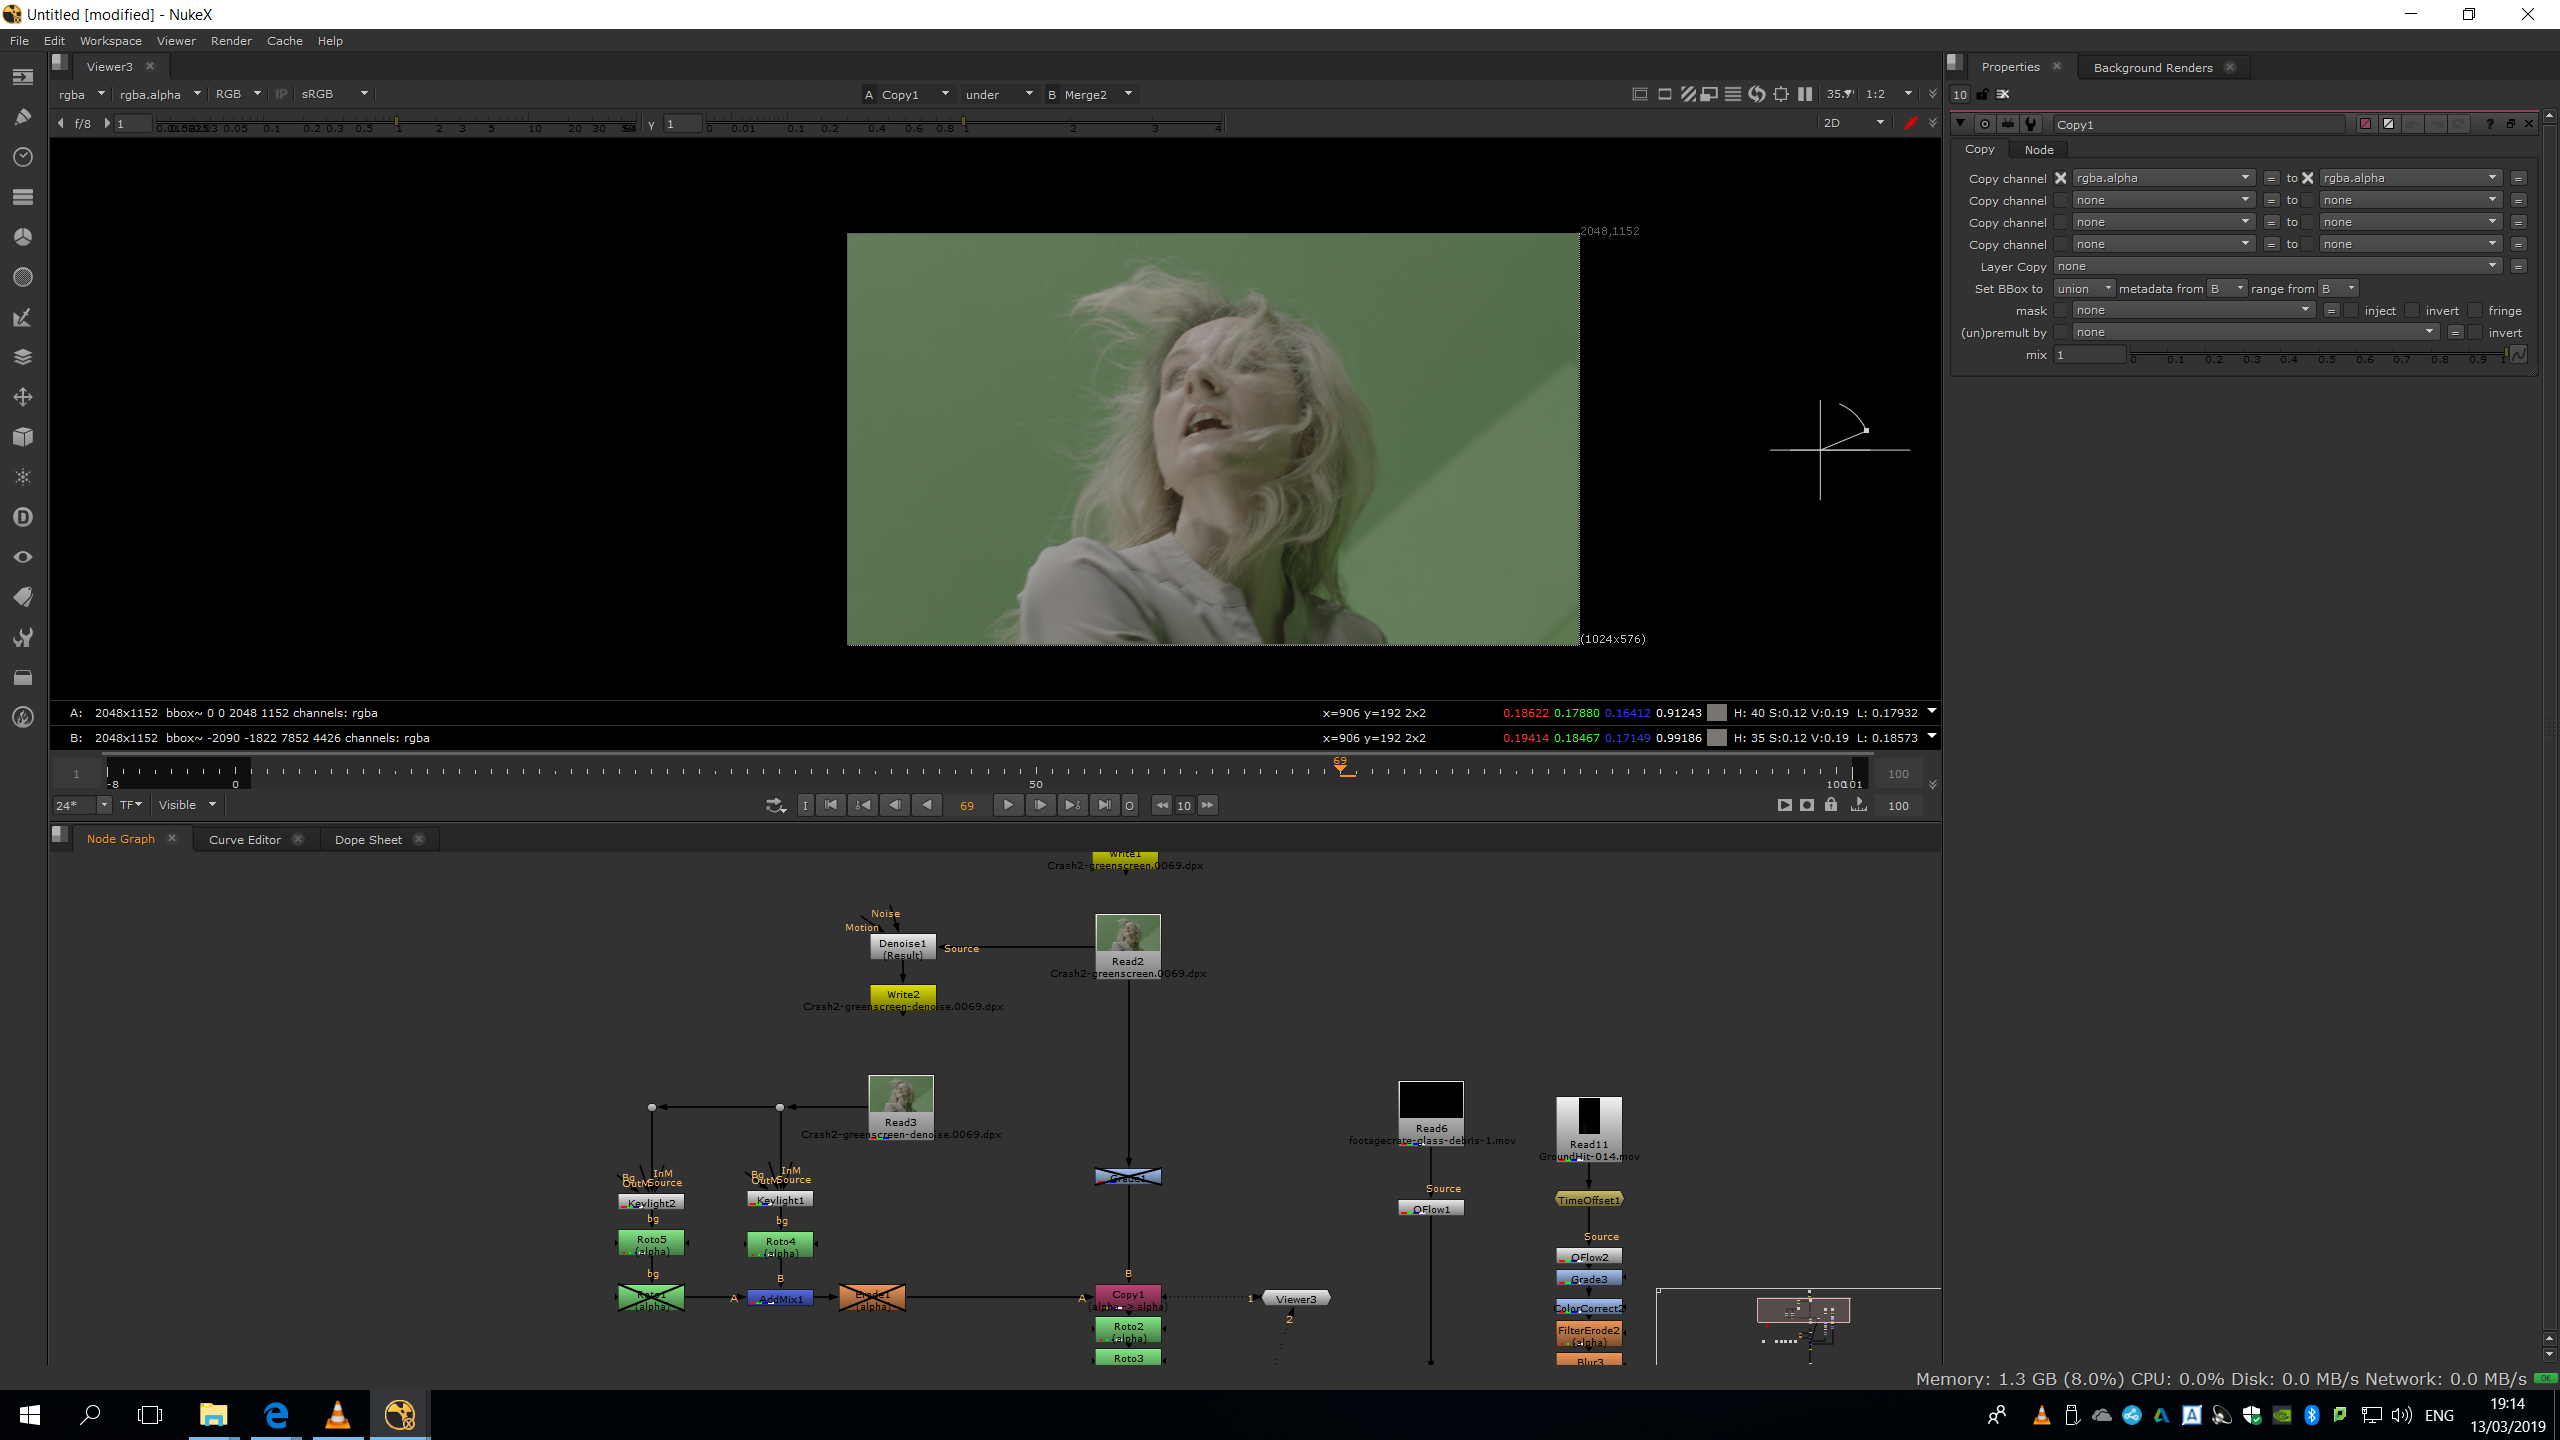
Then, we will add a copy note in order to copy that alpha channel into the original footage, in which the denoise is not applied.

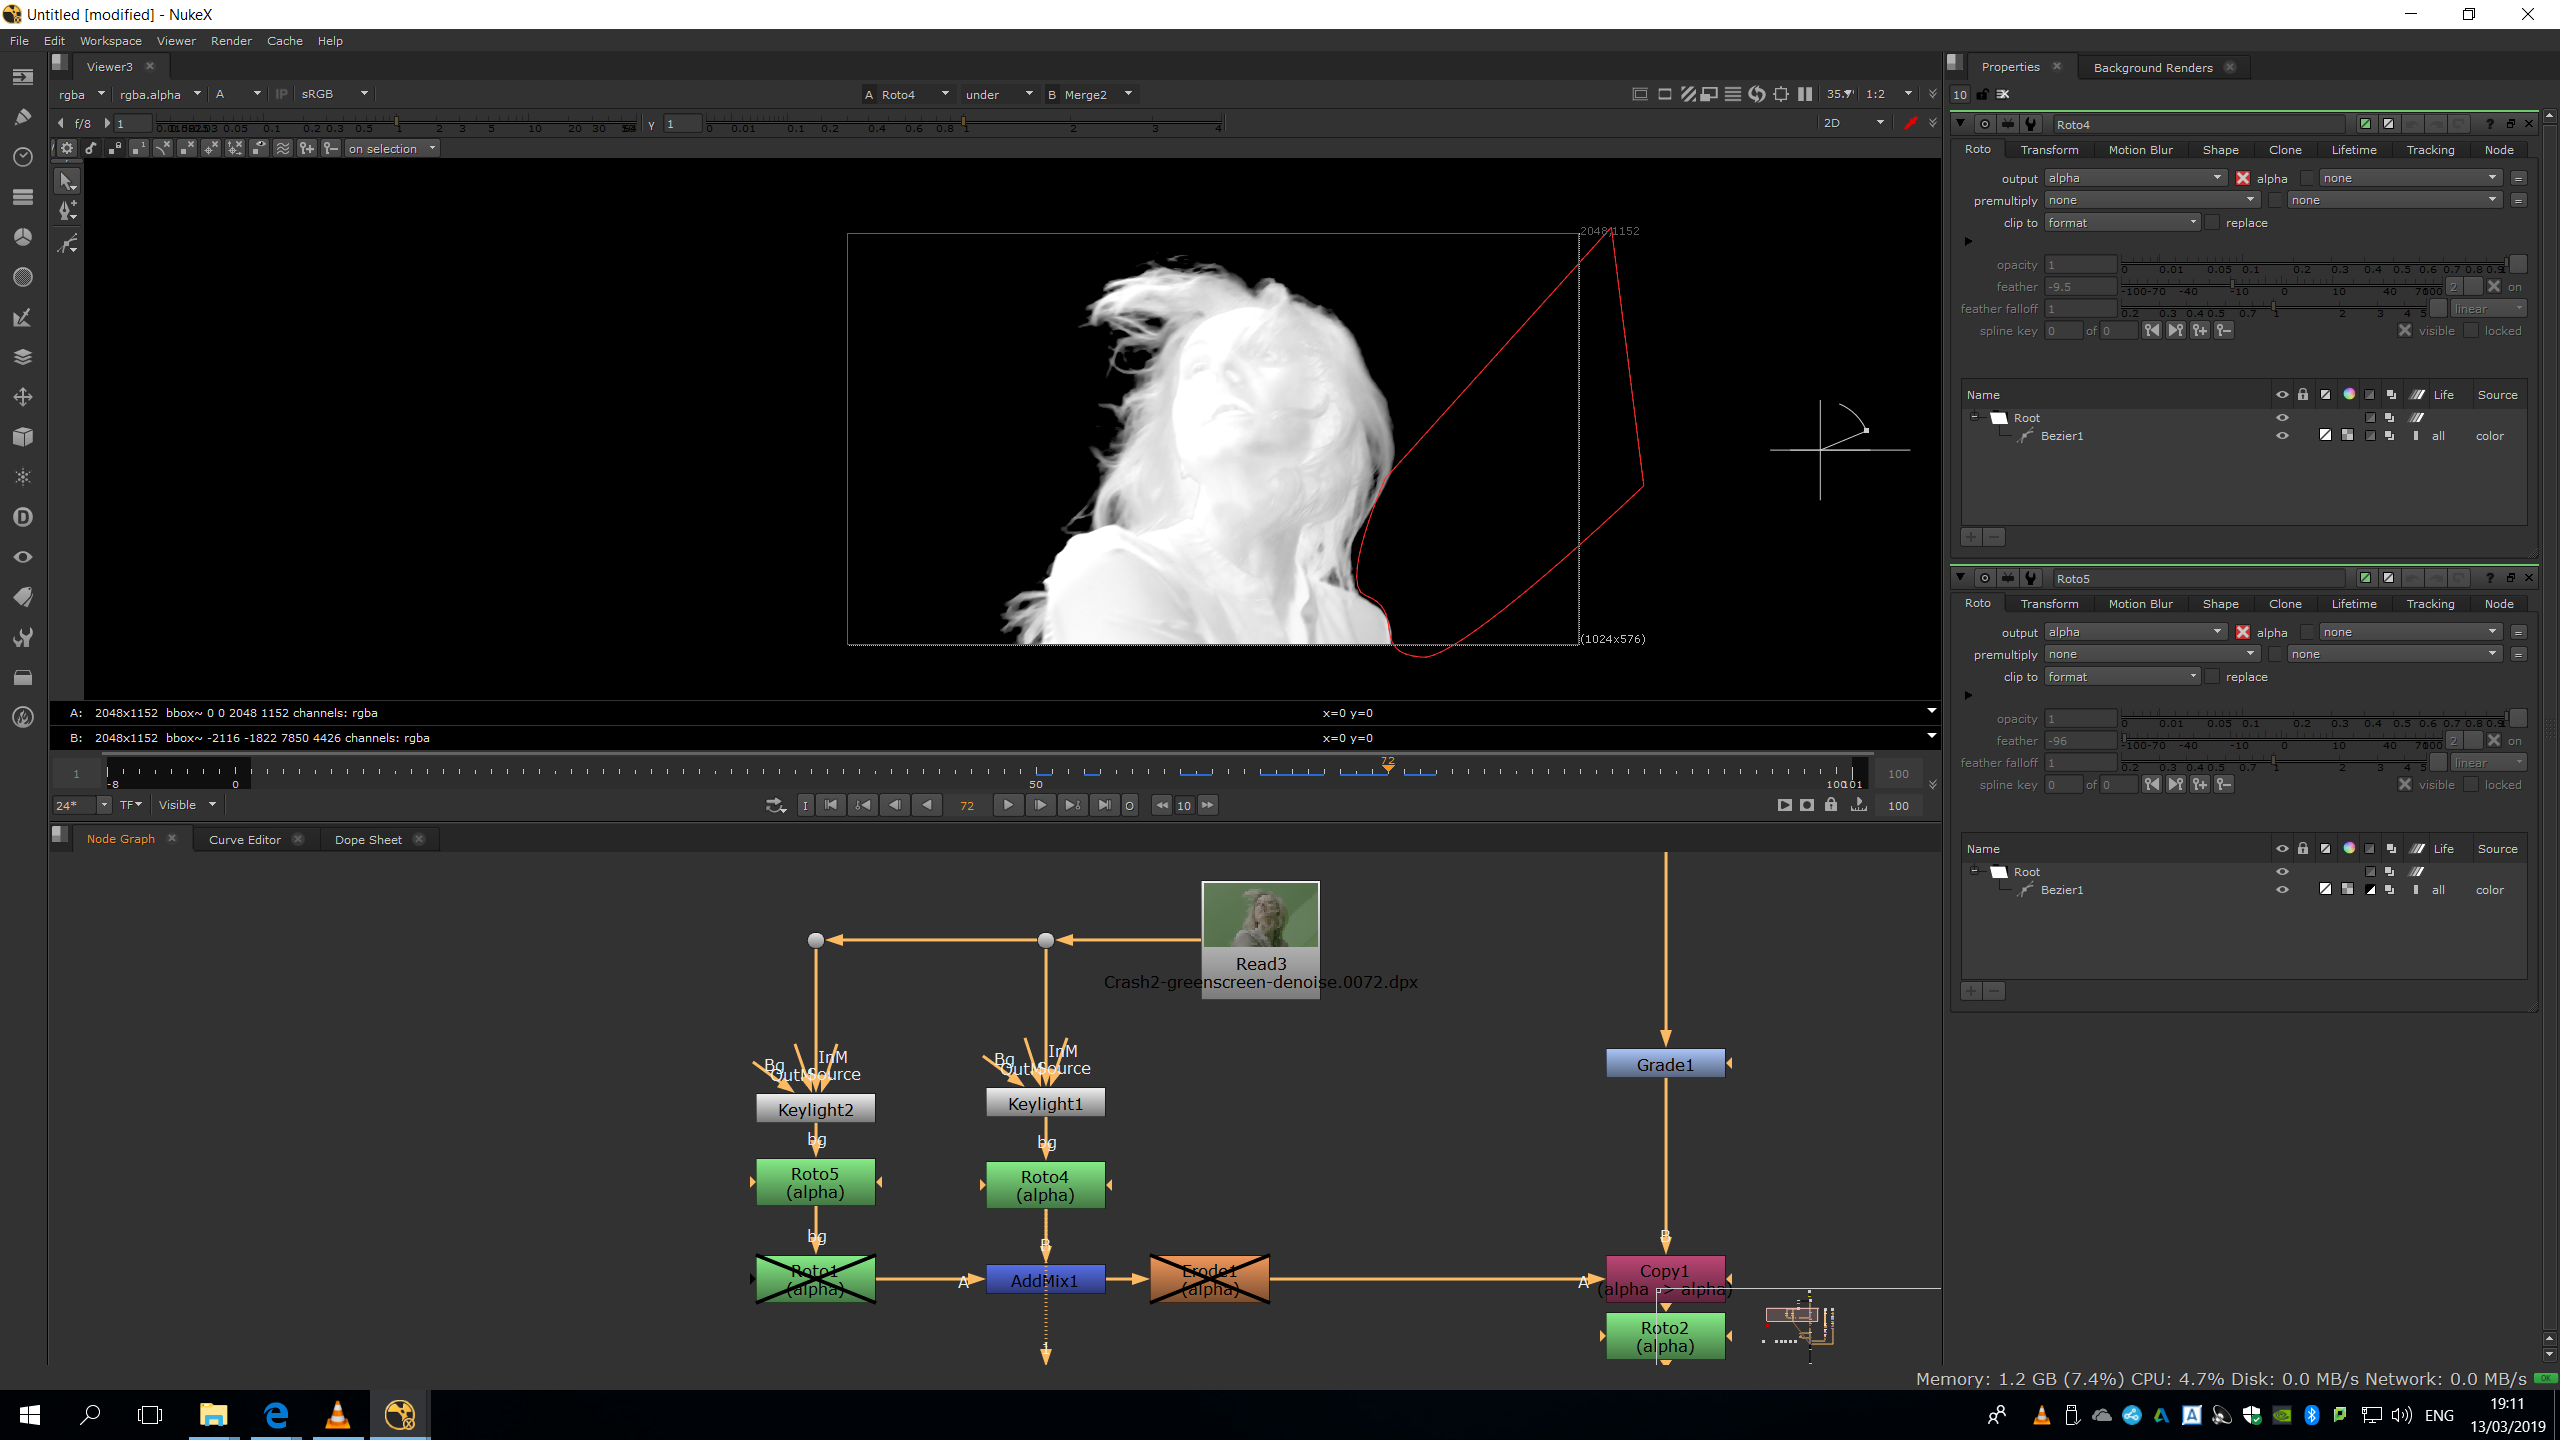
Finally, we will add a roto to take out some elements which come into the frame, as the air machine.
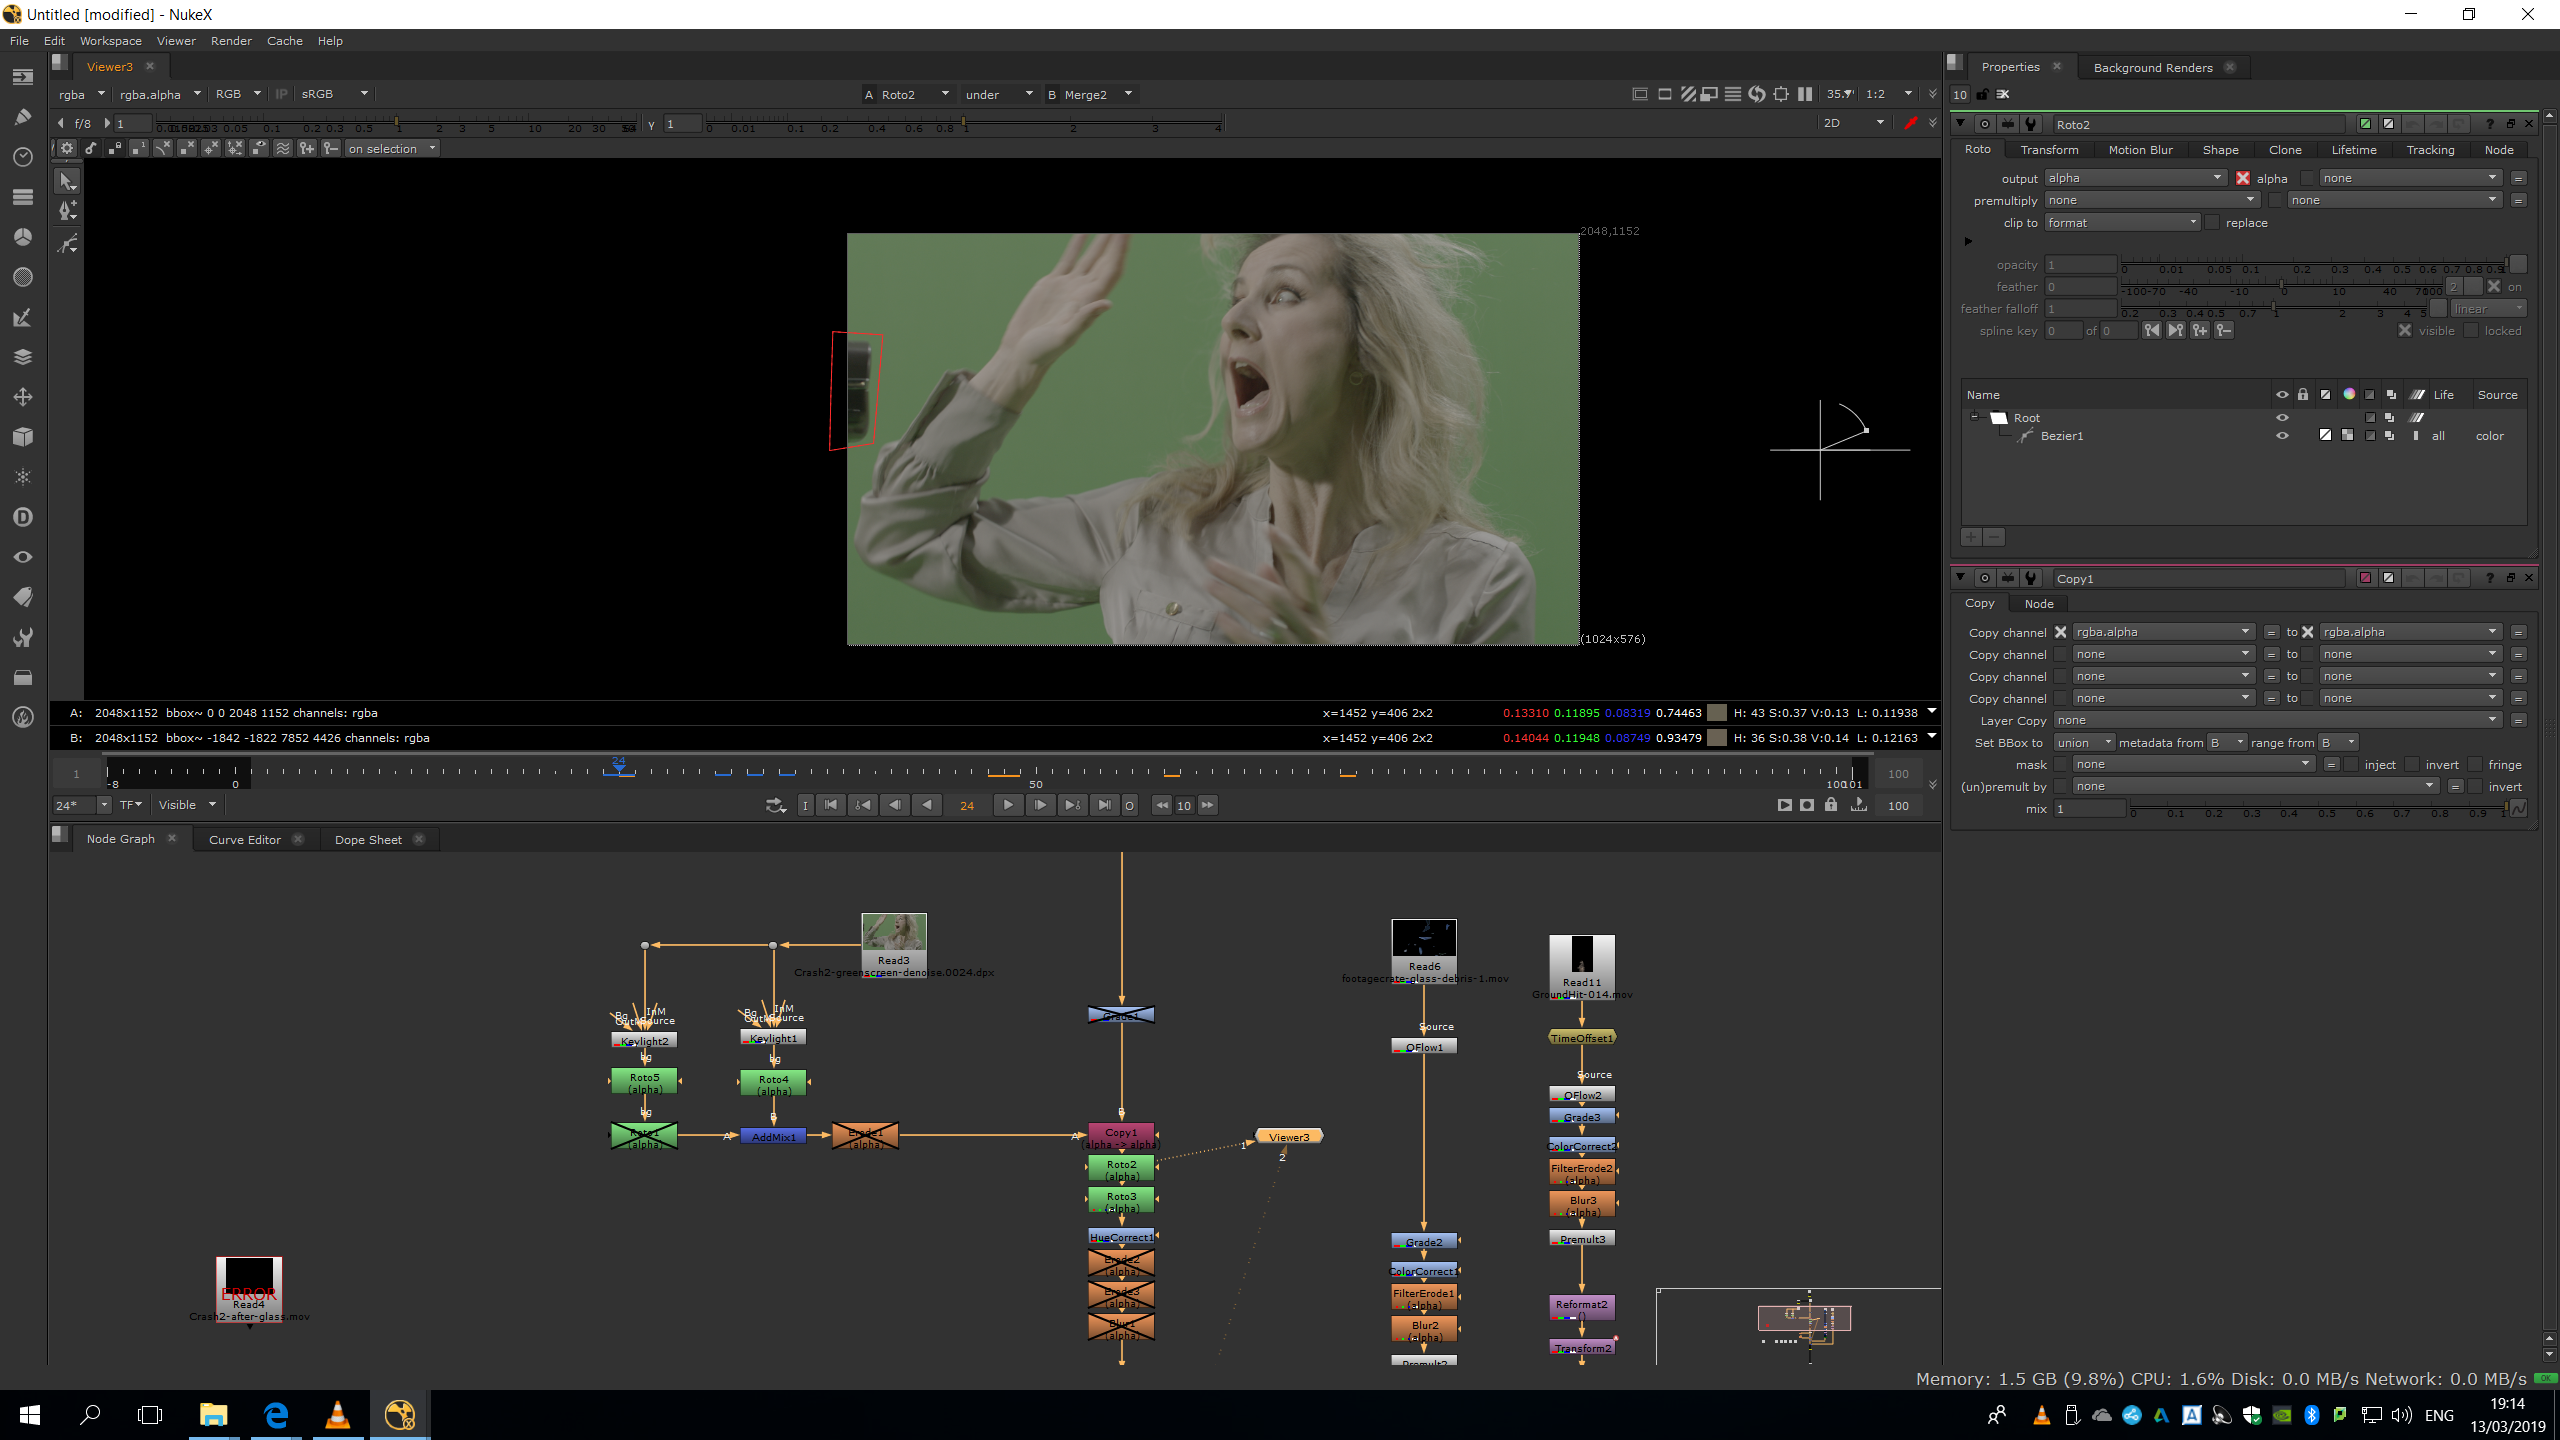
And this shape.
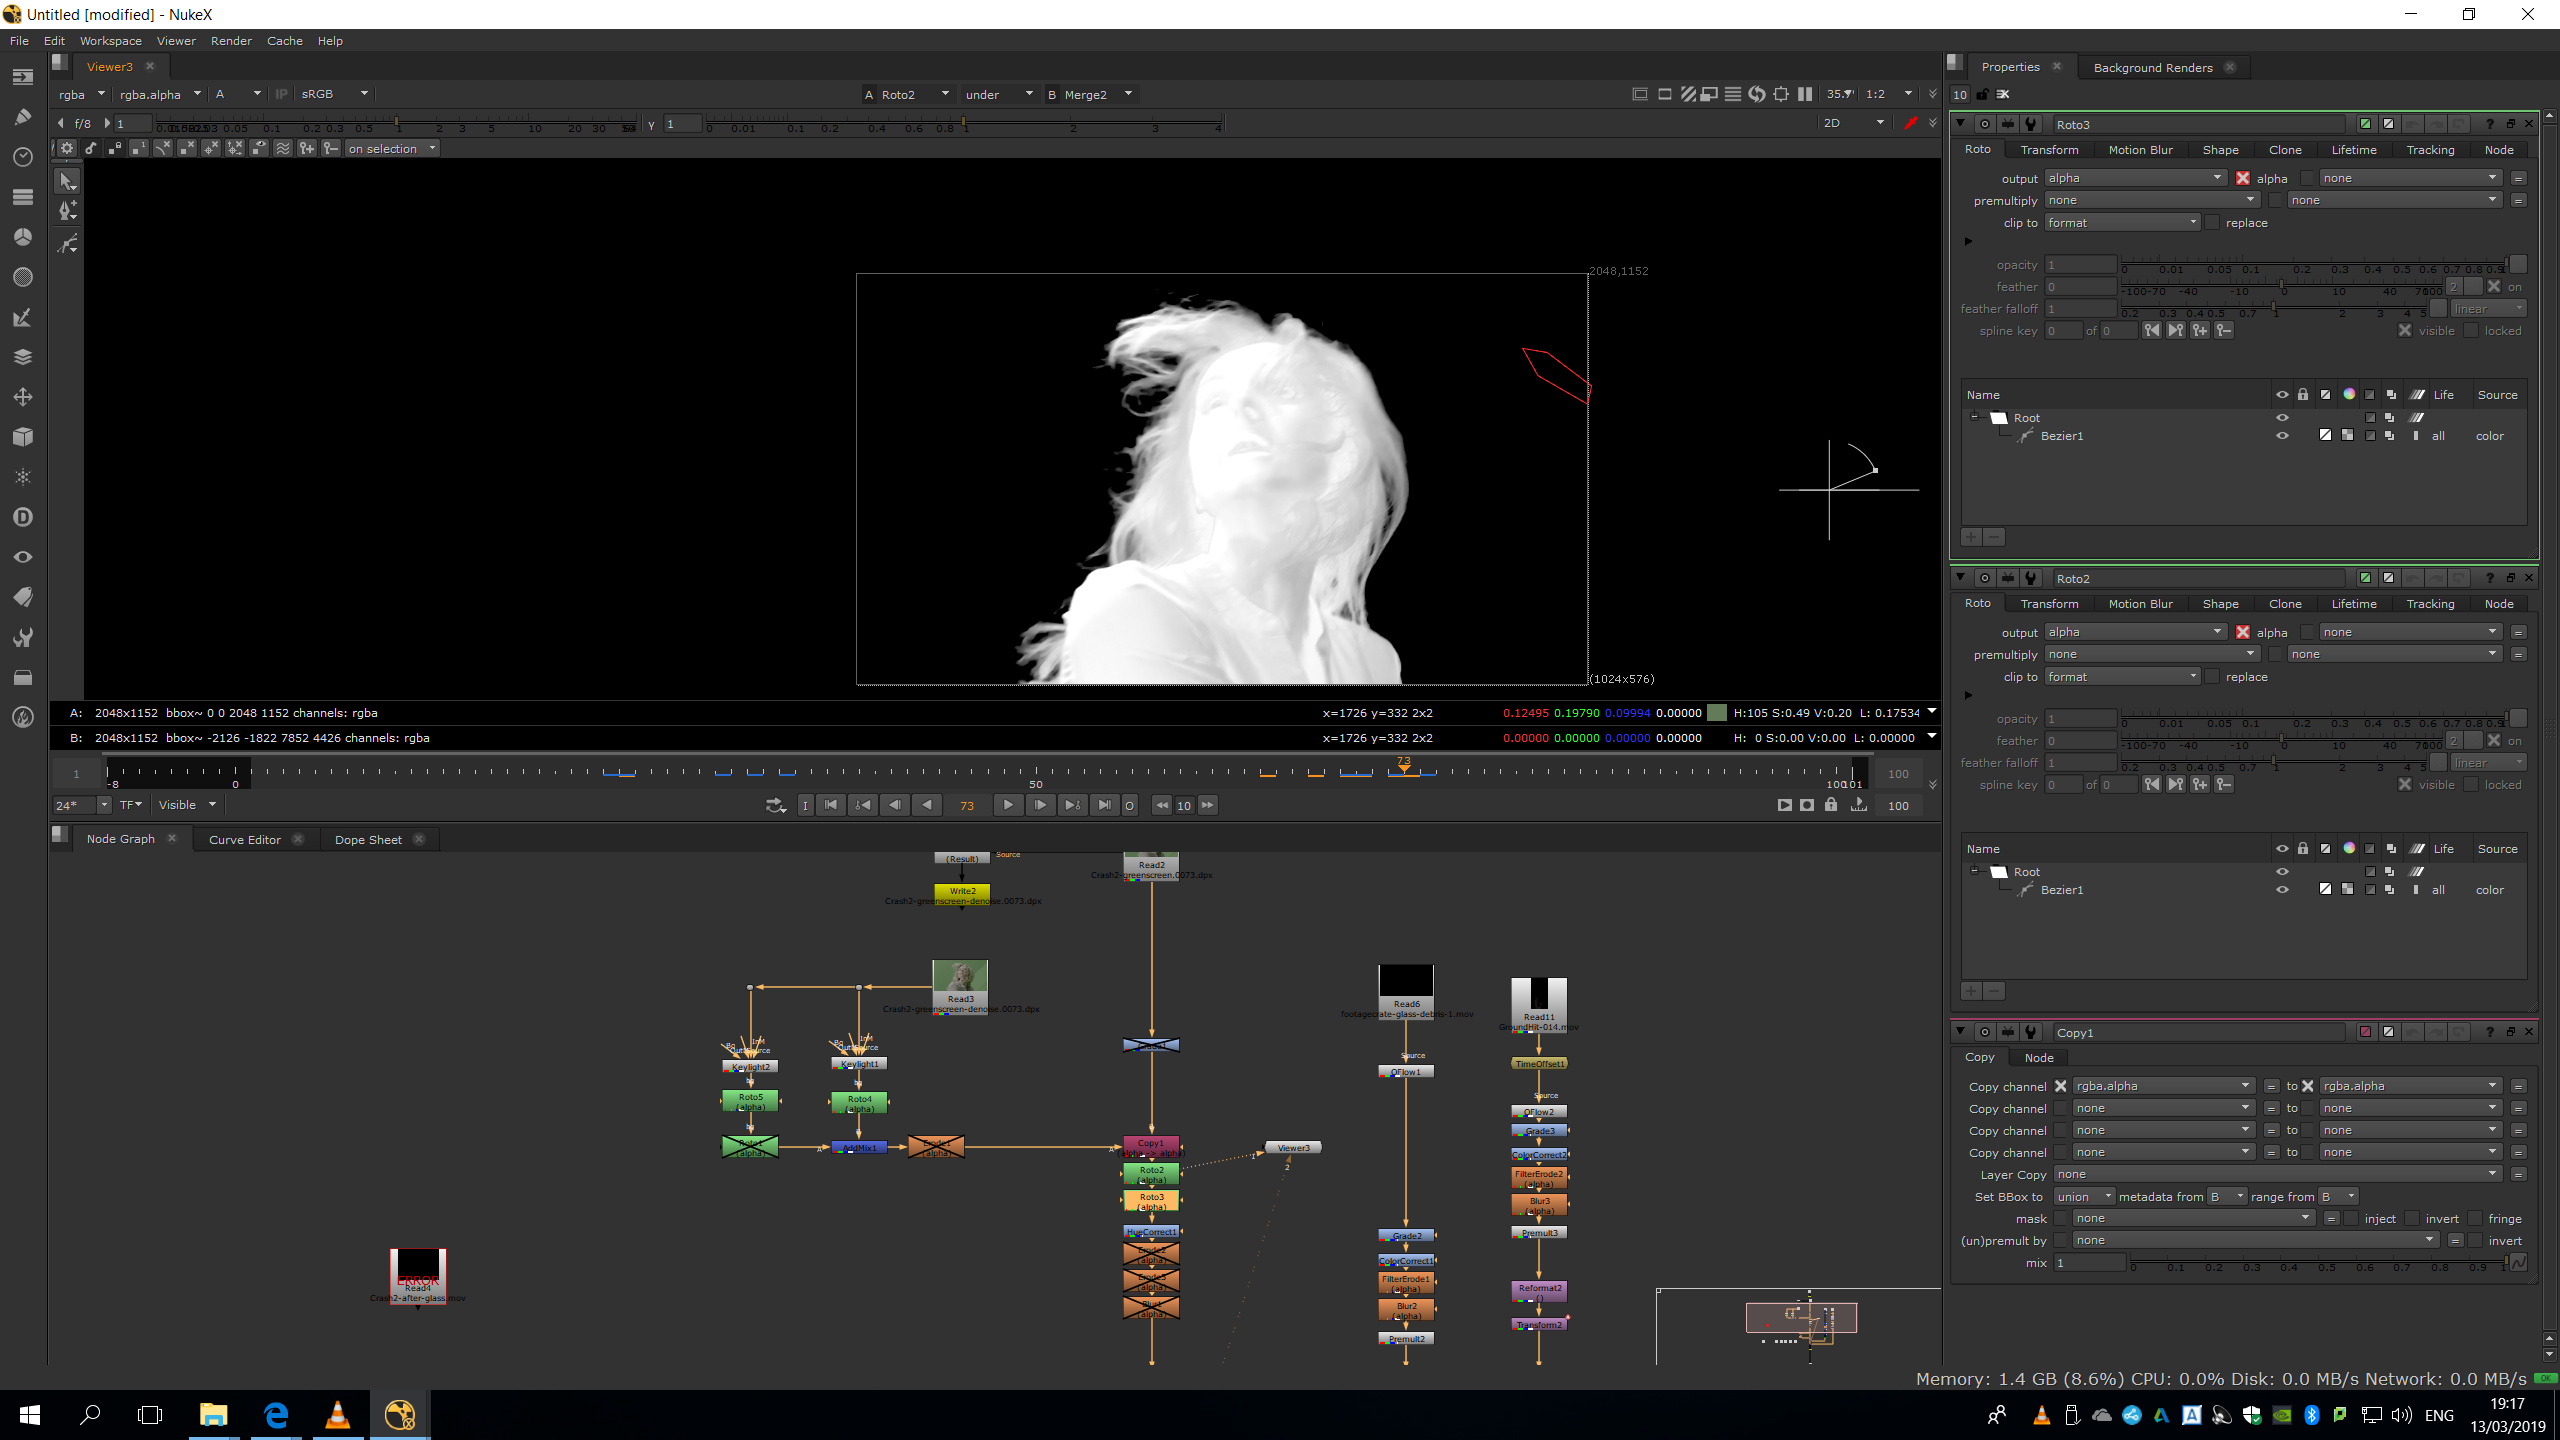
Finally, we can add a premult note to preview our footage with the alpha channel.
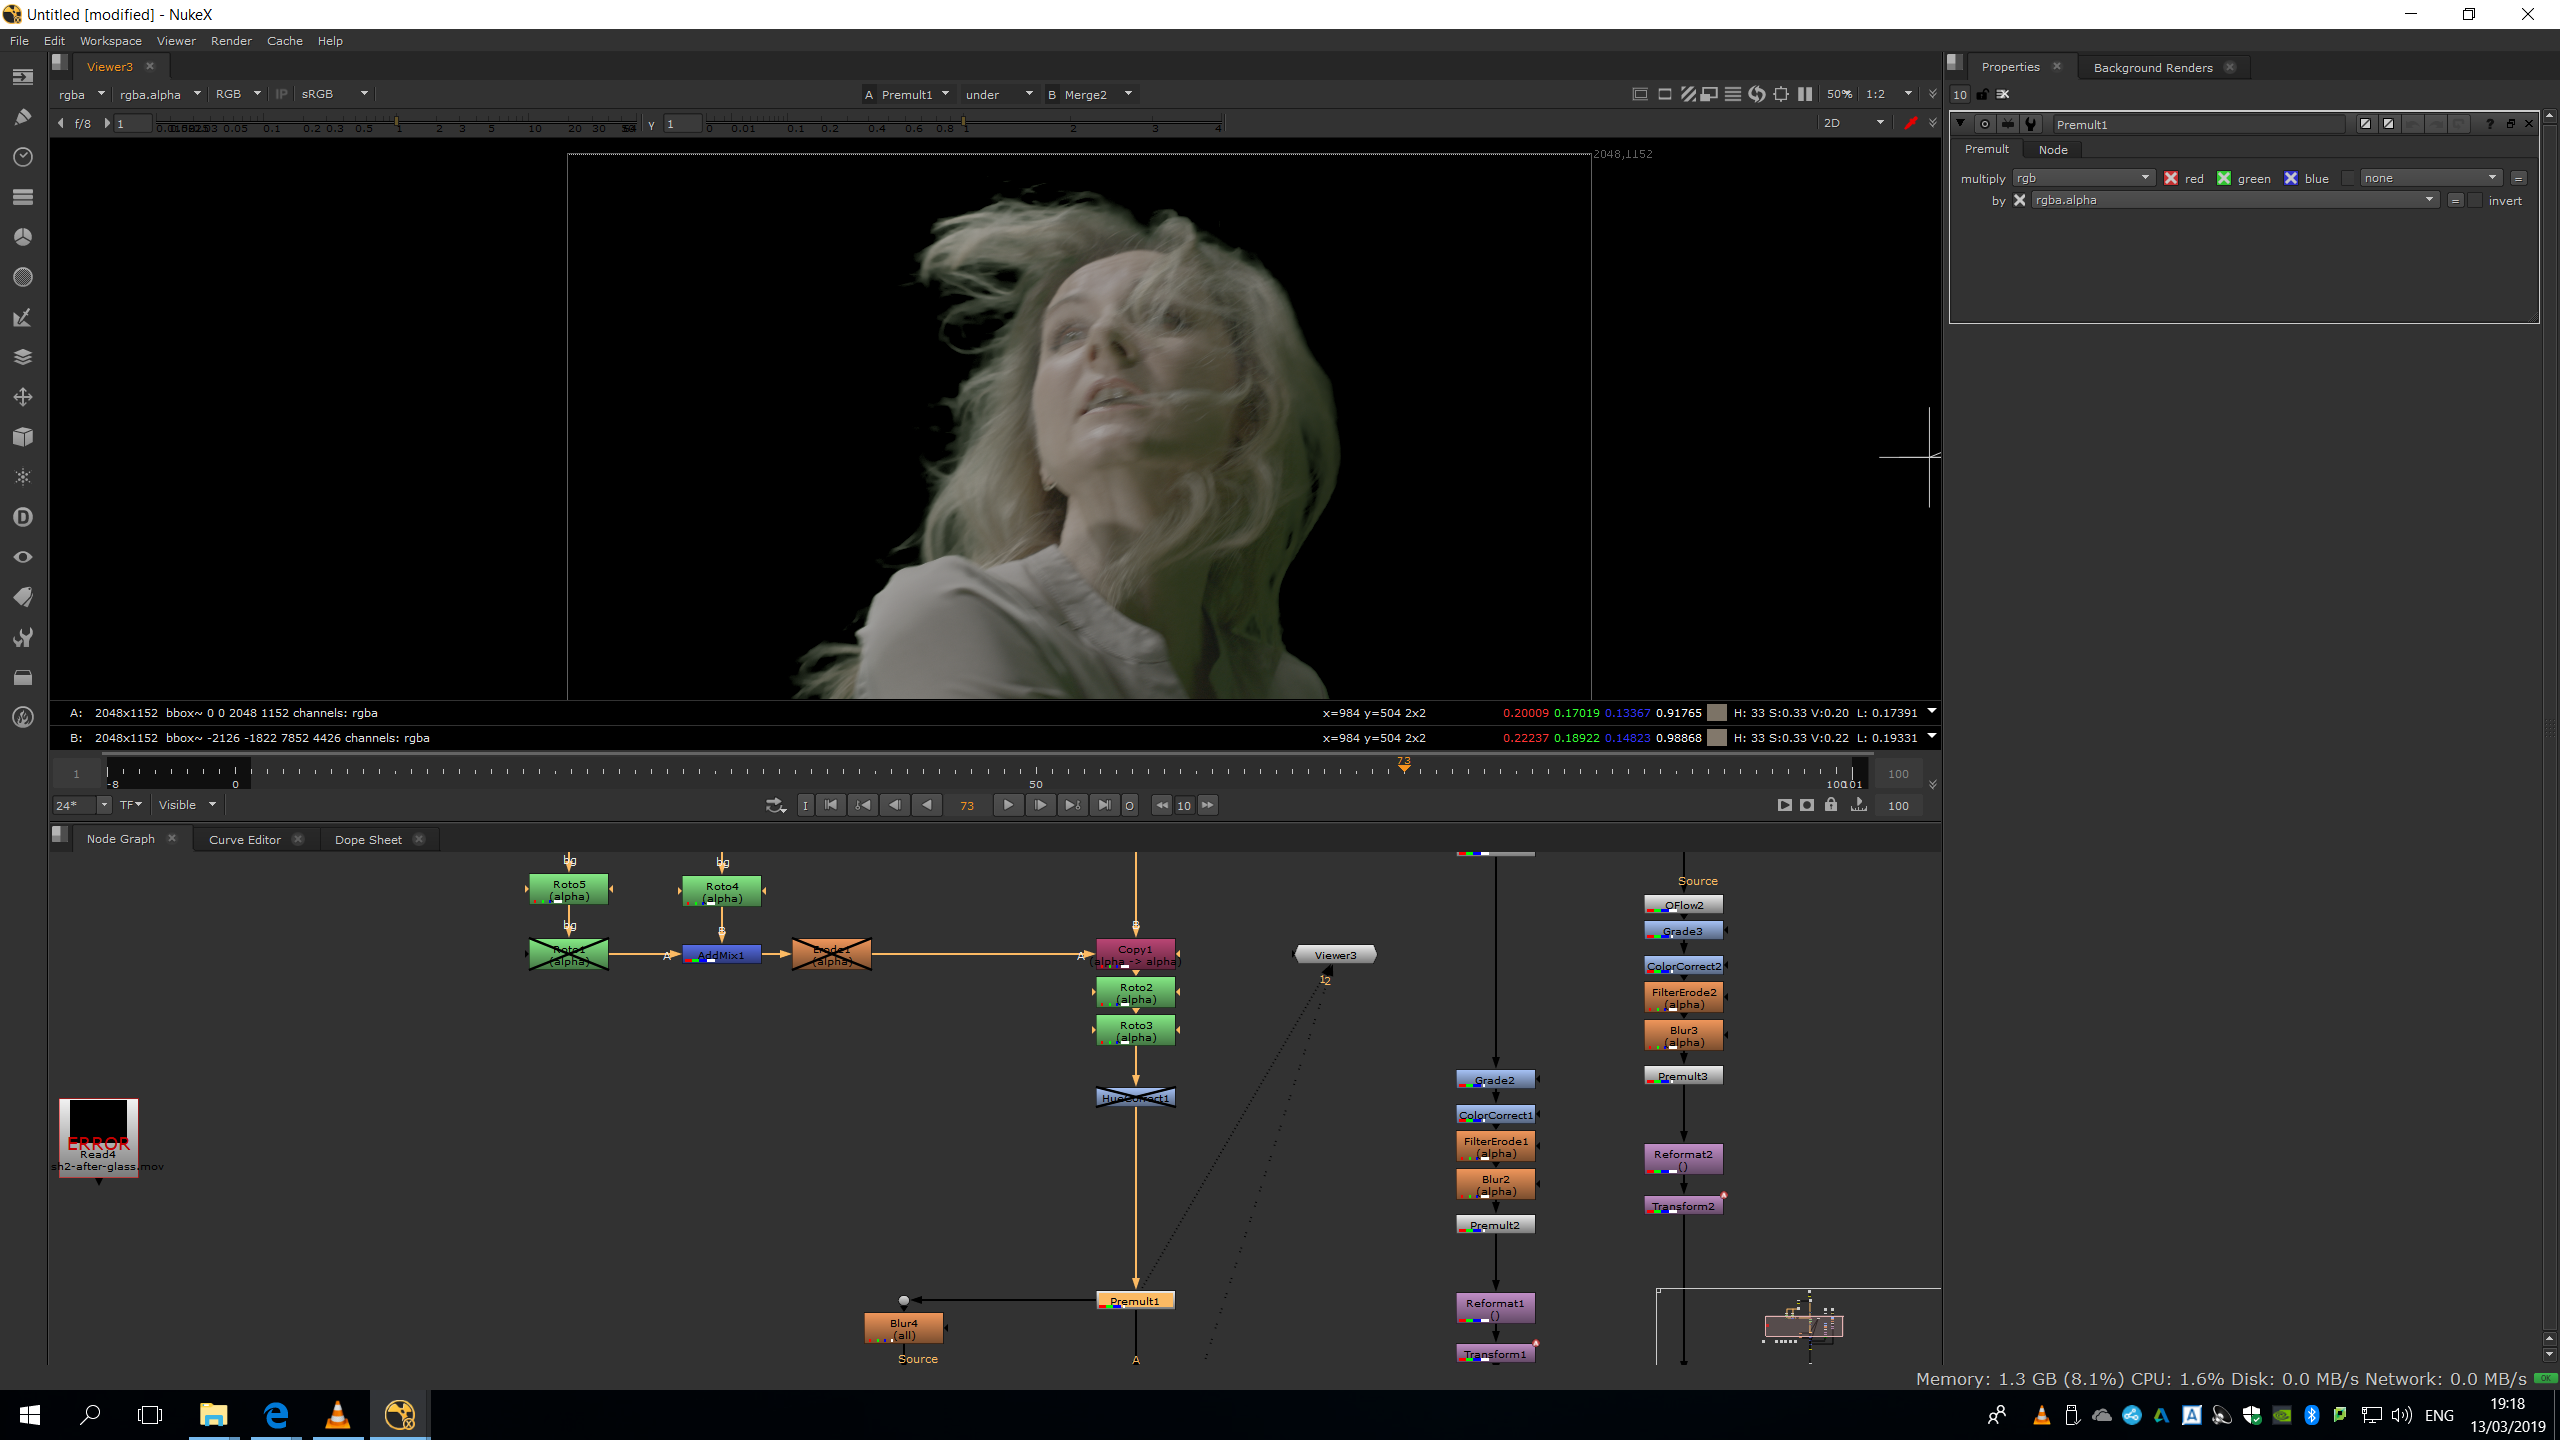
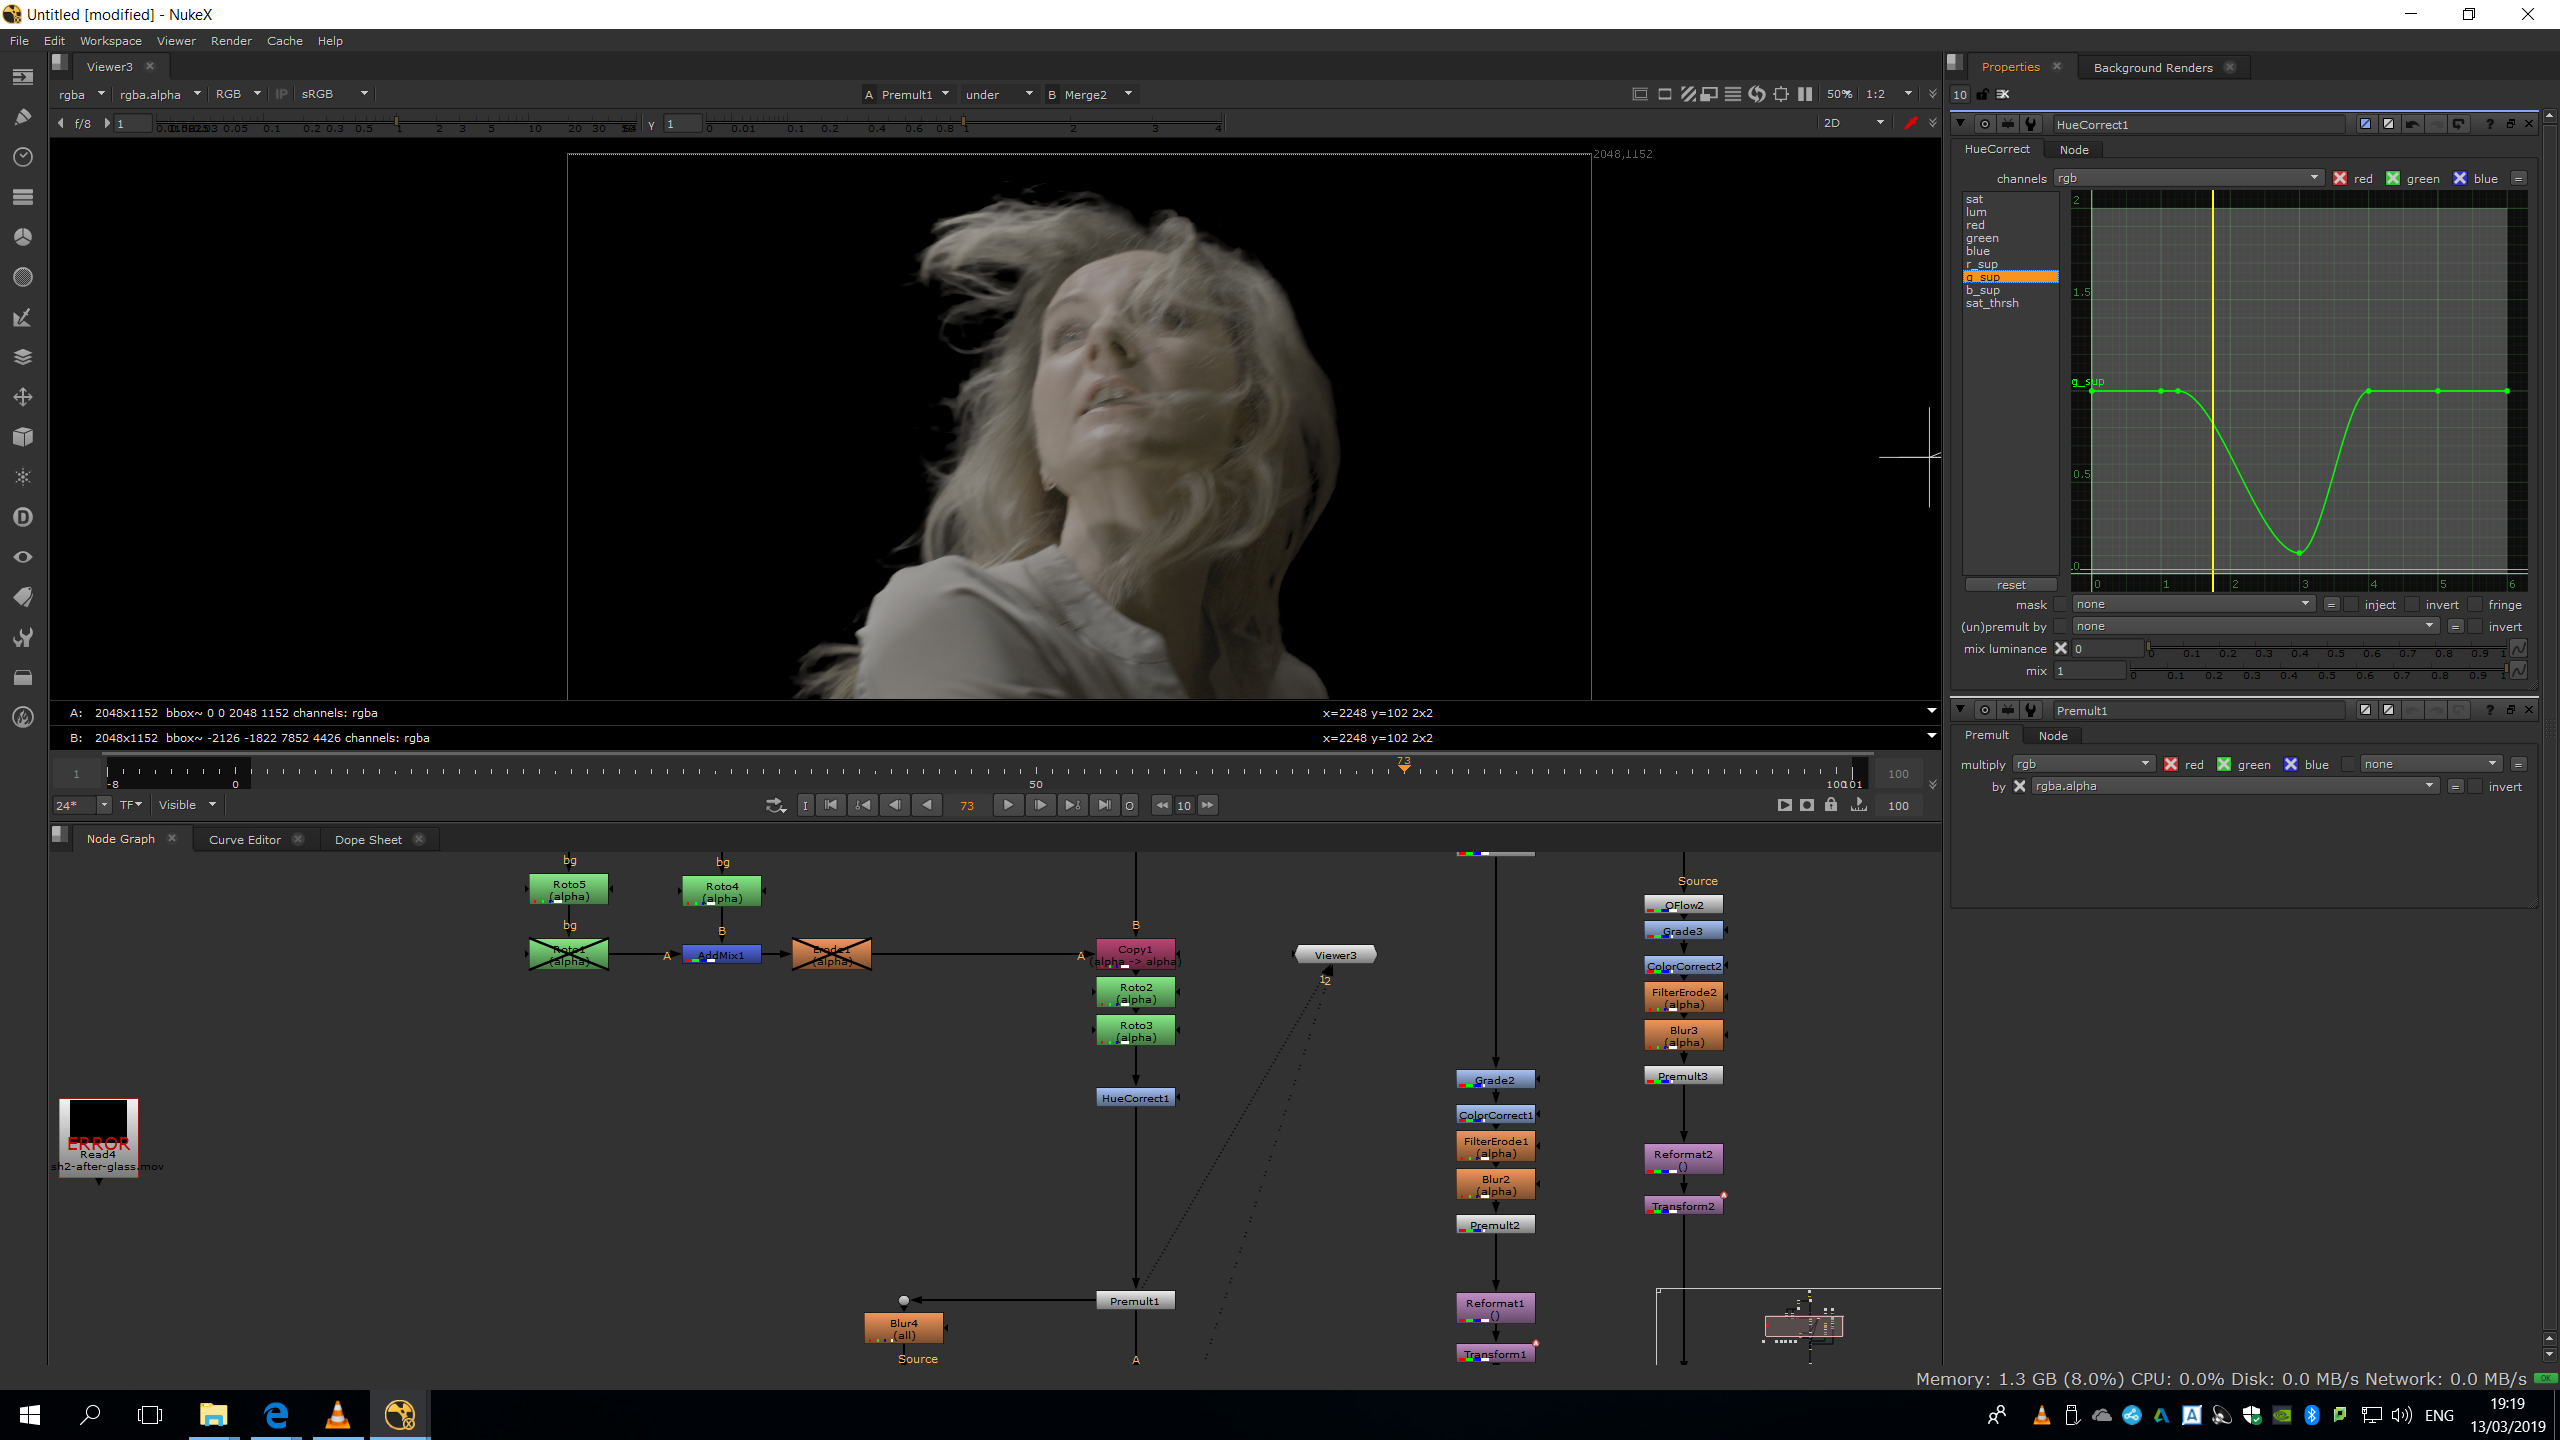
As we can see, there is a lot of green spill. Therefore, we will add a HueCorrenct in order to sample any green pixel in the Premult, and bring it down in the green suppression, so that tome will be deleted.
Now our green screen is completely deleted and our footage is ready to be edited along with the next part of the brief.
Dreamy effect
In order to achieve a dreamy effect, I though it would be convenient to add a light blur, some motion blur and some glow.
Blur
I added a light blur in order to keep the image less sharp, extend its edges and give an effect of confusion and illusion. This will not make us loose quality of the image, because it will be merged under the real premultiplied footage. 
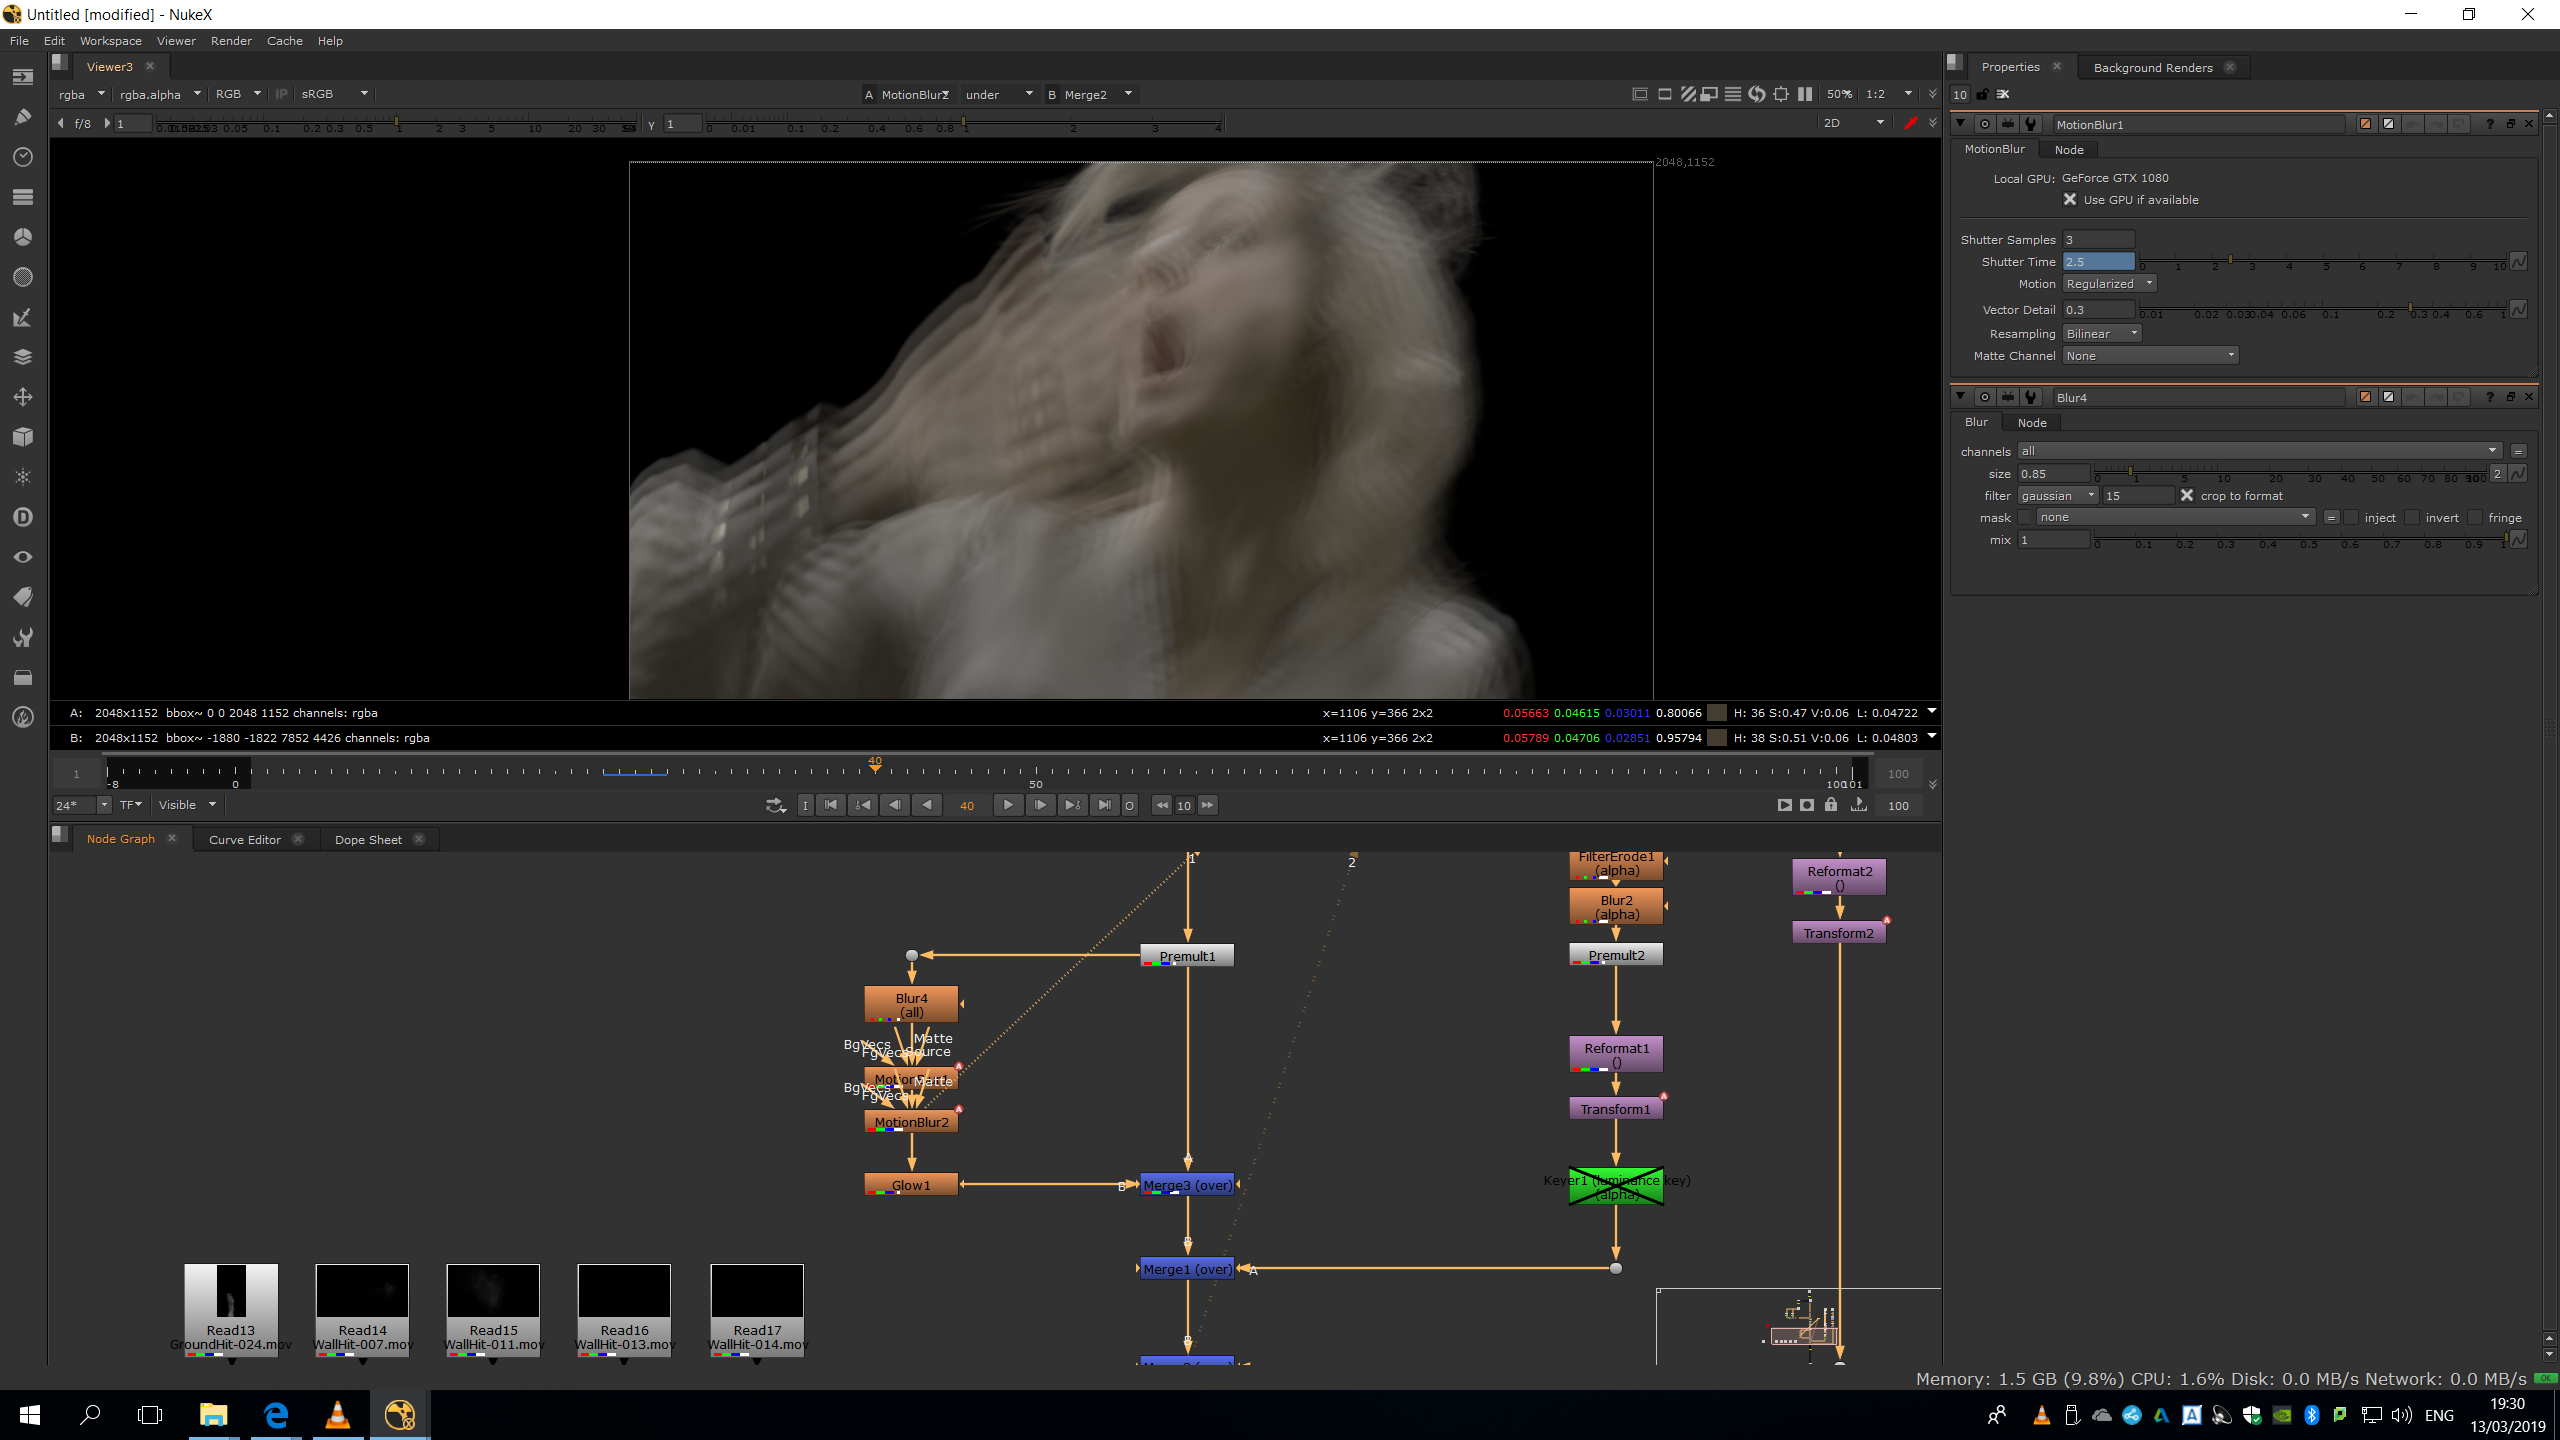
Motion blur
The motion blur will enable us to see a trace of the movement of the character, giving the illusion or another dimension or another way to perceive the reality, as it is a dream.
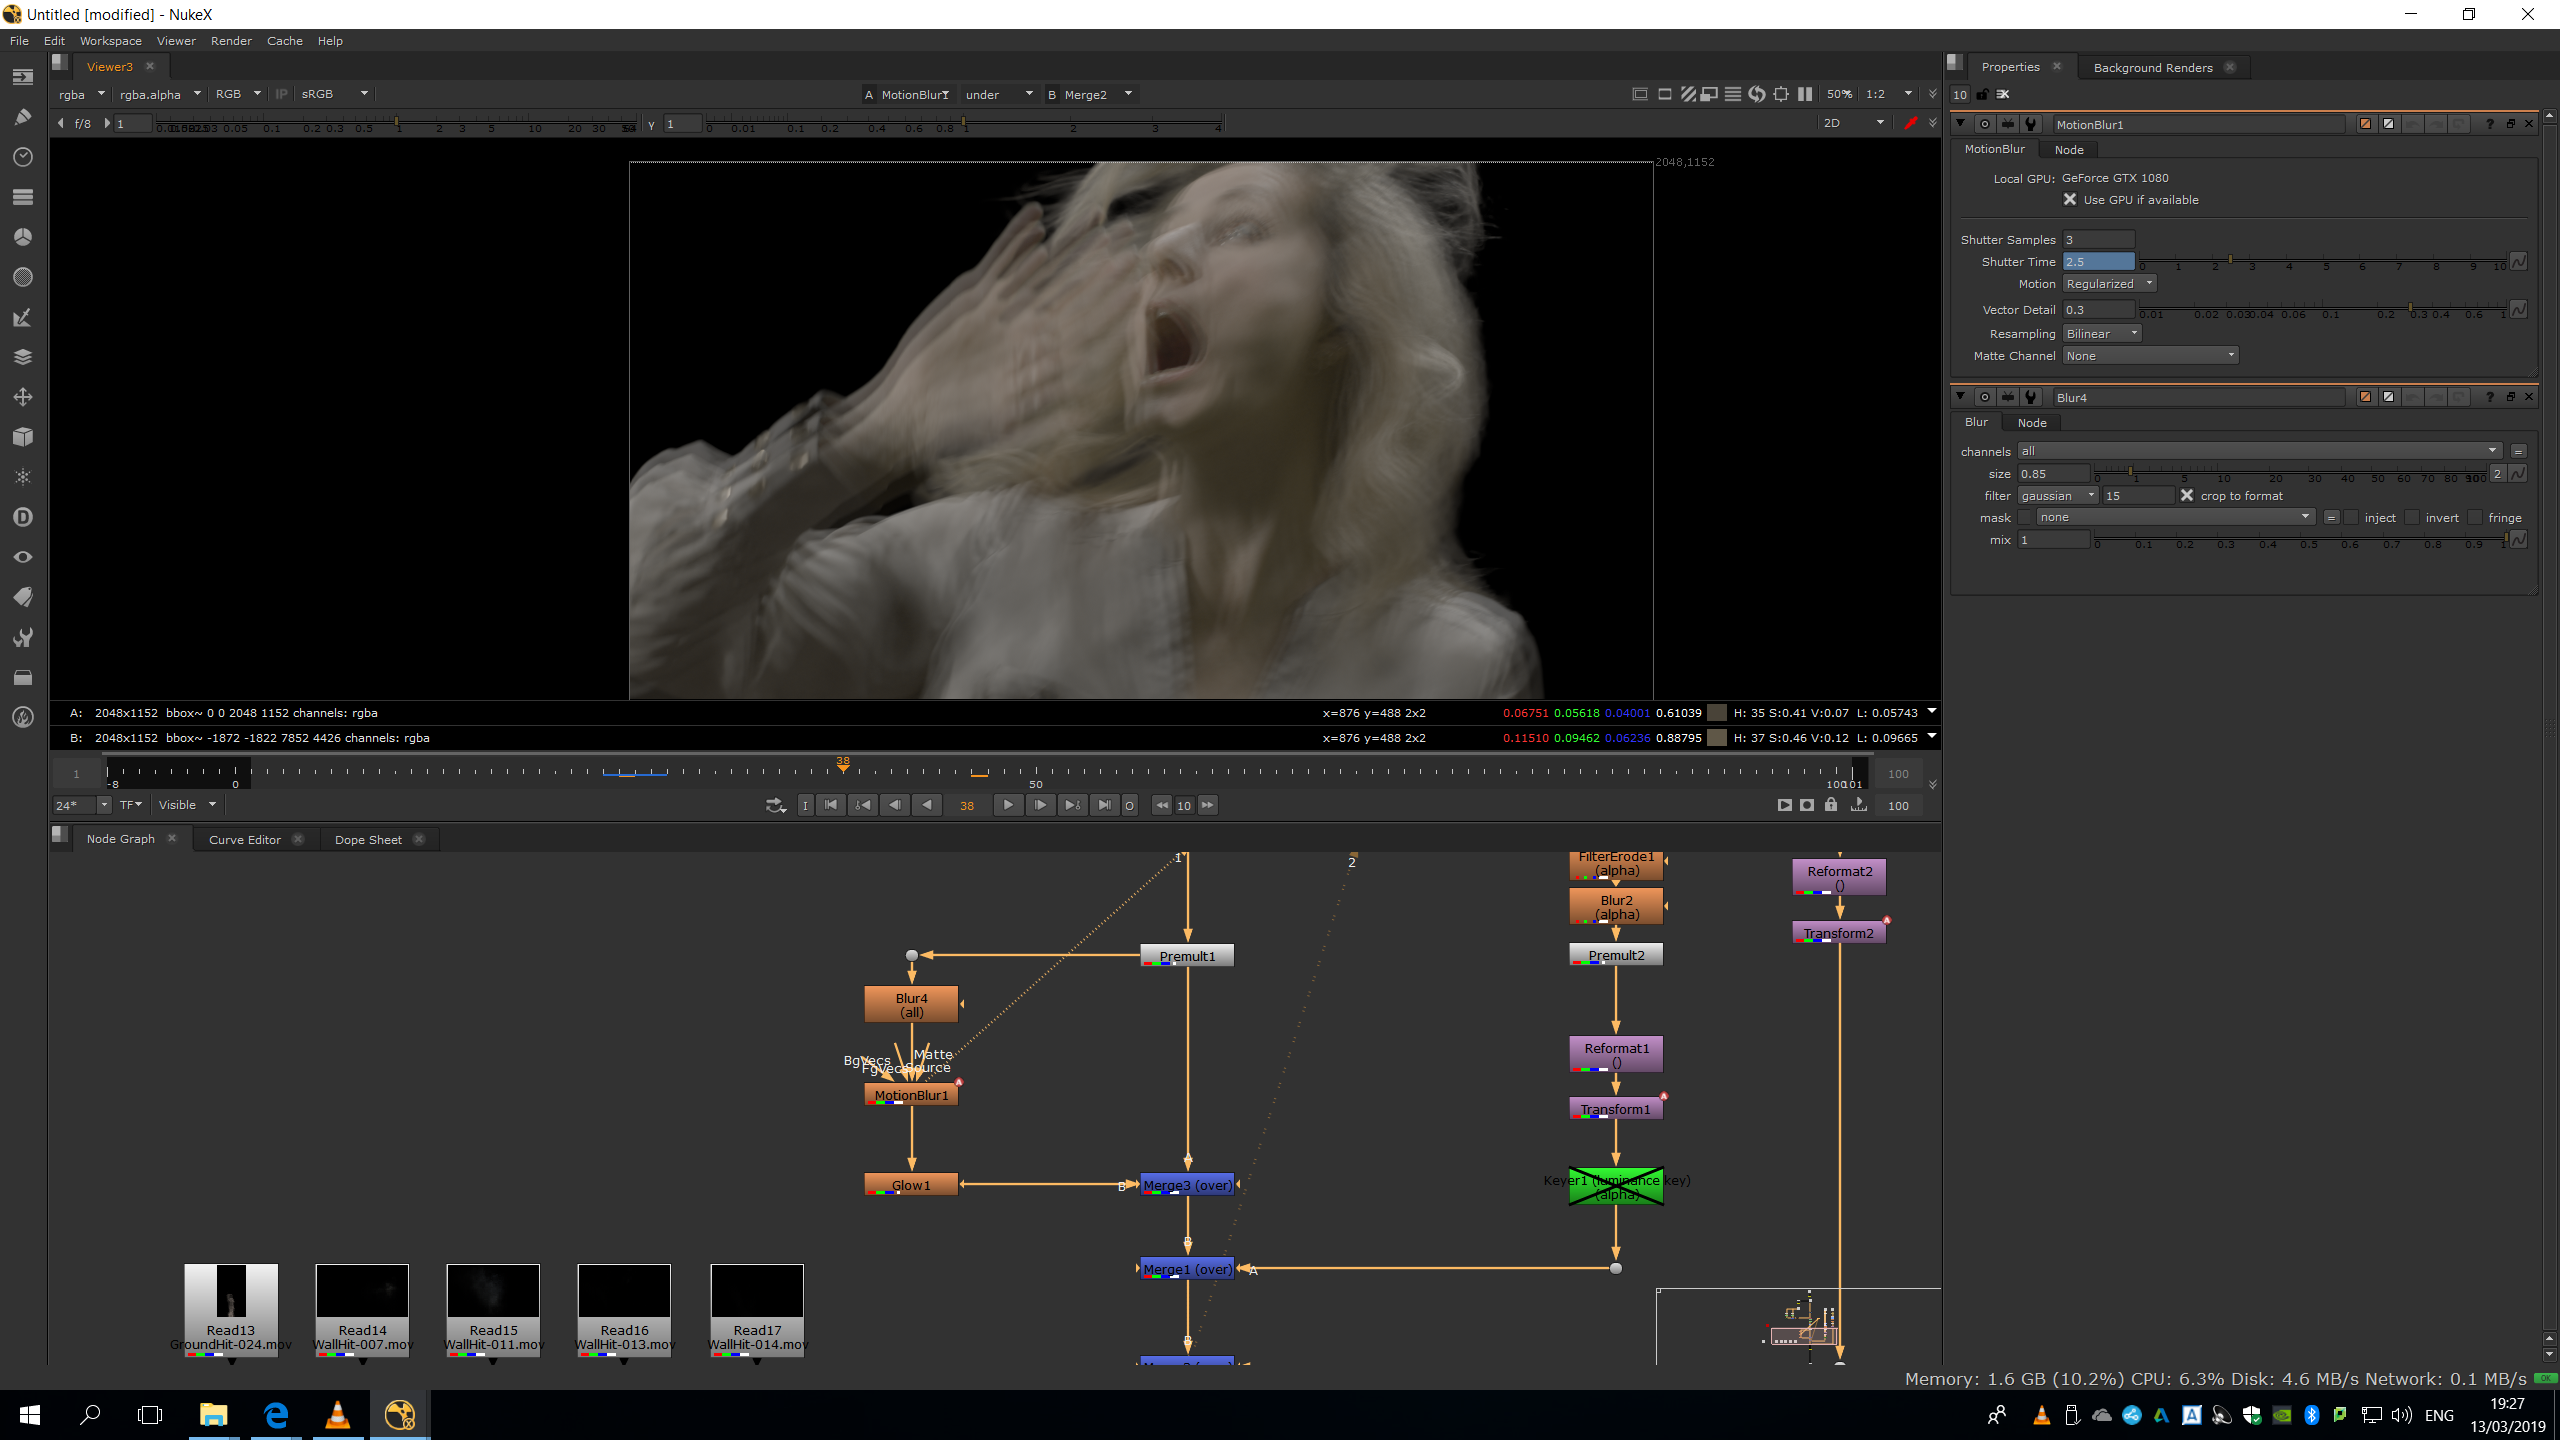
I needed to reduce the motion blur into 0 in those keyframes in which the image switches from one shot to the other, in order not to blend both pictures.
We can duplicate it to increase the effect.  Glow
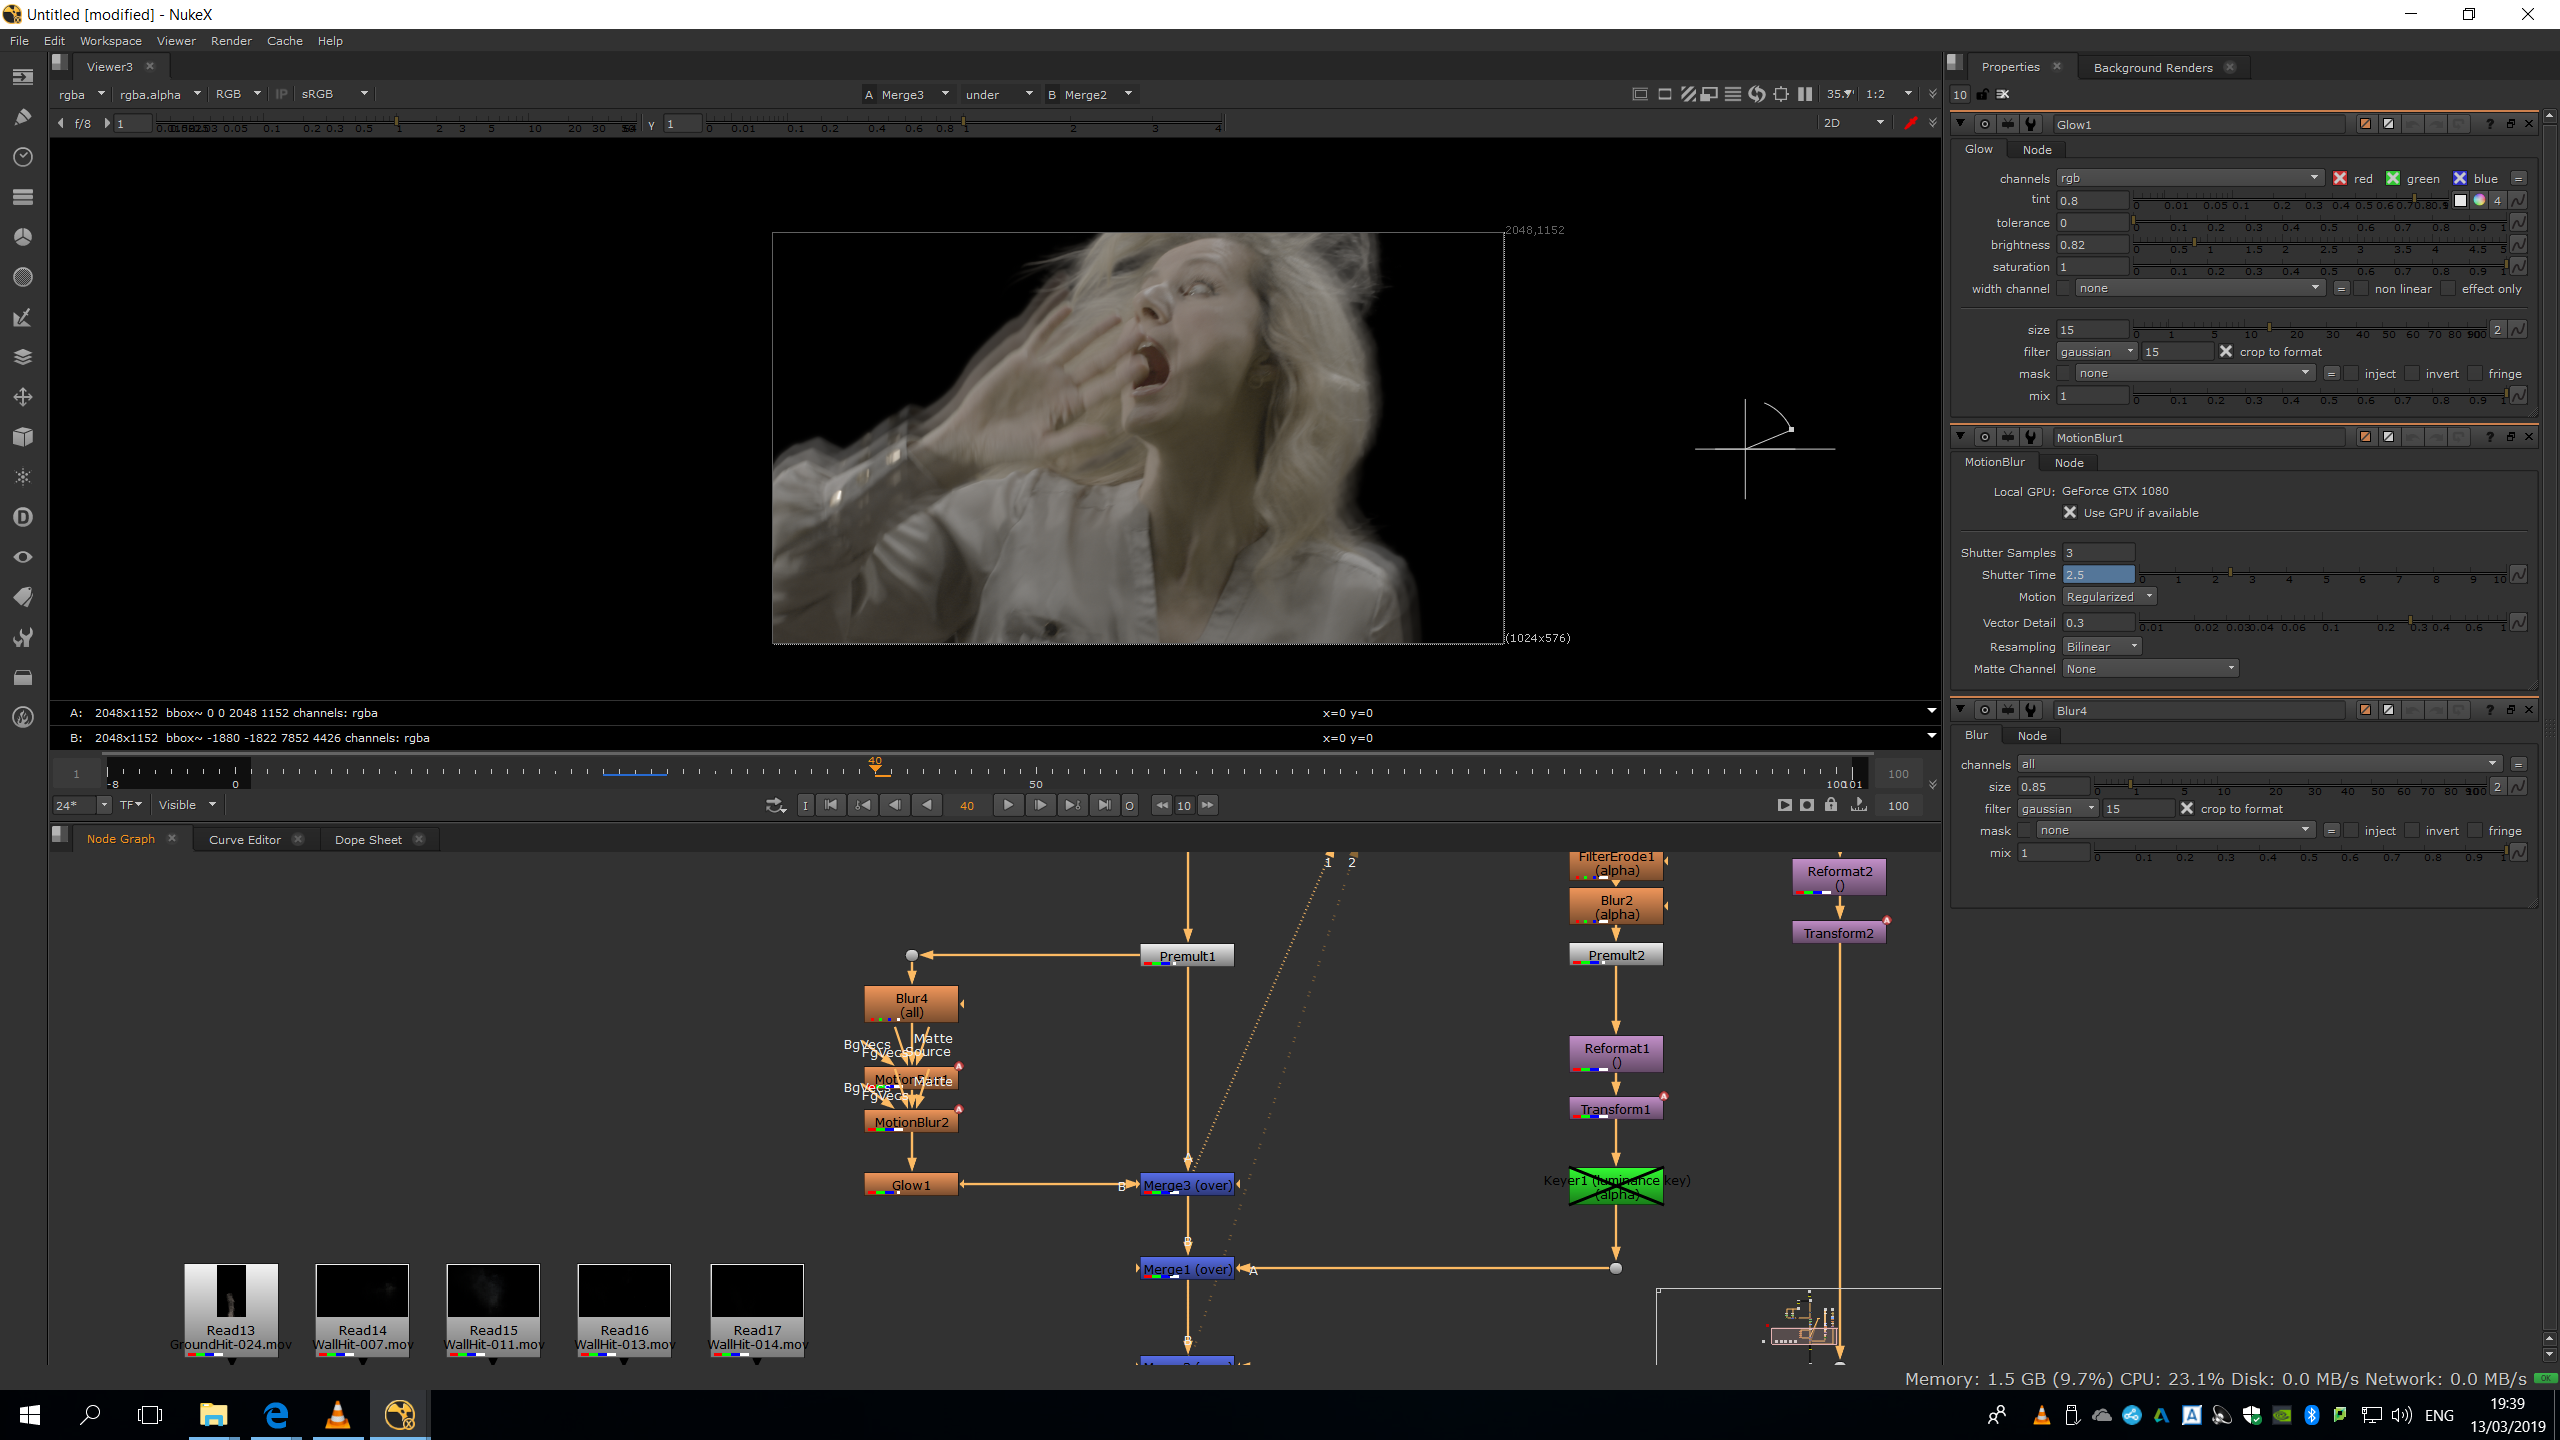
Glow
Then, I added some glow to increase the dreamy effect. It is a usual recourse in cinema to have a bright environment, with glow and diffuse edges, therefore, I added this bright effect to give the idea of hallucination.
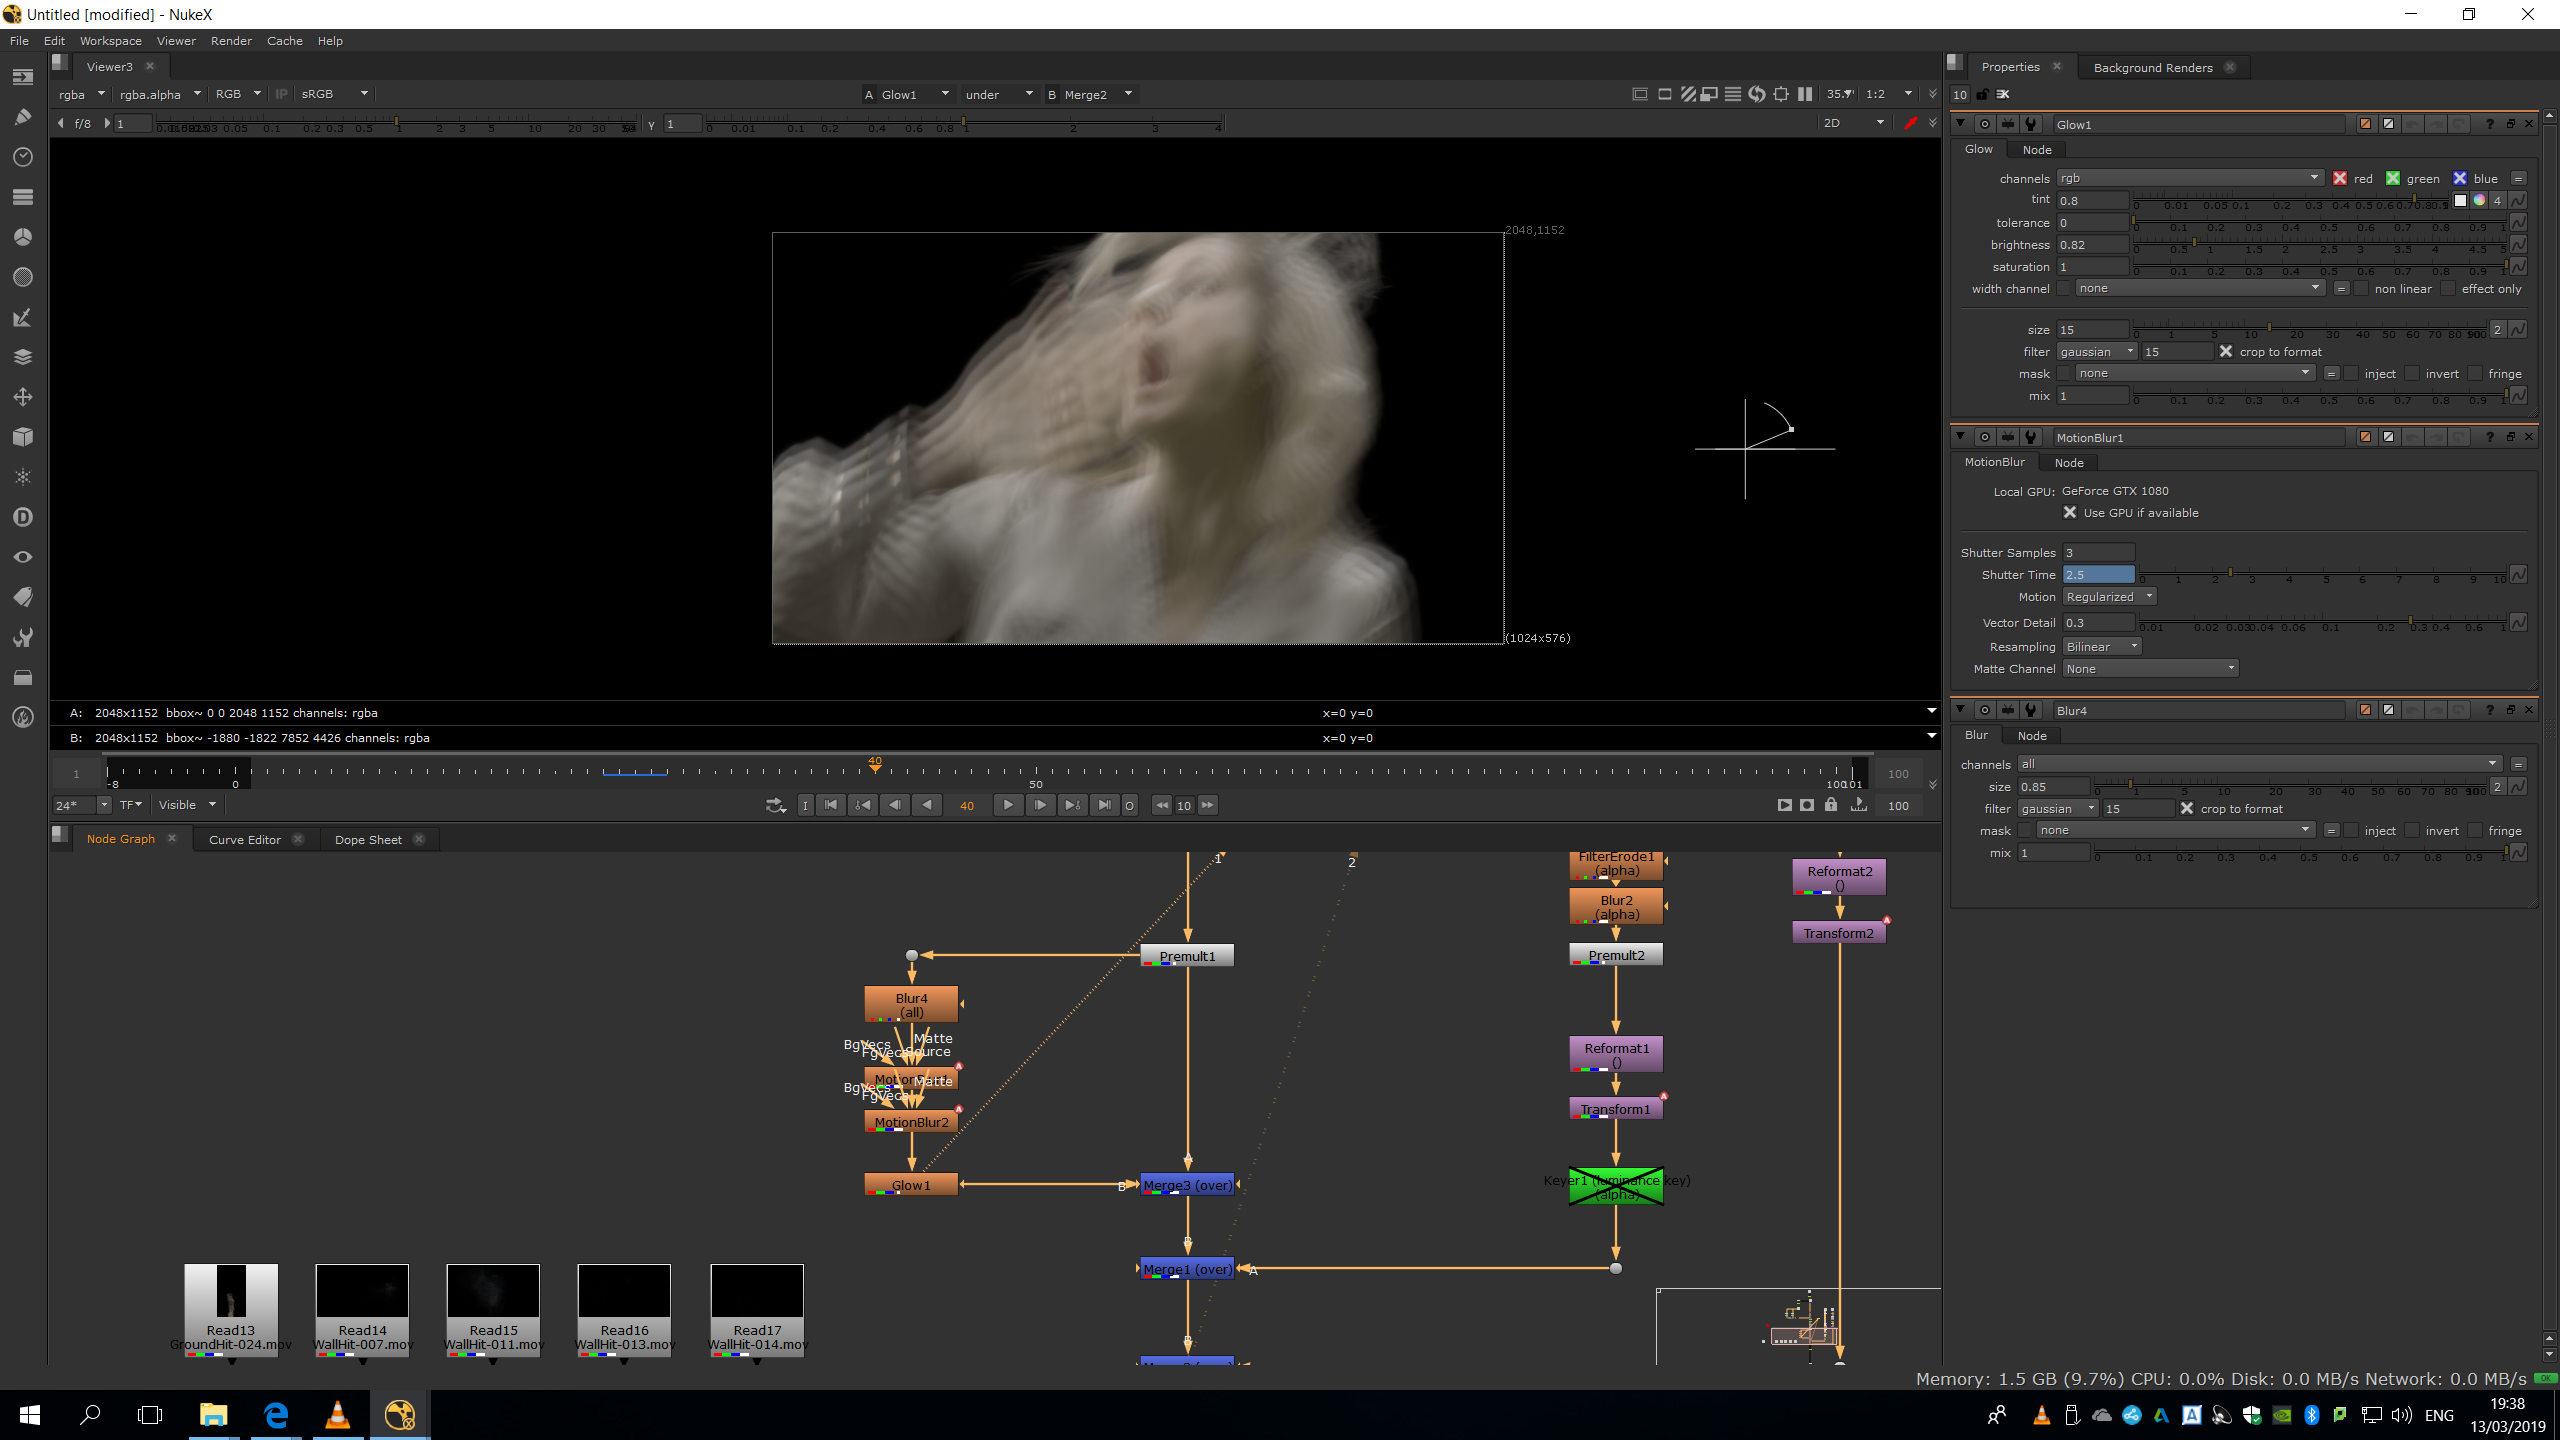
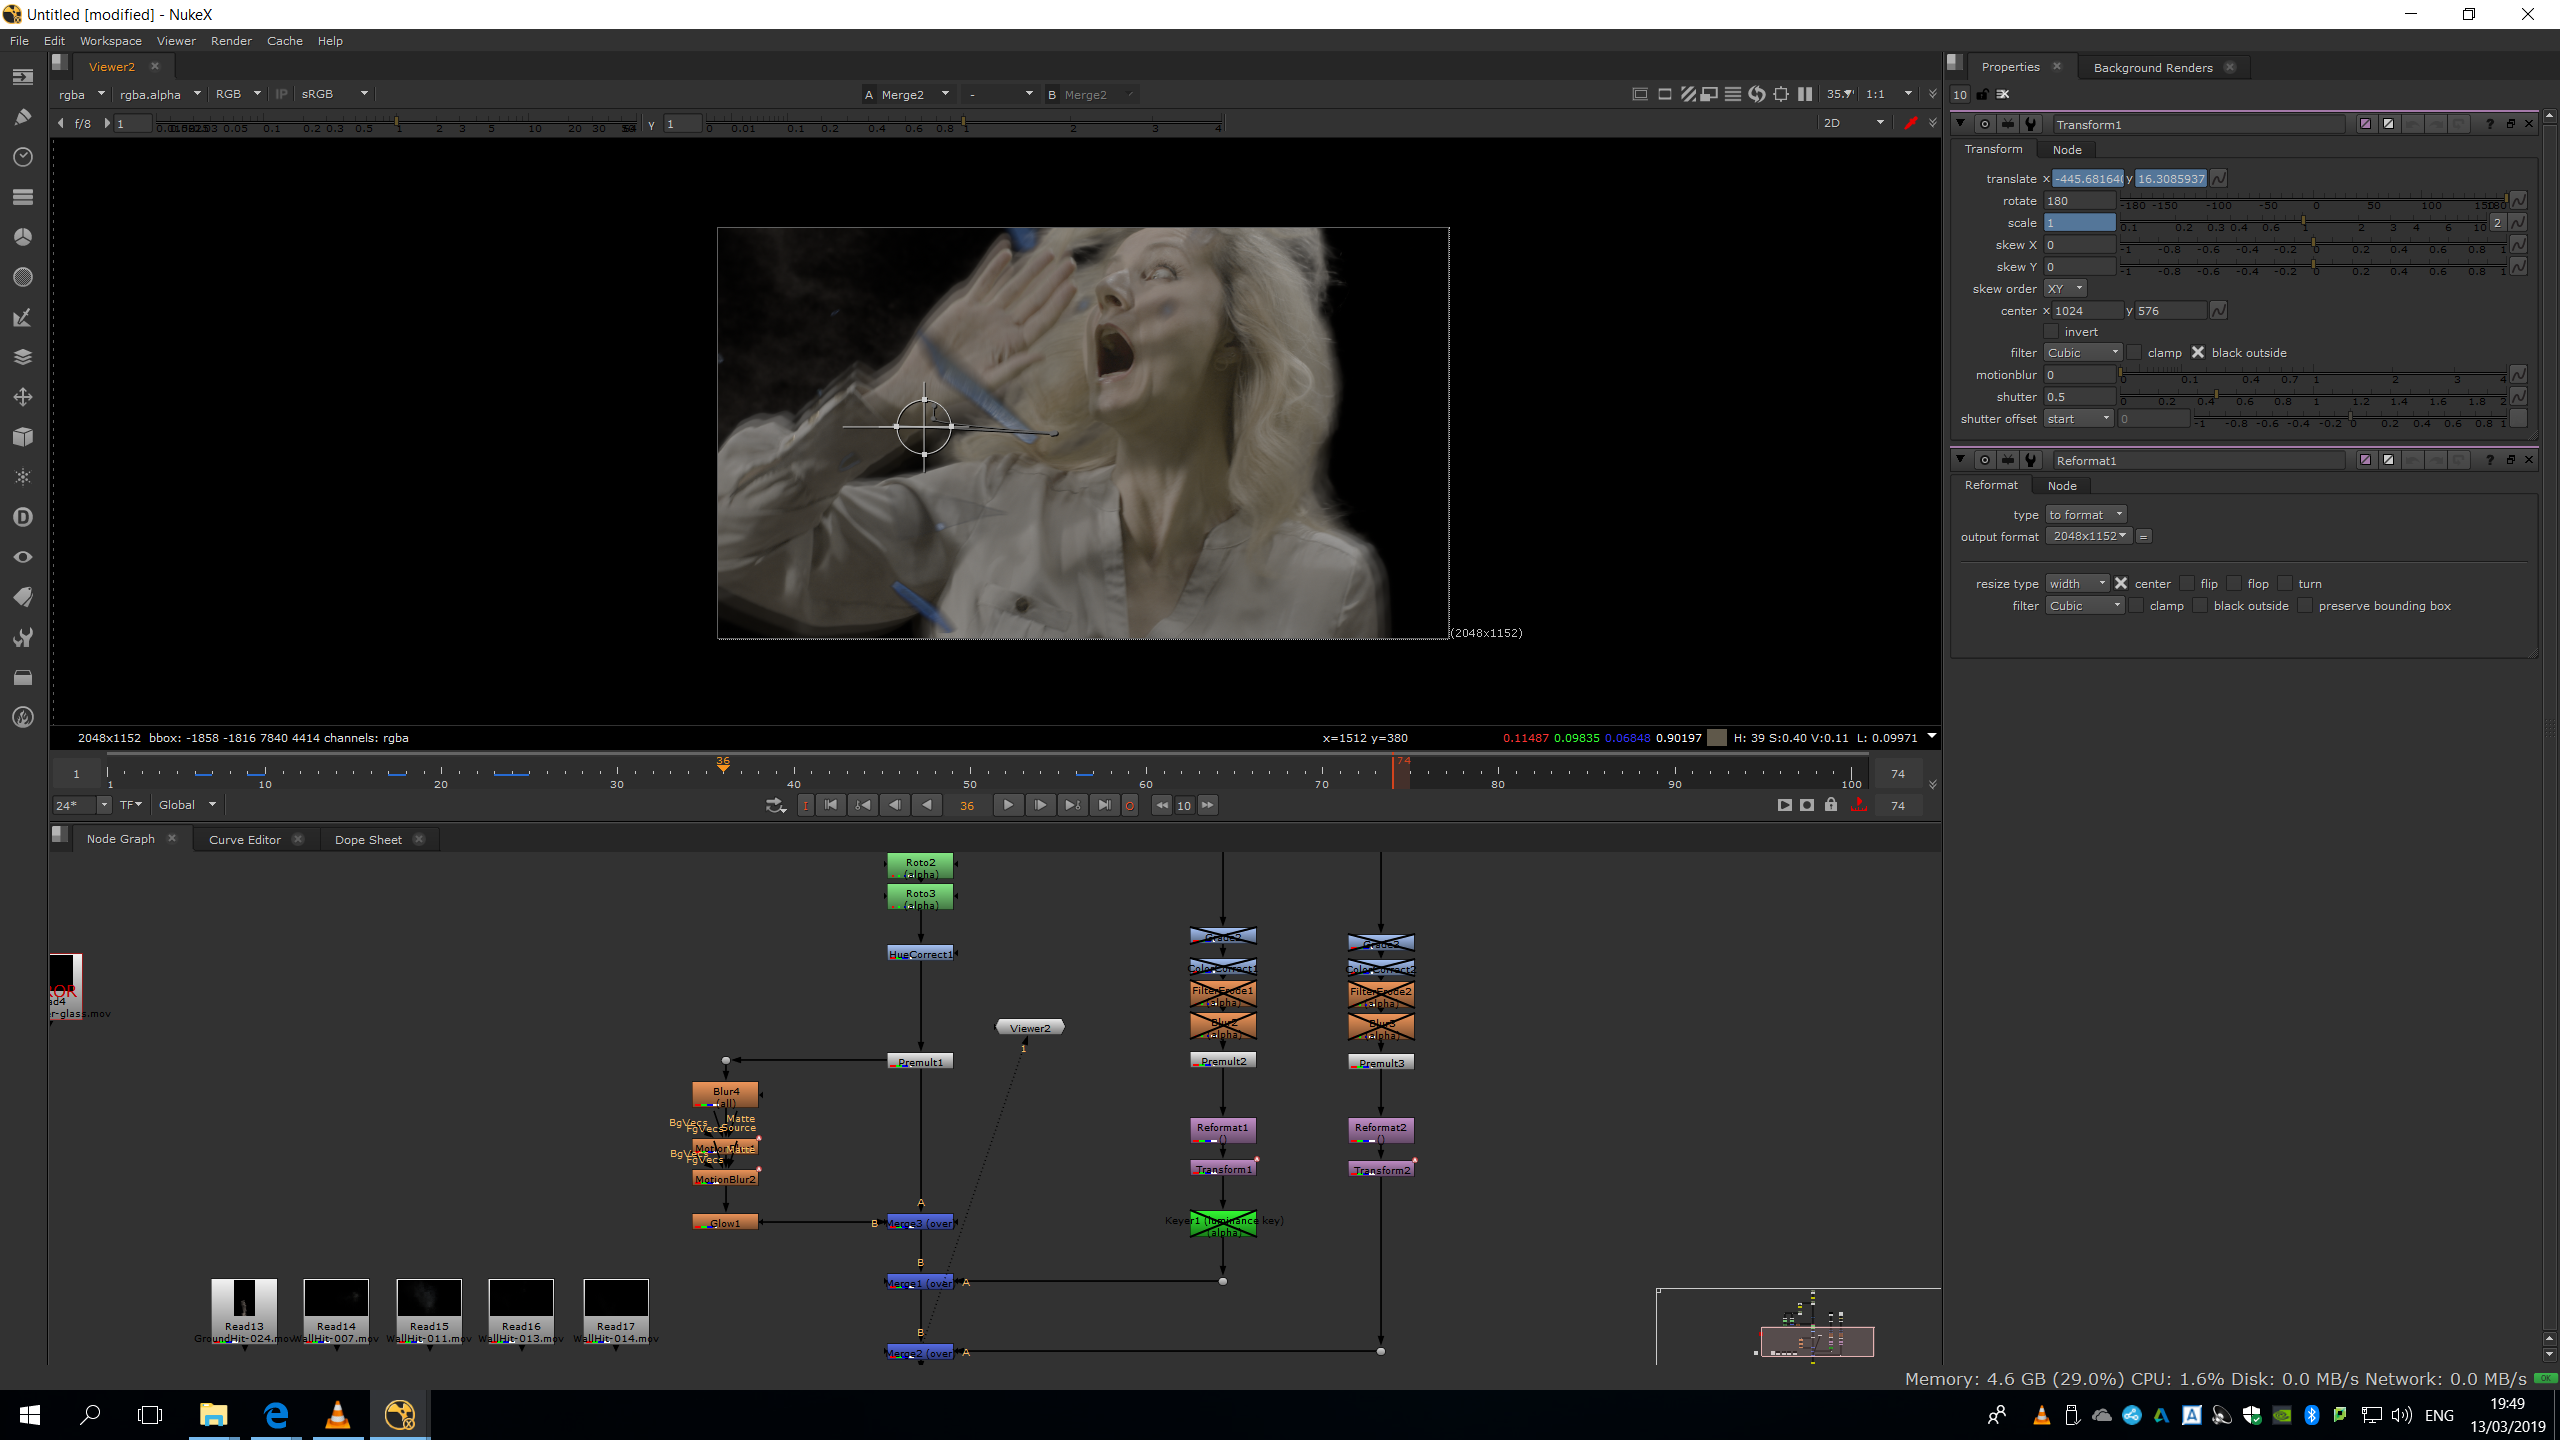
Finally, we will add a merge note, in order to merge the dreamy footage behind the original one.
Add glass and dust
We will choose one glass and one dust video footage from our VFX library, in order to blend them over the image.
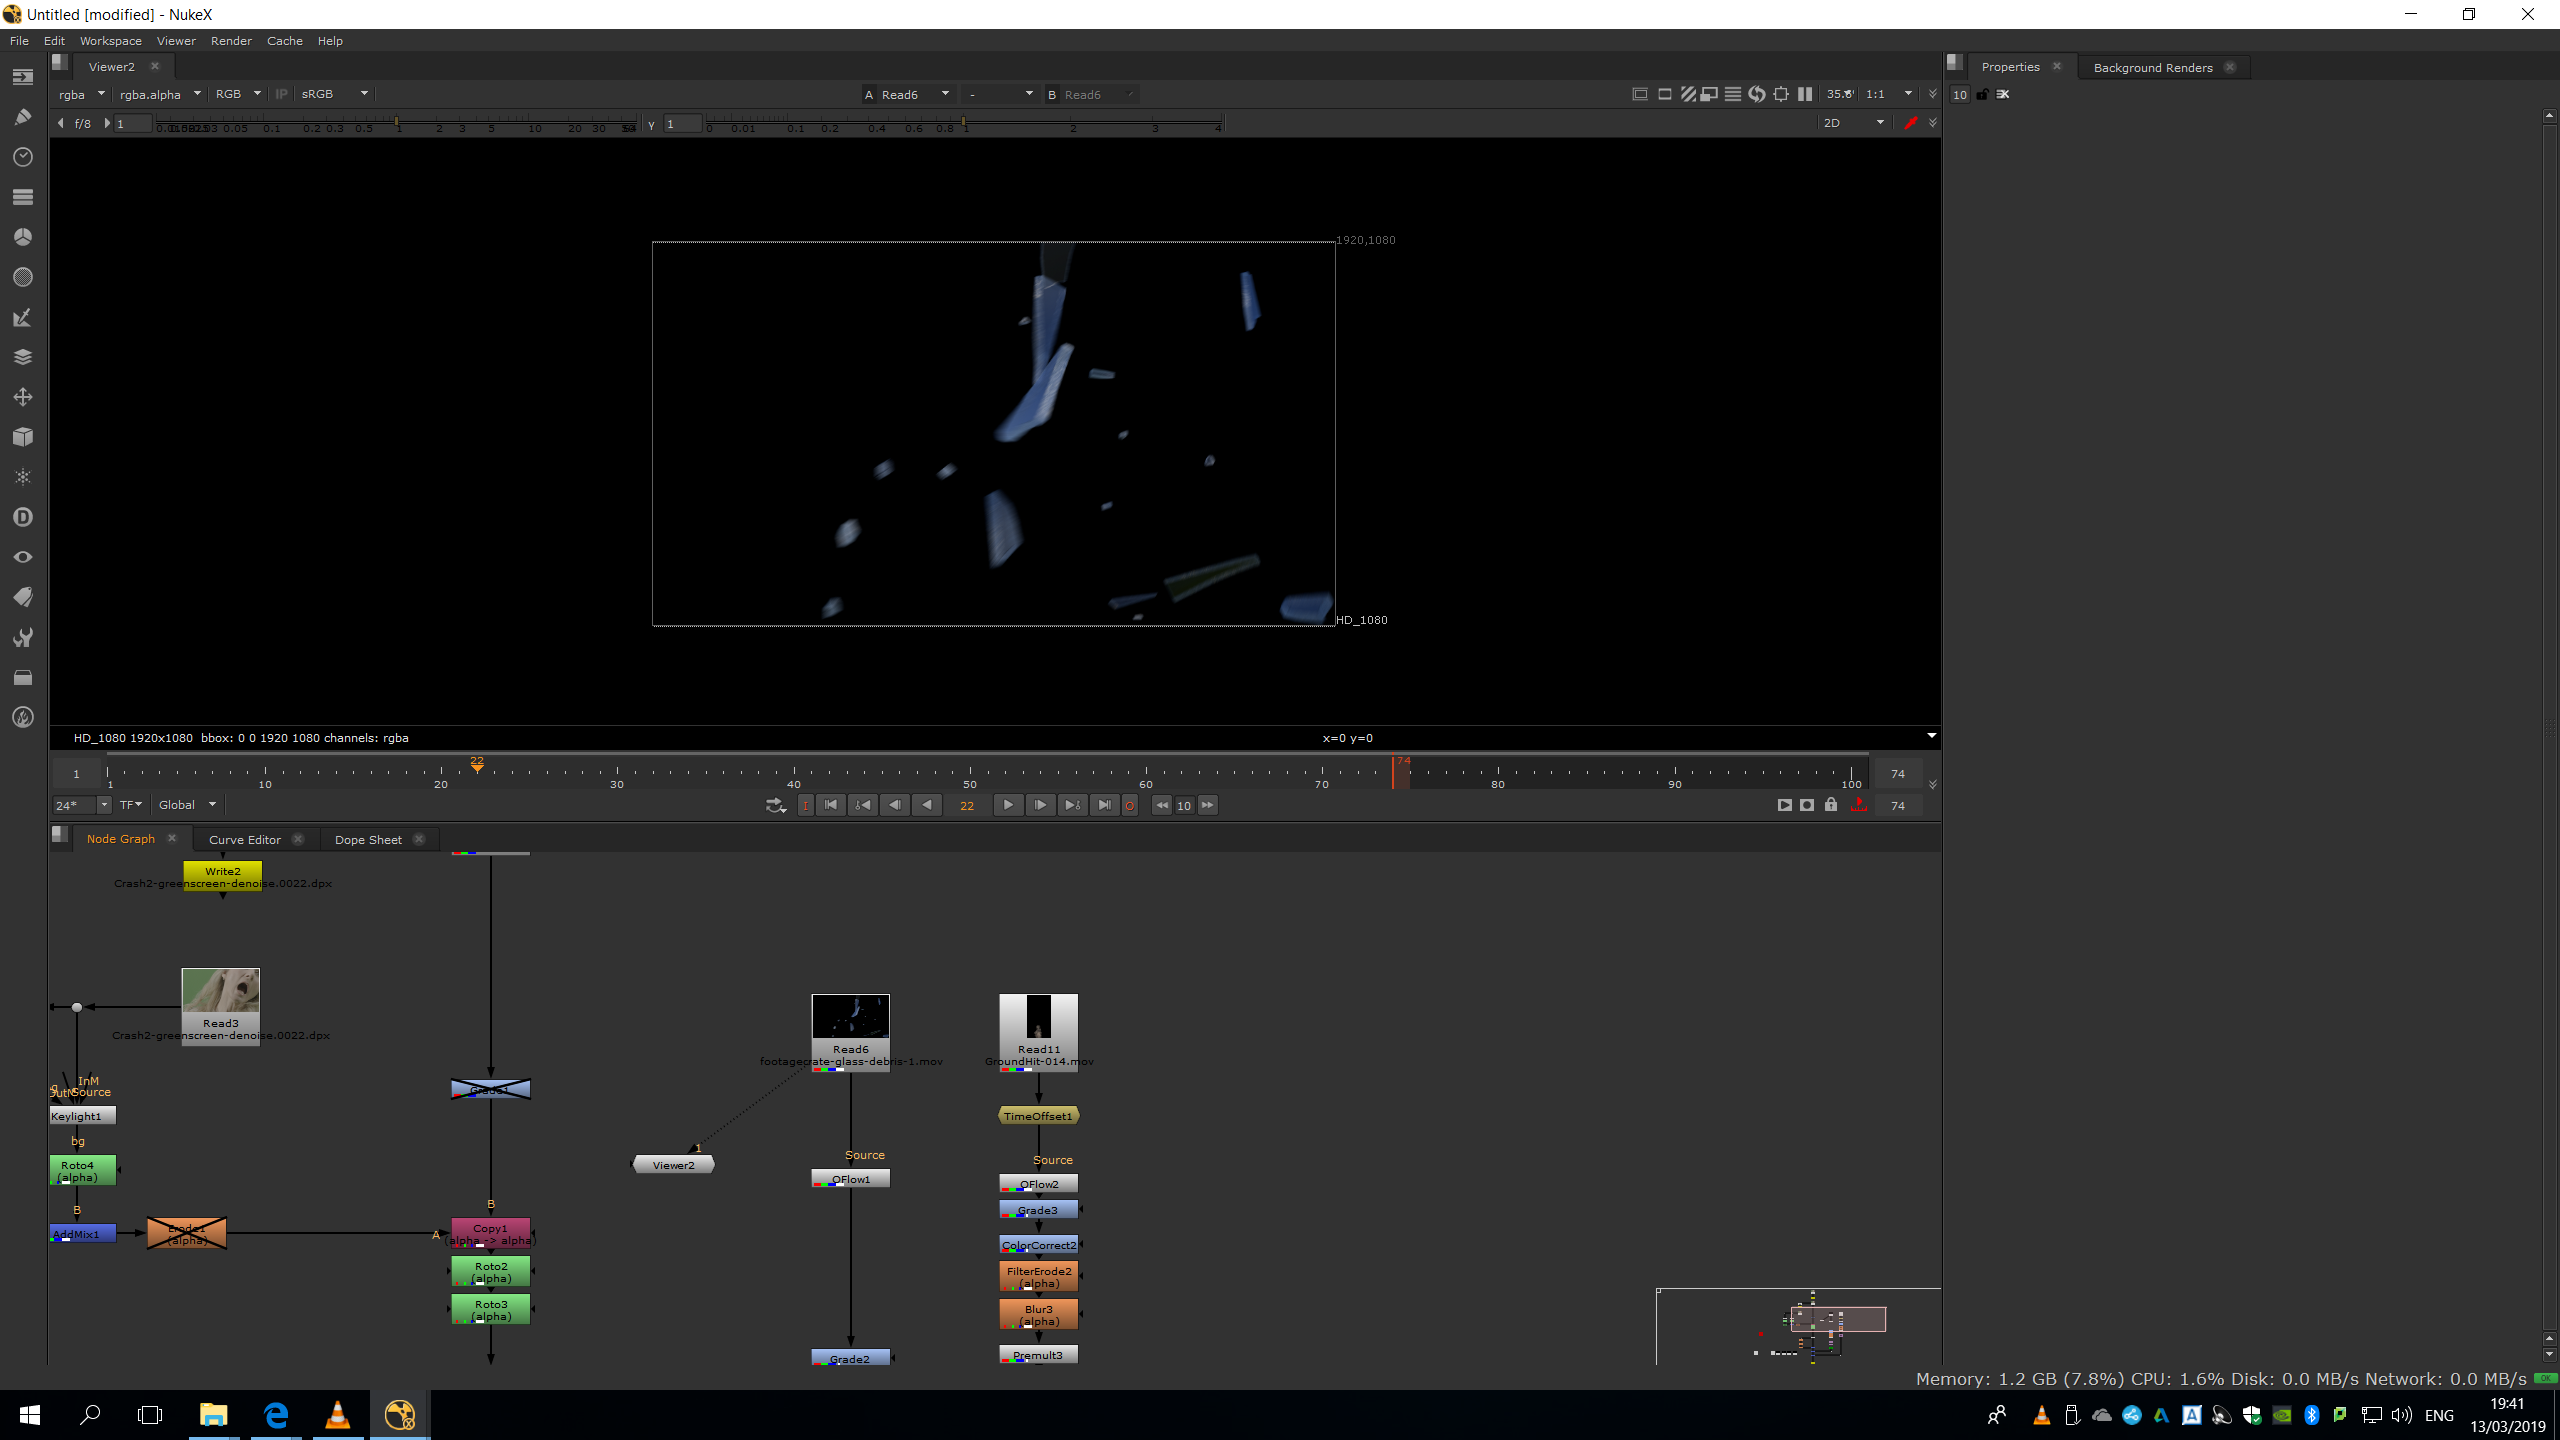
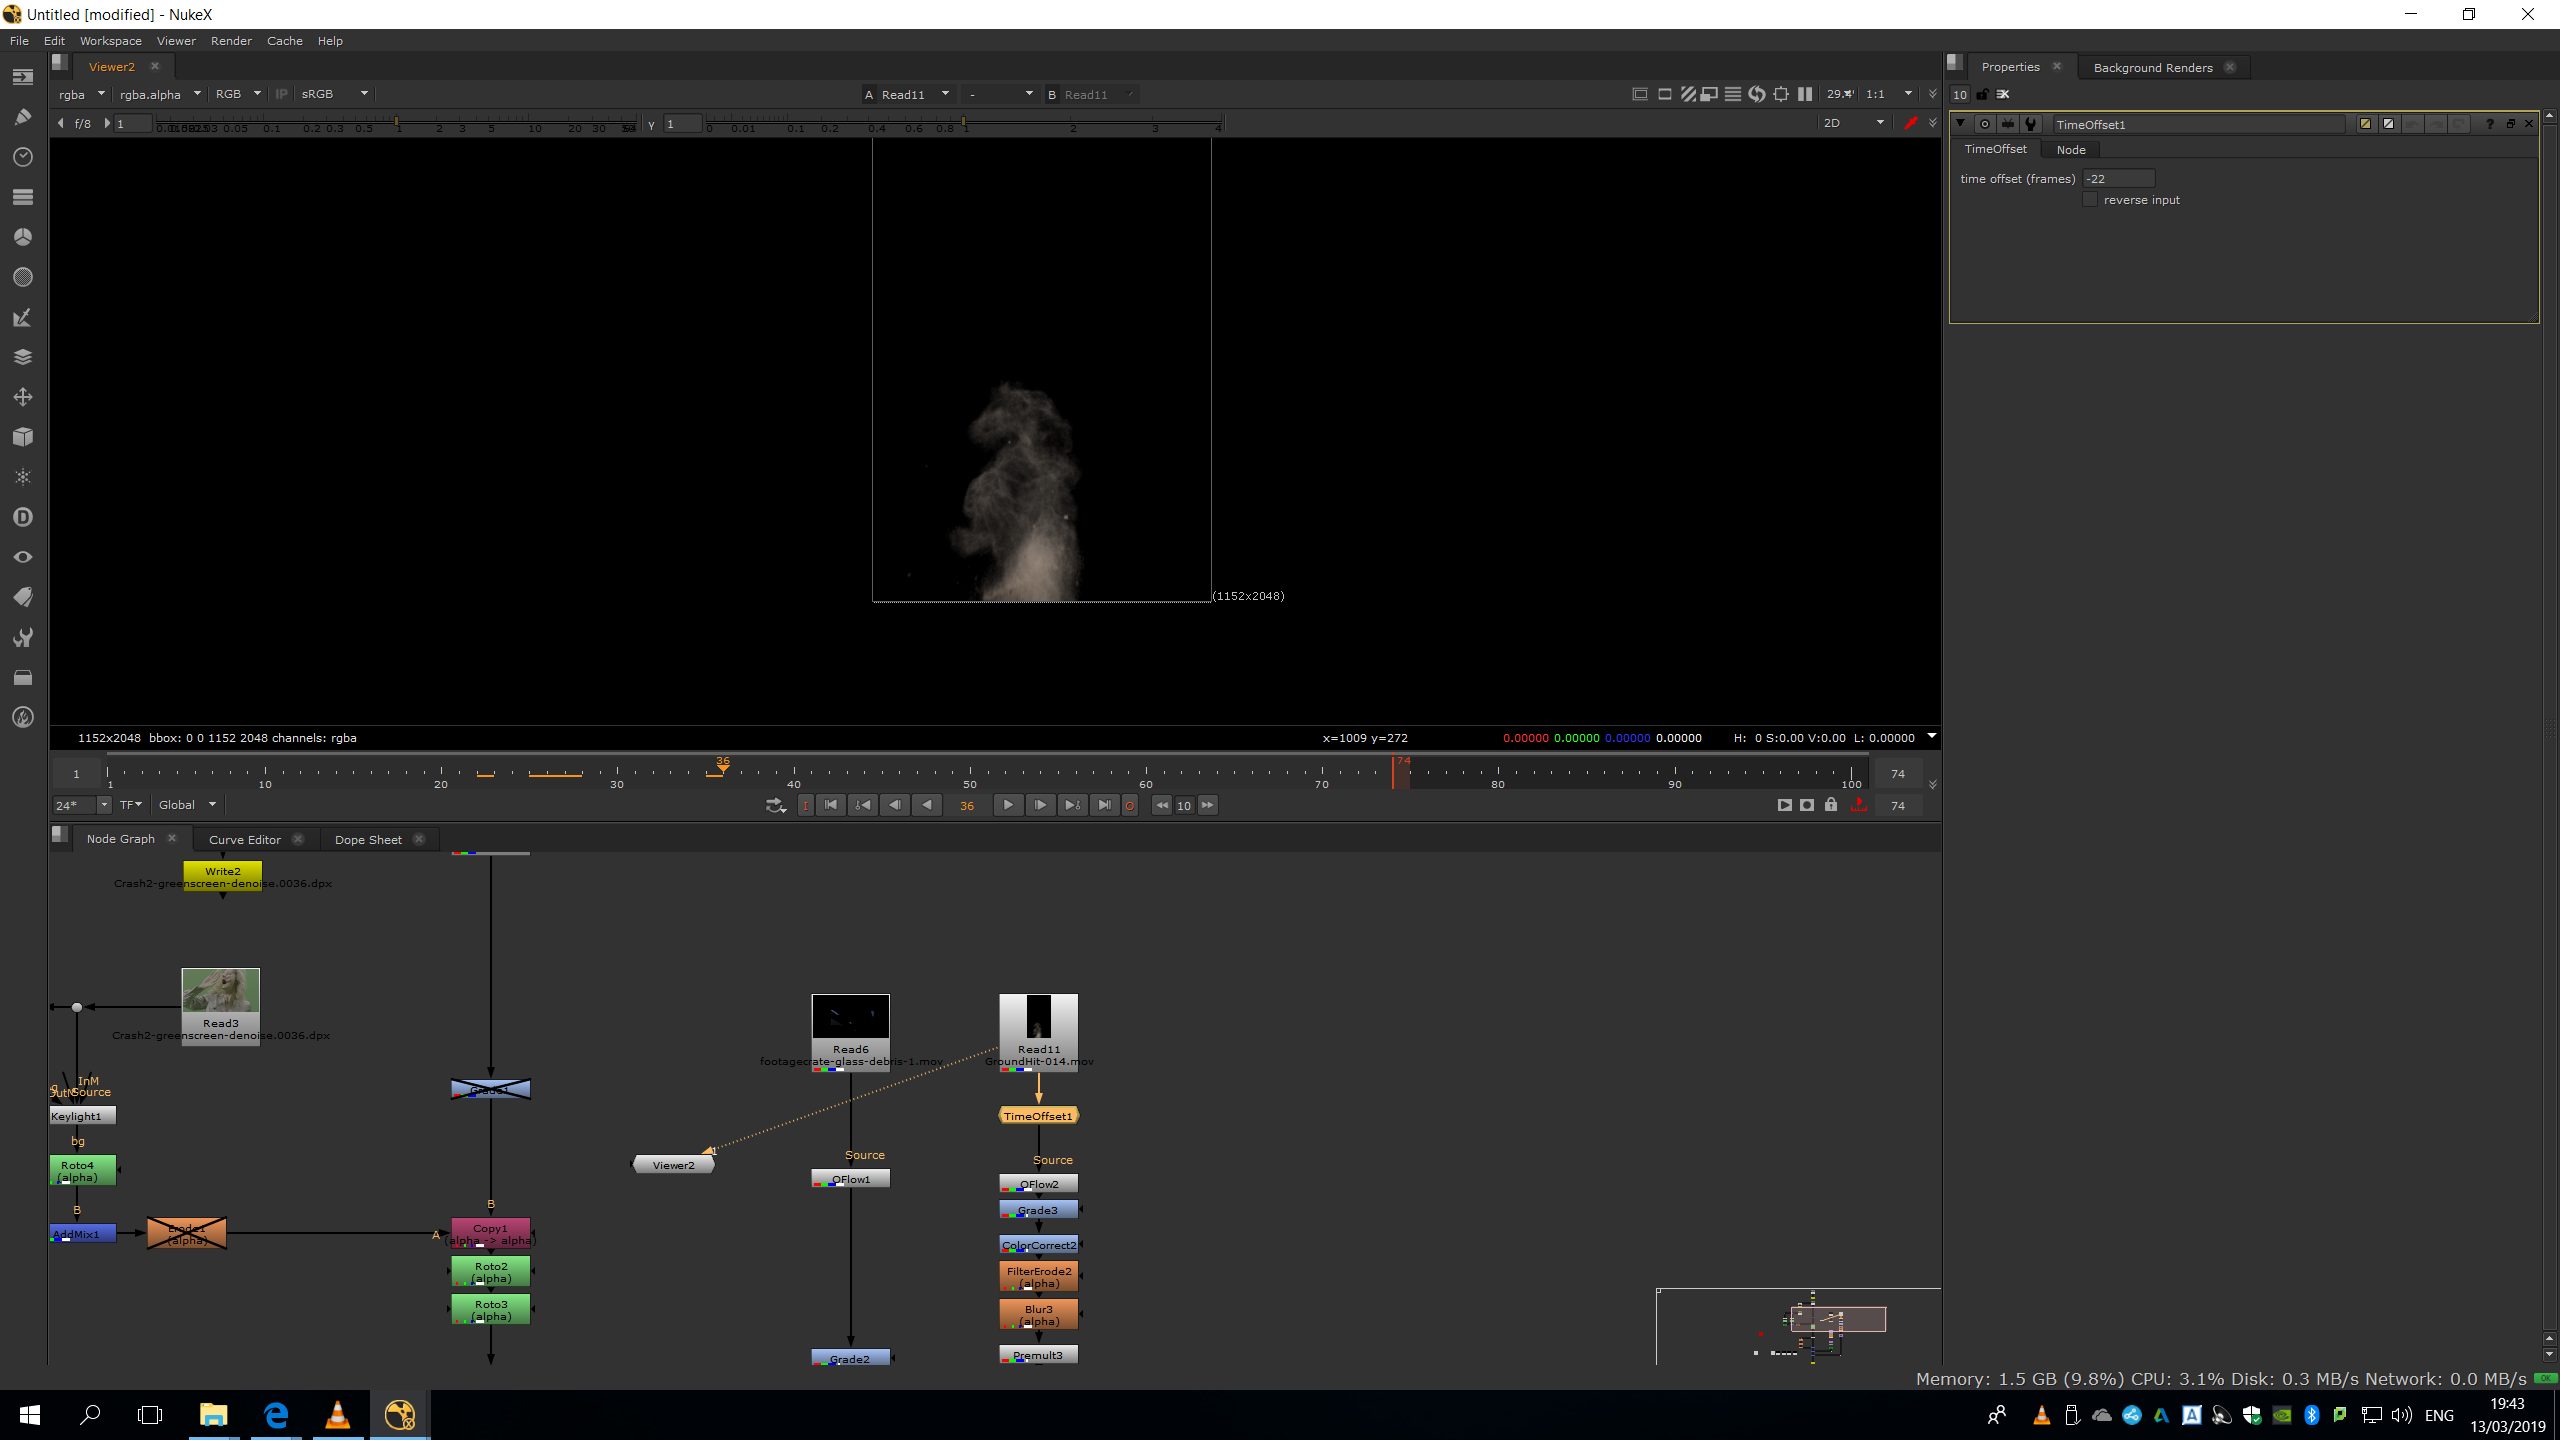
Then, I added a time offset note in the dust footage in order to make it start from frame 22, since from that frame it looked more natural to blend it. 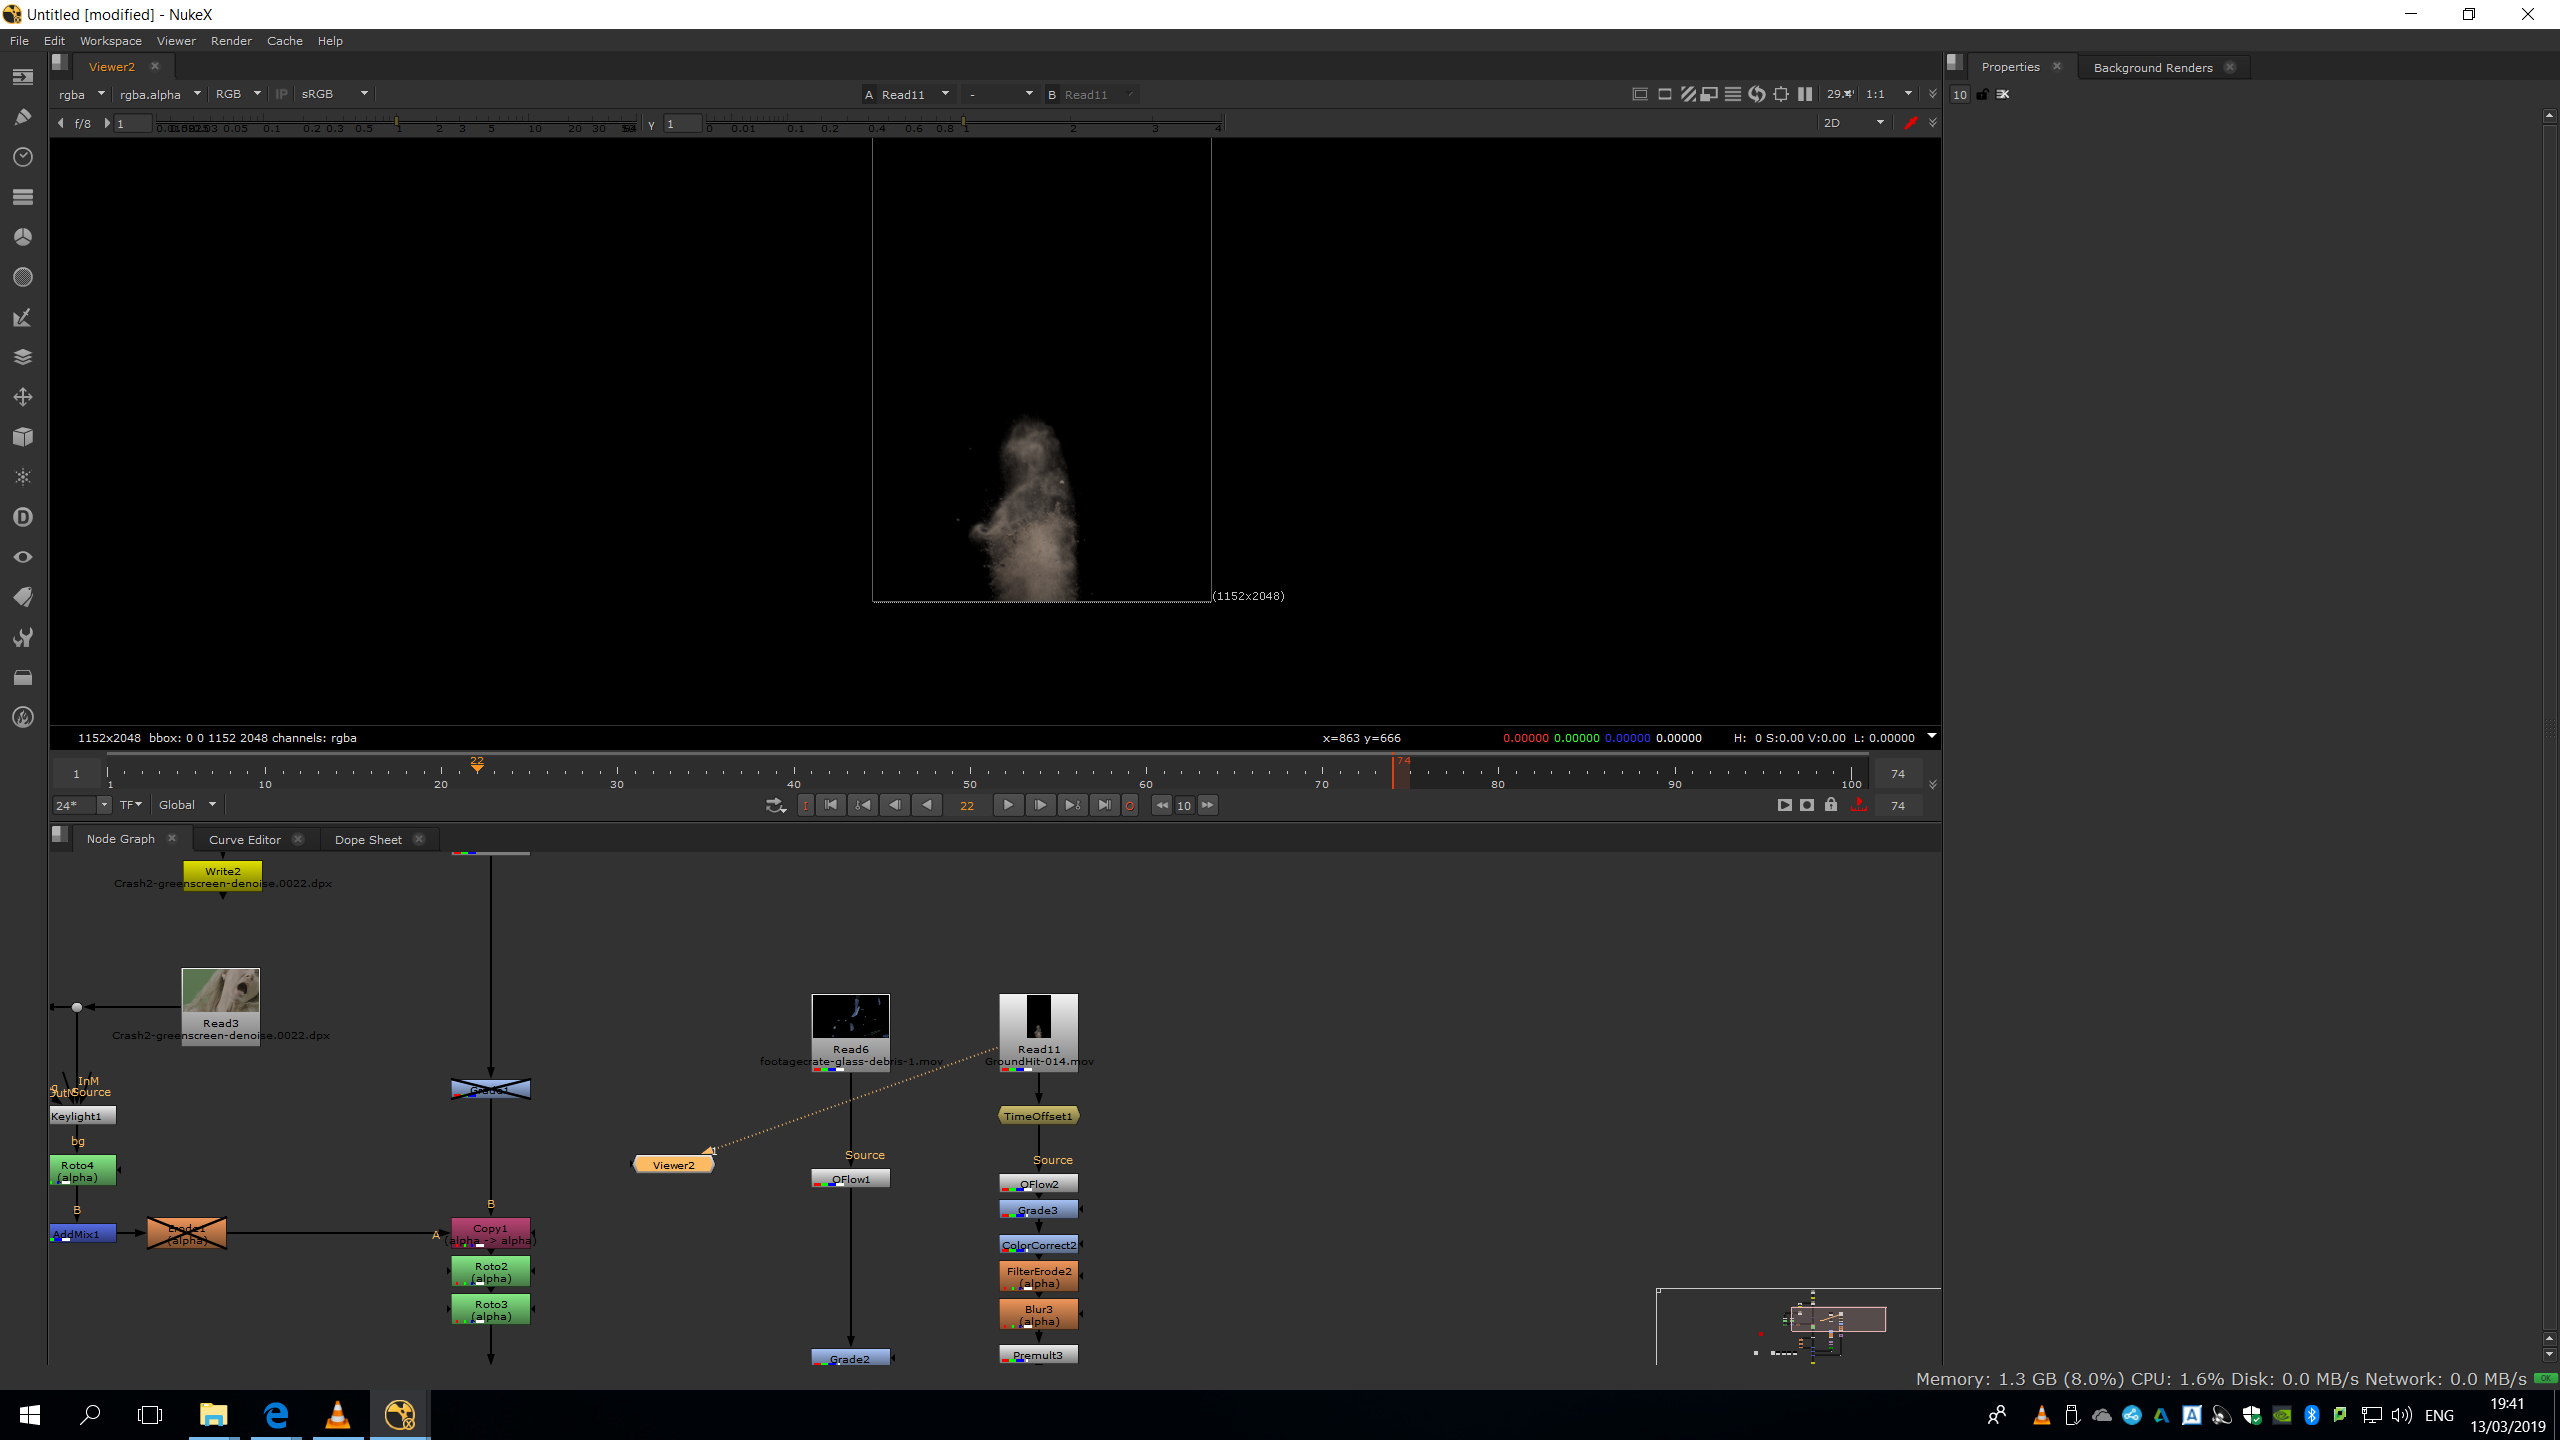 Then I added an Oflow note to both footages in order to slow them down.
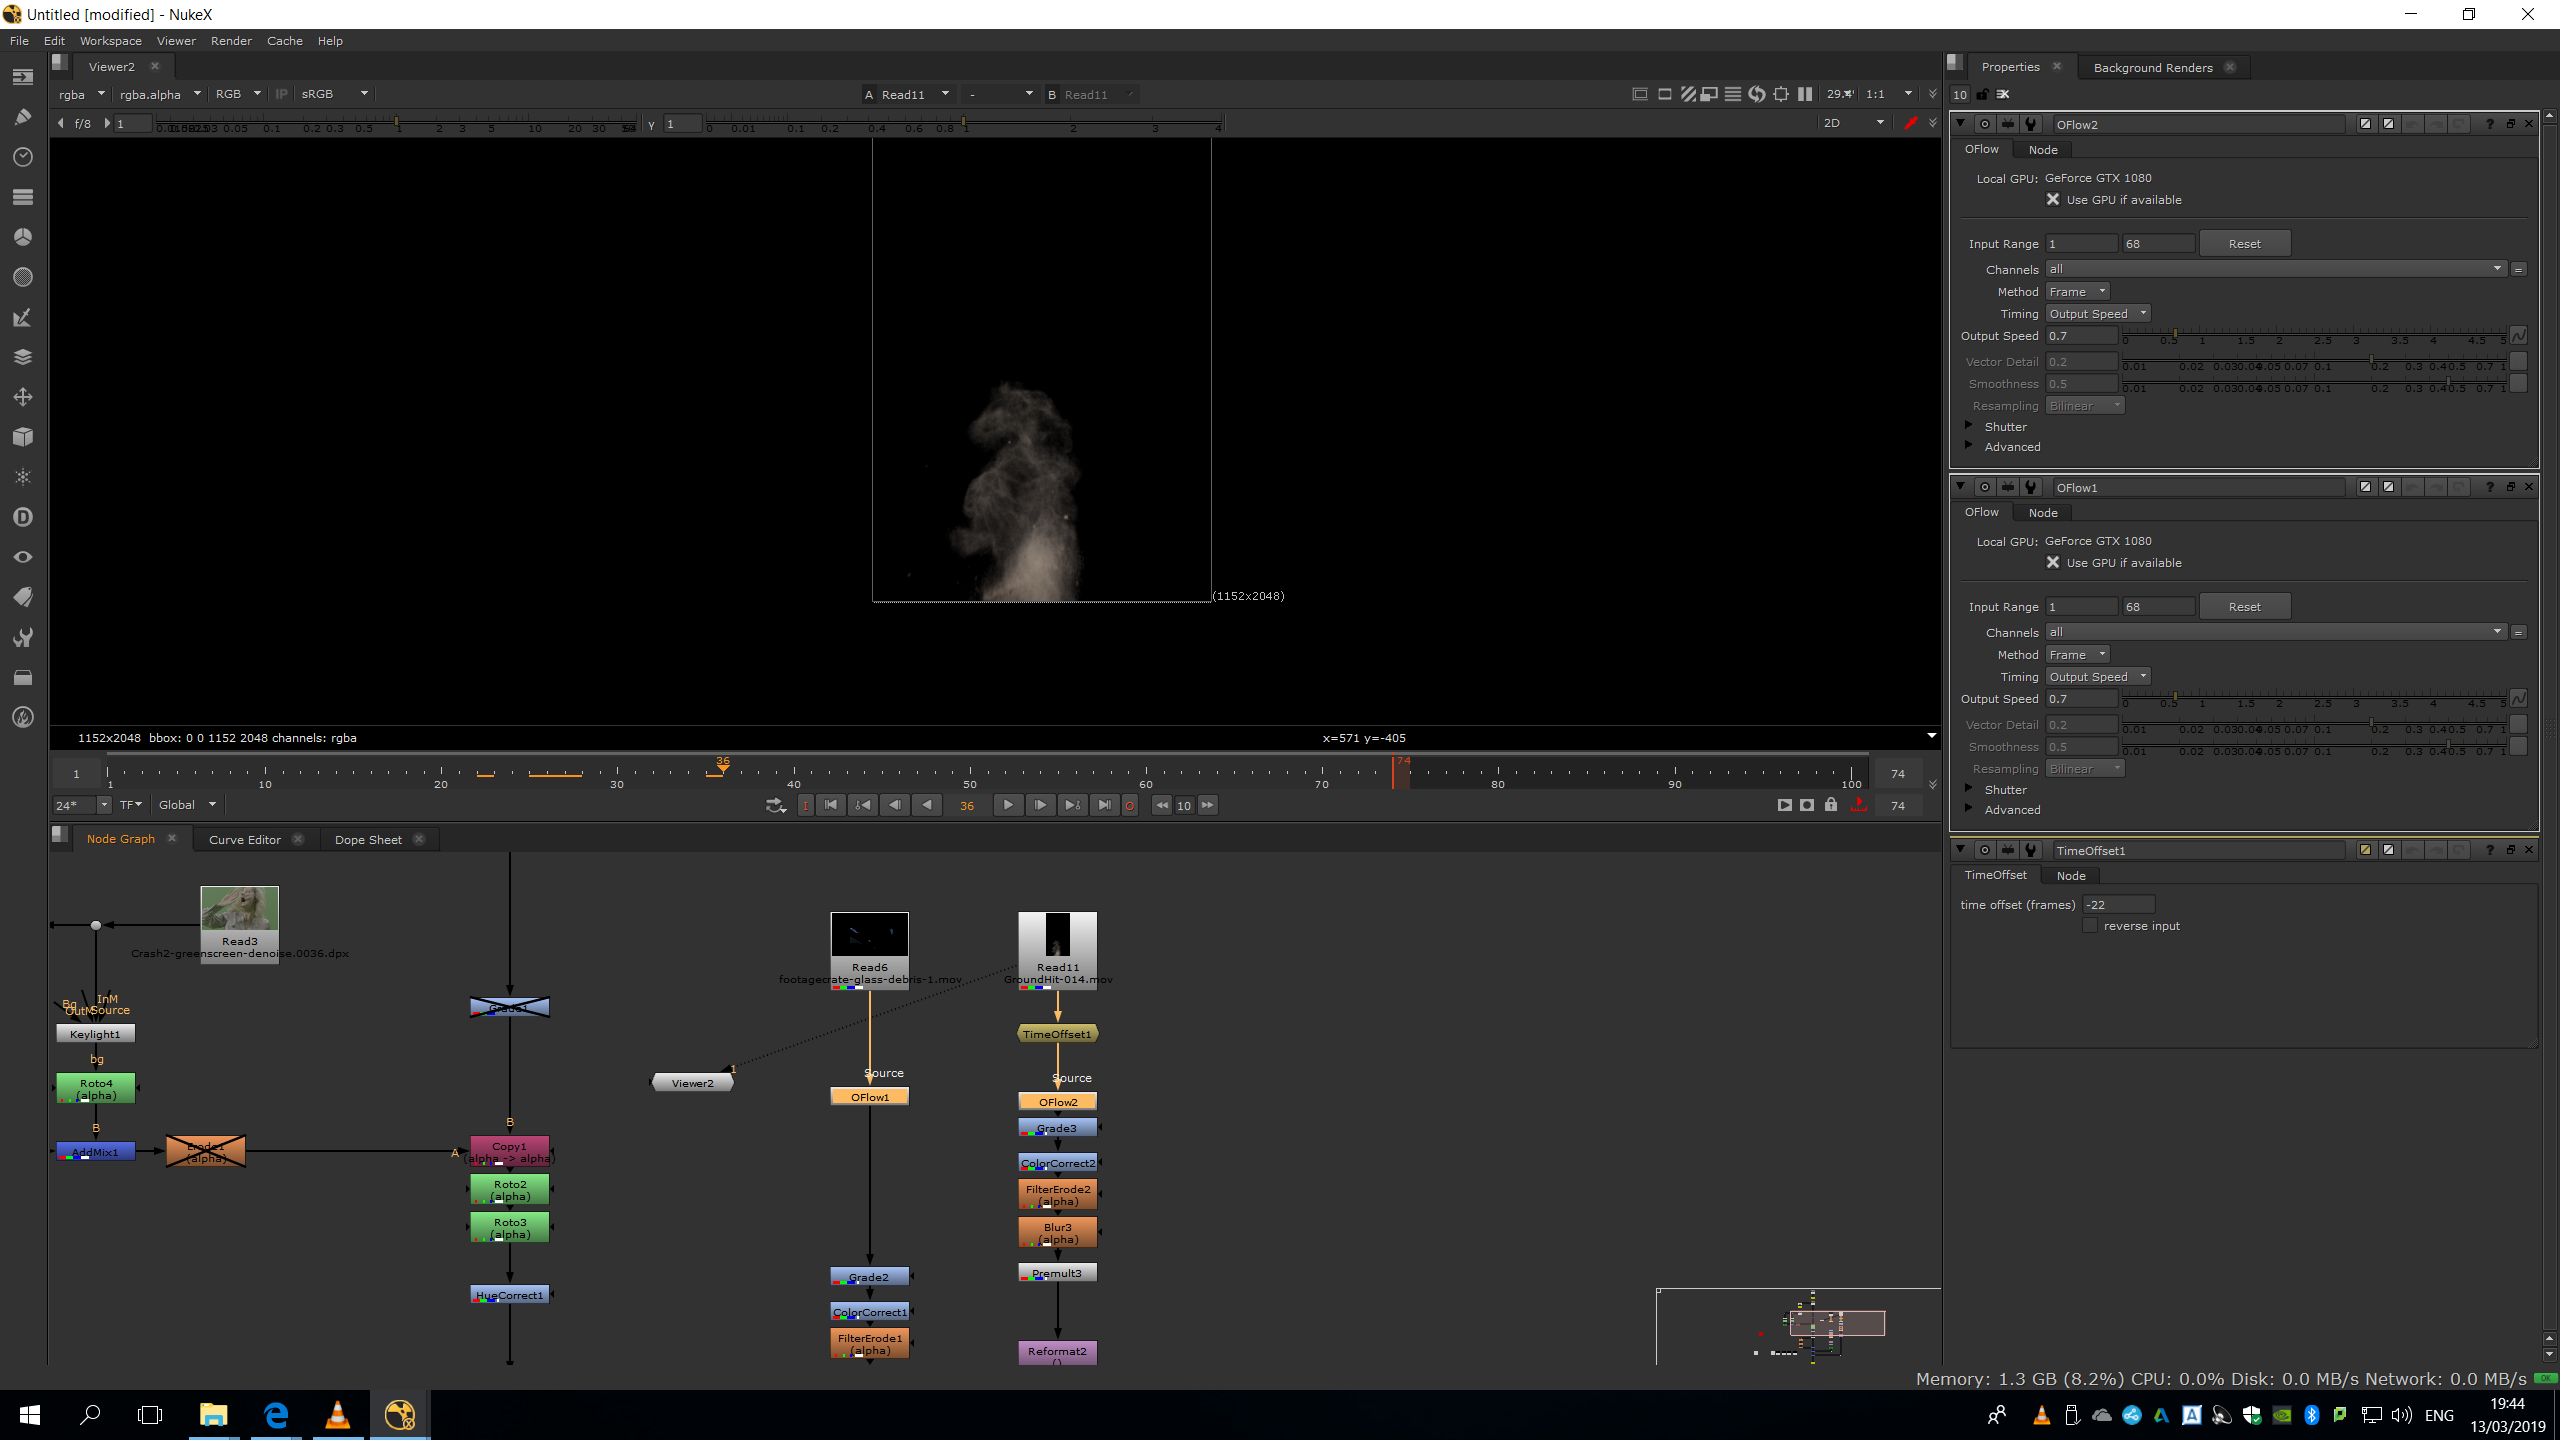
As both footages have an embed alpha channel, we can premultiply them to merge them over the image with no need to do any keyer.
Before mergiun them, we will add a reformat to make them match with the original video source, and a transform to locate them in the place of the frame that we want to make the collision come from, adjusting also the scale, rotation and position.

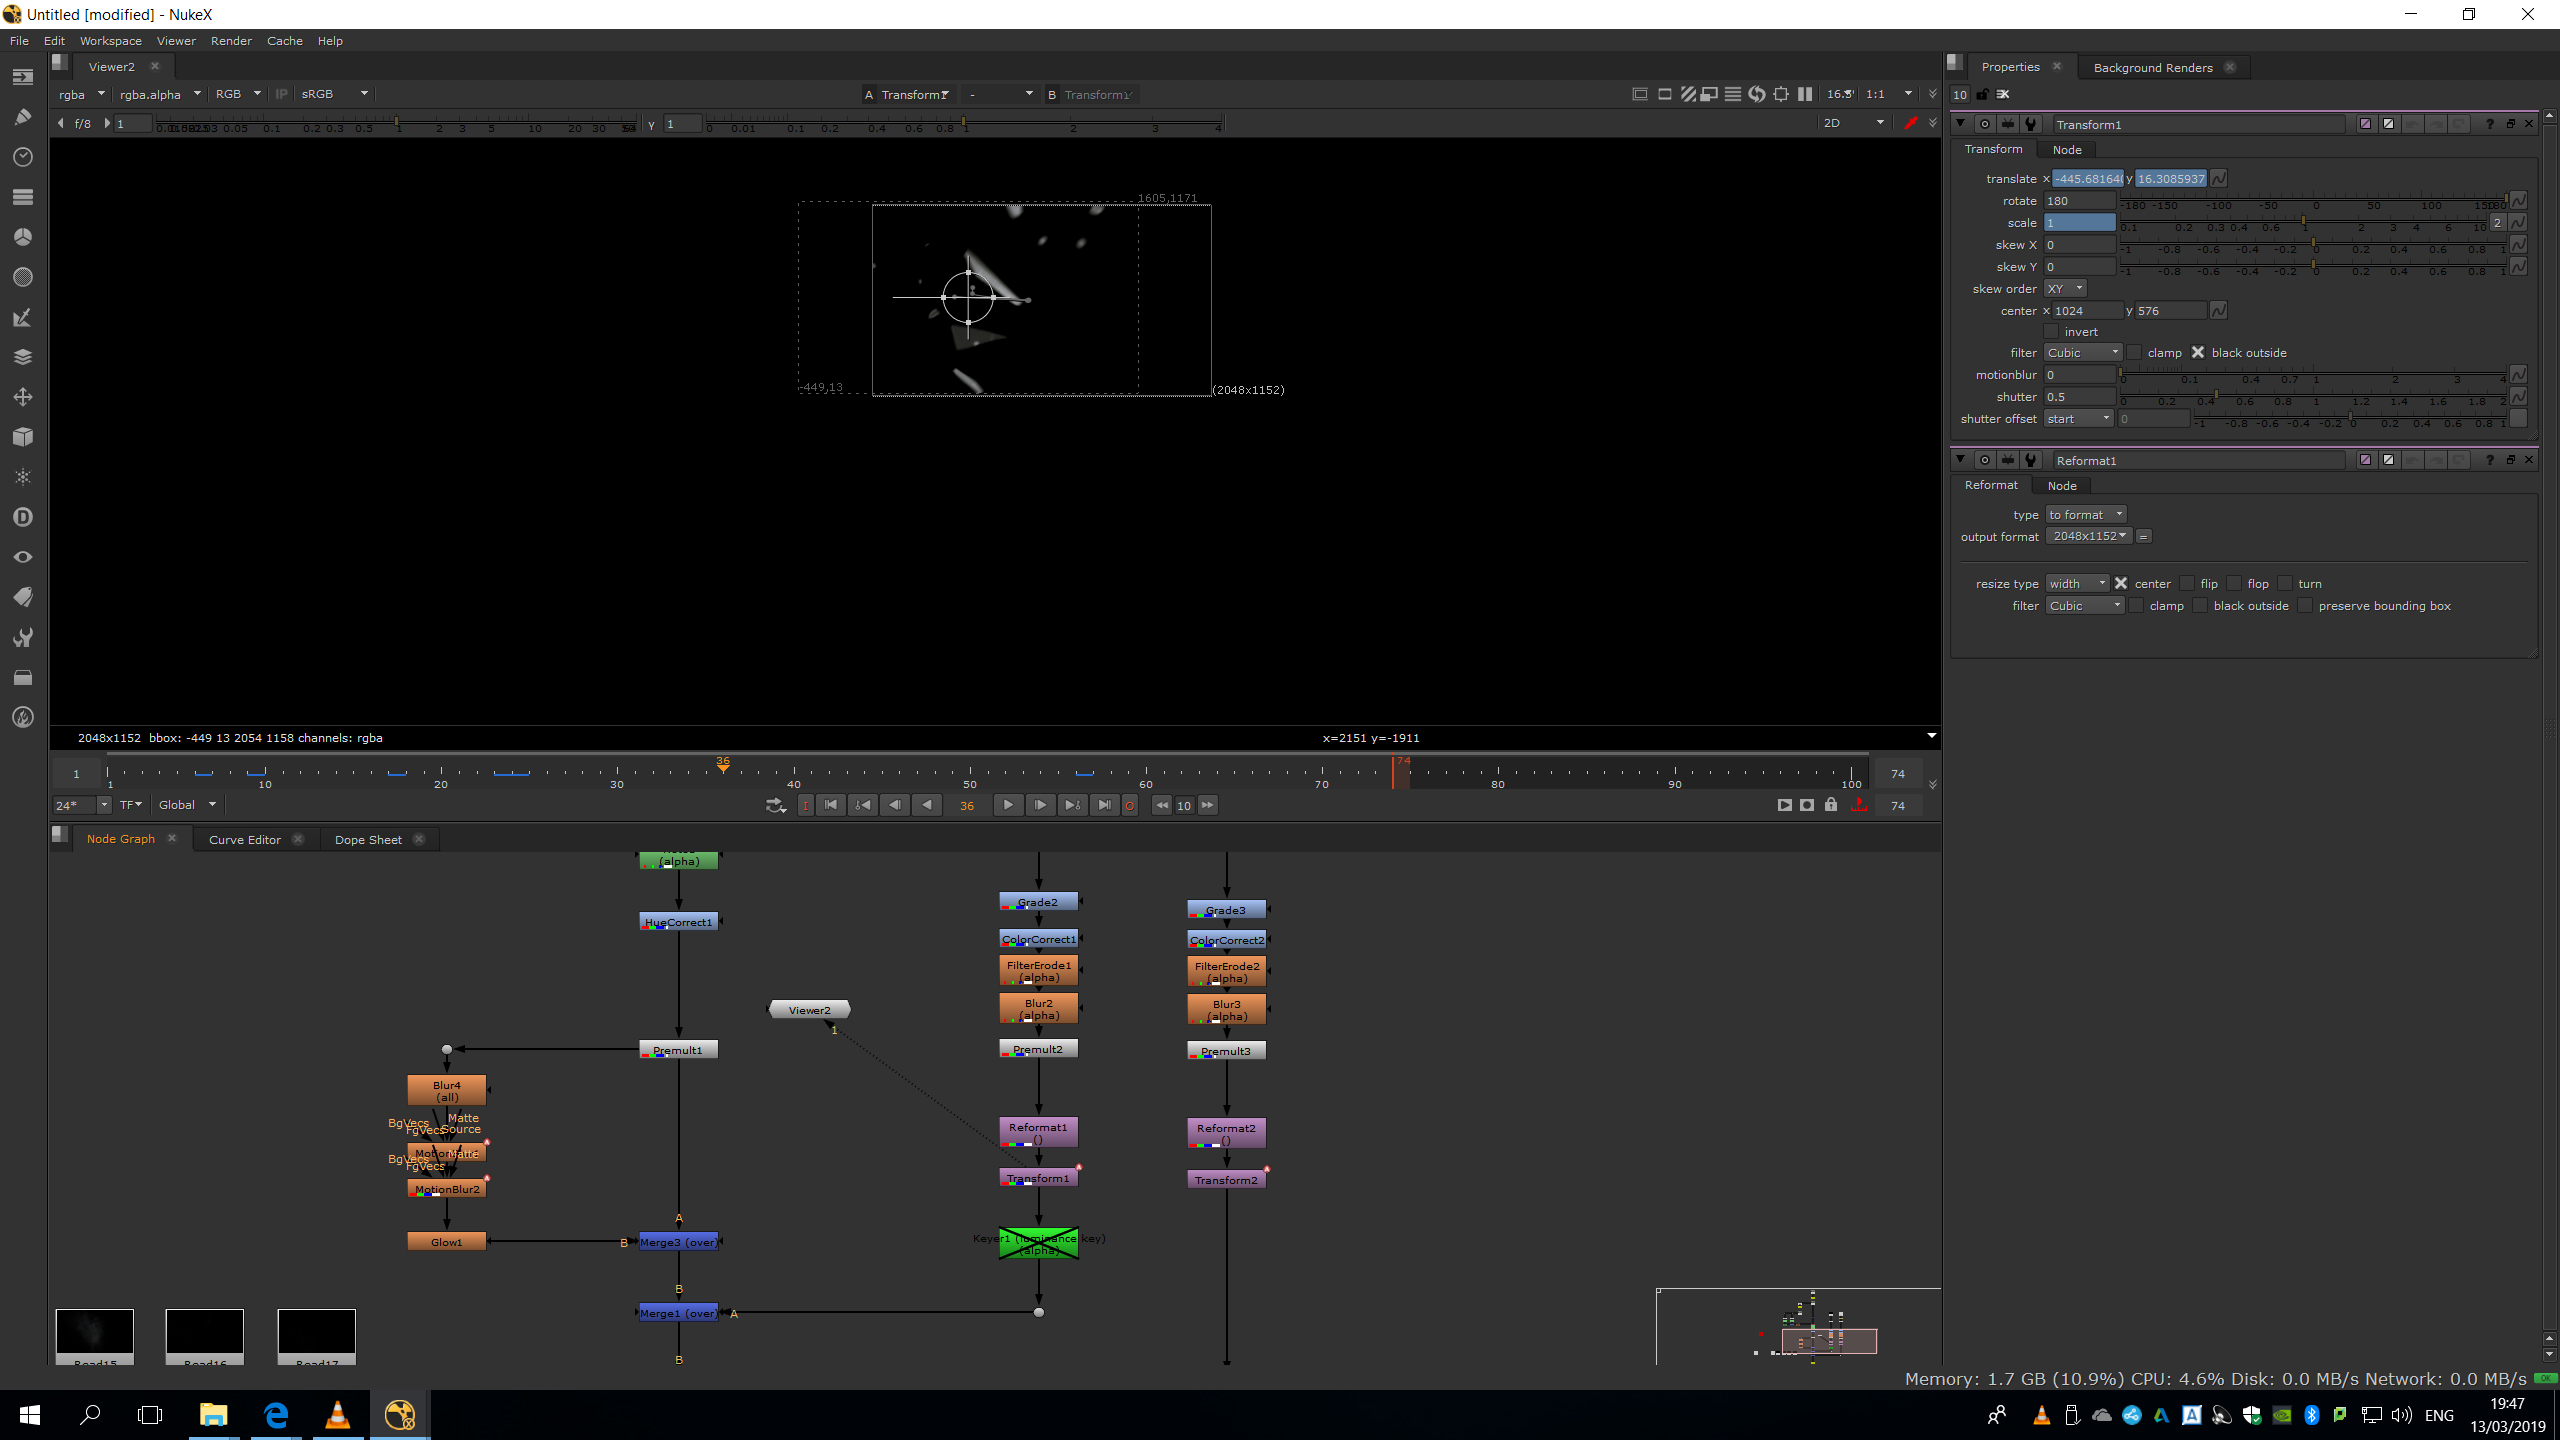
Now, we can merge it over the image and adjust different parameters to blend it better.
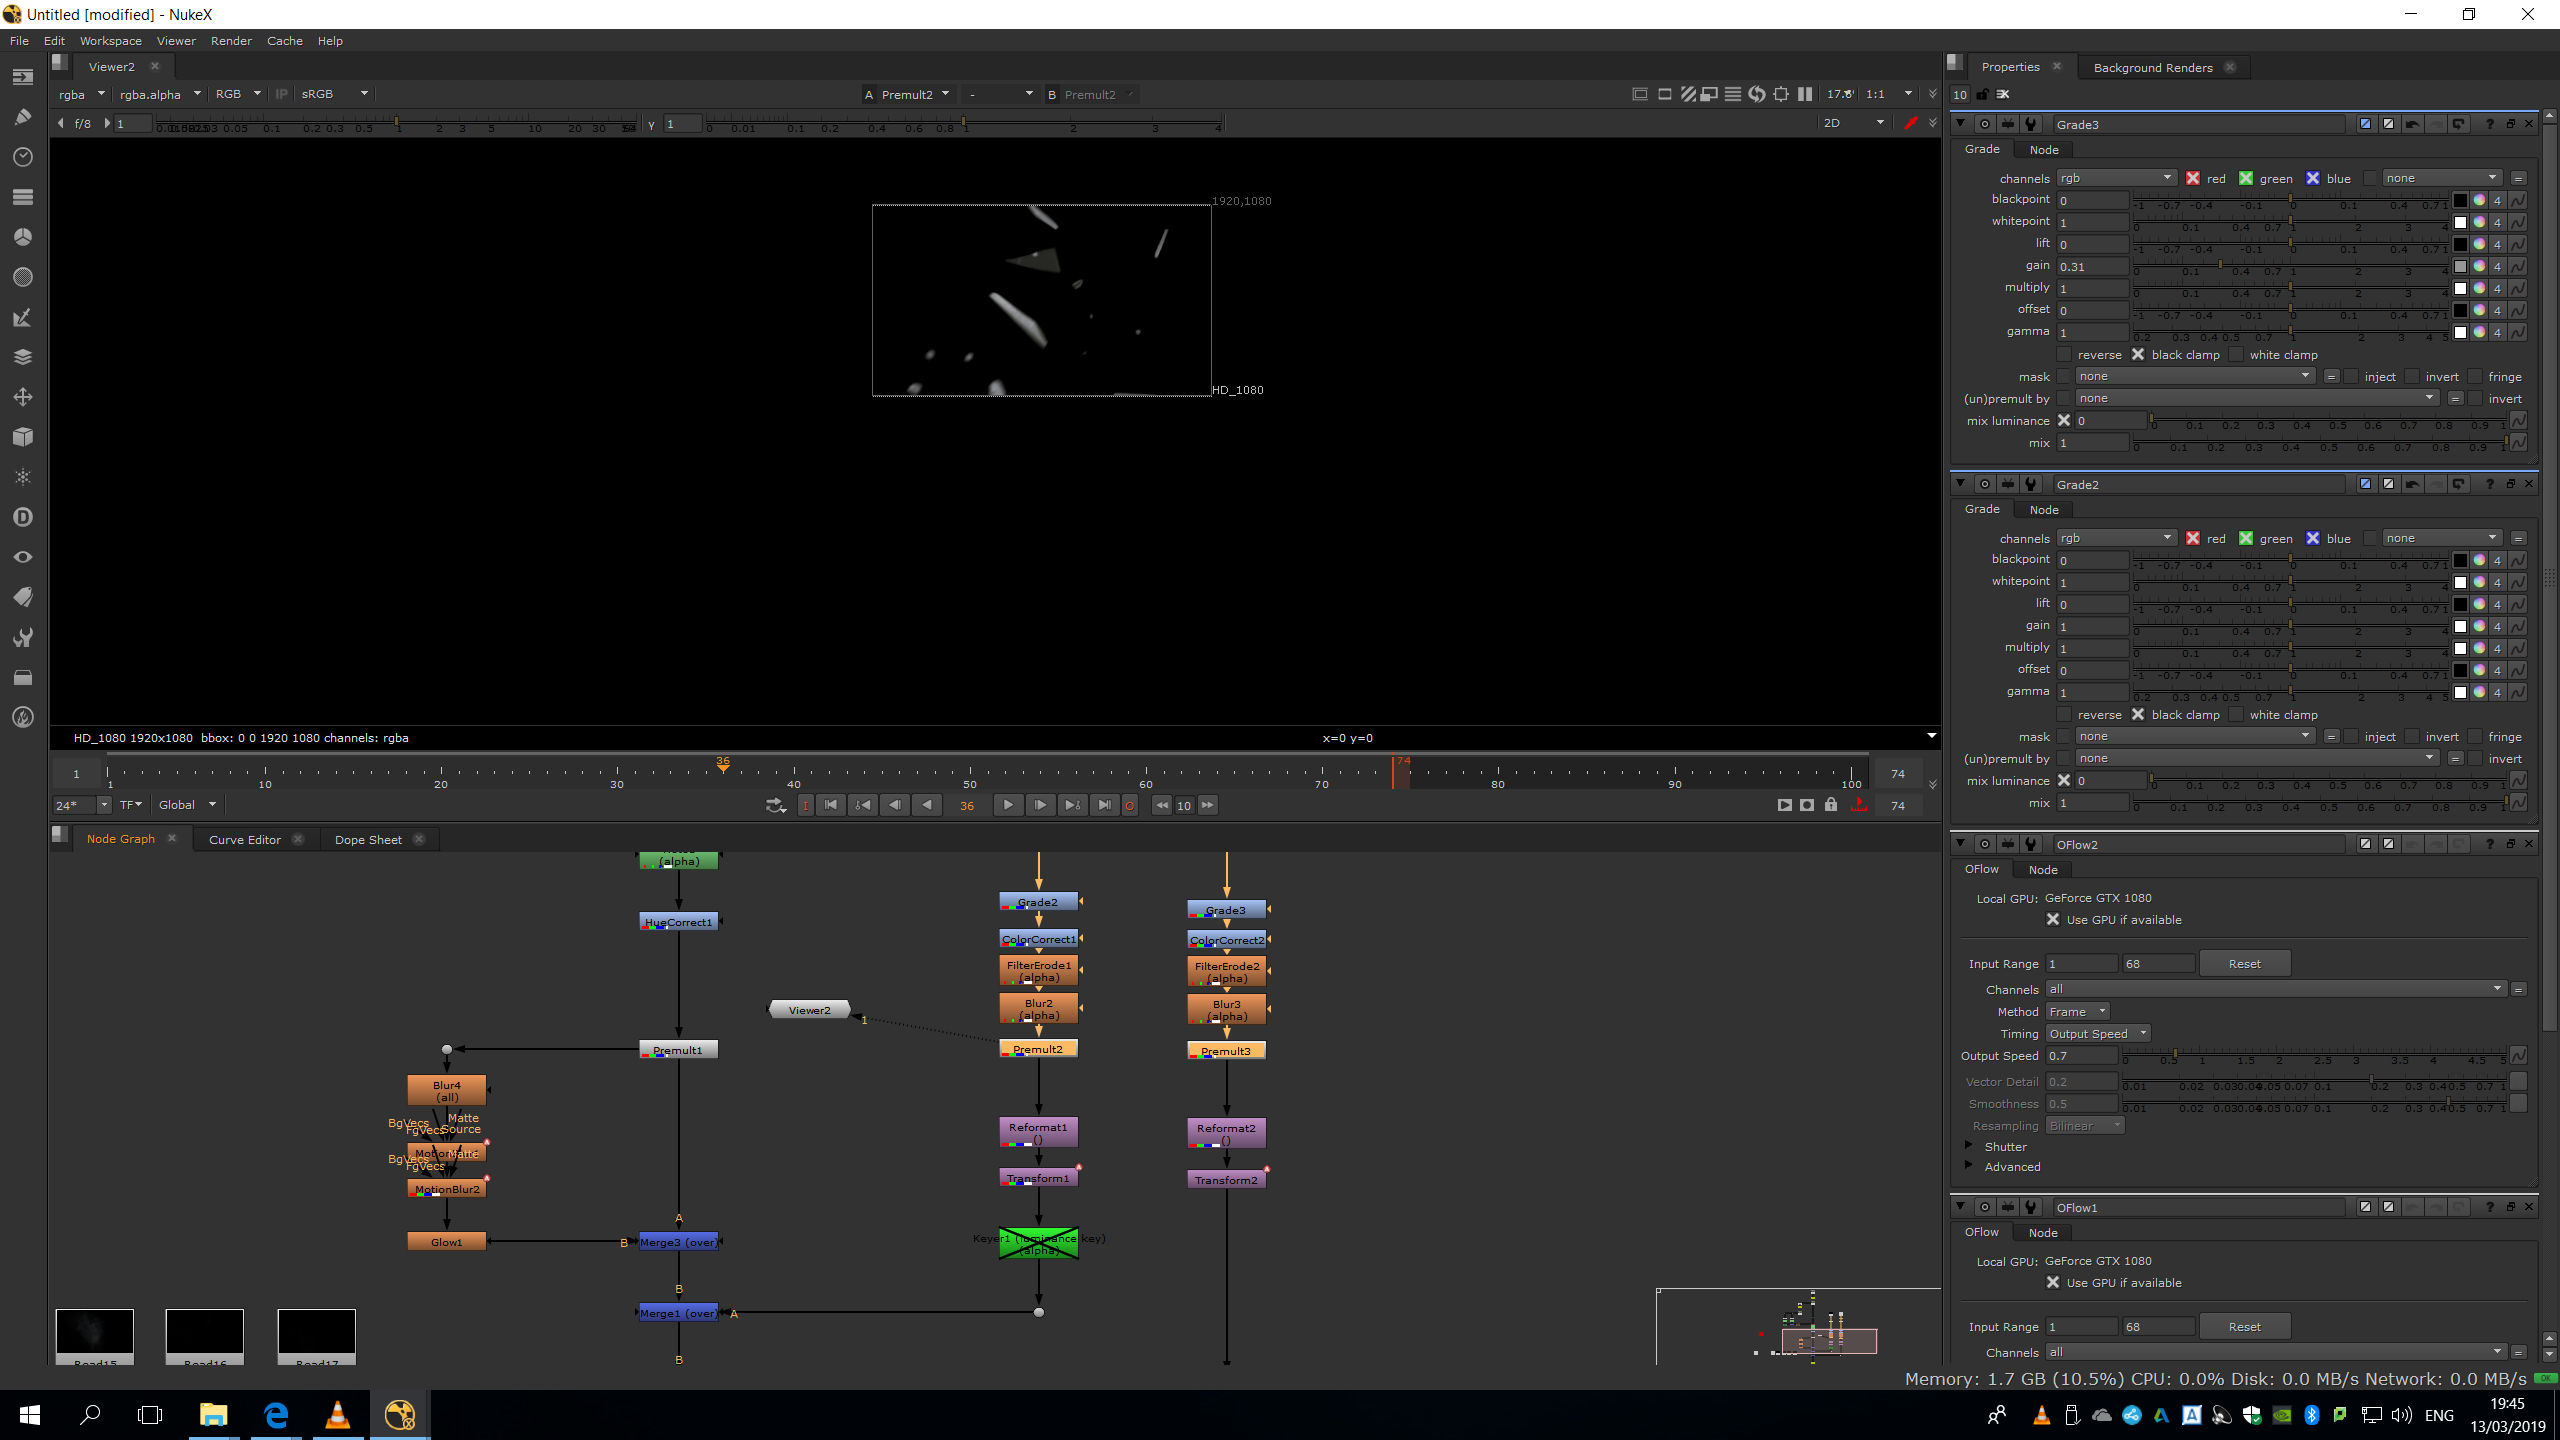
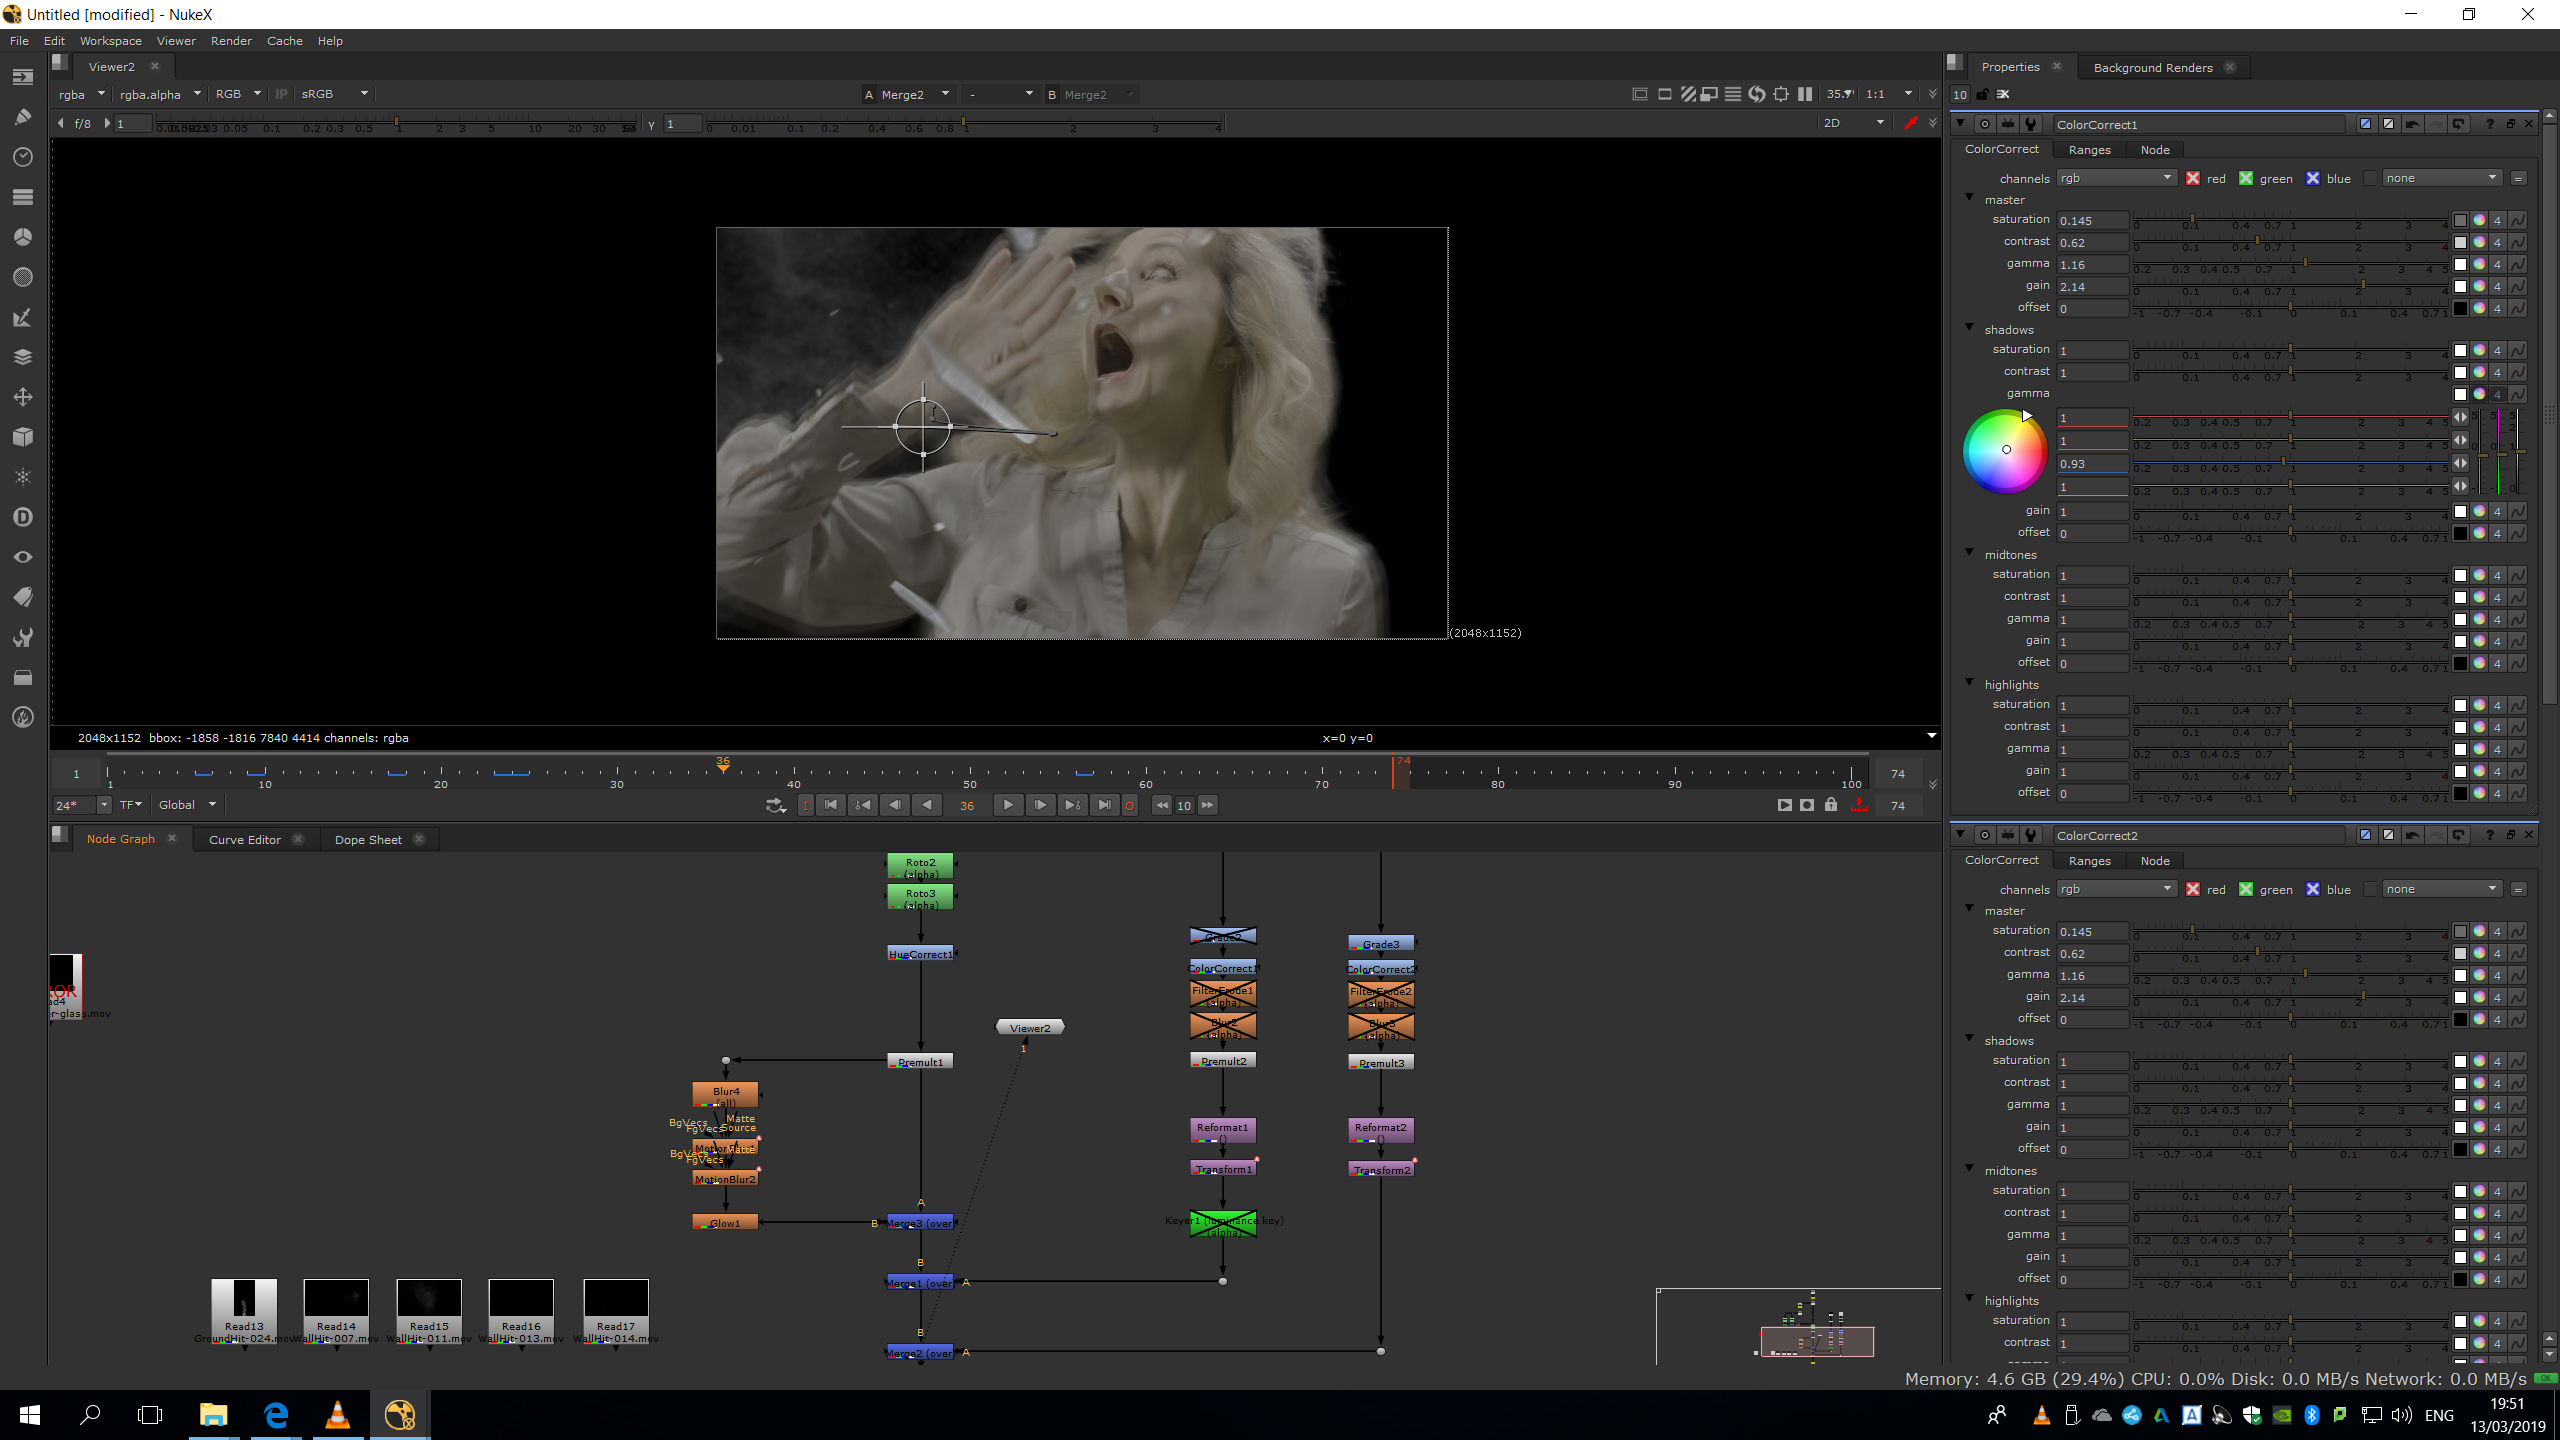
I added a grade note to the dust to make it darker, and blend it better with the background.

Then, I added a colour correct to the dust to bright it up naturally trying to get rid of the dark edges, and to the glass to make them white instead of blue, and try to delete the dark edges too.
Finally, I added a filter erode and blur only for the alpha channel, in order to soft the edges completely and blend the footage perfectly over the image.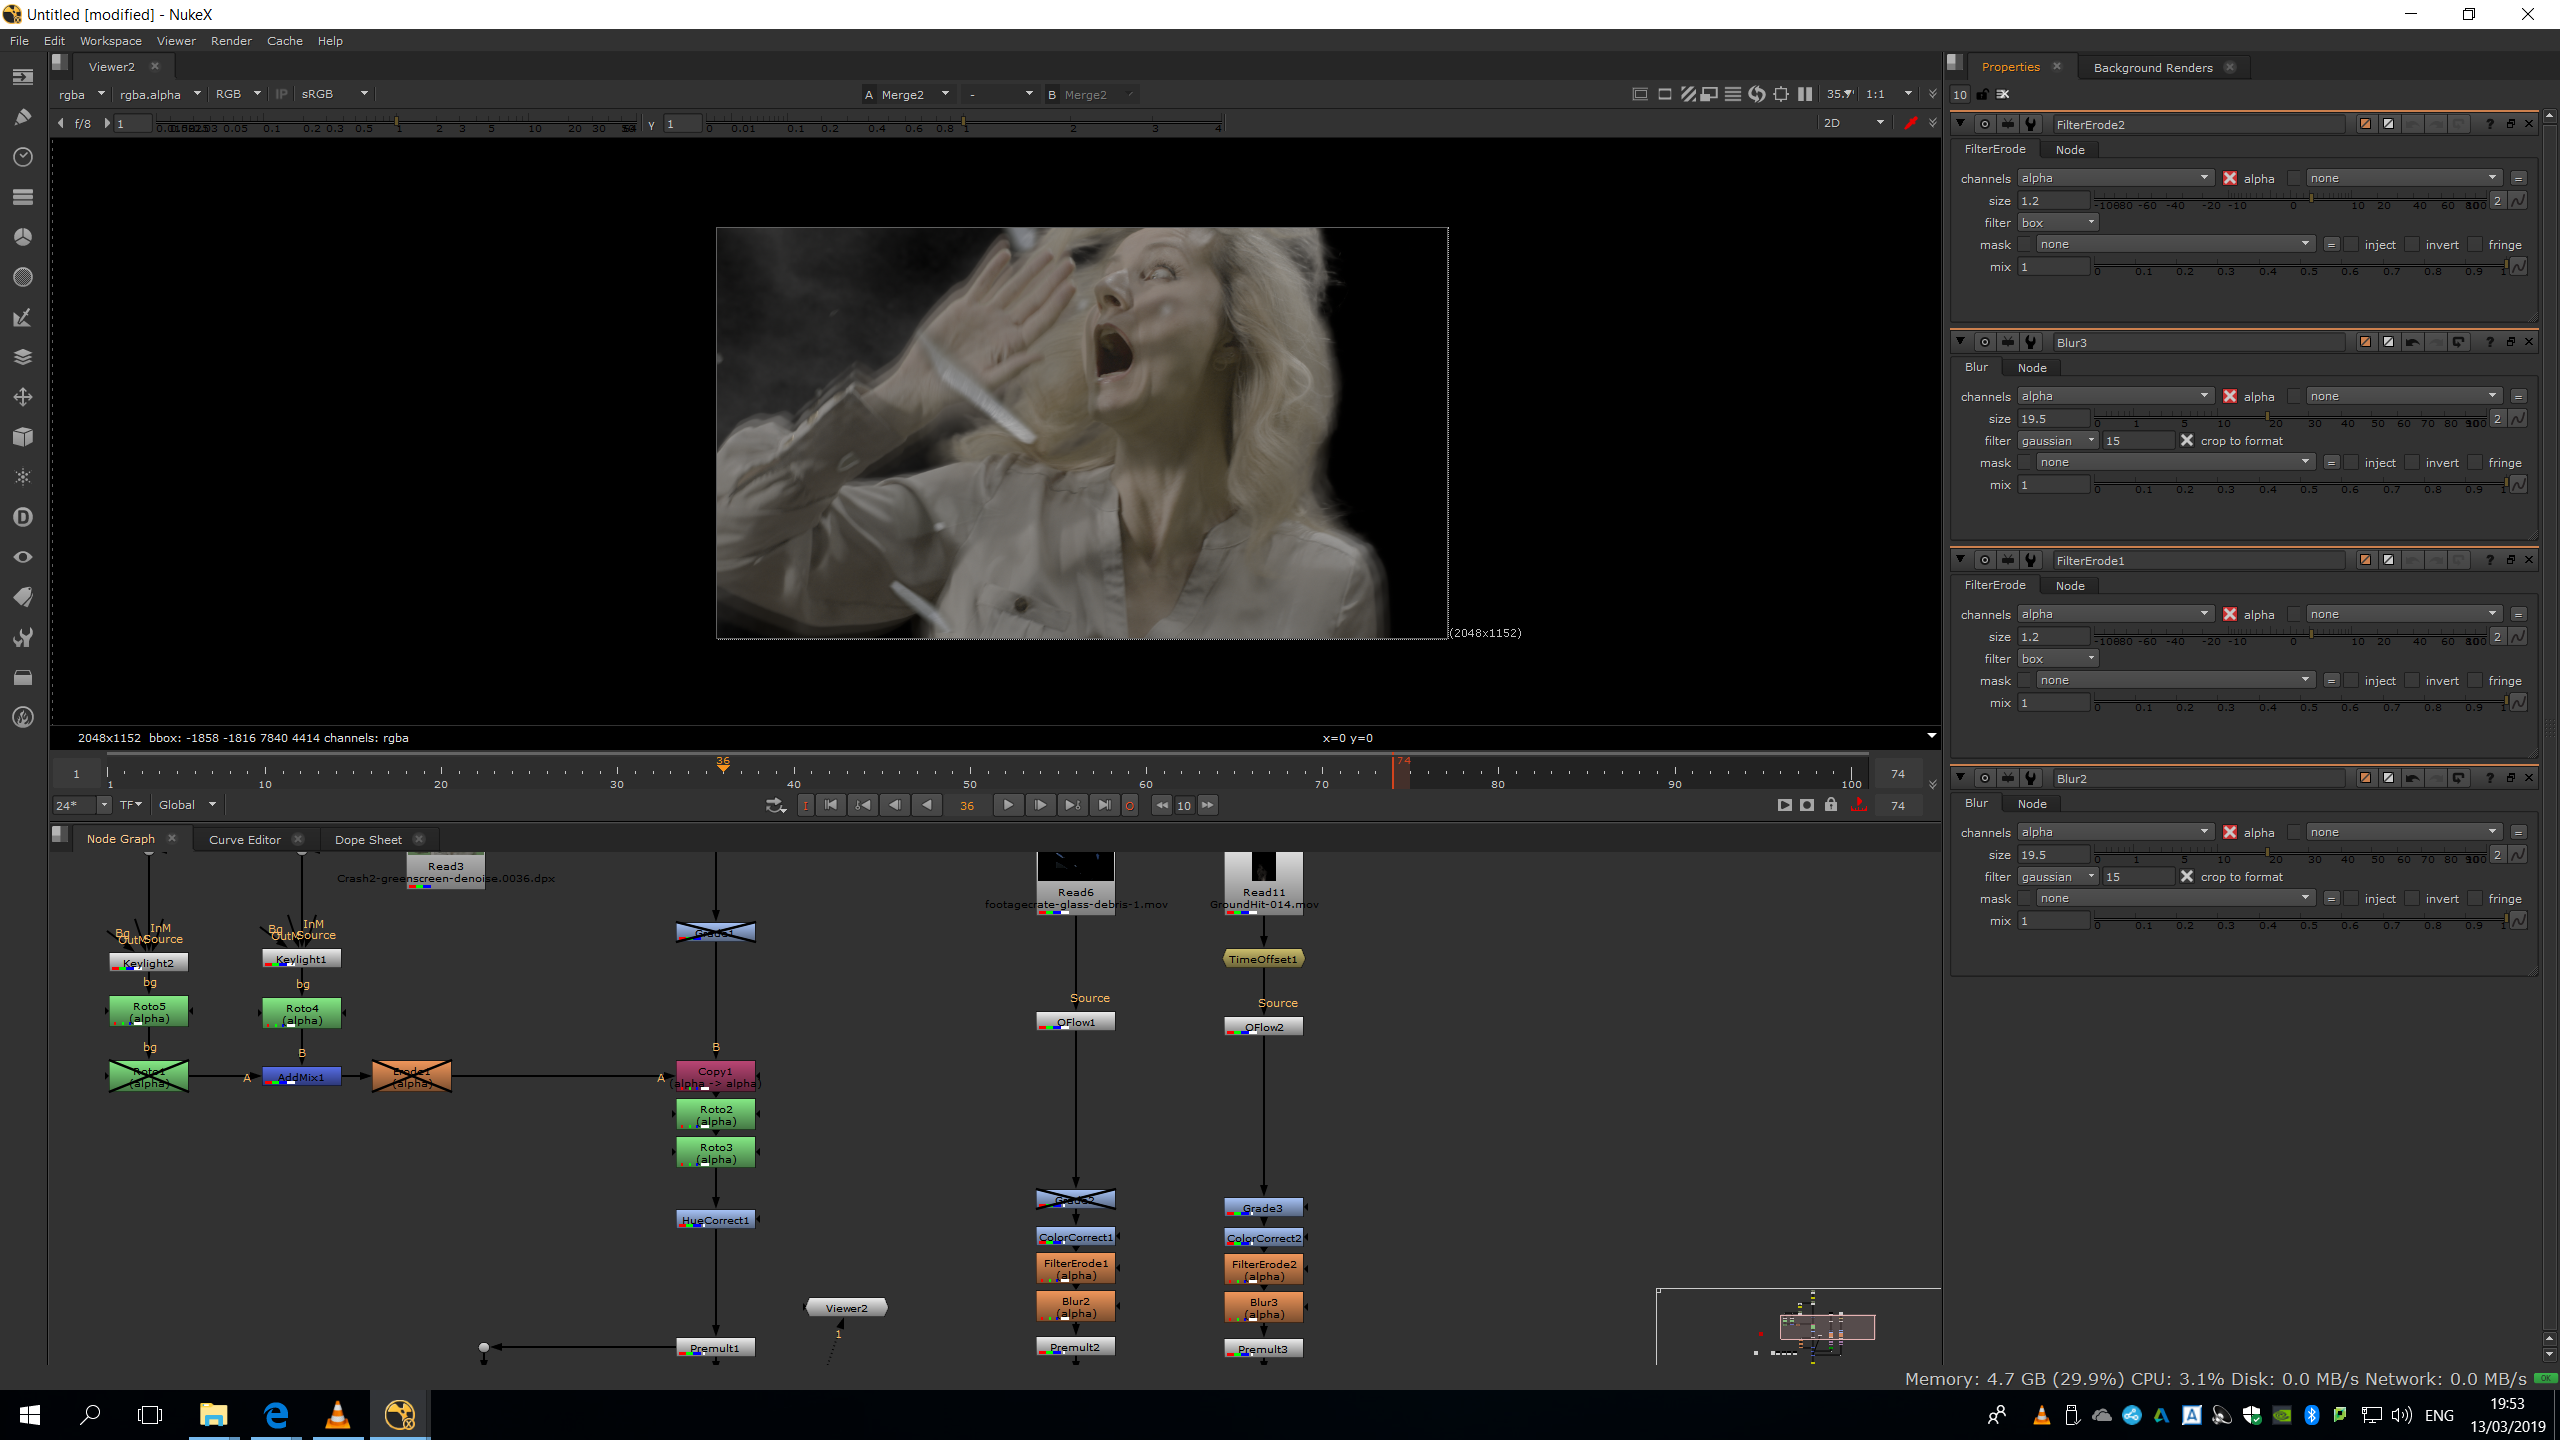
Once we are happy with all the parameters setting, we can export the footage in Apple ProRes 244HQ as we were asked, matching the color space anf FPS with the original footage.
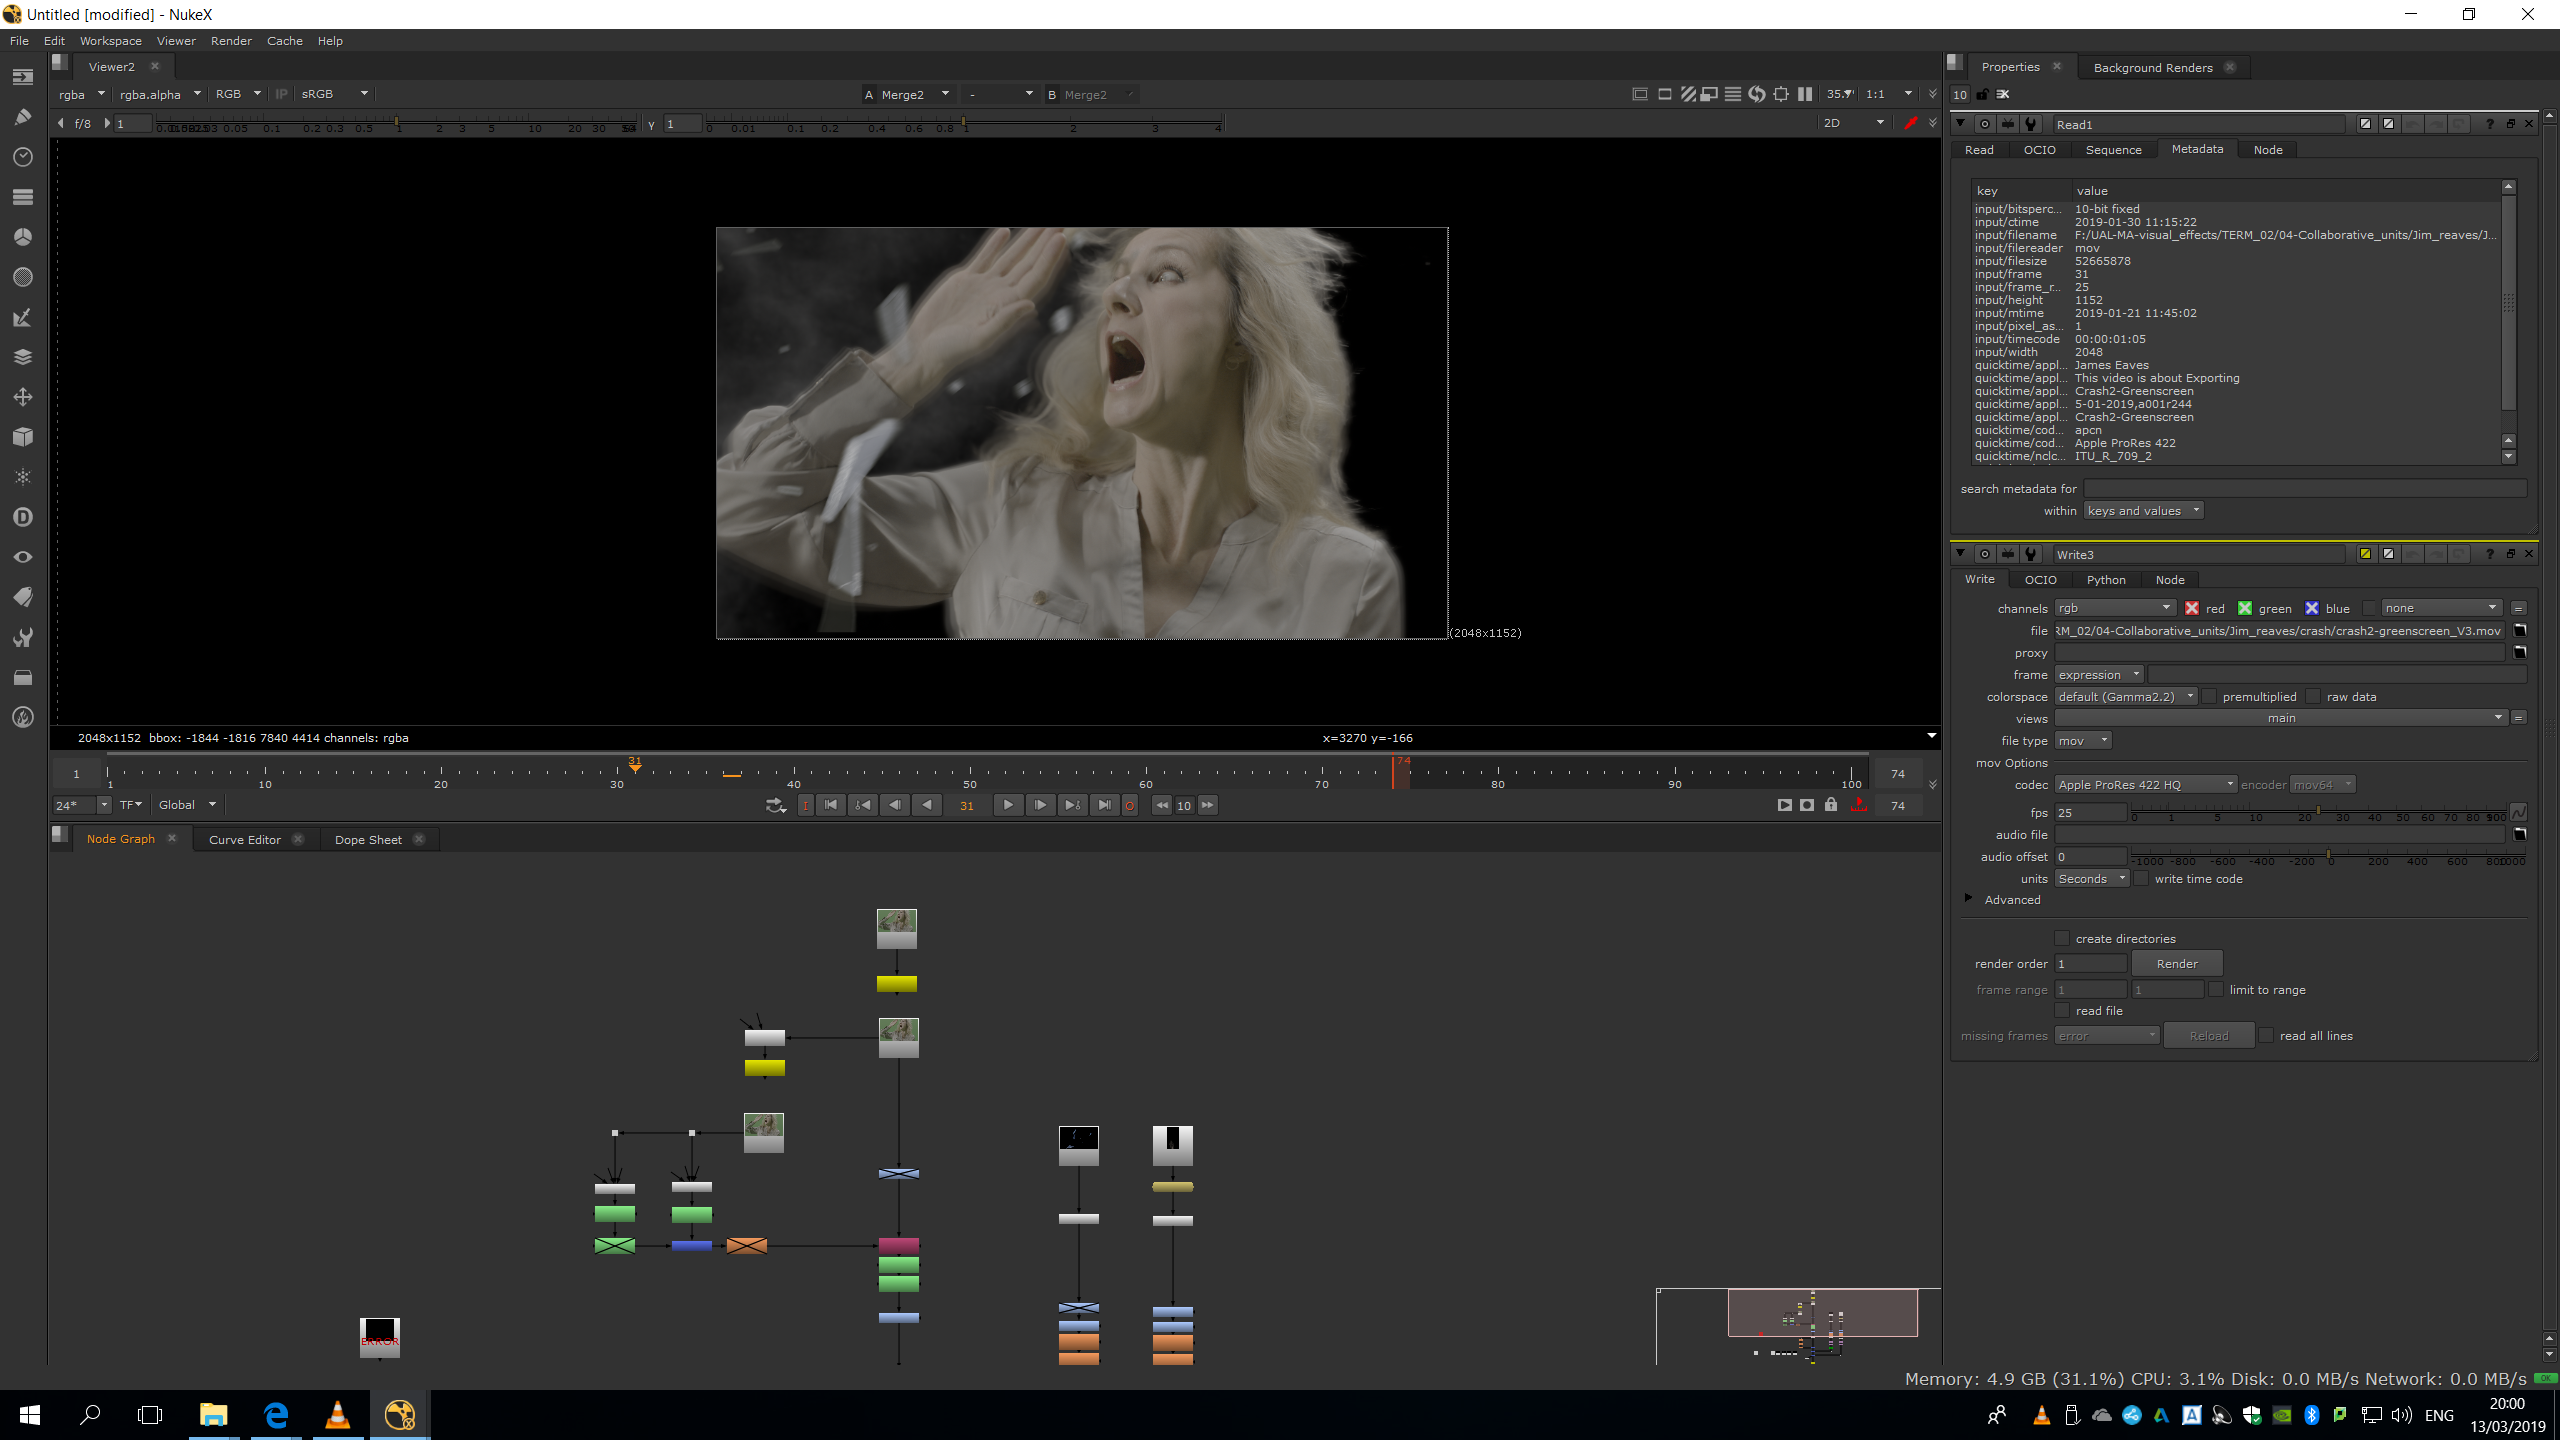
Script overview

Corrections
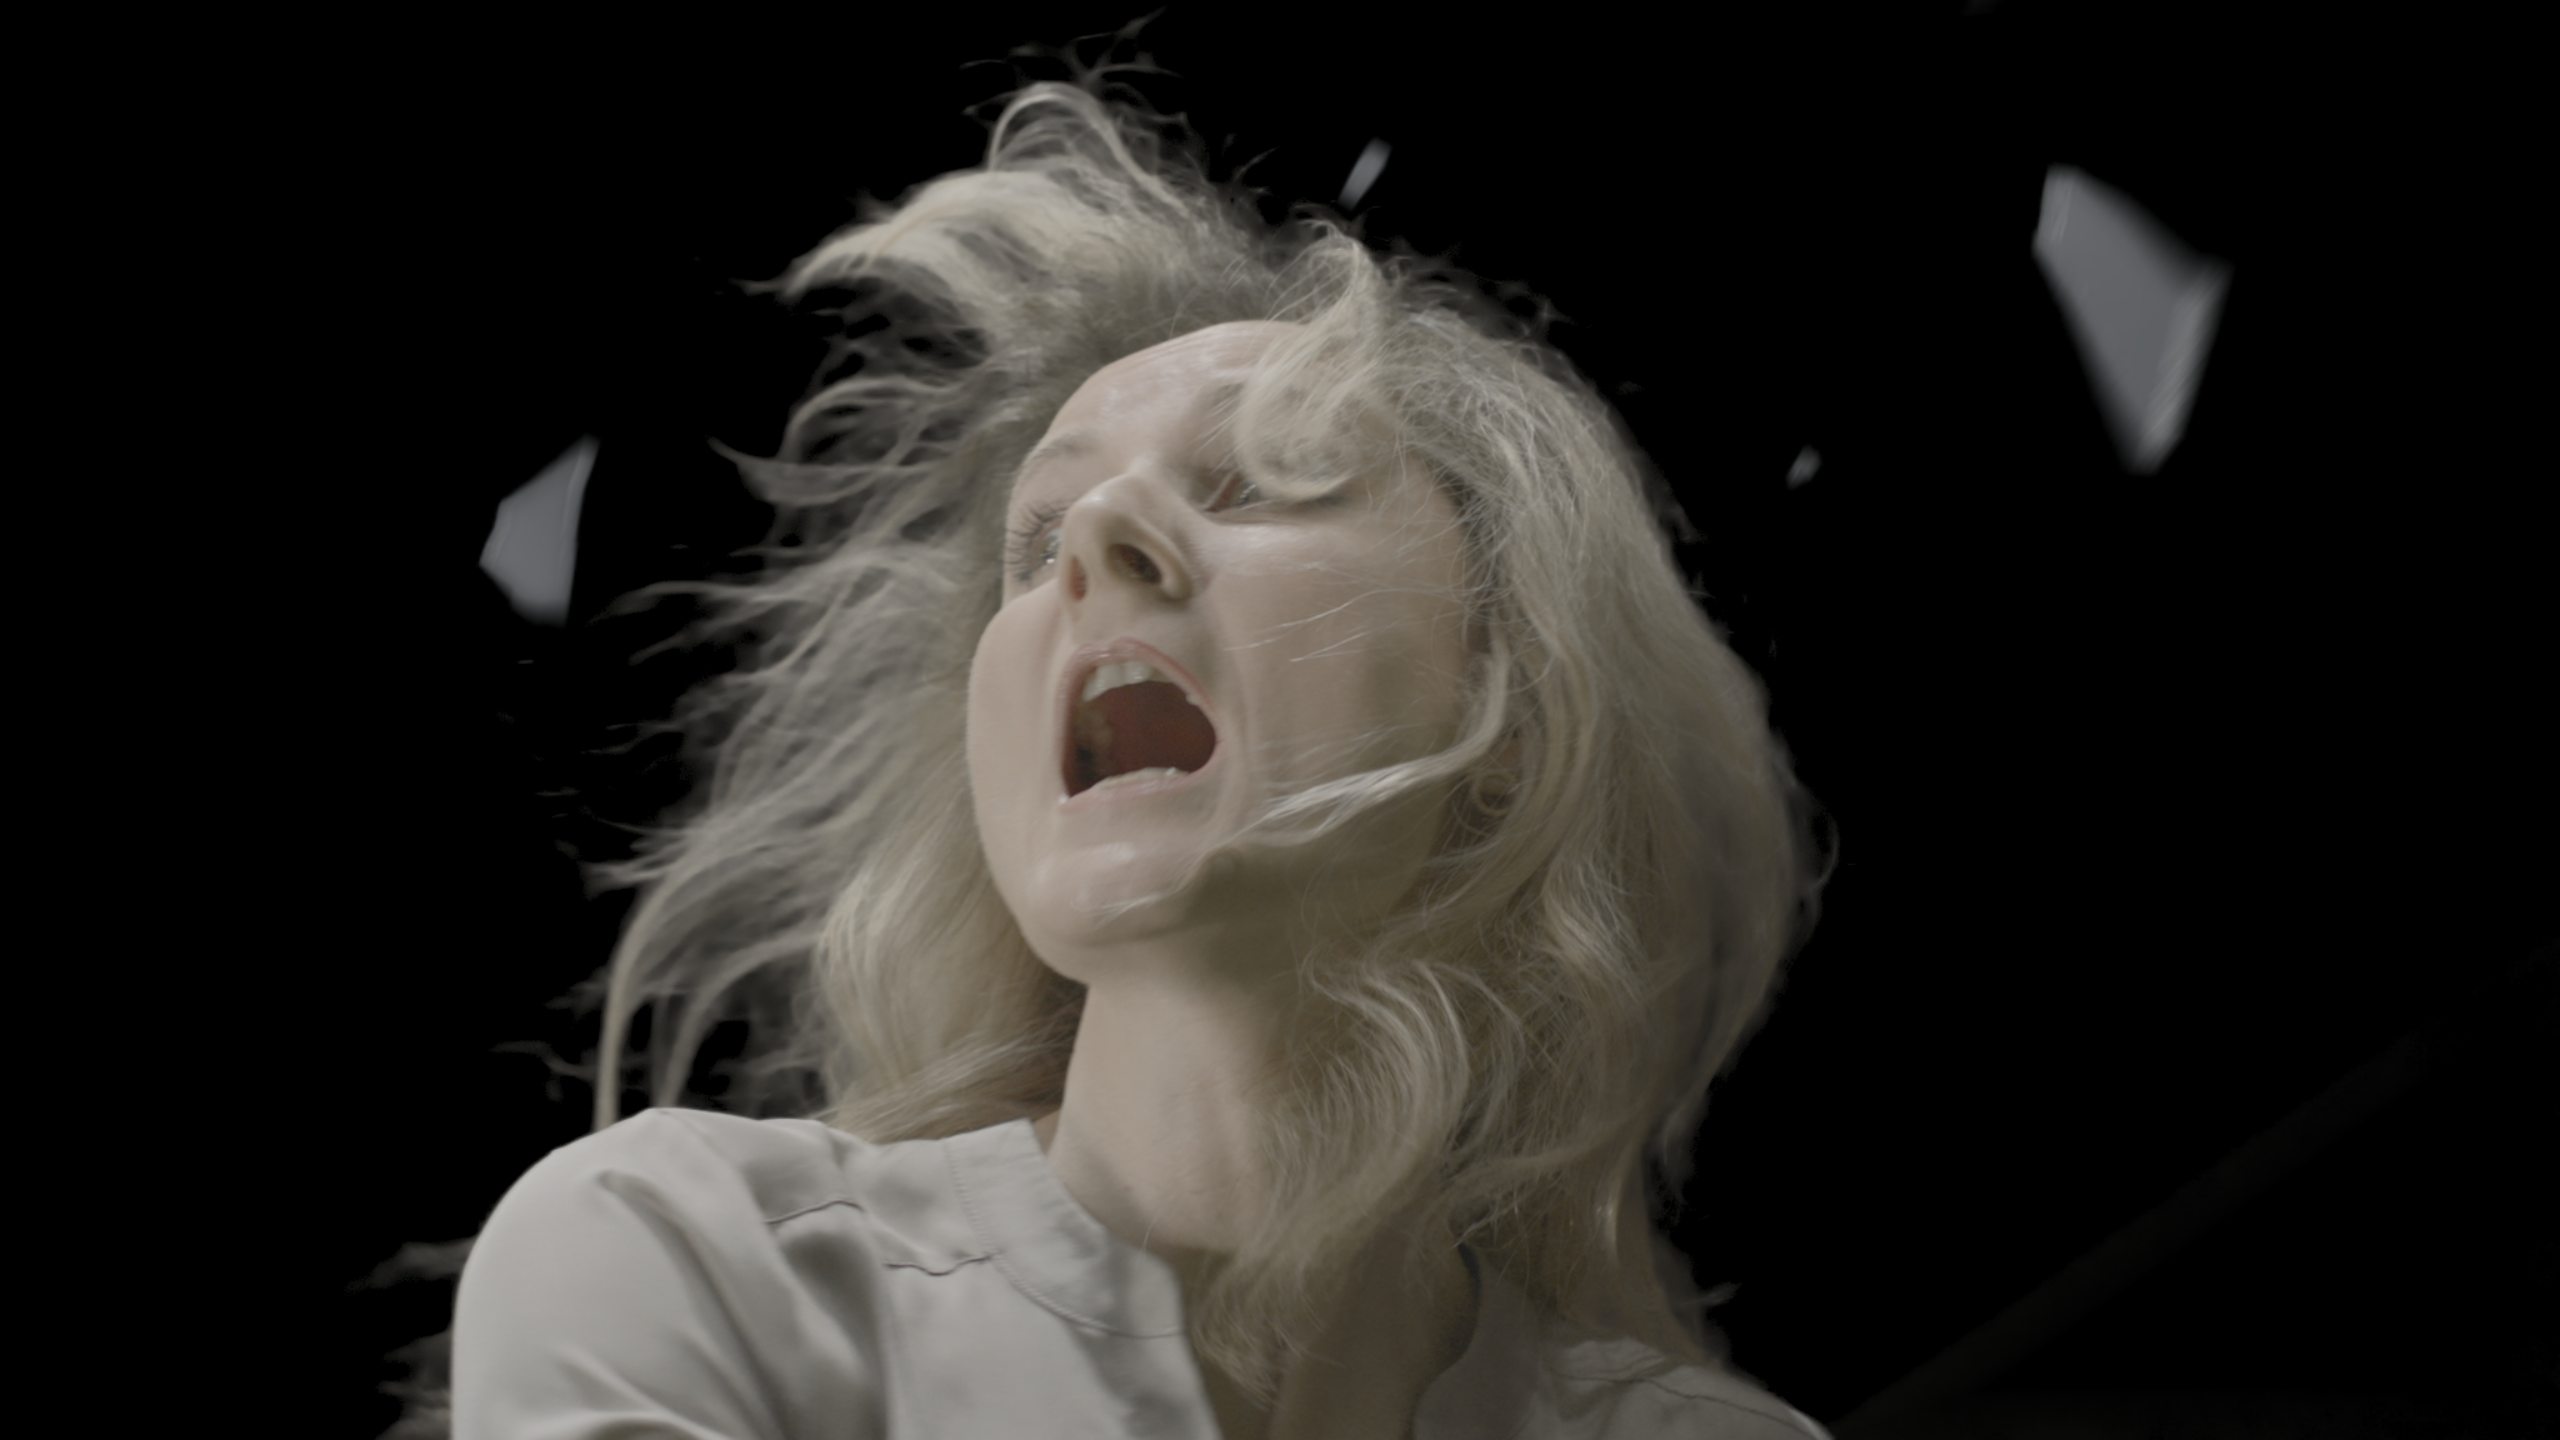
This was the first version of the footage.
After this submitting this version, I was asked to increase the dream effect, add some more elements as dust to increase the sensation of the crash, and delete the light ray that can be seen at the right of the footage.
In the next version, I corrected the green screen, and I added some dust in the shot.
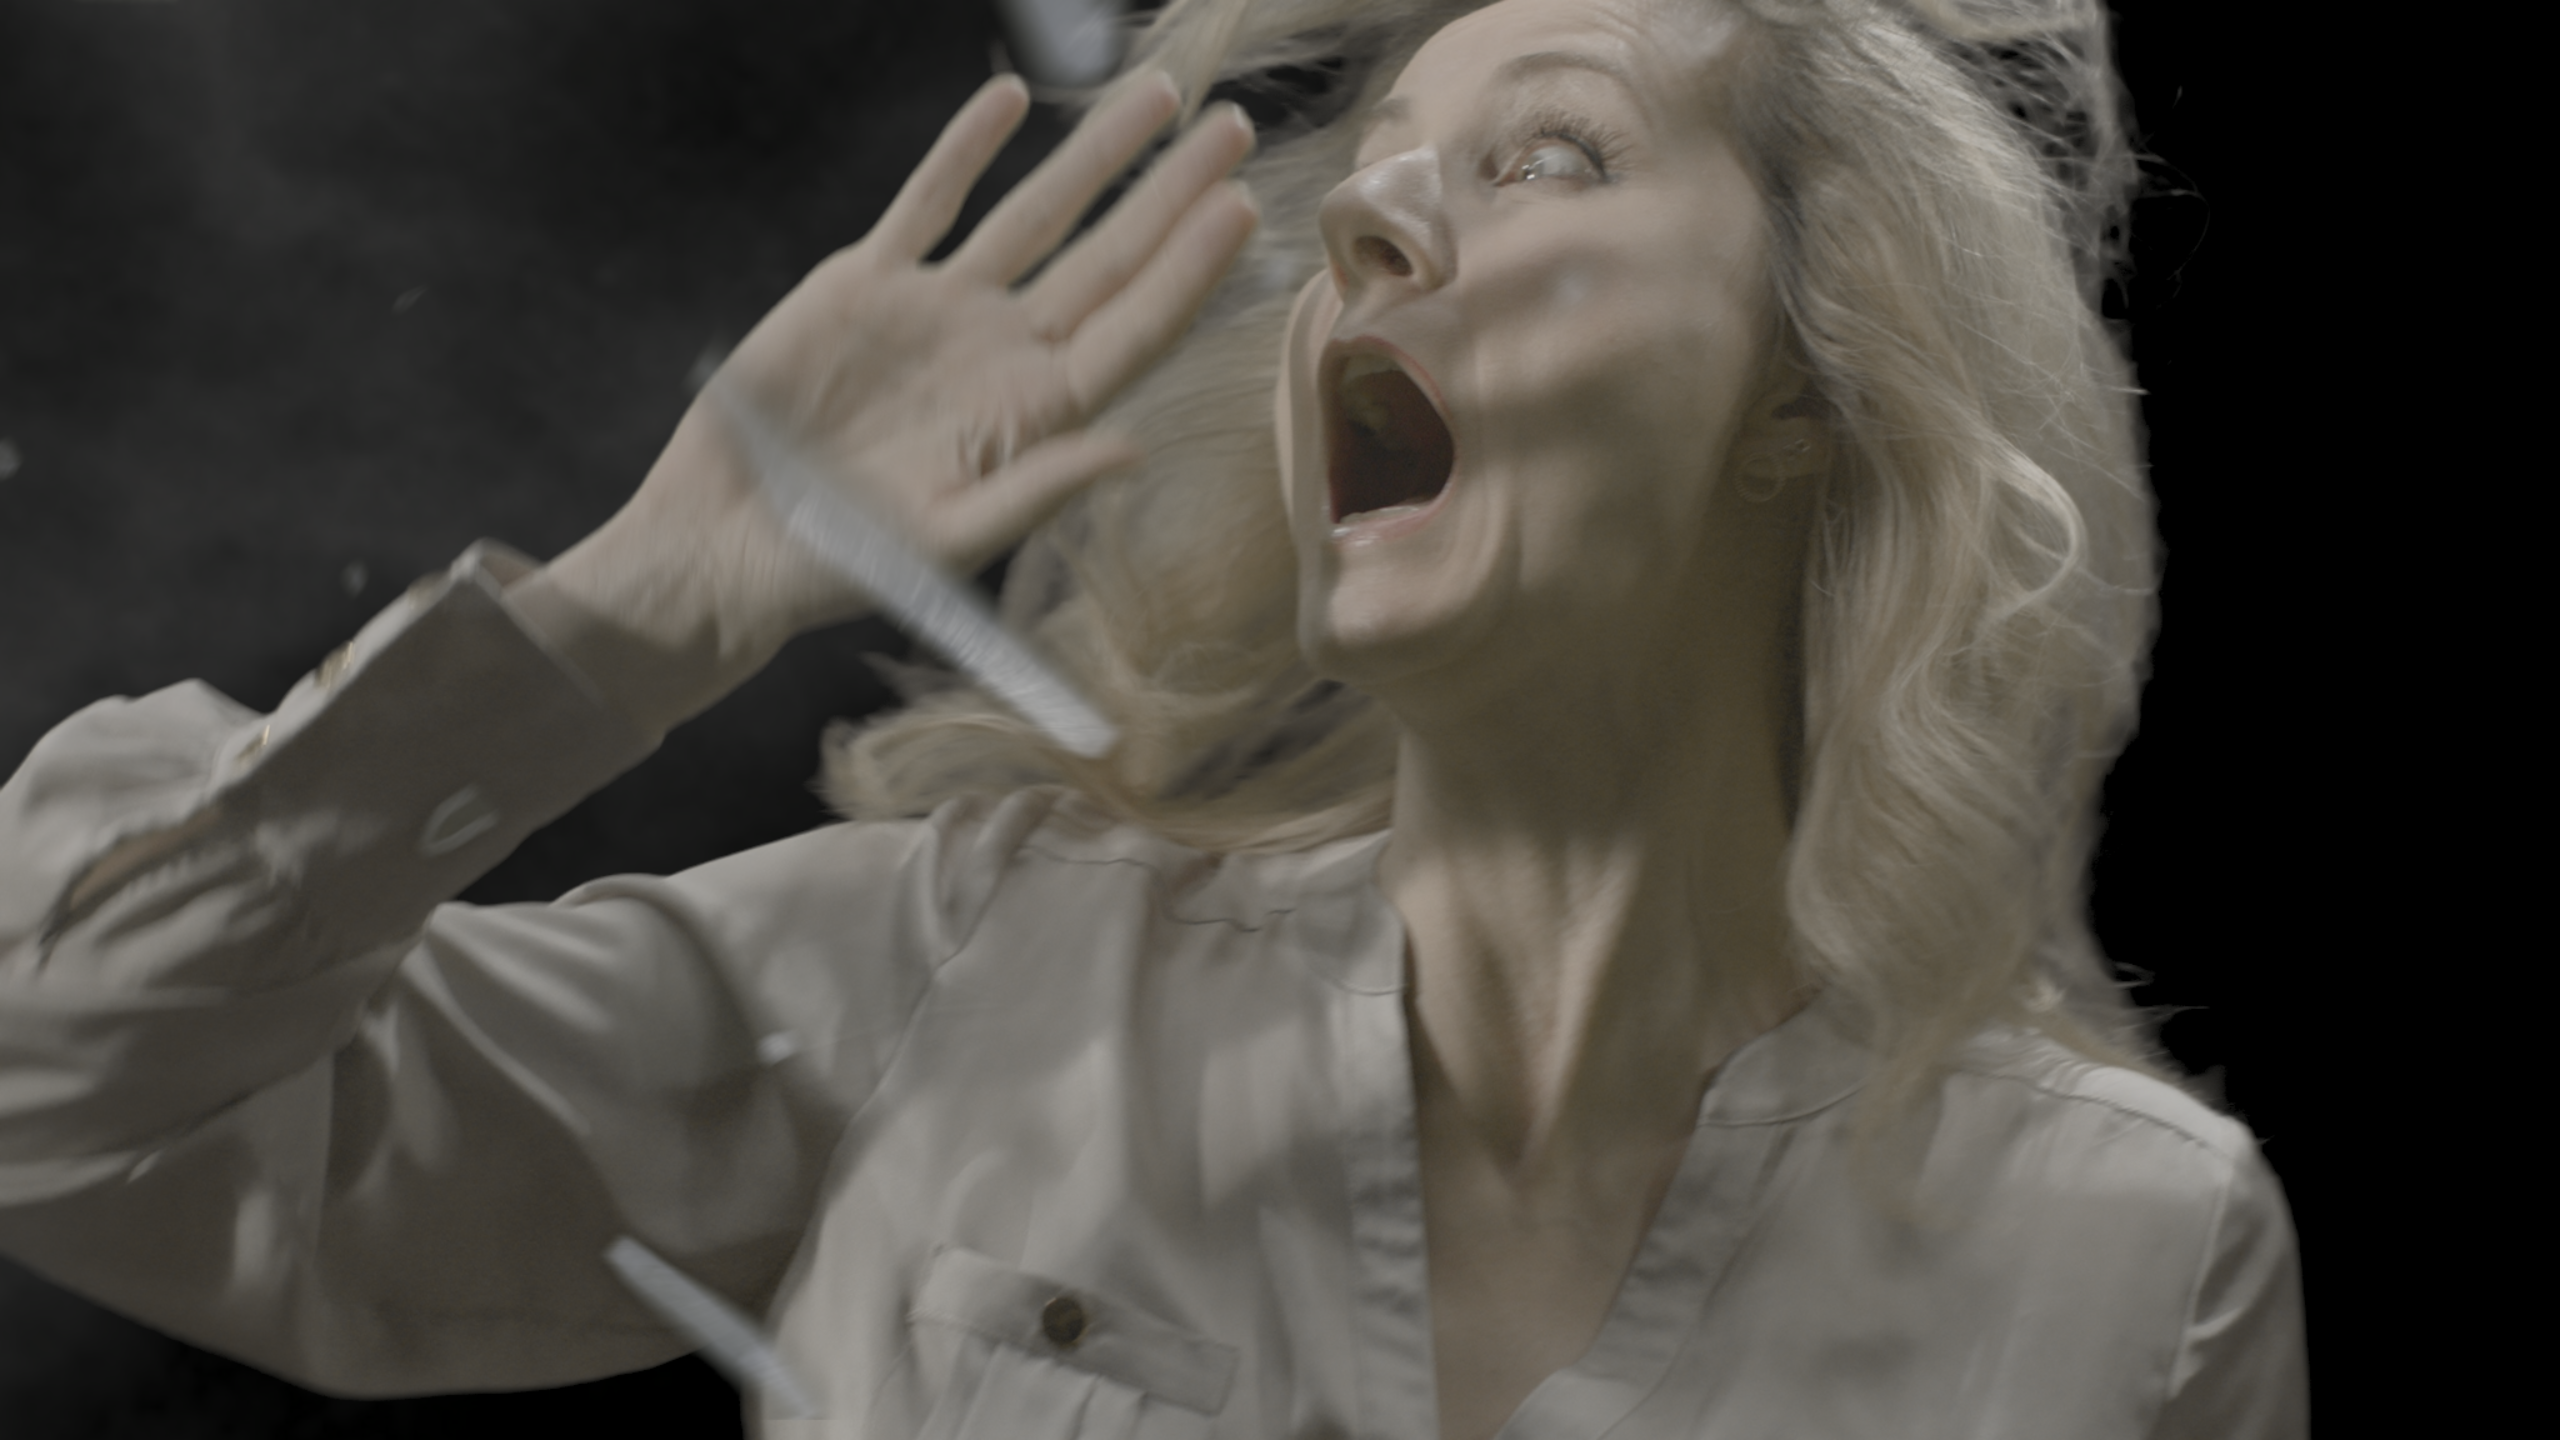
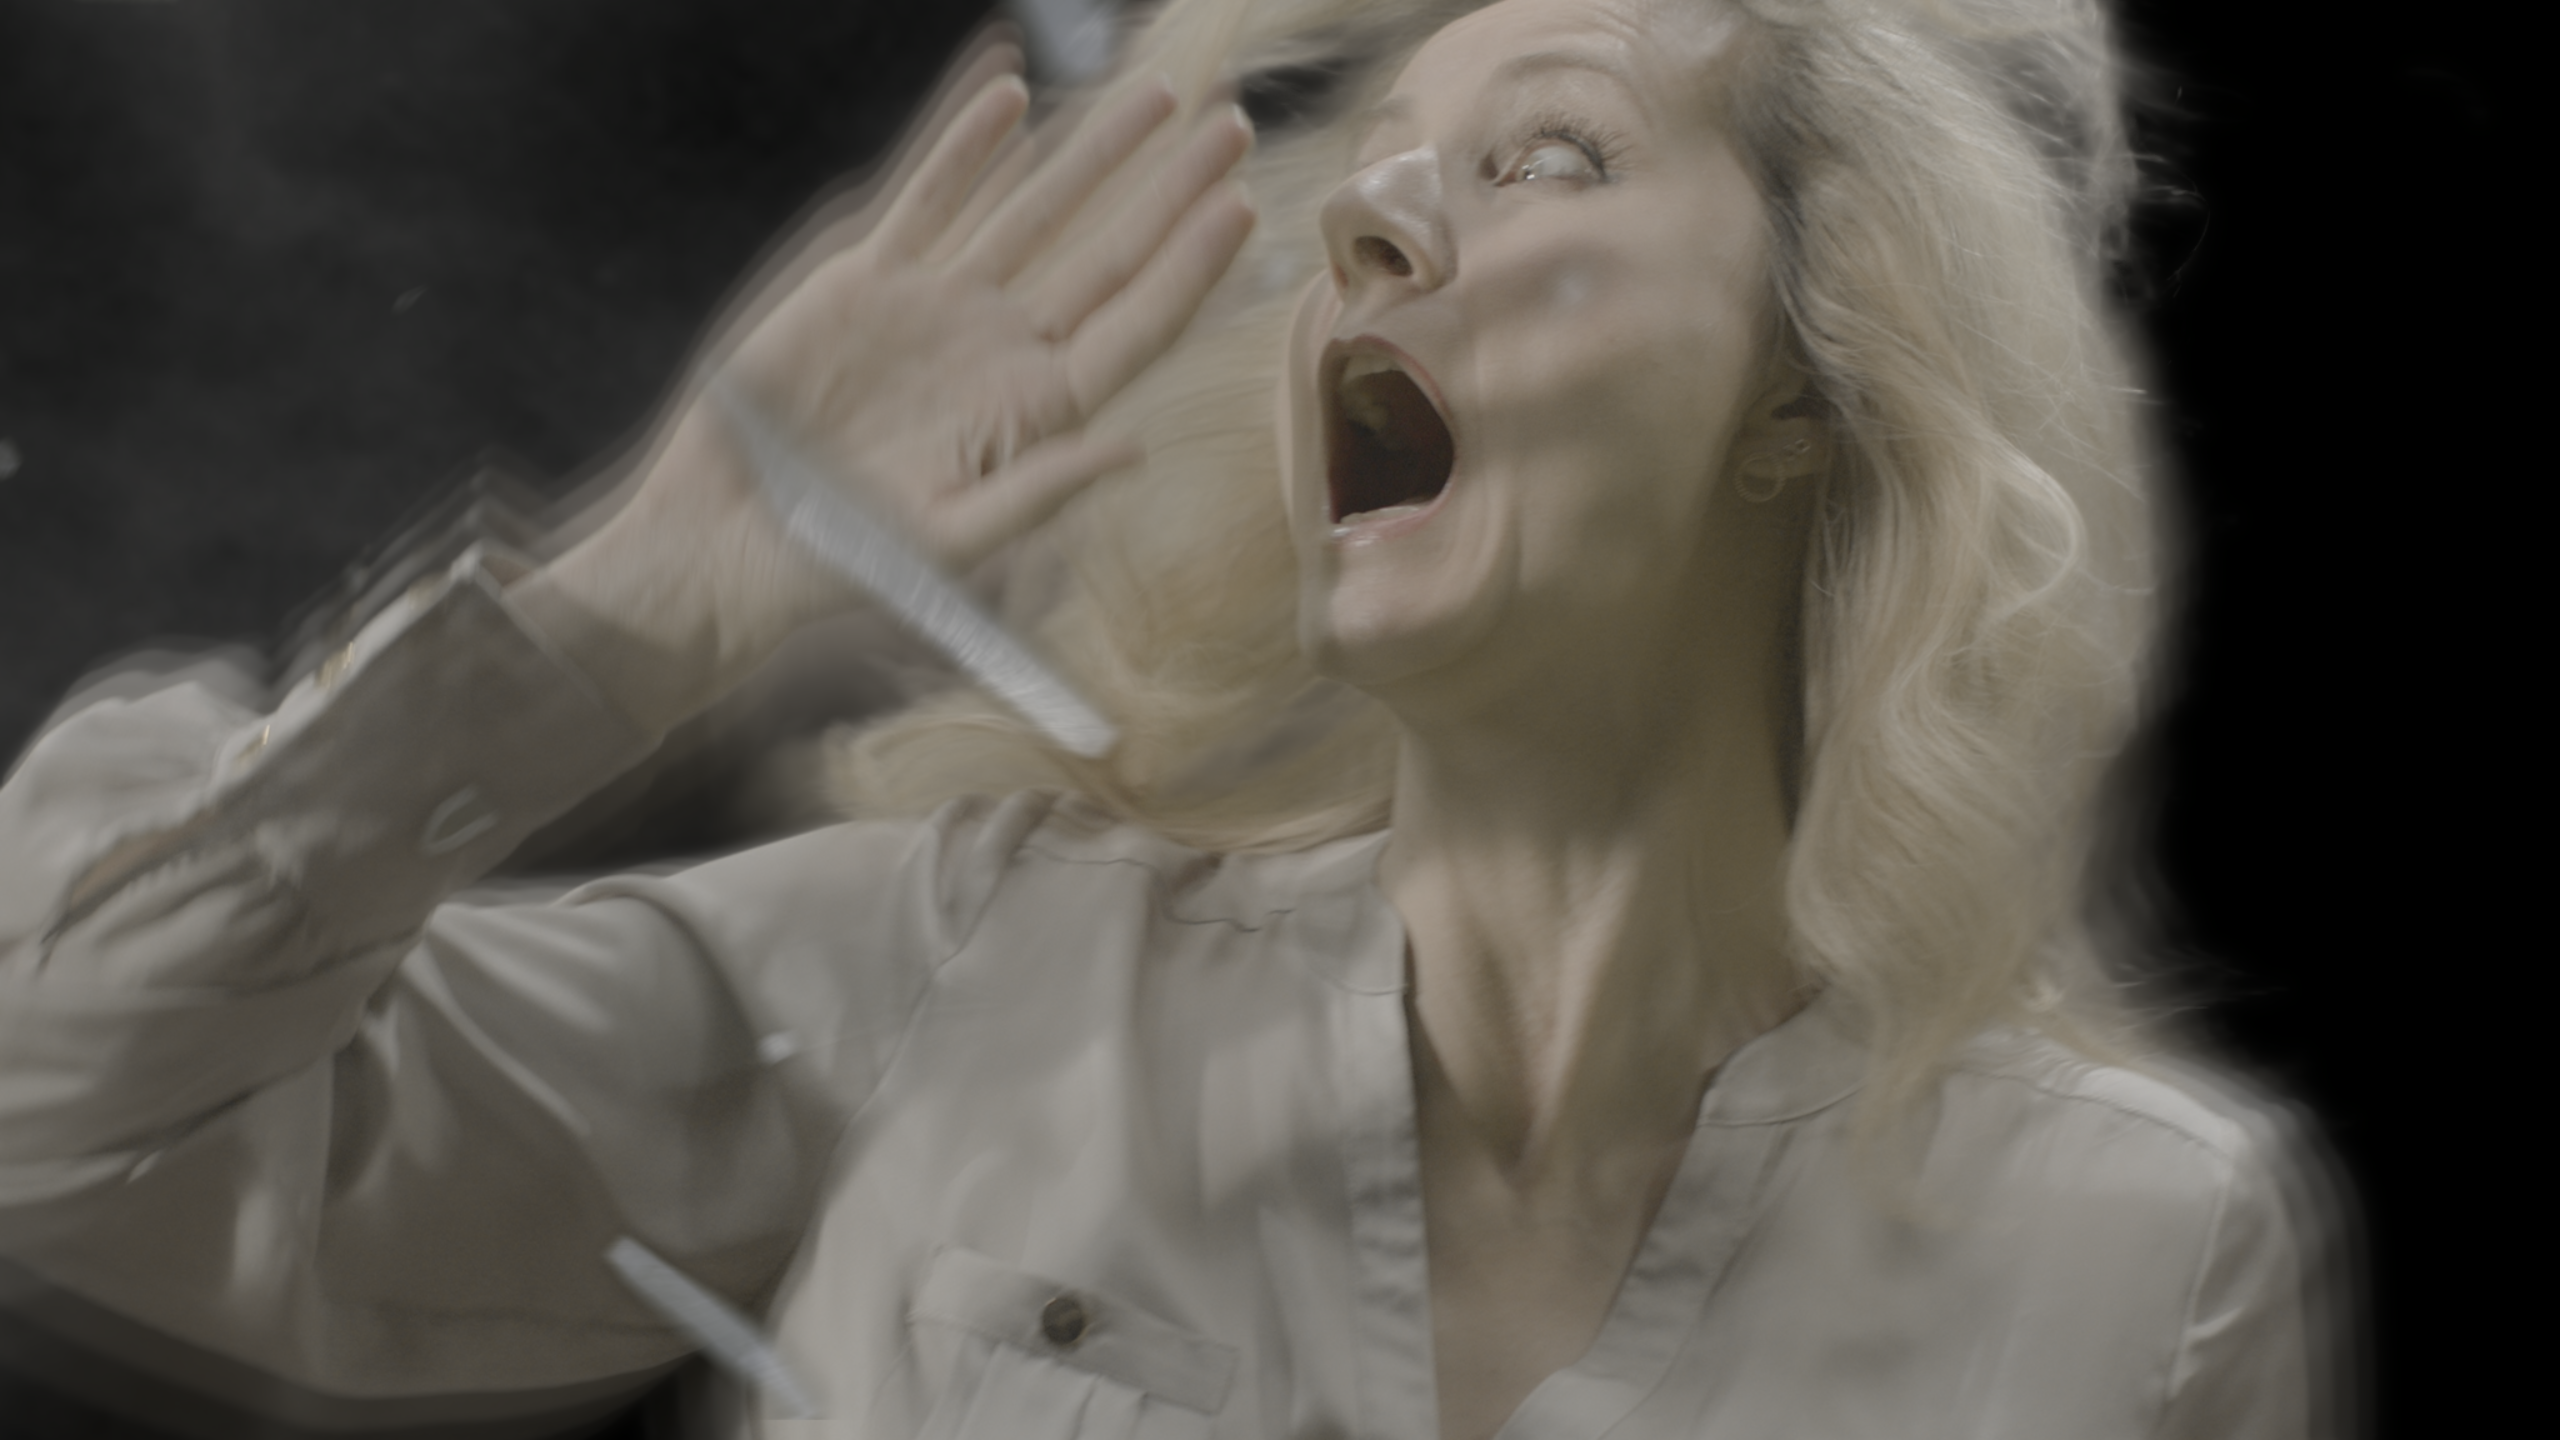
Finally, I was asked to increase the dreamy effect, so I added the motion blur, the blur and the glow, obtaining the final version.
Difficulties and conclusion
I did not face any big difficulty since the green screen was really well lightened and the footage which needed to be merged had the alpha channel already on it. This was the proof of how helpful is to have a well shooted green screen, in comparison with the ones that we shooted in class, not with such a professional level.
Anyway, I found it challenging to find the way to have a adreamy effect, and to make it in Nuke, since we did not use those tools before in order to distort the reality. It is really interesting to use the Nuke tools in a creative way, using notes that we would normally use in order to make something look more realistic with the opposite purpose.
