Presentation of the brief and final result
This shot is the continuation of the last shot edited, when she wakes up. The brief for this shot was to add some smashing glass into her real world – that disappears off as she realises it was a flashback.
In the following video, we can see the project, including the final version, the original version, the first version and the VFX breakdown.
Now, I am going to go through he whole script and the corrections, in order to explain how did I get to the final result and explain very step.
Analysis of the script
Prepare the footage
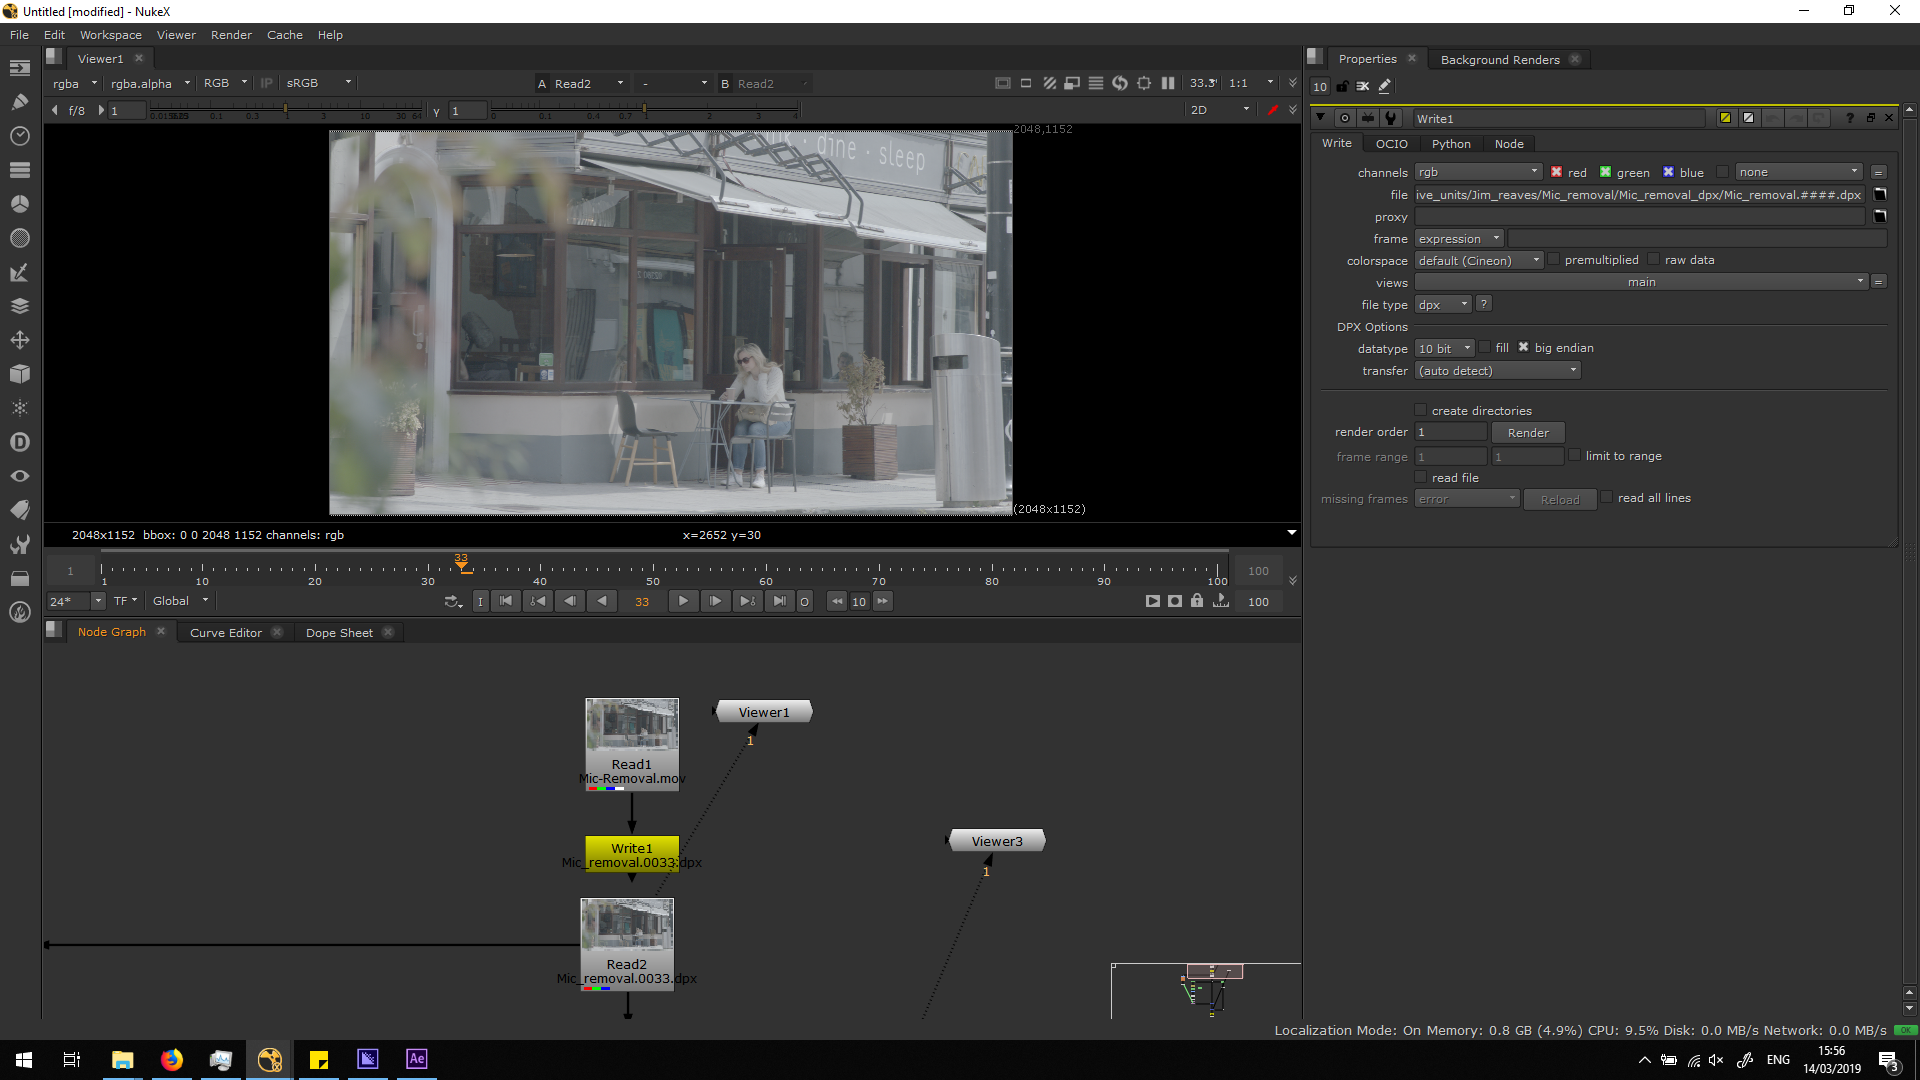
The first thing we need to make while editing a footage is exporting that footage into .dpx format. DPX format exports every frame of the footage as a single image with no compression, this means that is a lossless format, bigger than the original .mov format. Therefore, it needs to be done to preserve the maximum quality of the footage while working with it, in order to have a major quality in the final exportation. Otherwise, while working on a shot, it is unavoidable to lose some quality, but if we work over a .dpx this looseness it would not affect to our final exportation, since we are going to be working with a huge footage.
Remove the microphone
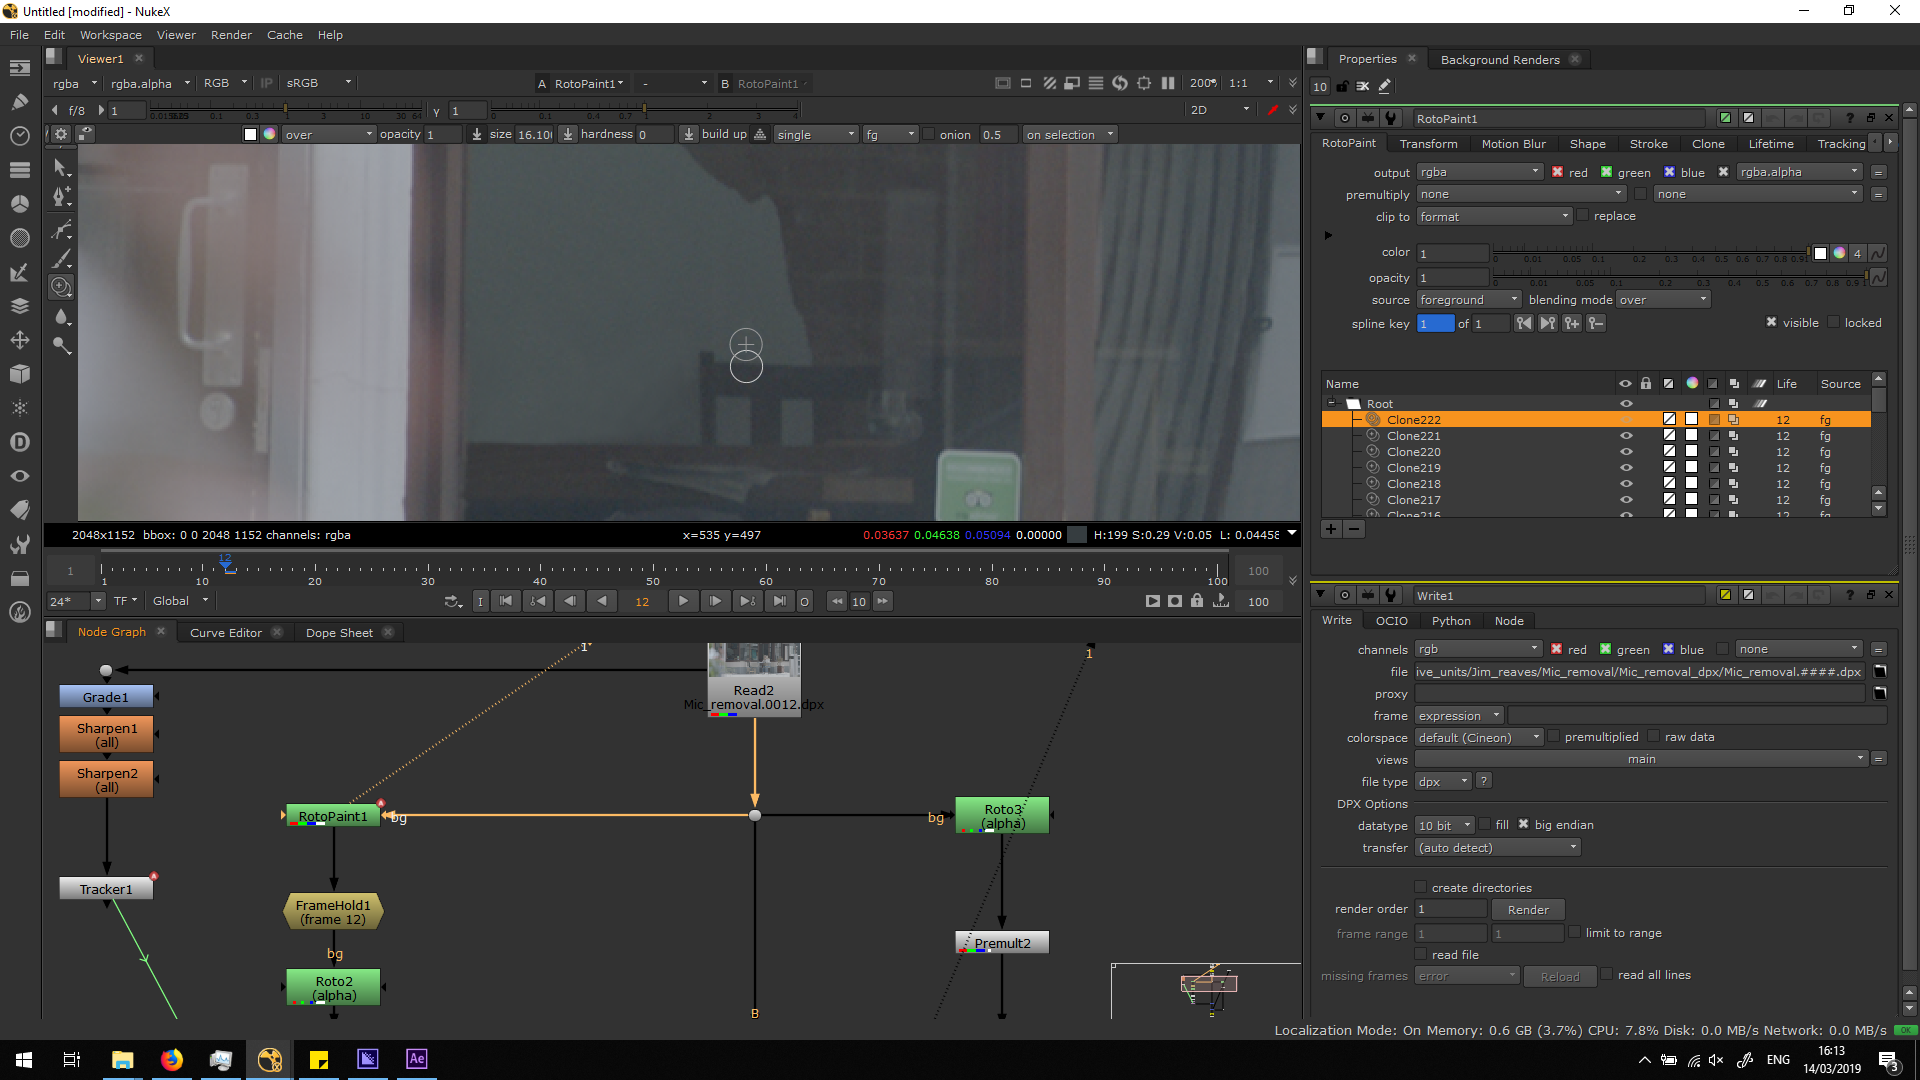
In order to remove the microphone, I did a roto painting. With this note, we can use a brush and paint over the image replacing it with other part of the picture. As we can see in the image, we have two brushes: The white one is the part of the image that is going to be replaced, and the grey one is the pattern it is going to use to replace it.
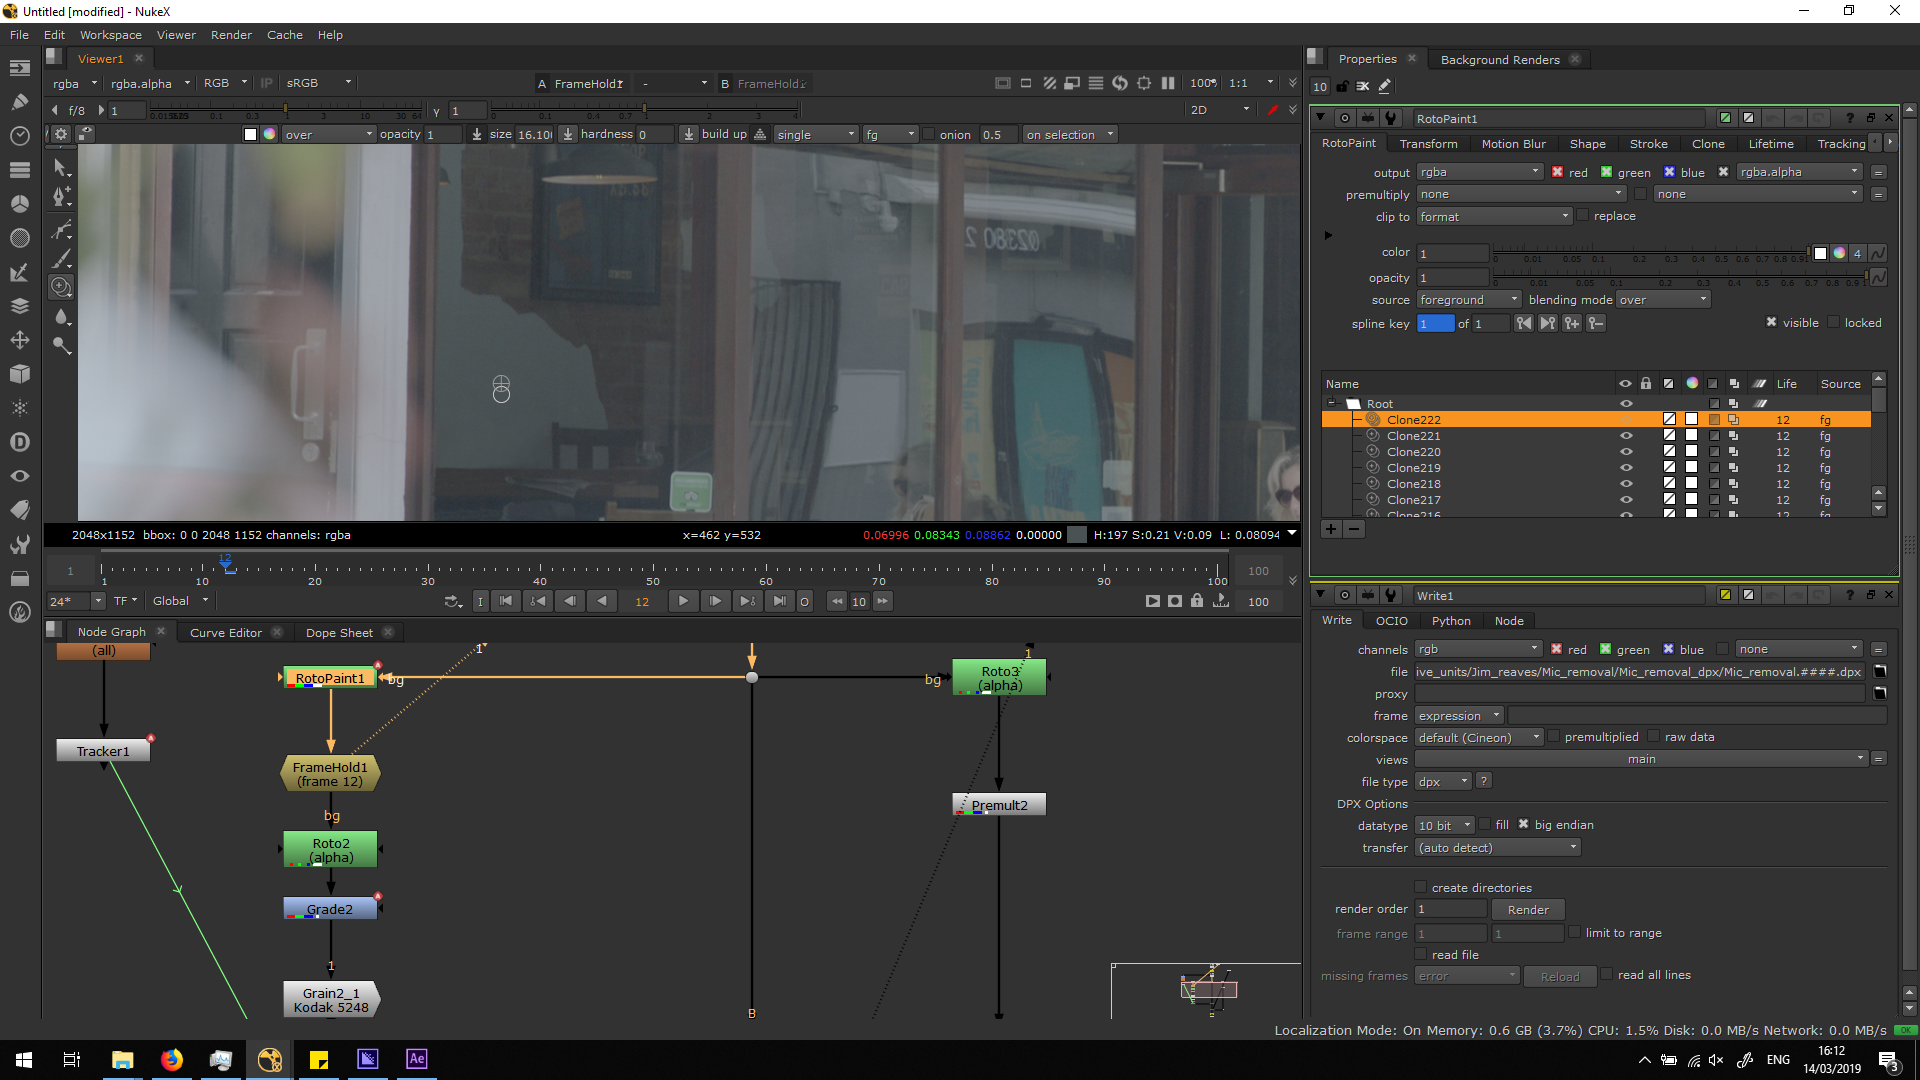
Usually, we would do the roto paintin in frame one, but as there is a car passing by, we will do the roto painting from frame 12. We will paint the area until the microphone completely disappear.
As the roto paintin is only working for frame 12, we will do a framehold on that frame. Therefore, we will have a still image during the shole timeline, in which the microphone is removed.
Therefore, we will need to roto out the area of the wall in whcih the microphone is located, in order to isolate it and blend it over the whole timeline.
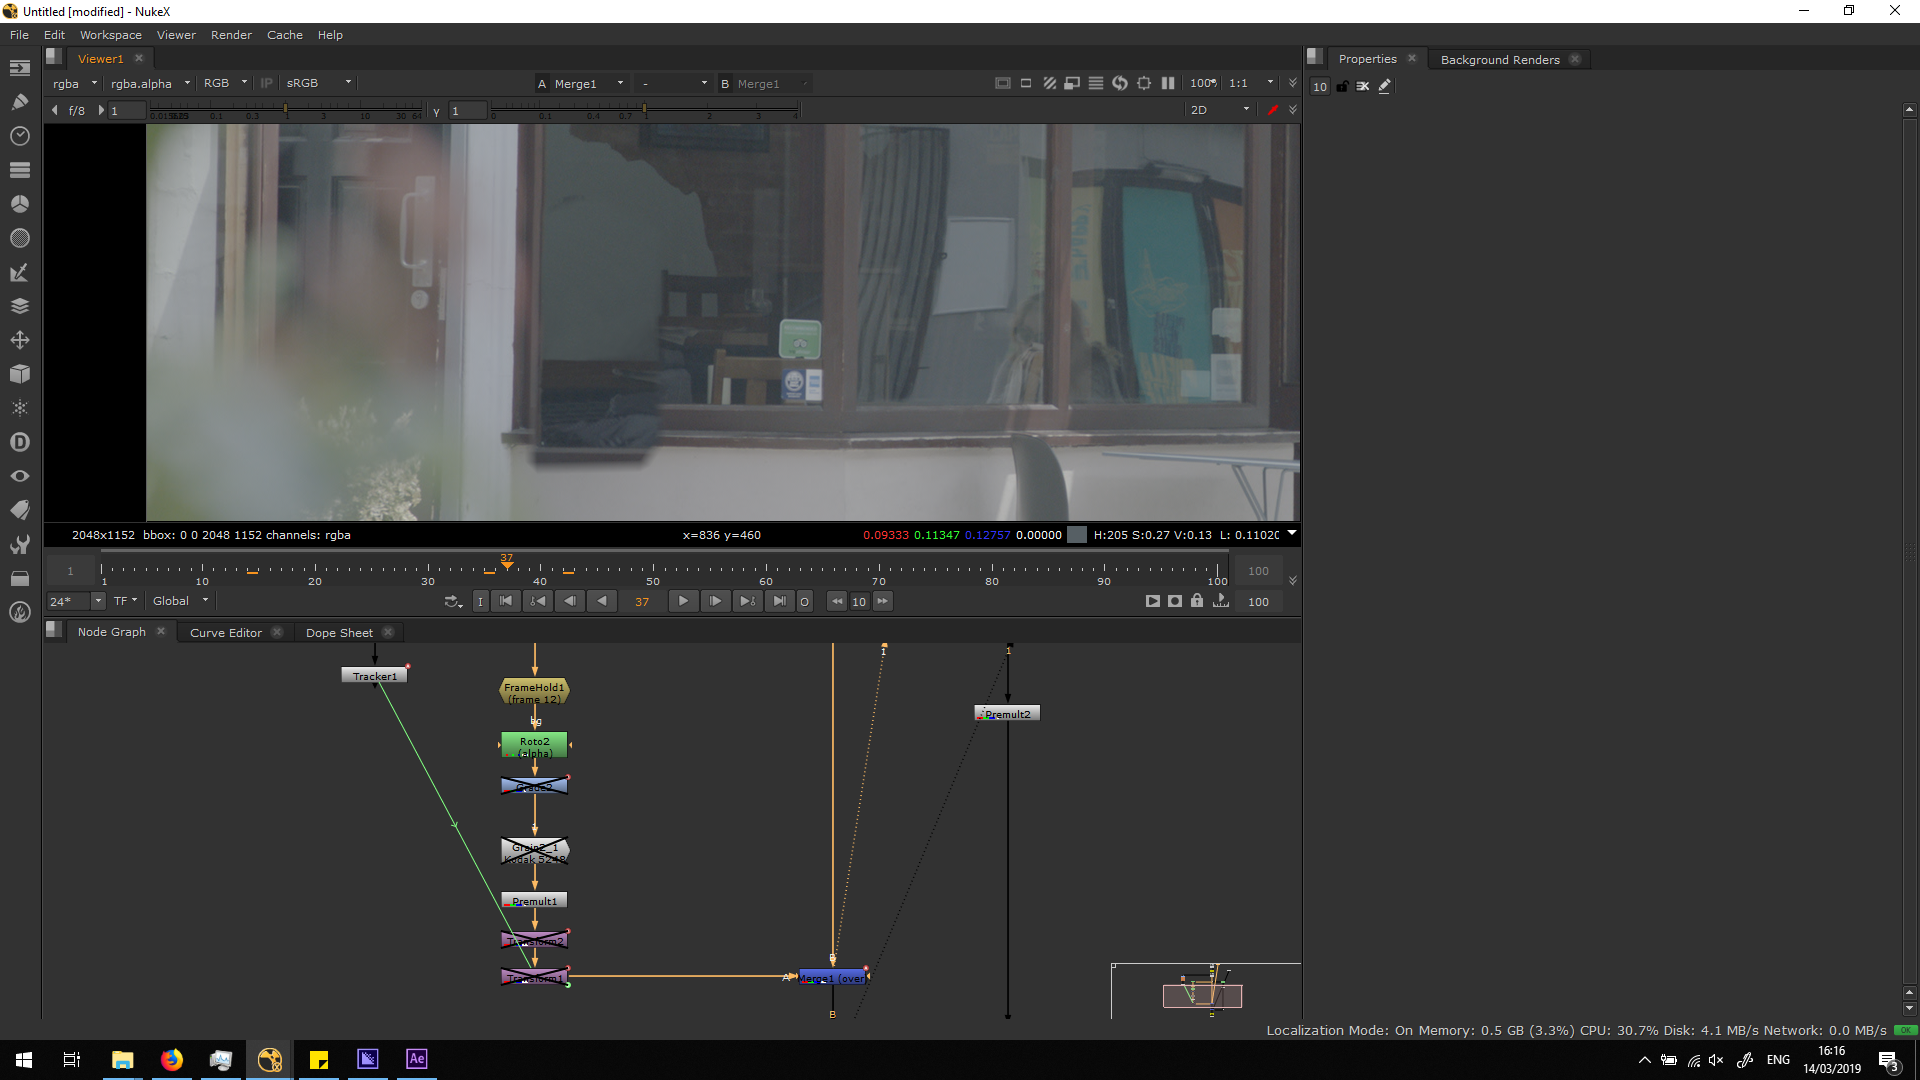
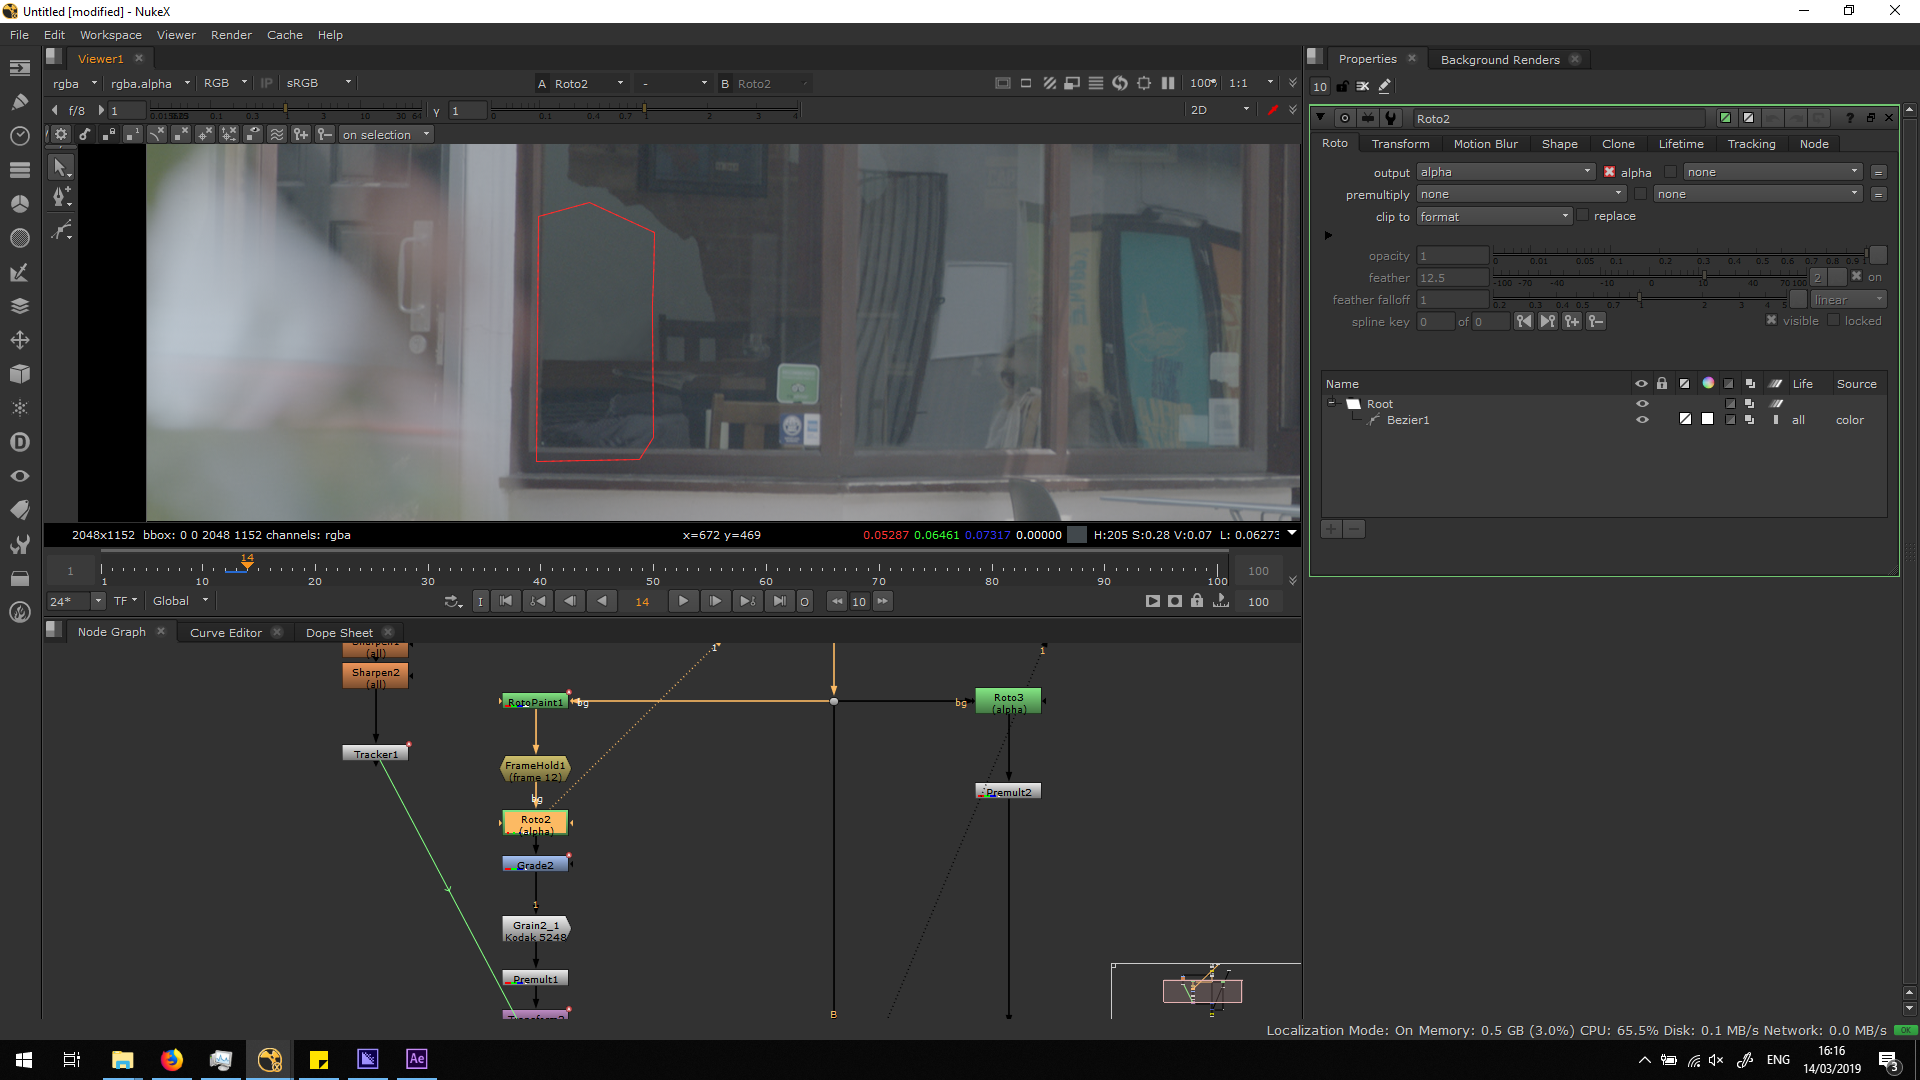 Now, we can premult that roto and see how the roto painting looks along the timeline.
As we can see in the image, the camera has some shaking, so the premultiplied roto is not right located along the timeline.
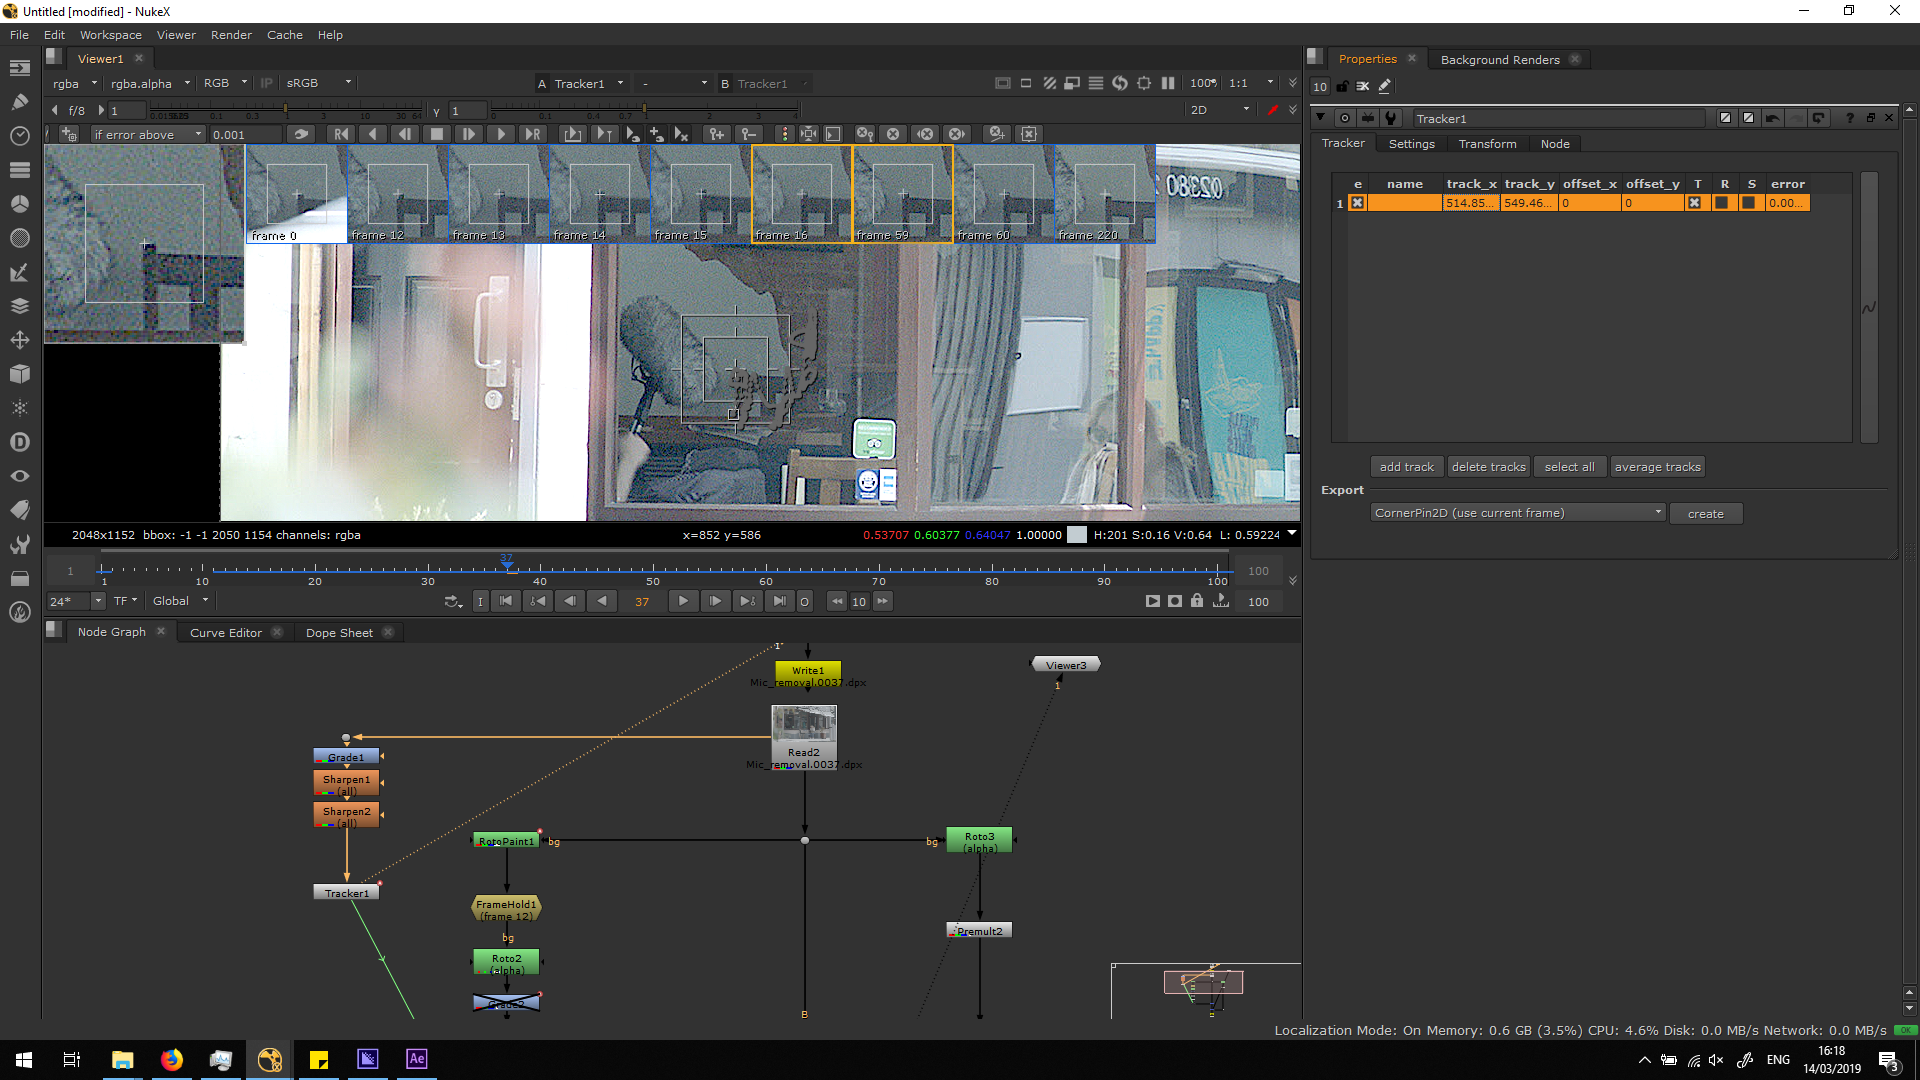
In order to locate it correctly, I did a tracker in the chair to track the camera movement in that area of the footage. In order to have a more accurate tracking, I added a fgrade note to increase the contrast, and a couple or sharpen notes. This note will define better the limits between the objkects in the pictures, so the pattern that the tracking will sear will be more obvious, and consequiently the tracking will be more efficient.
 Once the camera movement is tracked, I added a transform note to the premultiplied roto, and I copied the translation values from the roto to the transform note.
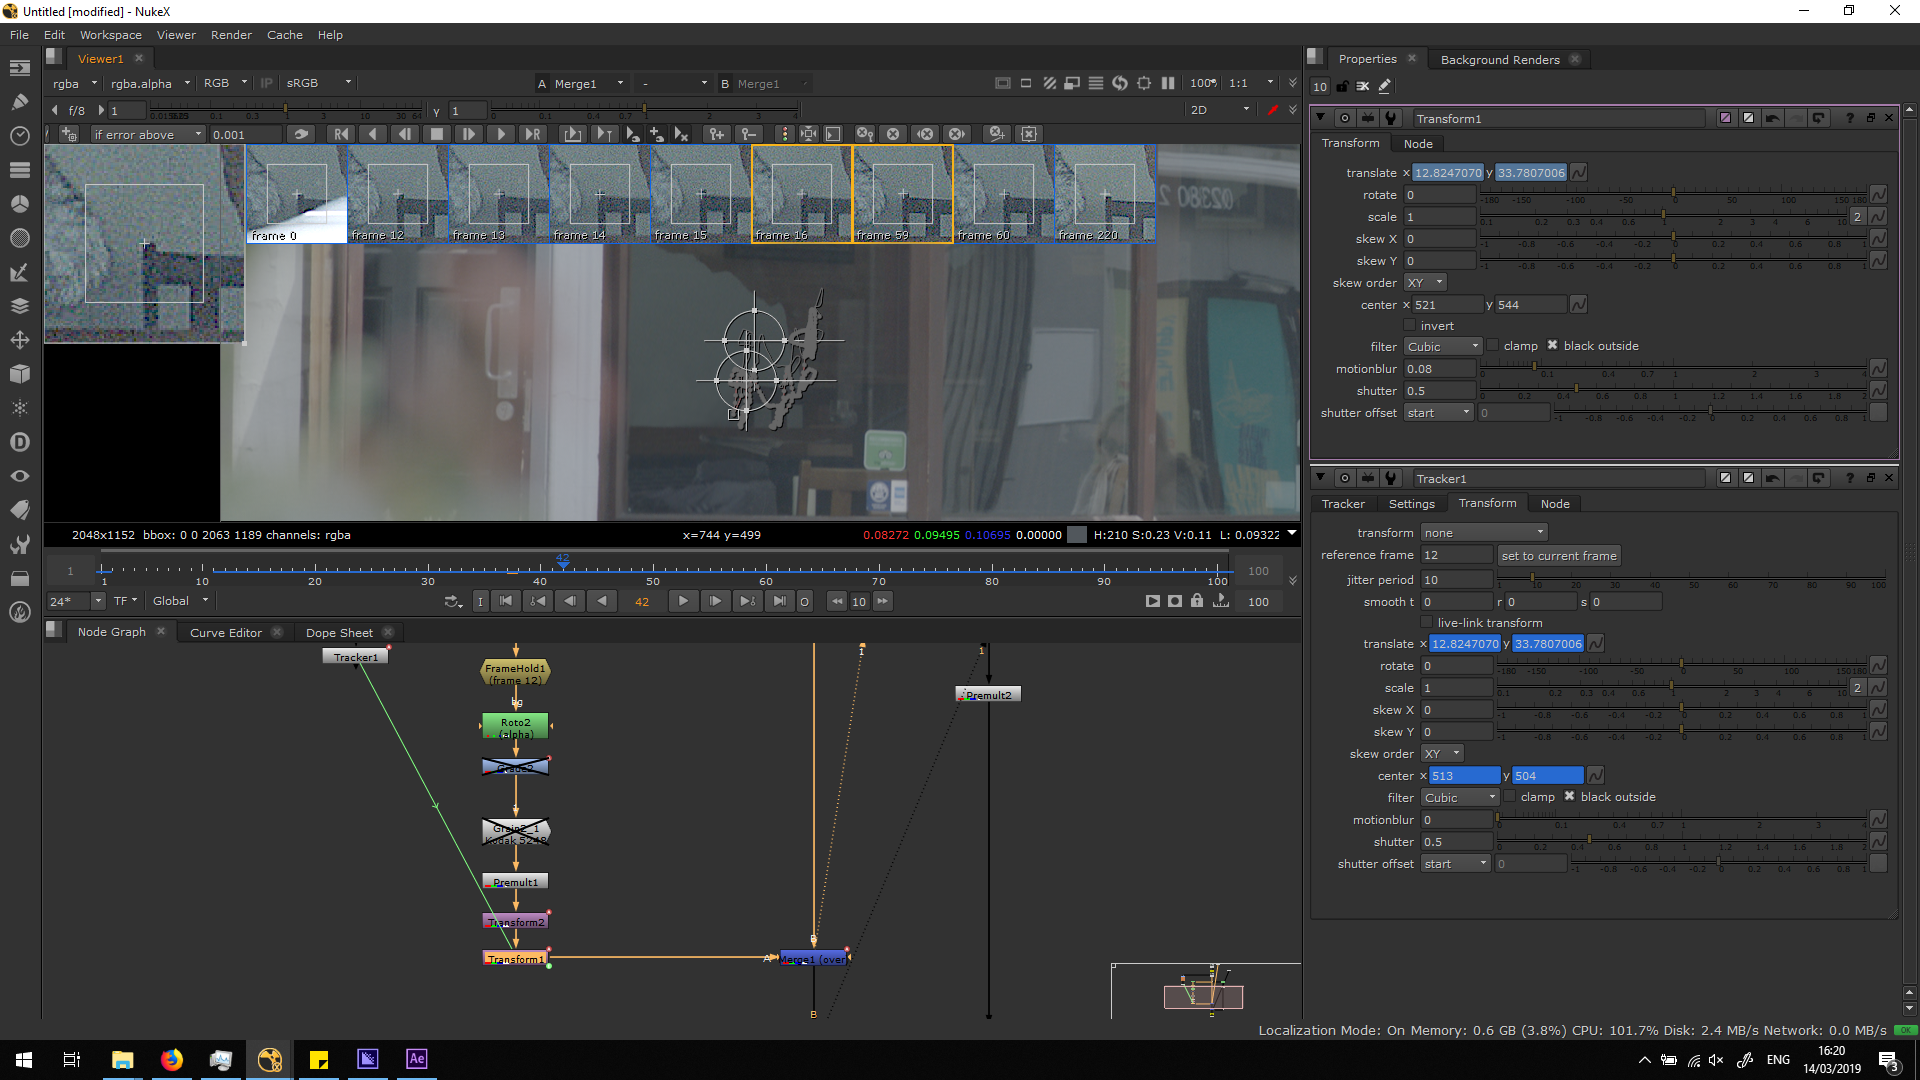
In this way, the premultiplied roto is correctly on it’s place along the timeline.
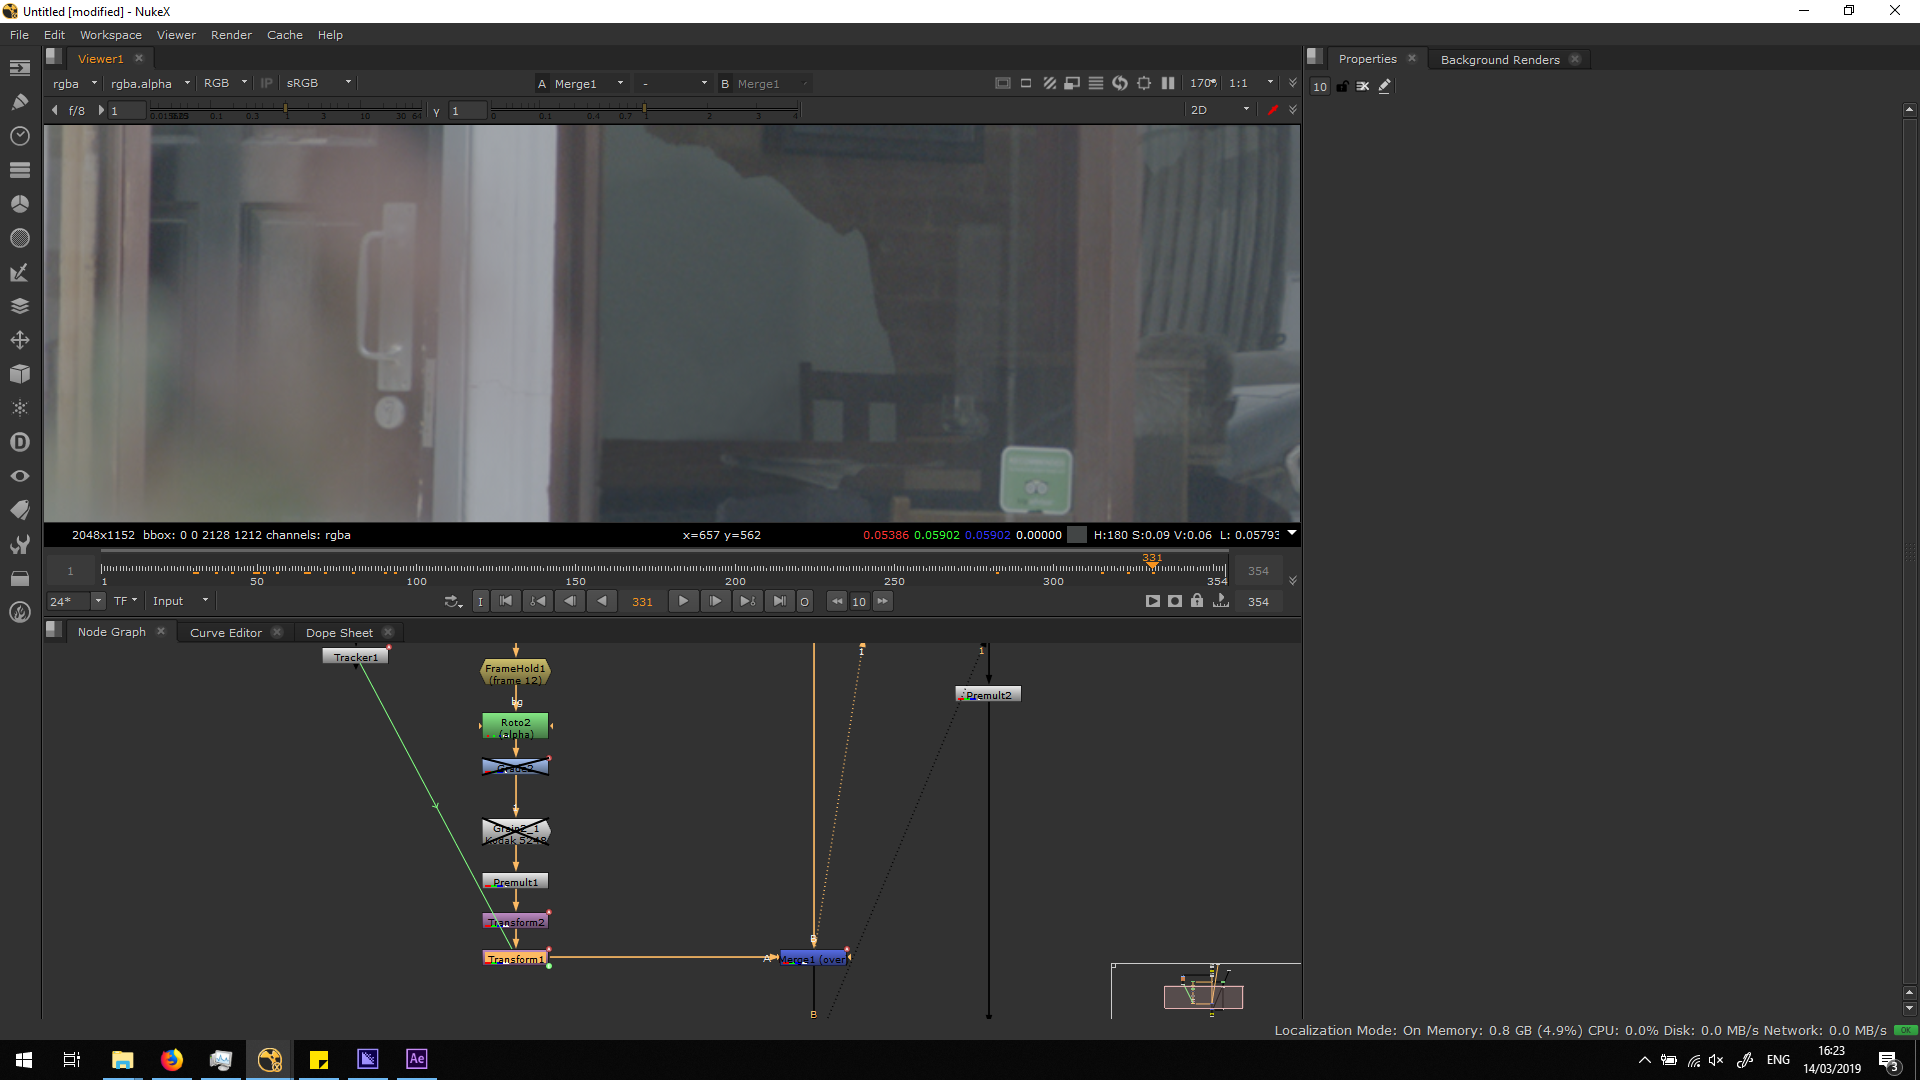
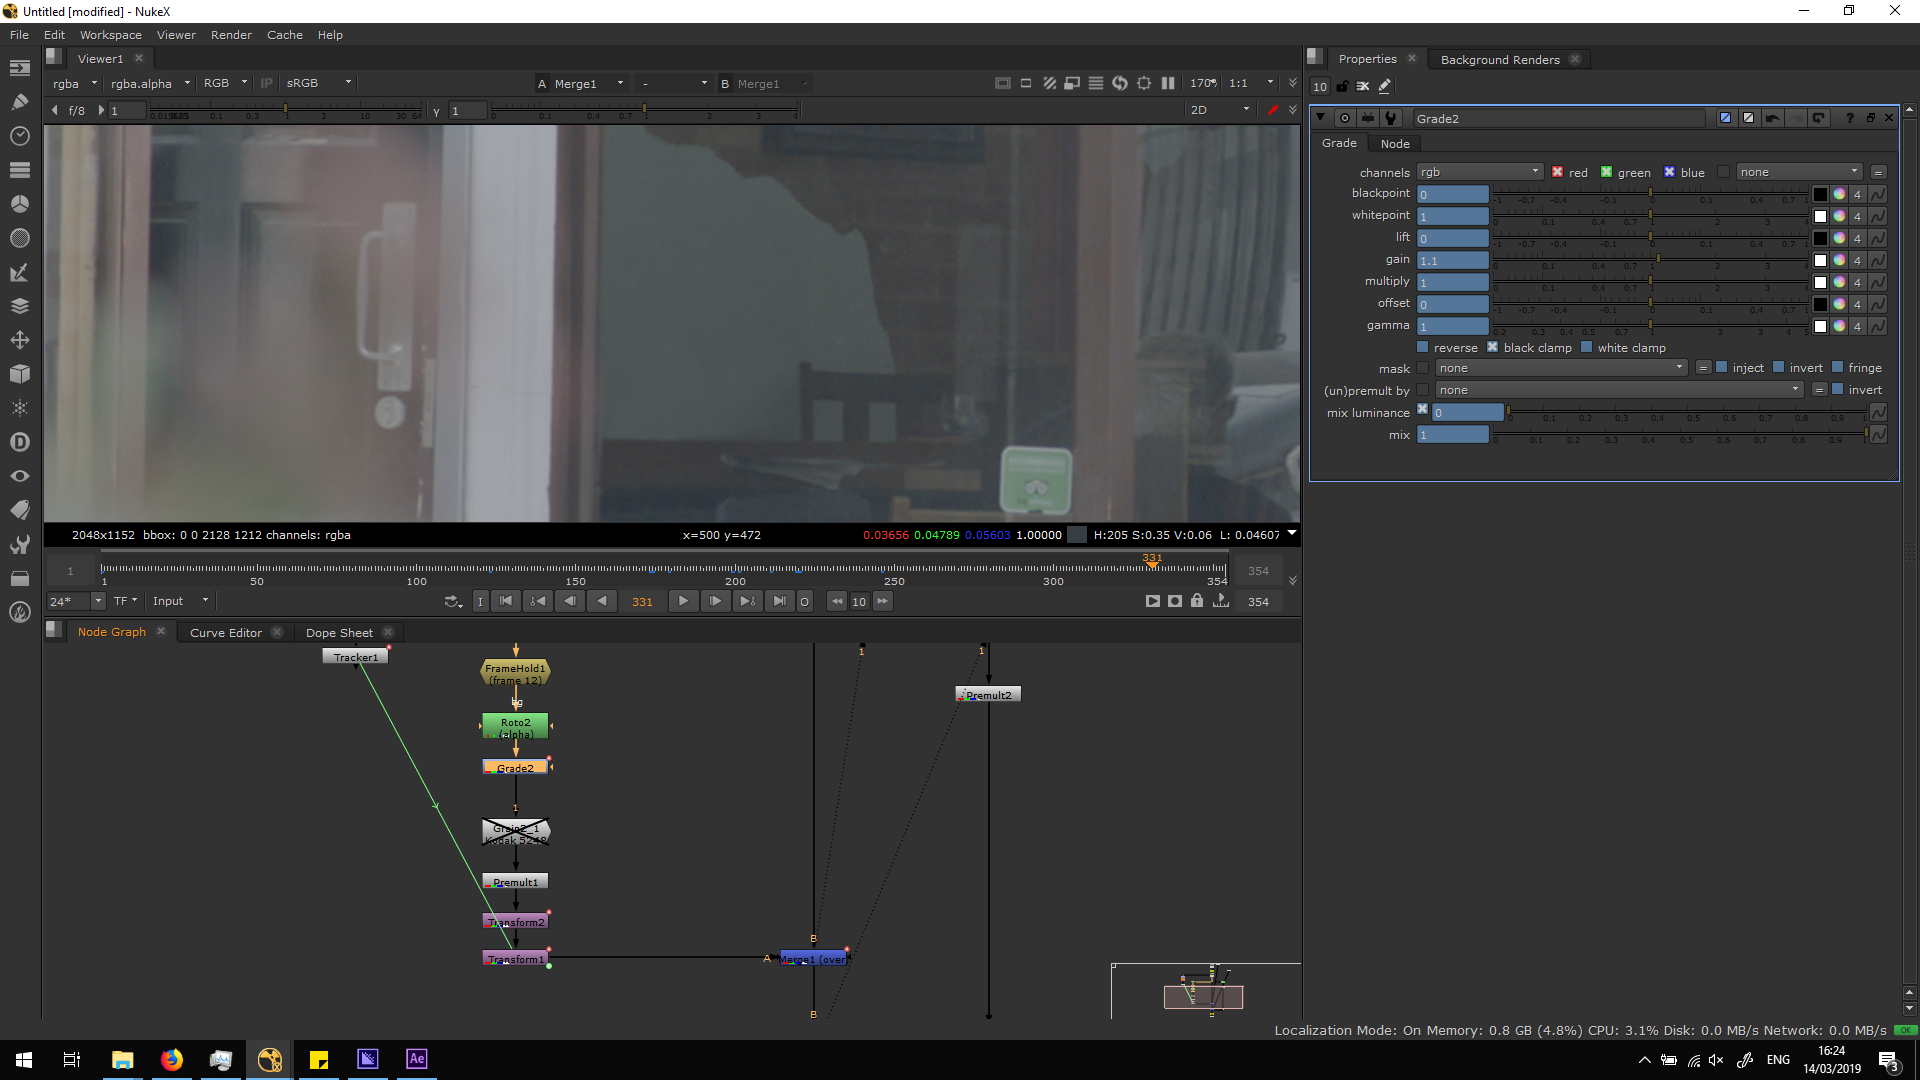
Once the roto is well located, we will need to ensure it blends correctly. In the frame 12 the difference between the roto and the background is unnoticed, since we did the roto painting in that excat frame. But if we se the whole footage we can recognize some areas of the timeline in which there is a difference of luminance between the background and the roto.
In order to correc this, I added a grade not ewith some keyframes, in order to adjust the luminance of the roto along with the one of the original footage alogn the timeline.
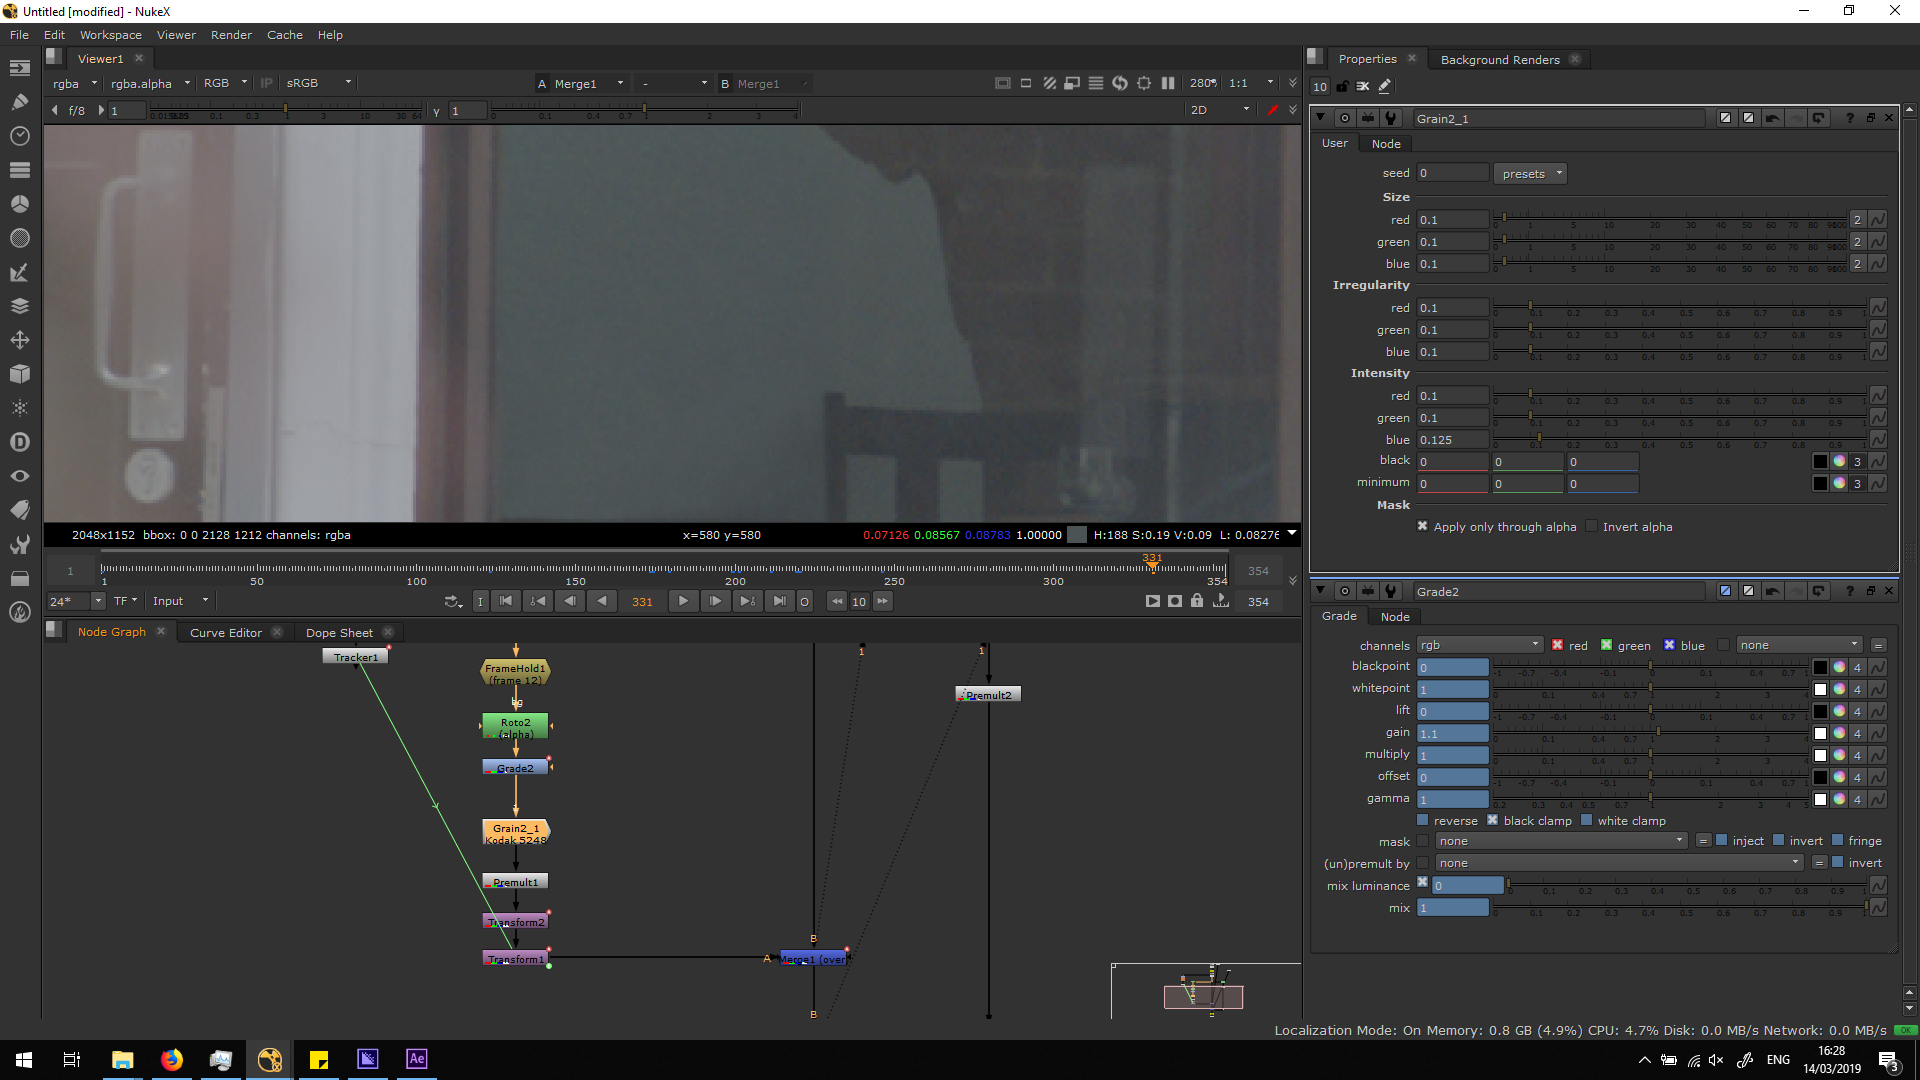
Once we are happy with the grade, there is another thing that we can do to make the roto blend perfectly with the footage and remain unnoticed. When seeing the footage really closely, we will be able to see how it has some noise, which moves and changes along the timeline. As the roto is a still image, this noise is not moving, so it looks unnatural if it is seen in a high scale. In order to fix that, I added a Grain note, playing around with the parameters in order to make the noise match with the one in the footage. This note does not add the grain in a still image, but it also simulates the animation of the grain along the timeline. Therefore, we will also be able to adjust the speed of it.
Mask the car out
The script would end here if we would not have a car passing over the microphrone.
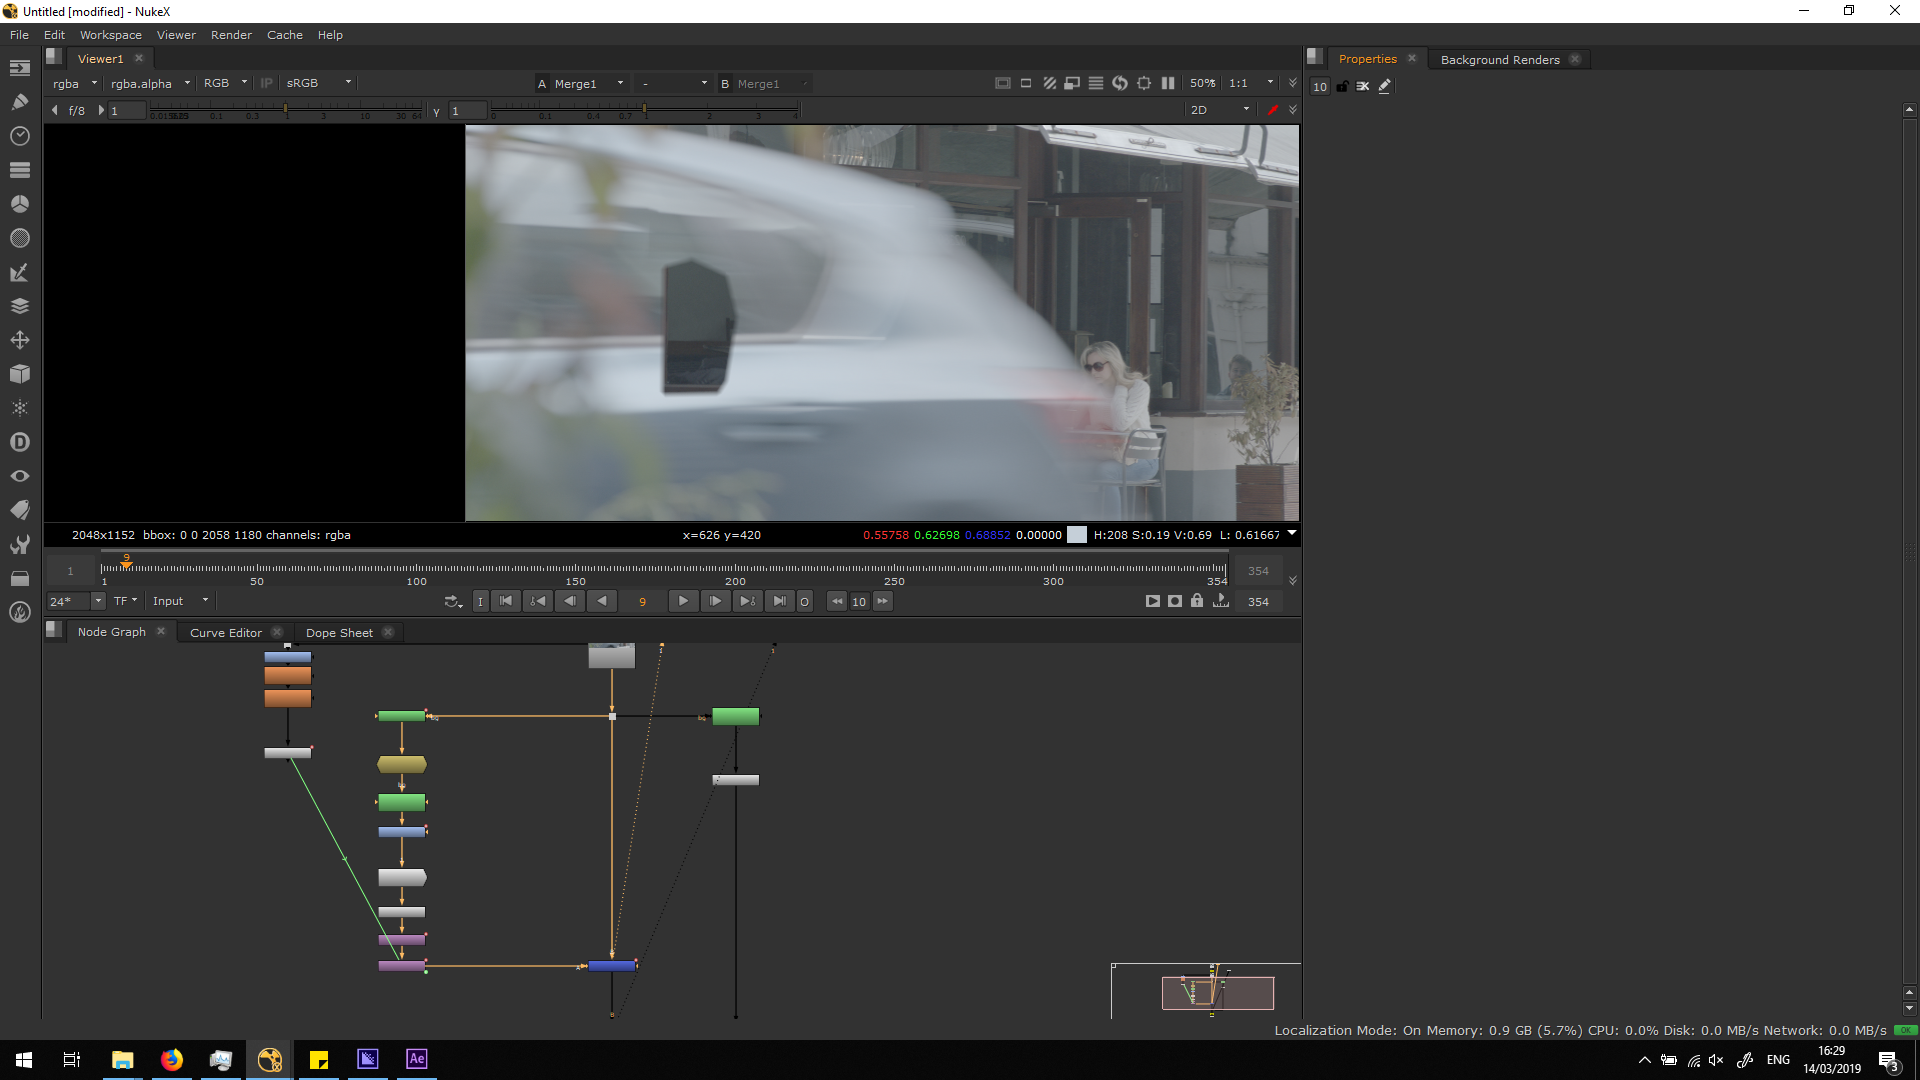
In rder to adjust this, we will only need to do an animated roto of the car, premultiply it, and merge it over the script that we had.
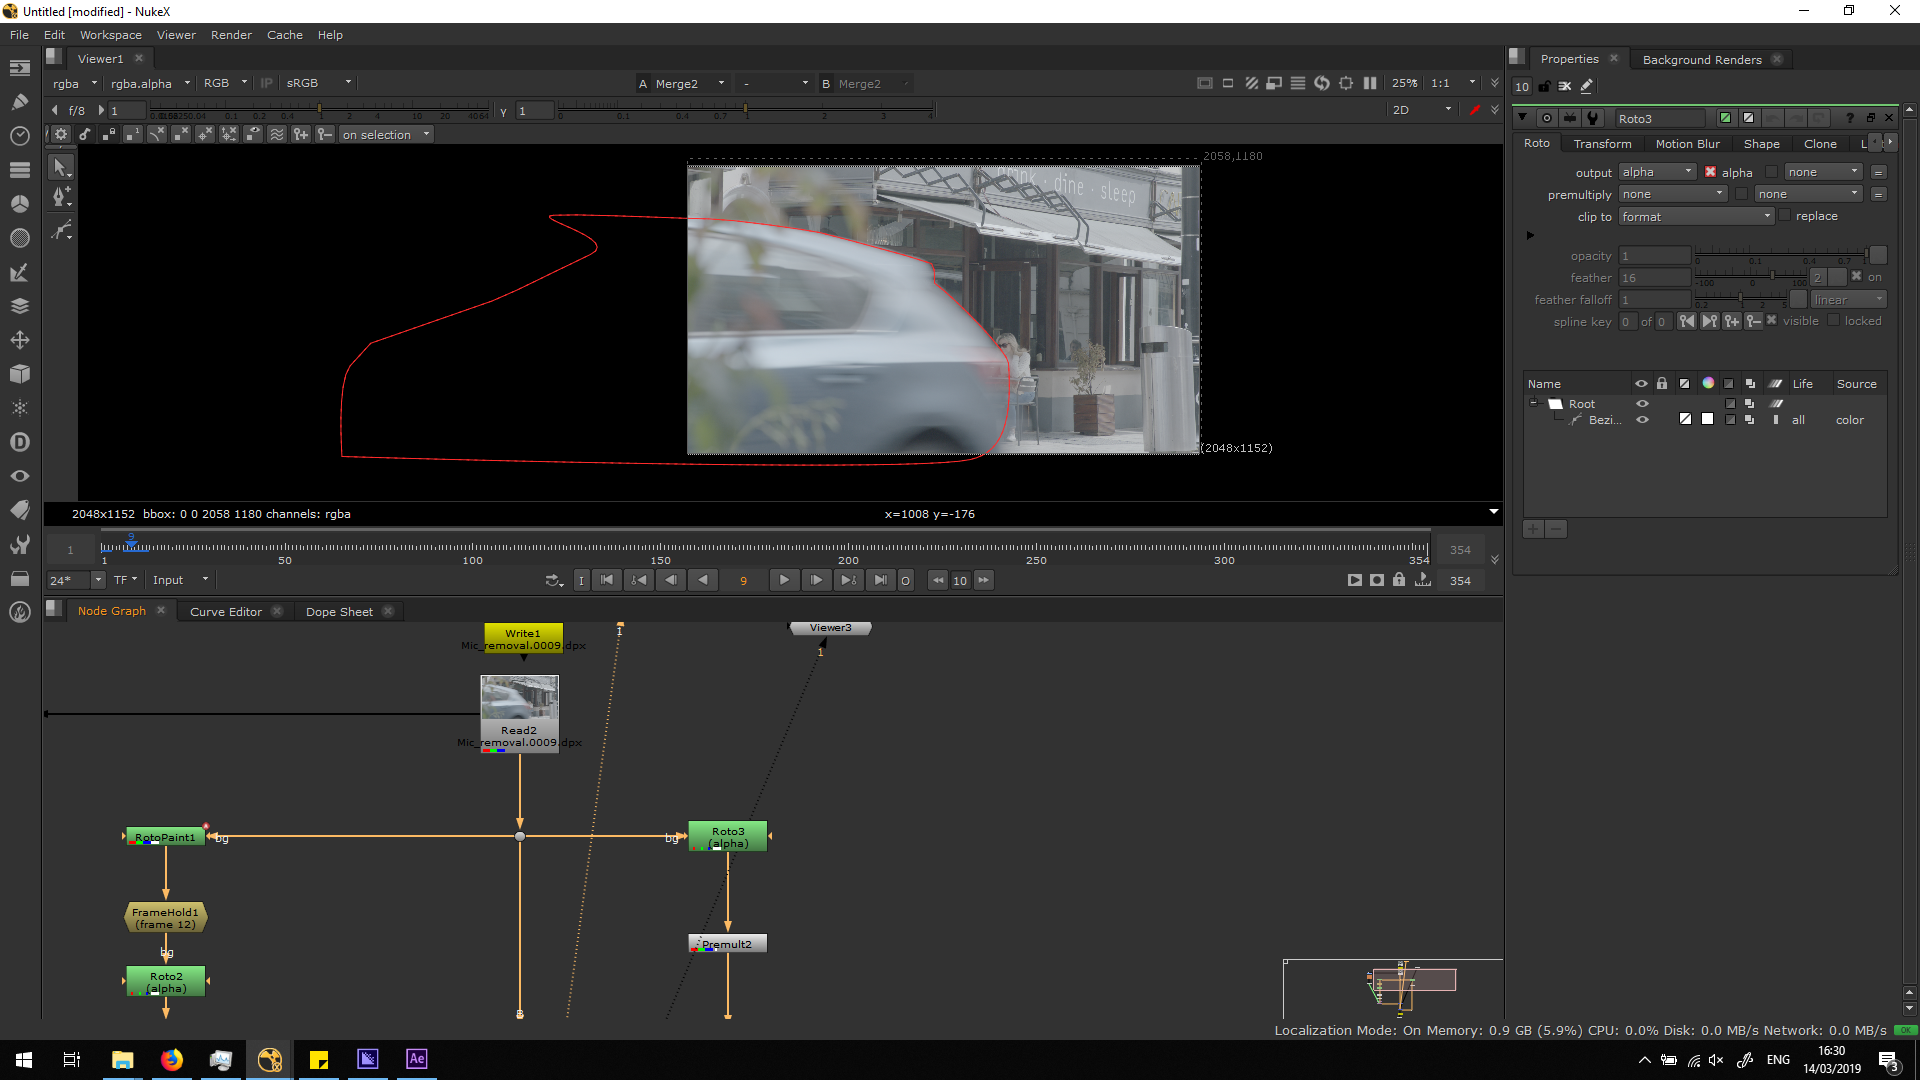 Now, our footage is finally finished, and we can export it.
Export the footage
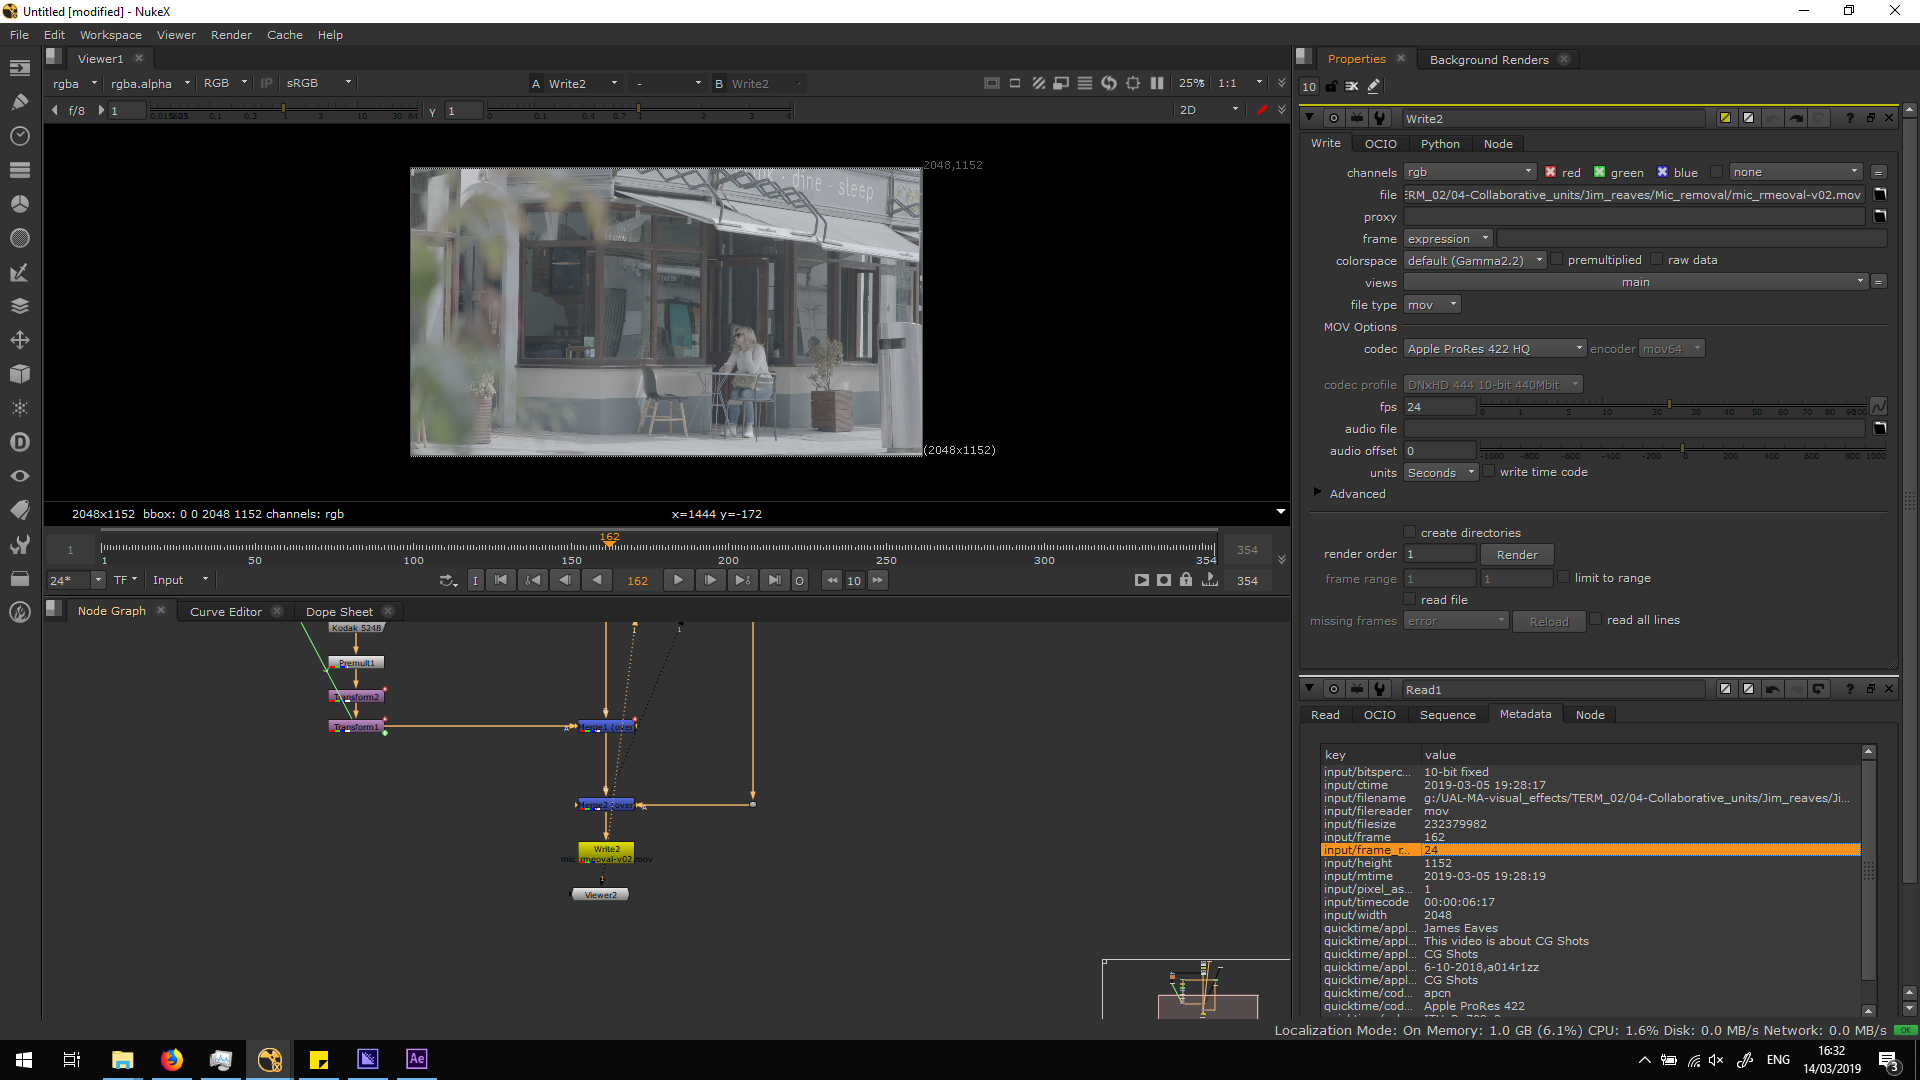
Finally, I exported the sequence in the format we were asked, which in this case is Apple ProRes 422HQ. Watch this blog entry to know more about Apple ProRes. When exporting, we should always take care about having the correct FPS and color space, matching the metadata of the original video.
Script overview
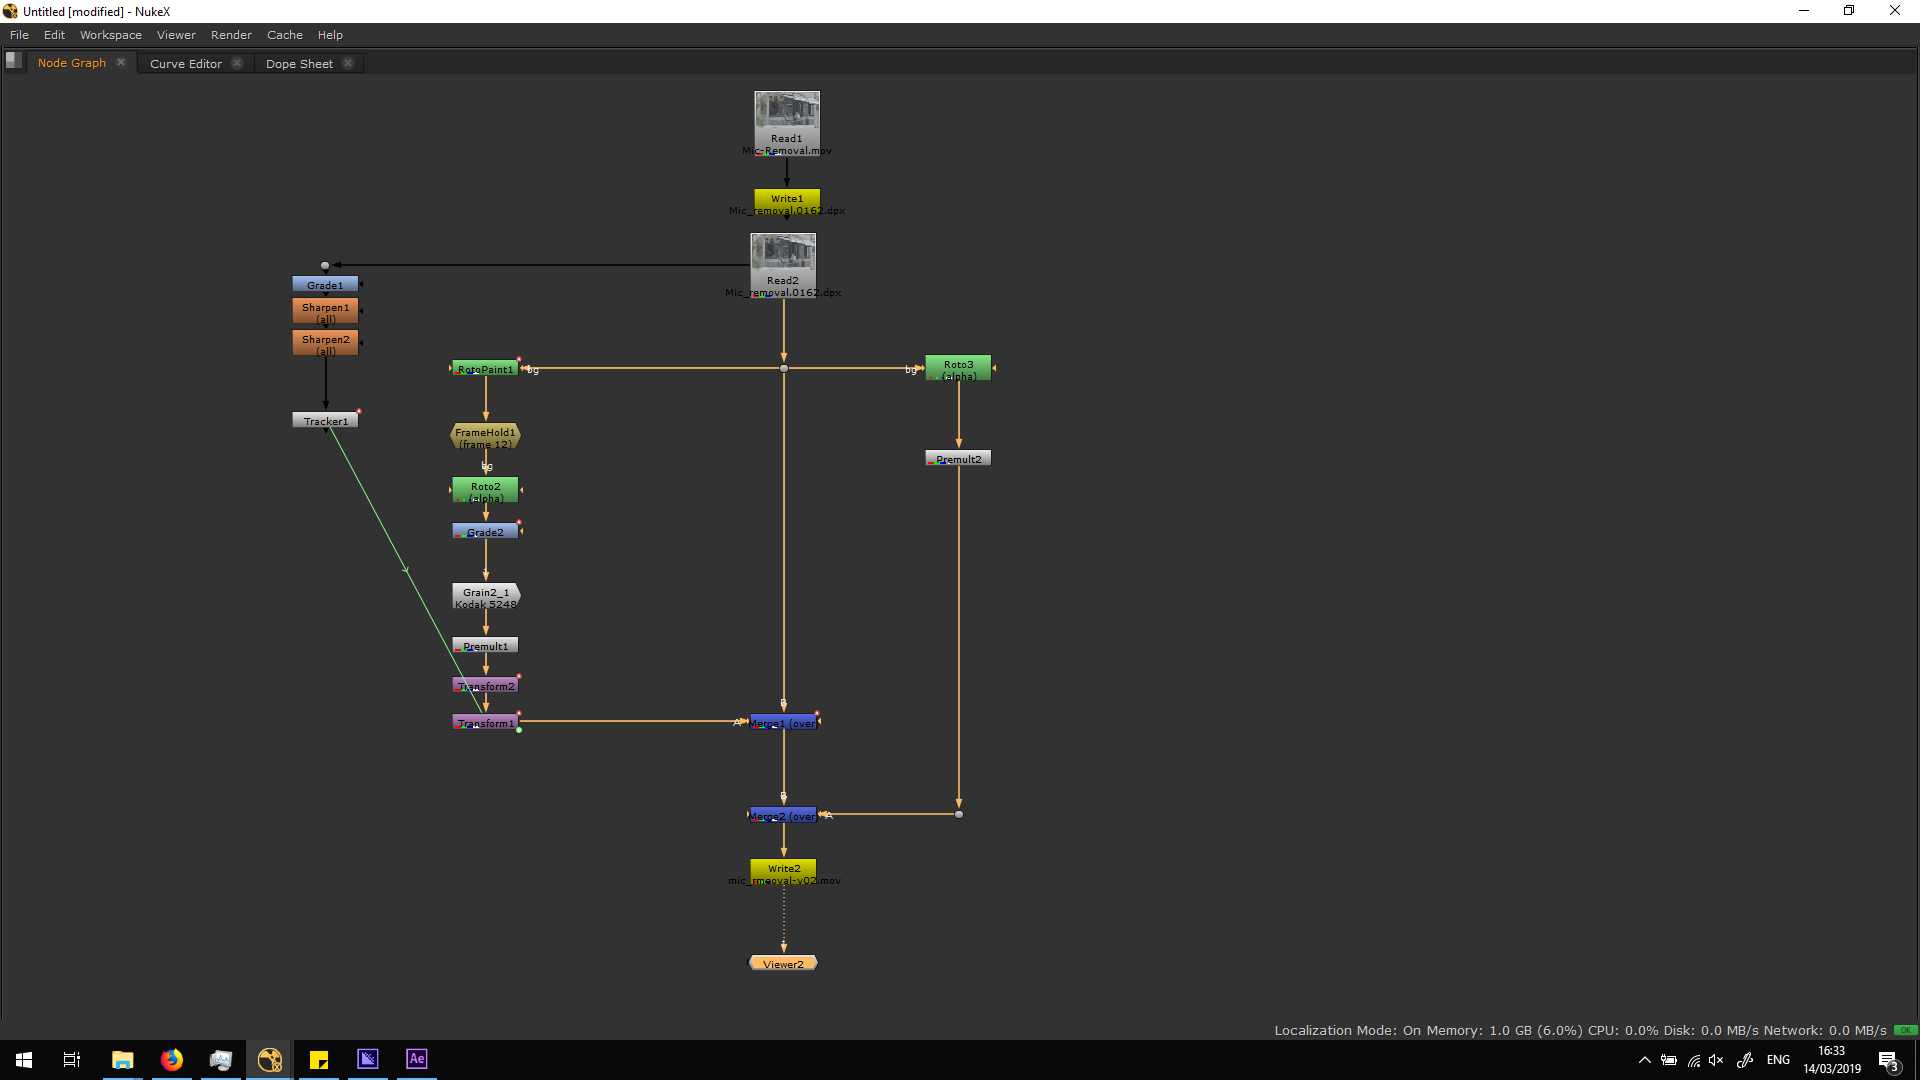
Corrections
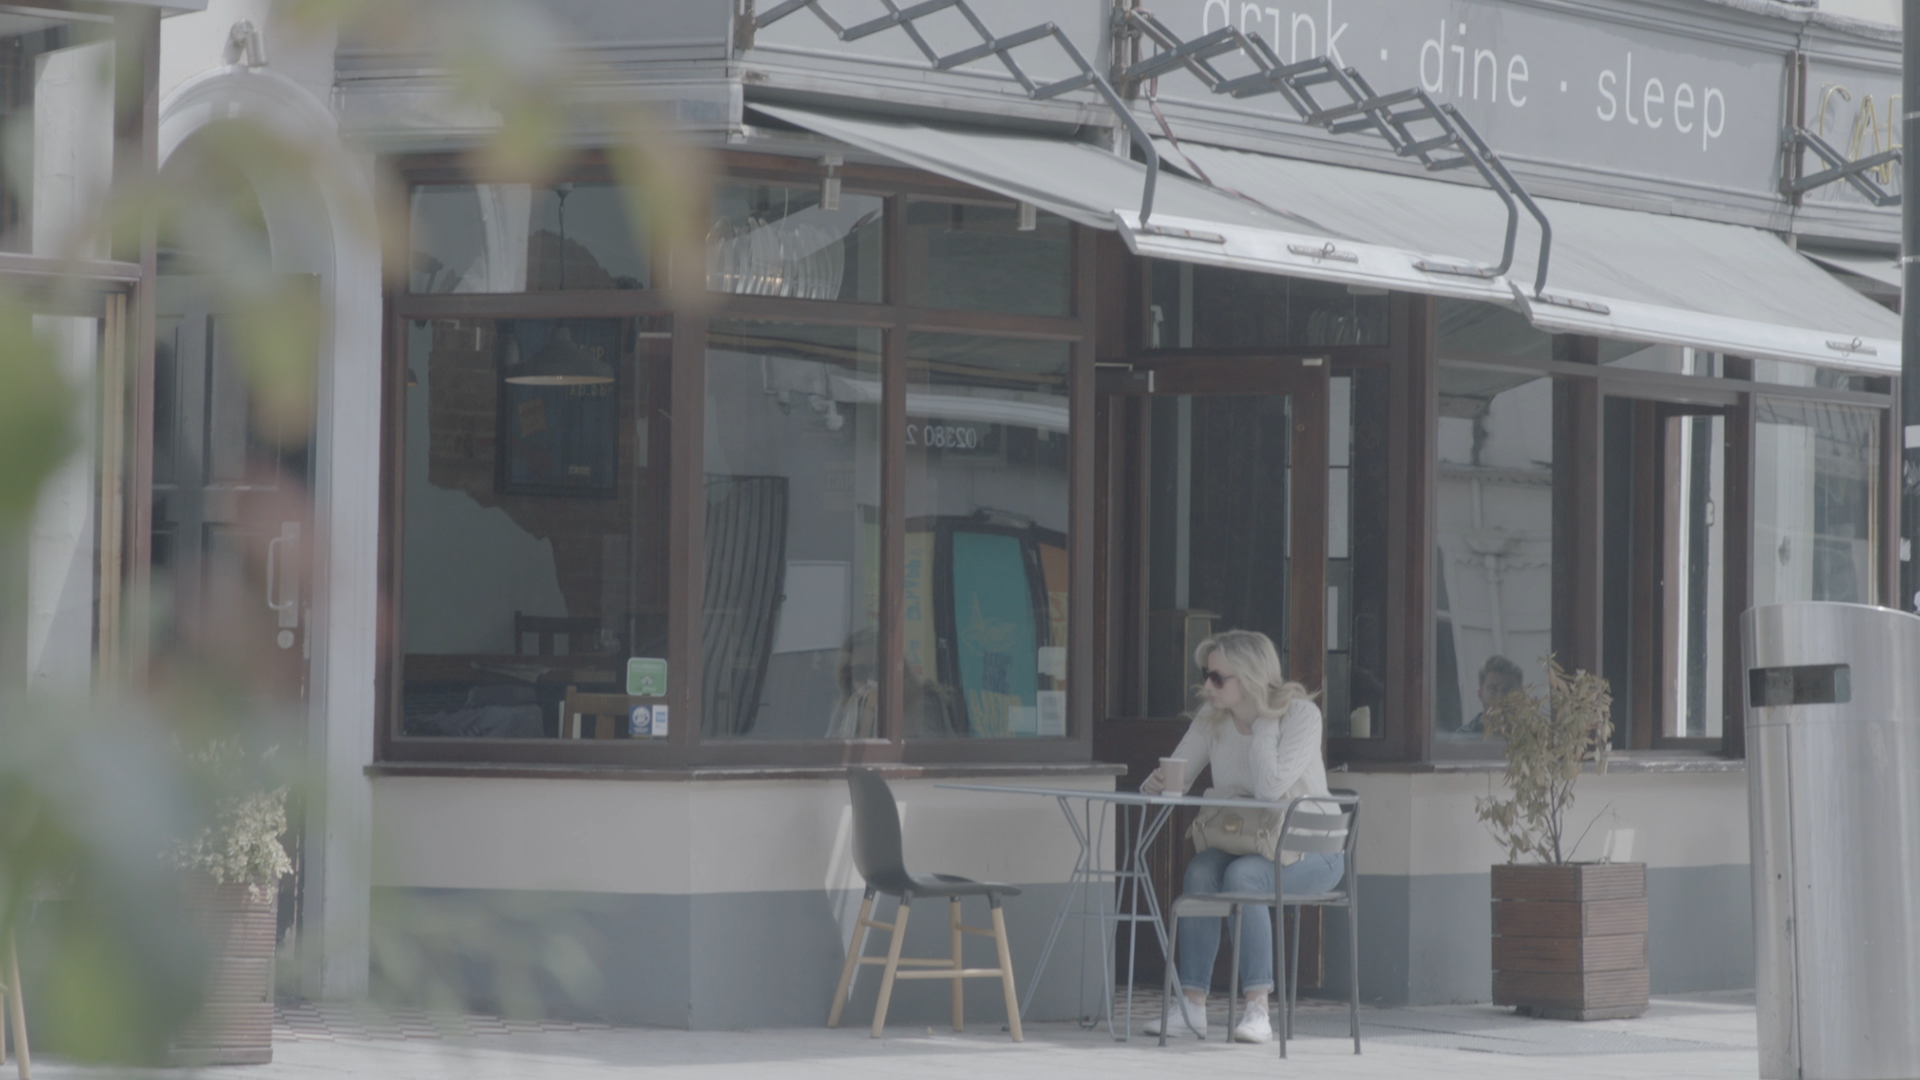
The script of both versions looks the same except because of the Grain note. This is a still image from the first version.
And this one is from the second version.
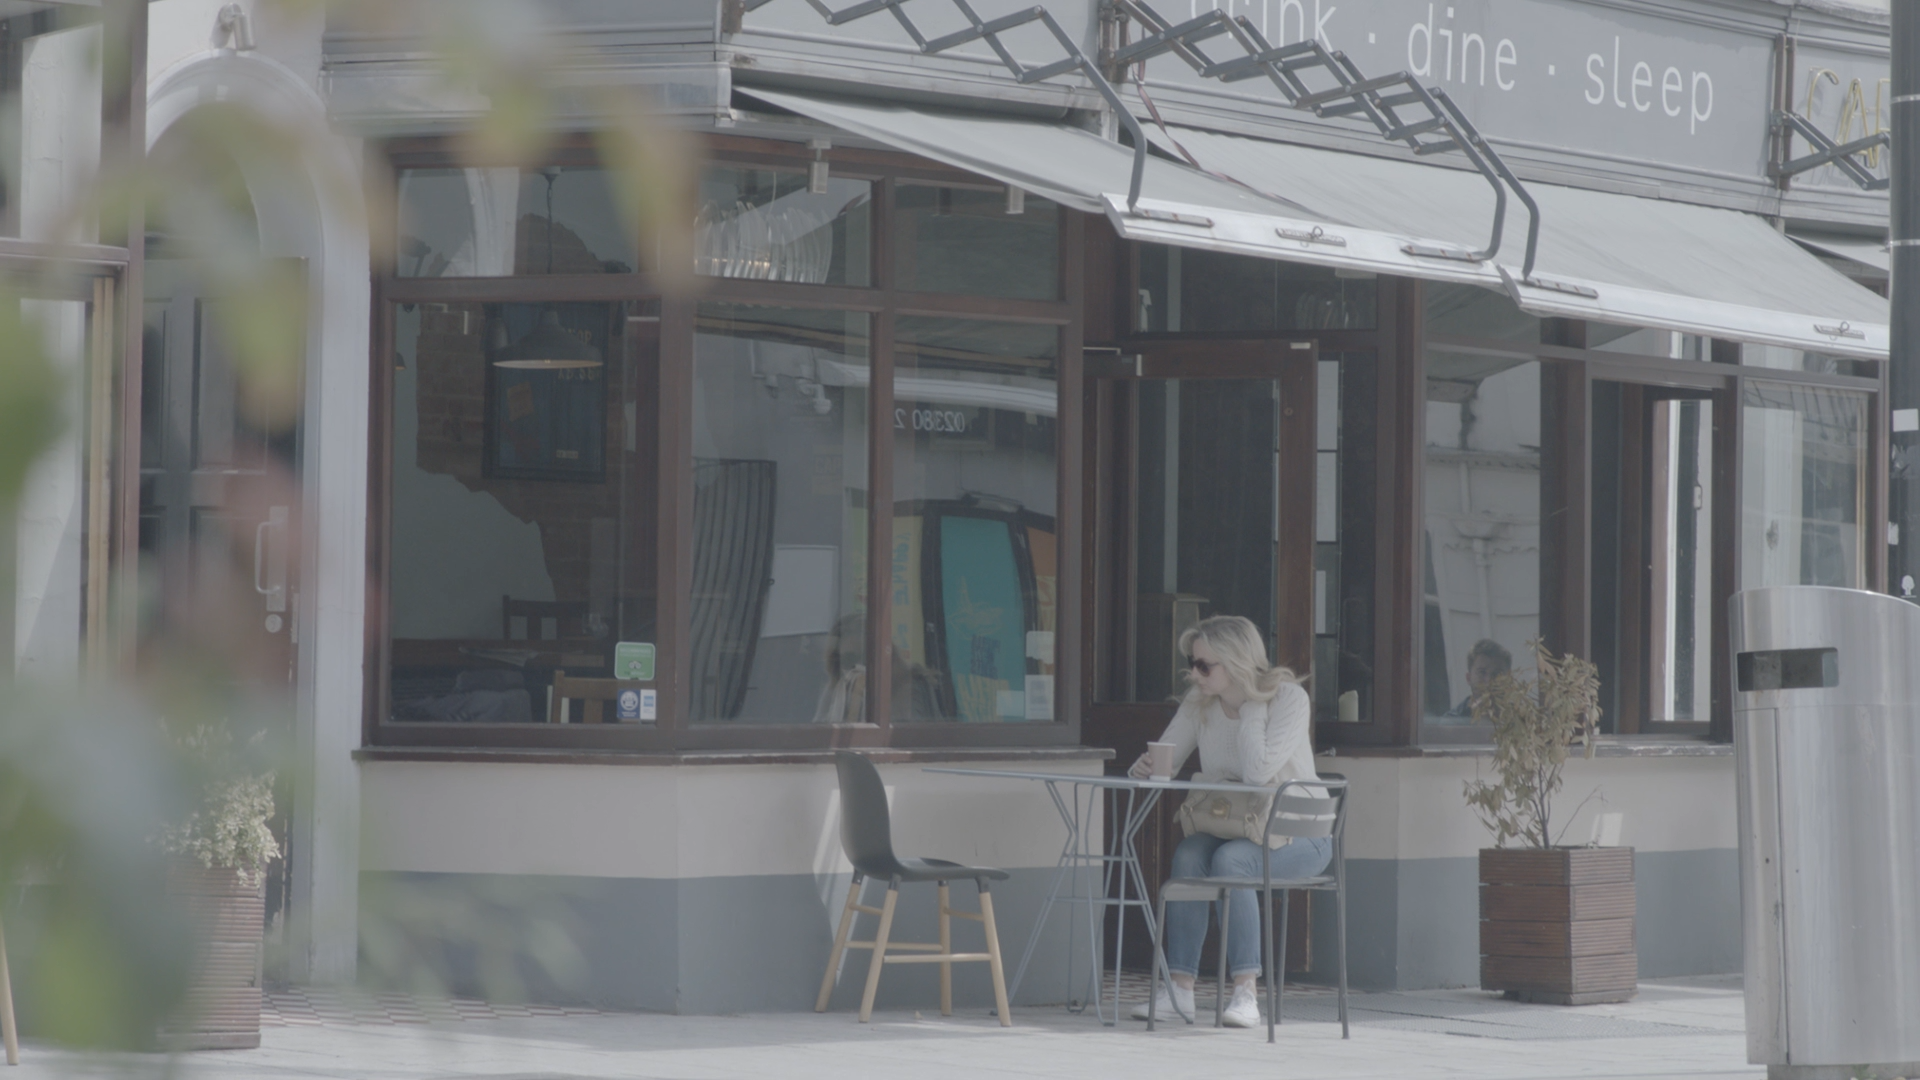 The major change between bot versions is the adding of some grain, and also the refining of the grade note, making the roto blend perfectly with the background.
Conclusion
In general, I think this should not be a mistake in a shooting, since it is always knwon that the right position microphone is something that we really need to take care about and is a common amateur mistake to make it be seen in the frame. Therefore, when having a major film production, I do not expect this kind of mistakes in the shooting.
Anyway, in this particular case, luckily the microphone is placer over a plain background, which made it really easy to remove. But, if the microphone would have been placed over a in a pattenered wall of a moving background, it would have been a really hard work to remove it. and even so it will not have been so natural.
In any case, as we just started to get into the industry and start filming real shots, this is useful as a really good example of how important is to take care of the whole area of the frame. Also, we were able to learn a way of how to fix this problem if we need to face it in the future, which is always really useful.
