Presentation of the brief and final result
In this shot the main character is going to the Endeavour institute that we already edited, and it is explained in this blog entry.
The brief was to place a reflection on the building in her drivers side window as the window goes up, in order to make it obvious that she is going there.
In the following video, we can see the project, including the final version, the original version, and the VFX breakdown.
Analysis of the script
Prepare the footage
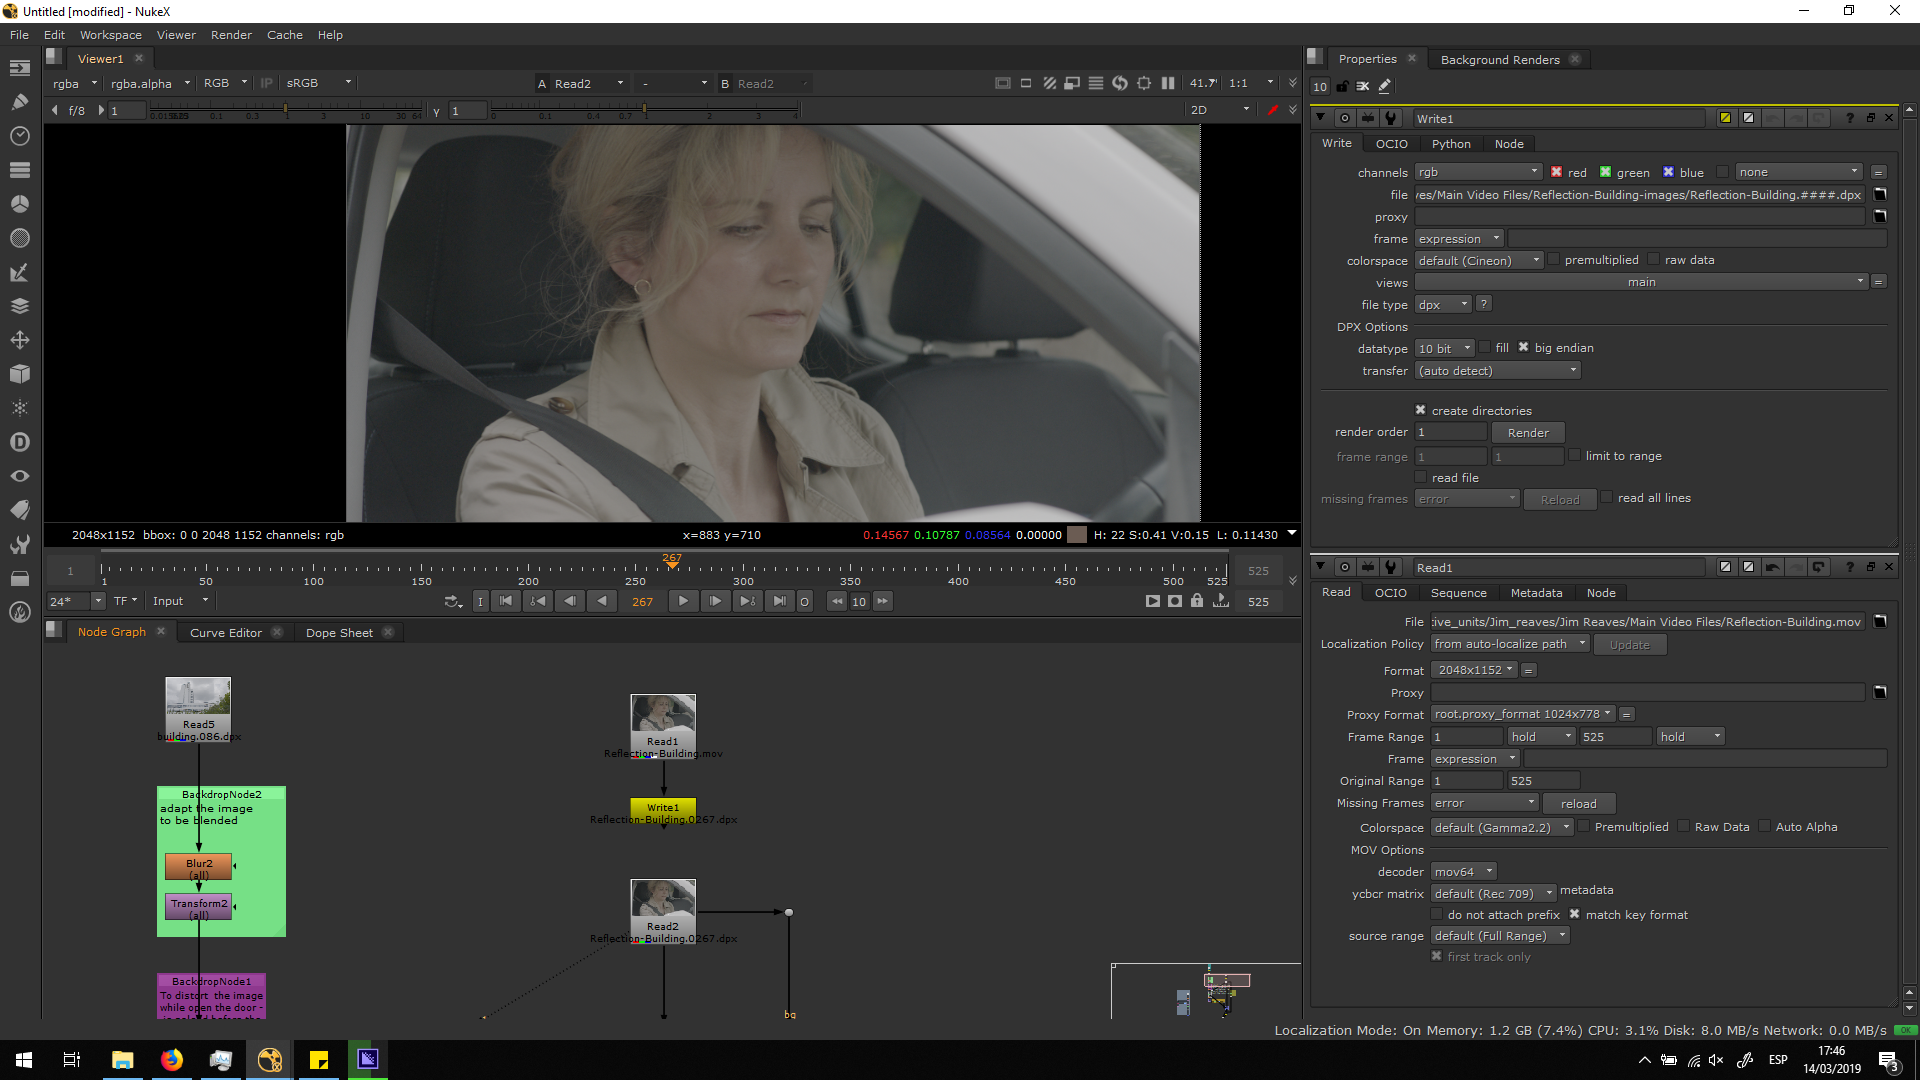
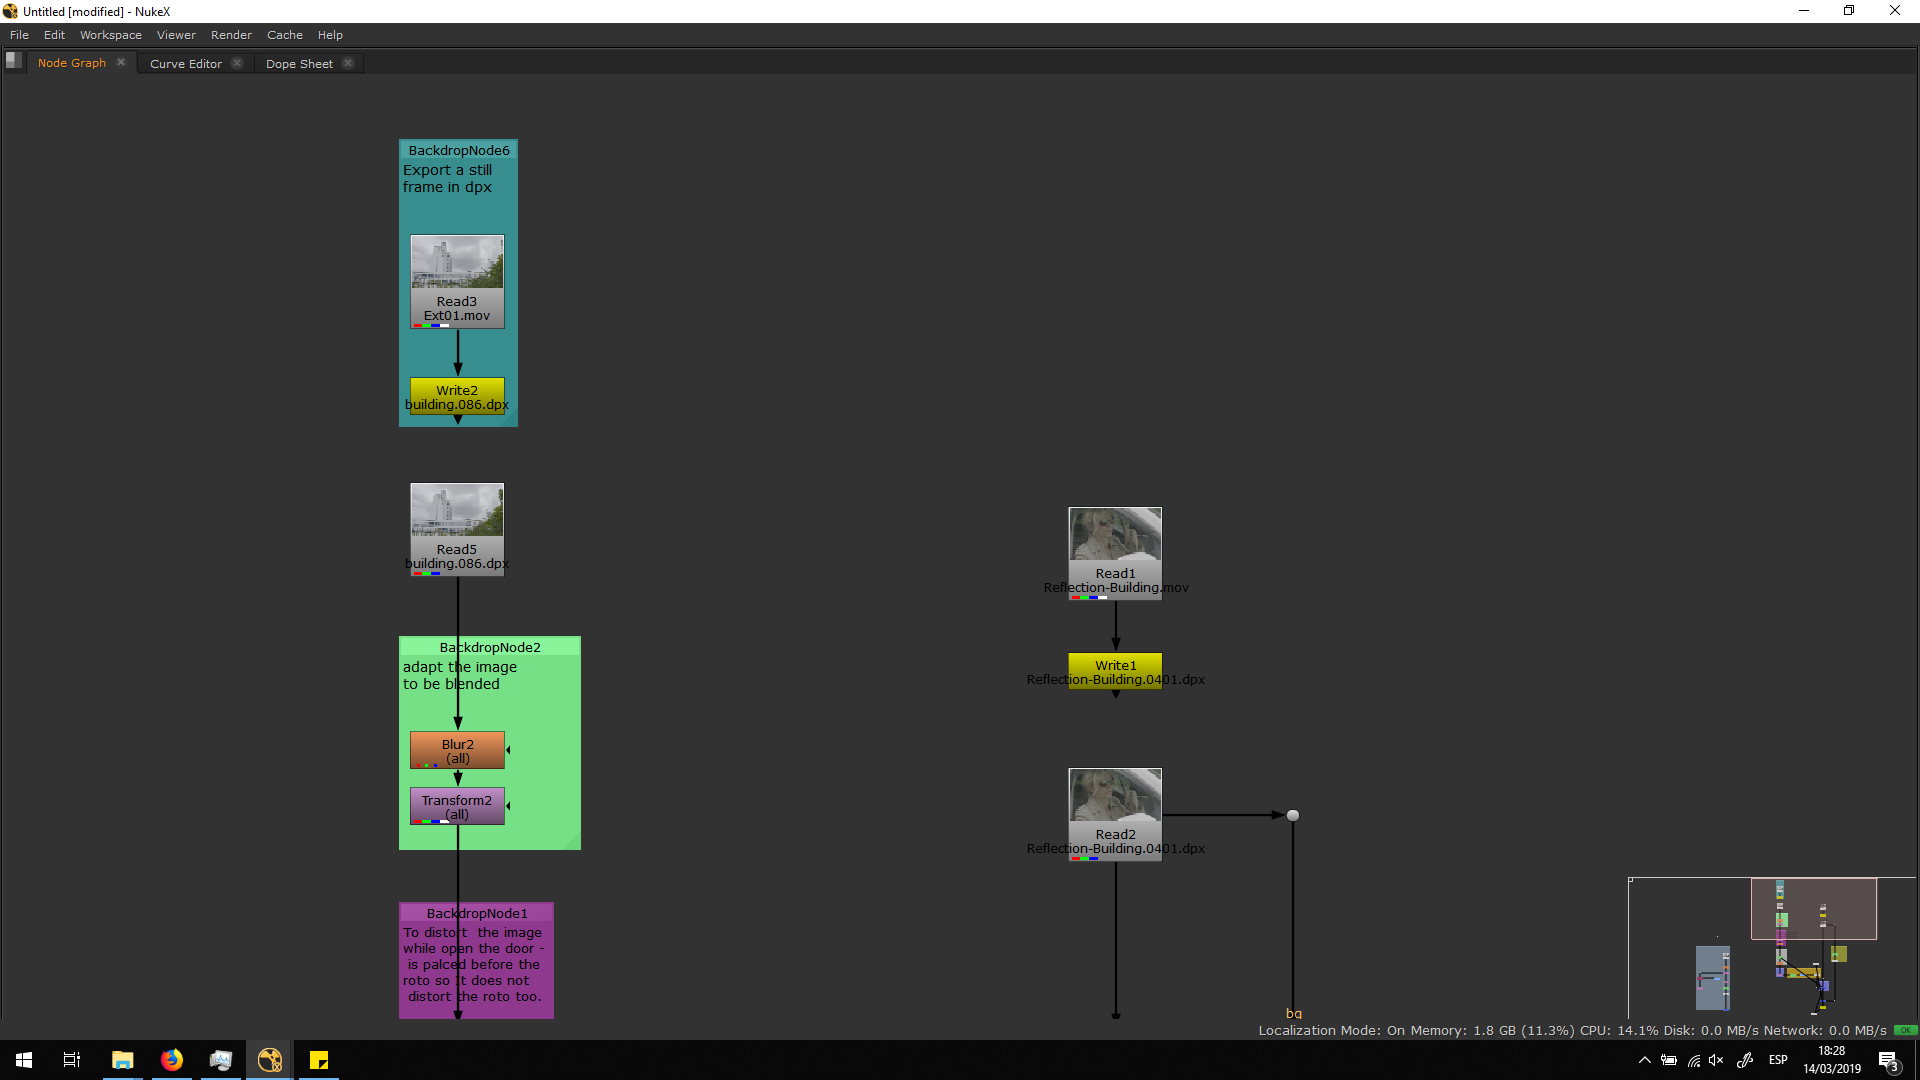
The first thing we need to make while editing a footage is exporting that footage into .dpx format. DPX format exports every frame of the footage as a single image with no compression, this means that is a lossless format, bigger than the original .mov format. Therefore, it needs to be done to preserve the maximum quality of the footage while working with it, in order to have a major quality in the final exportation. Otherwise, while working on a shot, it is unavoidable to lose some quality, but if we work over a .dpx this looseness it would not affect to our final exportation, since we are going to be working with a huge footage.
Import the building
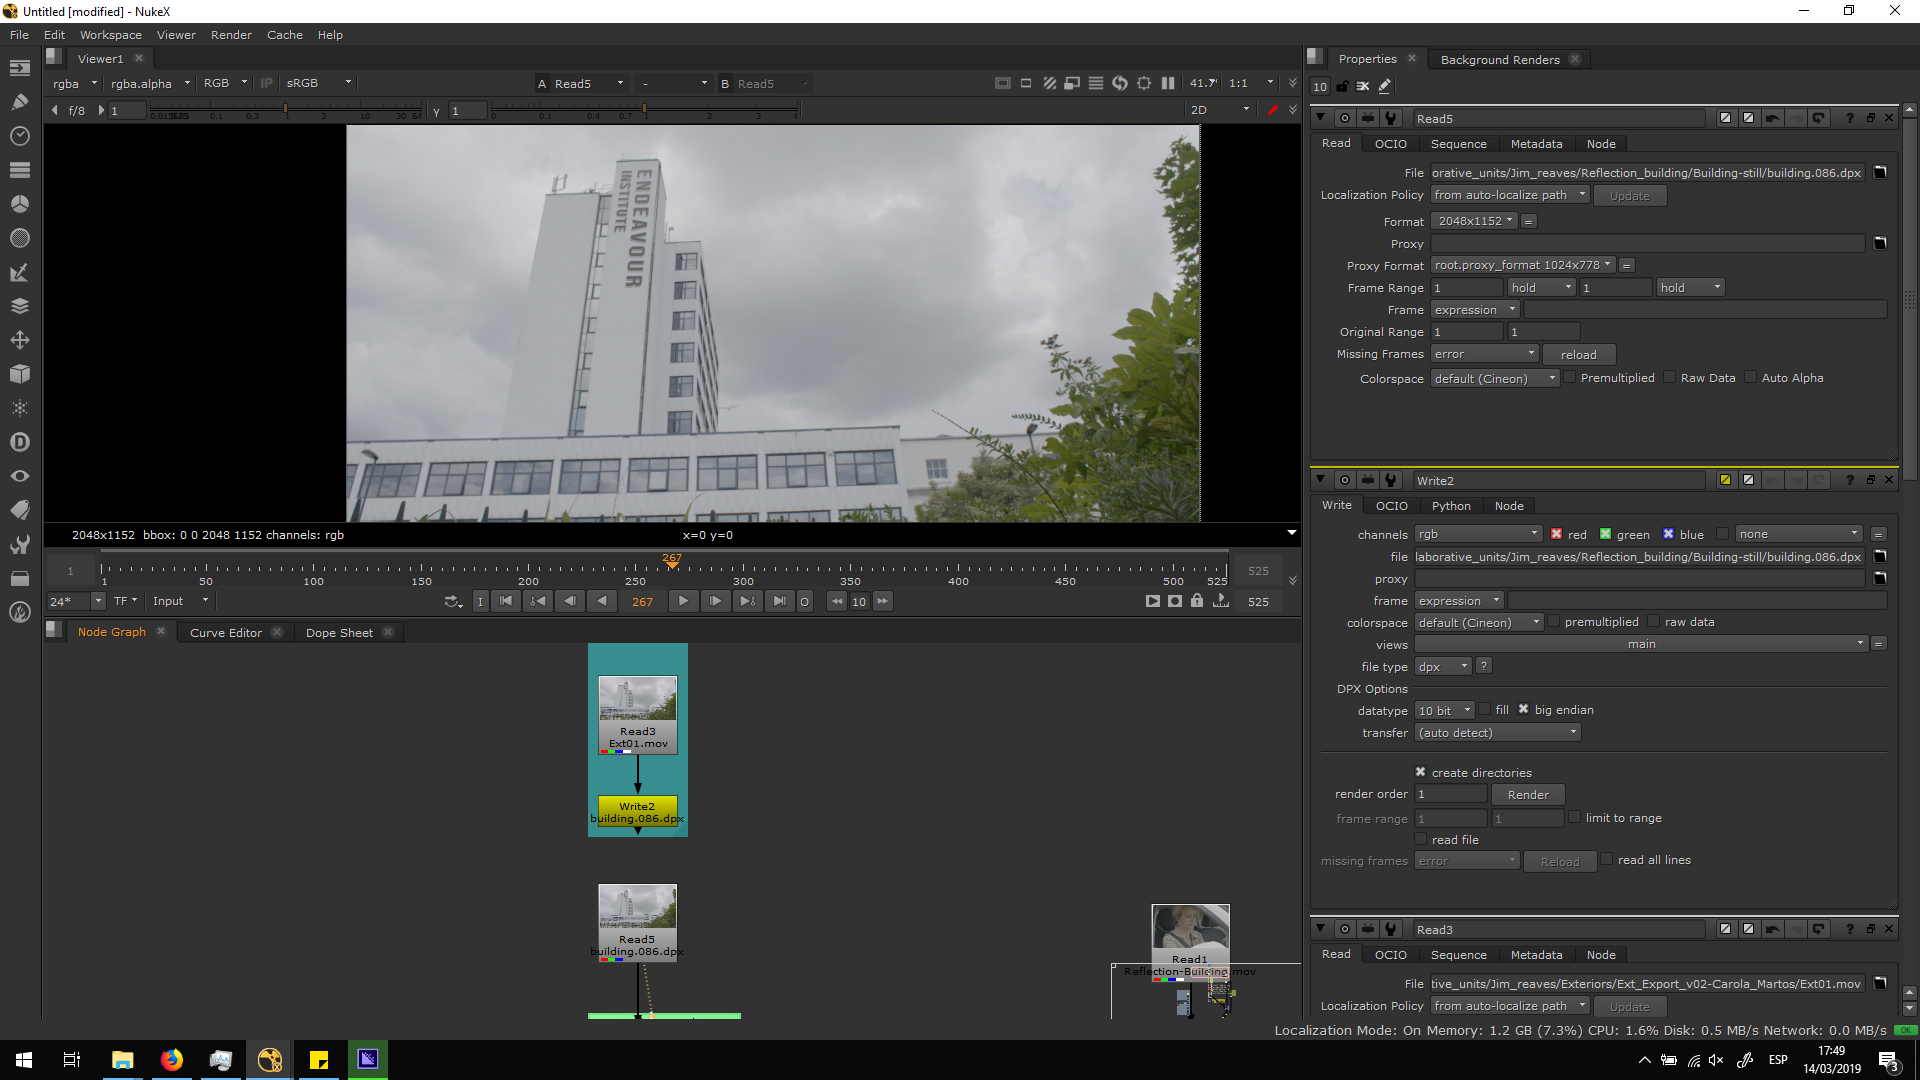
Now, we are going to import the building. We are going to use the edited sequence with the Endeavour Institute text placed. For that, we will read the final export of Exterior 01 and we will export it as .dpx. As we do not need any movement, we are just going to export one frame and read only that frame, so we will project it as a still image.
Adjust the building
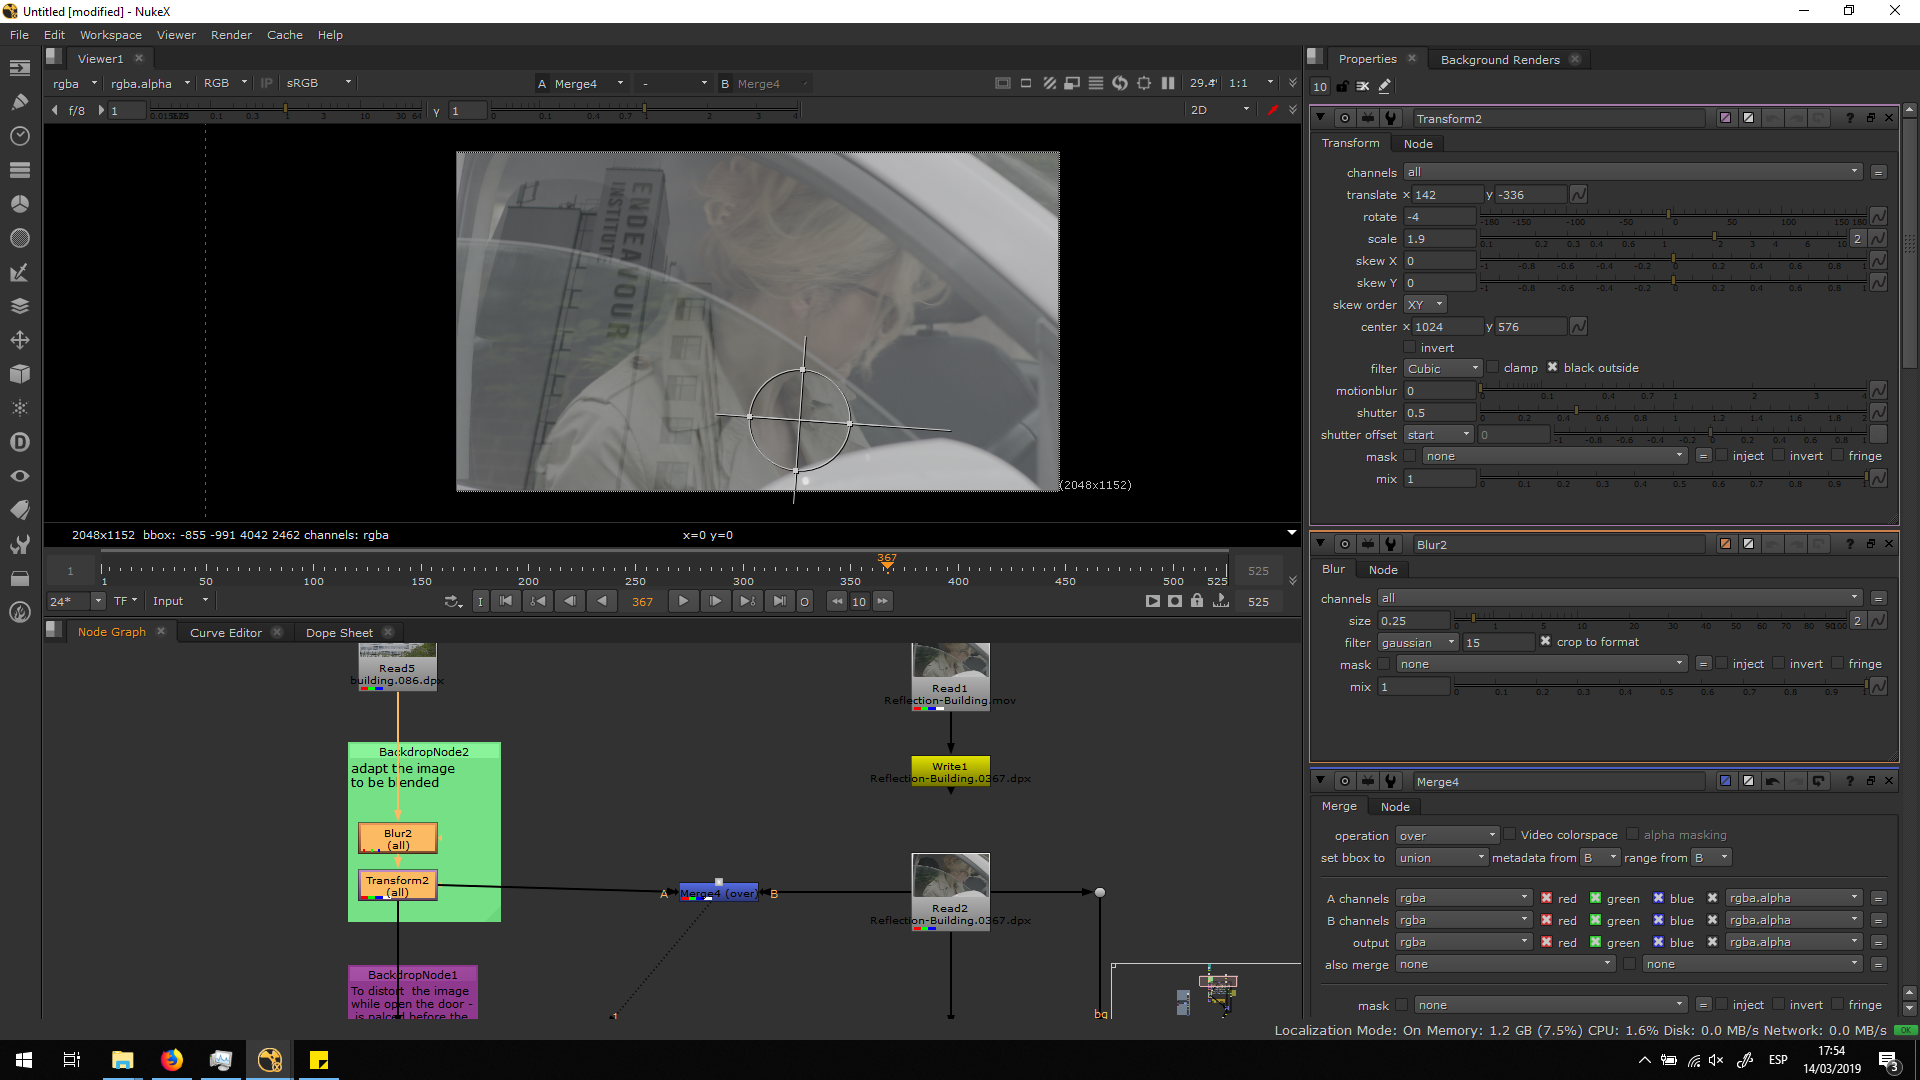
Now, we are going to adjust the transformation of the building in order to blend it in the right place. I will add a temporary merge note with the mix at 50 %, so we can be able to see how the image will look like when blended over the original footage.
Therefore, as we can see, I added a blur note, because the reflection in the leaves in the window look a bit blurry, and they will be our reference for the whole video.
Also, I added a transform not ein order to place the building in the right place, with the right direction and dimension, playing with the parameters until we consider it looks better.
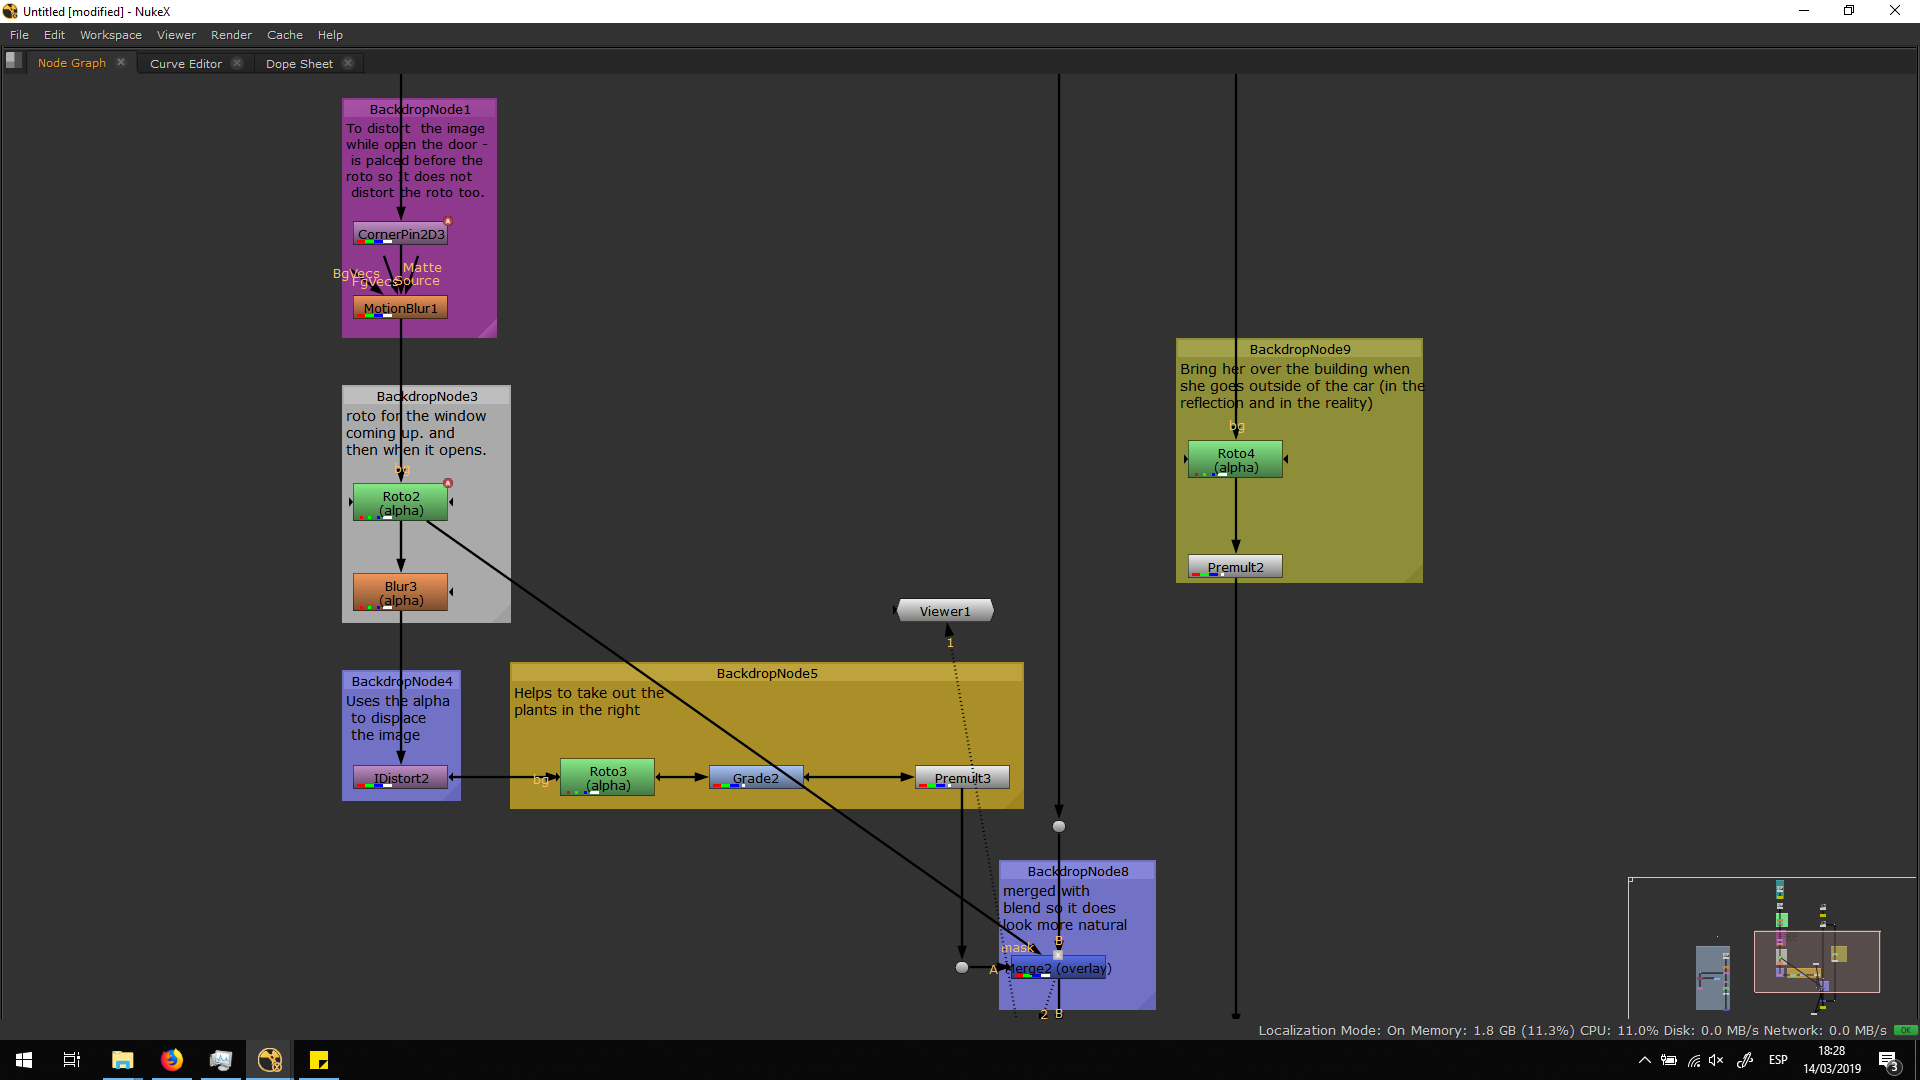
But, when she opens the door, we can see how th ereflection of the leaves is stretched. Therefore, we will need to so the same with the reflection of the building.
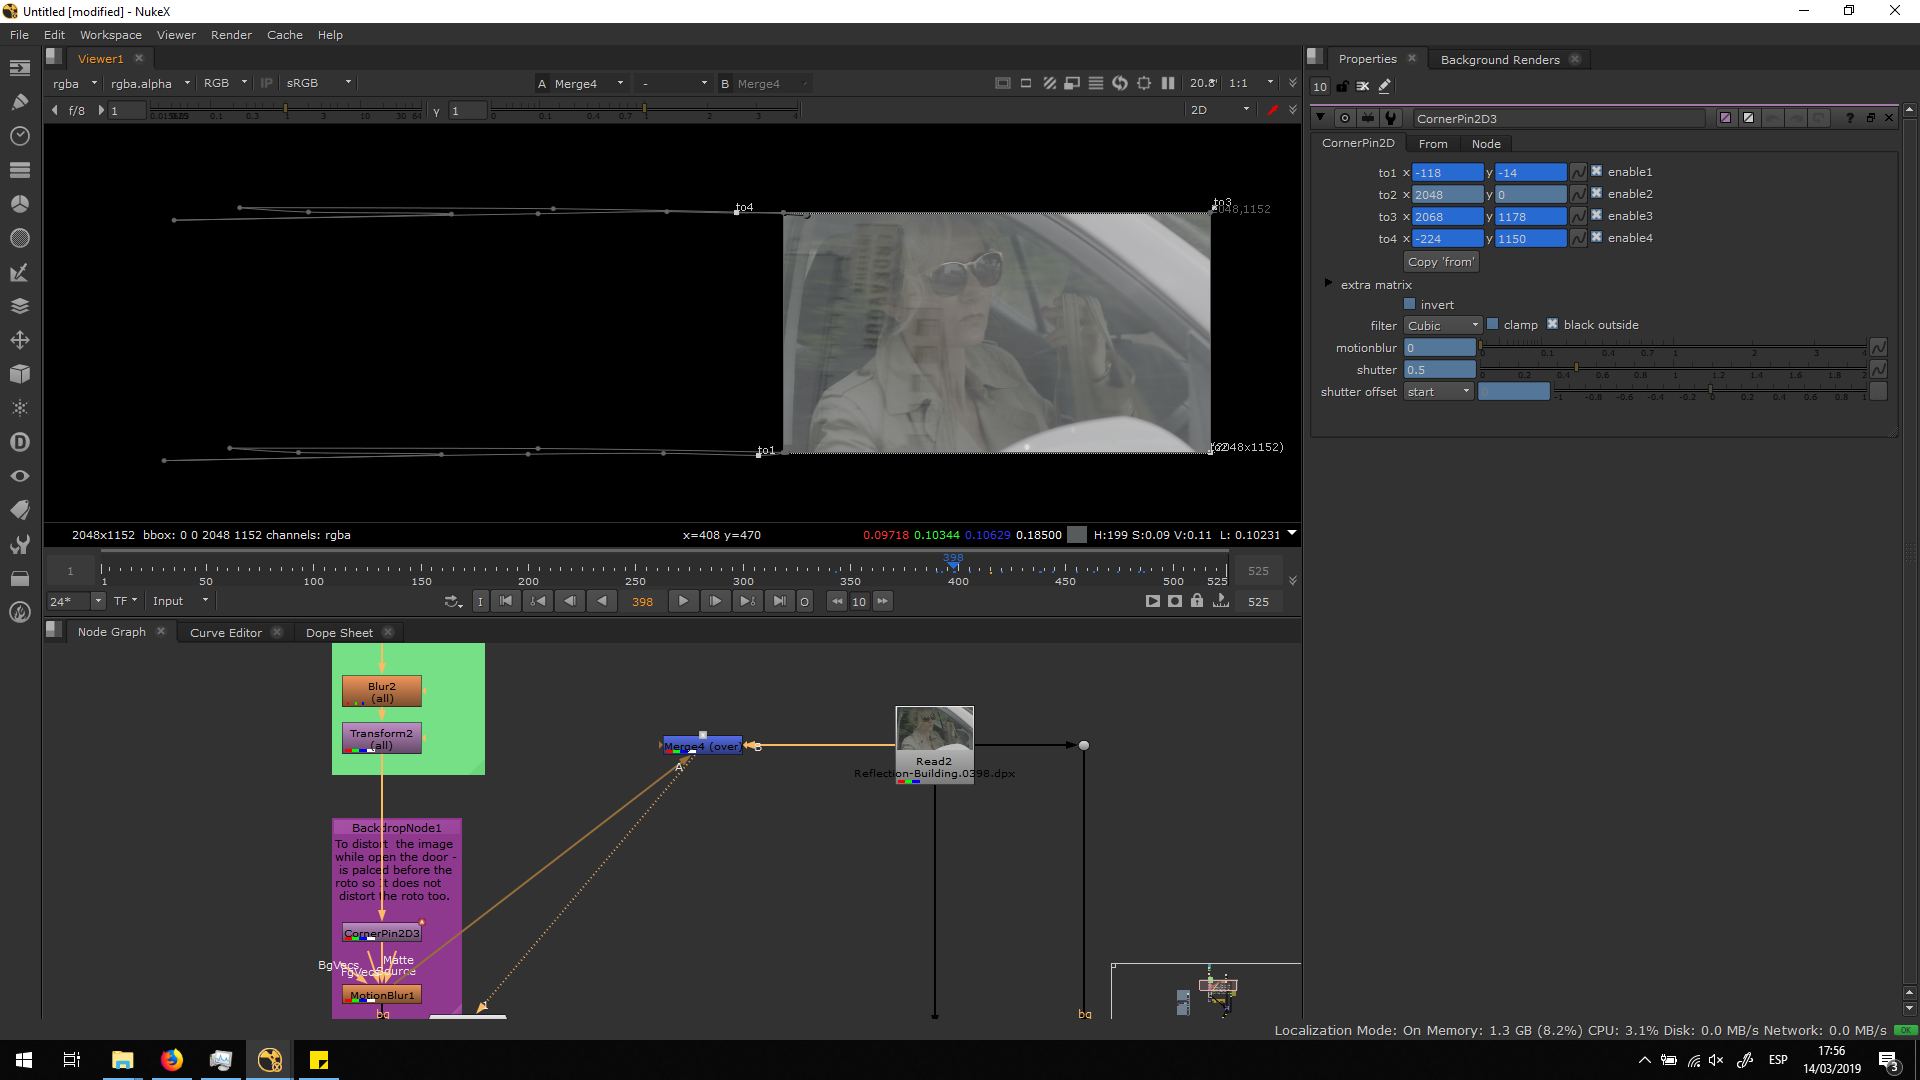
The note I used to move the image is the Corner pin. With this note, I was able to move only one corner of the image. Therefore, I played around moving the two left corners, adding different keyframes along with the movement of the door. I always used as a reference the stretching of the leaves, since they are the perfect example of how the reflection should behave.
Also, I added a motion blur note, so the image of the reflection looks blury when it is transforming really fast. I did this because I also noticed that the leaves were blurry when she opened the door really fast, because the quick movement looks blurry becuase of the shutter speed. With the motion blur note ans the corner pin, the reflection of the building behaved really realistically.
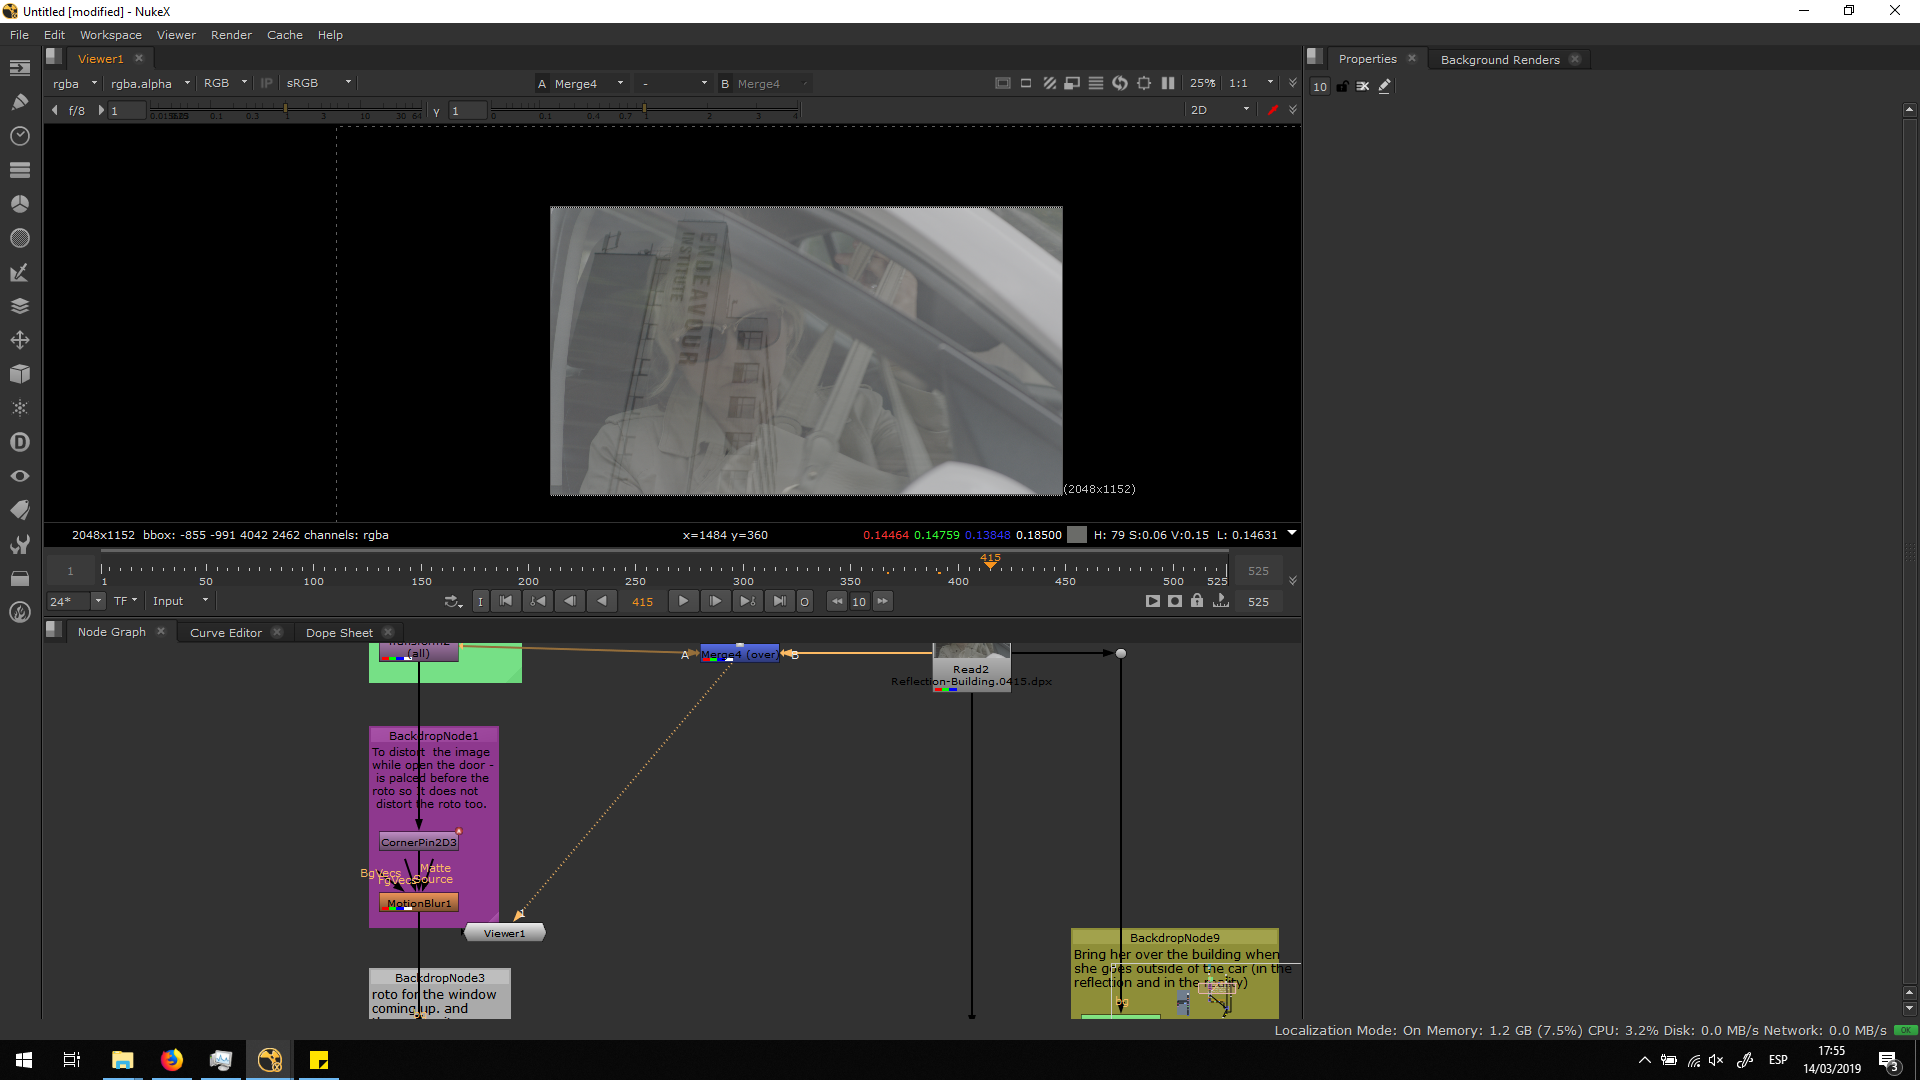
Window effect
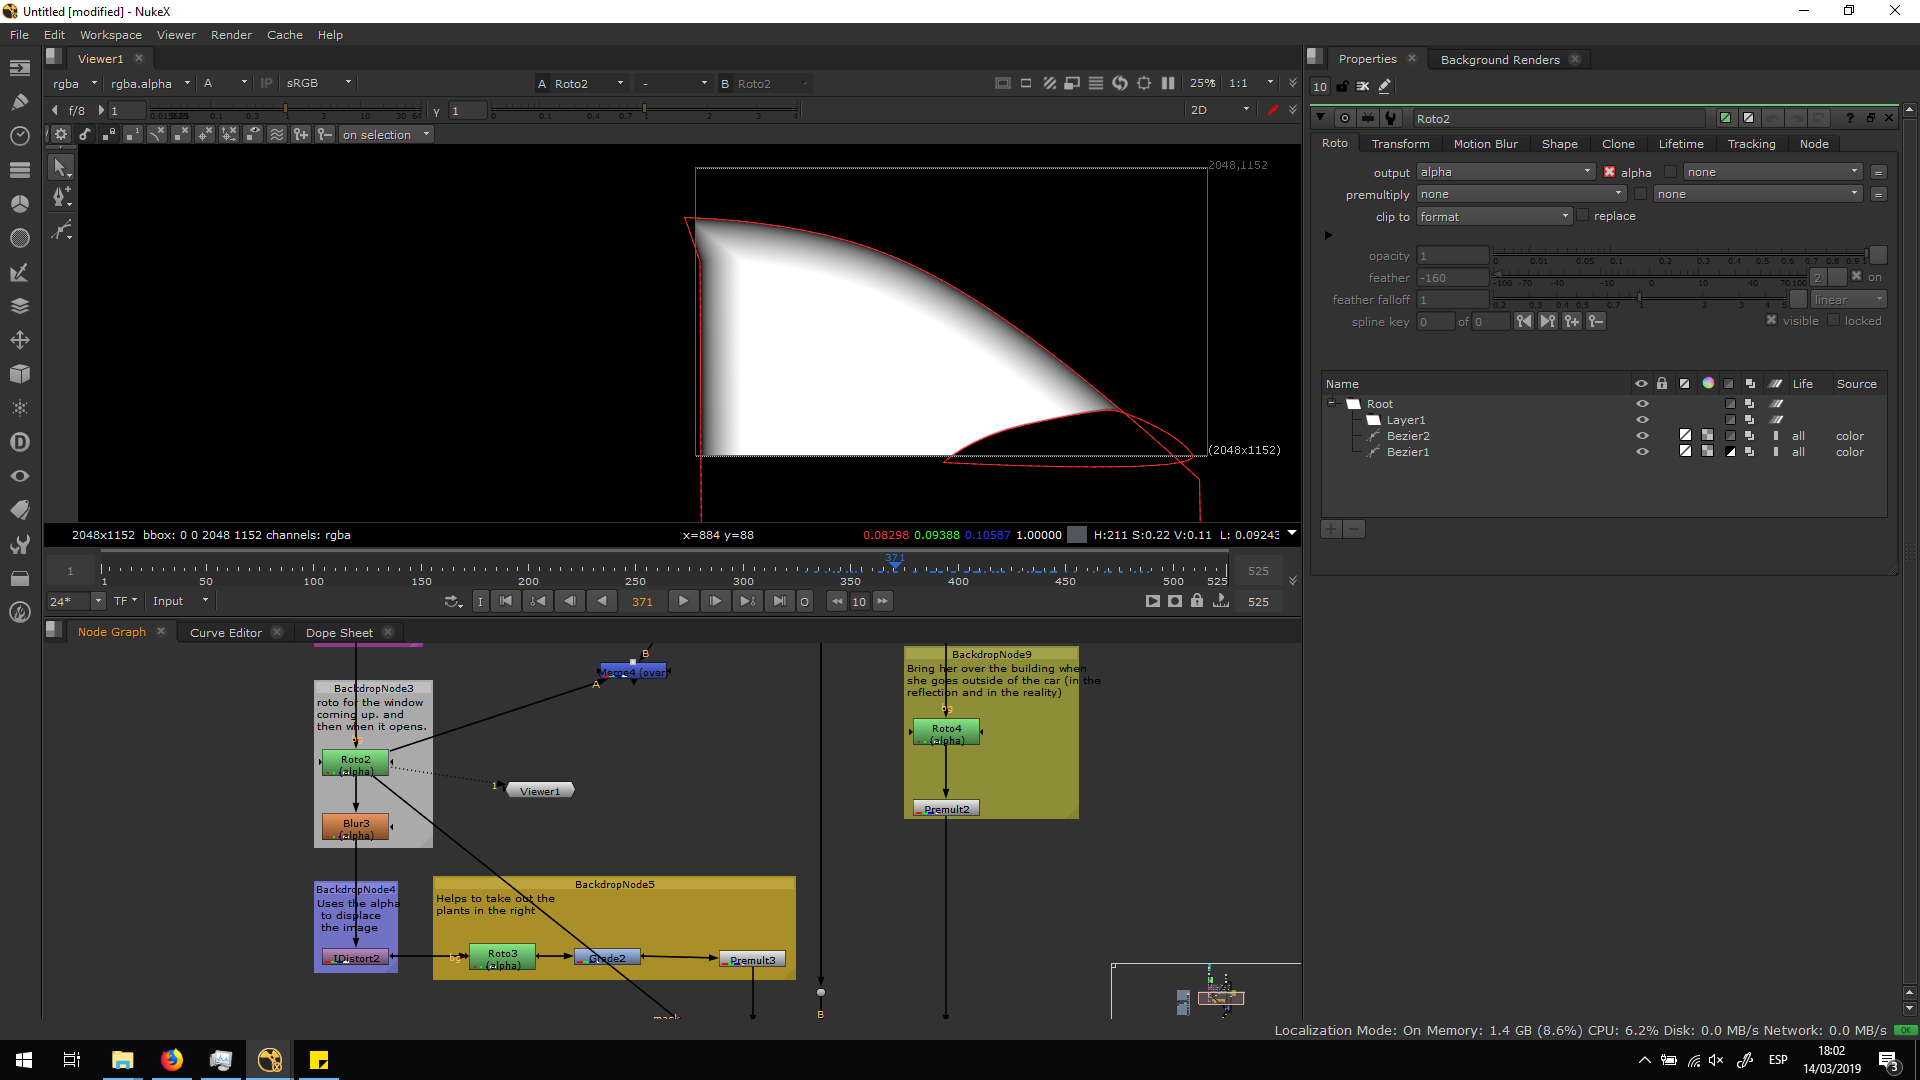
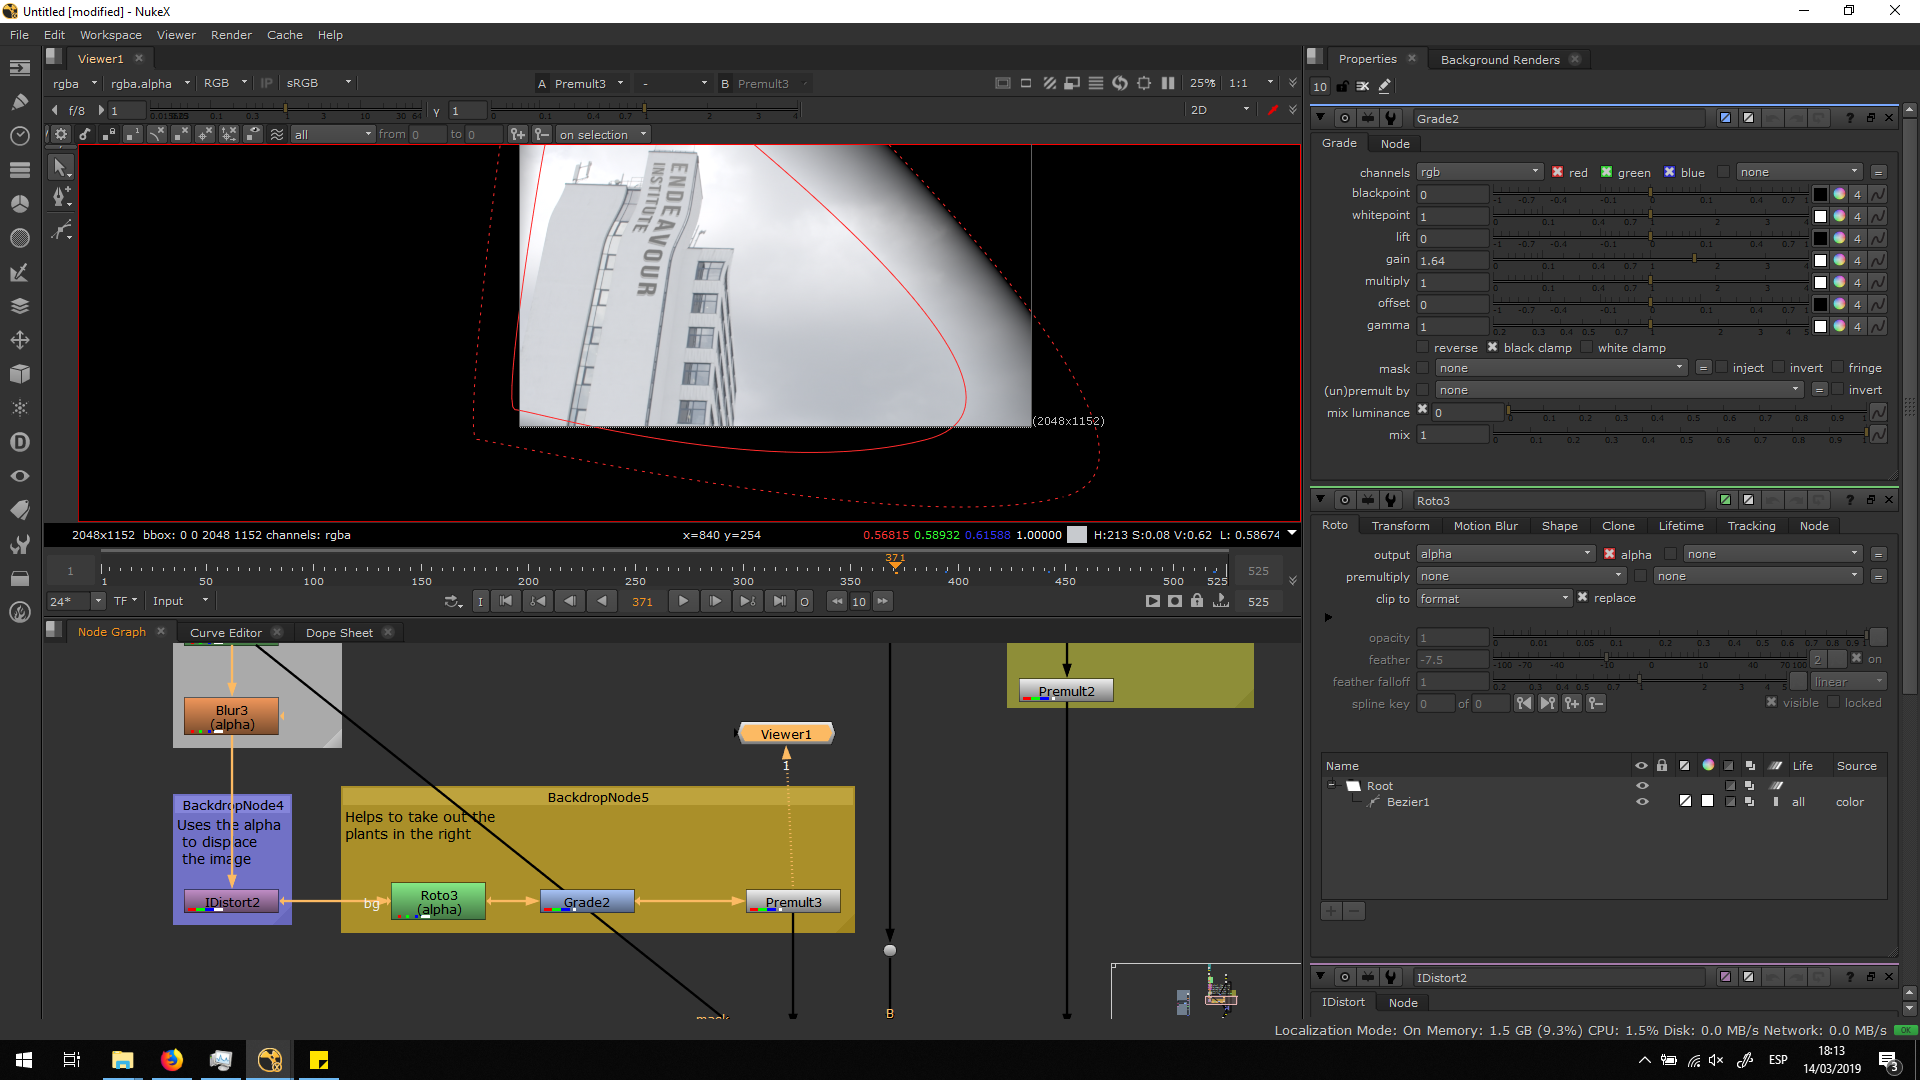
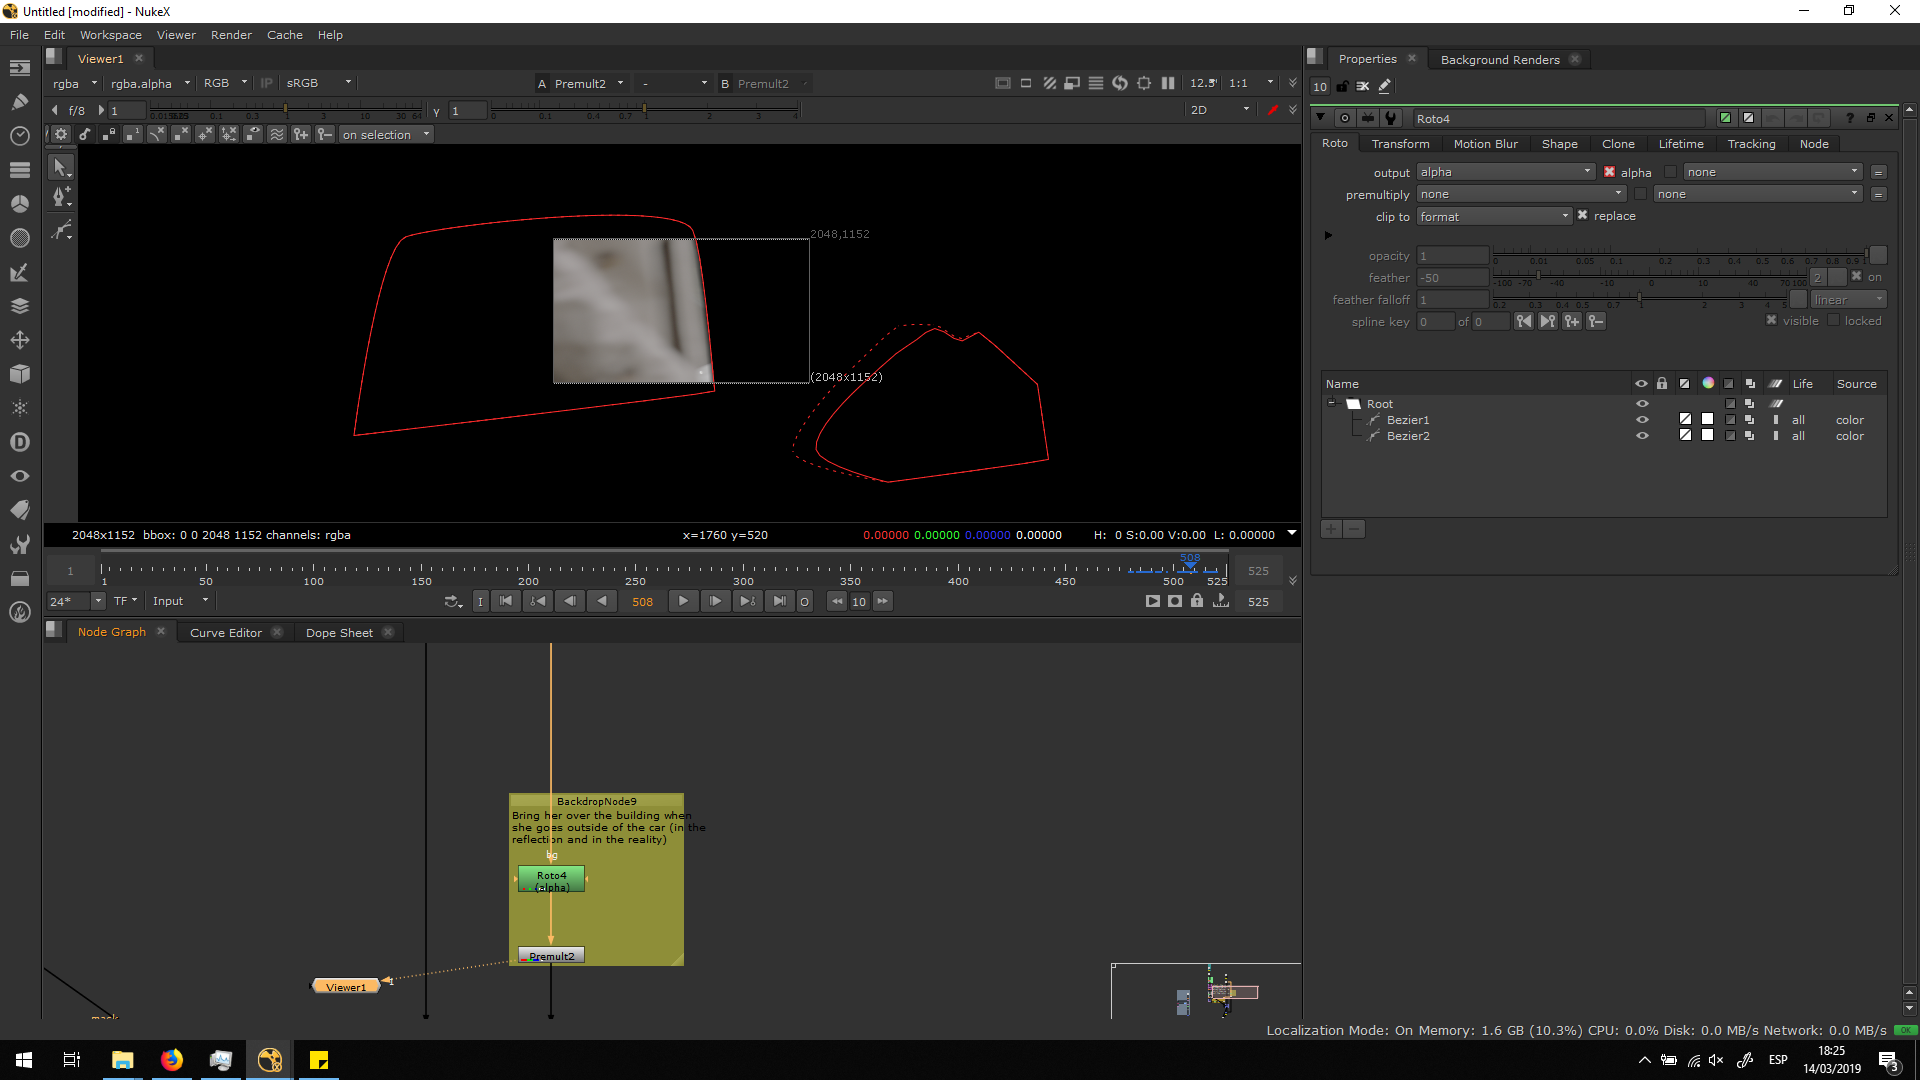
Now, we have our building correctly placed, but it is seen during the whole timeline. Therefore, I did a roto of the window coming up, so it starts to appear as a reflection of the window.
Therefore, I did a roto ofllowing all the movement of the window: when it goes up and when the door is opened. I also did a roto for the driving mirror, to keep that area transparent in the reflection. Also, I added some blur in the beizer of the window, to make it look more realistic.
 As we can see in the original footage, near to the edge sof the windoe the reflection distorts. This might be due to the change of thickness of the window. In order to obtain this effect, I used a note called IDistort. This note distorts the image from the alpha channel. So it trainsforms independently the are who has an alpha and the one which does not have. By using this note, I translated the outside part of the roto a bit to the left, and the innet part to the right. This is how it would look with no blur.
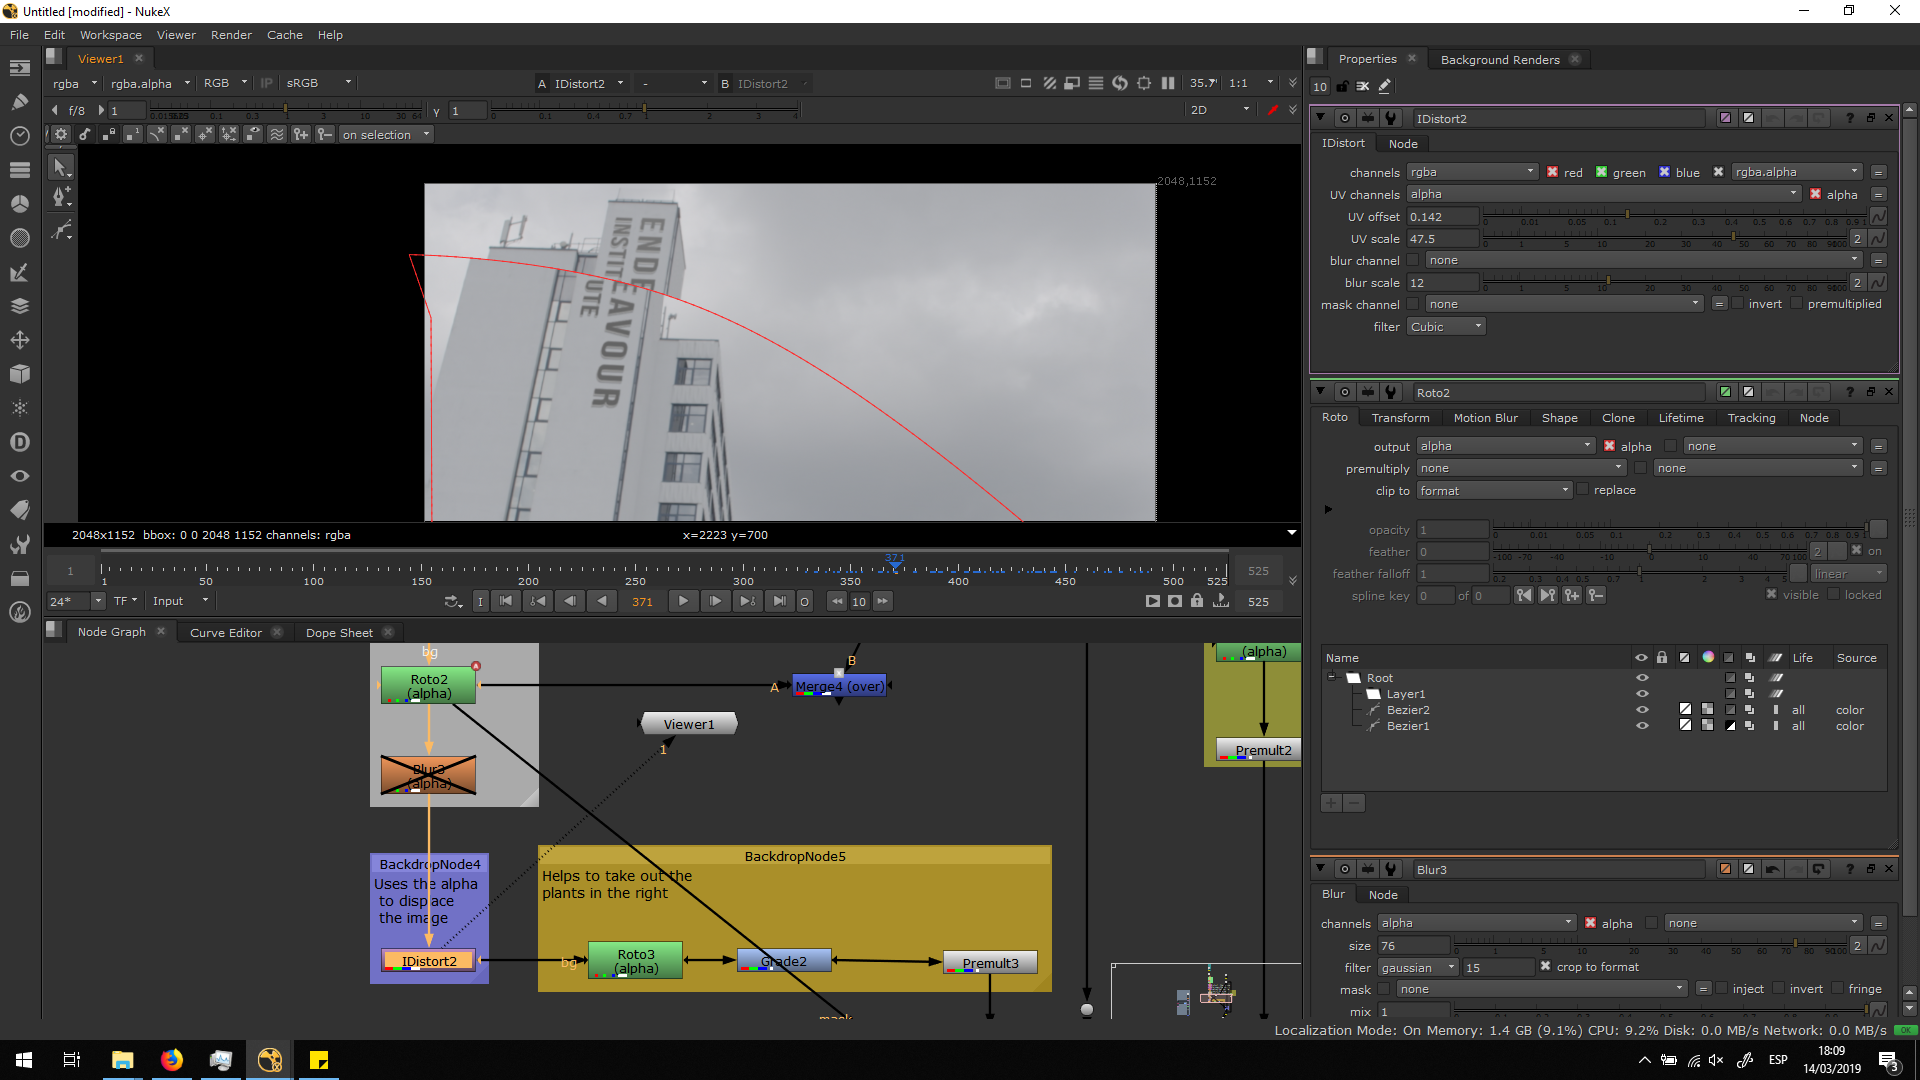
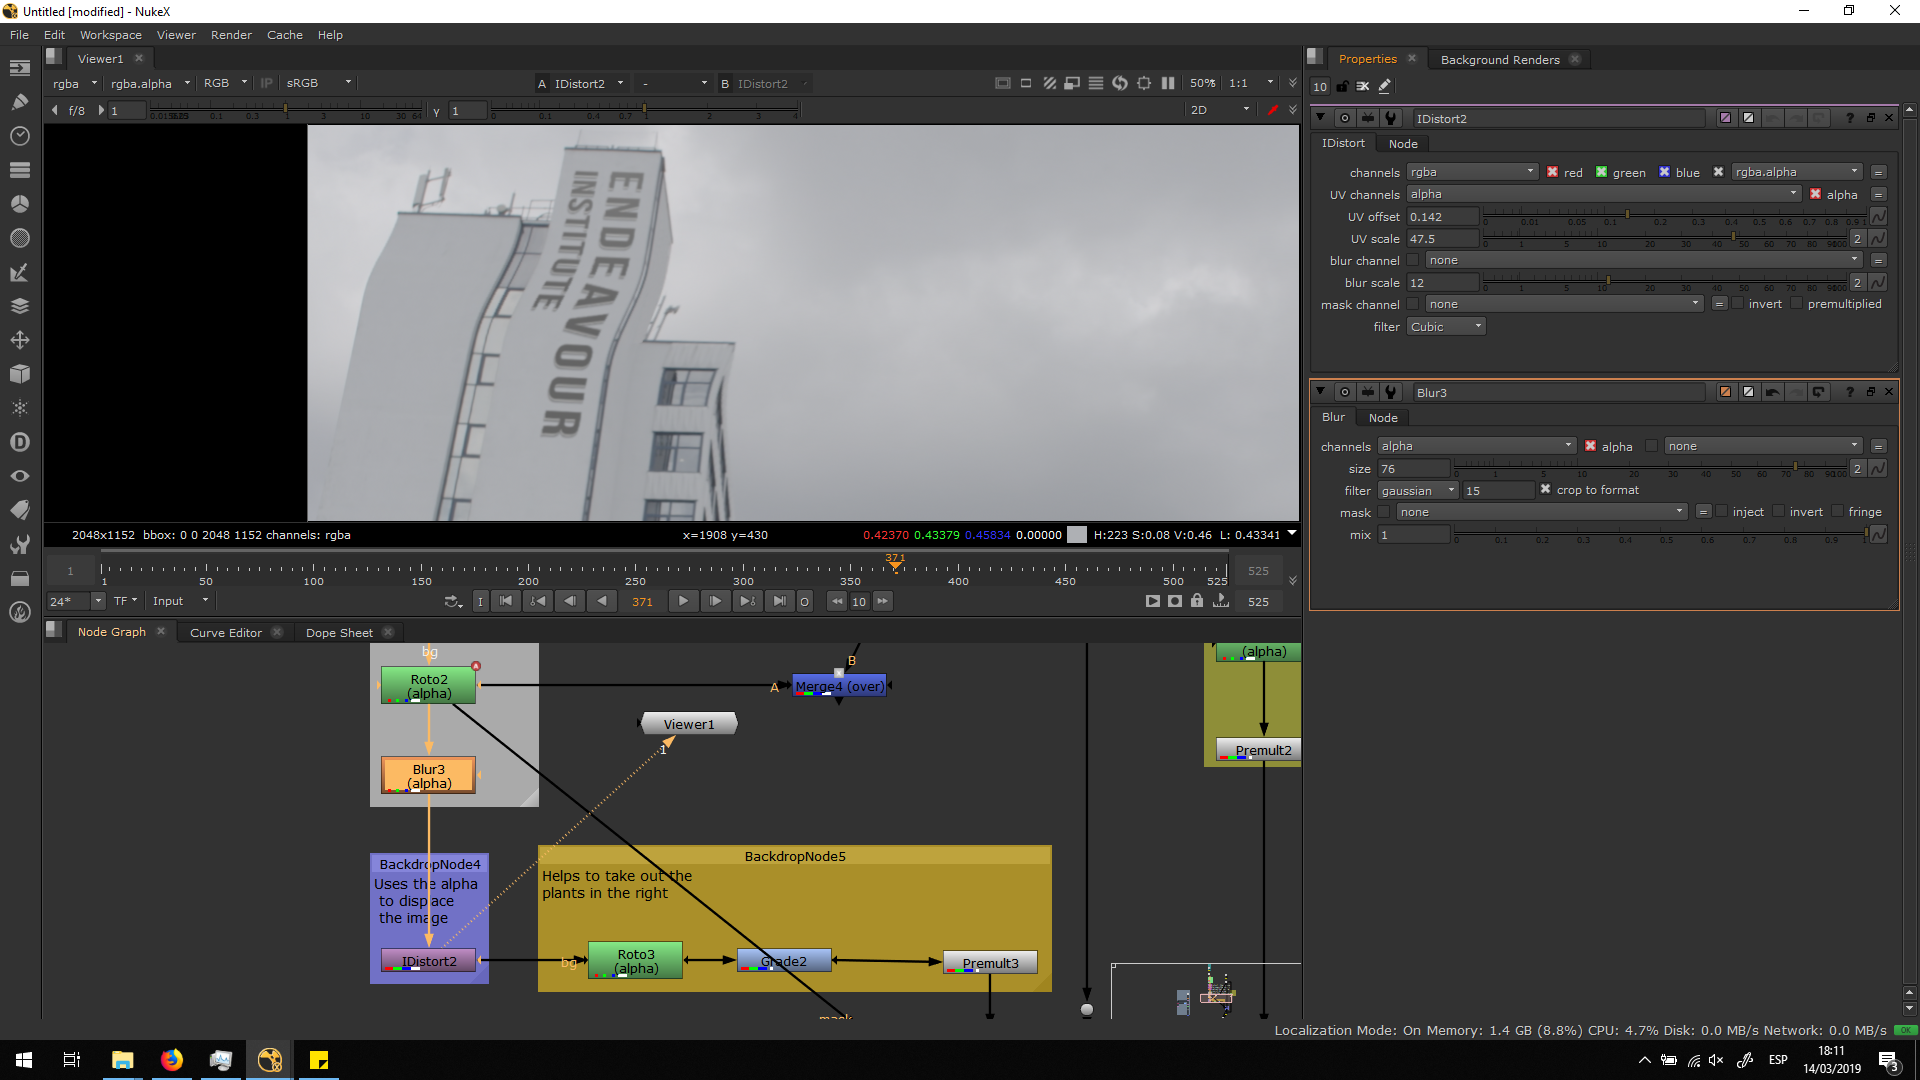
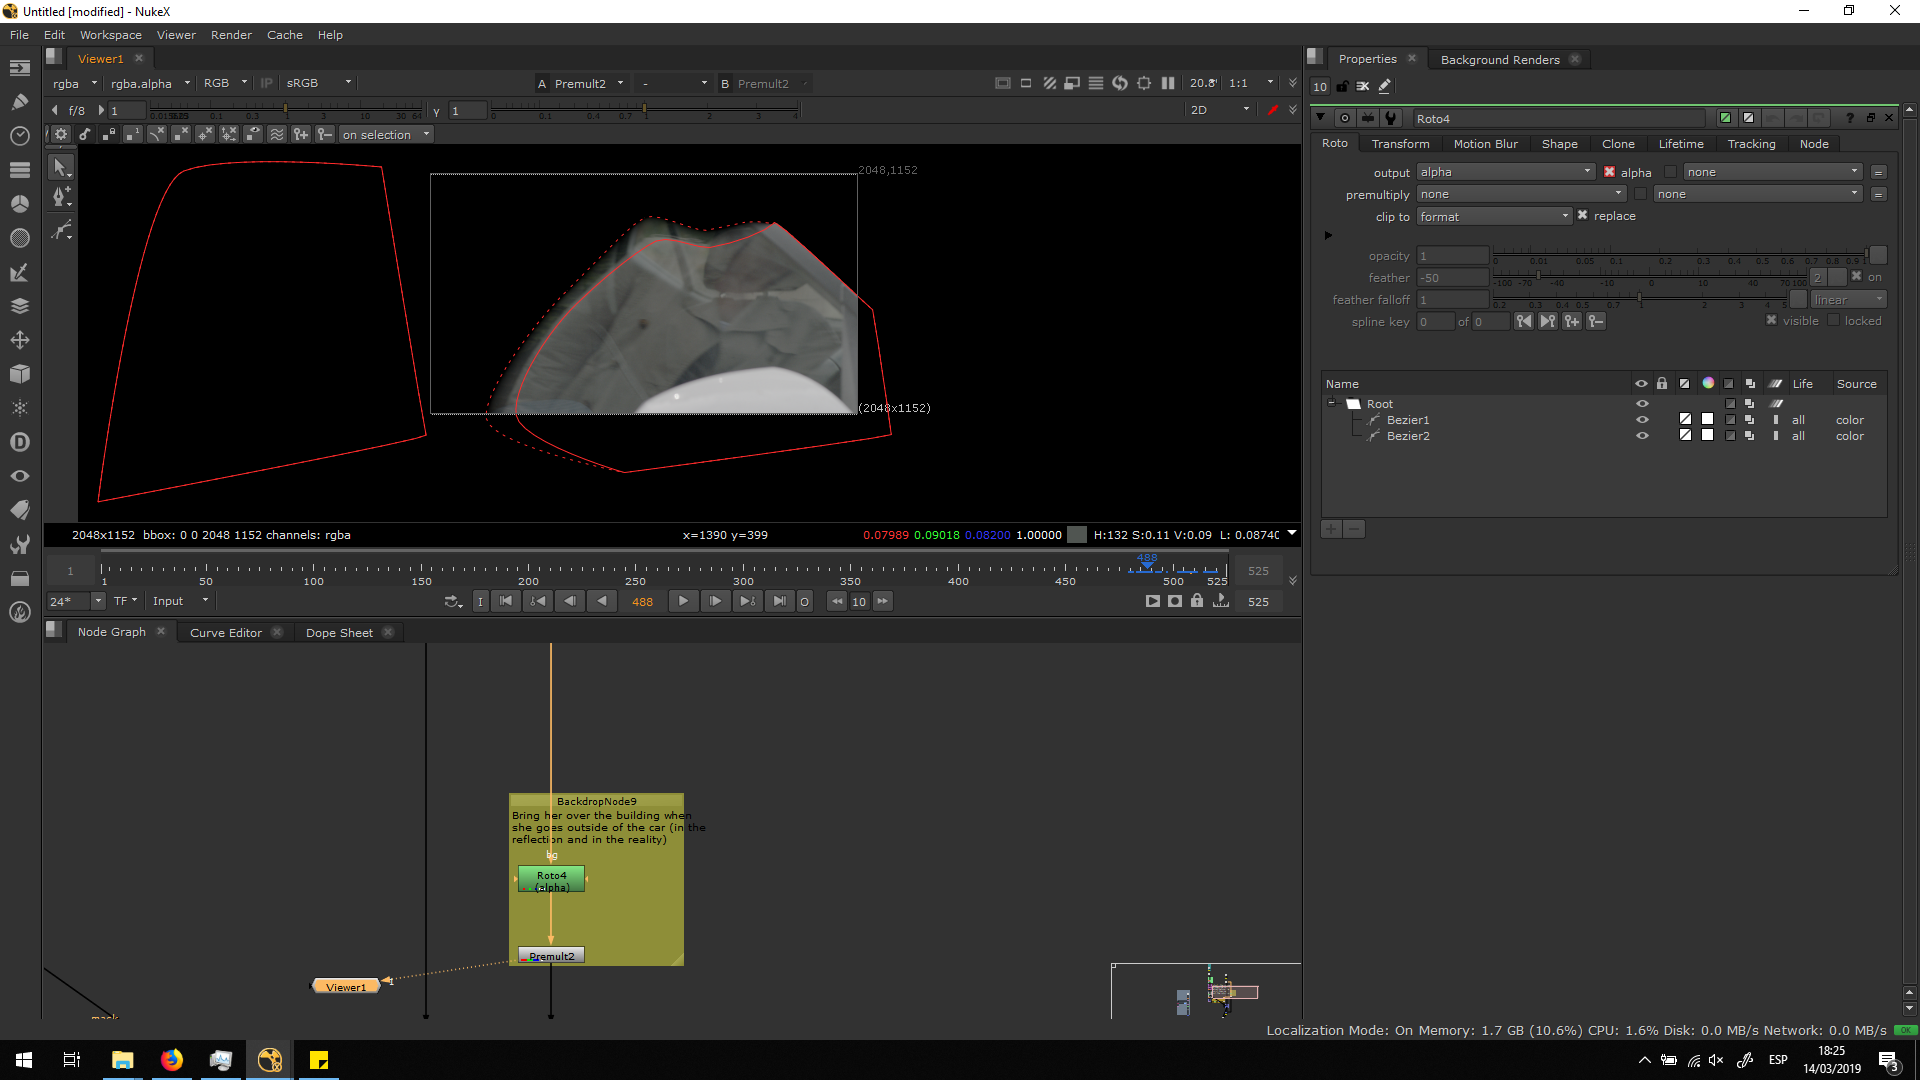
By adding the blut to the beixer curve, it starts looking much better. I added the blur in a negative edge of the beixer, so it adds the blur to the inside of the window and not viceversa. This will enable us to get the curve towards the edge of the window.

In order to have a smoother curve, I added a blur note in the alpha channel. With that note, the difference between both parts is really smooth.
Blend it with the foregrund
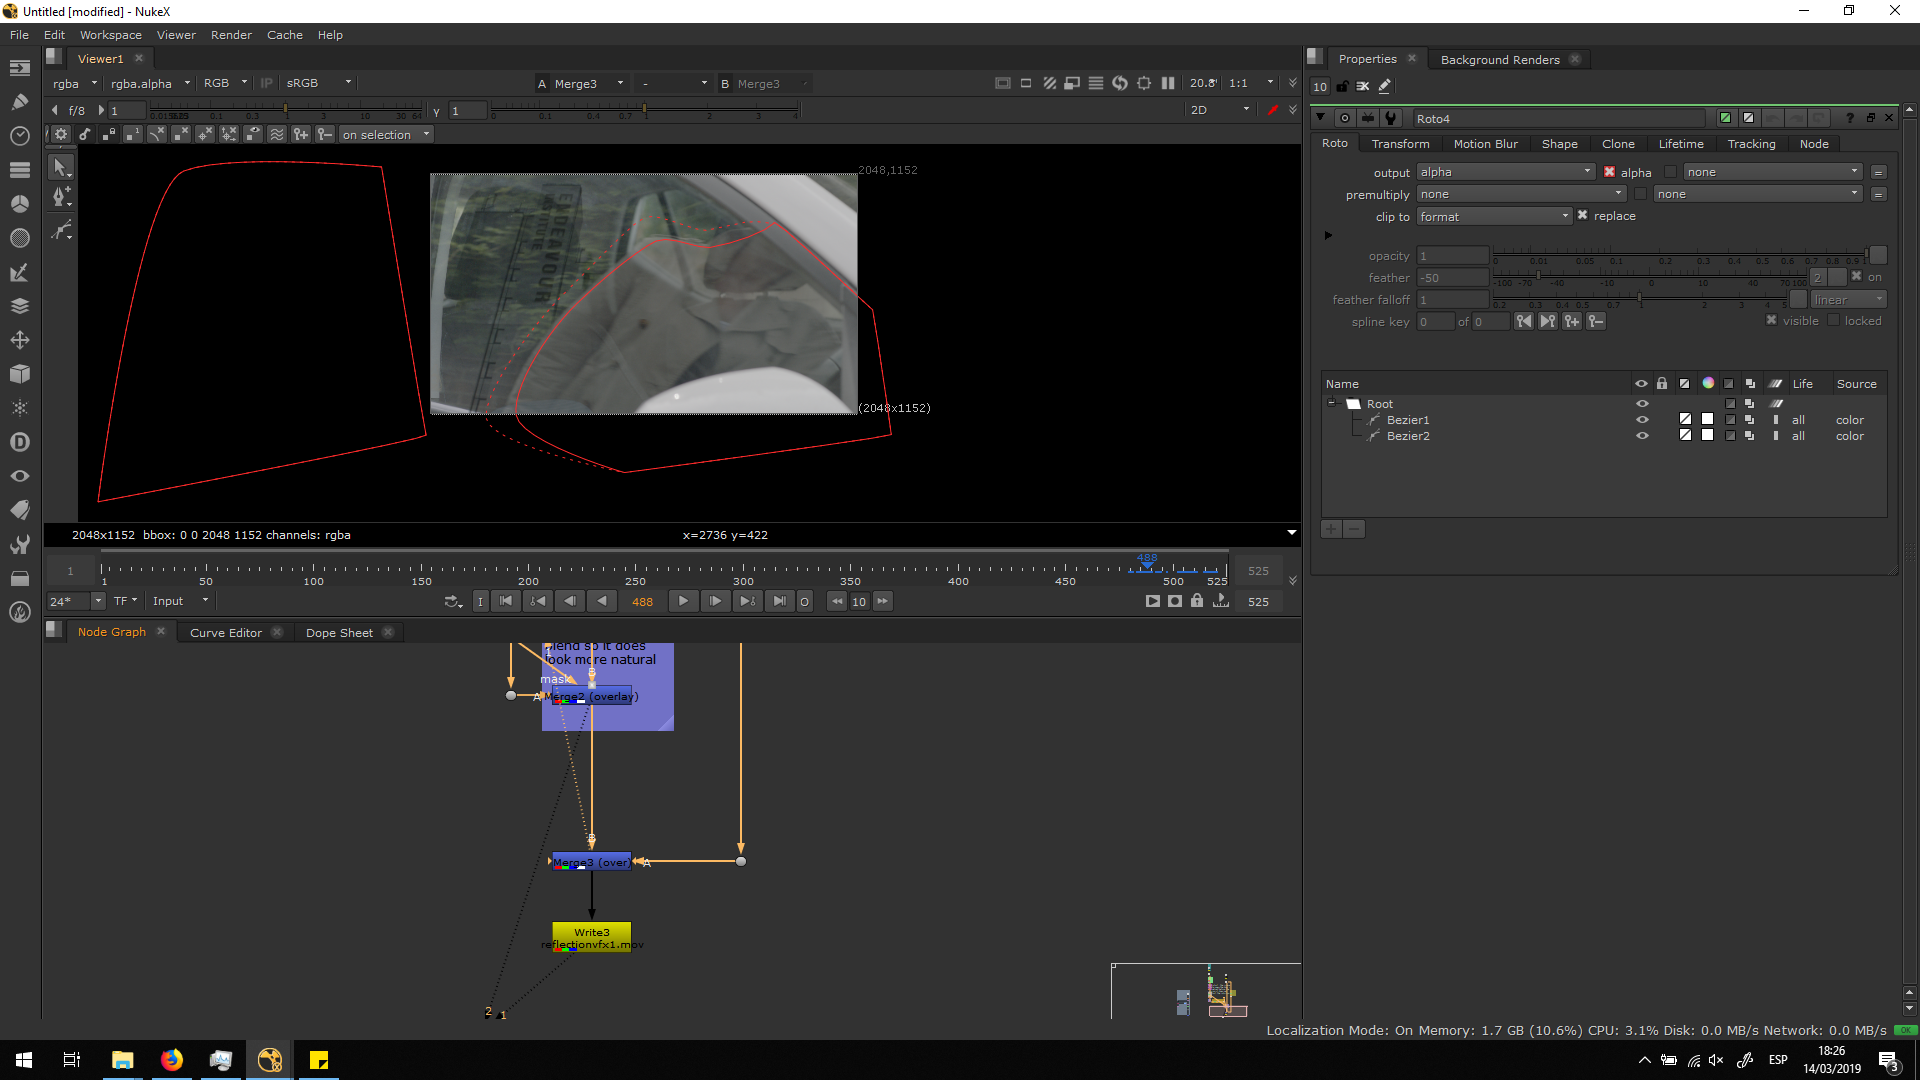
Finally, in order to blend it better with the foreground, I did a really smooth roto, and I added a grade to light up the picture. Finally, I premulted the final result.
 As we can see, the premult area is much bigger that the window. That is not a problem, we would not have been able to use the same alpha channel for the premult either way, since it has a lot of blut in order to make the IDistort work correctly.
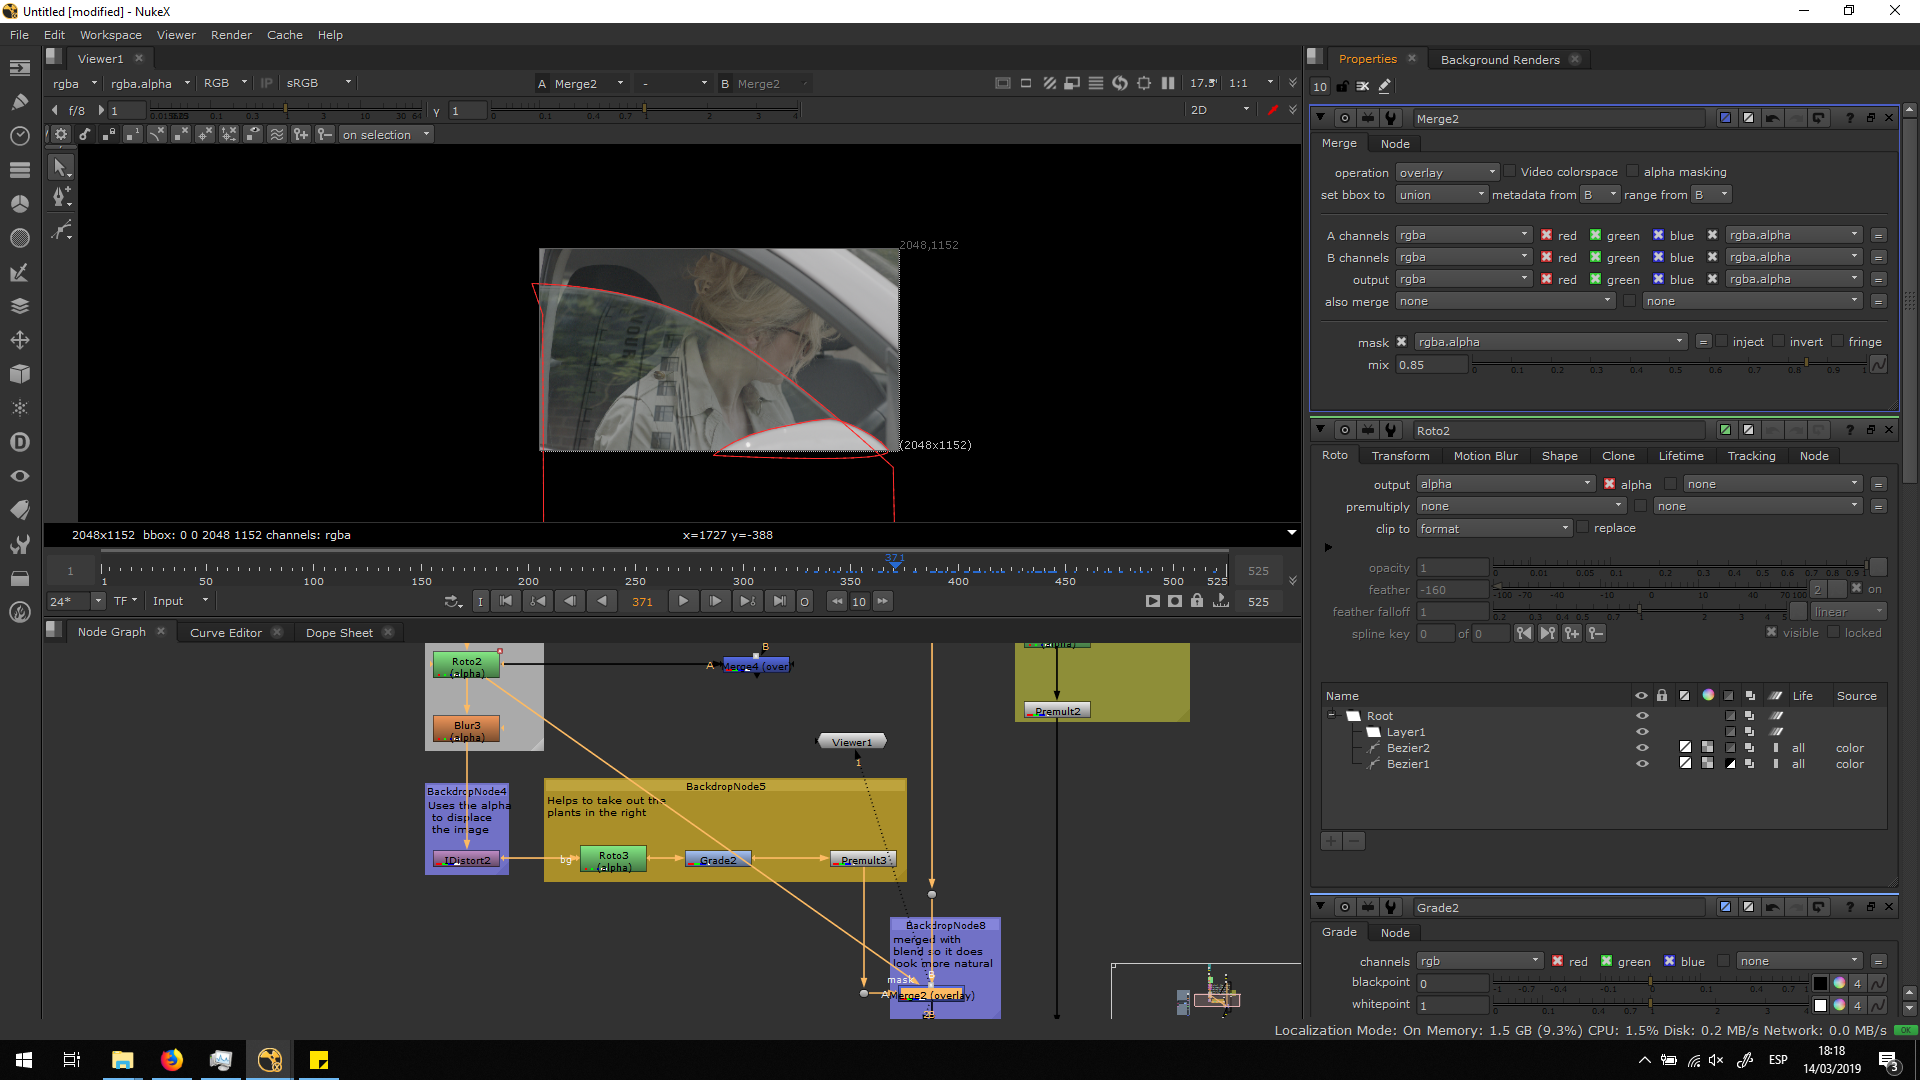
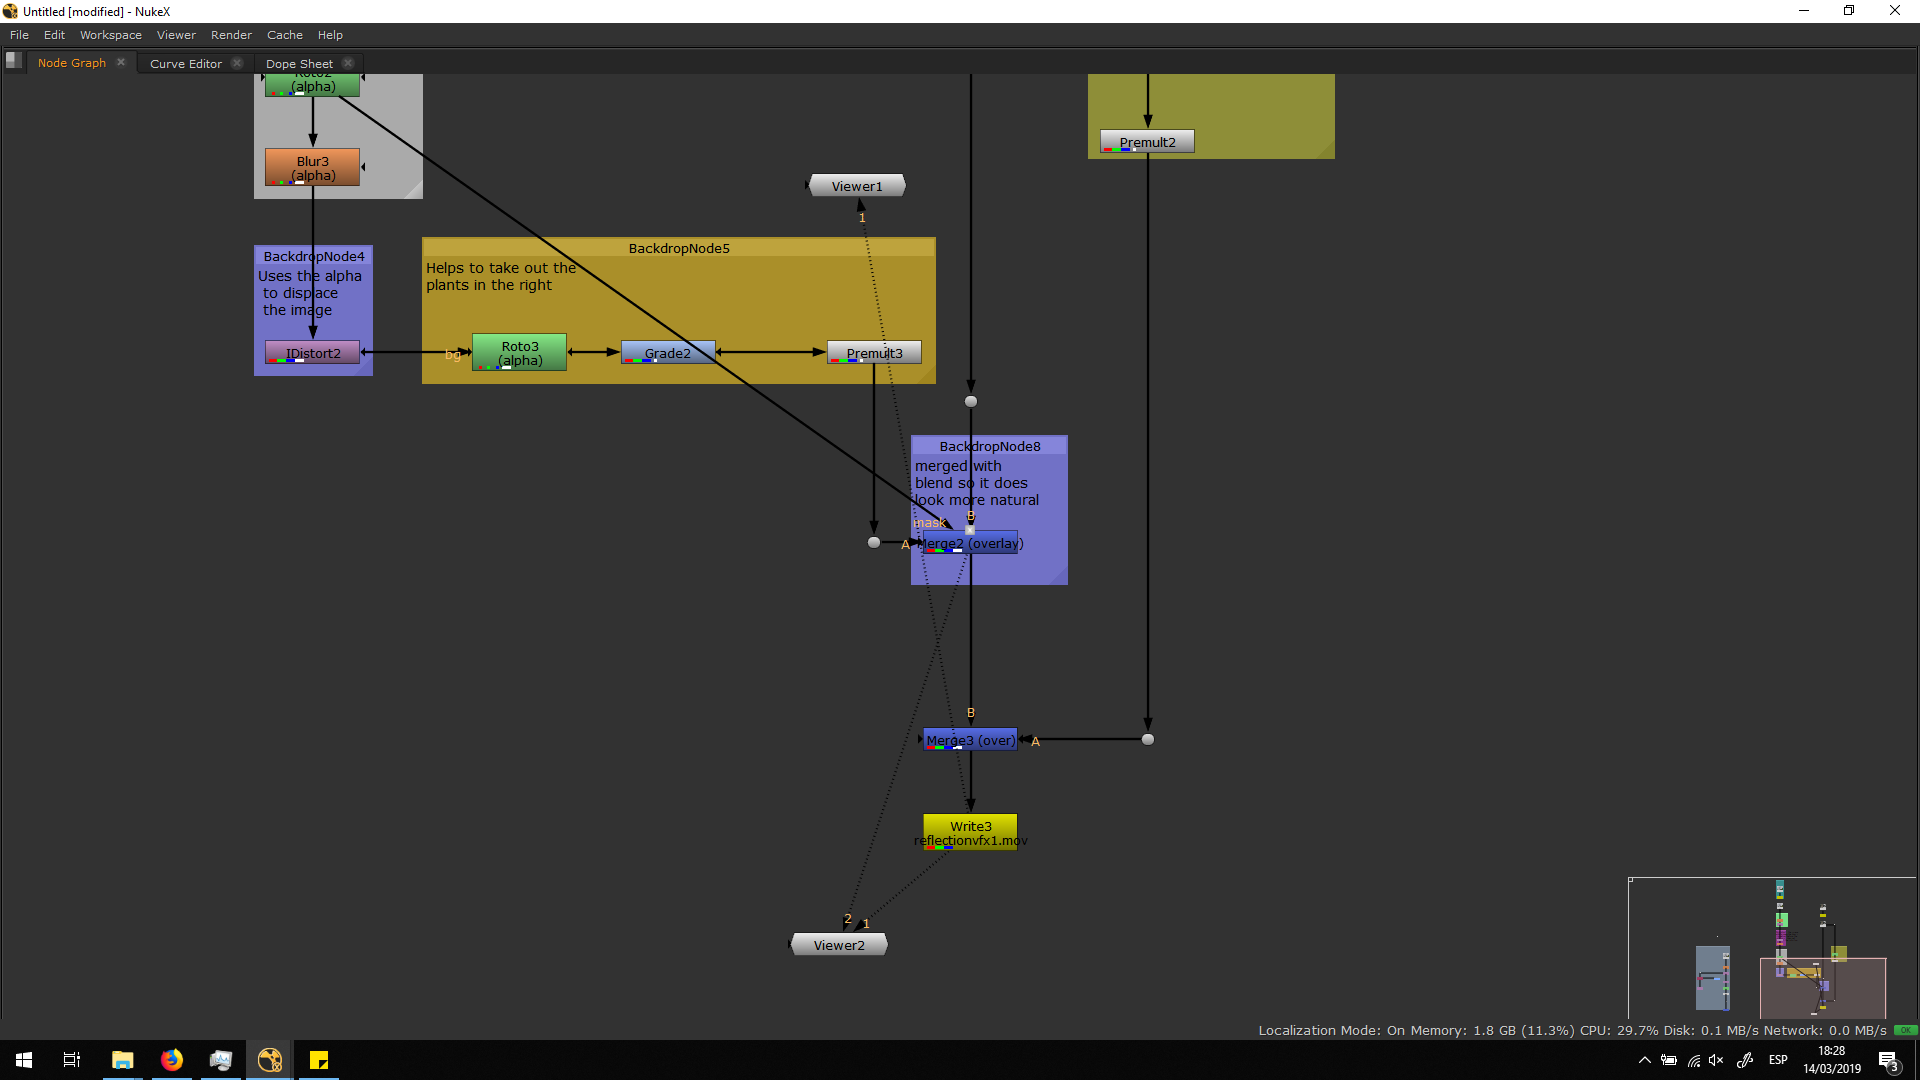
The easiest solution is to add a mask input into the merge note, taking the mask from the first roto of the window.
Also, in order to make the blen dook more natural, we set the merge note into overlay, also decreasing the mix into 0.8. In this way, the image is multiplied and it preserve some transparency in order to not be extremely premiment over the image.
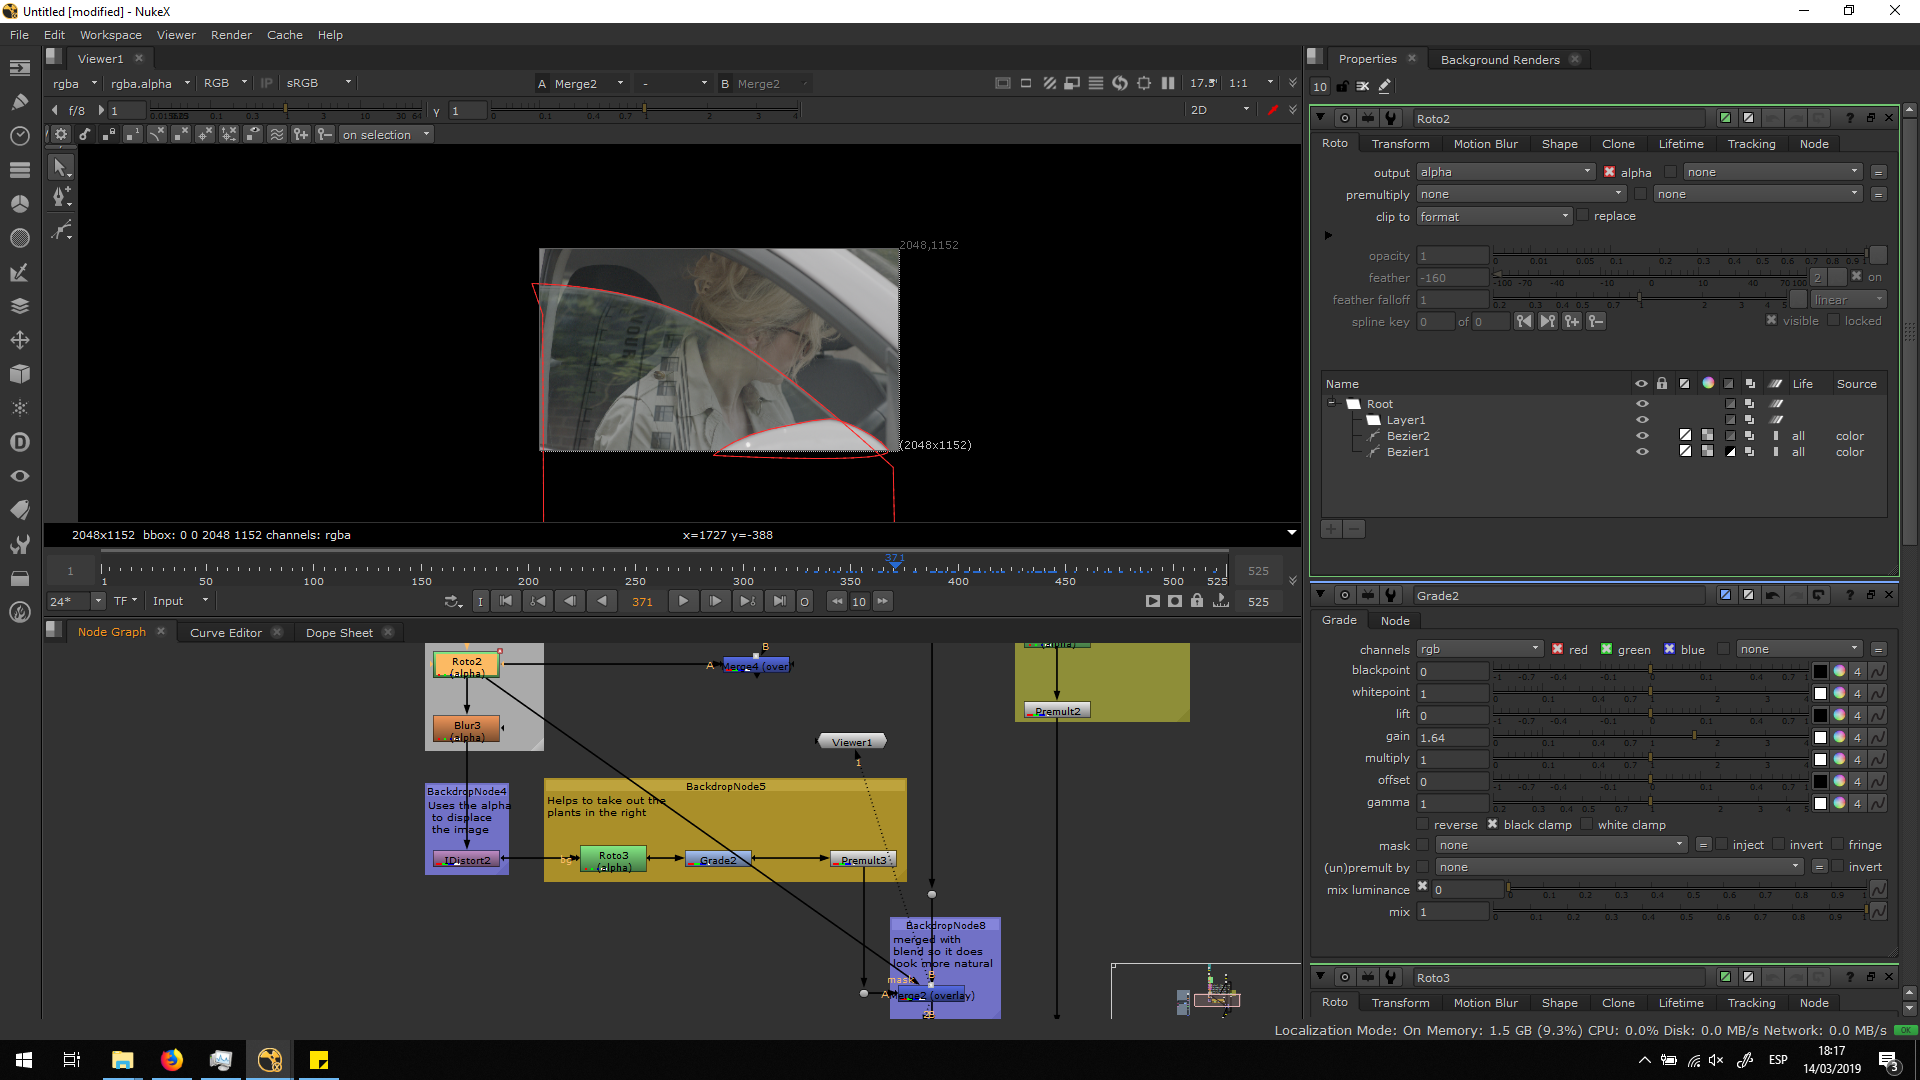
Bring the character over the reflection
The reflection is finally ready, but we have some ecenes in which the reflection of the characer and the characer itself is seen behing the reflecion of the building. We will need to adjust this, since the reflection of the character is the nearest element to the car, so it should be covered by the building.
In order to fix this, I did two rotos from the original footage: one for the reflection of the character and one for the character passing by. I added some blur in both rotos in order to have soft edges with the reflection of the buolding, and preserve a natural aspect.
Finally, I premultiplied that roto and merge it over the script.
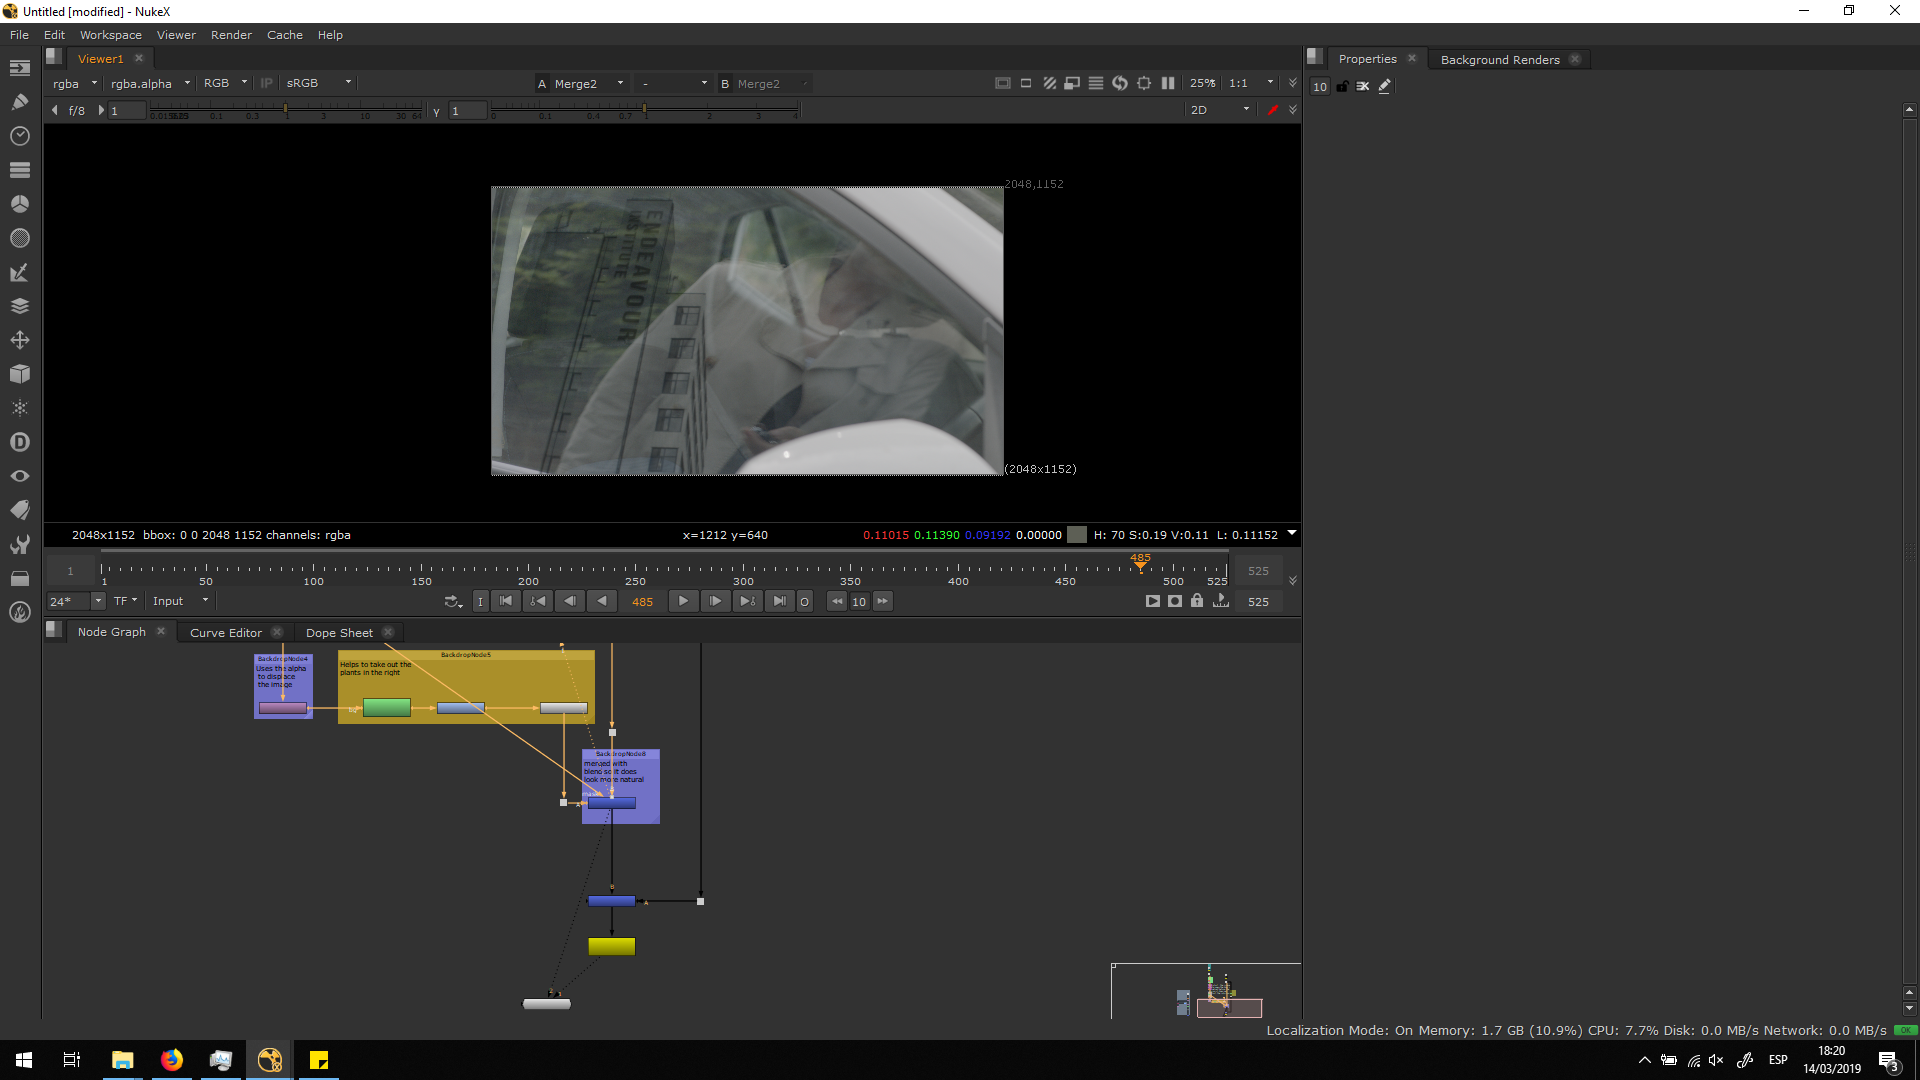
Now, the problem is solve and the footage is ready to be exported.
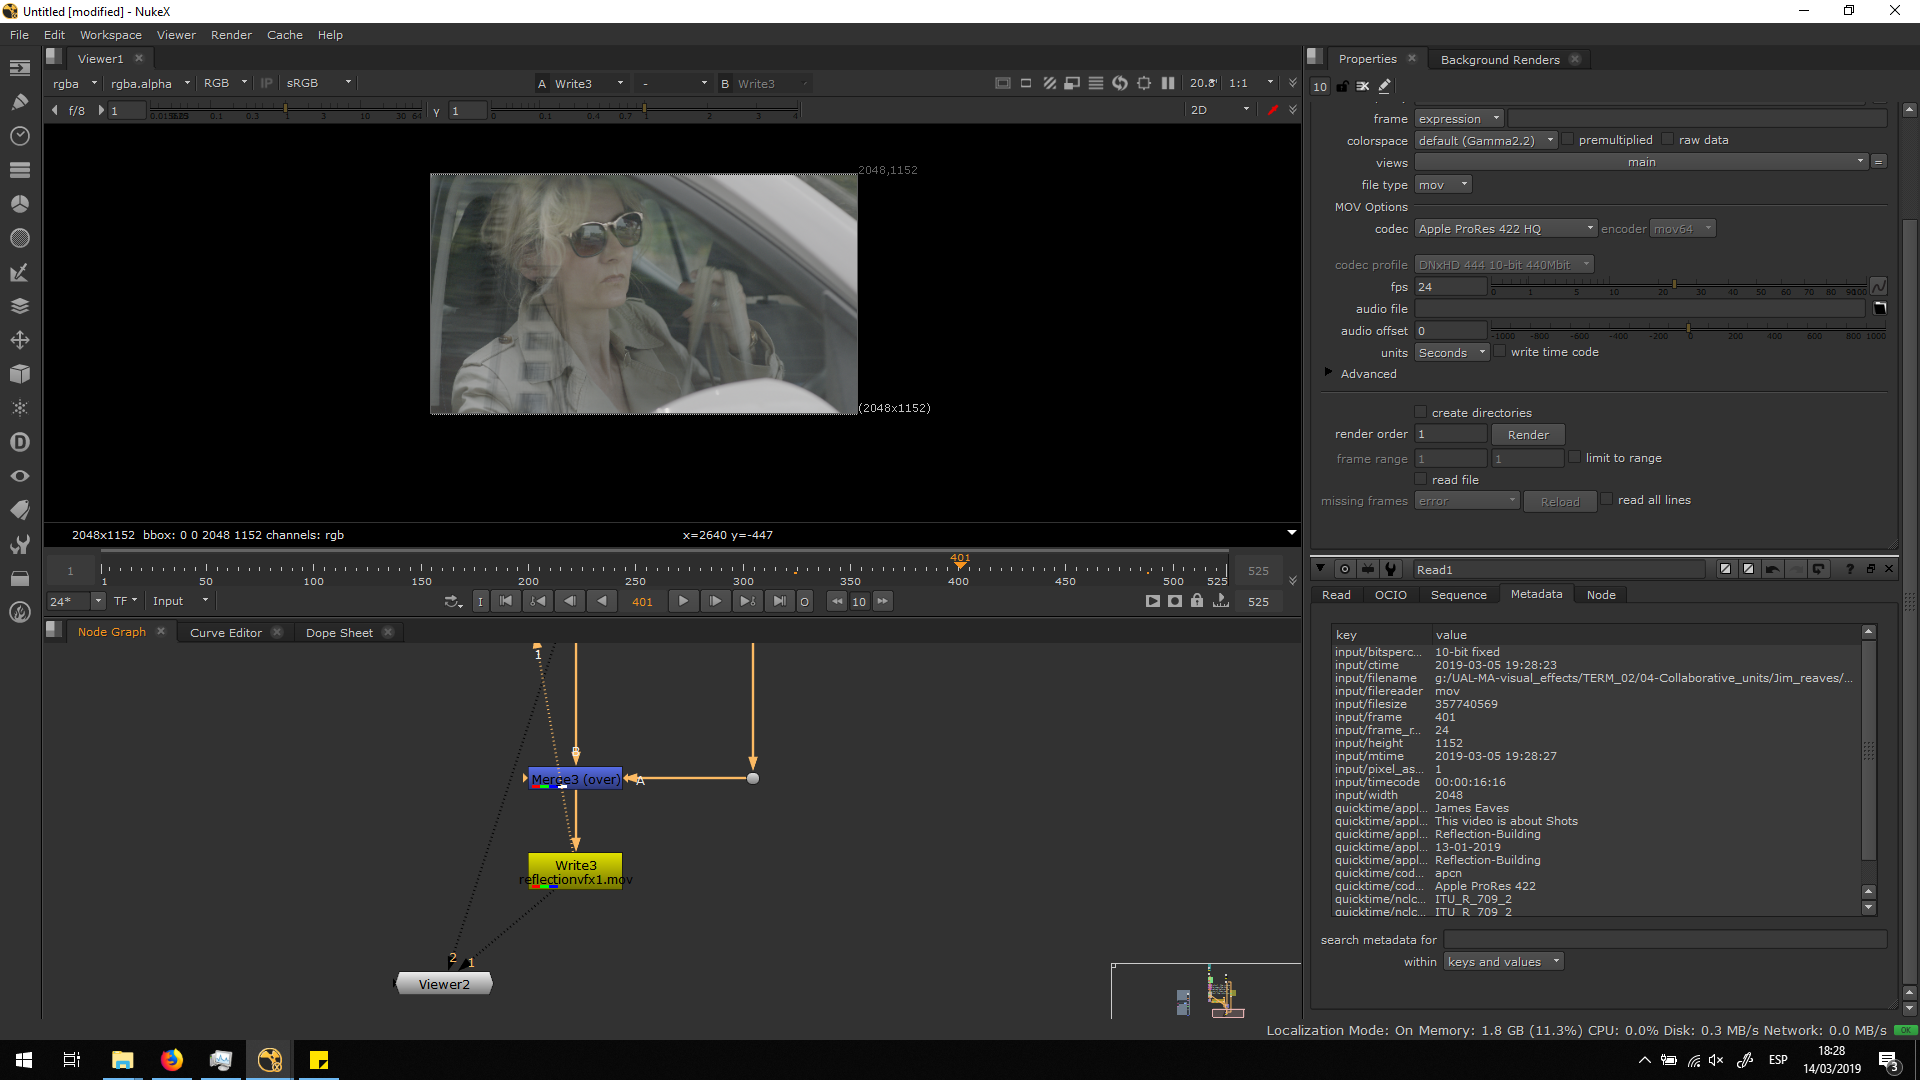
Export the footage
Finally, I exported the sequence in the format we were asked, which in this case is Apple ProRes 422HQ. Watch this blog entry to know more about Apple ProRes. When exporting, we should always take care about having the correct FPS and color space, matching the metadata of the original video.
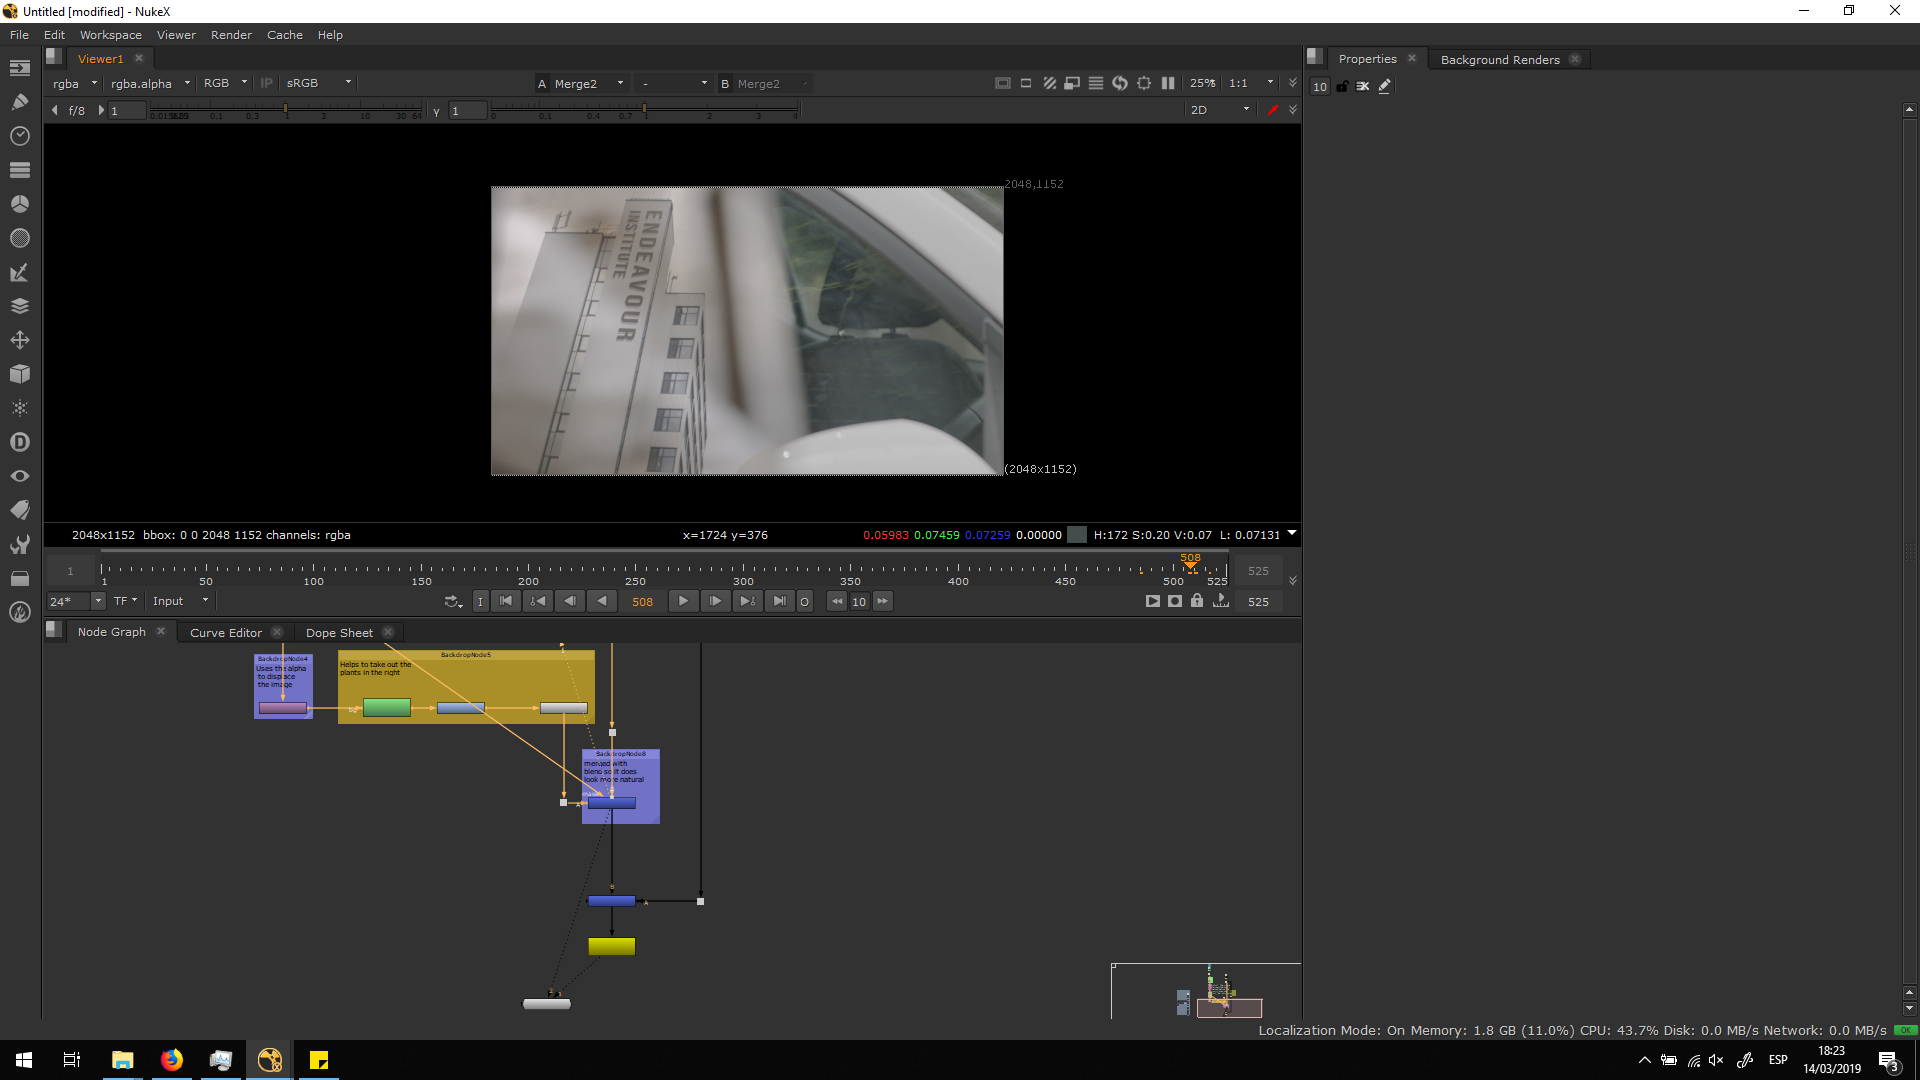
Script overview
Conclusion
I enjoyed really much doing this excersice. I am really happy with the result, since it looks really realistic, and we did not even need to go trhough a really complex script in order to achieve this result.
Also, I learned the existance of two notes that I never used before, which are the CornerPin2D and the IDistort. I find this notes amazing useful, so I am really glad to have done this excersice and have discovered them.
The only major inconvemience about the final output is that the leaves reflection shoud not be there, but Billie, our teacher, told us it would be really impossible to delete that reflection. Therefore, the work could have been completely perfect if, during the shooting, a black or green panel would have been use to avoid having any kind of reflection in the window.
