Editing
The first thing we need to do after shooting a projeect is reviewing all the footage and choose the good shots we are going to use. Then, according to the technical script, we need to arrange the footage and do the editing according with the music.
Since this is not a bid production, we should take in consideration that the final edit can change. Therefore, for this first edit is better to keep it simple and leave the scenes as large as we can.
After this first editing, we can have a rough idea of how the video is going to look like, and we can start working applying VFX in every shot.
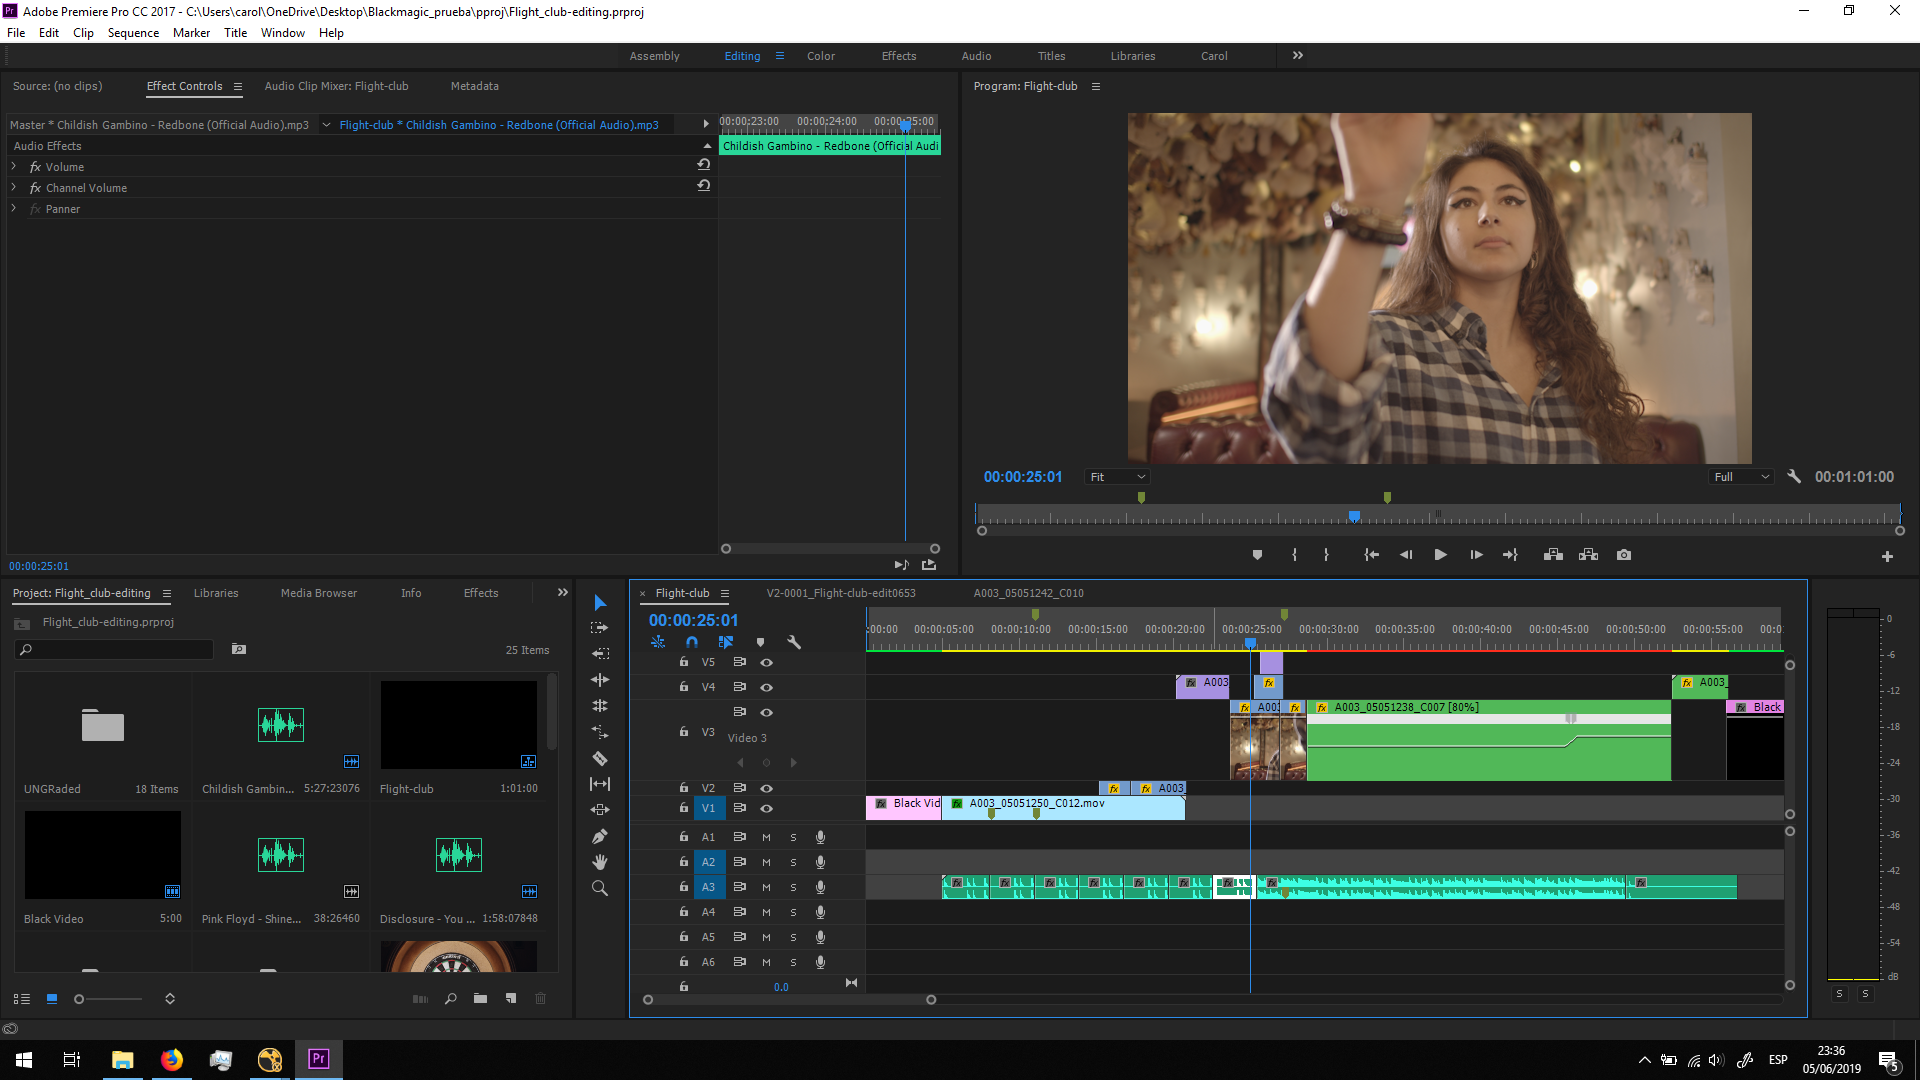
This is the result of the first editing of the video:
Basic VFX changes
Dart removal 1
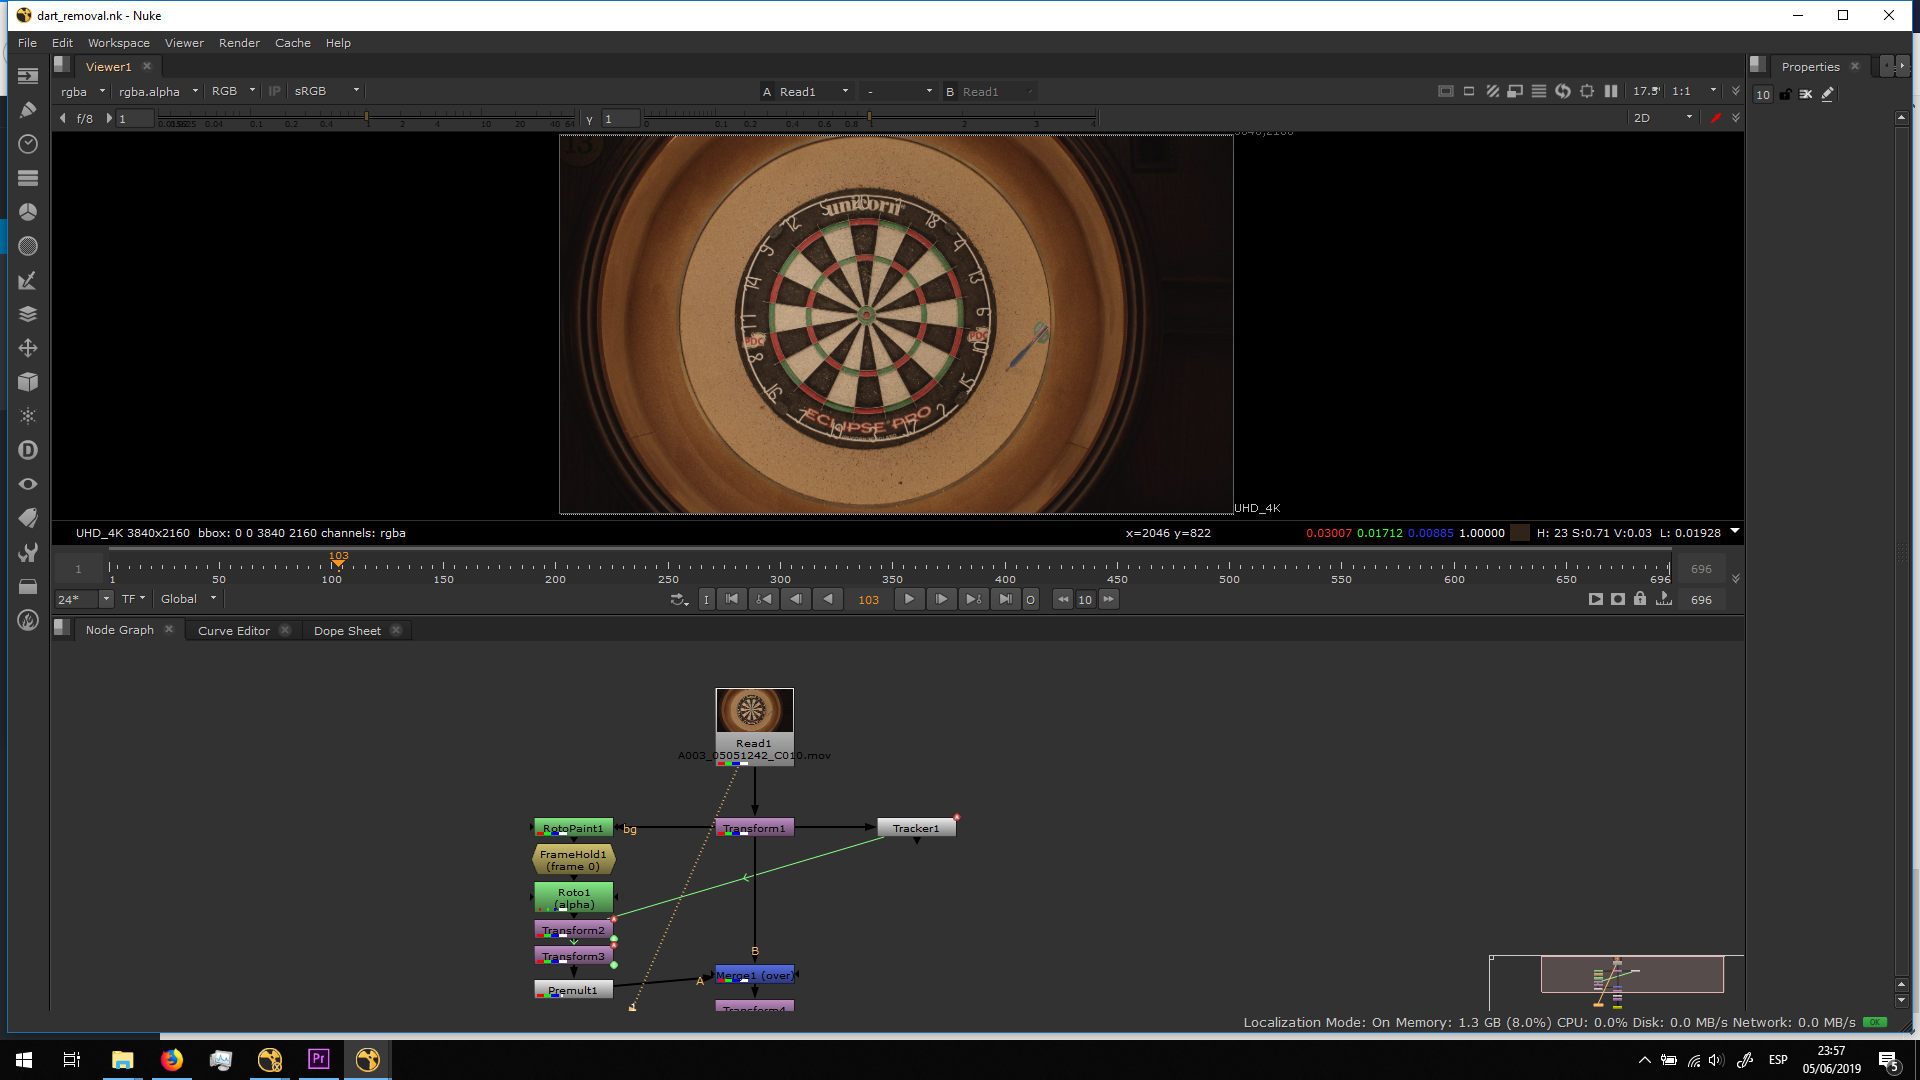
In the shot in which she is throwing the dart, the shadow of the dart must be removed when it is in the air, because it will be replaced with the 3D model of the dart.
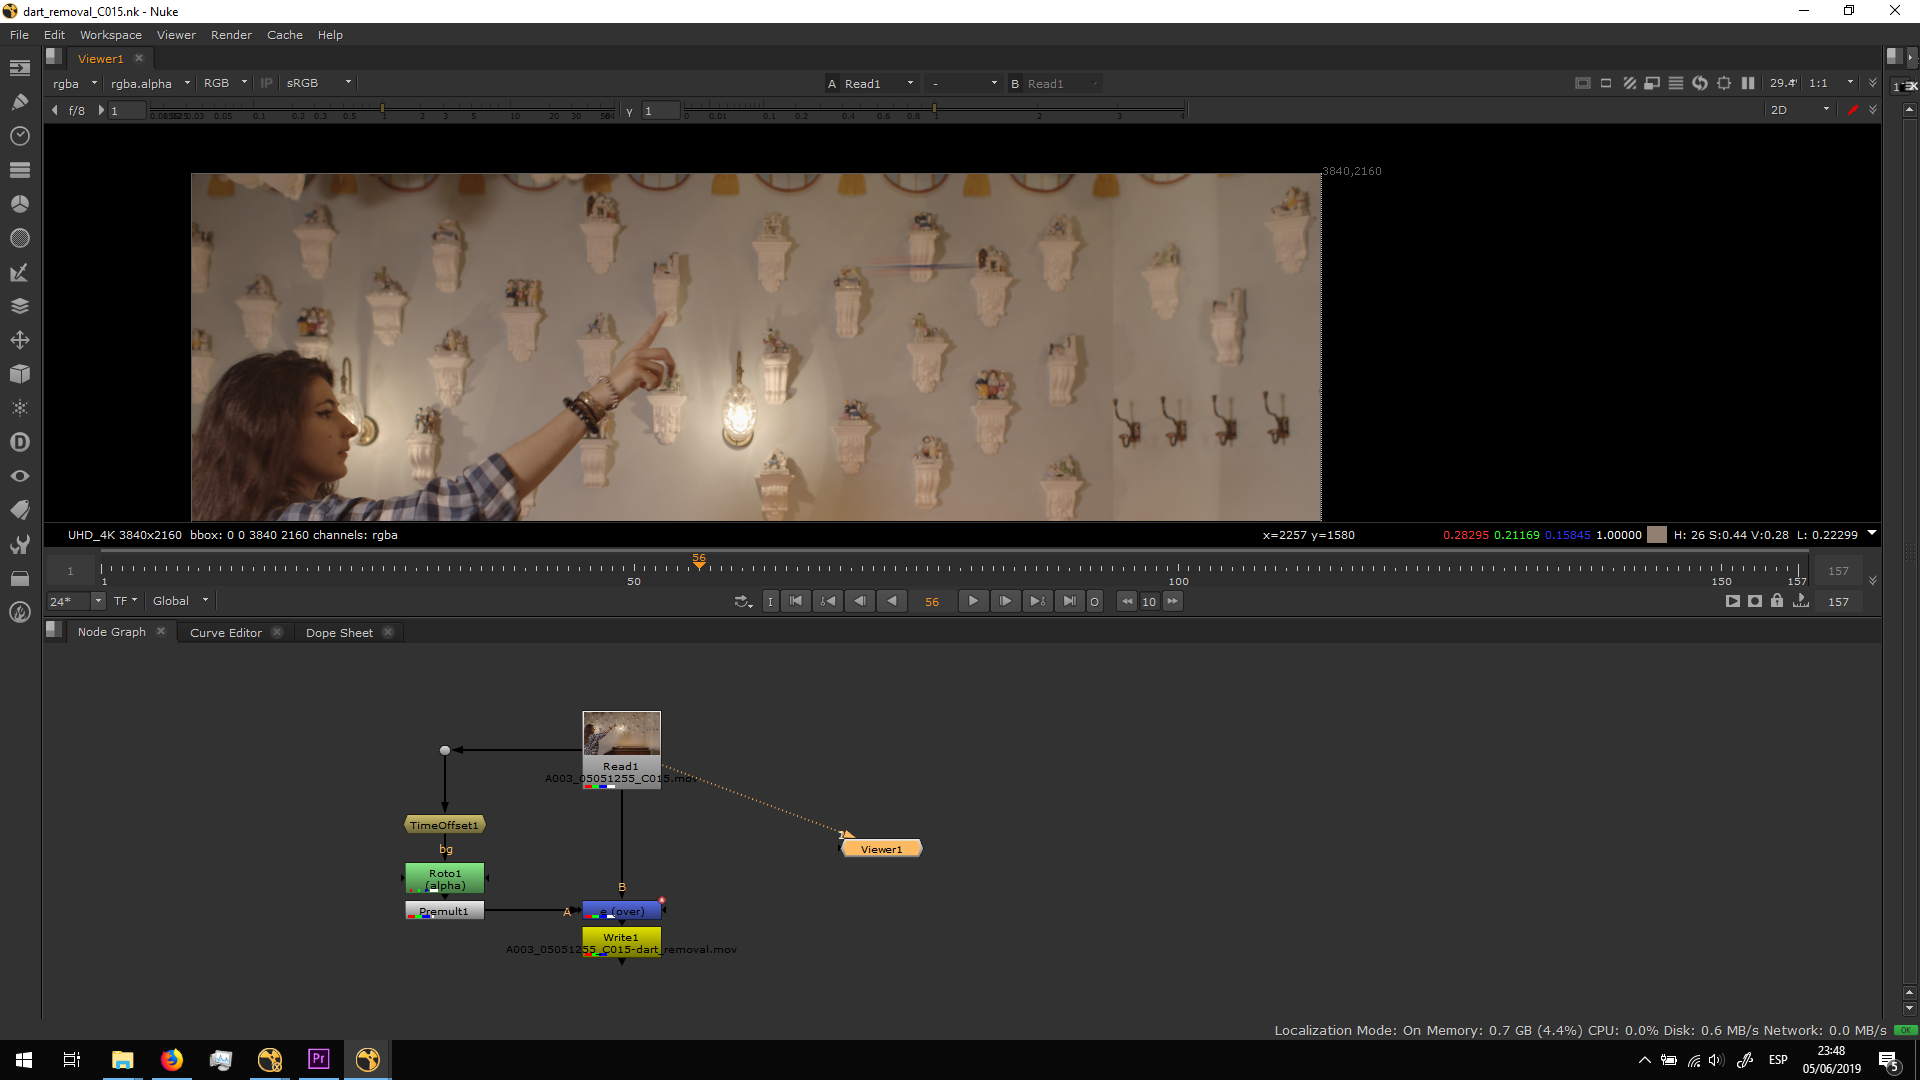
In order to achieve that, I did a really simple script. I took the original footage and I added a TimeOffset node, making it one frame slower. Then , I did the roto following the movement of the dar in the original footage.
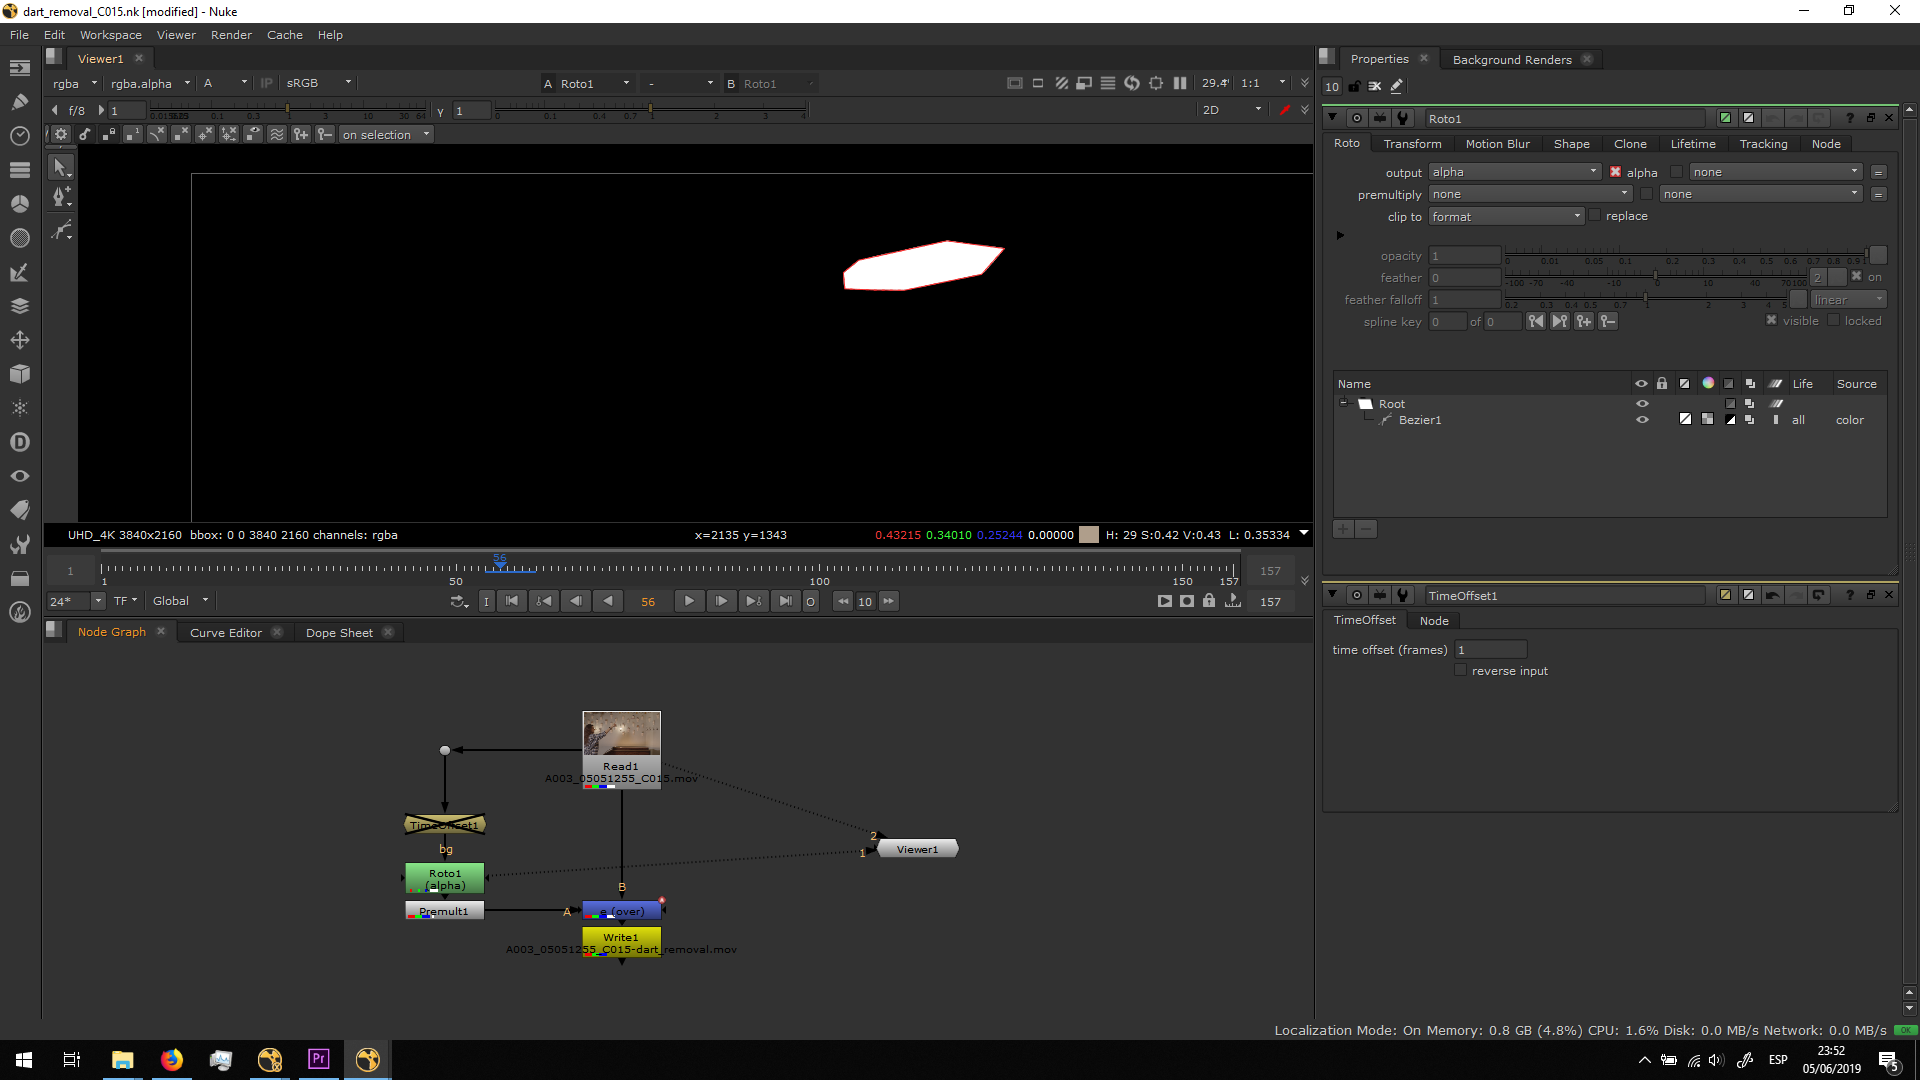
 Generating this alpha channel.
 Which, applied after the TimeOffset, is taking the plain background.

Then, I premultiplied that roto and merge it over the original video.
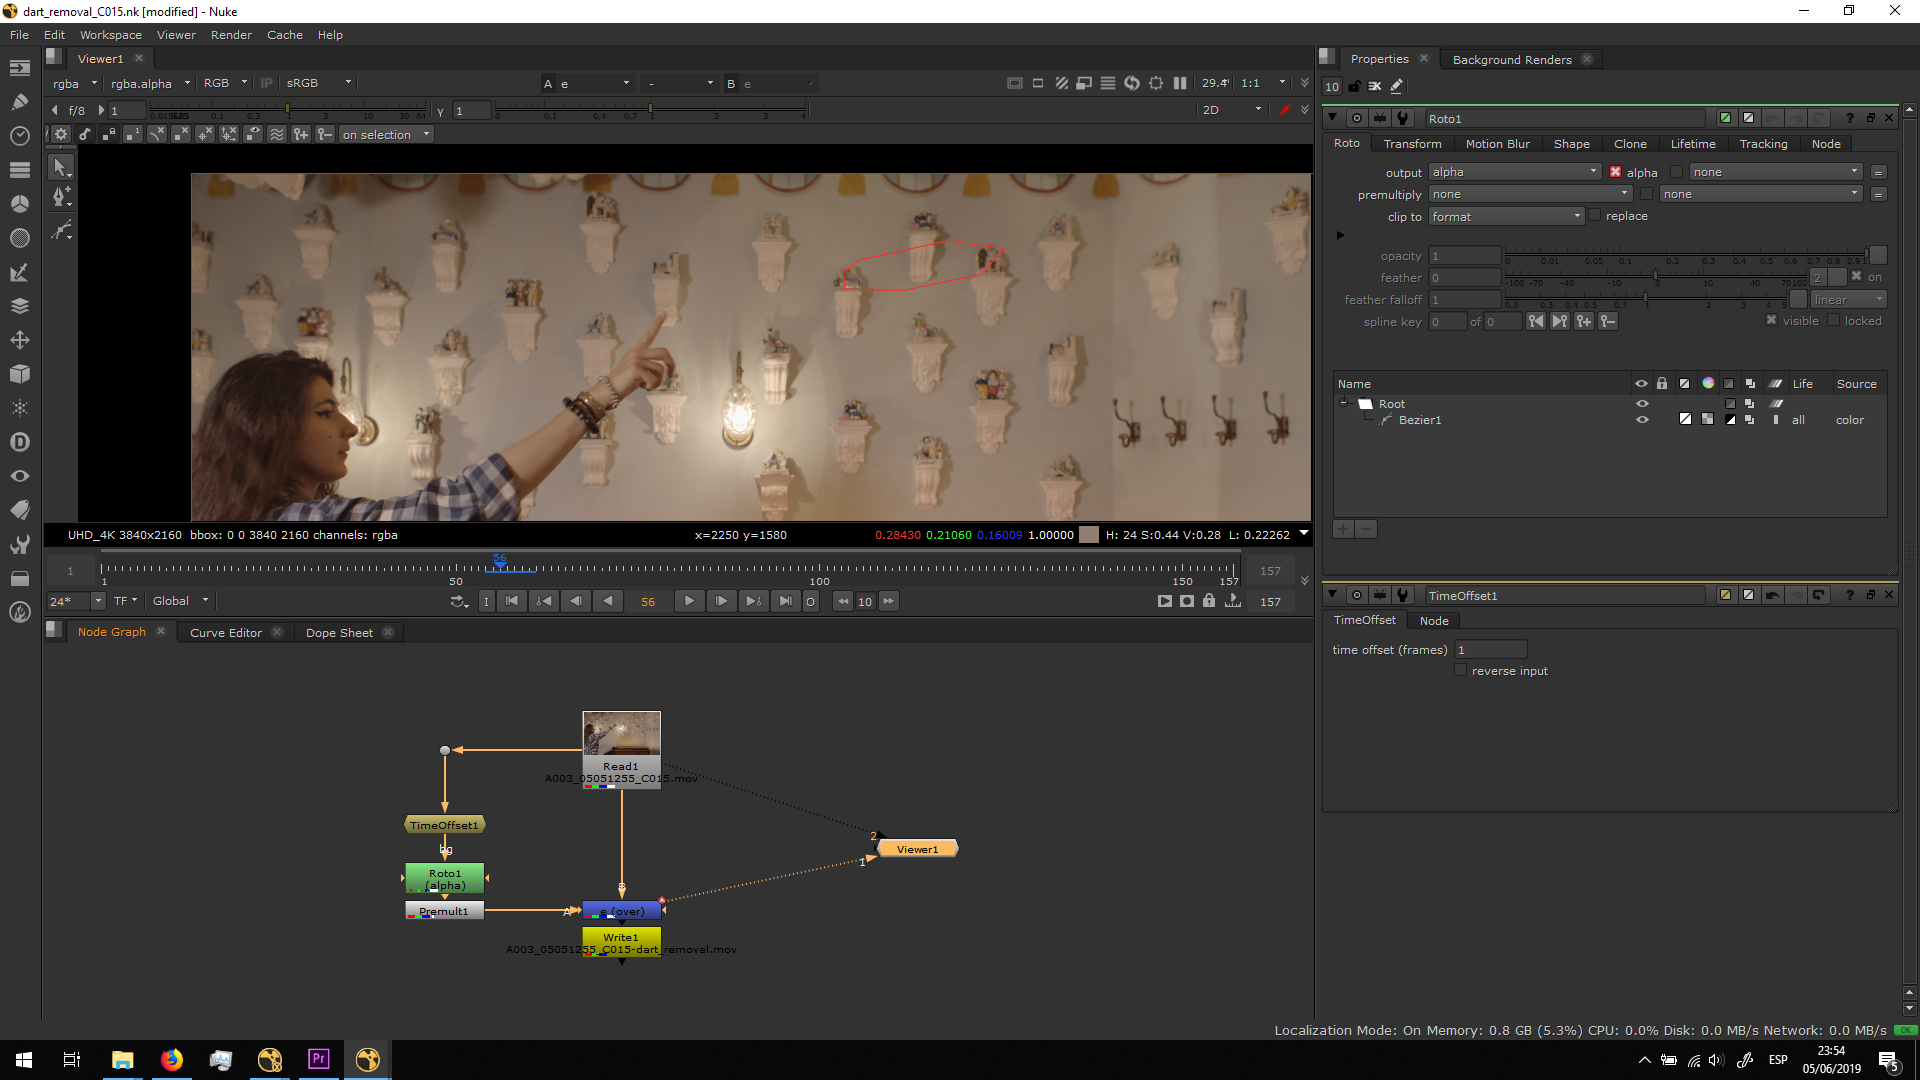
And so the dart is not visible anymore.
Finally, I exported the footage in Apple ProRes 422 HQ and I replaced it in the editing.
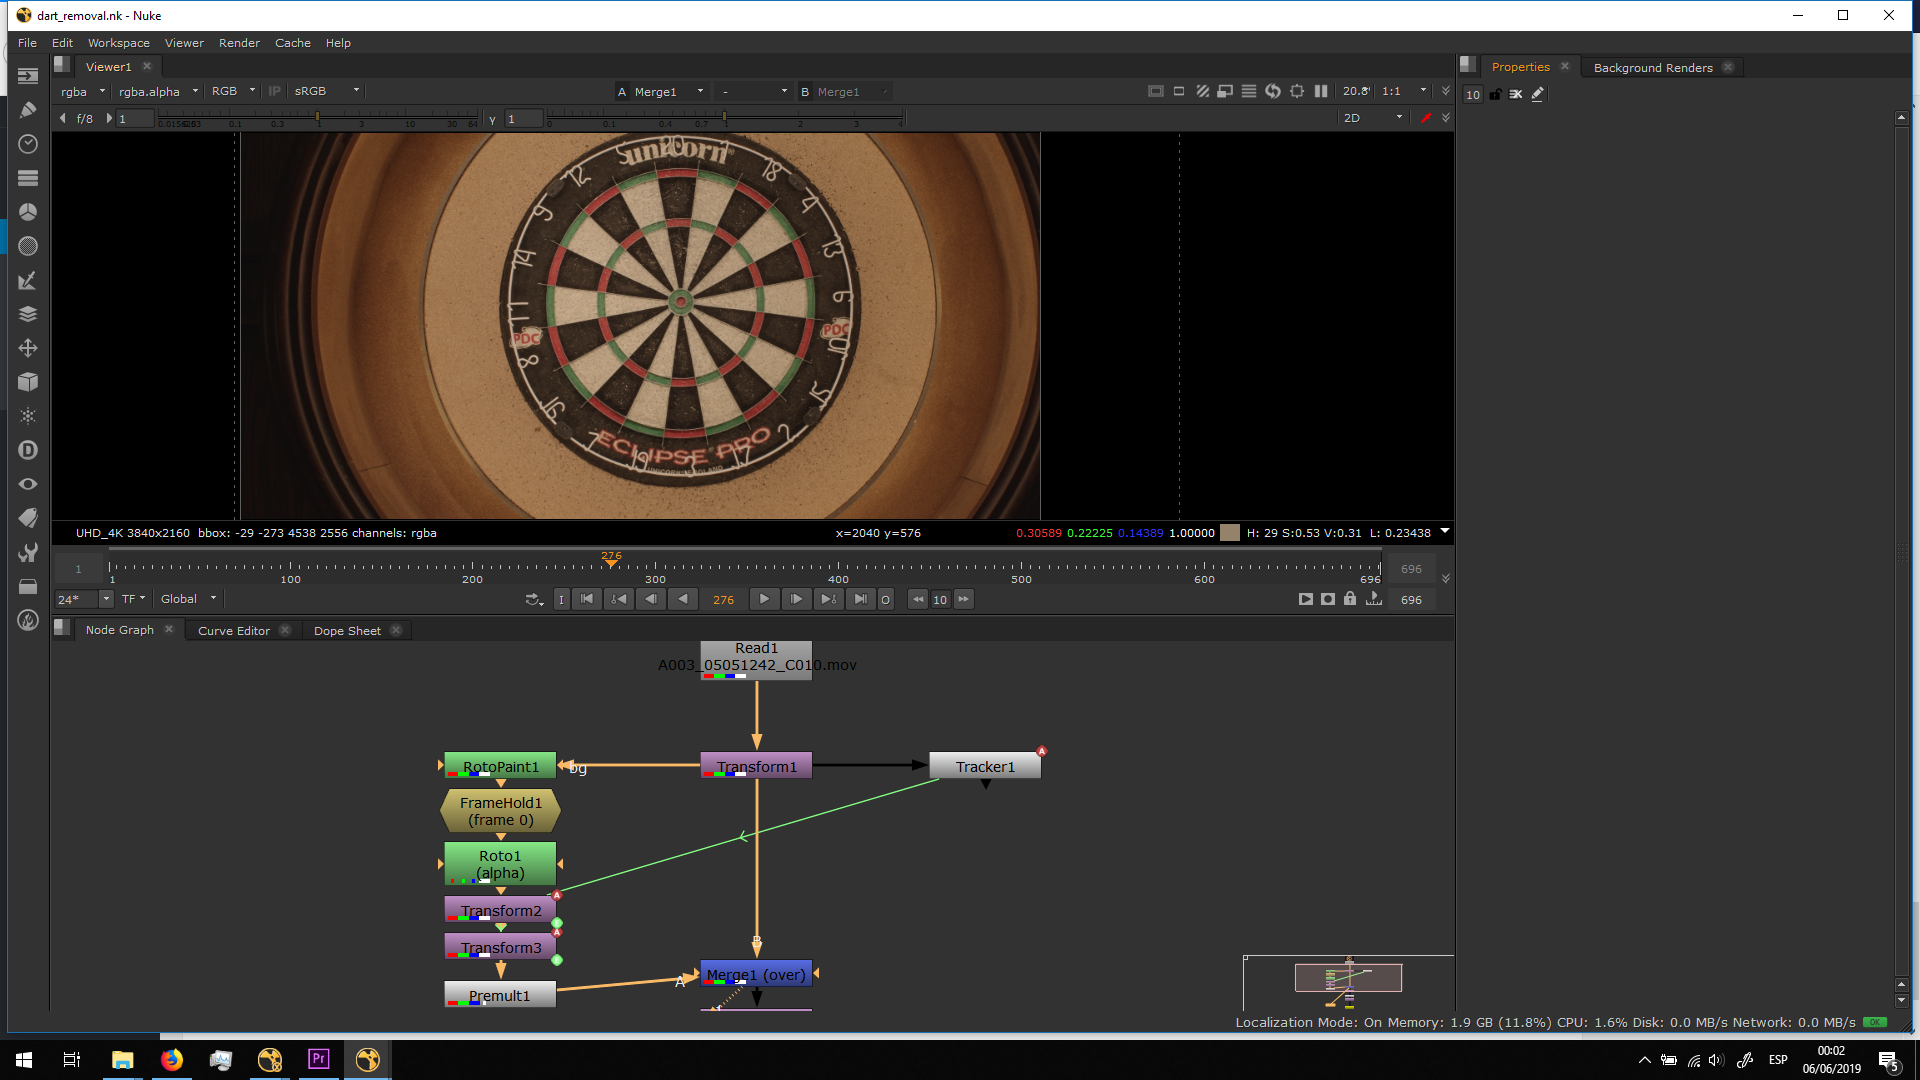
Dart removal 2
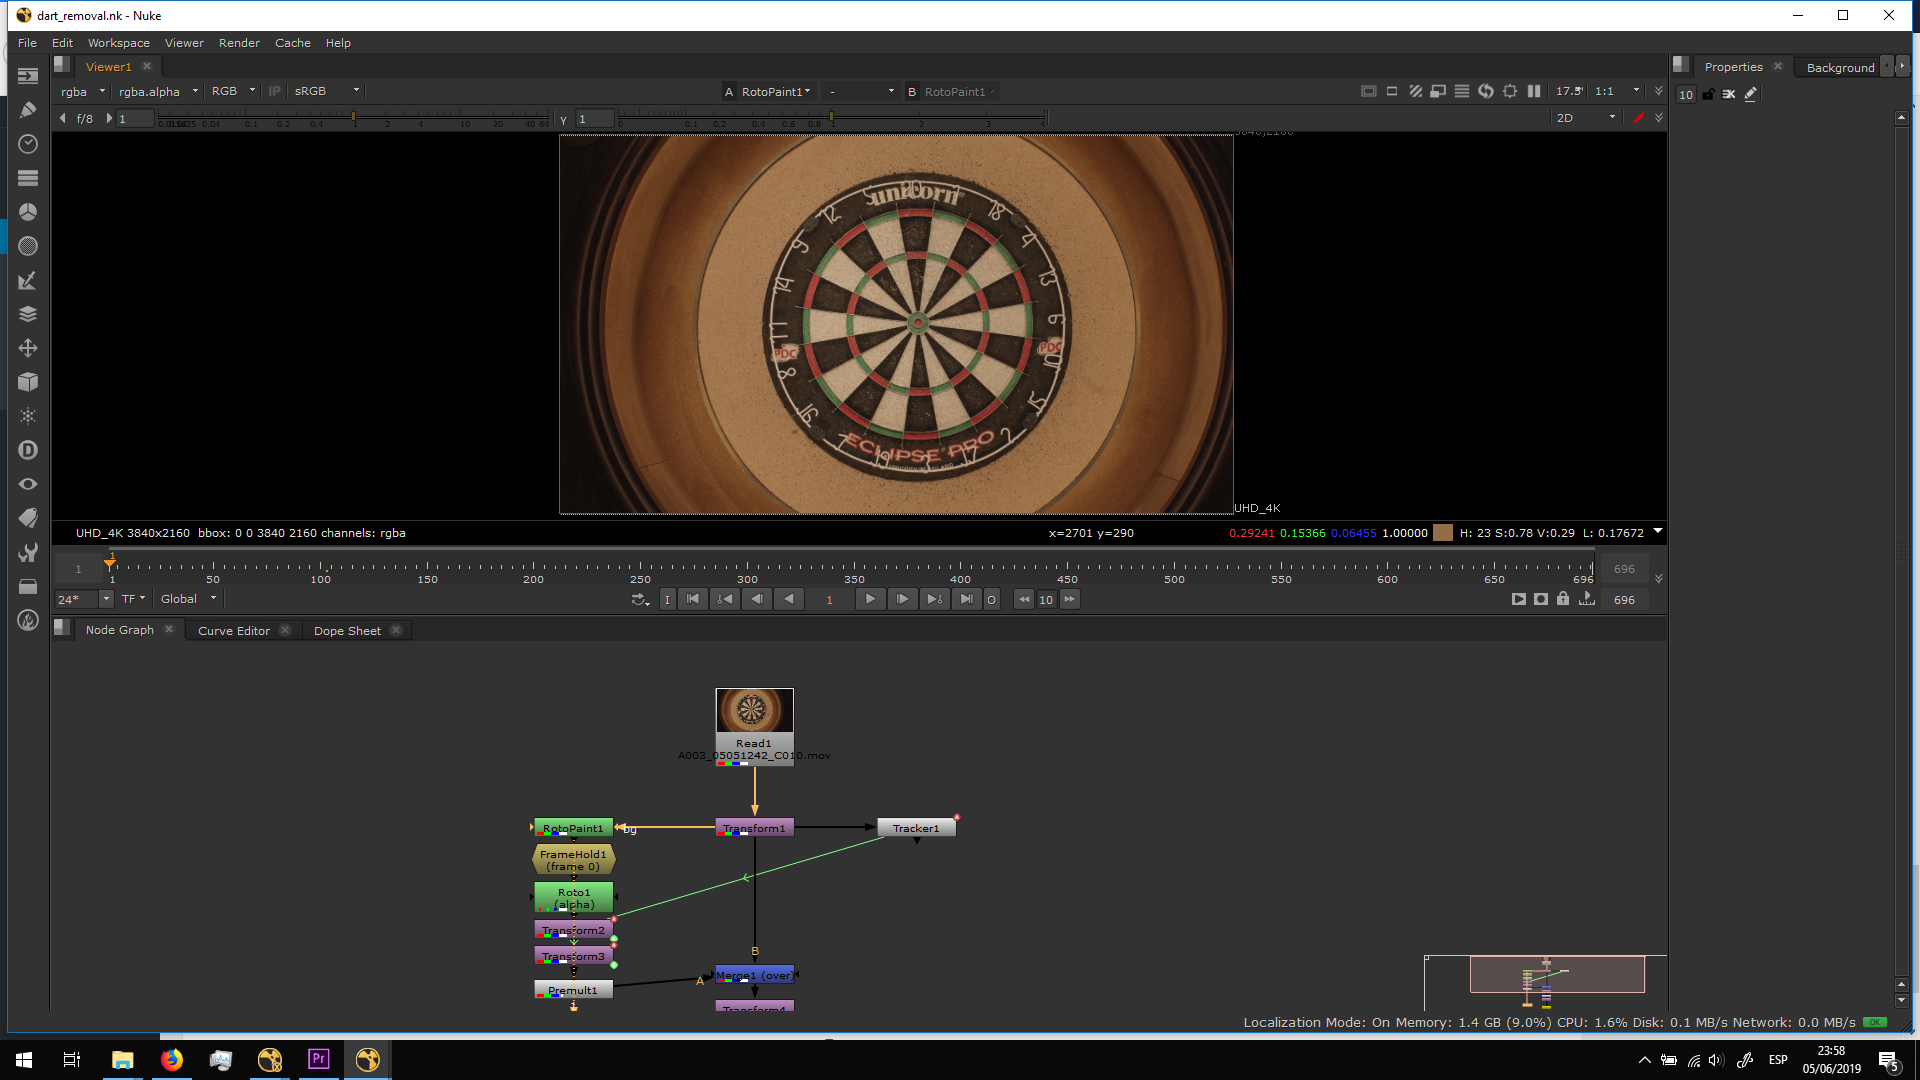
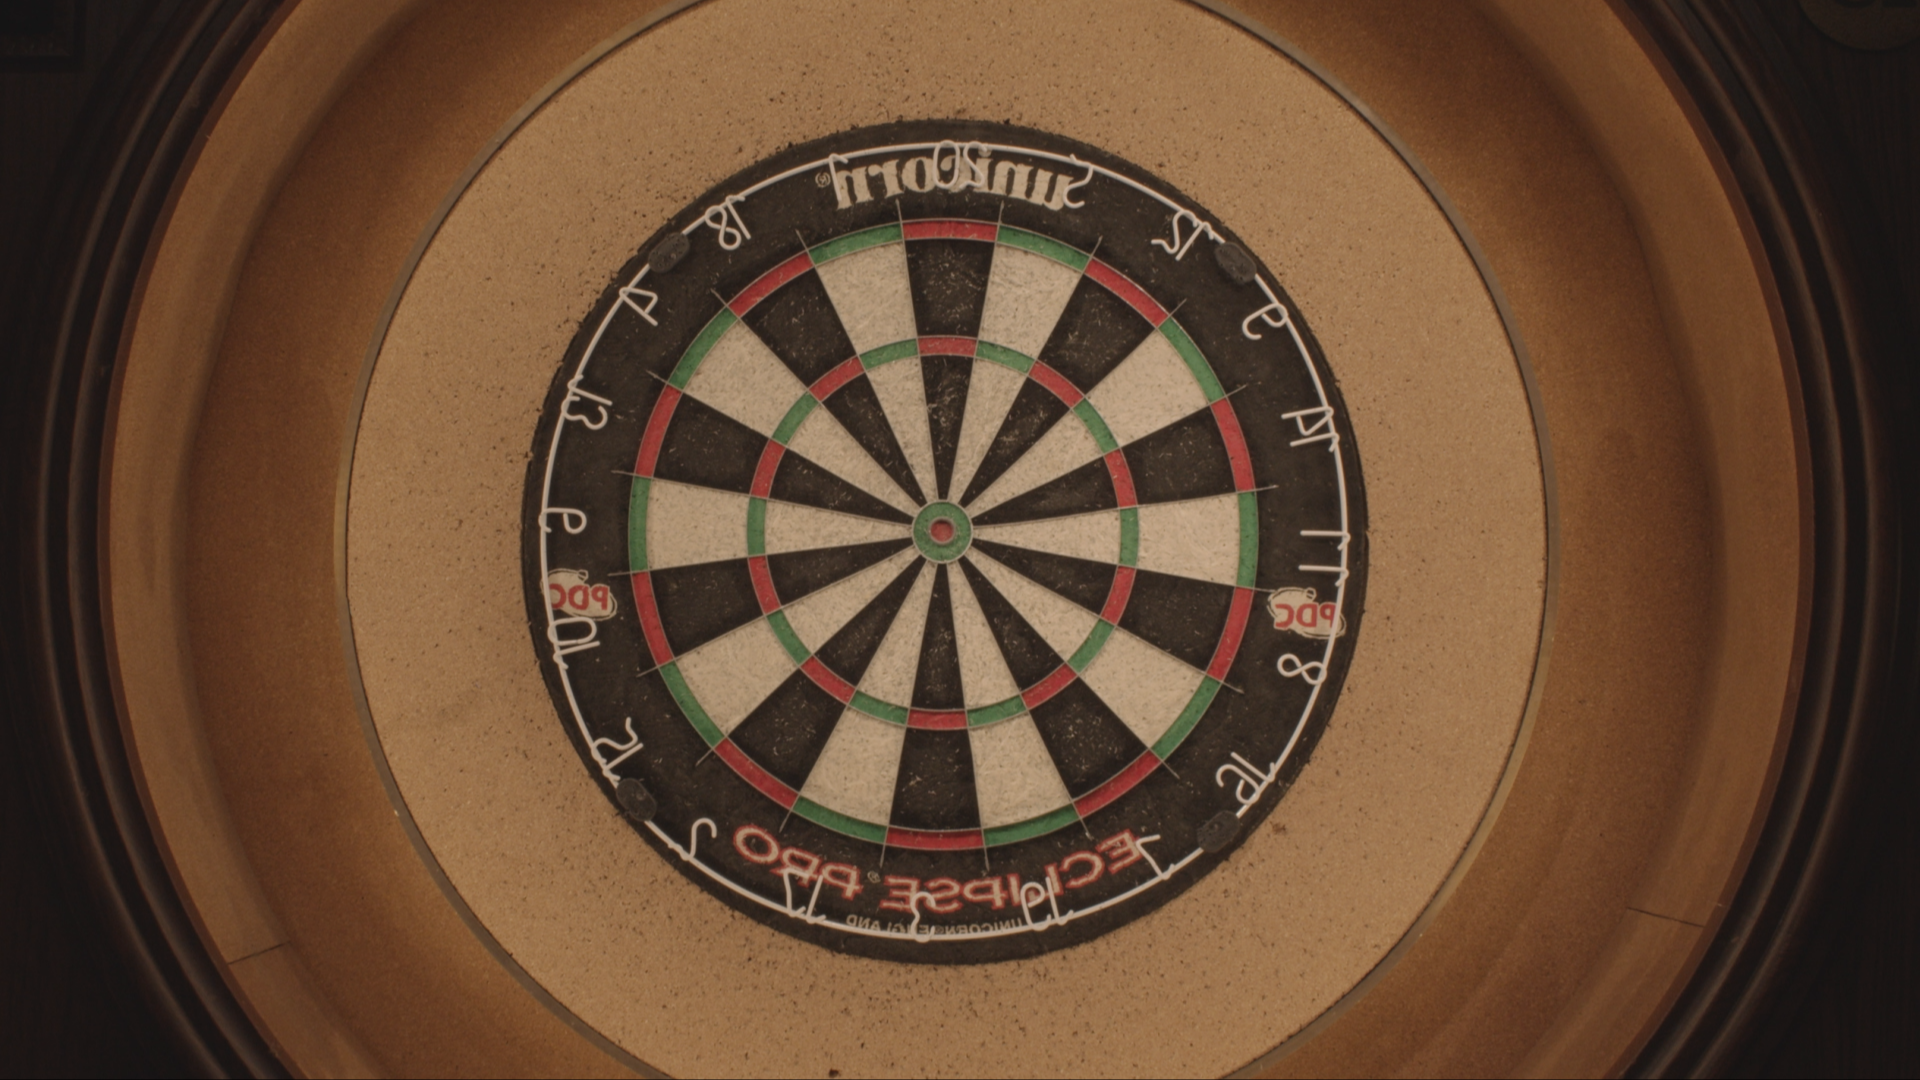
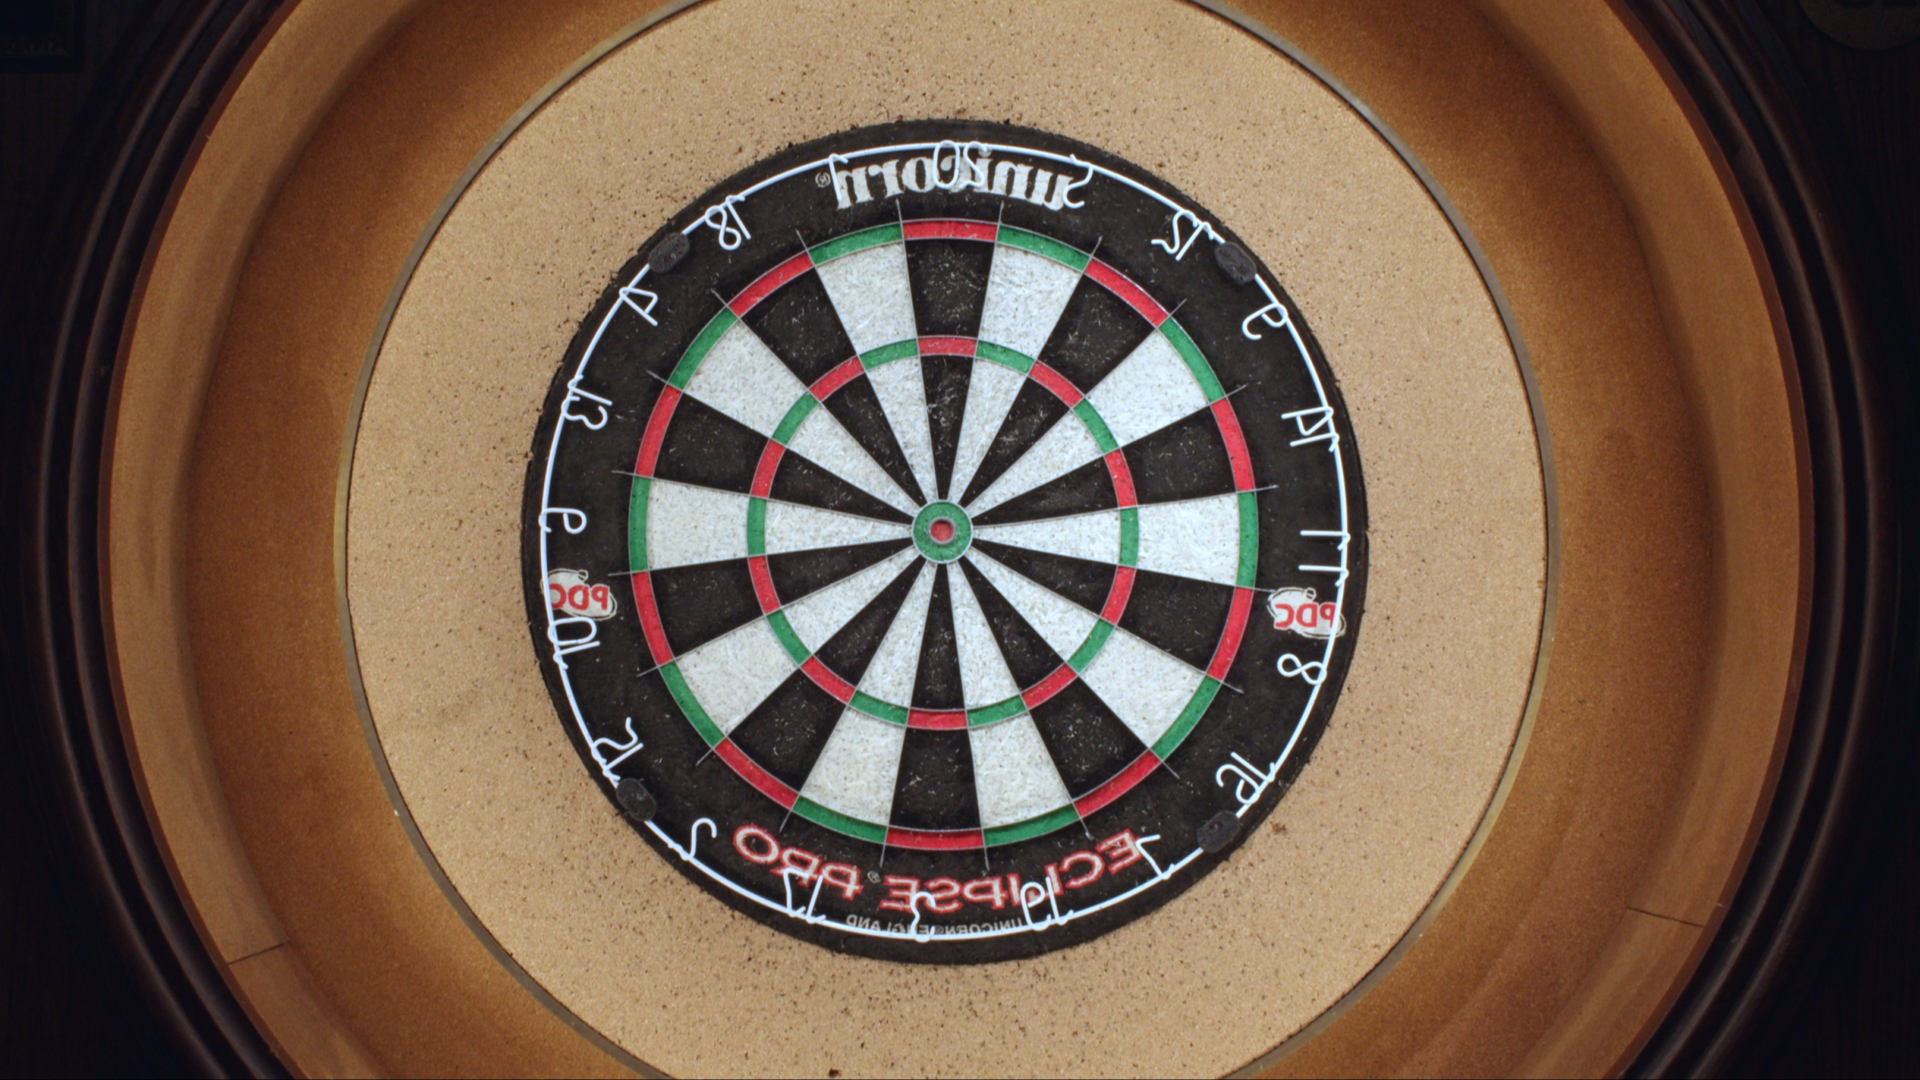
Since I wanted to use more shots that the ones which I actually planned, I found I was missing a shot of a blank dartboard. Therefore, I took a video of the dartboard woth the dart and I removed it.
For that, I did a roto painting and I took out the dart in frame one.
I added a framehold in Frame 0, and I did a roto to isolate the dart area in order to be able to merge it over.
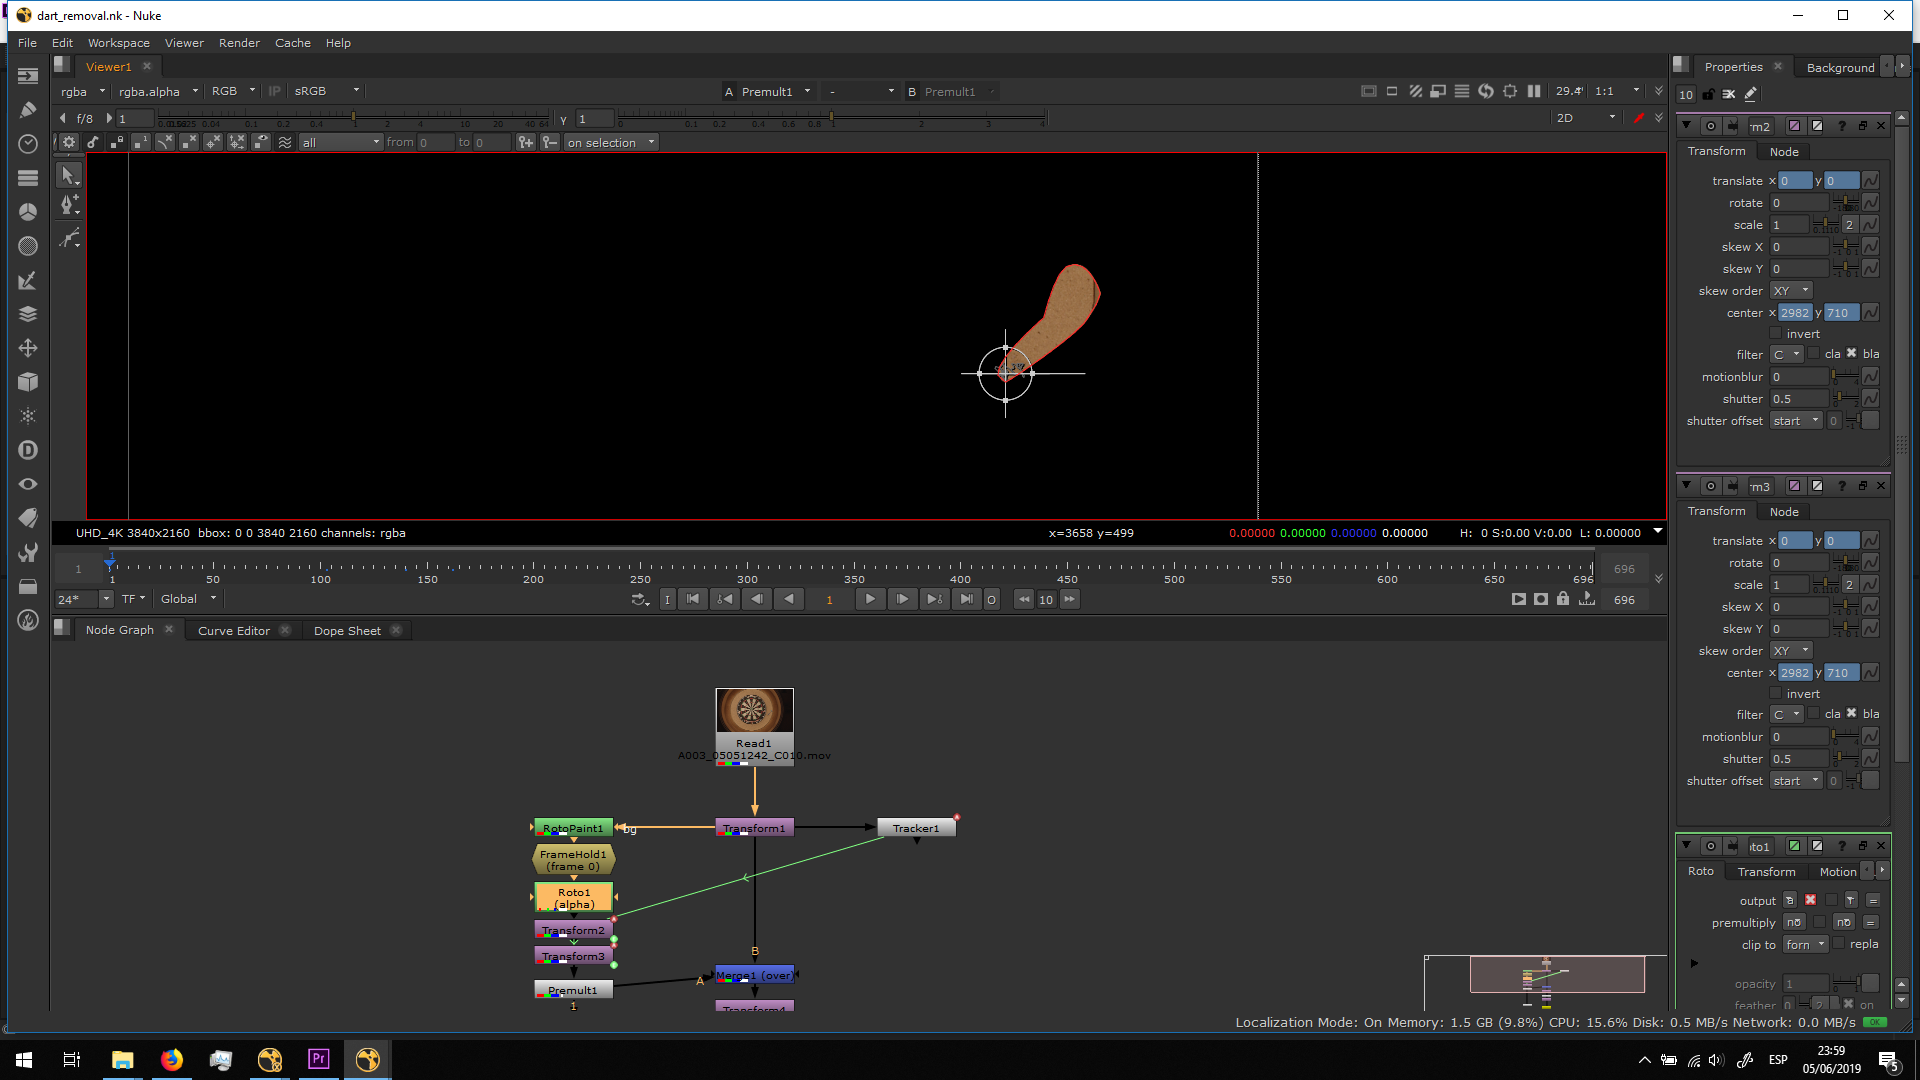
Since the camera has a bit of movement, I did a tracking on that movement and I attached the transfromation into a transform note connected to the dart roto.
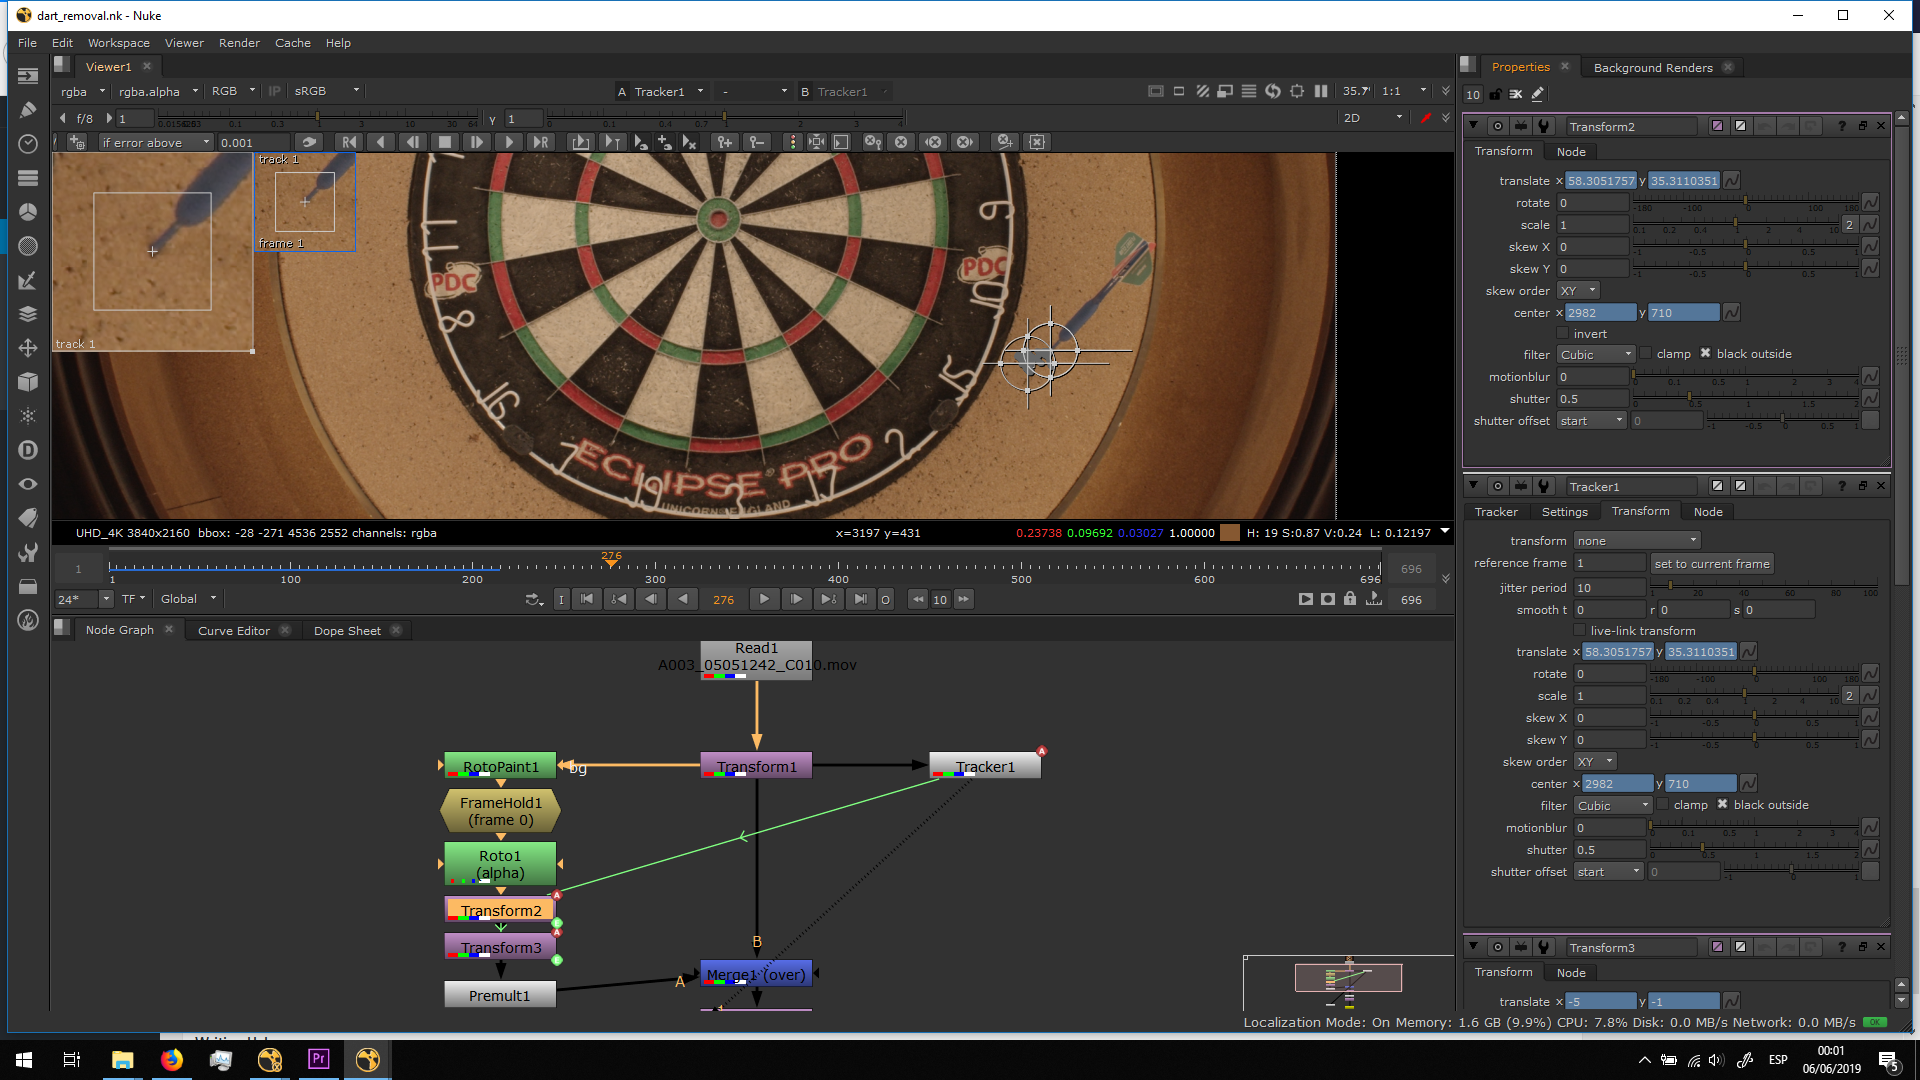
Finally, I premultiplied it and i merged it over the original footage, having as a result an empty dartboard.
Stabilization
We shooted some of the videos with steadycam. That kind of recordings generates jitter and unstable shots. Therefore, I stabilized all the shots before continuing with the project in order to get rid of those movements. Doing a digital stabilization is basically tracking one or two points of the video and send the order to the program to change automatically the position, rotation and scale in order to remove any movement of the tracking marks or smooth their movement -if we have camera movement in the shot-. As we knew we were going to shoot with a steadycam, we decided to shoot all the footage in Ultra HD, so when the video is scaled after the stabilization, we do not lose resolution.
This process is the same for all videos, so I am only going to show it in this scene.
First, I added two tracking marks.
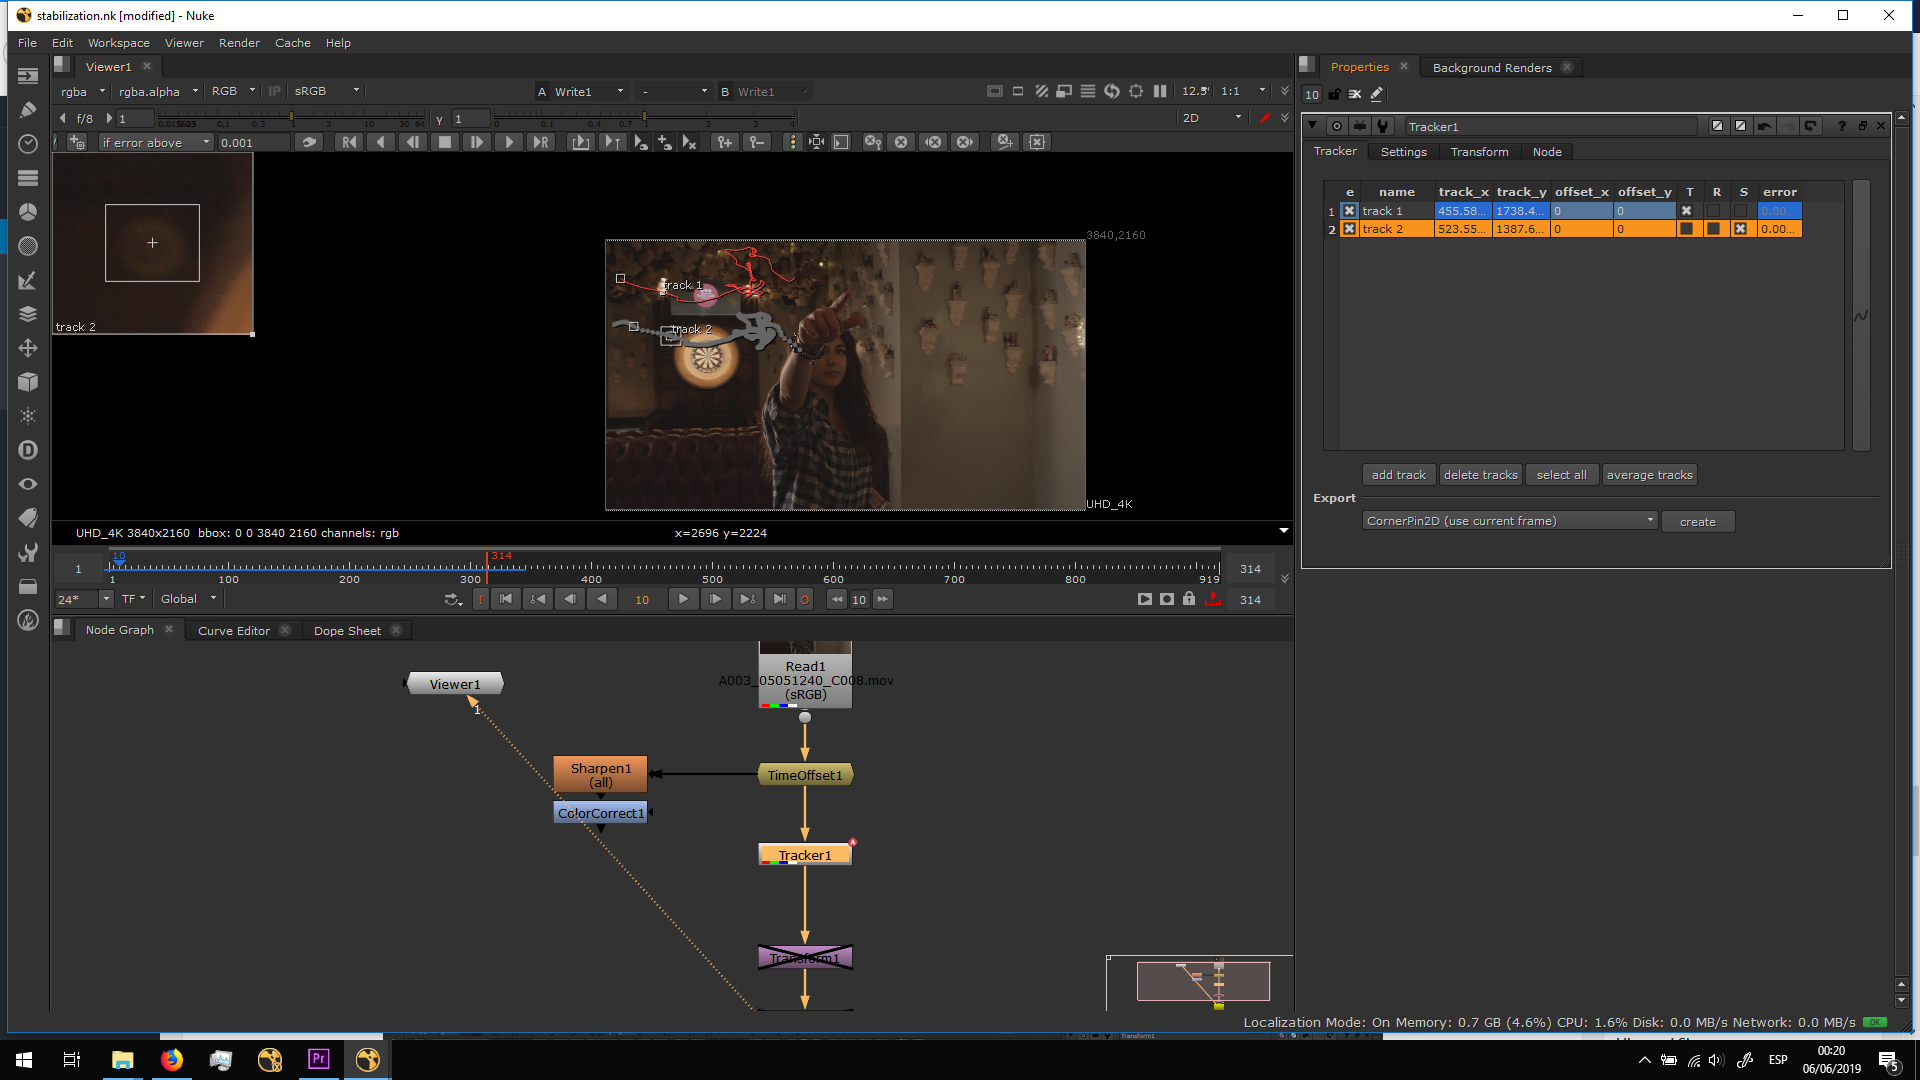
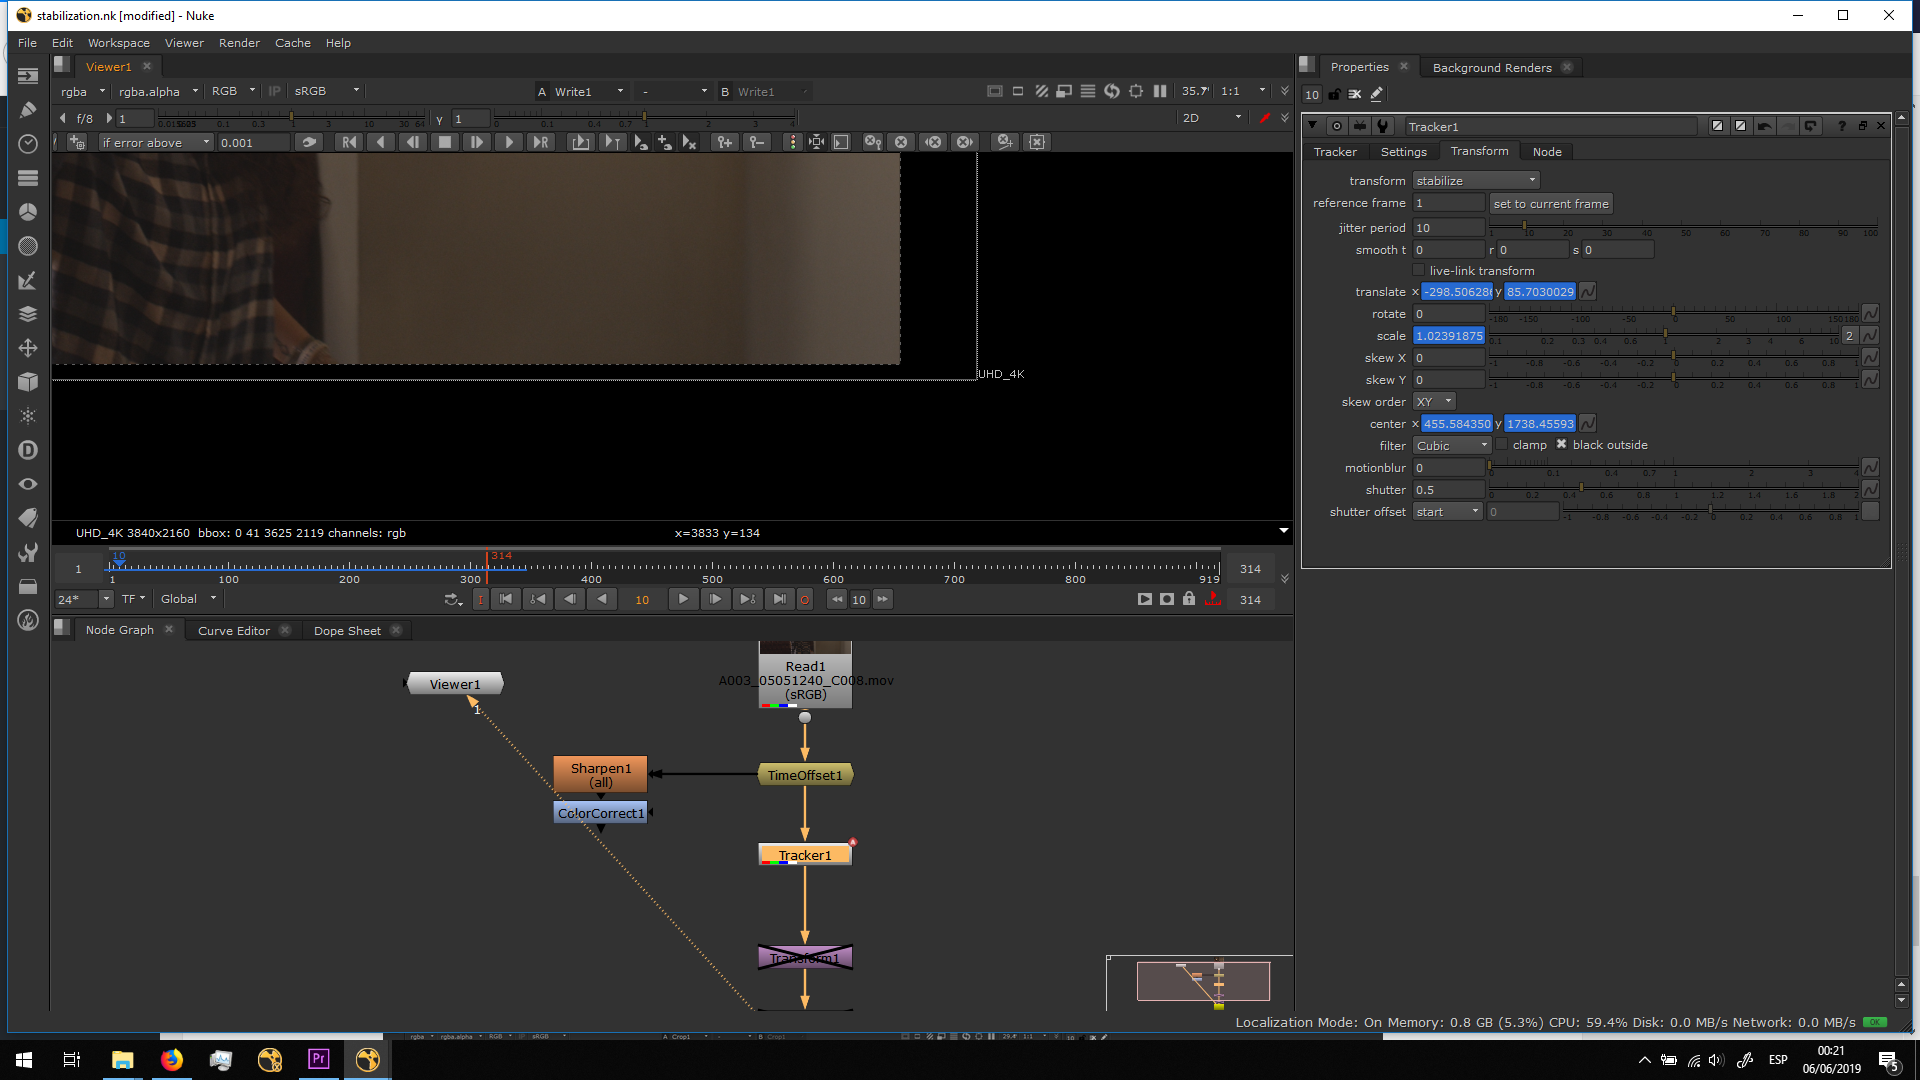
Then, in the Transform option of the tracker I chose Stabilize.

And it stabilizes the scene autimatically. But when stabilizing, the images moves and leaves some parts of the frame blank, as we can see in the image.
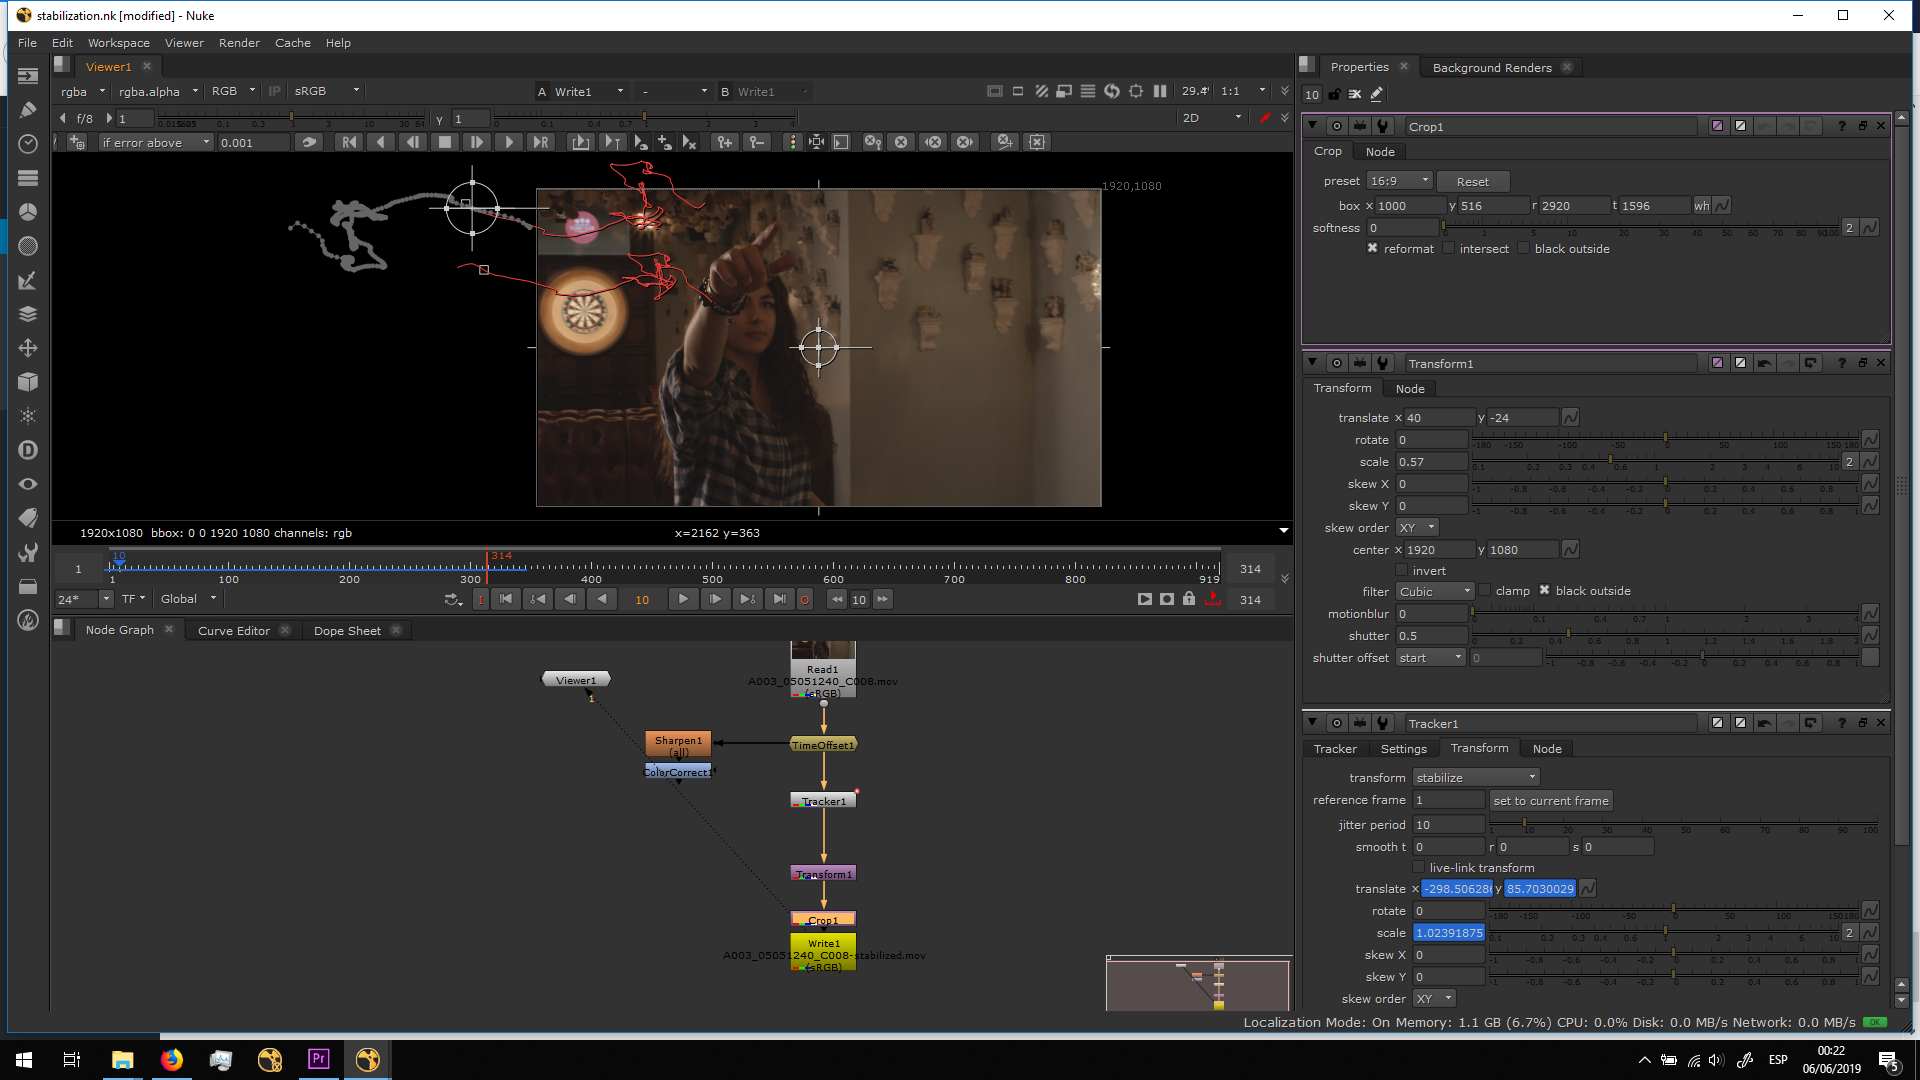
In order to fixid, I scaled the image a bit bigger and I added a Crop, in order to crop it, and ticking the reformat option in order to have it at the wanted resolution.
Color grading
After having all the minor effects fixed, we will continue with color grading. I decided to do the color grading before the camera tracking, on one hand because the contrast and depth of color will make the tracking easier, and in the other hand because in this way the color and lighting of the 3D dart will be more accurate according to the final result.
Therefore, I exported the editing sequence of premiere in DPX, a loseless format.
Then, I imported the seguence in DaVinci Resolve, the program I have chosen to do the color grading.
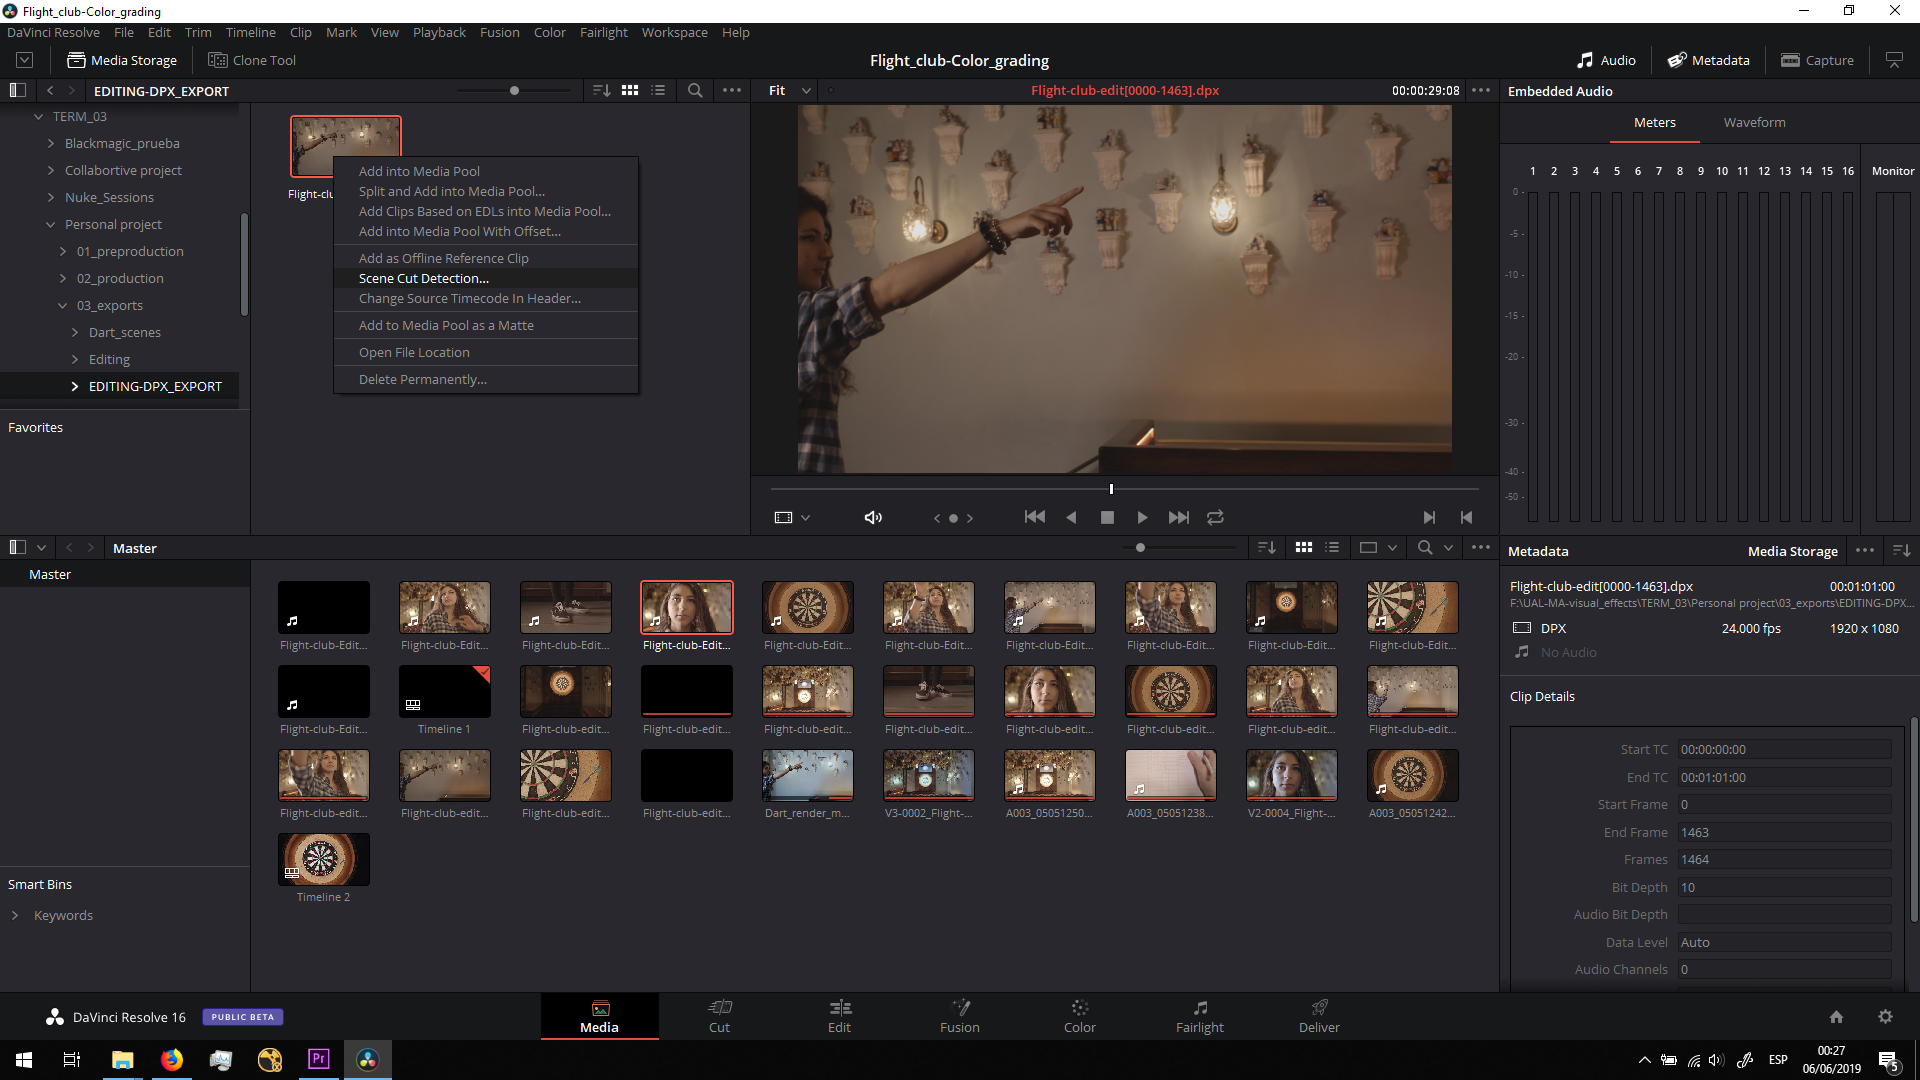
When importing the sequence, I chose the option Scene Cut Detection, whith which DaVinci detects any change of shot and separates the sequence in different shots in order to be able to grade them separately.
When the process is finished, I chose add cuts to media pool. 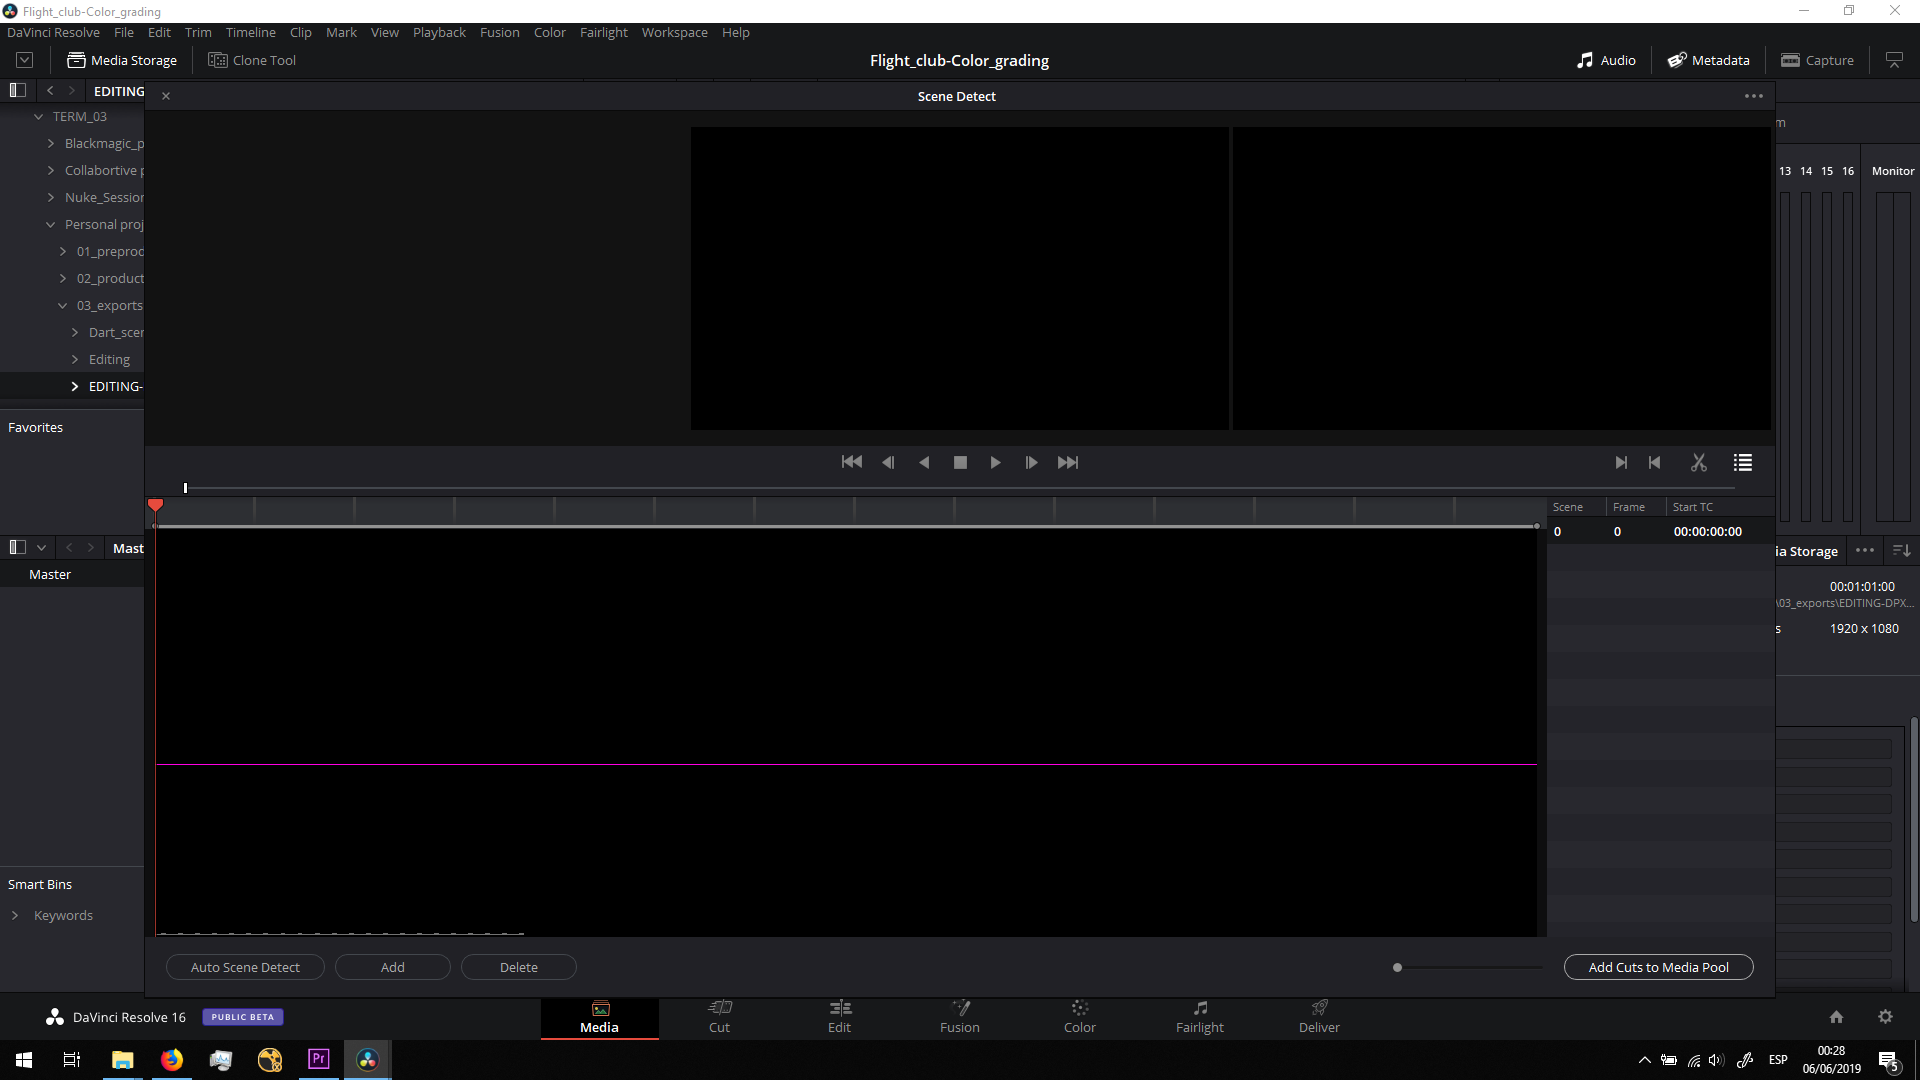
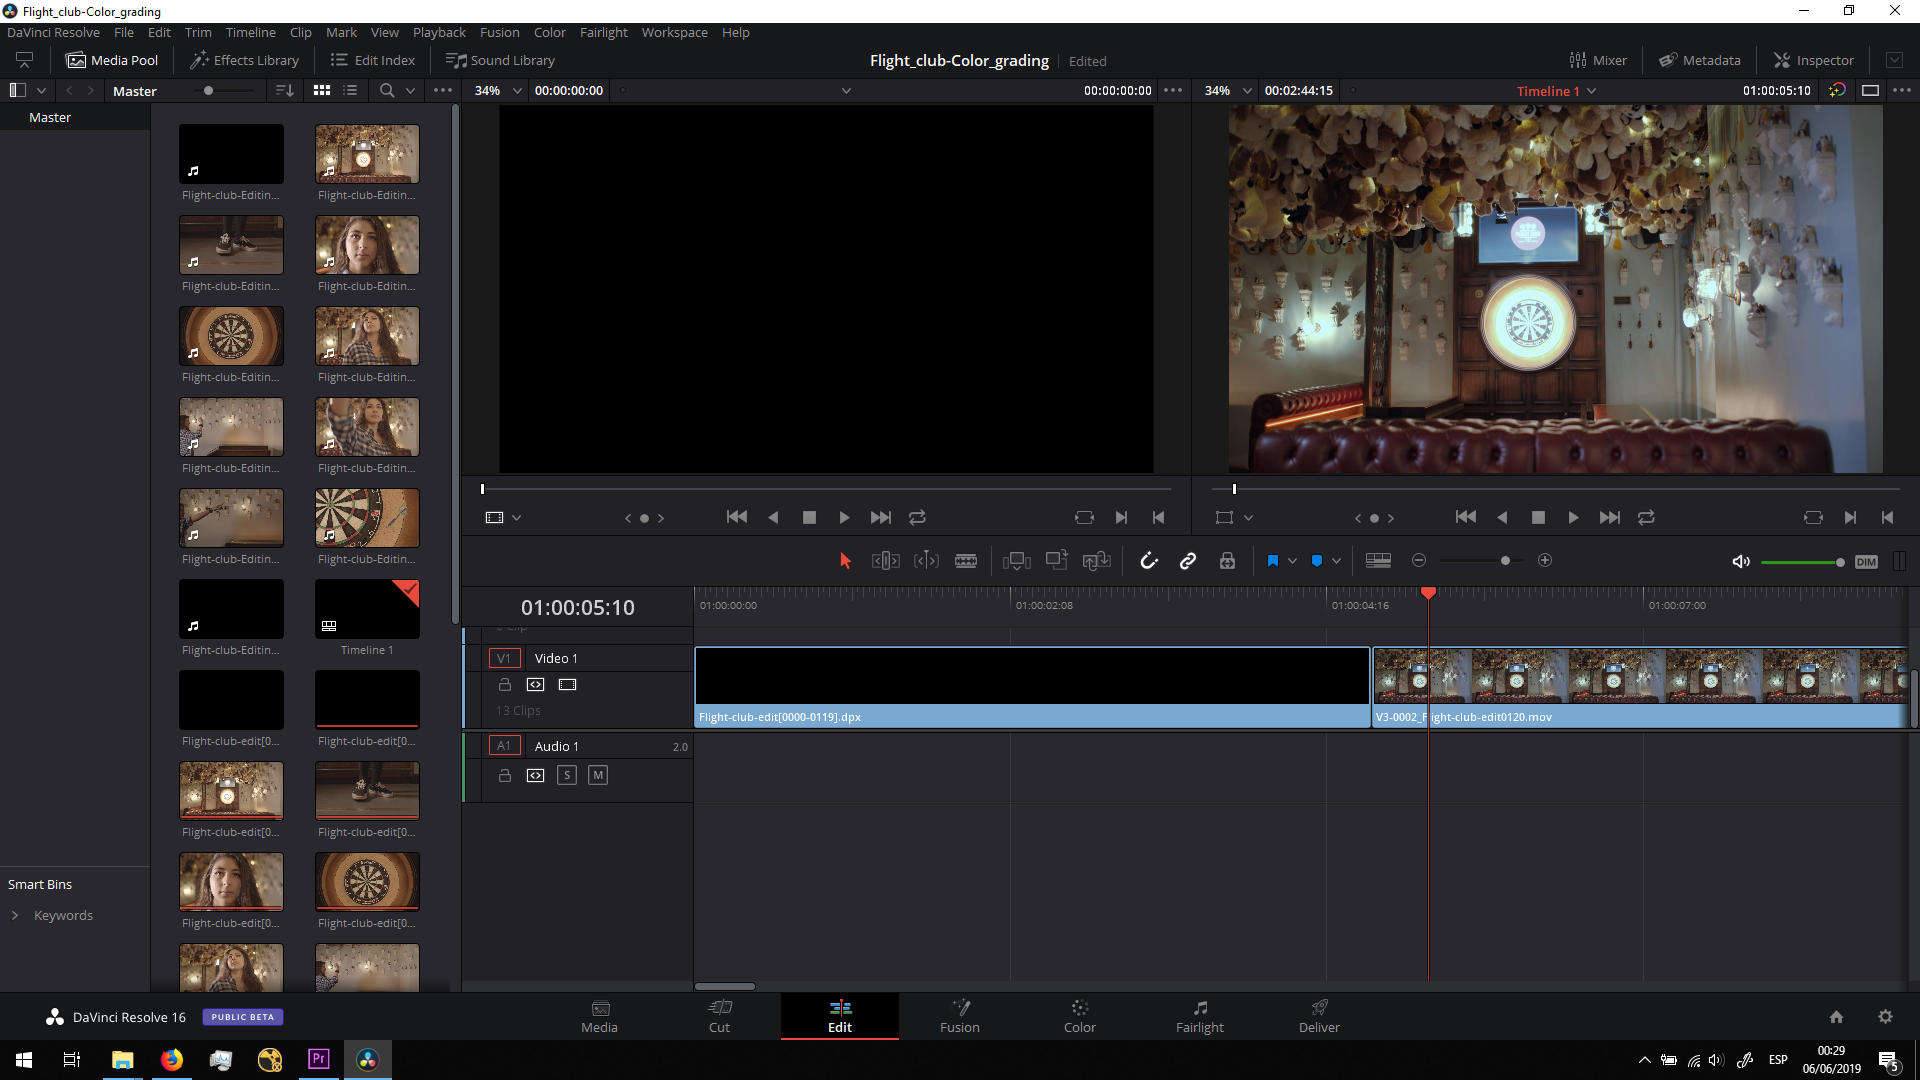
Then, I added the scenes in order in a sequence, on the Edit tab.
 And I did a basic color grading, following this steps:
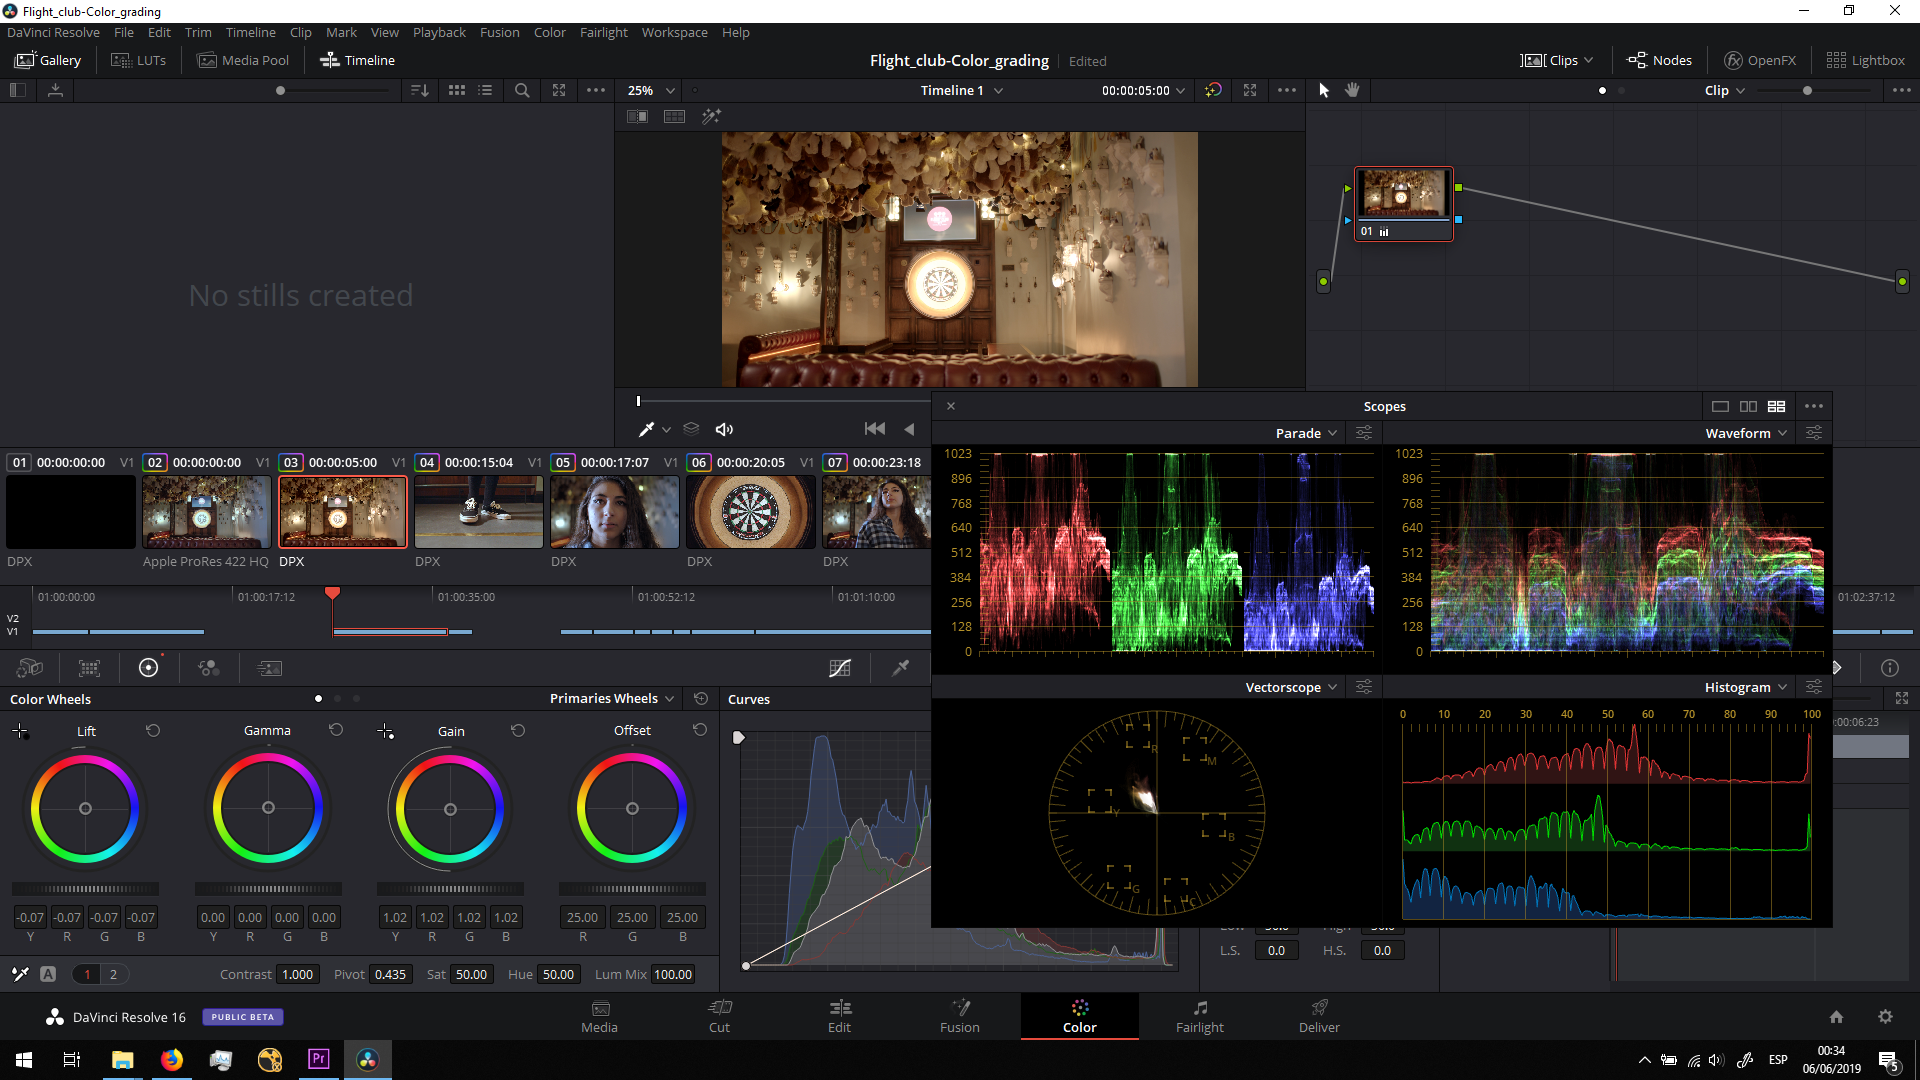
Exposure
The first thing to fix is the exposure. For that, we will ask DaVinci to show us the scopes, and we will play with the primary color wheels.
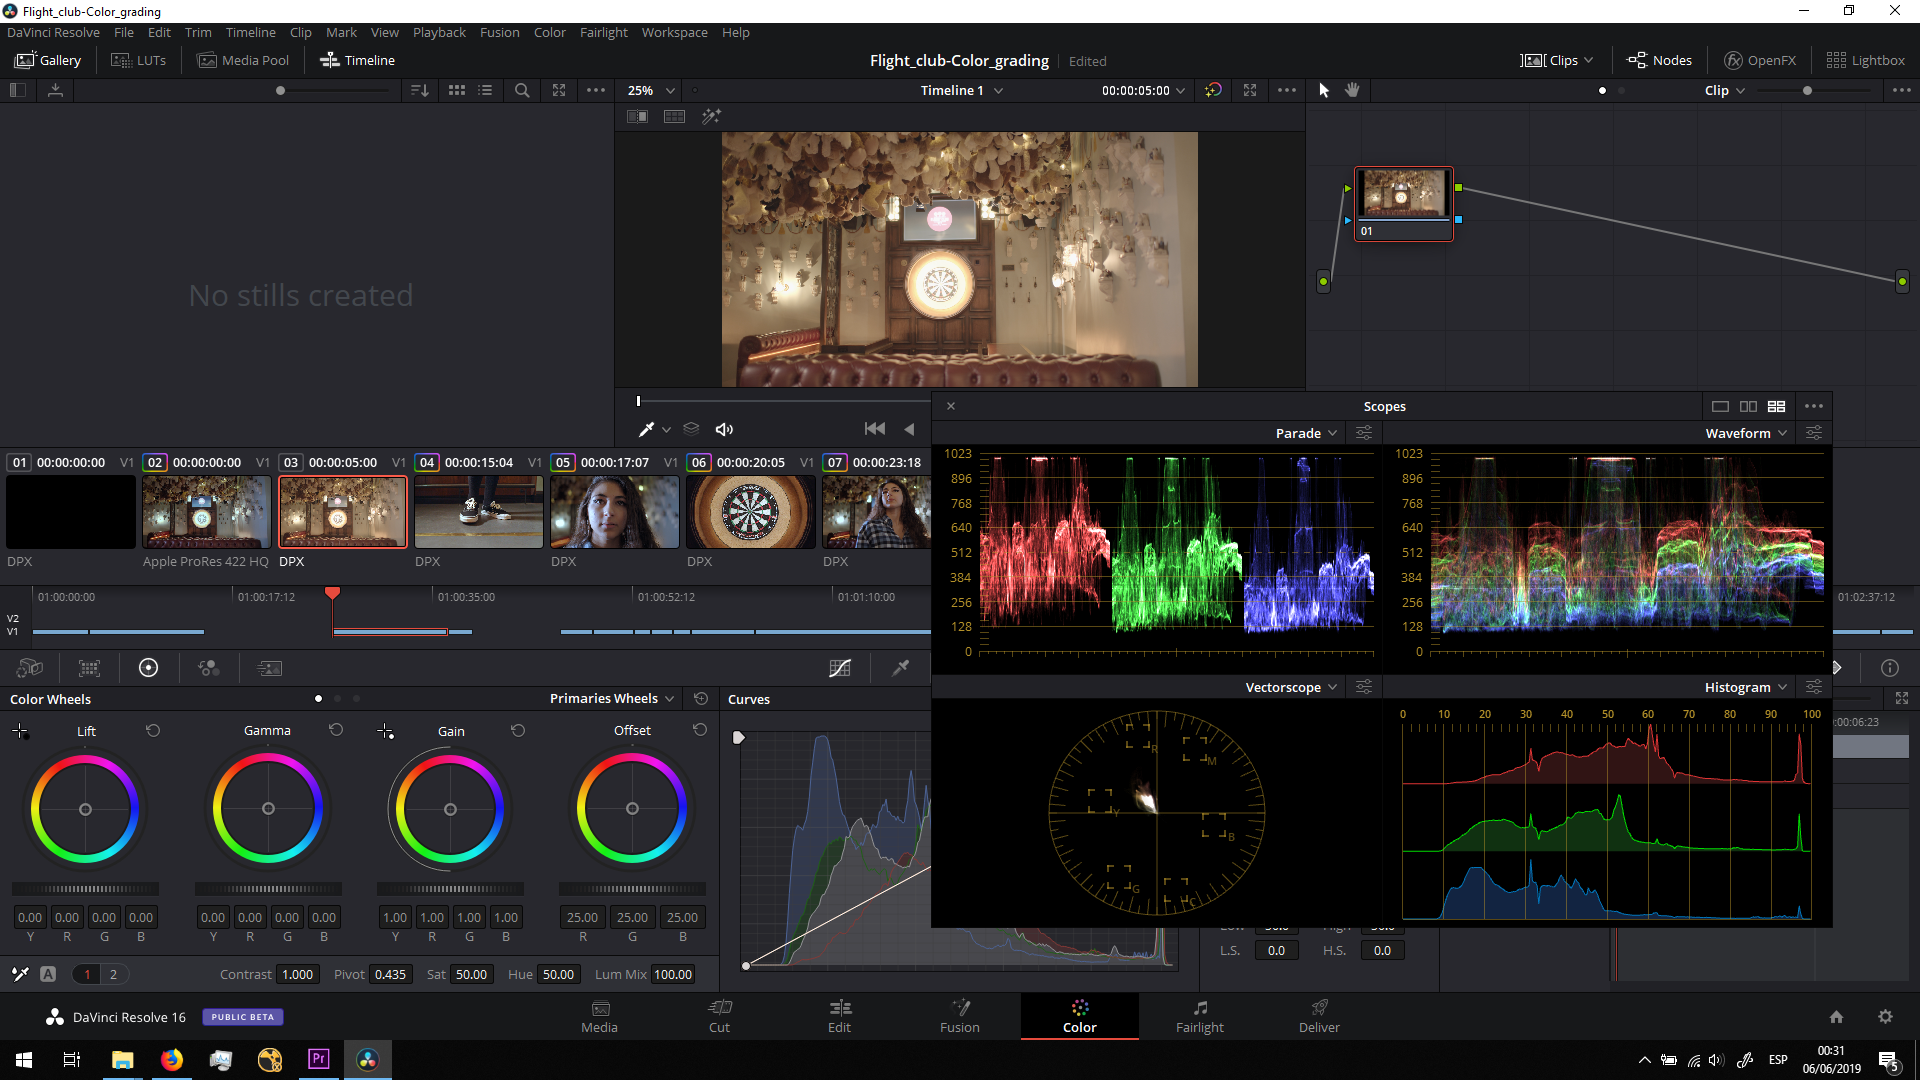
We will push the lift (fark areas) to the bottom to make the waveform touch the bottom of the scheme. Then, We will lift the gian up to make the waveform touch the top of the scheme. In this way we will have increased the dynamic range of the video. Finally, we will play with the gamma (midtones) in order to adjust the lighting as we prefer.
White Balance
In order to have a good white balance, we will use the drop tool and we will select a part of the footage that shoudl be white, and the program will make the balance automatically.
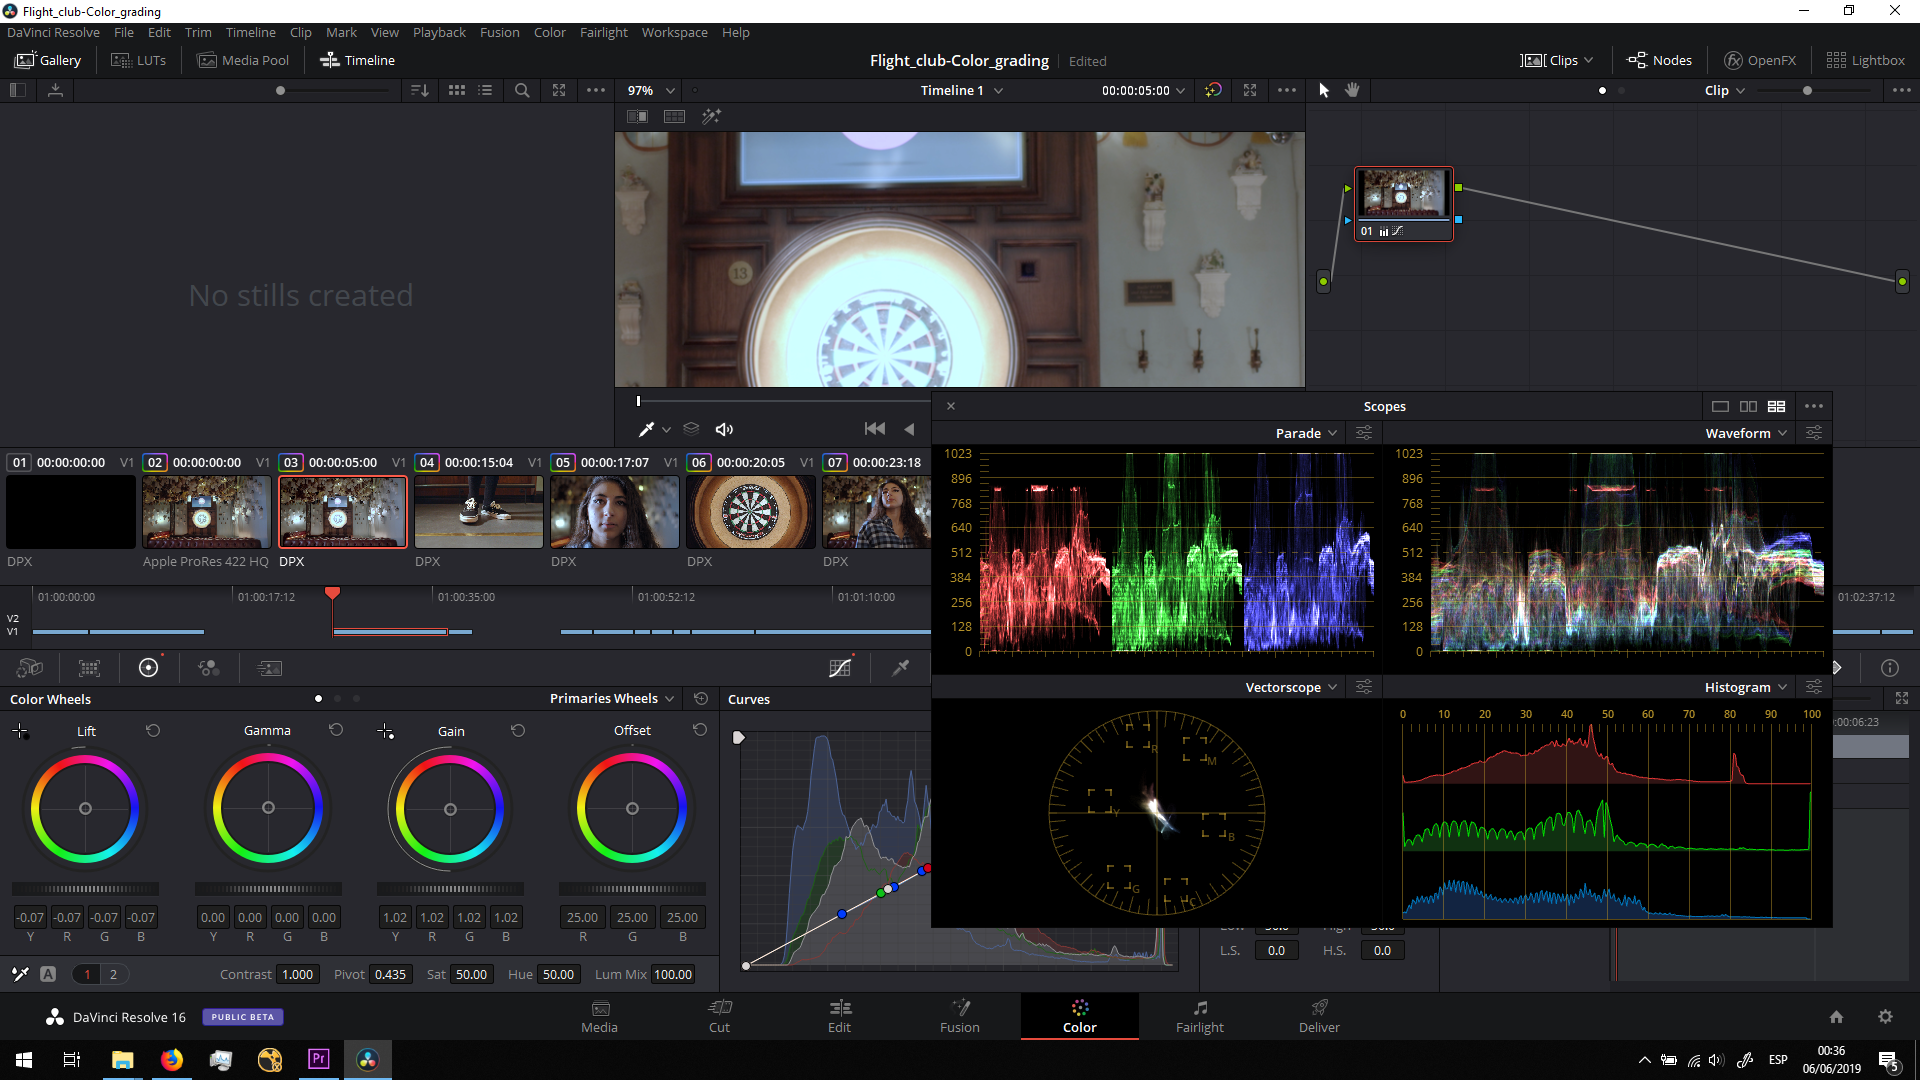
Then, we will have a closer result of what it should be, but maybe is not what we want to. Therefore, we can manually change the temperature (yellow/blue) and the tint (pink/green) of the video to makle it look as we want to.
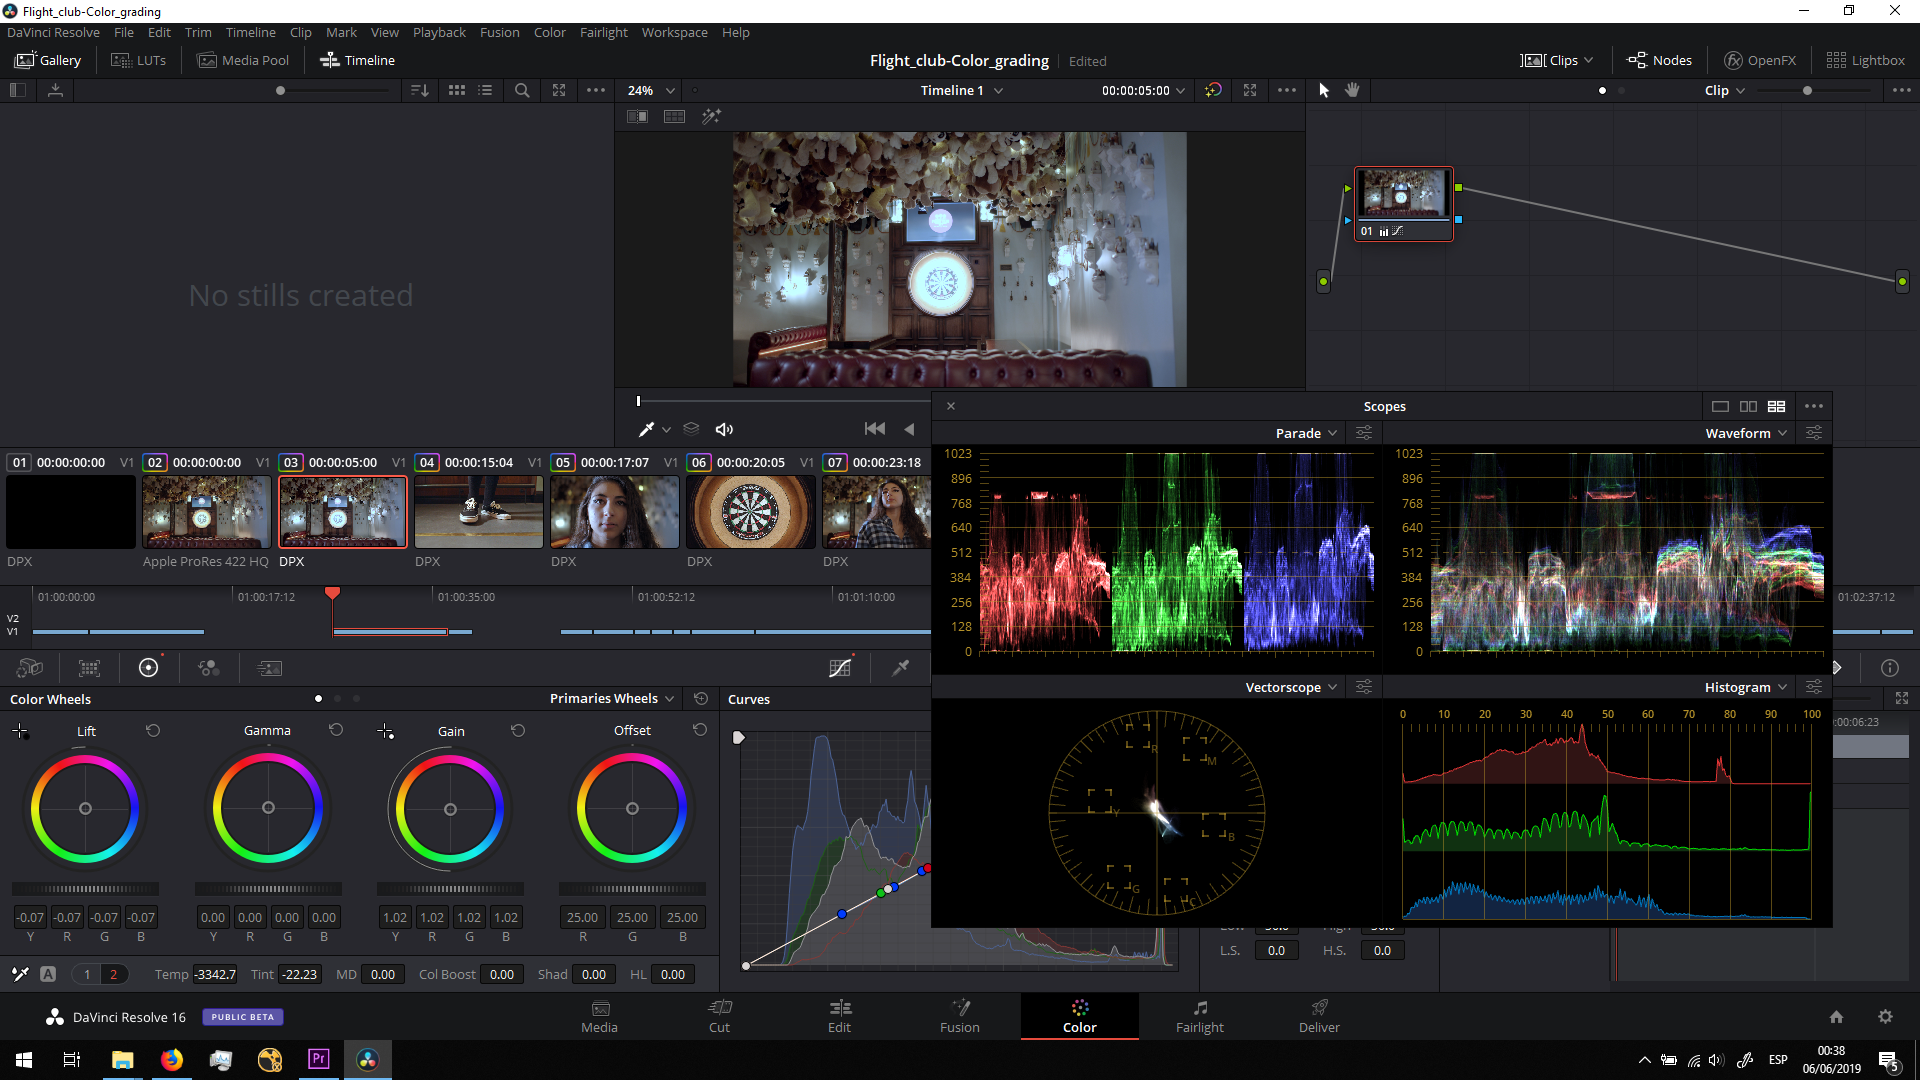

Saturation and contrast
Finally, we can play with the saturation and contrast to have more a filmic look.
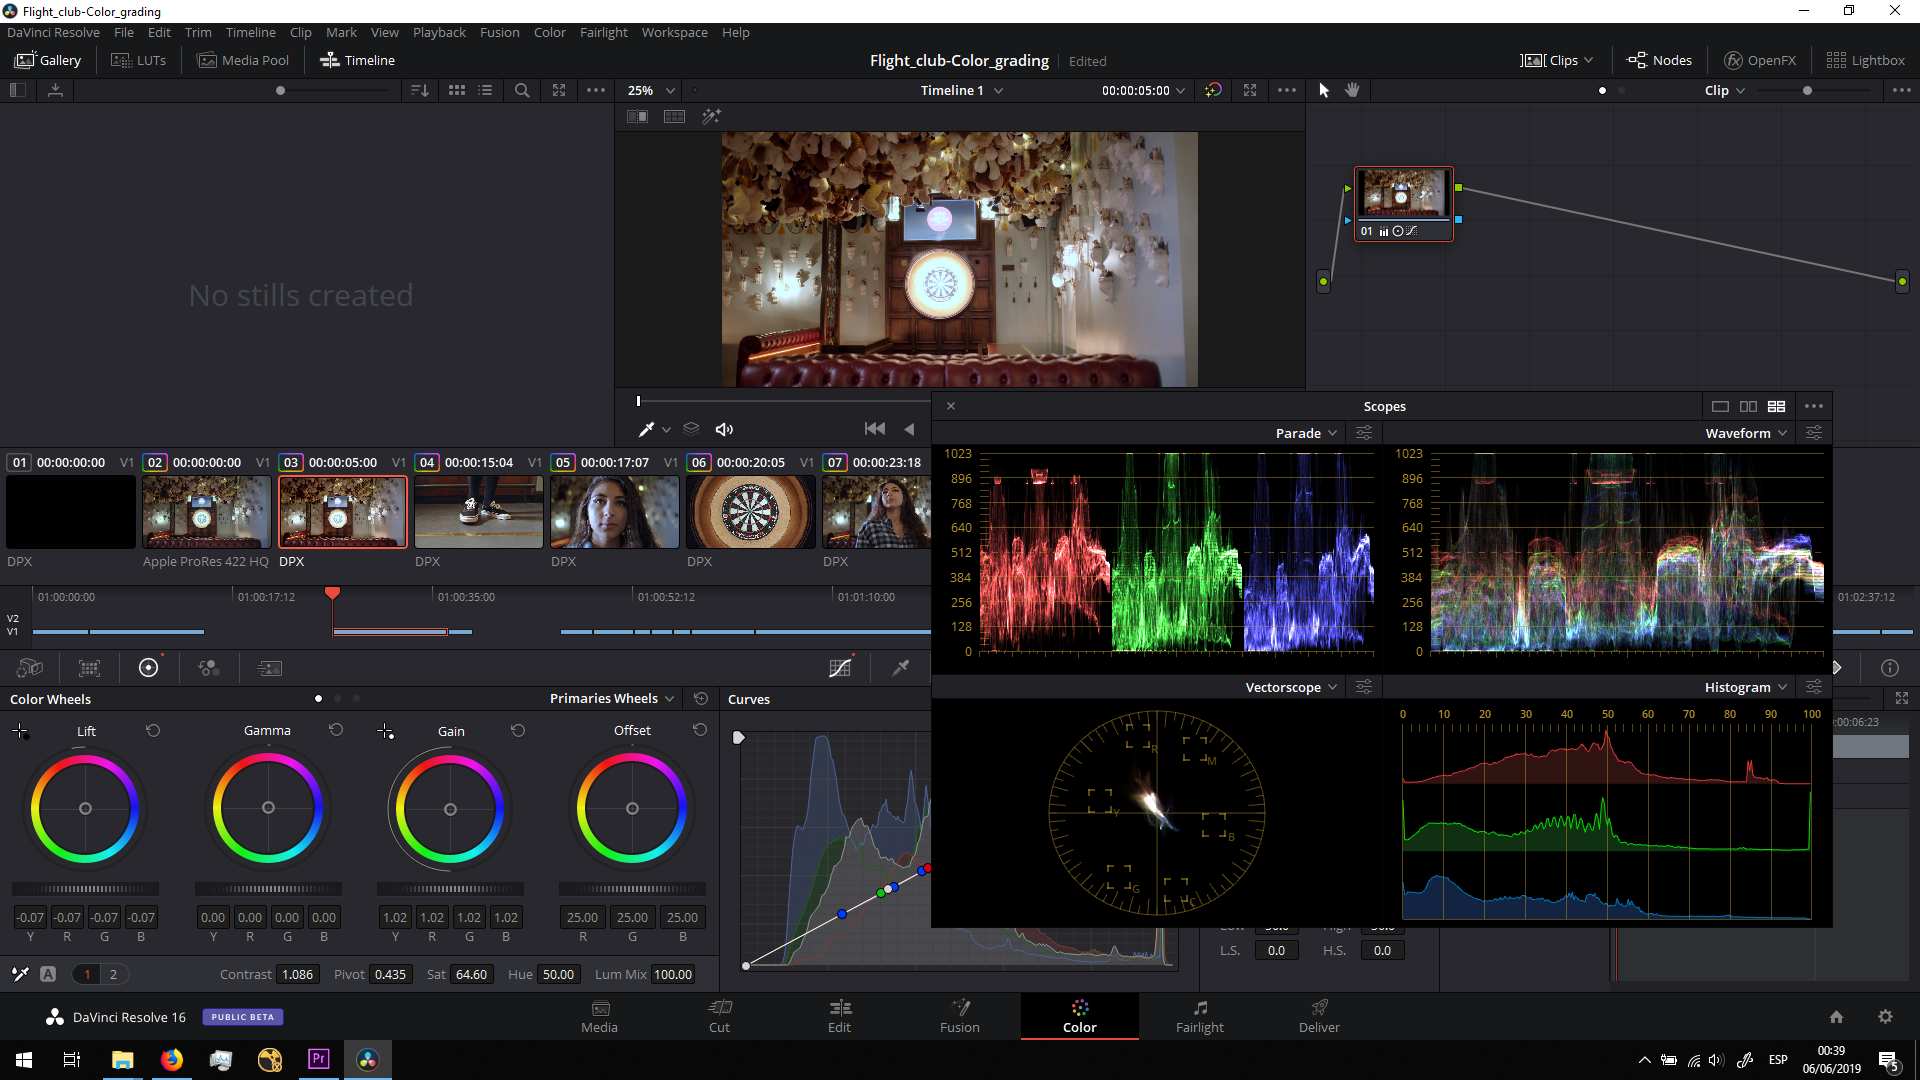
Obviously, there are wide options in Davinci in order to color grade, but this is the initial basic grading I did with all the videos. We can clearly see the difference between the graded and non graded shots.
We can also export all the sequence by shots in DPX format in Davinci. We will do that for all the scenes we will need to edit in Nuke. For the rest, we will export it Premiere XML format, which is a Quicktime Uncompressed. Anyway, we will always try to export thing as less times as possible, since every time we export we are losing quality and information.
