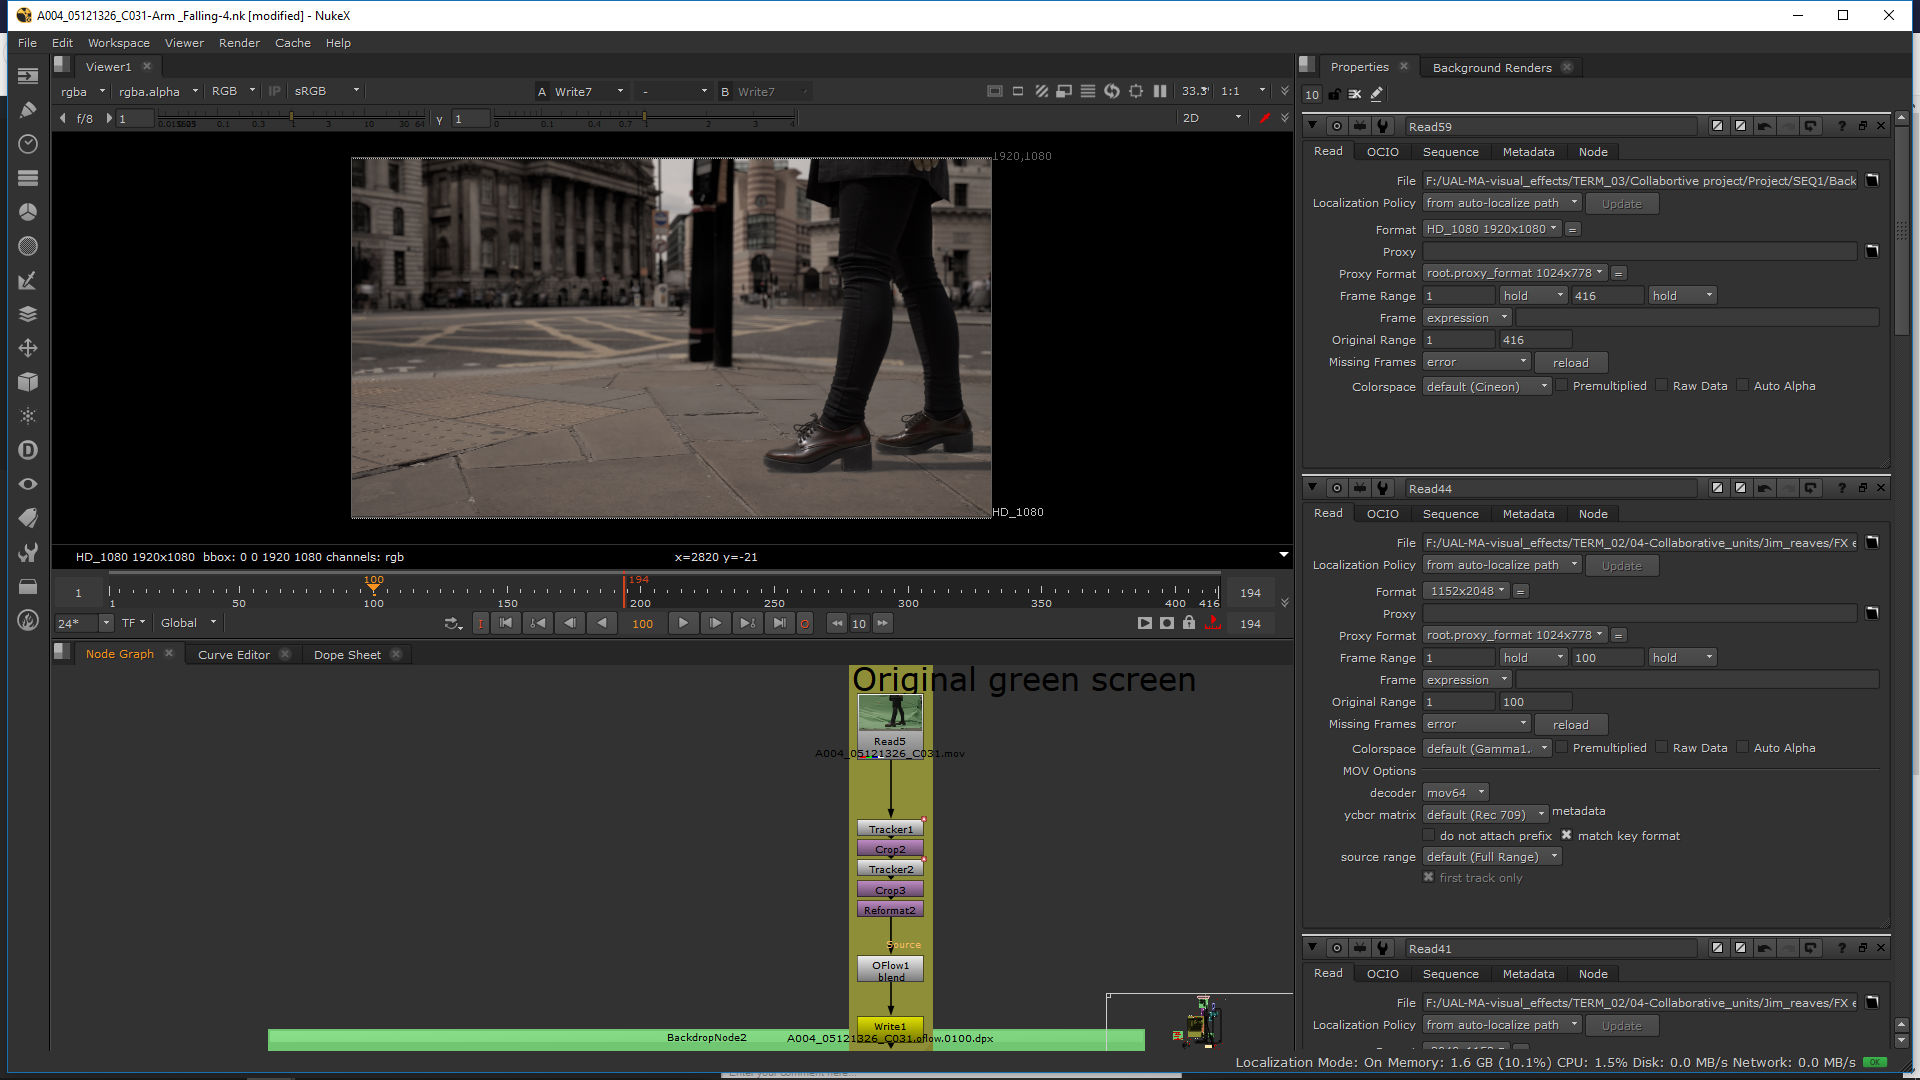
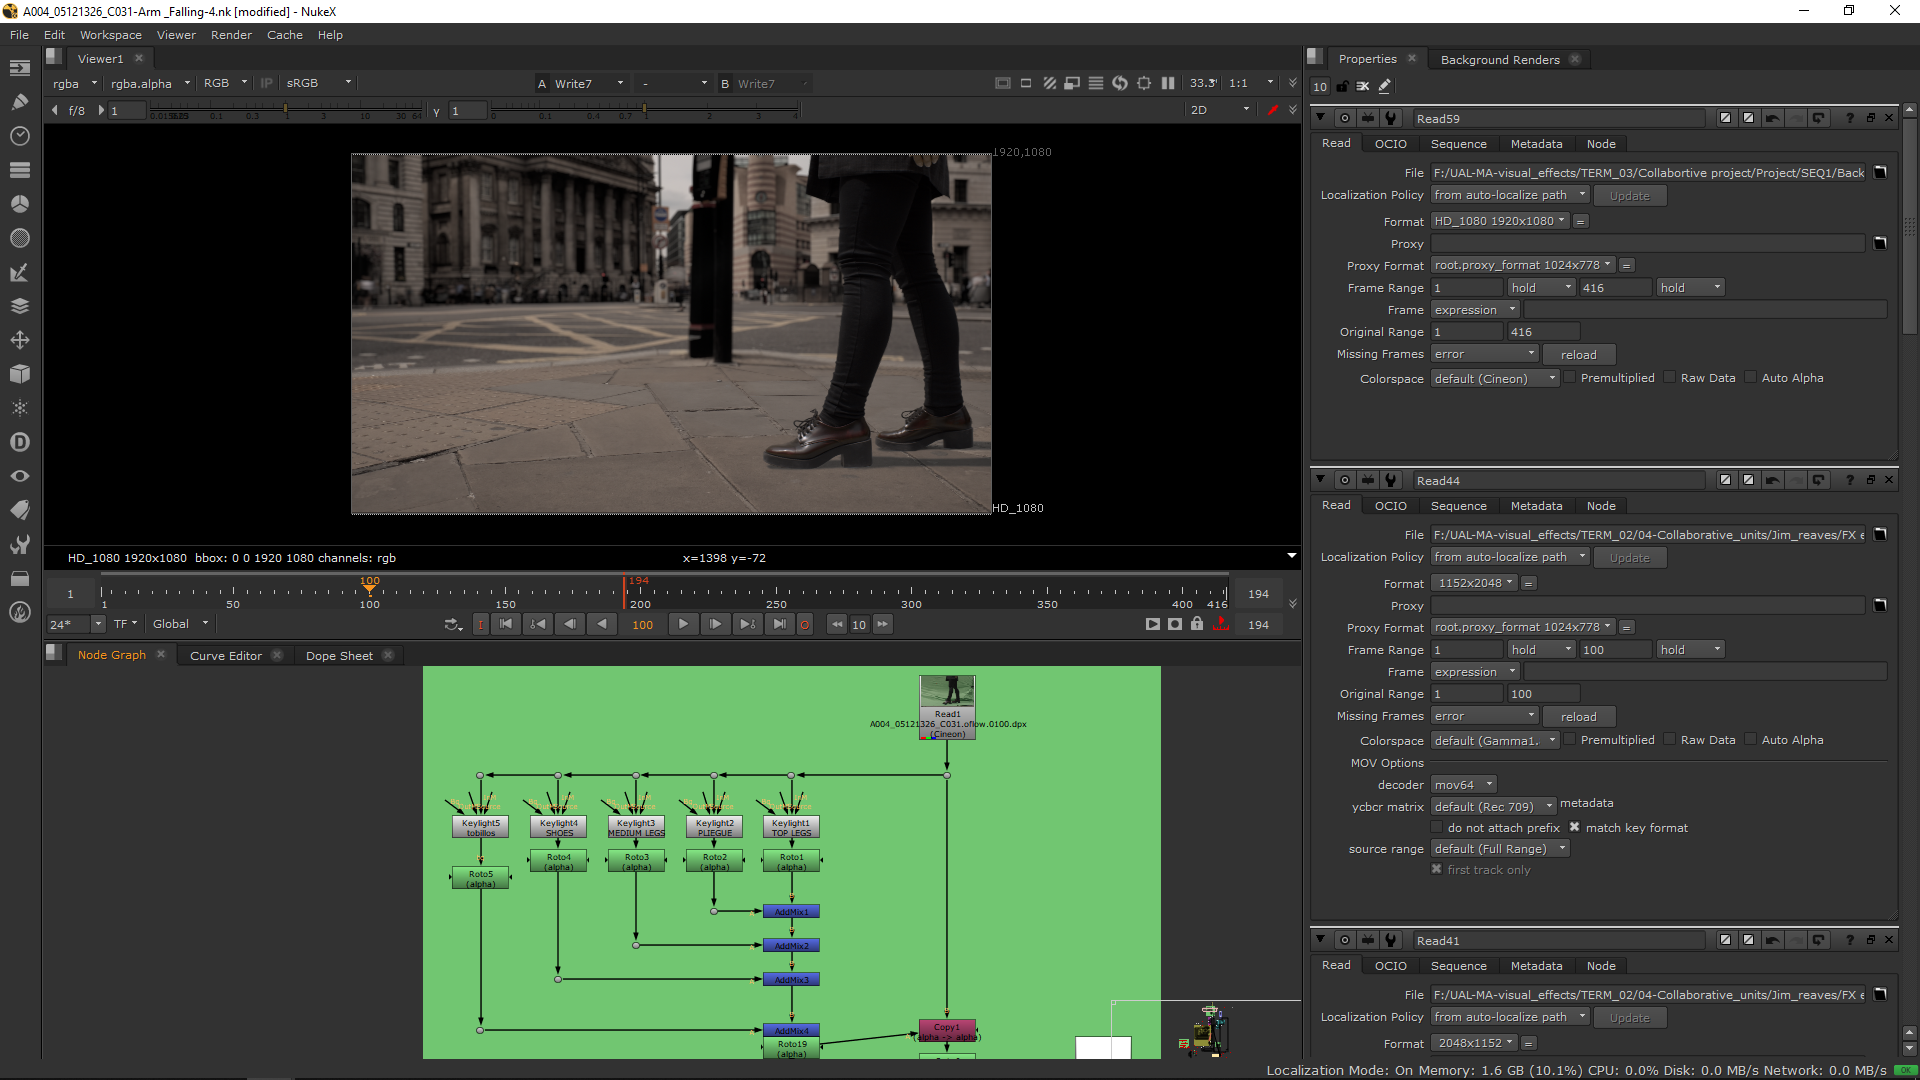
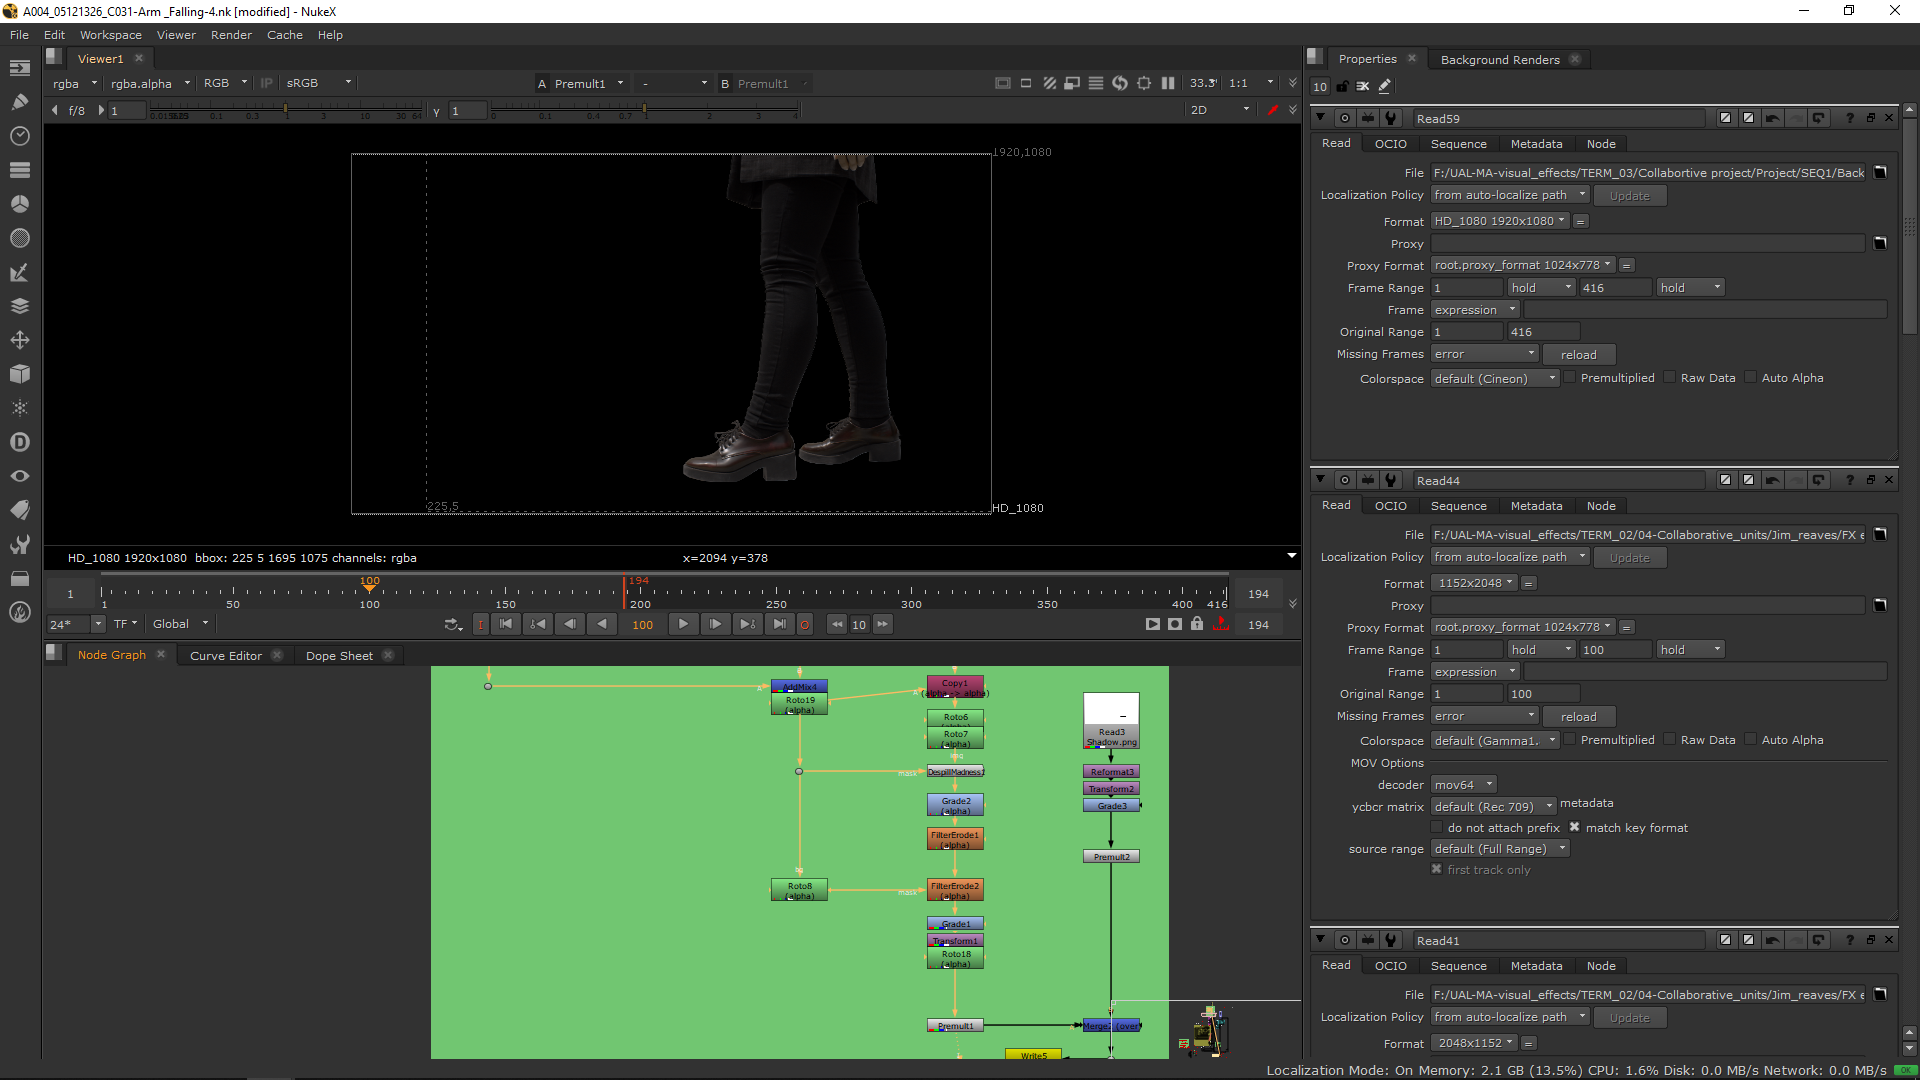
KEYING
After setting the transfromation and timing of the footage, I did the keying. First I did the keying of the legs. I added then few notes in order to increase the quality of the green screen.
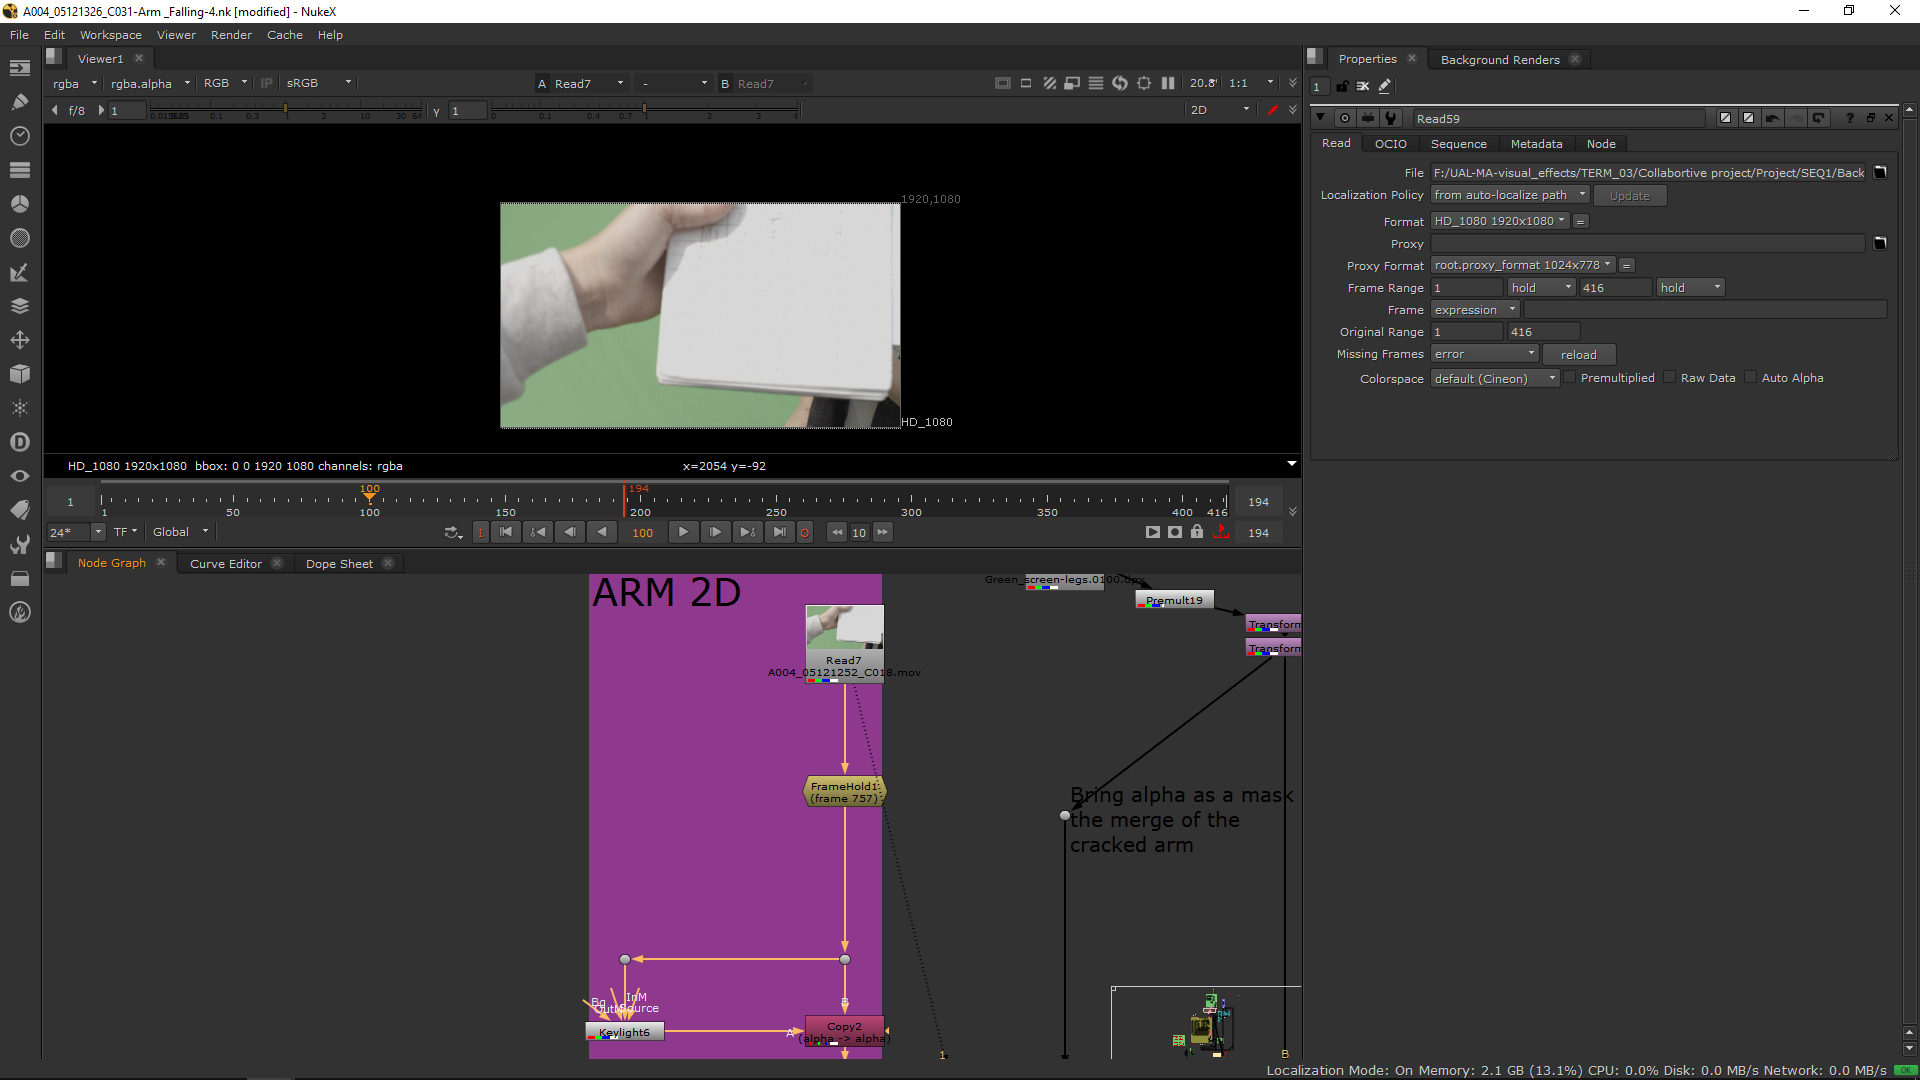
ARM
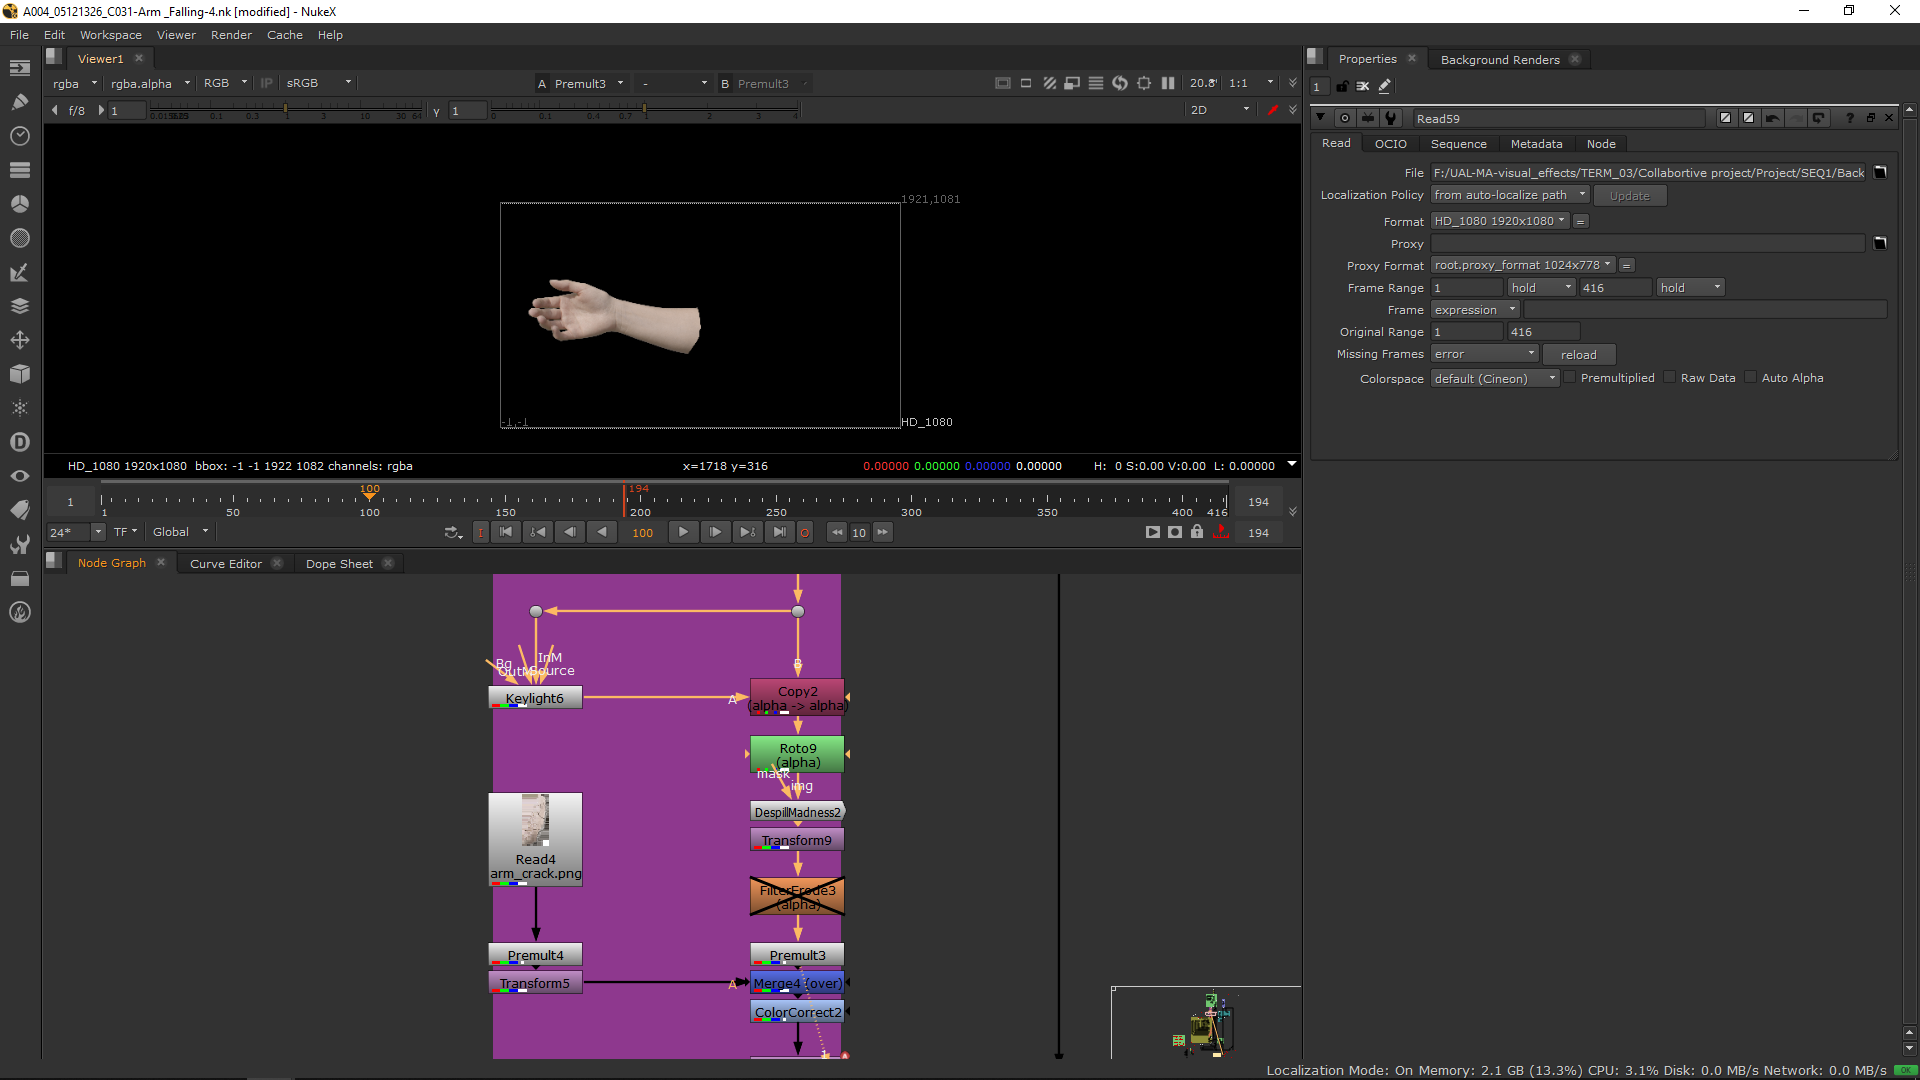
2D arm
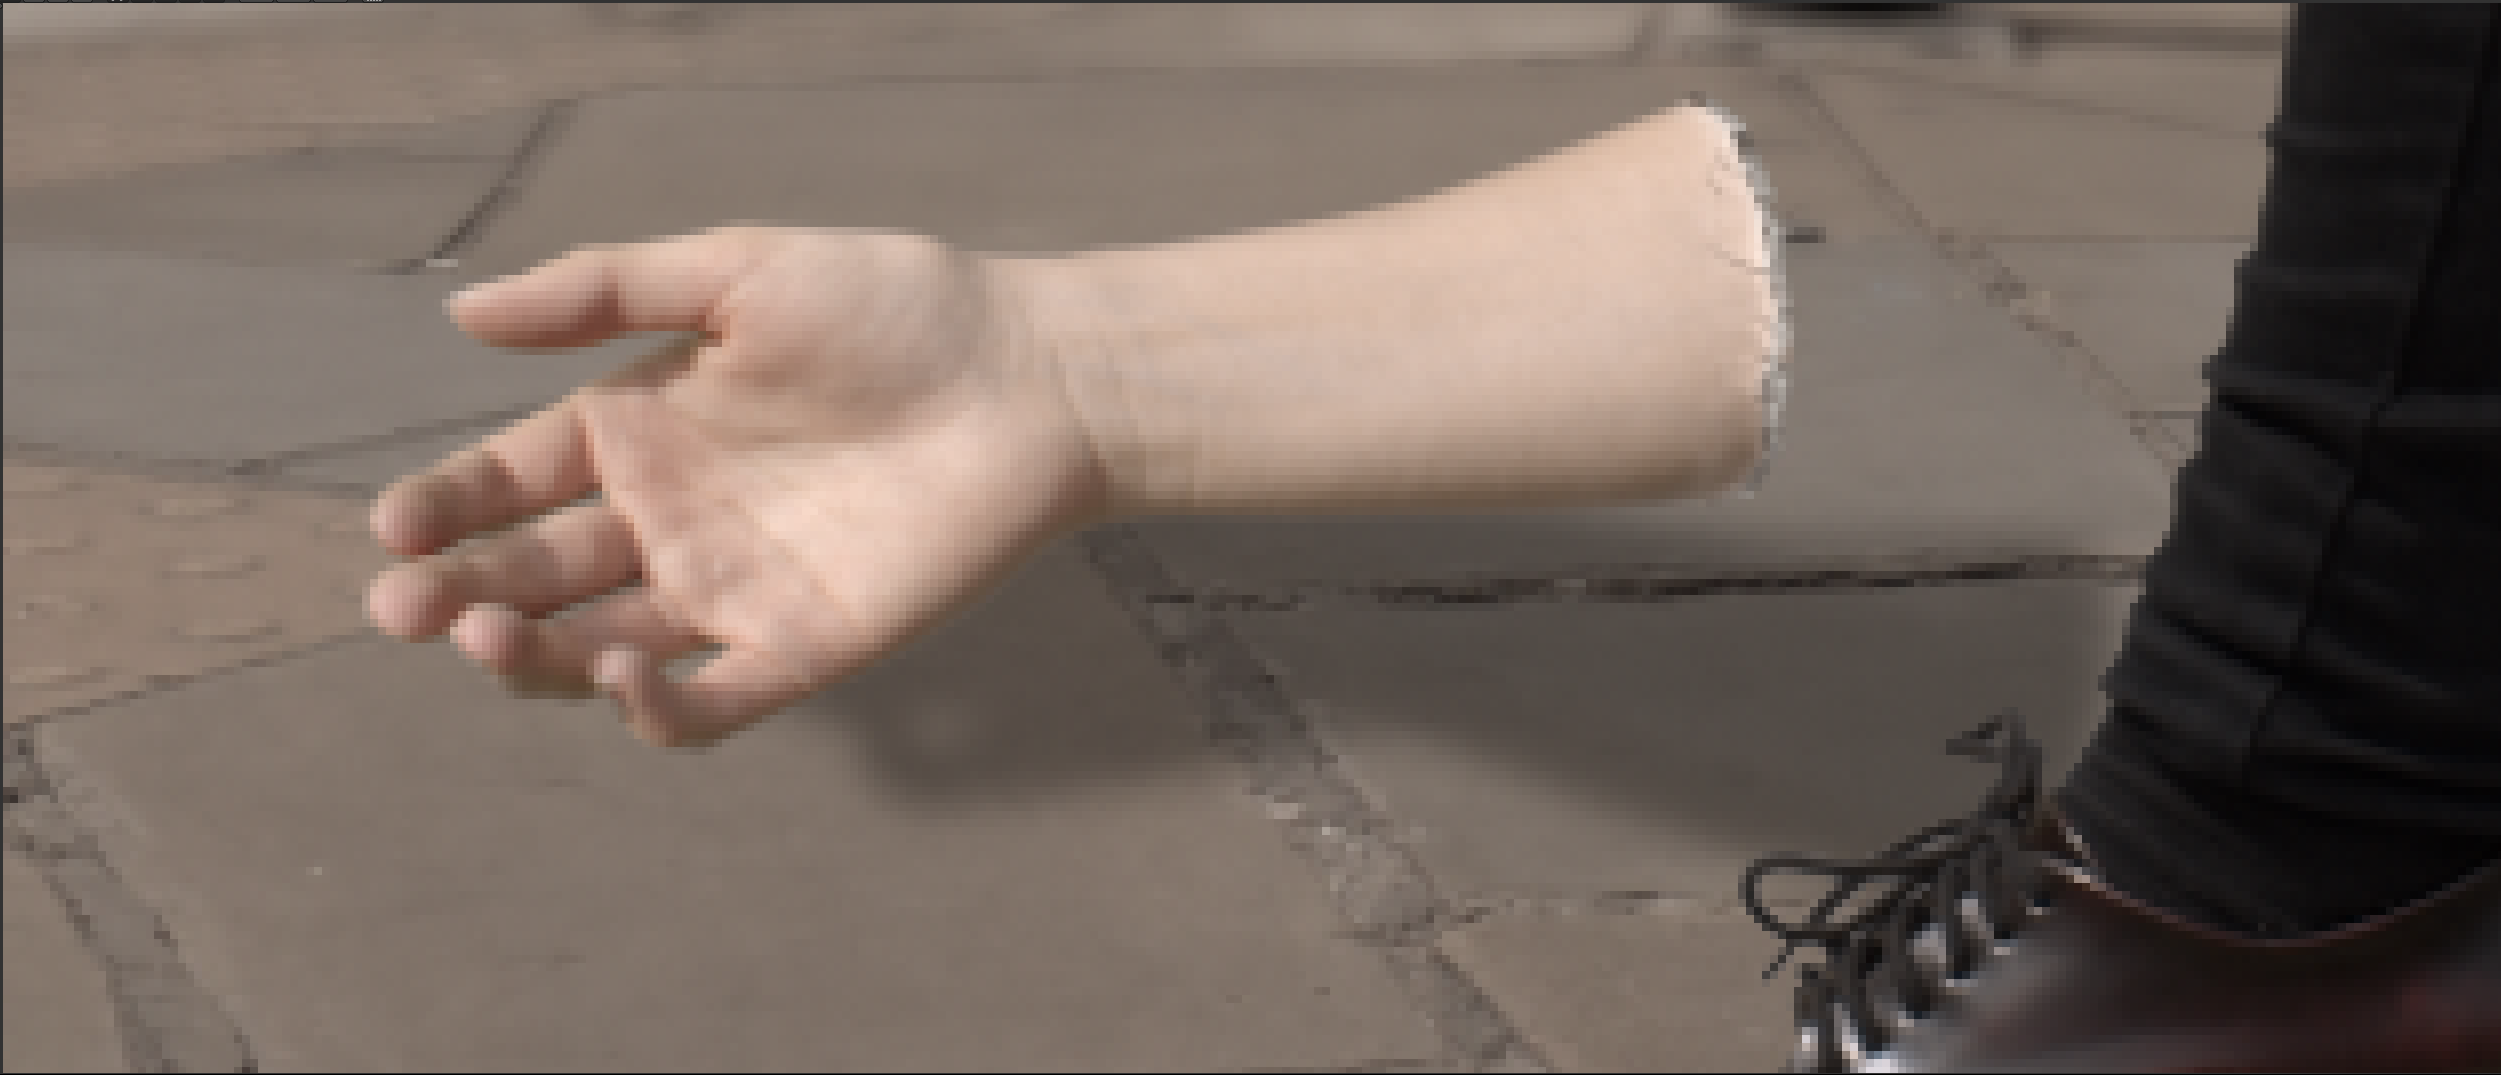
For the arm, I added a framehold in a video in which the arm appears and I did the keying on that framehold. I setted up the keying and I roto it out in order to have a better shape.
Then, in order to make it more realistic I did in phtooshot a crash from this image.

Obtaining this result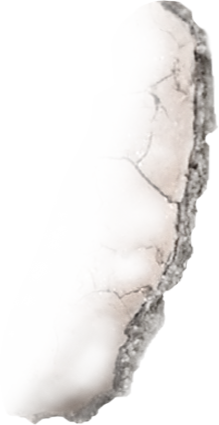
And I merged it over the arm.
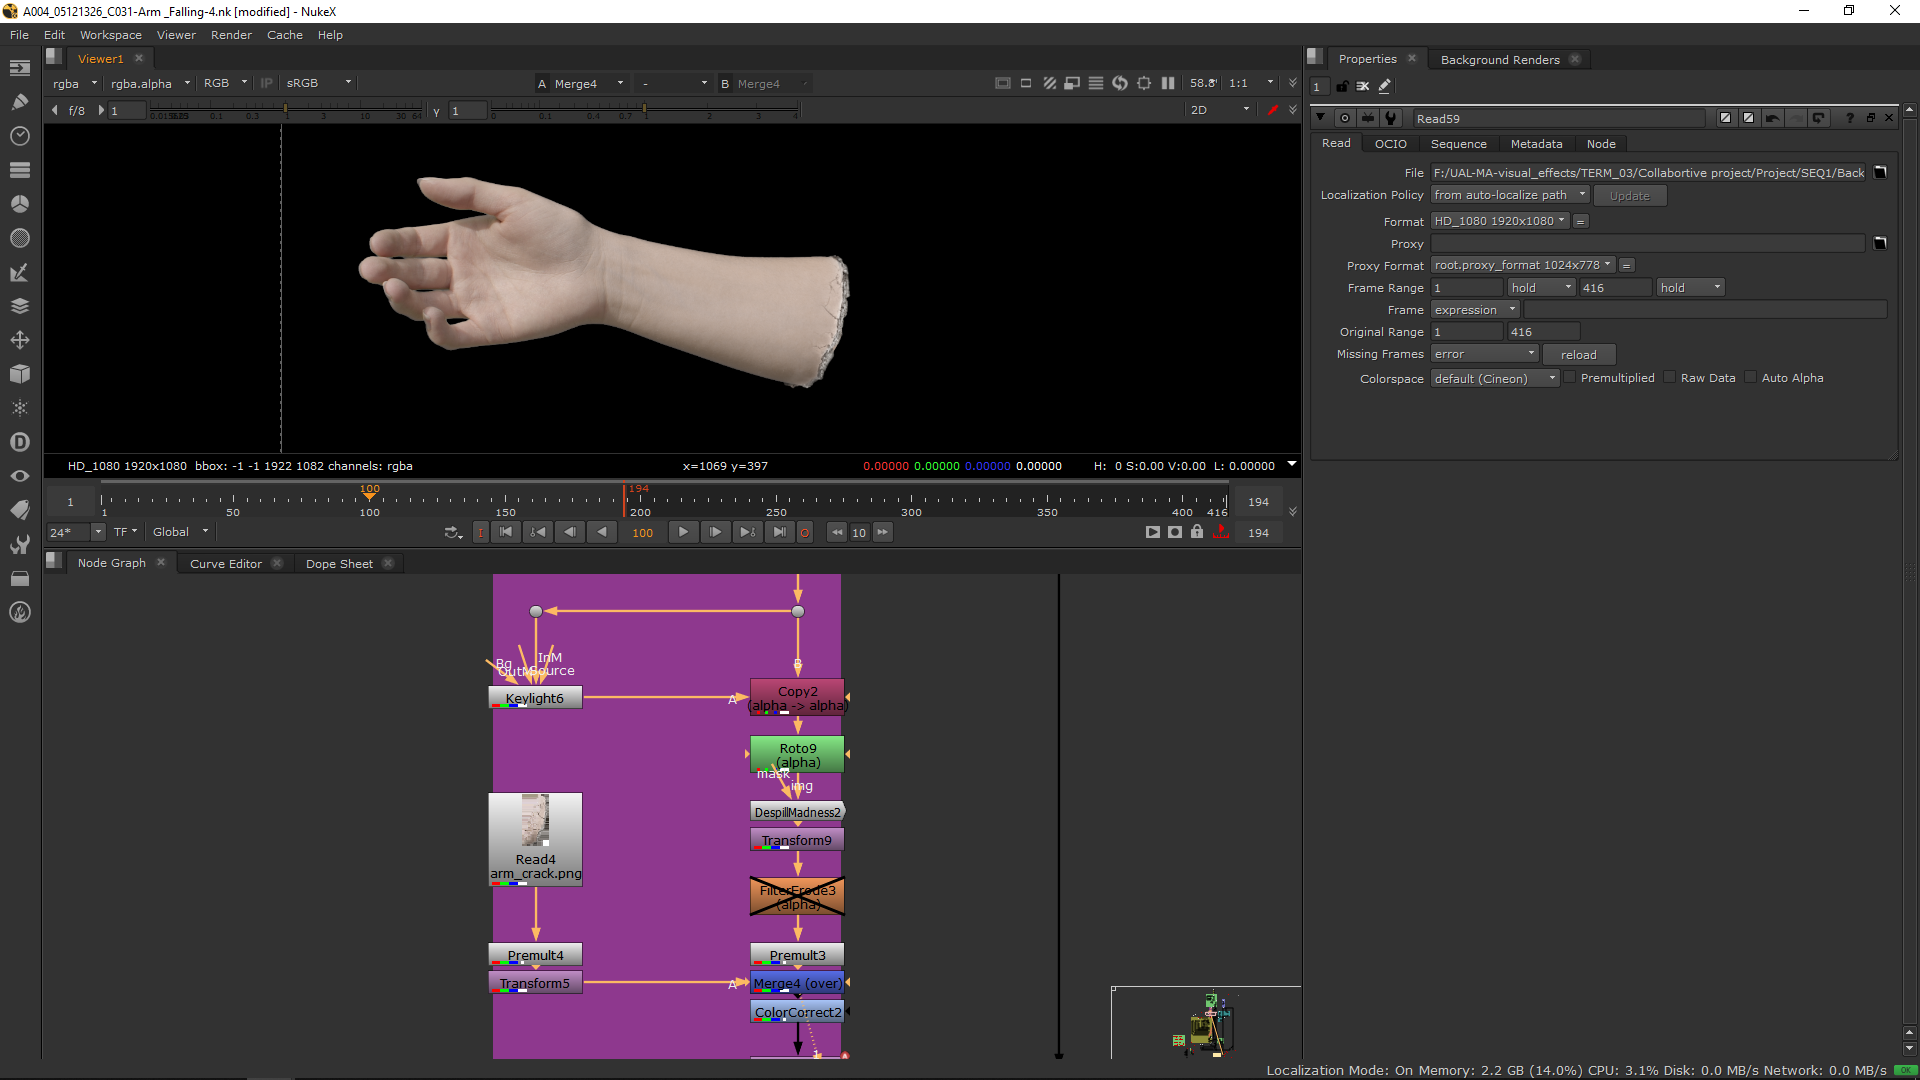
Finally, I added a transform note to make the arm fall, and I added a motion blur note to make it more realistic.
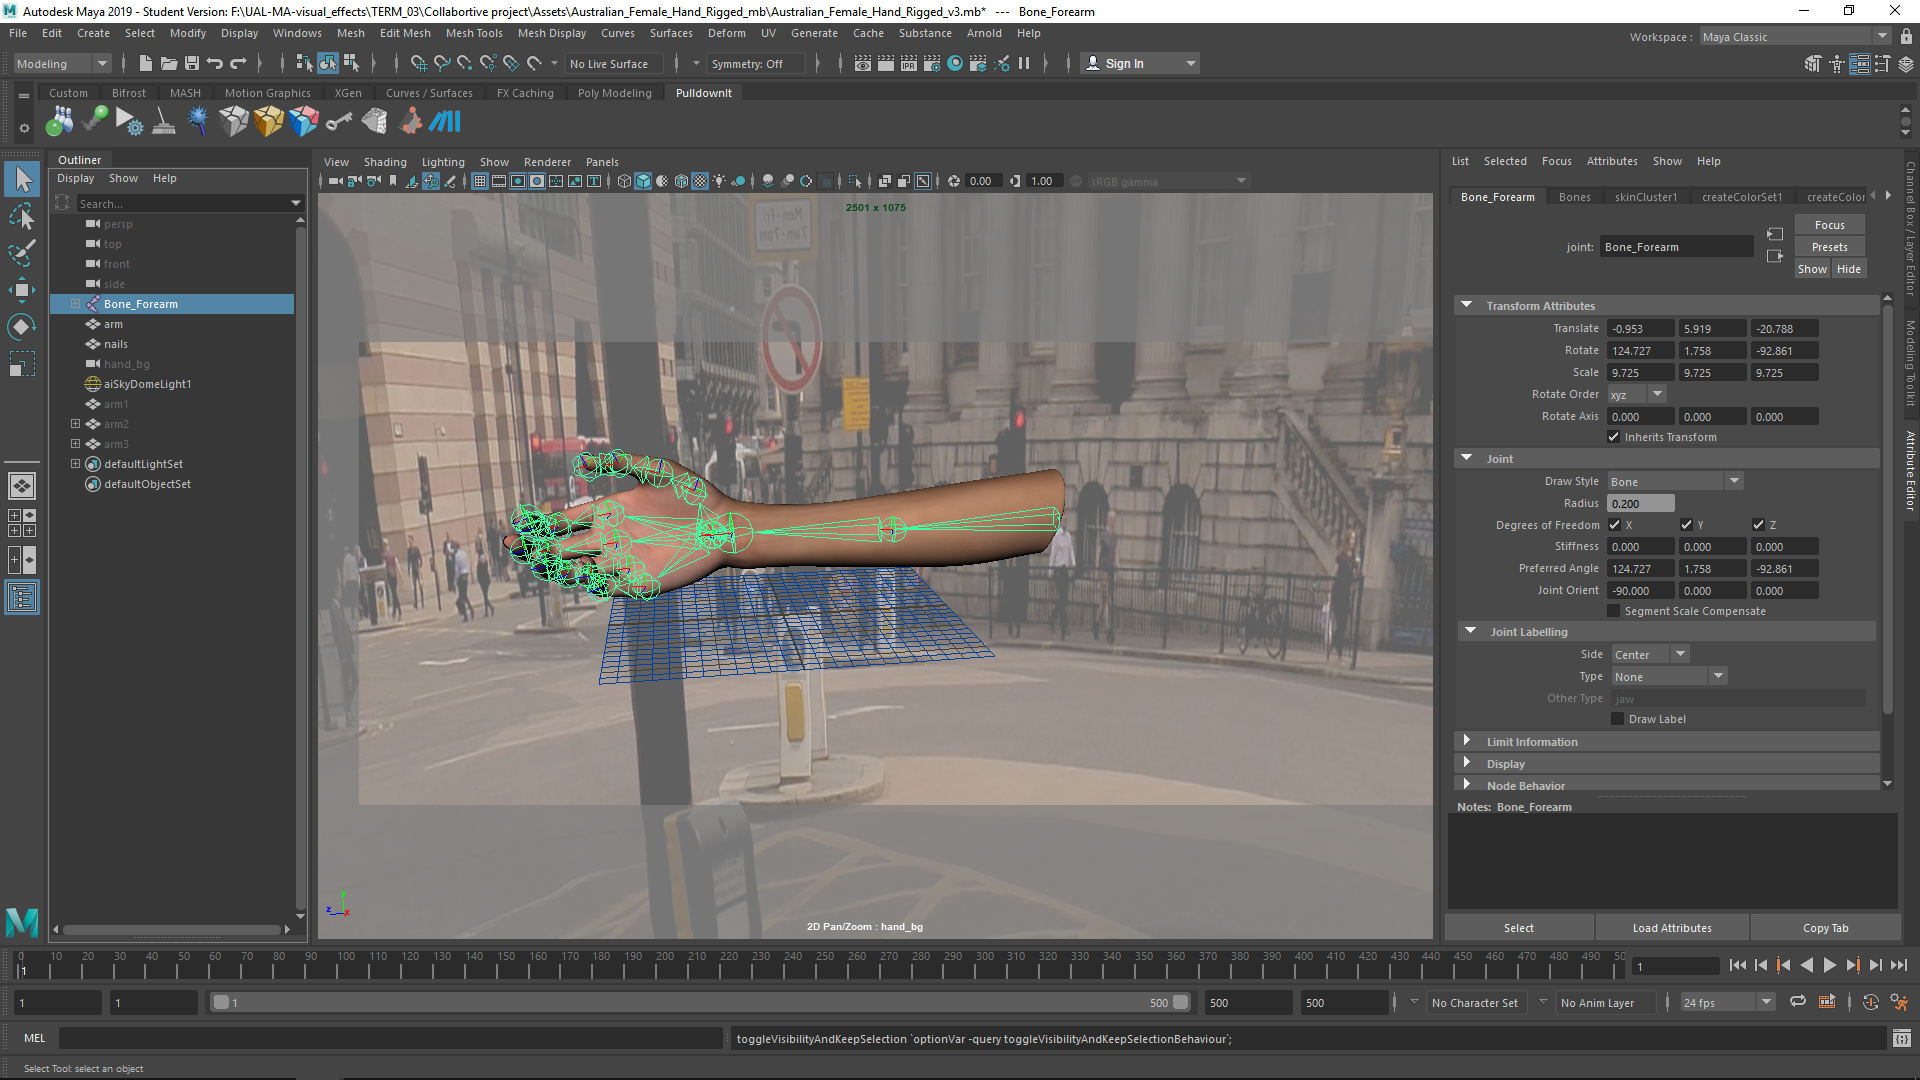
3D Arm
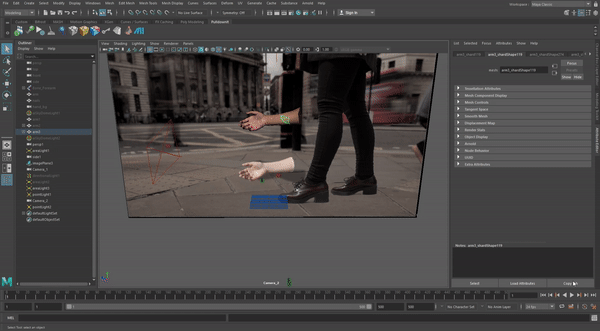
We wanted to creat ethe effect of the arm cracking, therefore, when the arm touches the flloor we had to replace the 2D real arm with a 3D one. For that, we downloaded a 3D rigged arm.
Rig
First, I changed the position of the fingers with the rig.
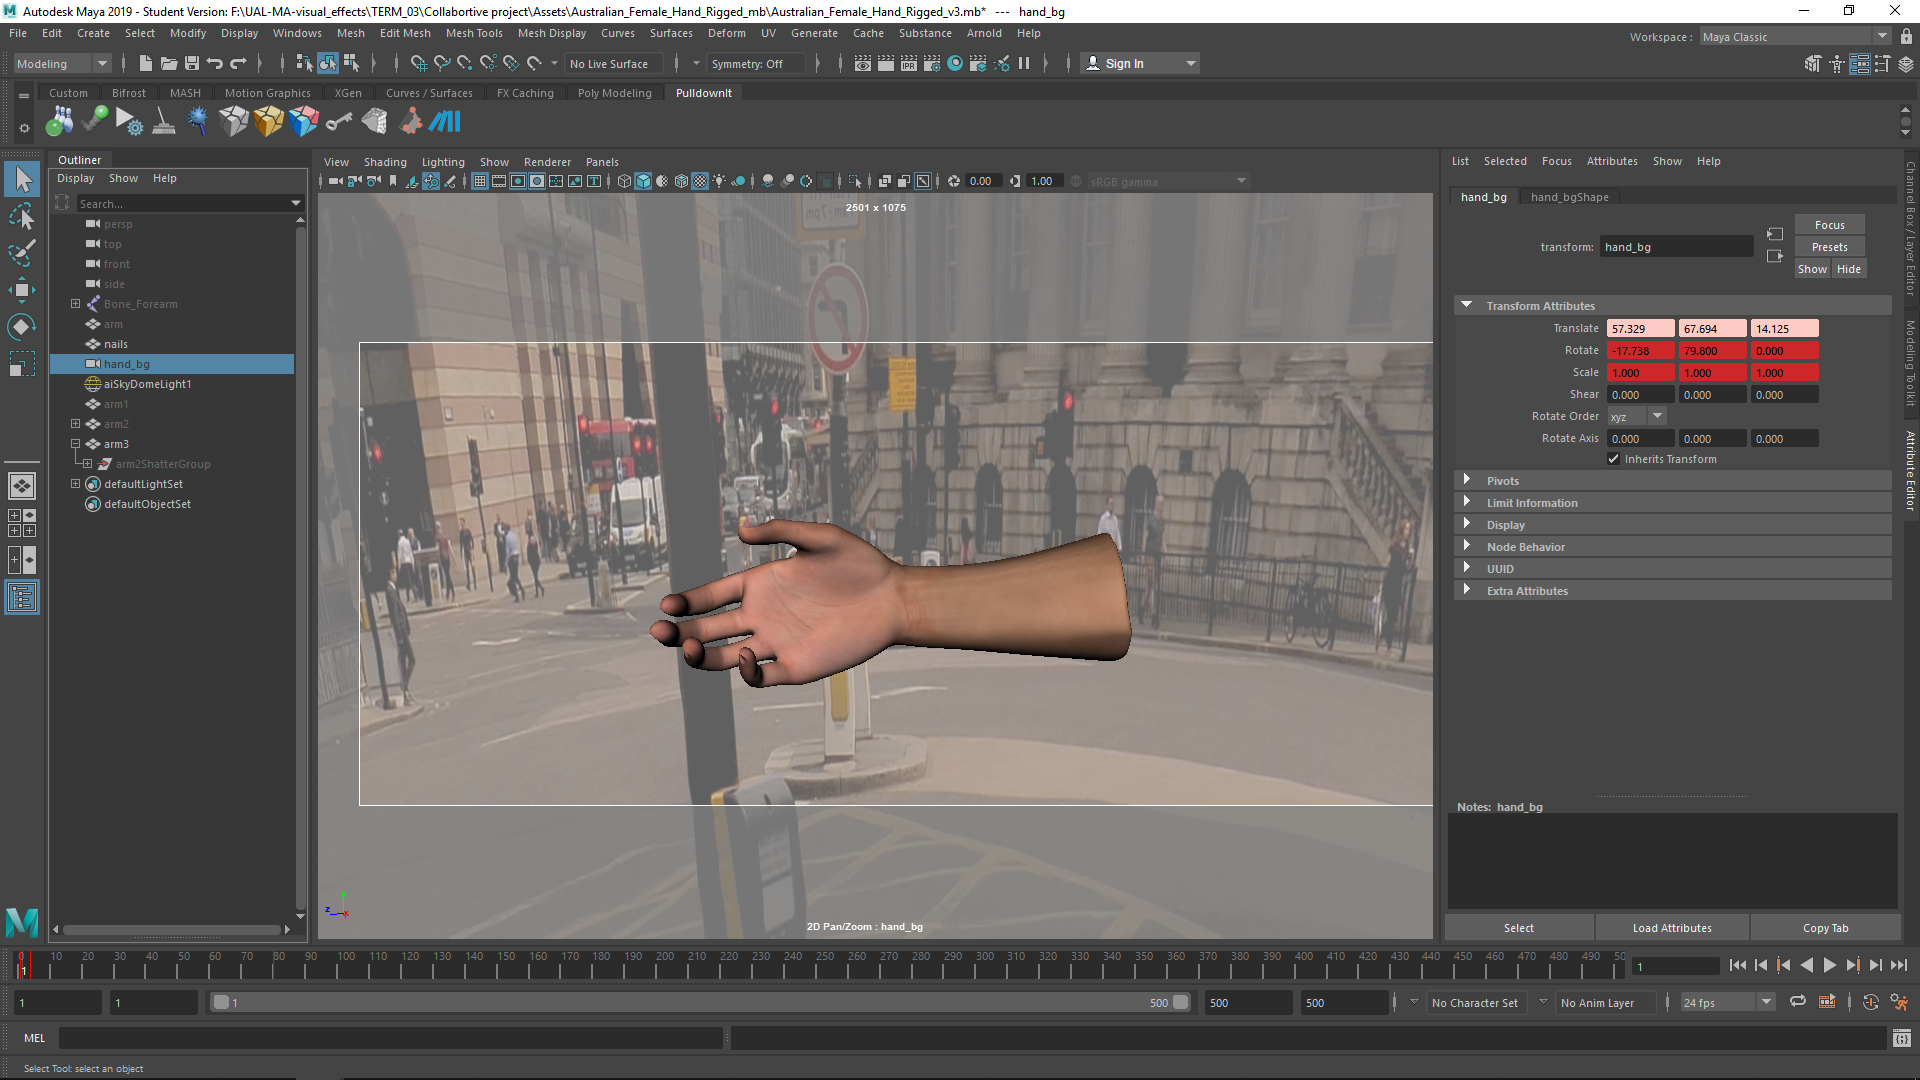
Model
From the rigged arm we could model the pose of the hand, adn then I sculped the shape of the hand using the image as a model.
Crash
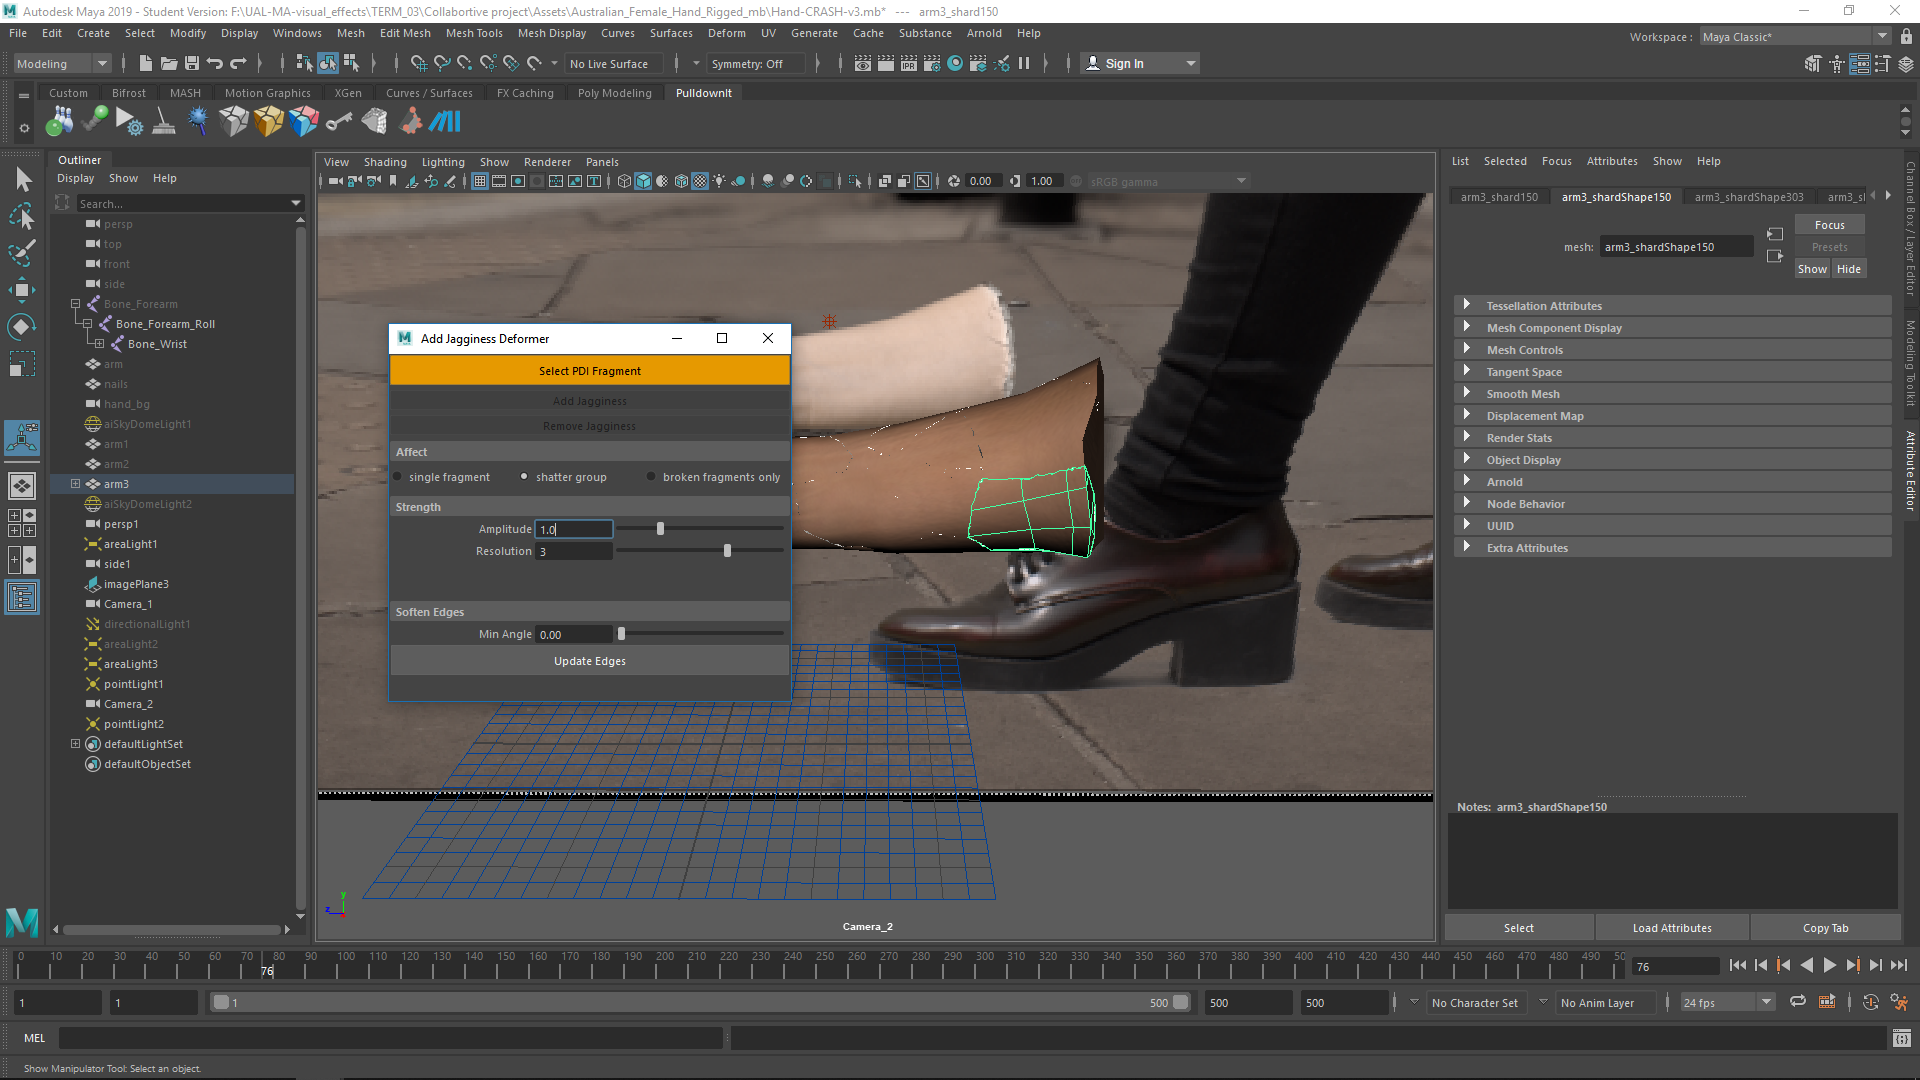
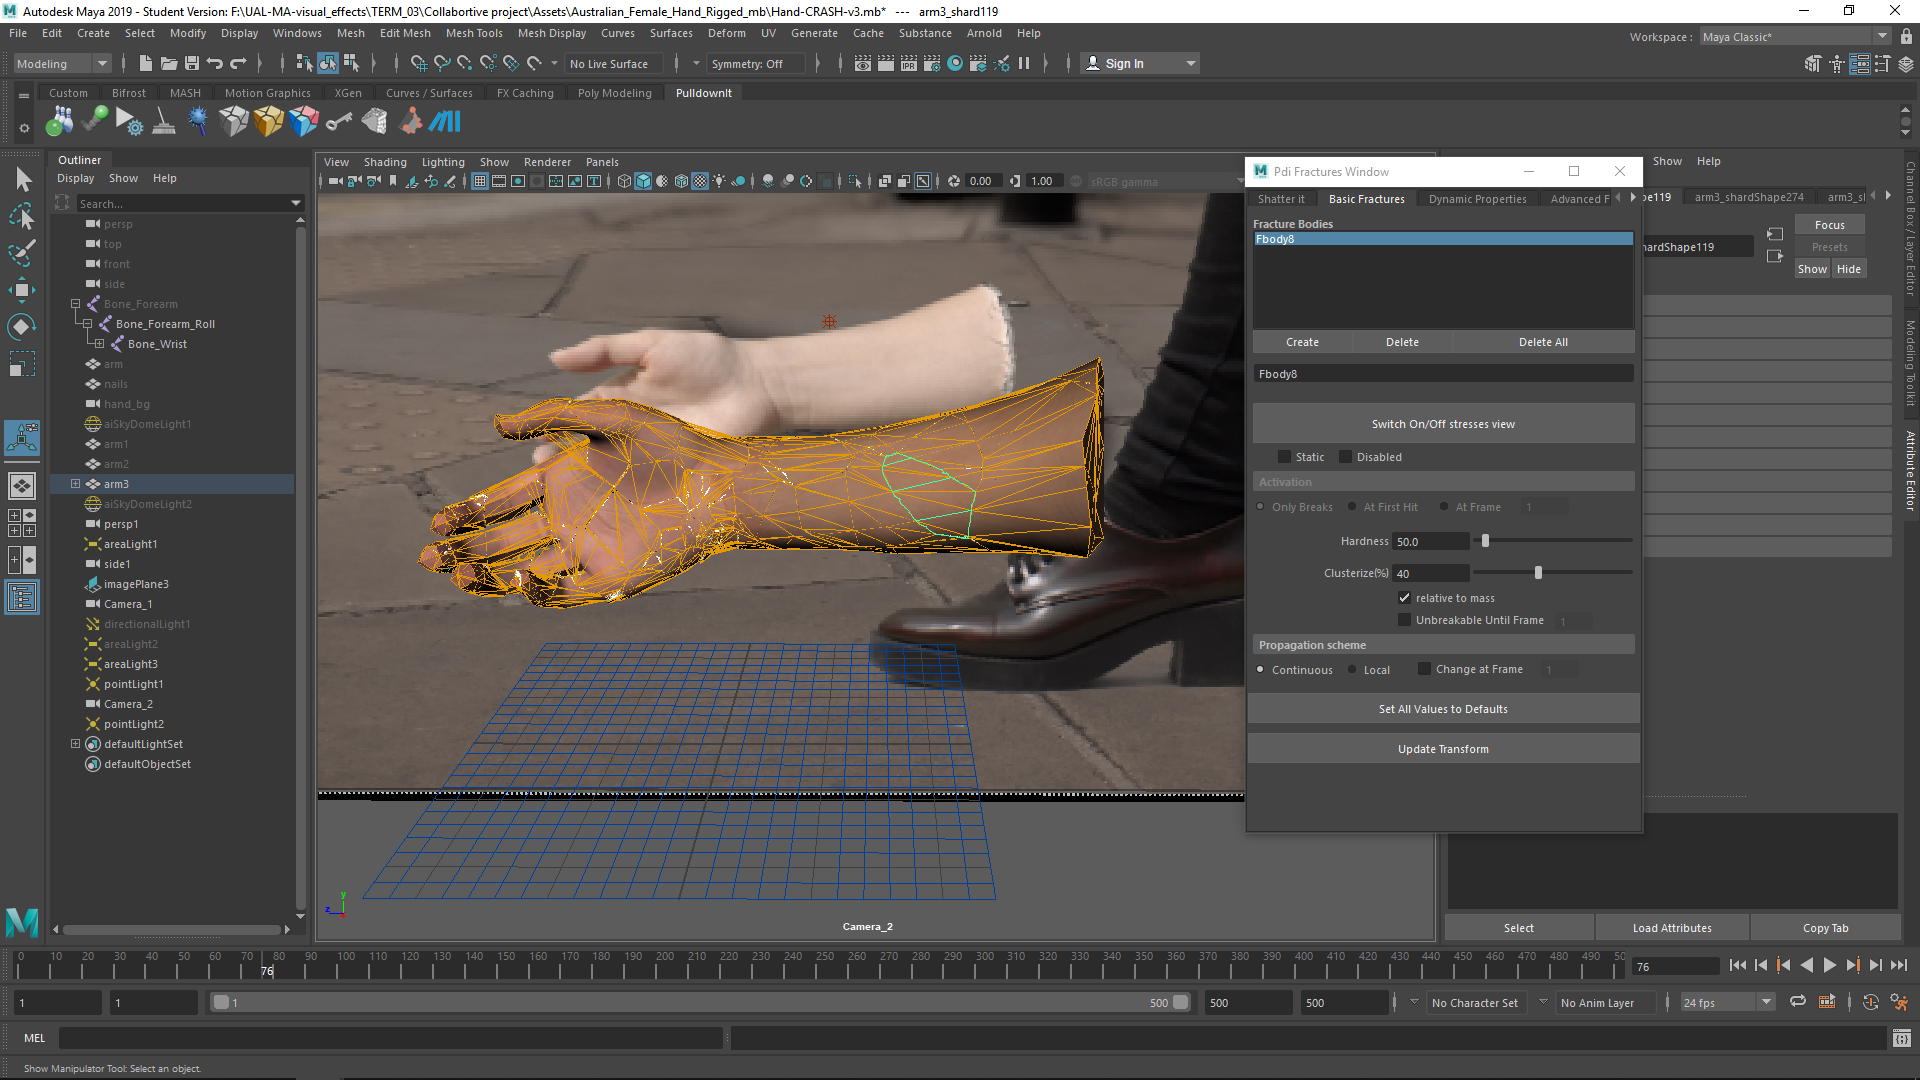
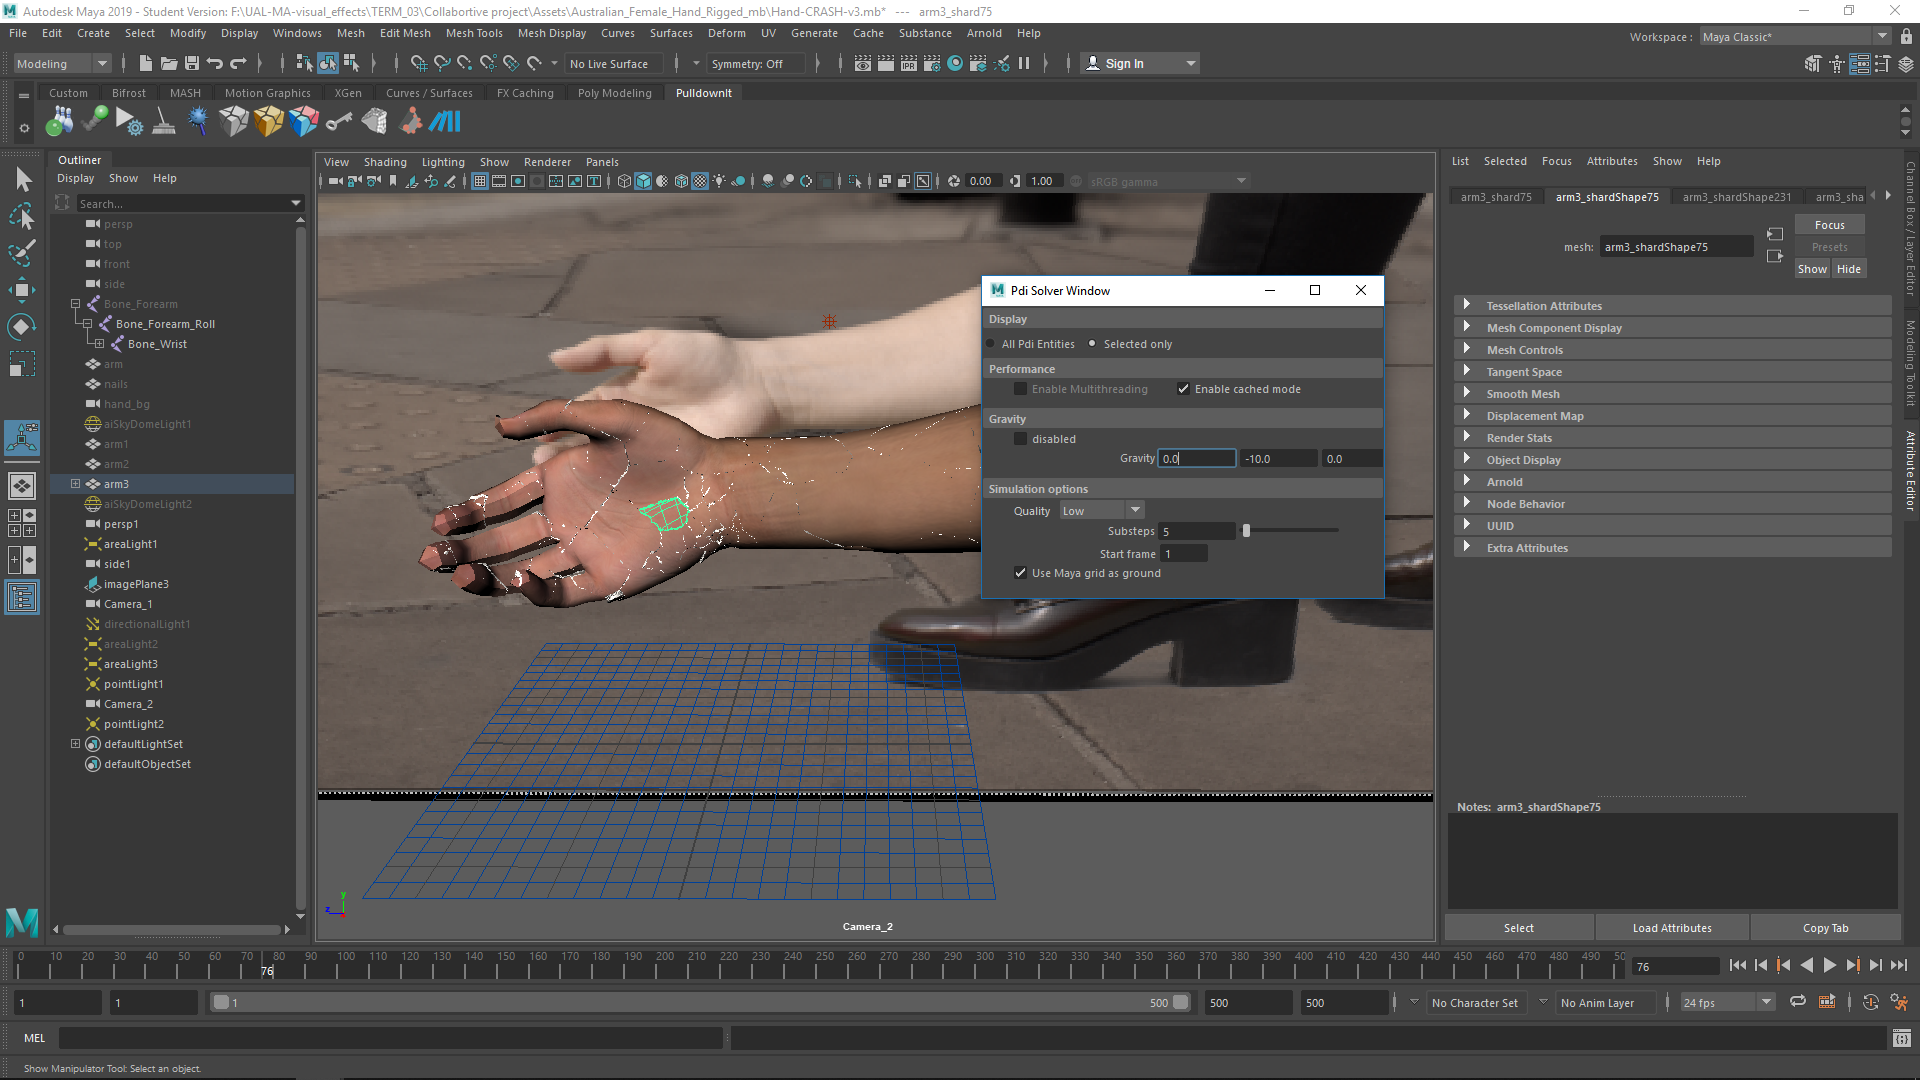
In order to do the crash, I downloaded a plugin called Pulldownit.
First, I setted the points in which the arm is going to be cracked.
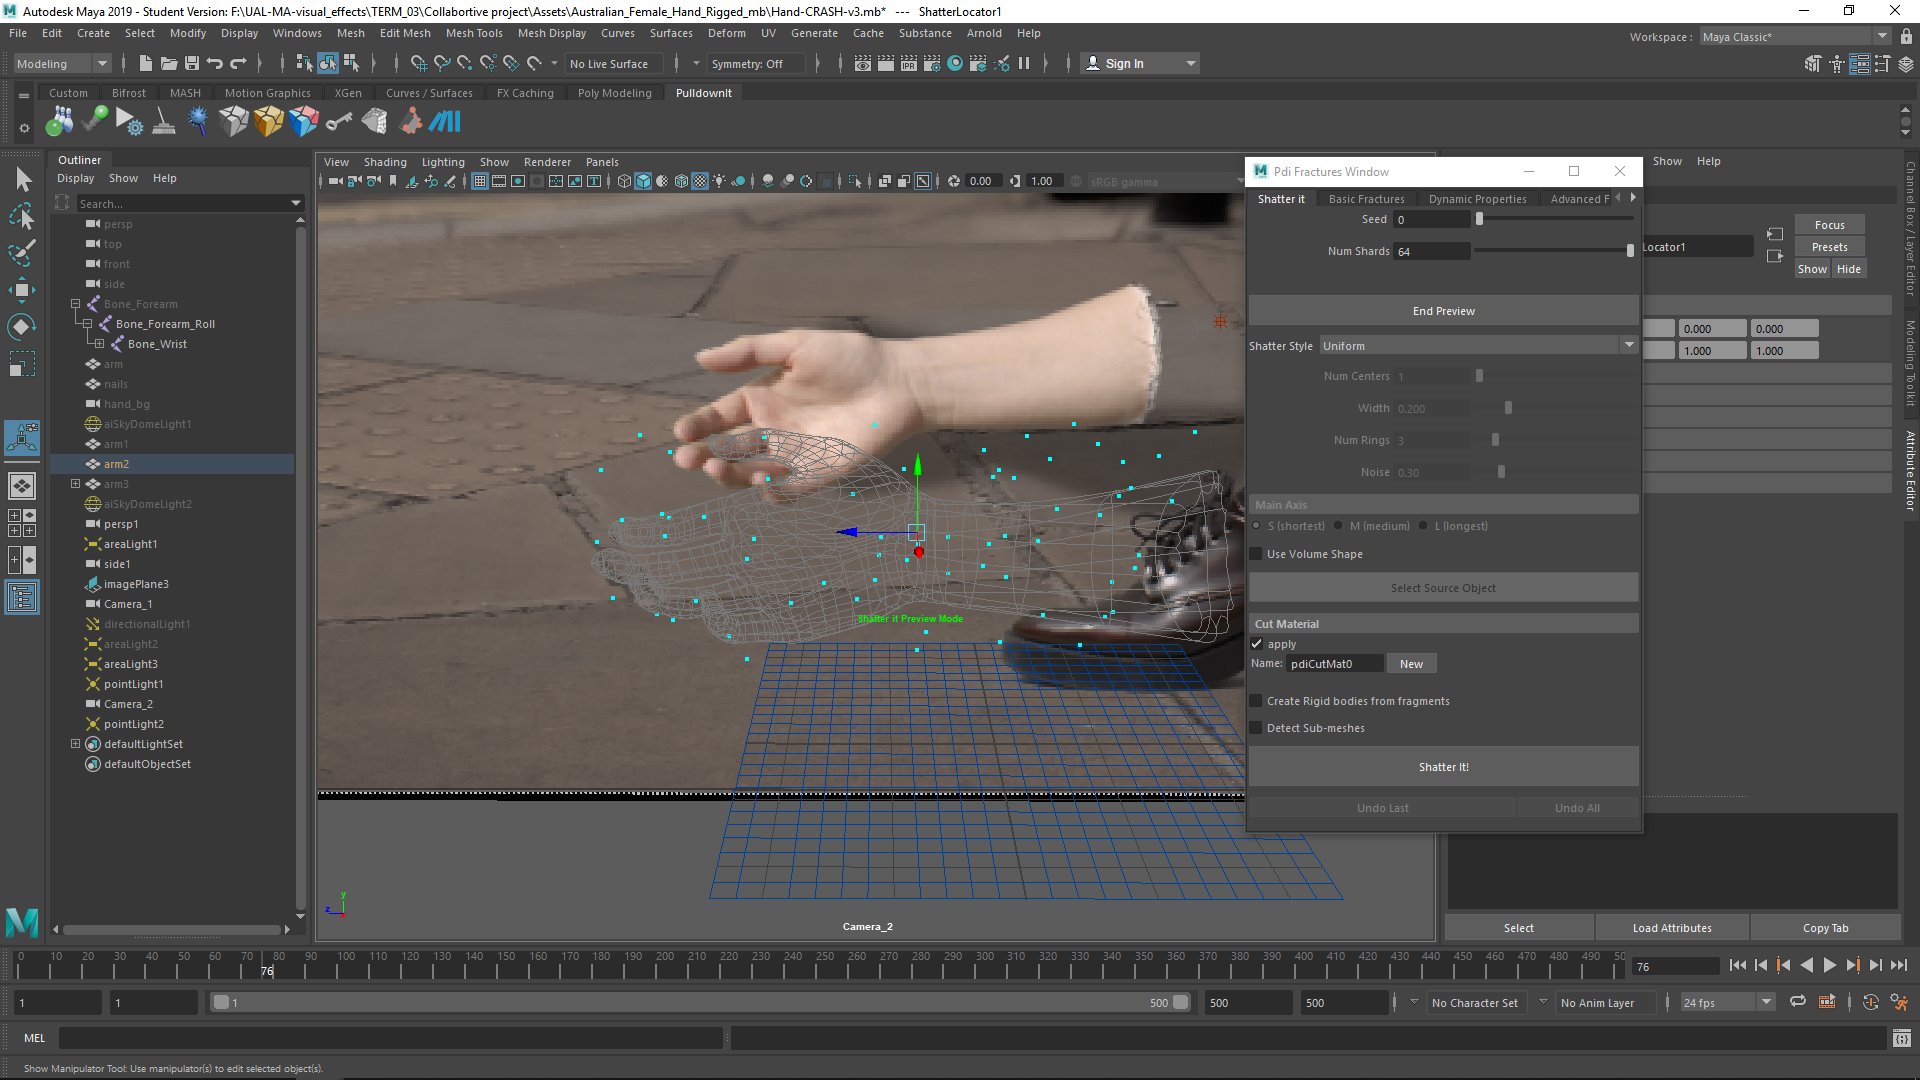
Then, I addes jagginess.
Then, I created a cracked object with all the subdivisions.
Finally, I applied the gravity, and now we are able to see the animation.
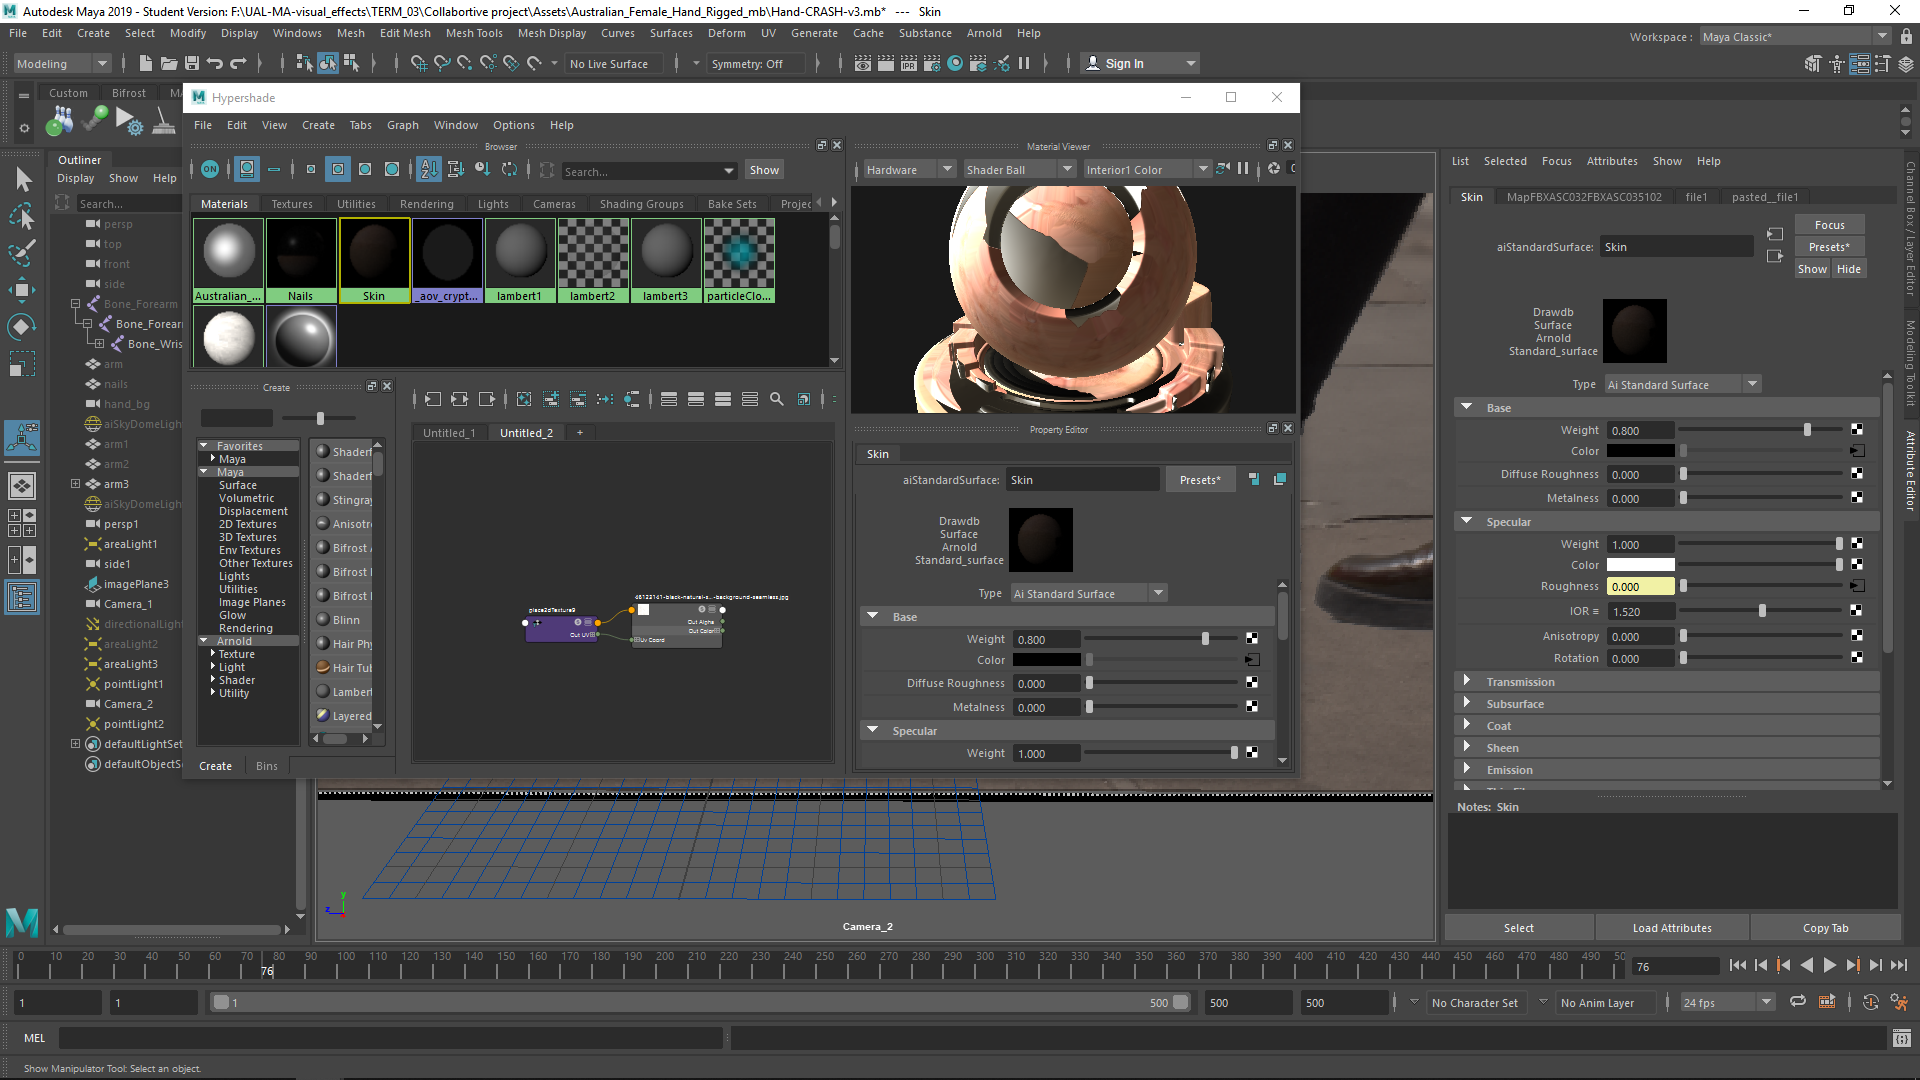
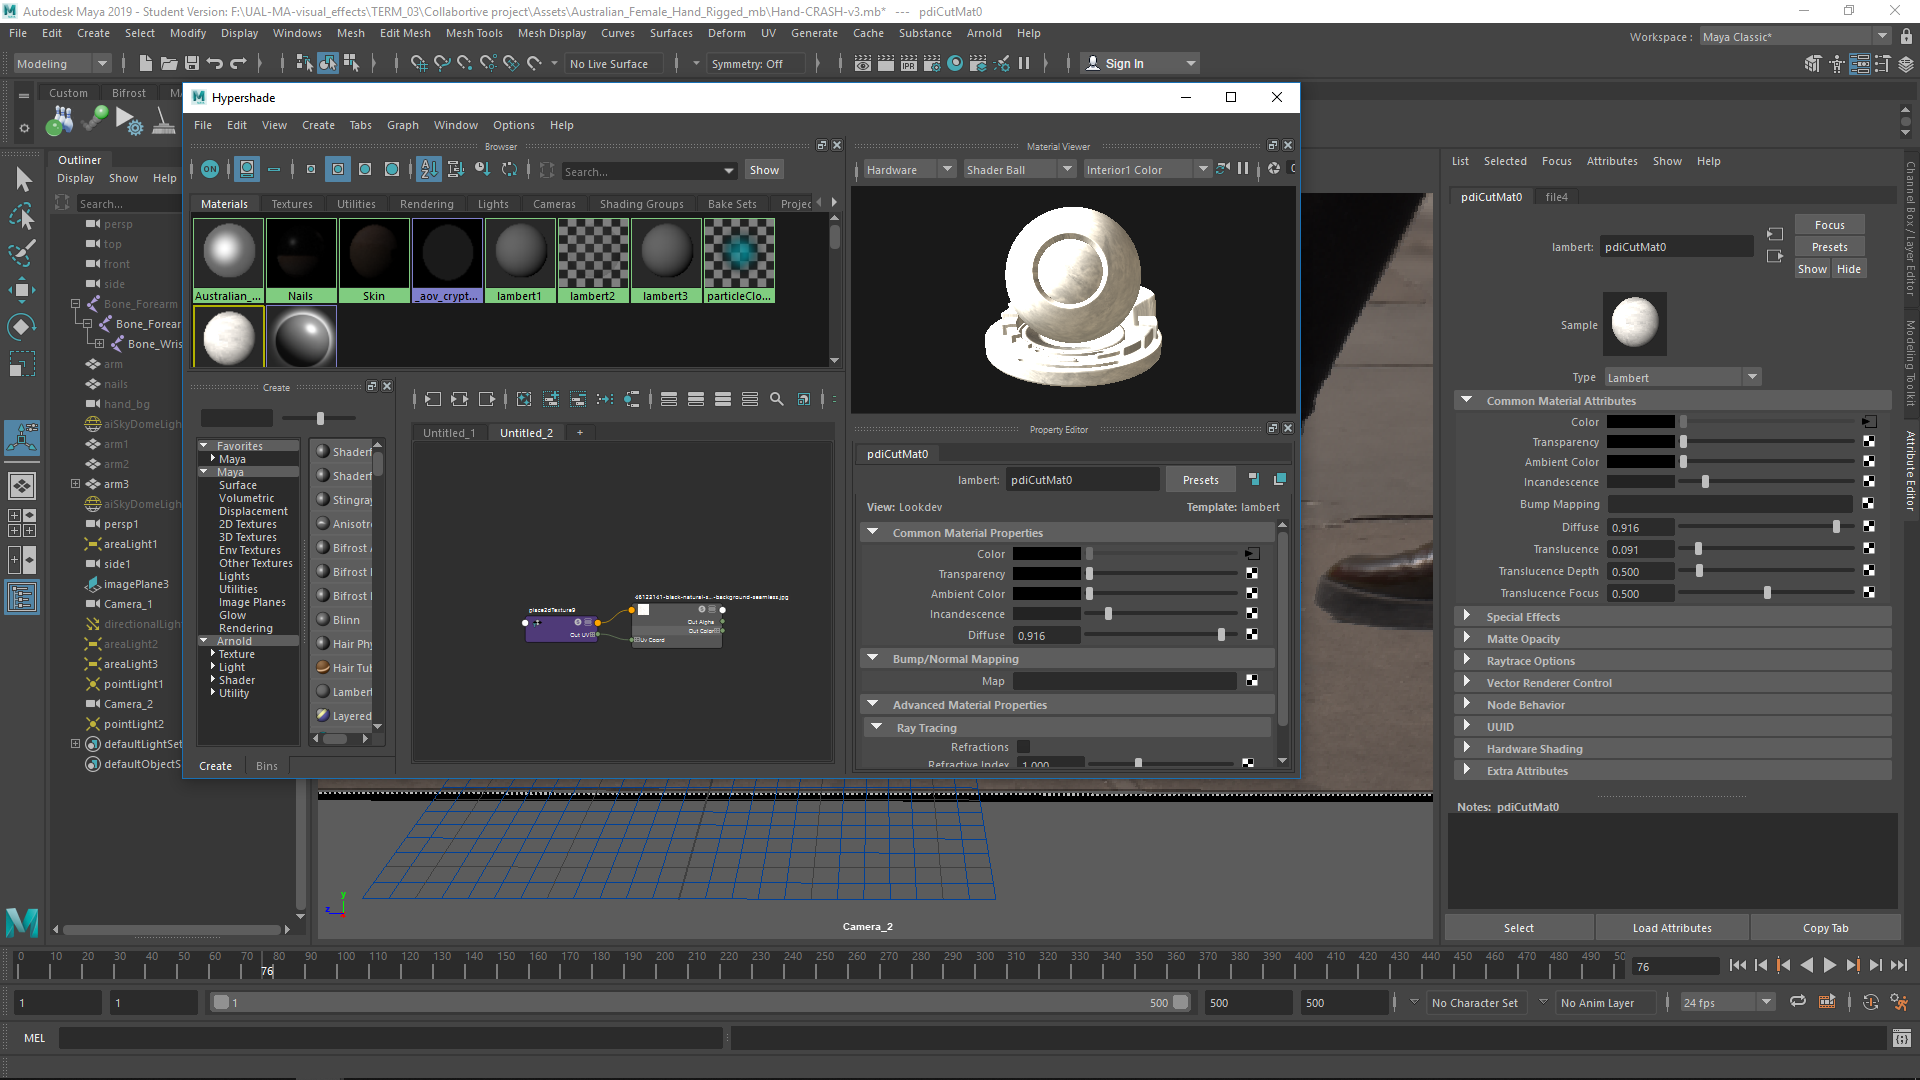
Textures
I did the textures of the skin and the inner stone. For the skin I used the given texture, and for the rock I uploaded a rock texture over a sandard surface.
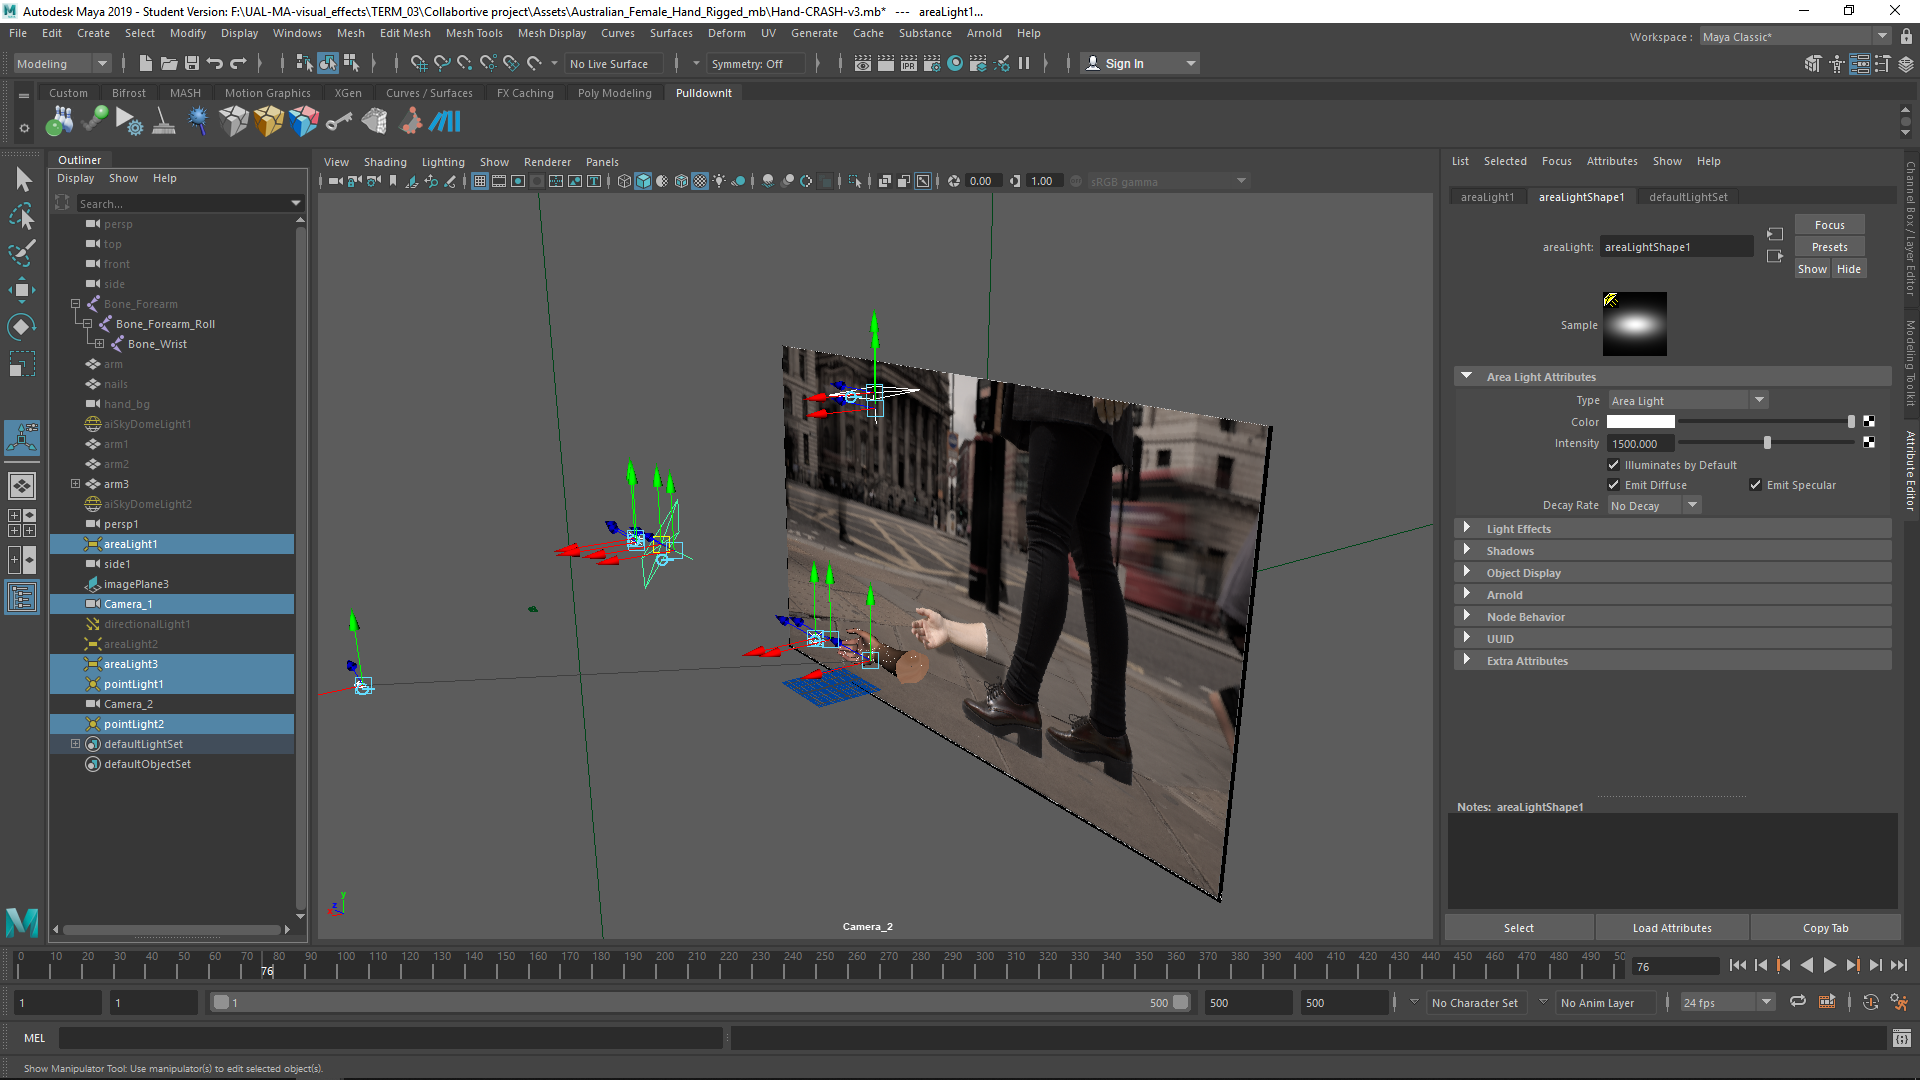
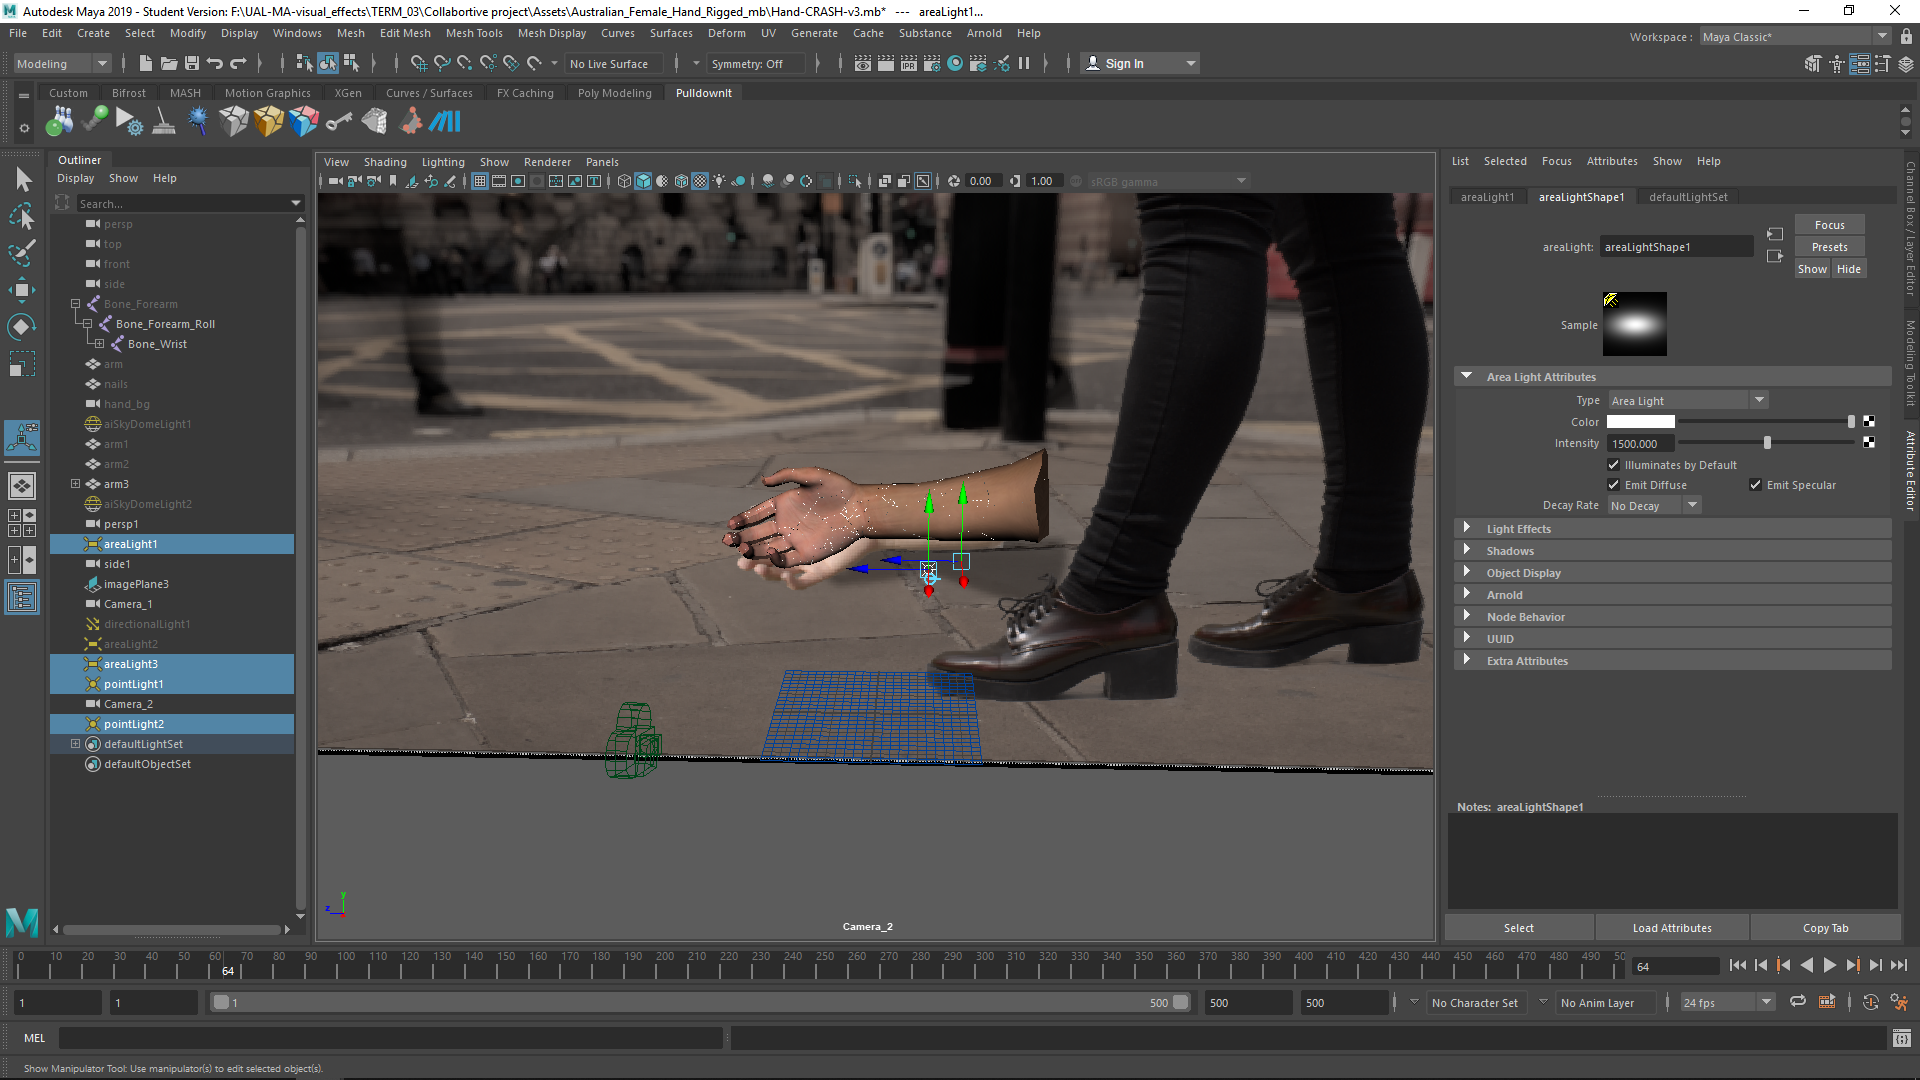
Lighting
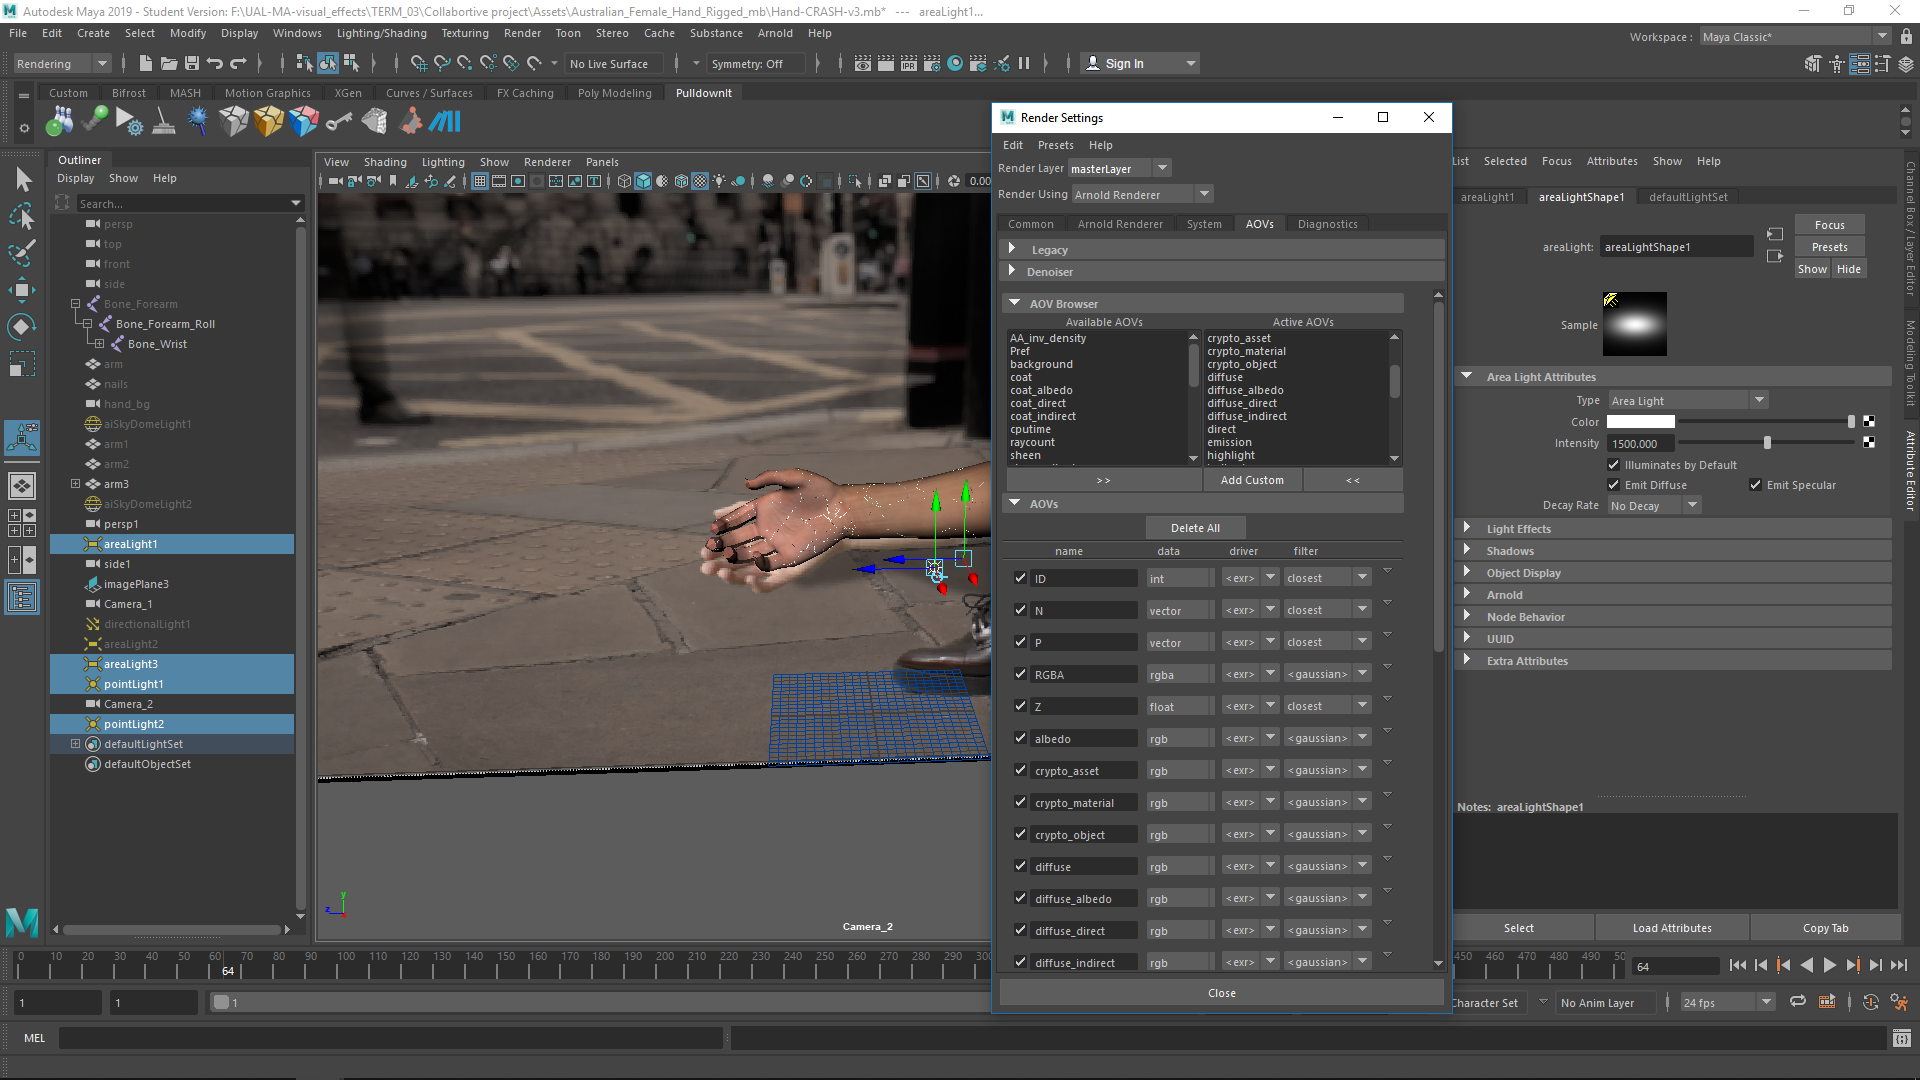
I tried to match the logihting of the original footage. I used 2 point lights and 2 area lights.
Camera
I tried to match the camera position as the original footage.
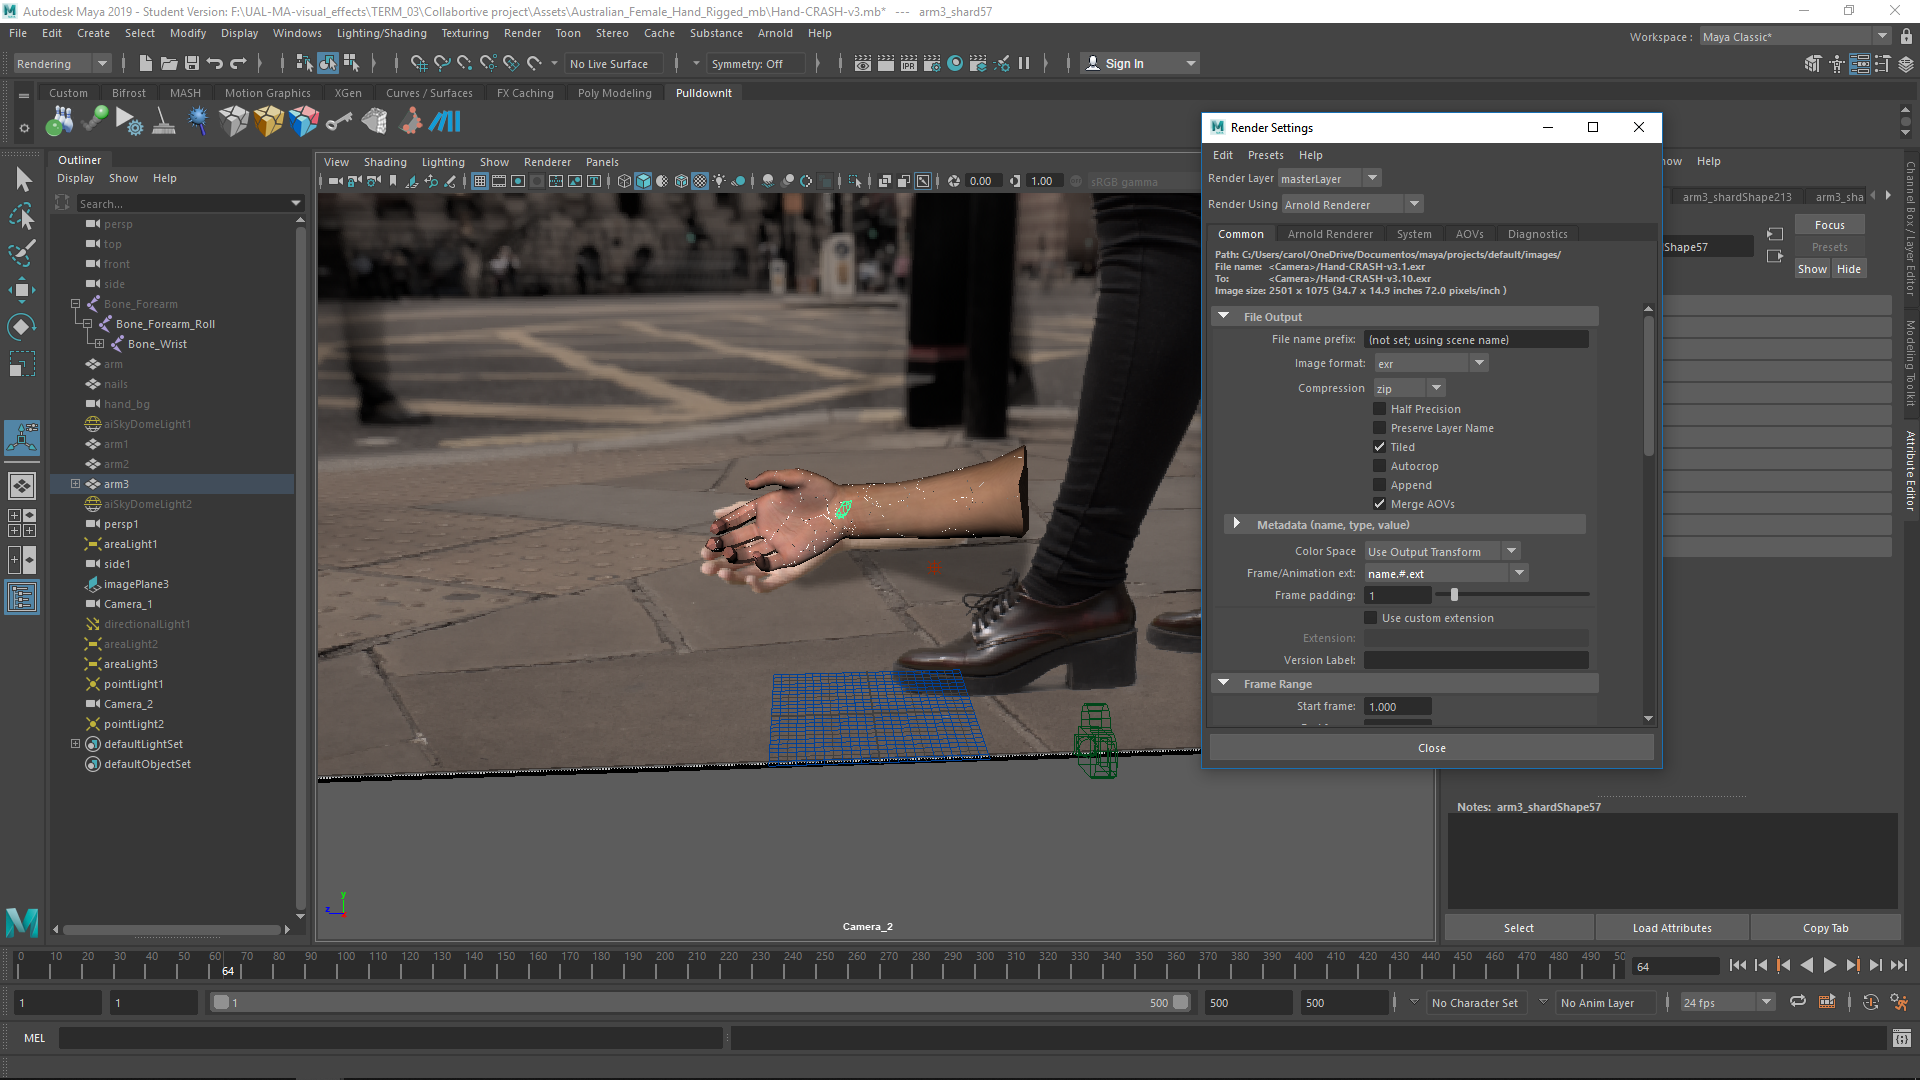
Export
I exported the footage choosing the right AOVs I wanted to have in the rendered EXR.
Finally, I had the sequence exported and redy to be integrated in nuke.
