Background
The first thing we are going to fix is the background. We need to put the background in high speed and try to match the grading.
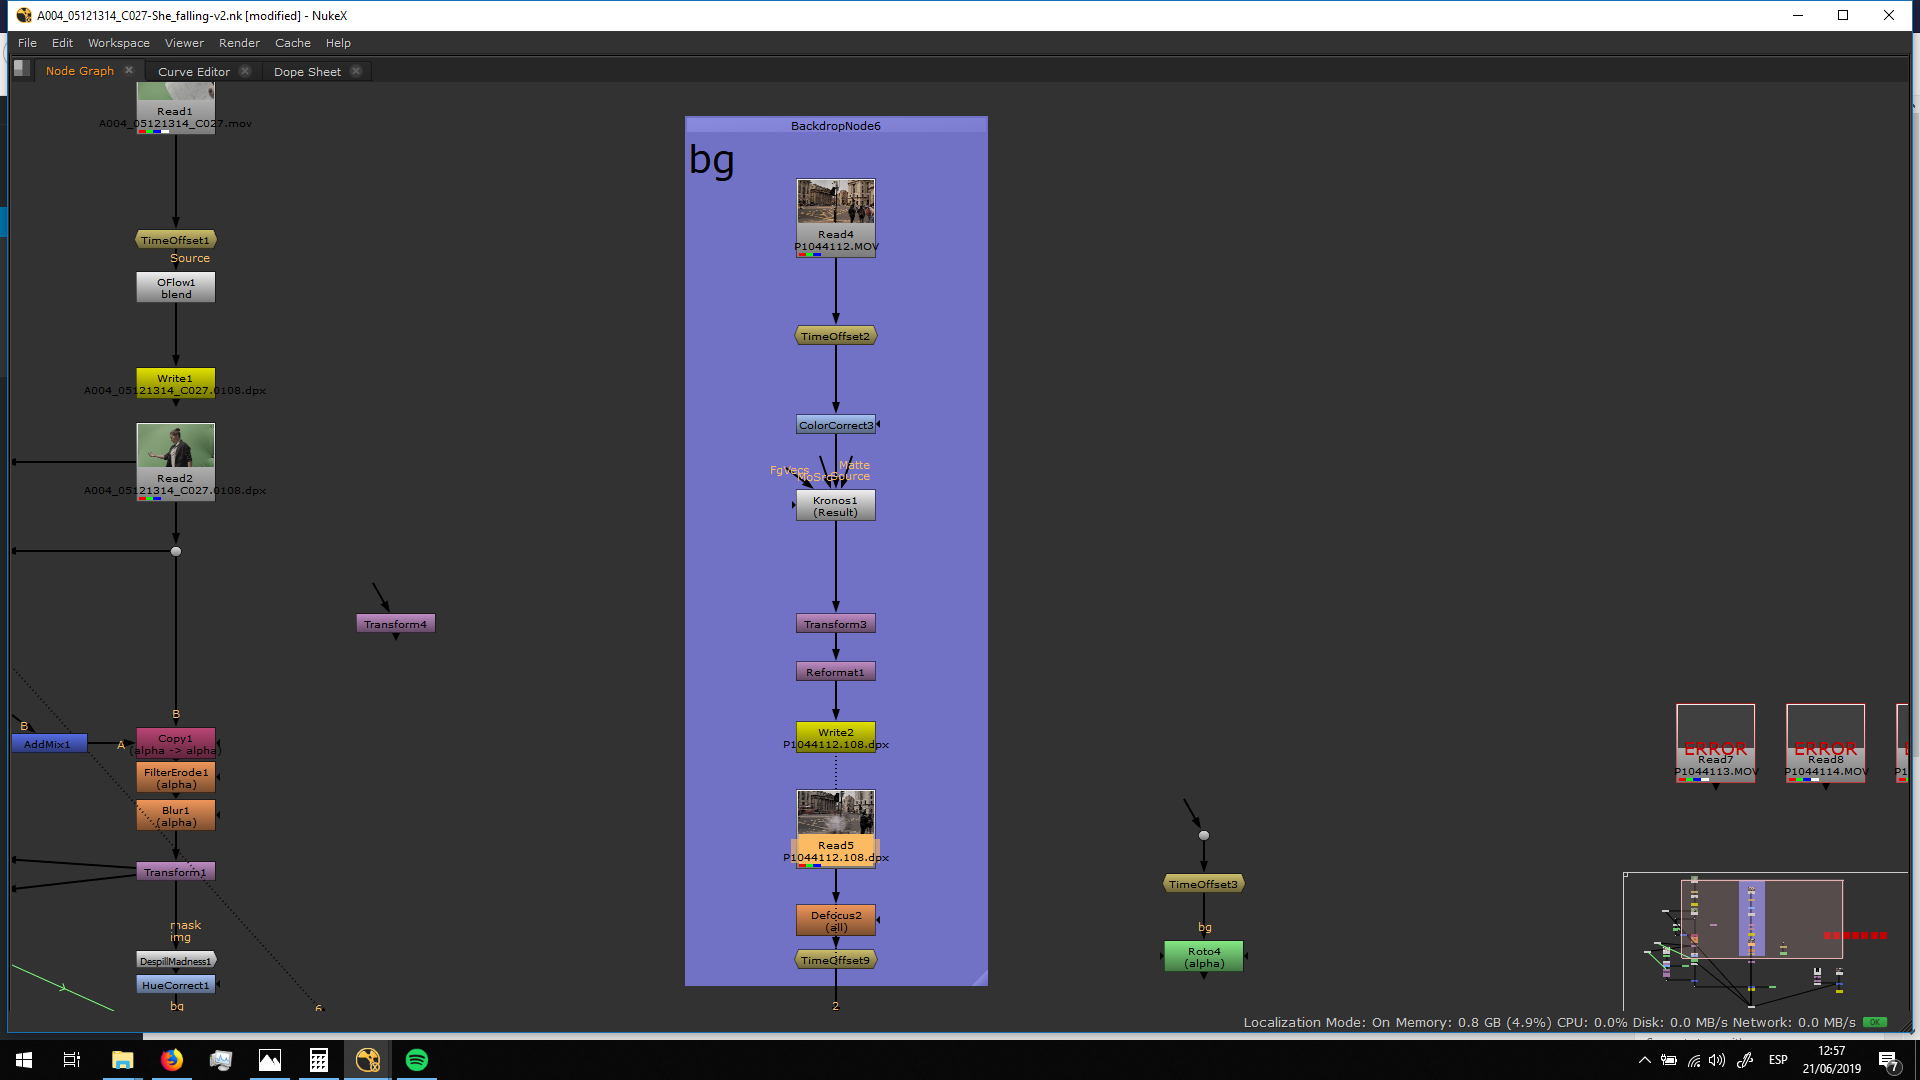
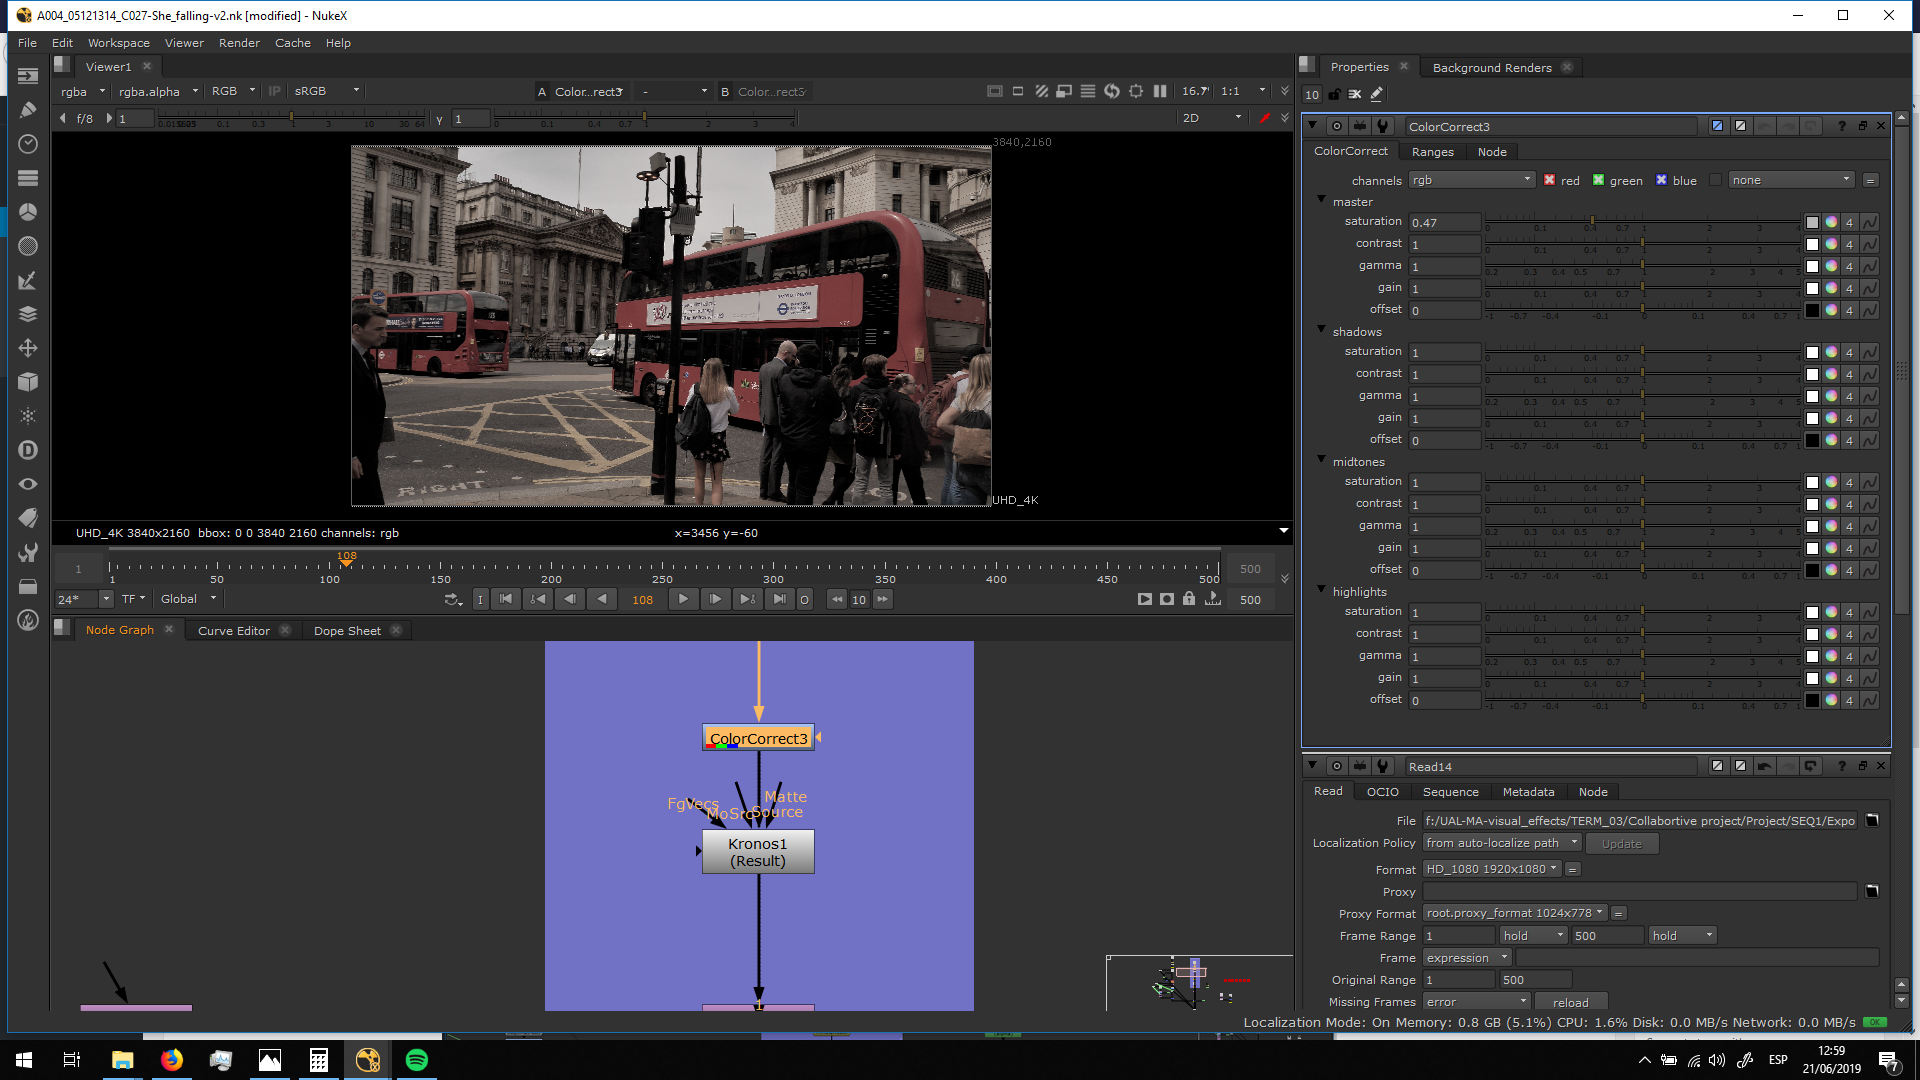
Firt, I applied a color correct to desaturate it.
Then I added a Kronos note with which i can turn up the speed and sample it with motion blur, adjustng the samples and the shutter. 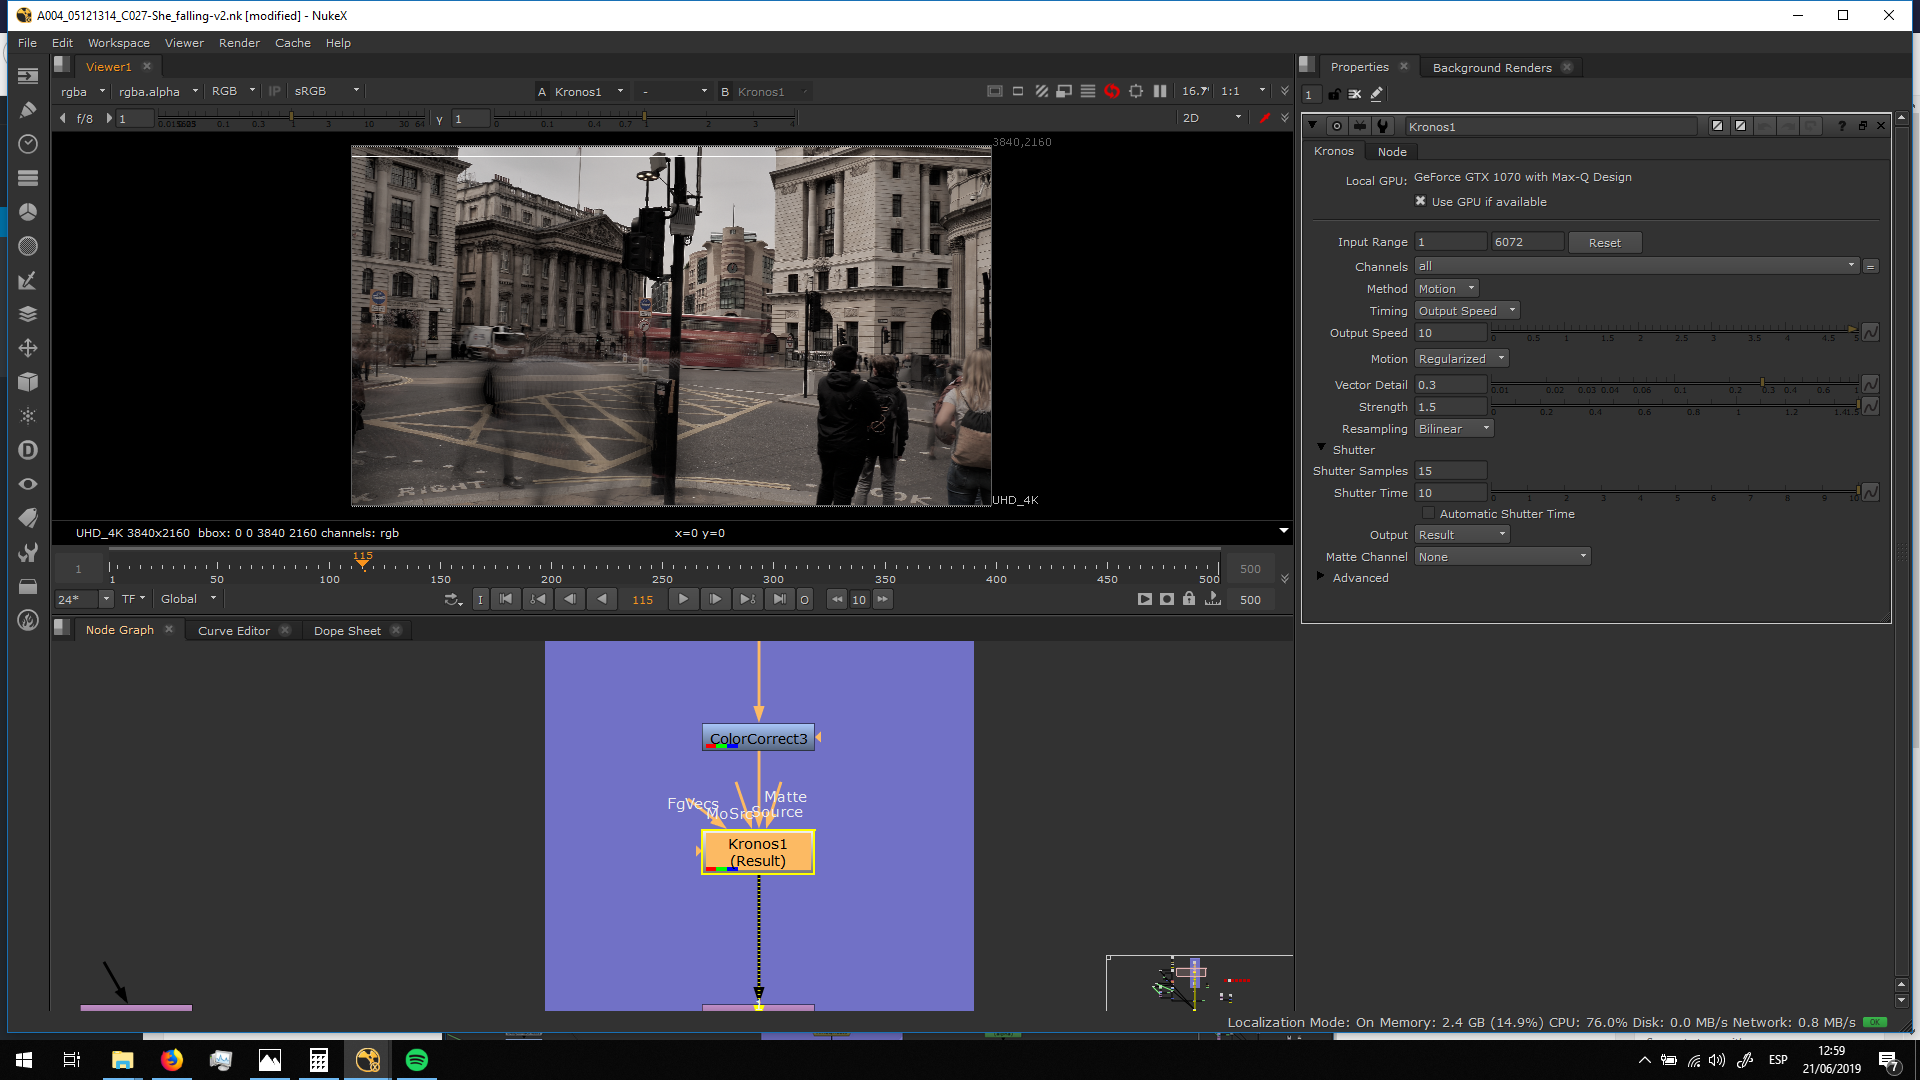
Afterwards, I exported in DPX since Kronos is a really heavy note.
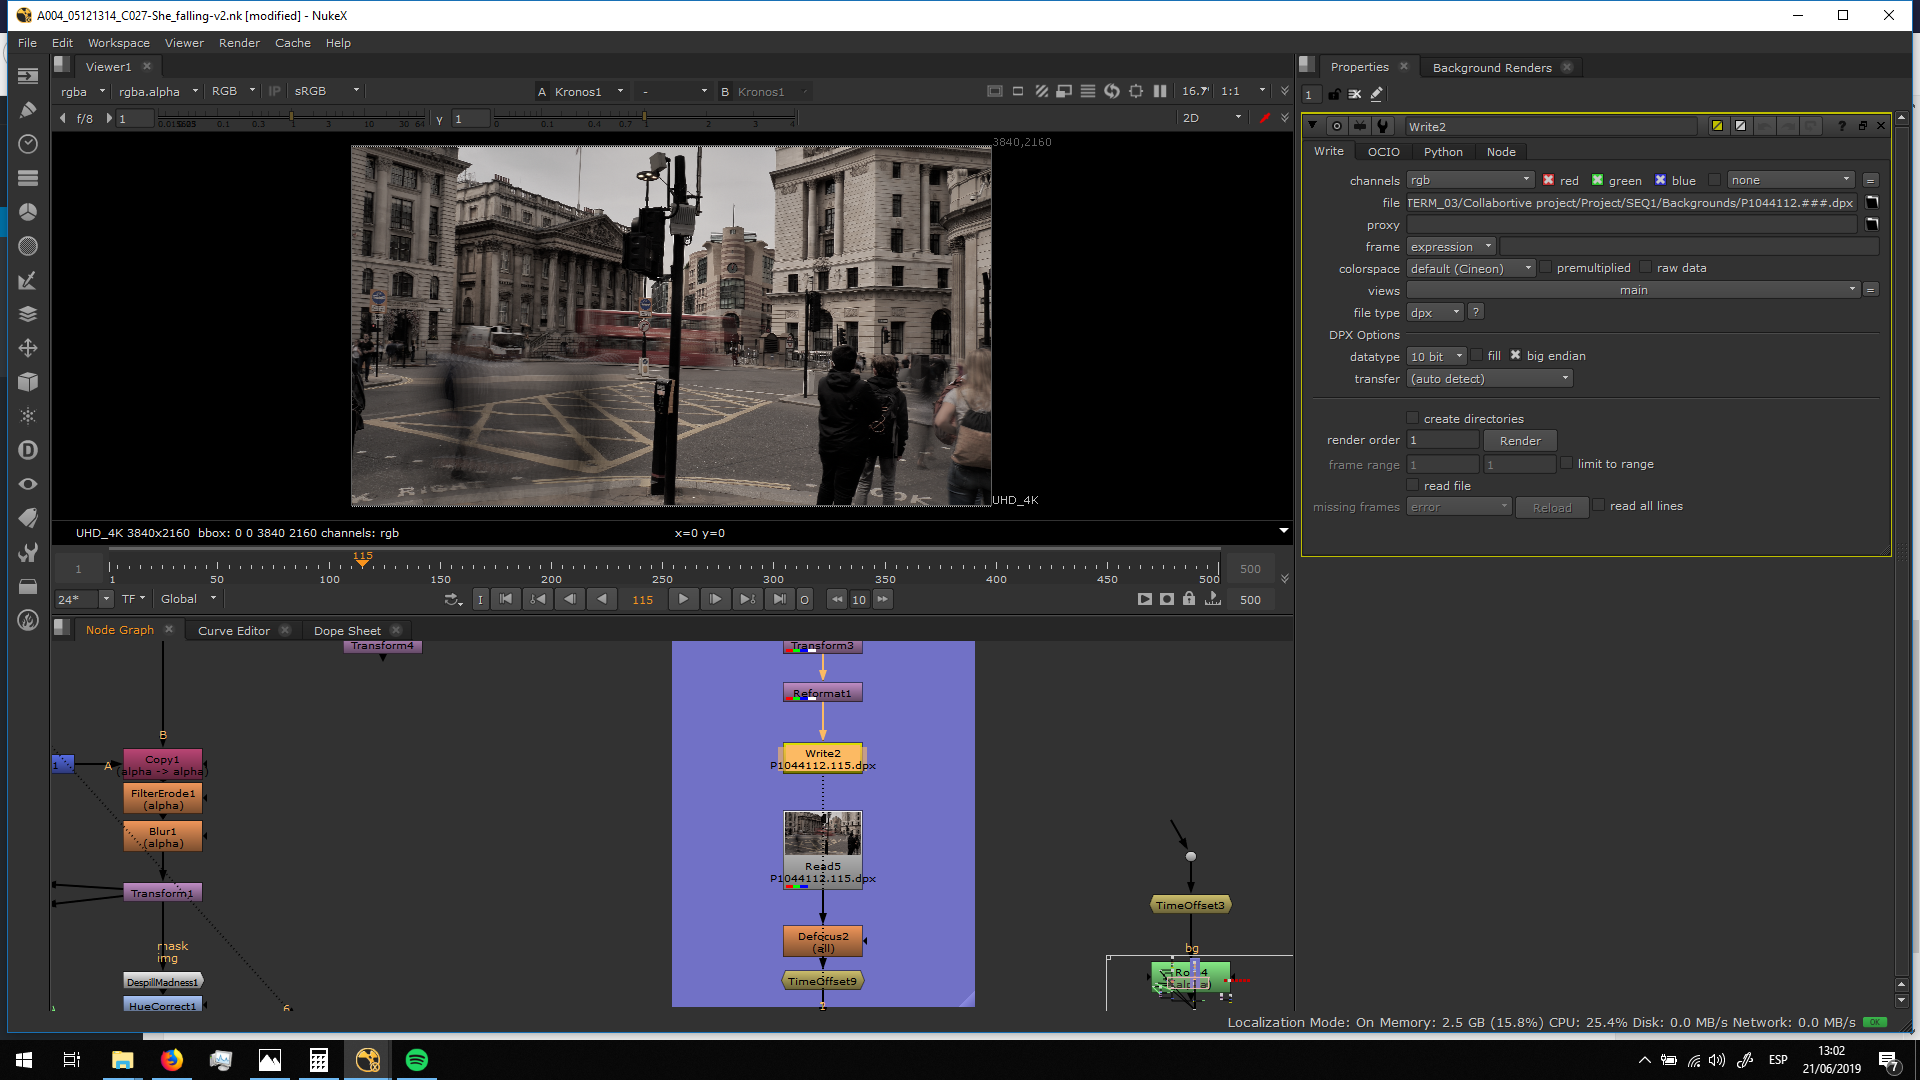
Finally, I added a defocus note, in order to blur the background and generate more depth of field.
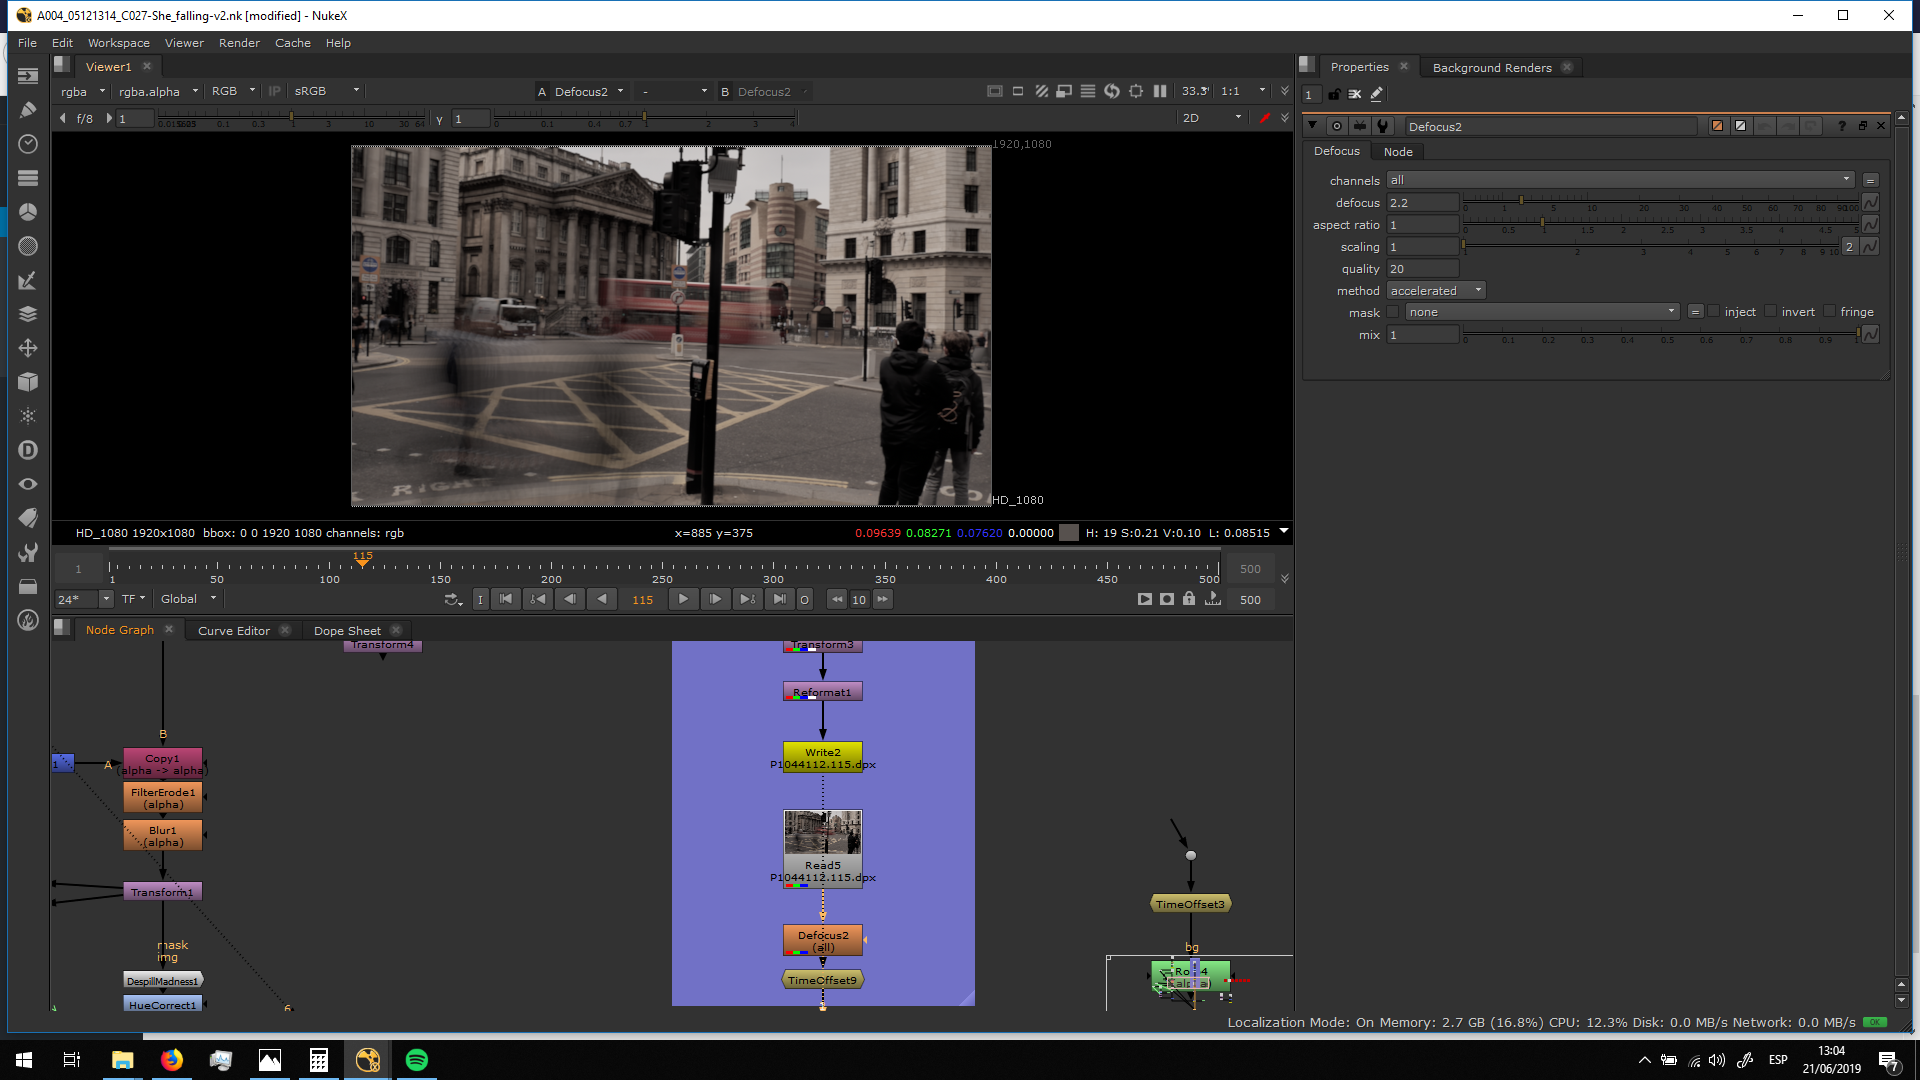
Now, we can work with that backgorund.
Foreground speed
The first thing we will do with the Foreground footage is adjust the speed in order to put it in slow motion. For that, I added an Oflow note, decreasing the speed from 1 to 0,25, and selecting the blending mode: Motion.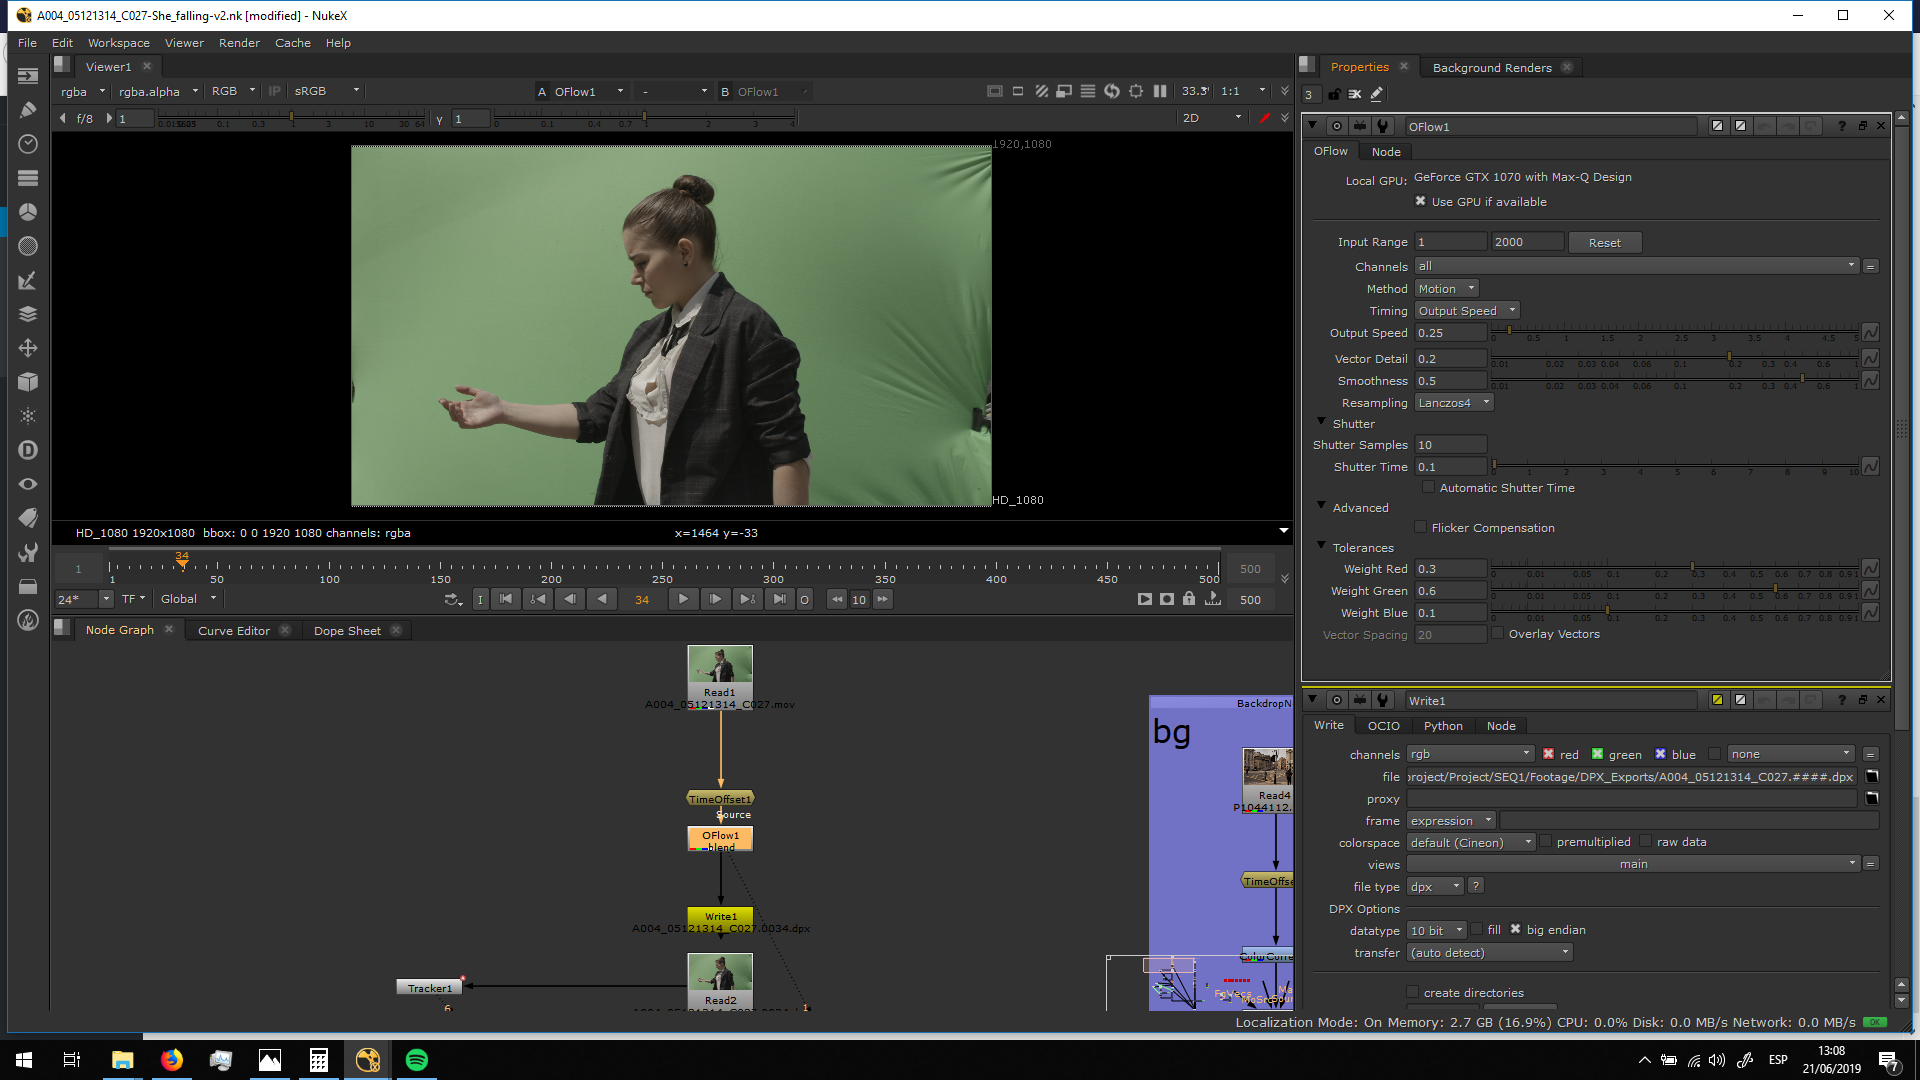
Finally, I exported it in DPX, in order to work with it more lightley.
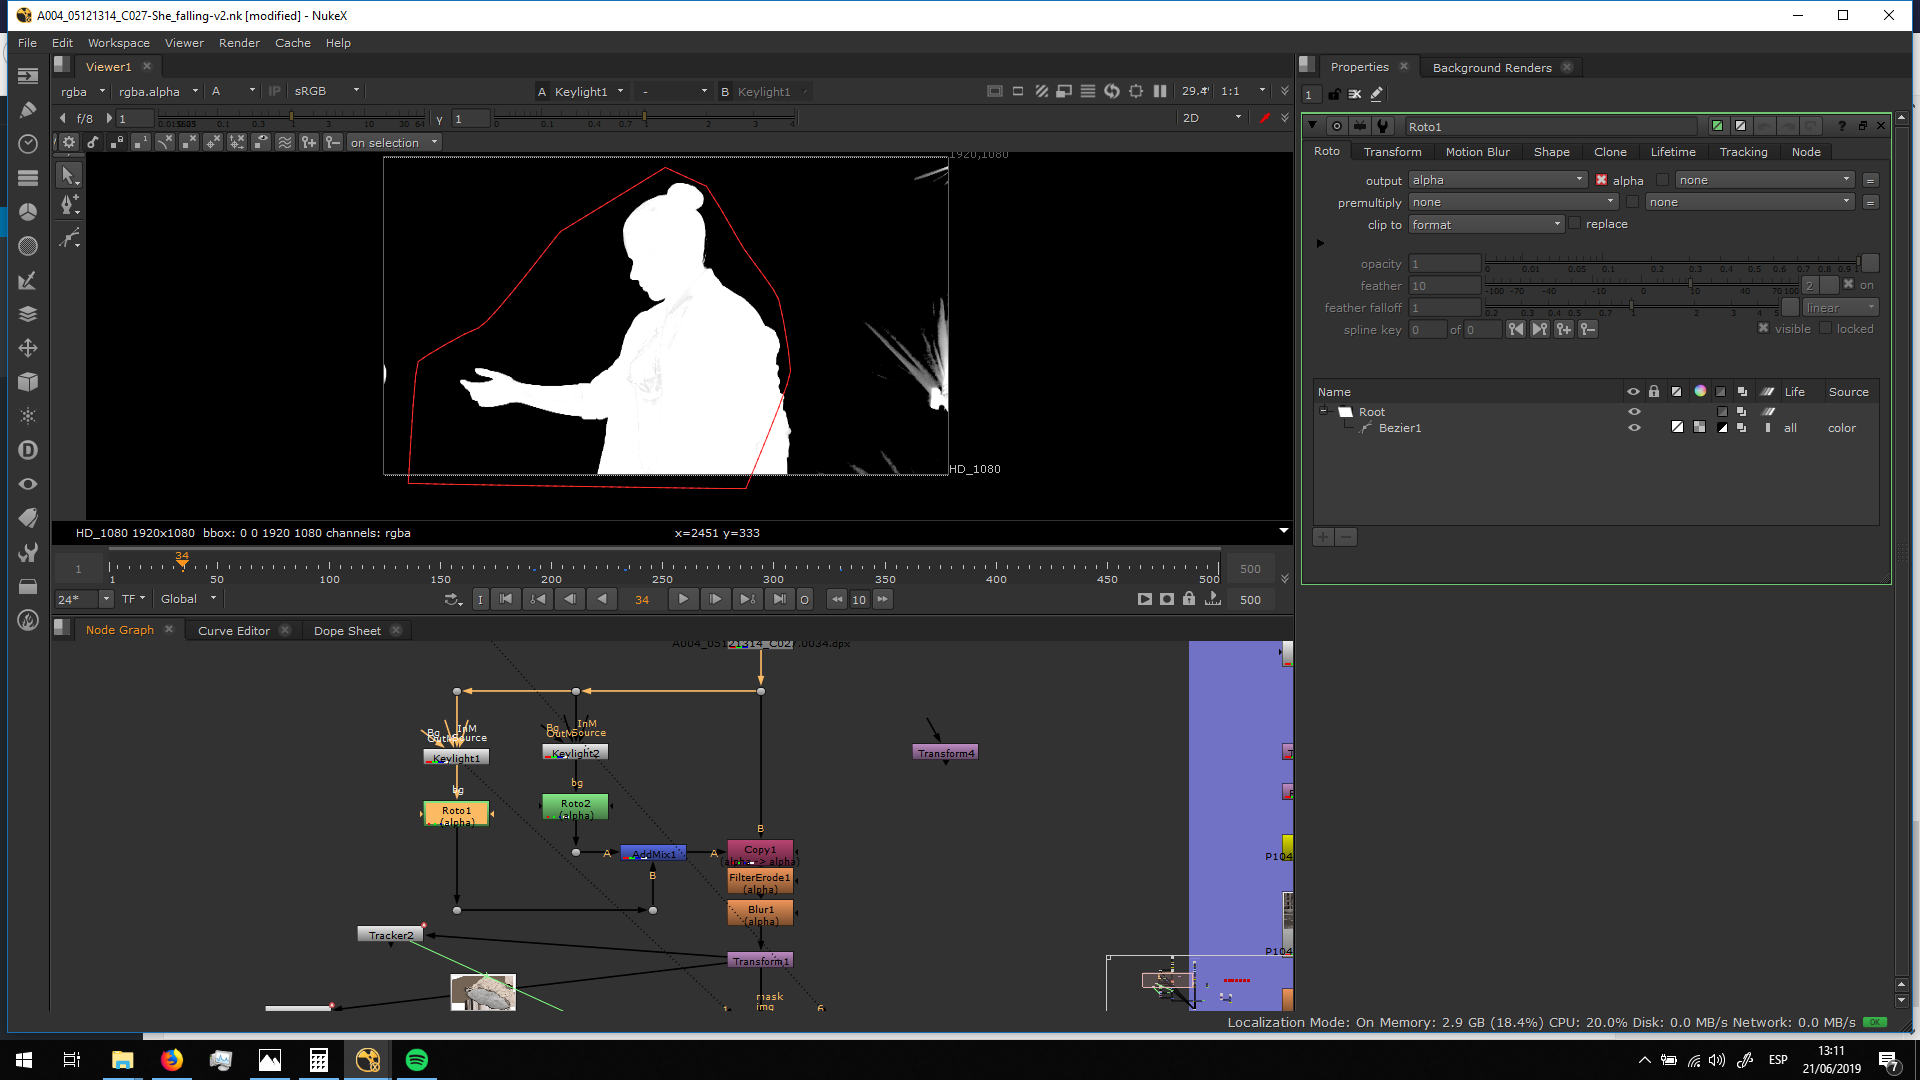
Keying
Now, we are ready to key out the green screen.
I made two keylings, one for the arm area in which the green screen in darker. Over that keylight I rotoed out the arm.
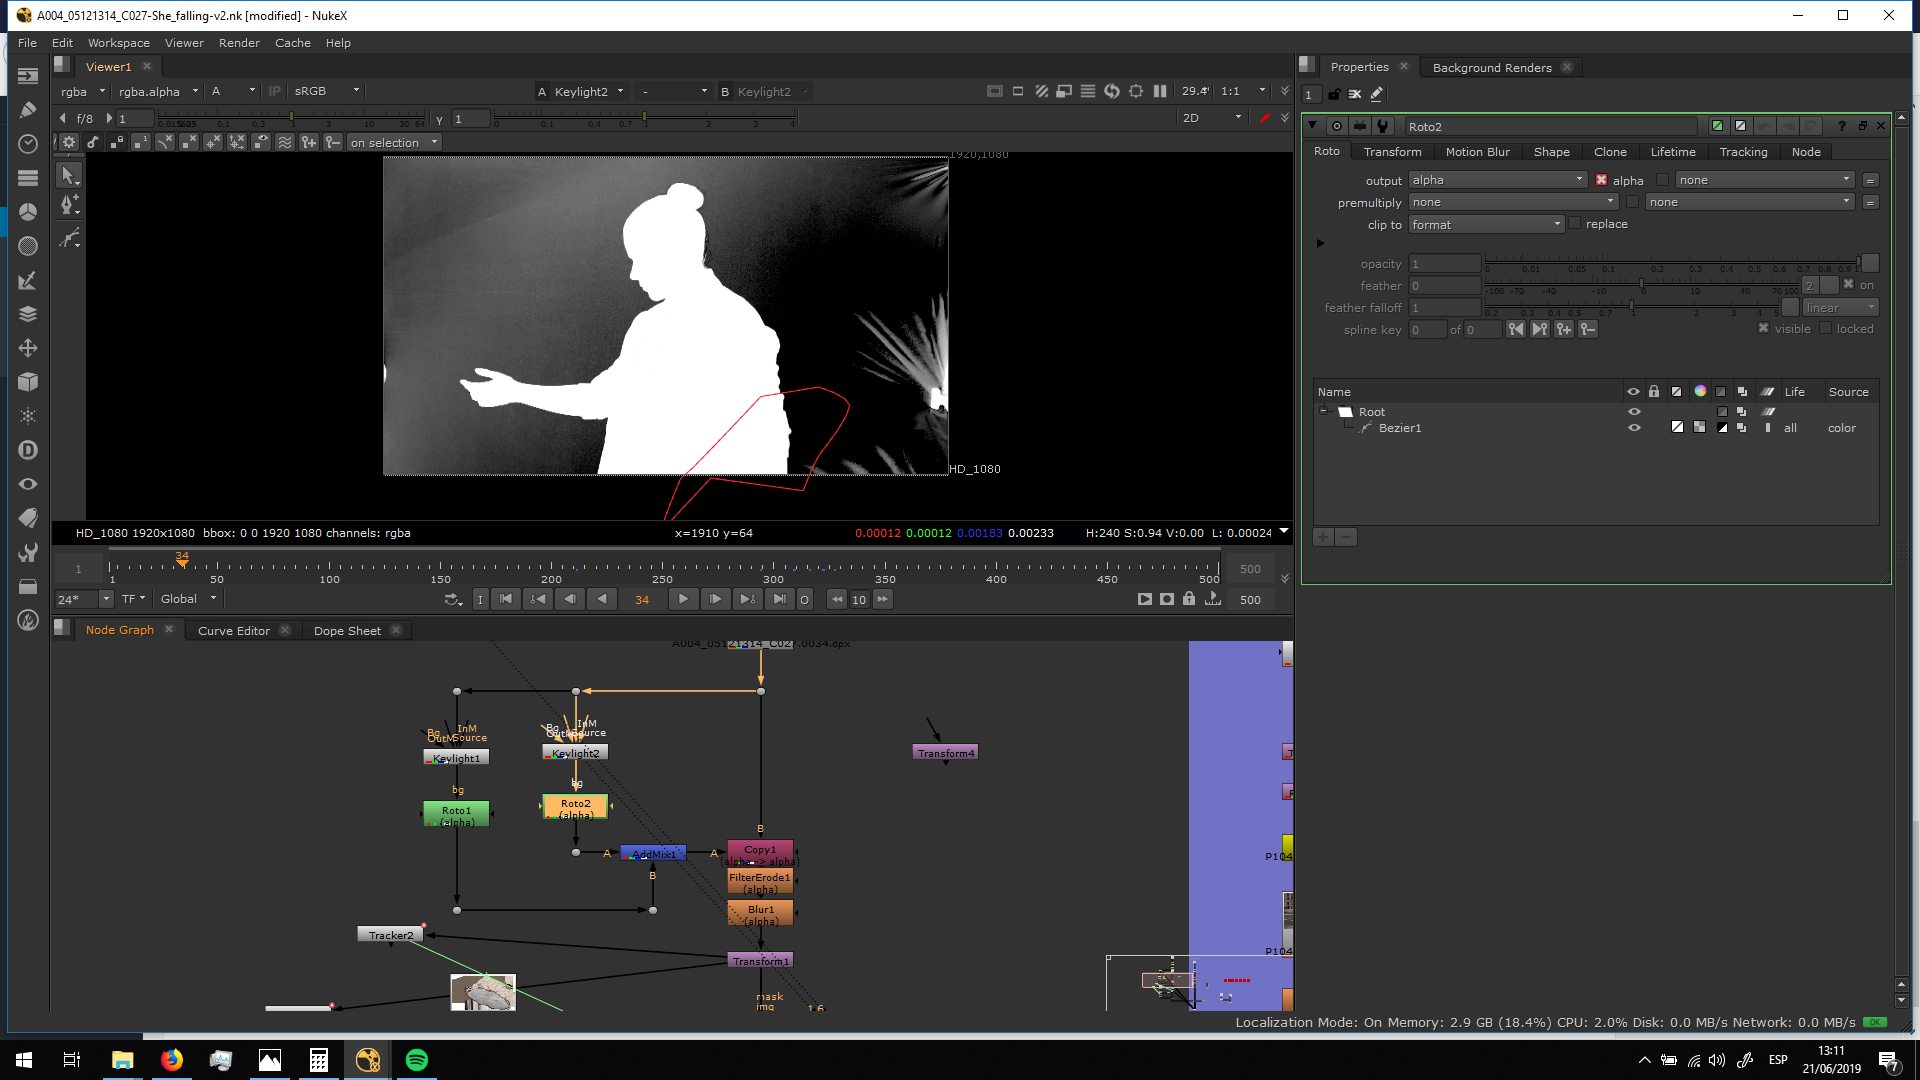
Then, I did another keying for the rest of the silhouette, rotoing out that part.
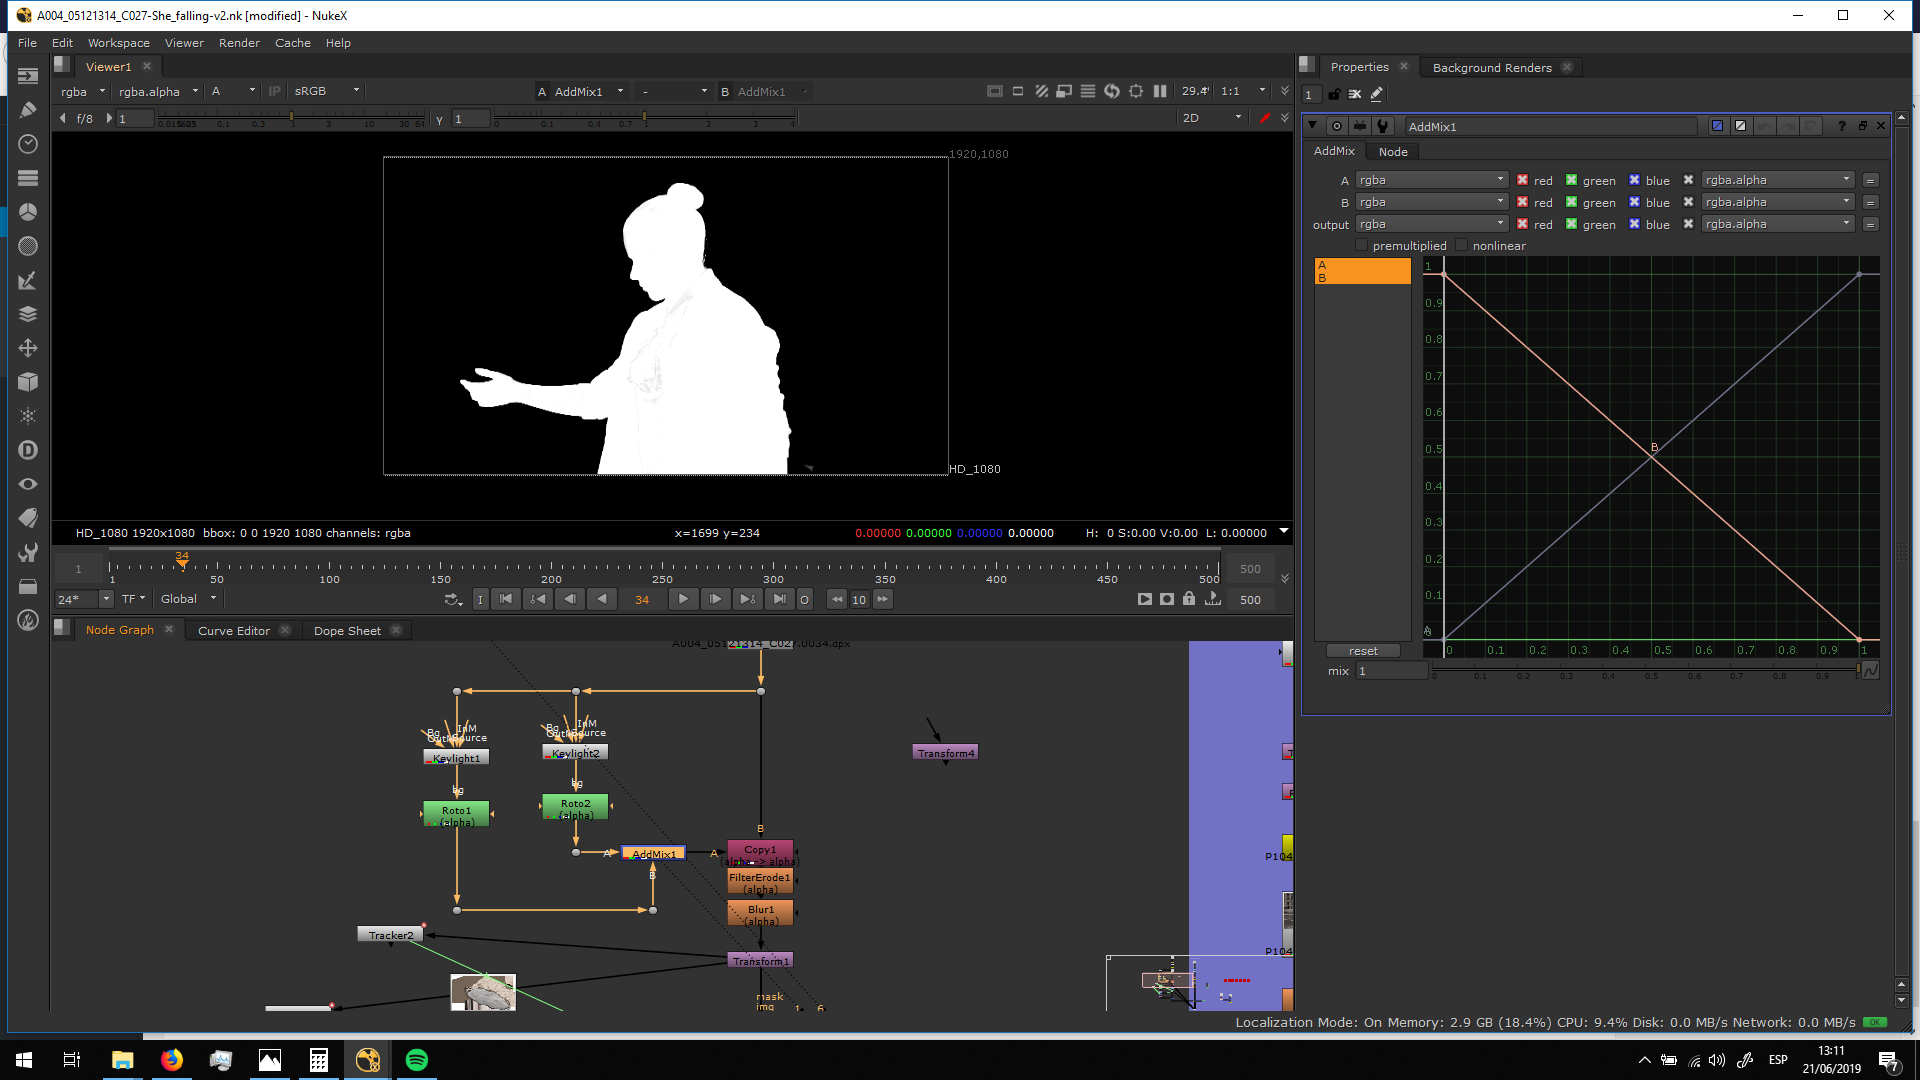
FInally I add an AddMix to merge both alpha channels.
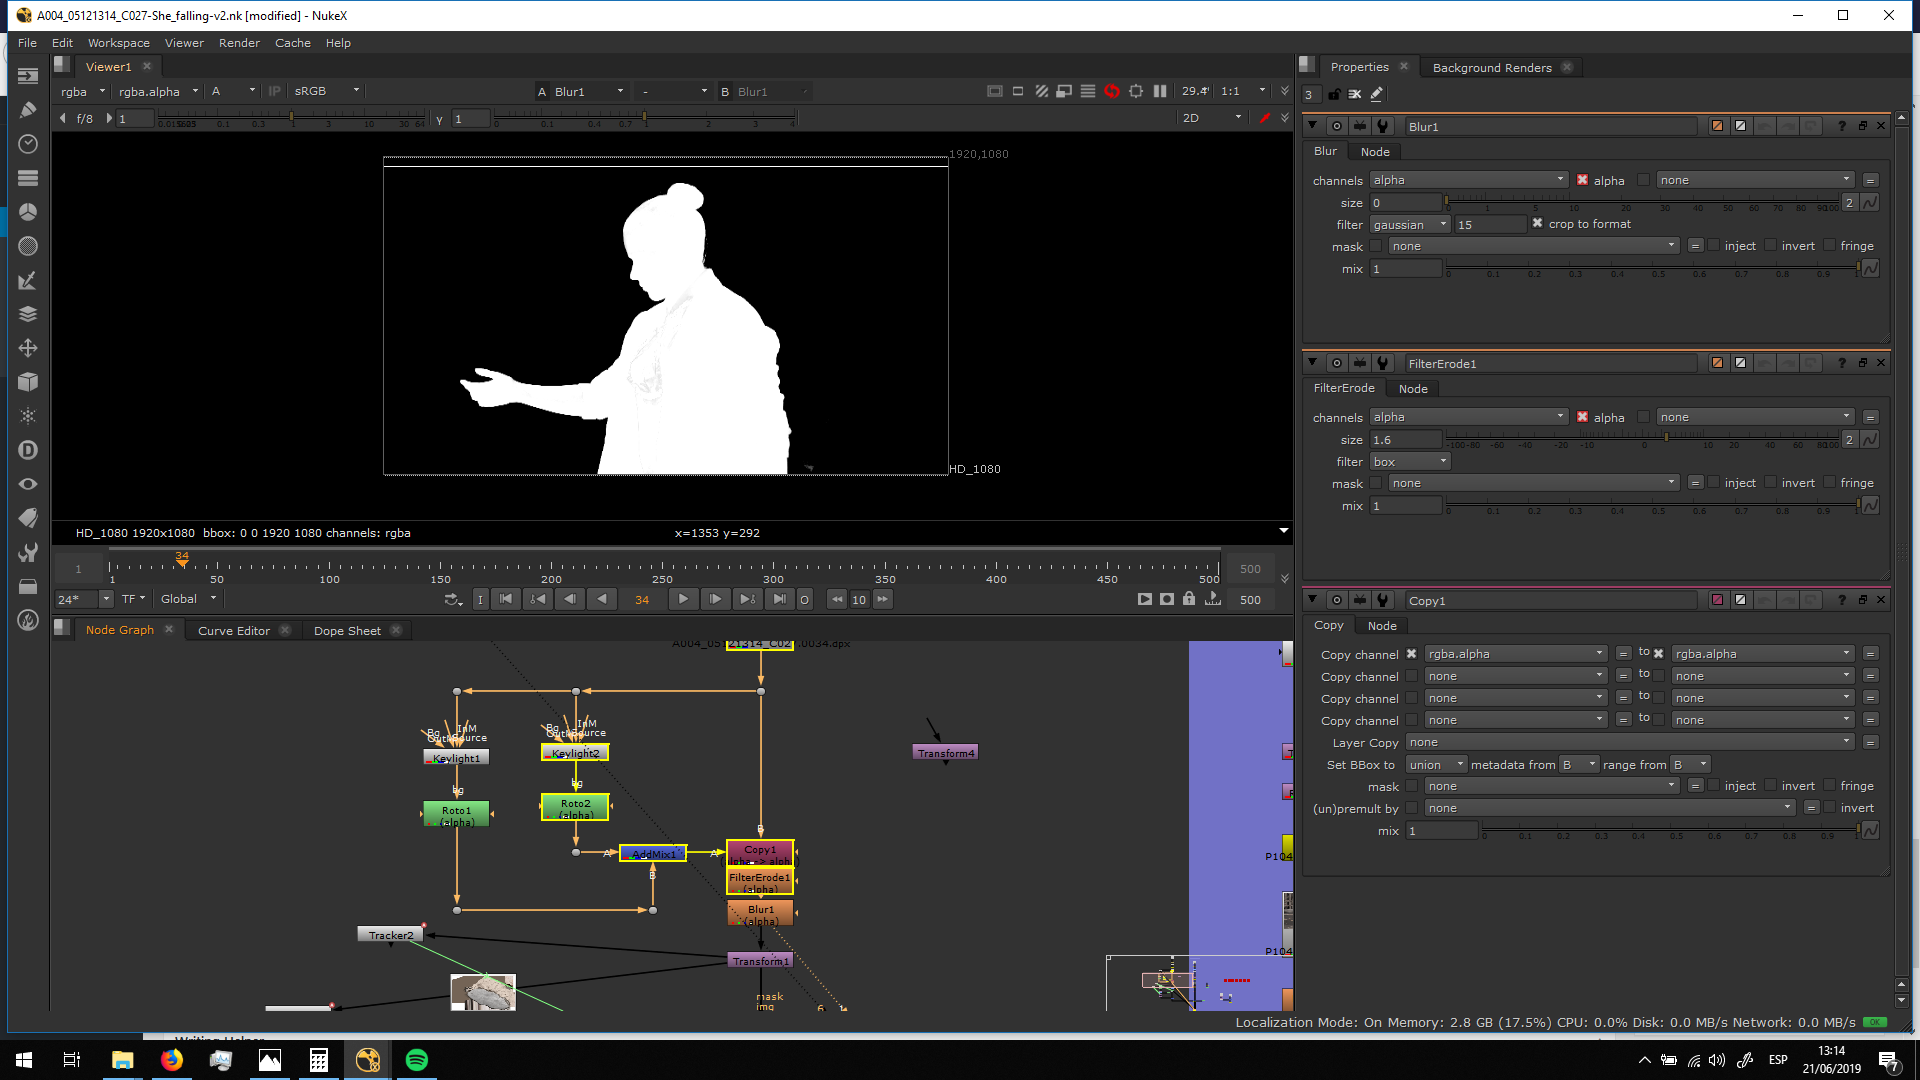
Finally, I added a copy node in order to tkae that alpha channel and merge it with the origianl footage. In this way, we will have it correctly graded. Then, I added a filter Erode and Blur really slightly in order to refine the edges.
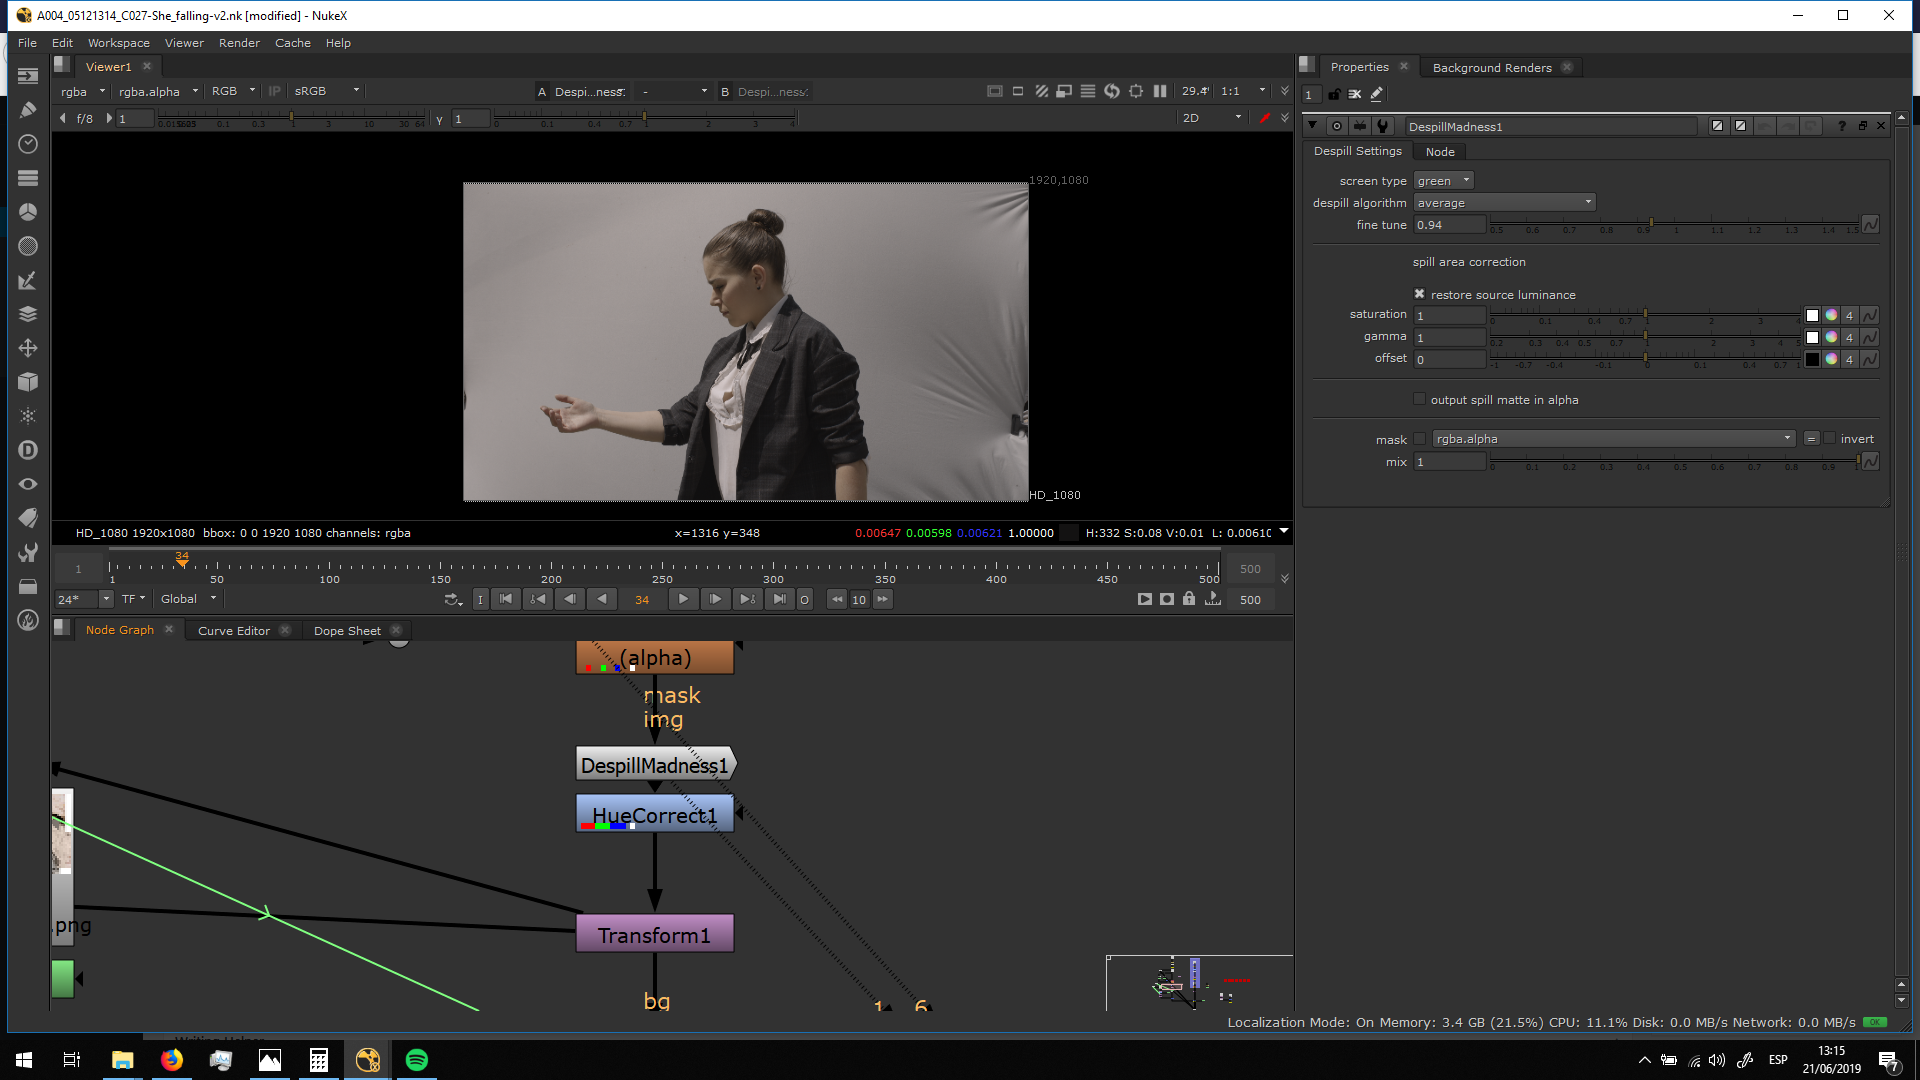
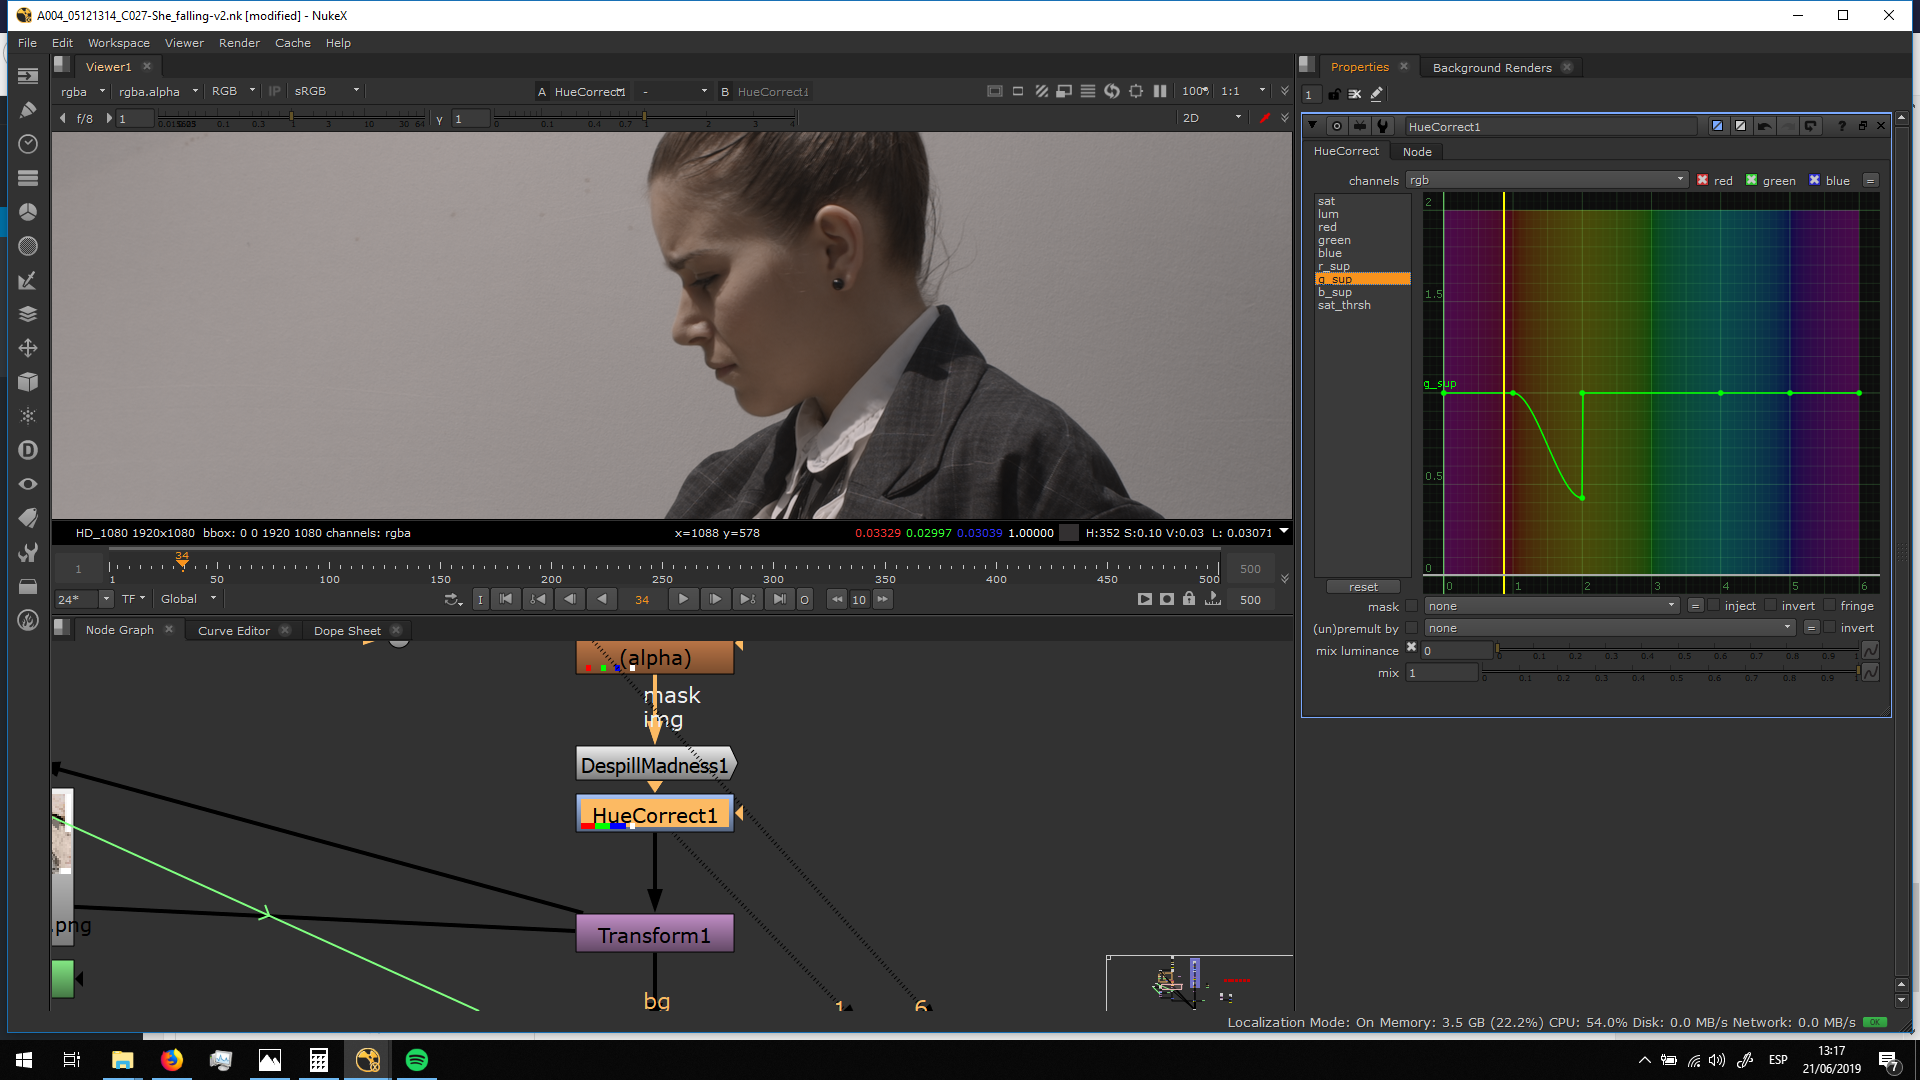
Then, I added a DespillMadness note with which we can take our the green spill in the edges and in the general image in a highly effective way.
Then, I also added a green suppression in order to elimitale the green todes of the skin.
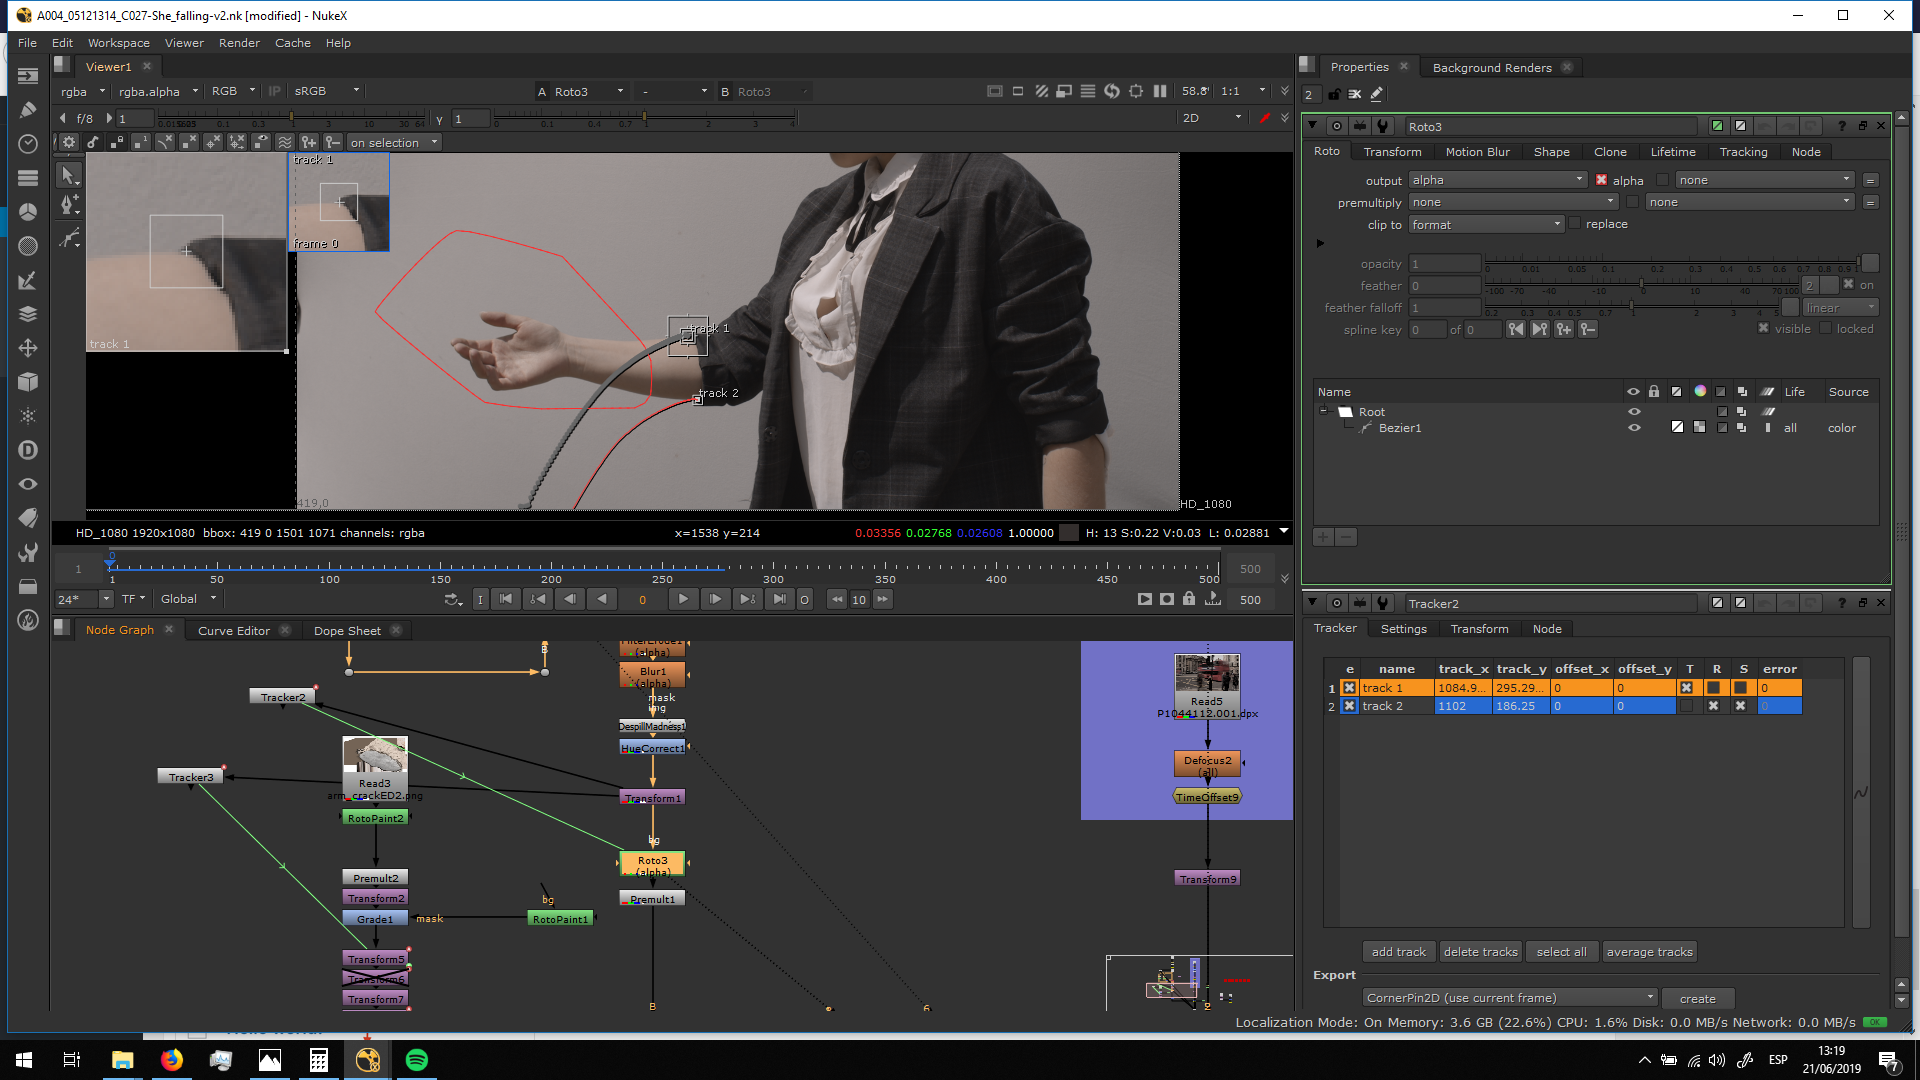
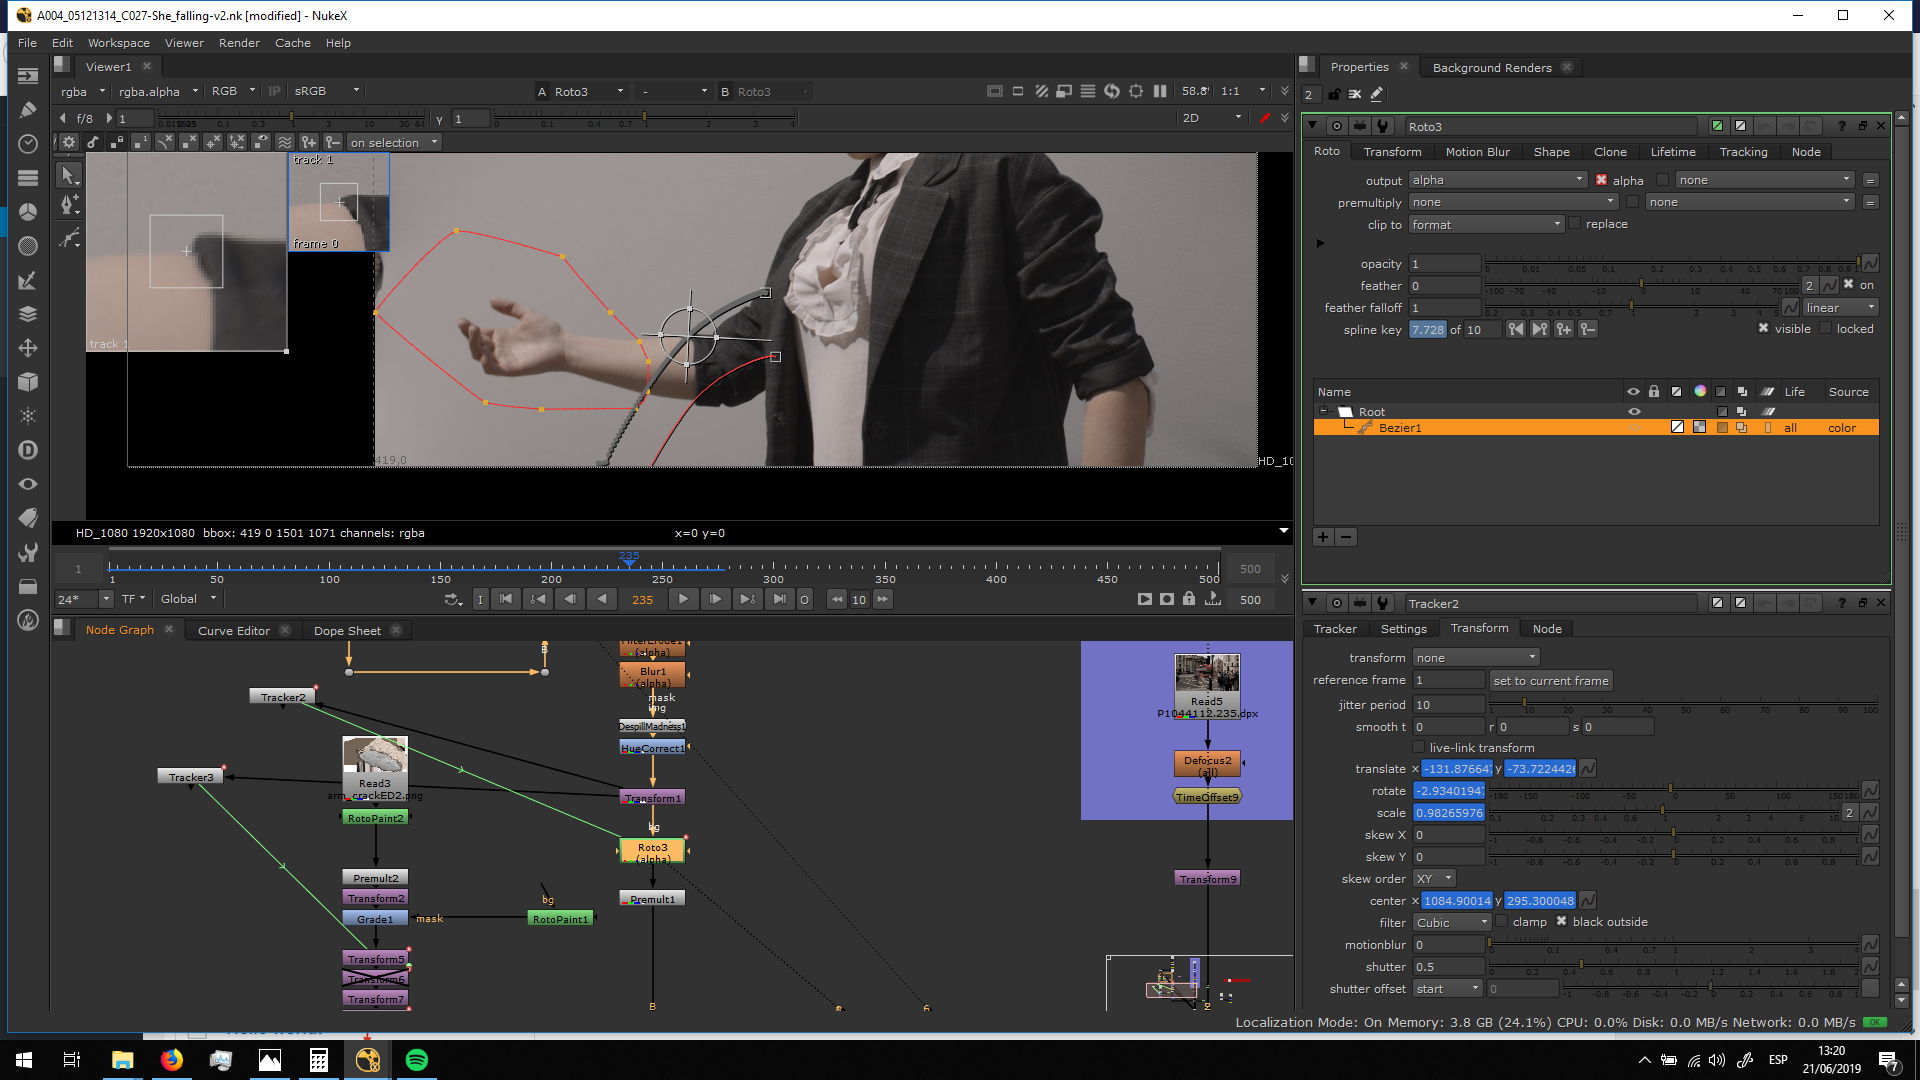
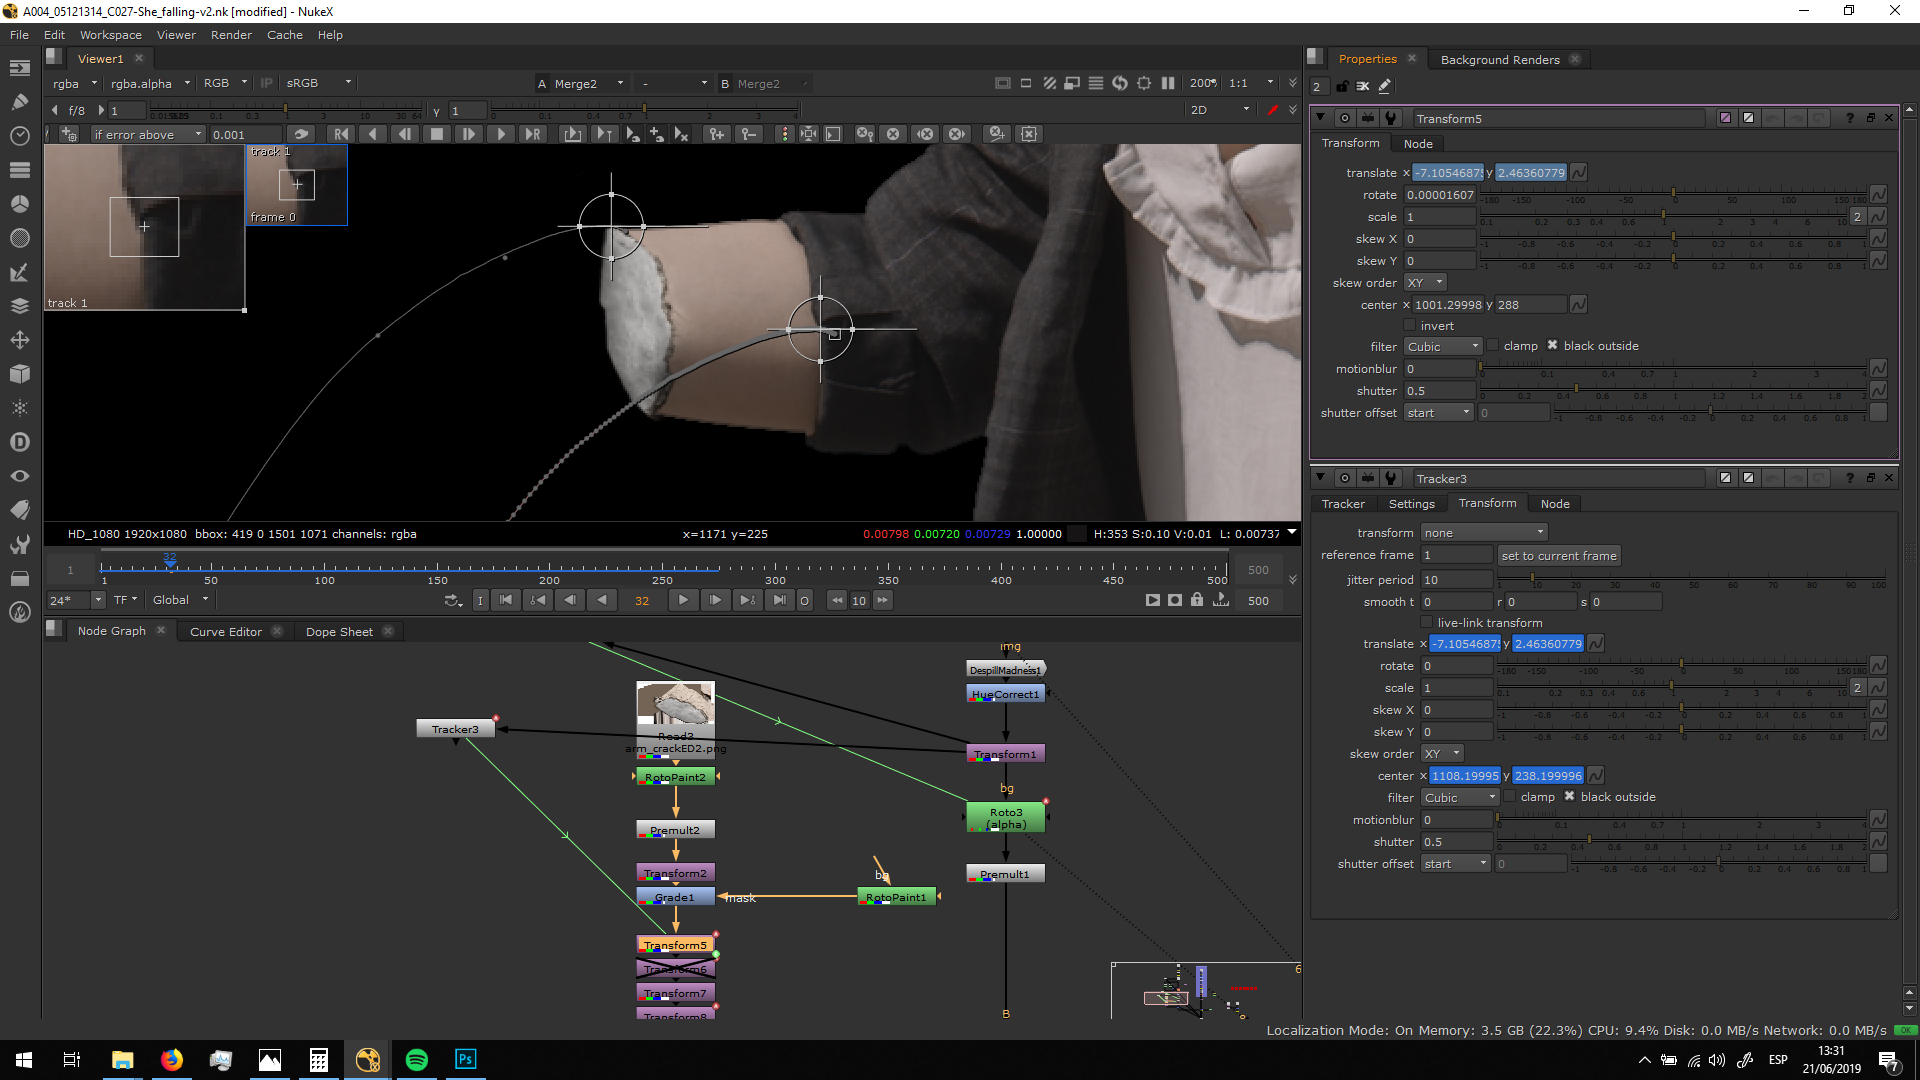
Then I added a transfor mote to locate the figure. Then, I added a roto in roder to take out the arm which has already fall. For that, I made an animated roto, and I also added a tracker of the movement of the arm and I linked it to the roto in order to match me movement. Also, I animated the path in order to maintein the same curve shape.
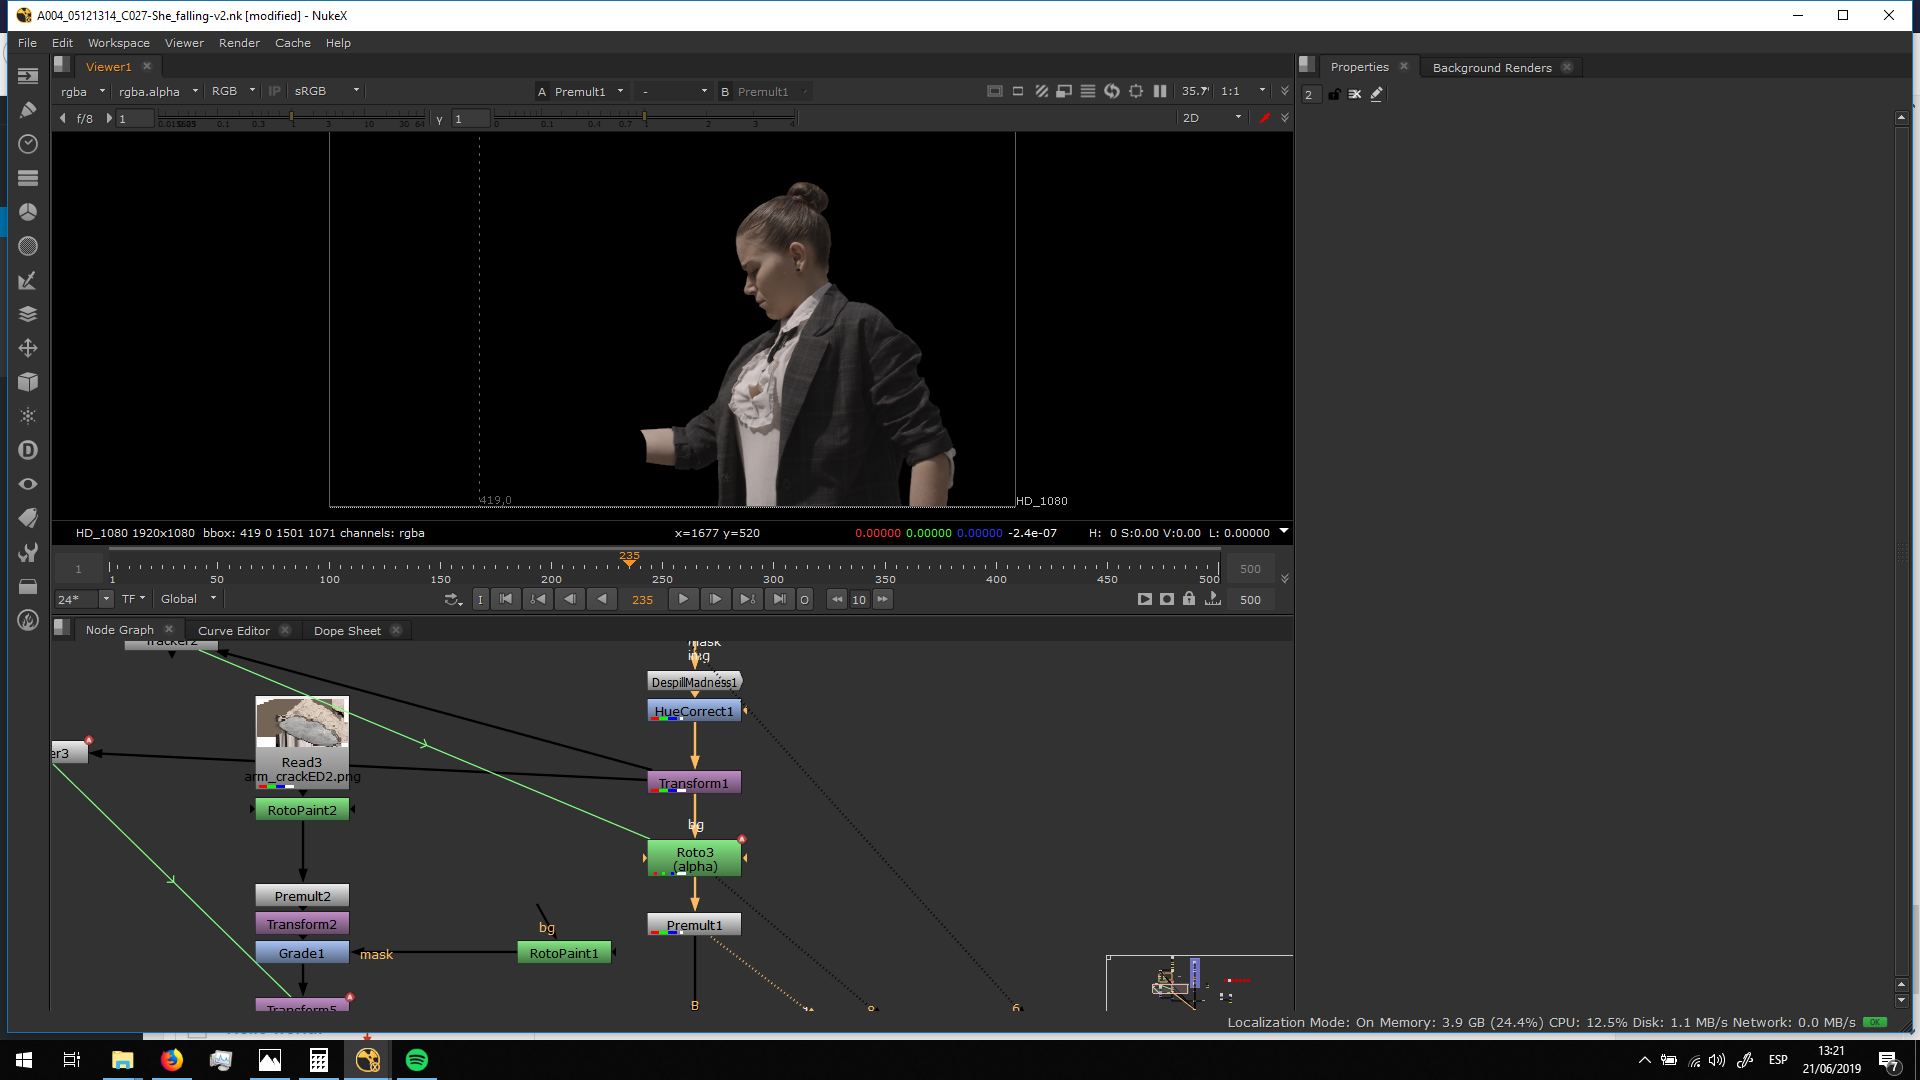
Finally I premultiplied it.
Cracked arm
I used the same footage as the one I made for the gound shot. Click here in order to be redirected to that blog entry.
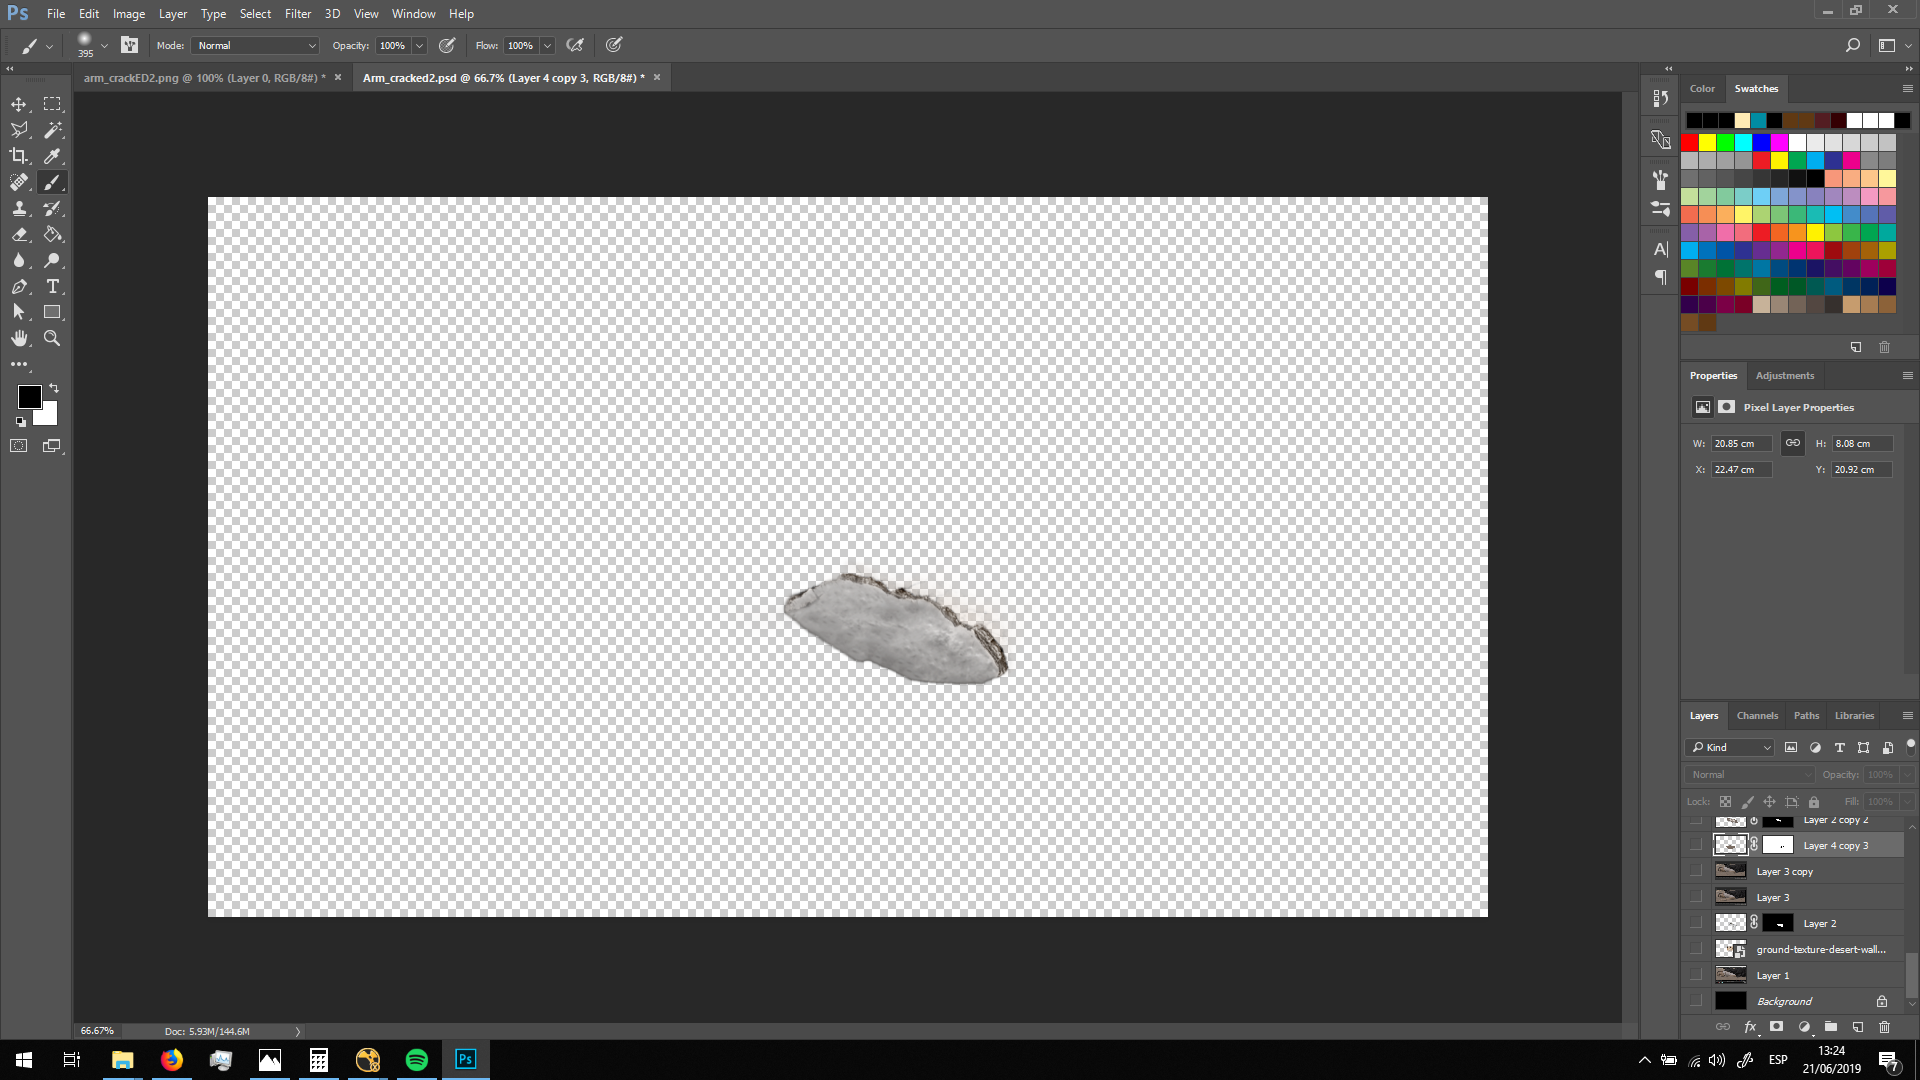
I imported the PNG into Nuke, and I premultiplied it.
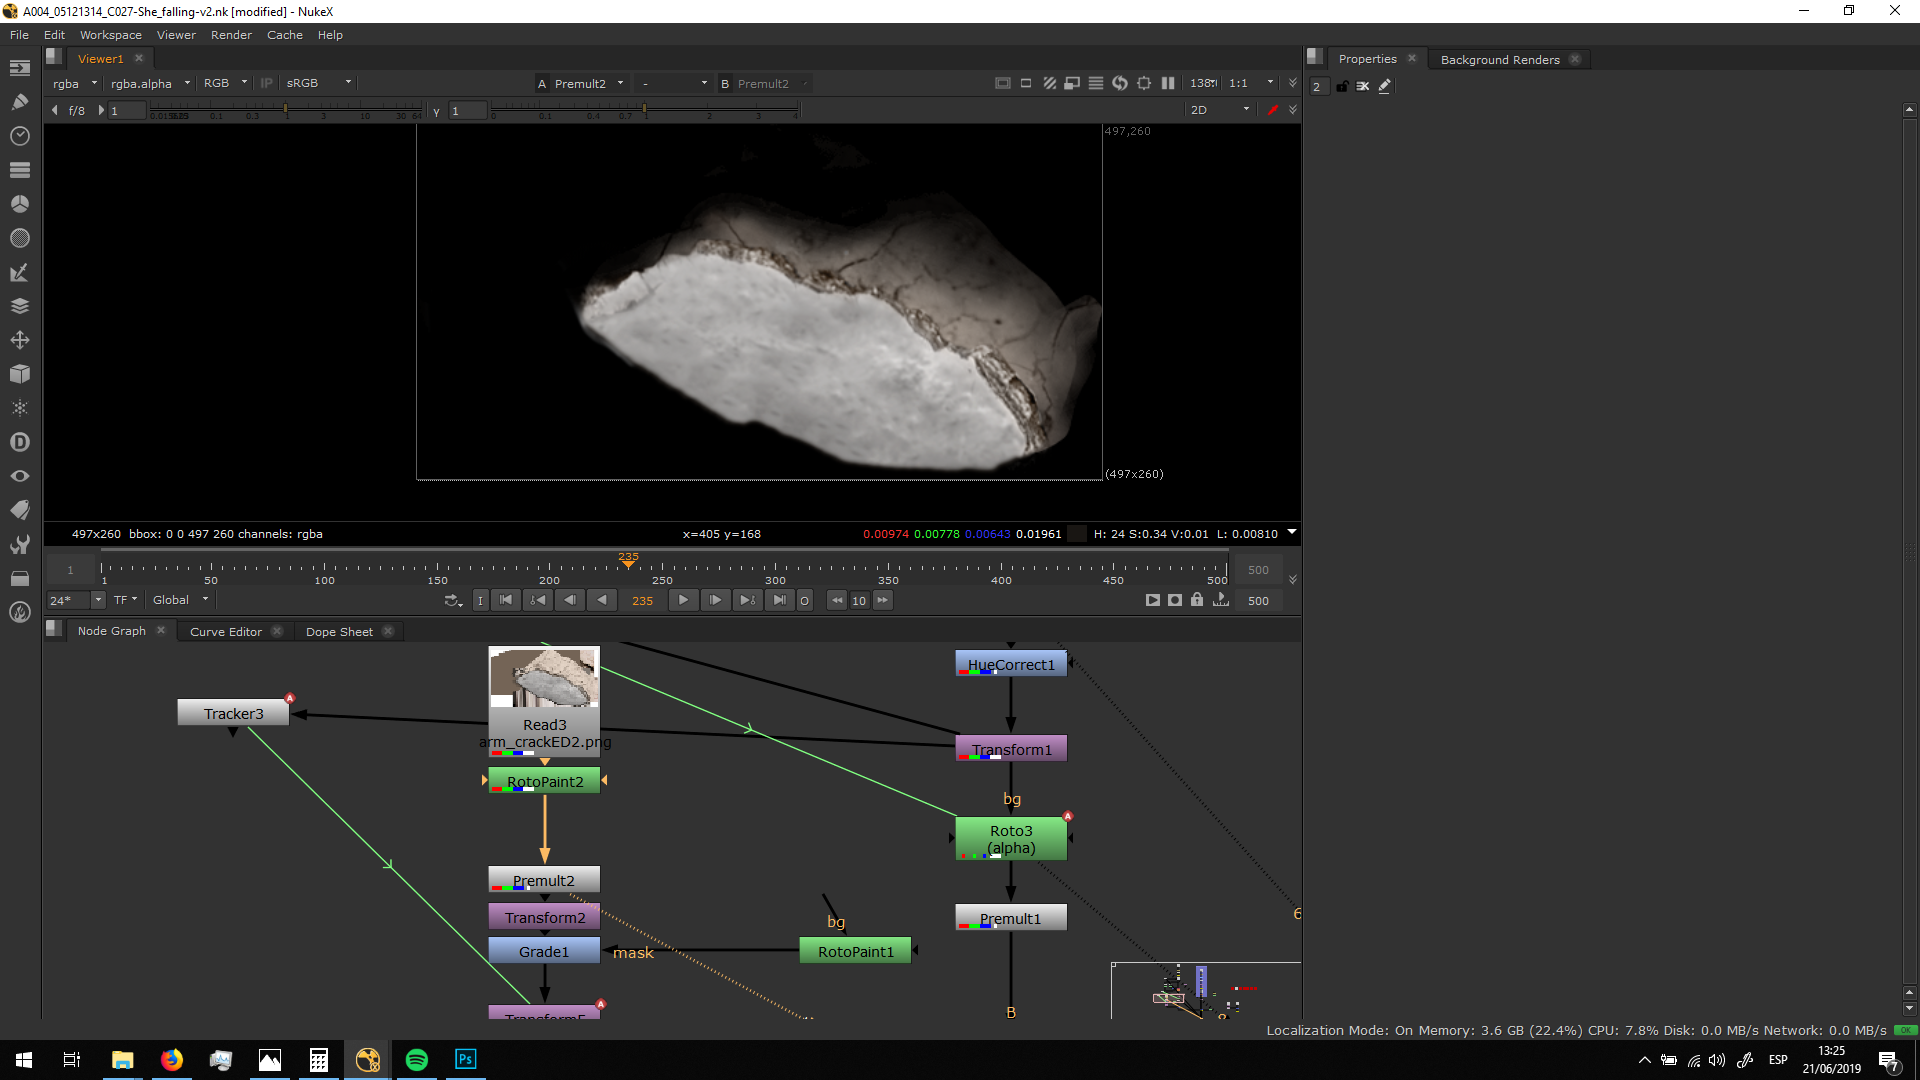
Then, I transformed it and grade in in order to match with the footage. I grade it in order to recreate the shadow, using a roto painting to apply the grade only in the bottom part.
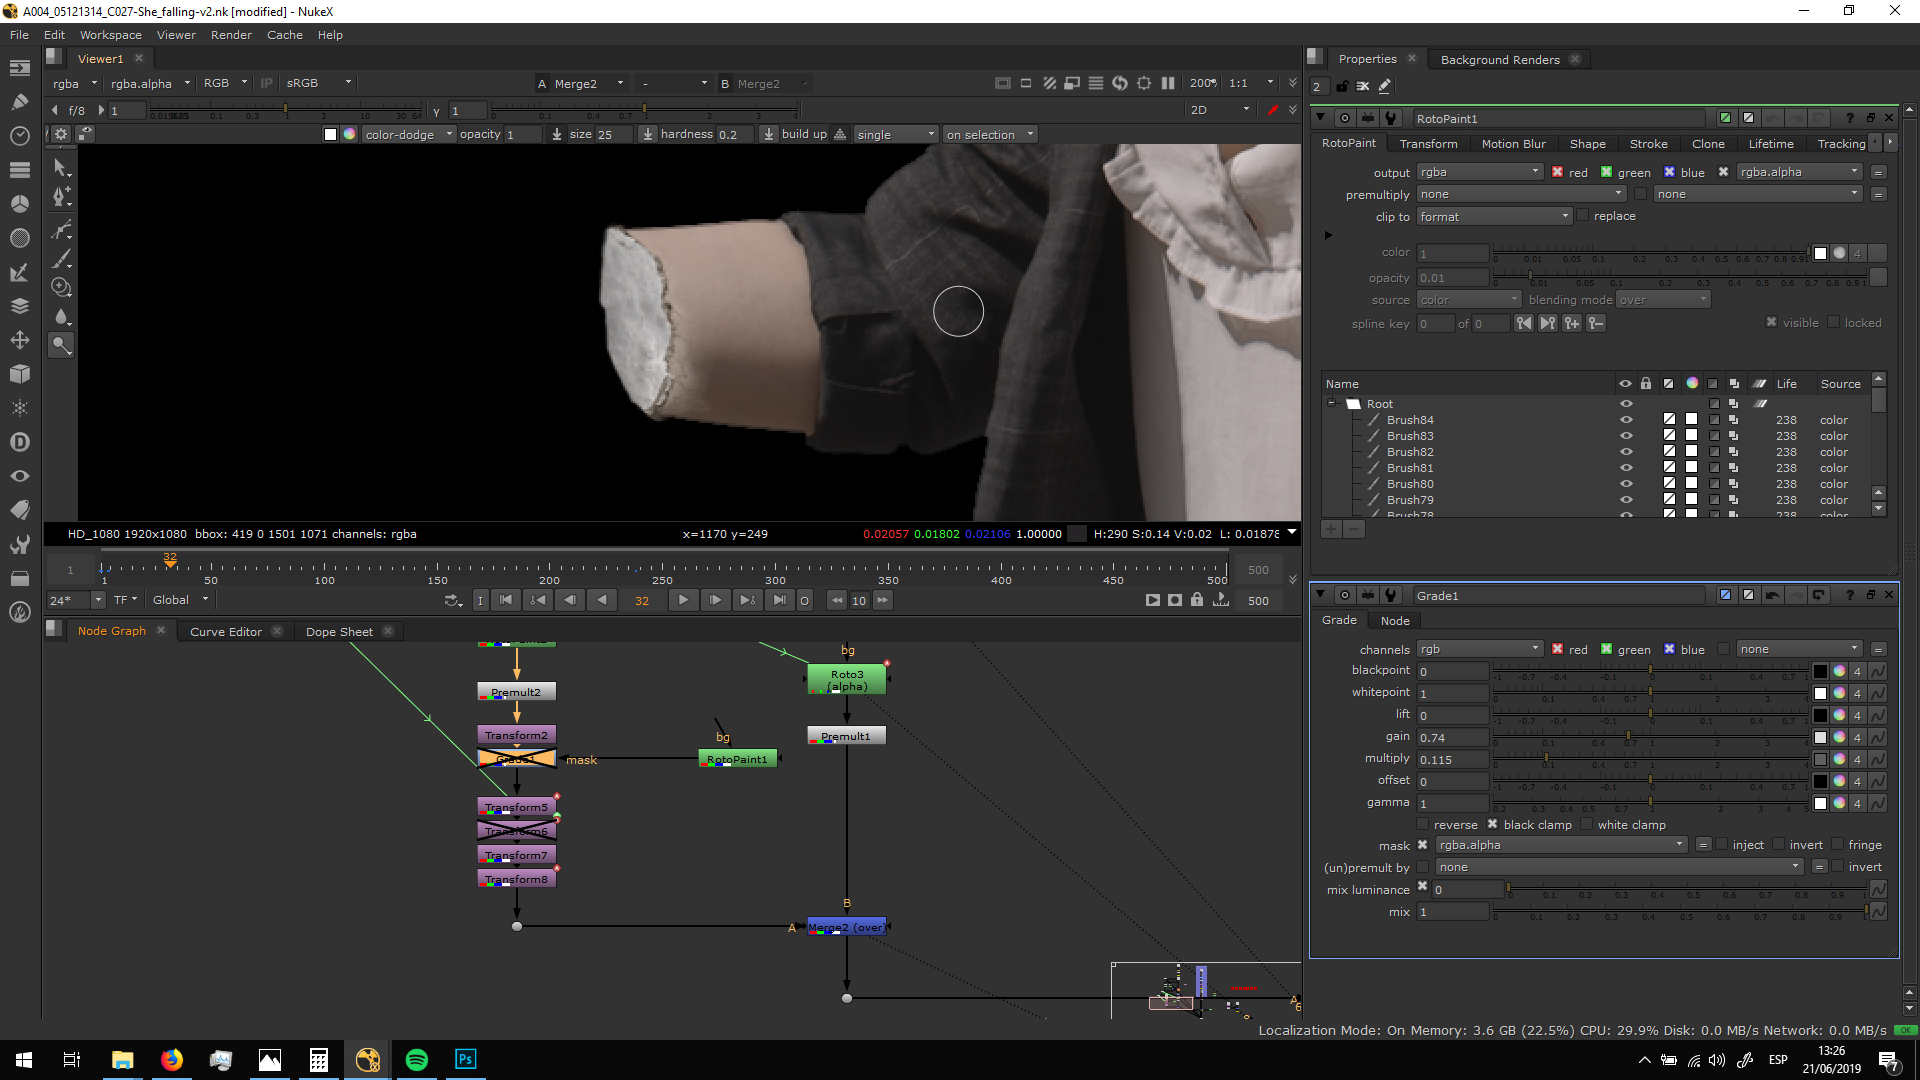
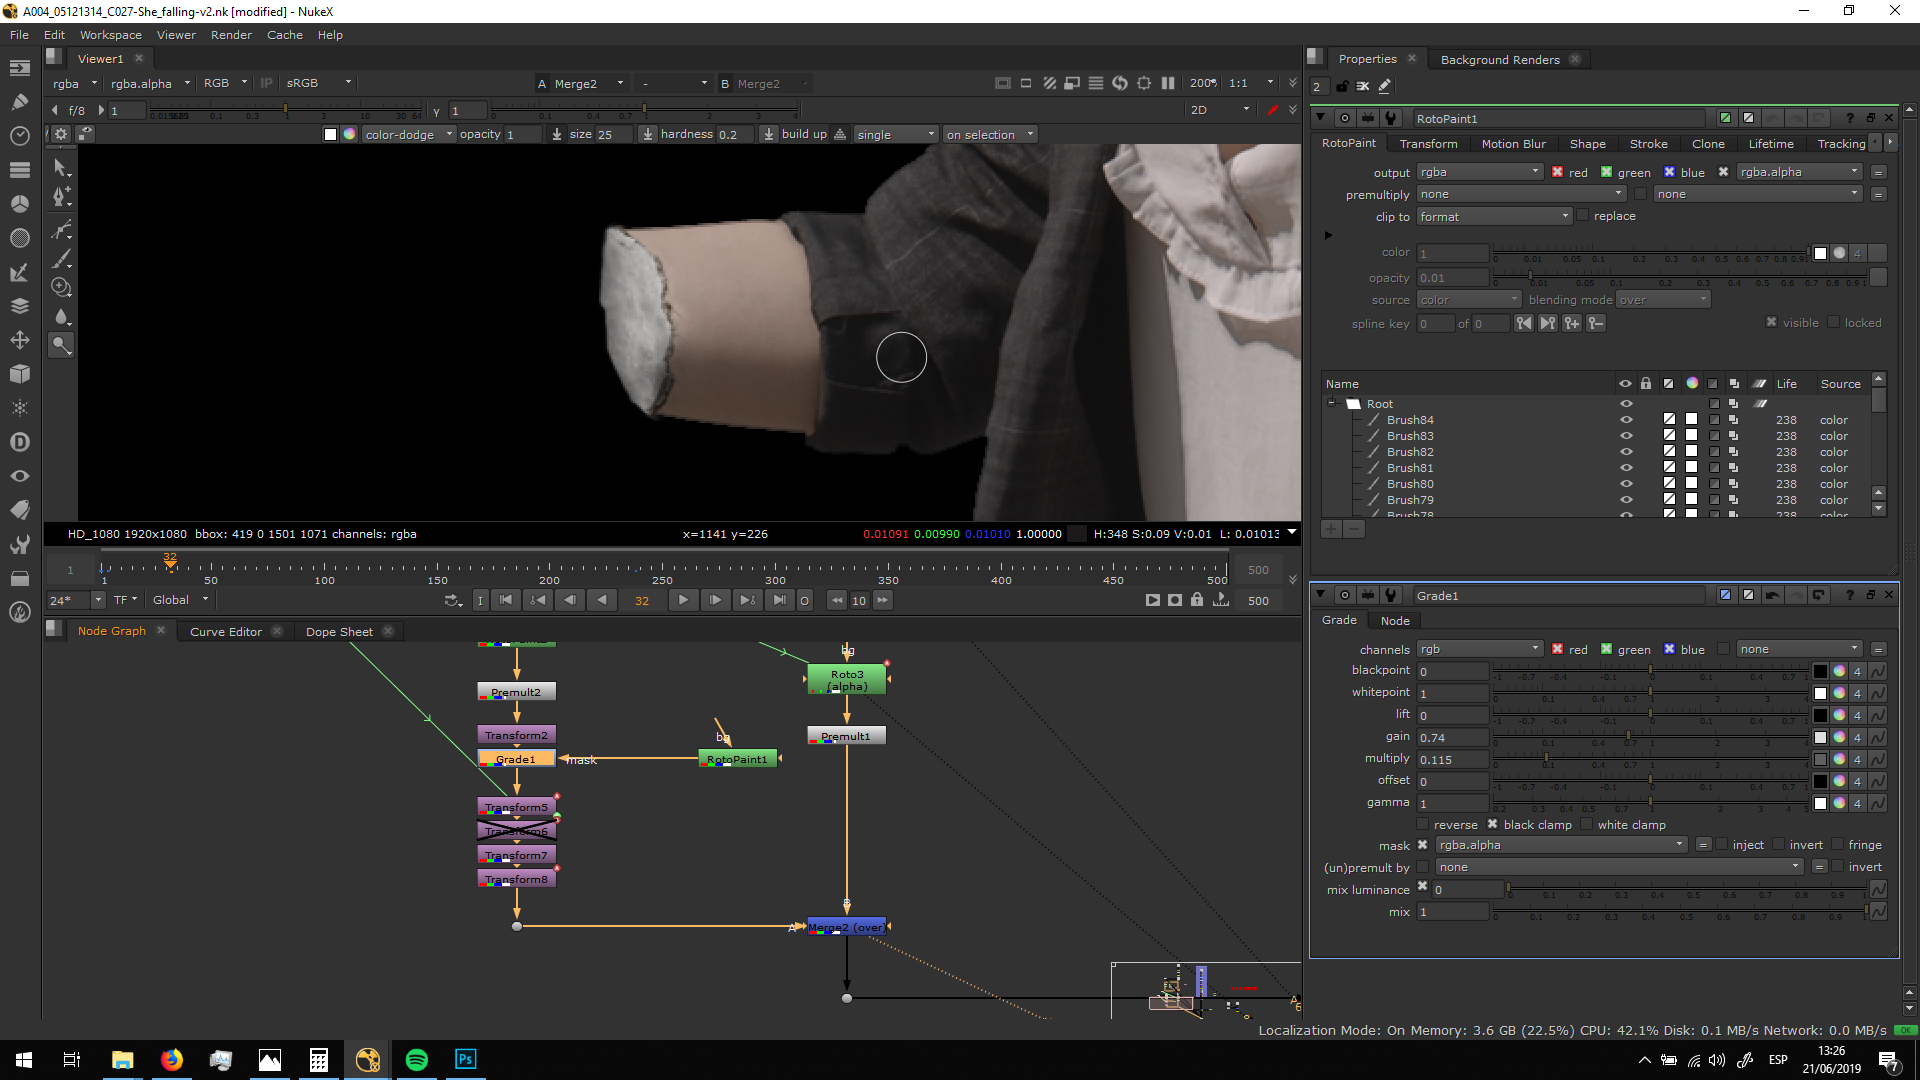
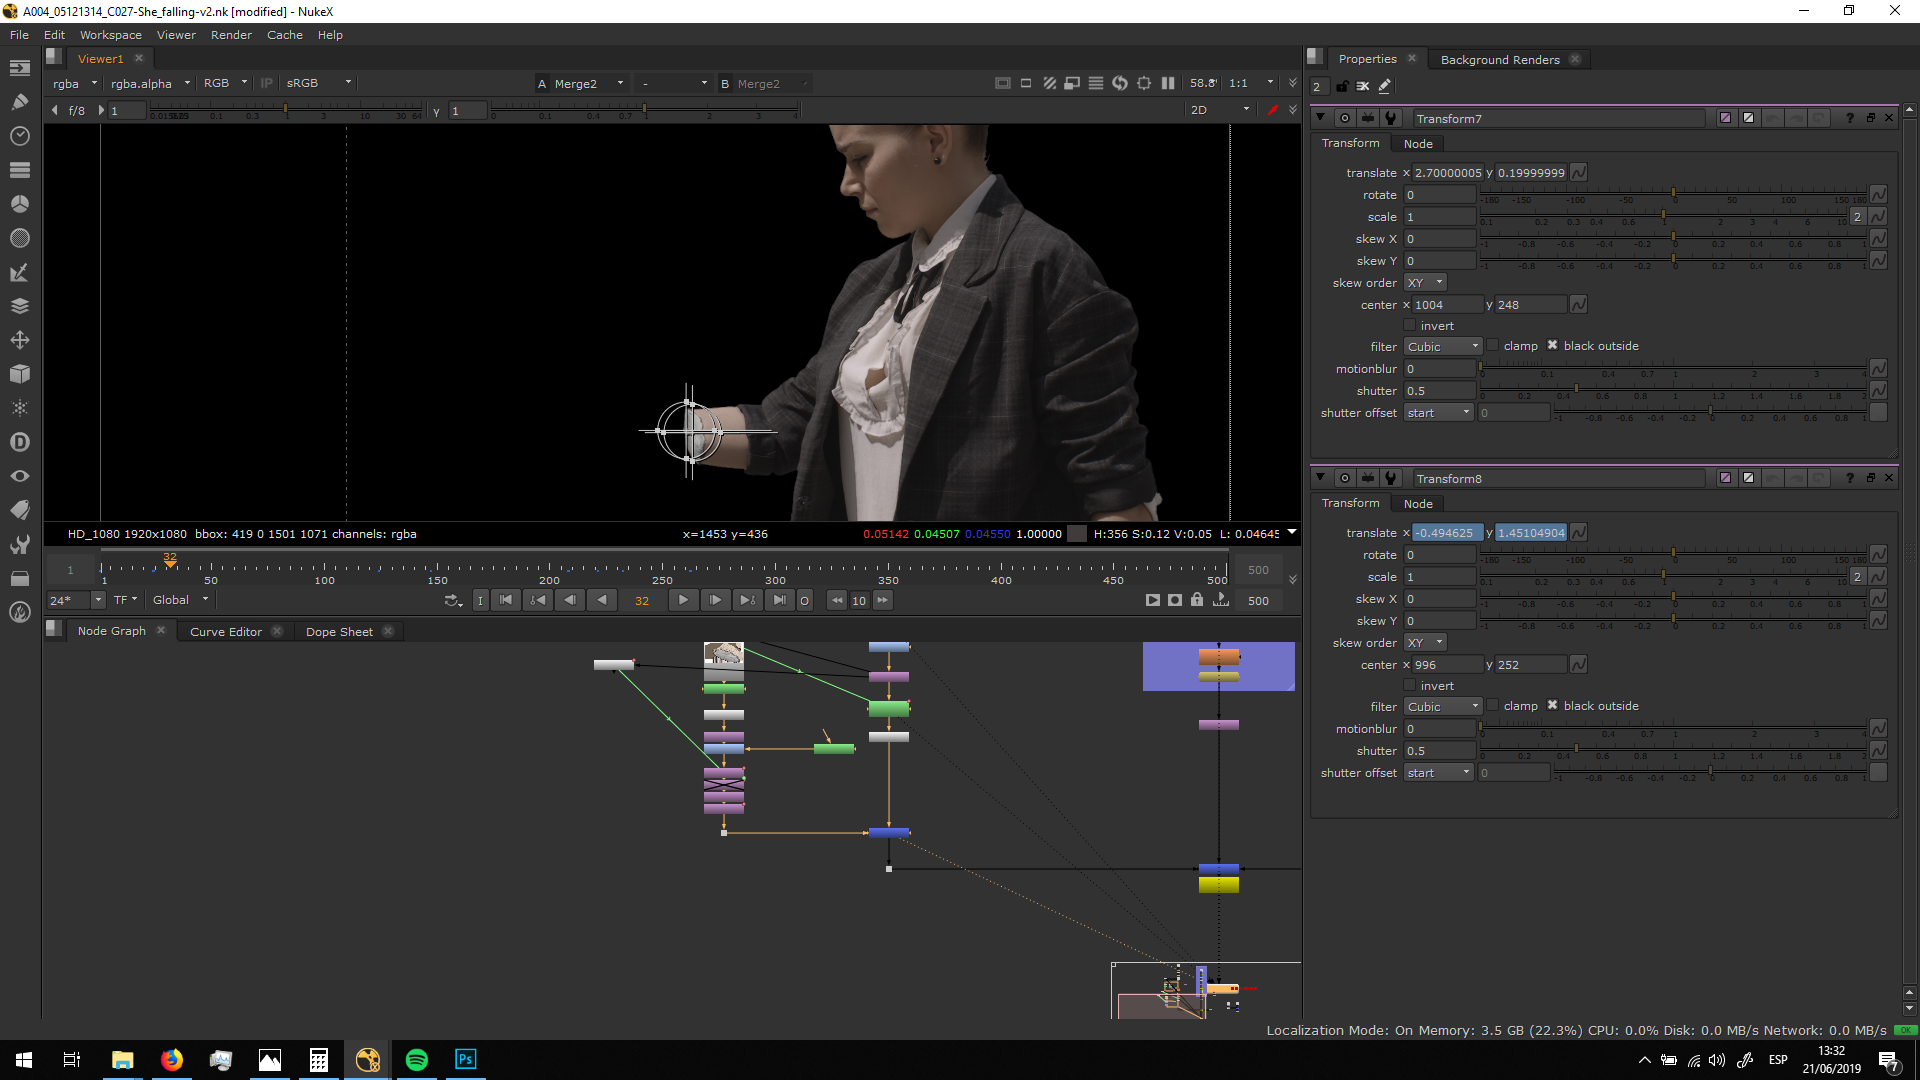
Finally, I added a trnasformation connected to a trakcer in order to match the movement of the arm. Since we did not add tracking marks duting the shooting, it was hard to track it correctly and I had to use a tracker near to the jacket. Consequently, I had to add some more transform nodes to adjust the movement, since the tracking of the jacket is slightly different of the one that should be in the arm. Impòrtant thing we have learned: always add tracking marks in cases like this one.
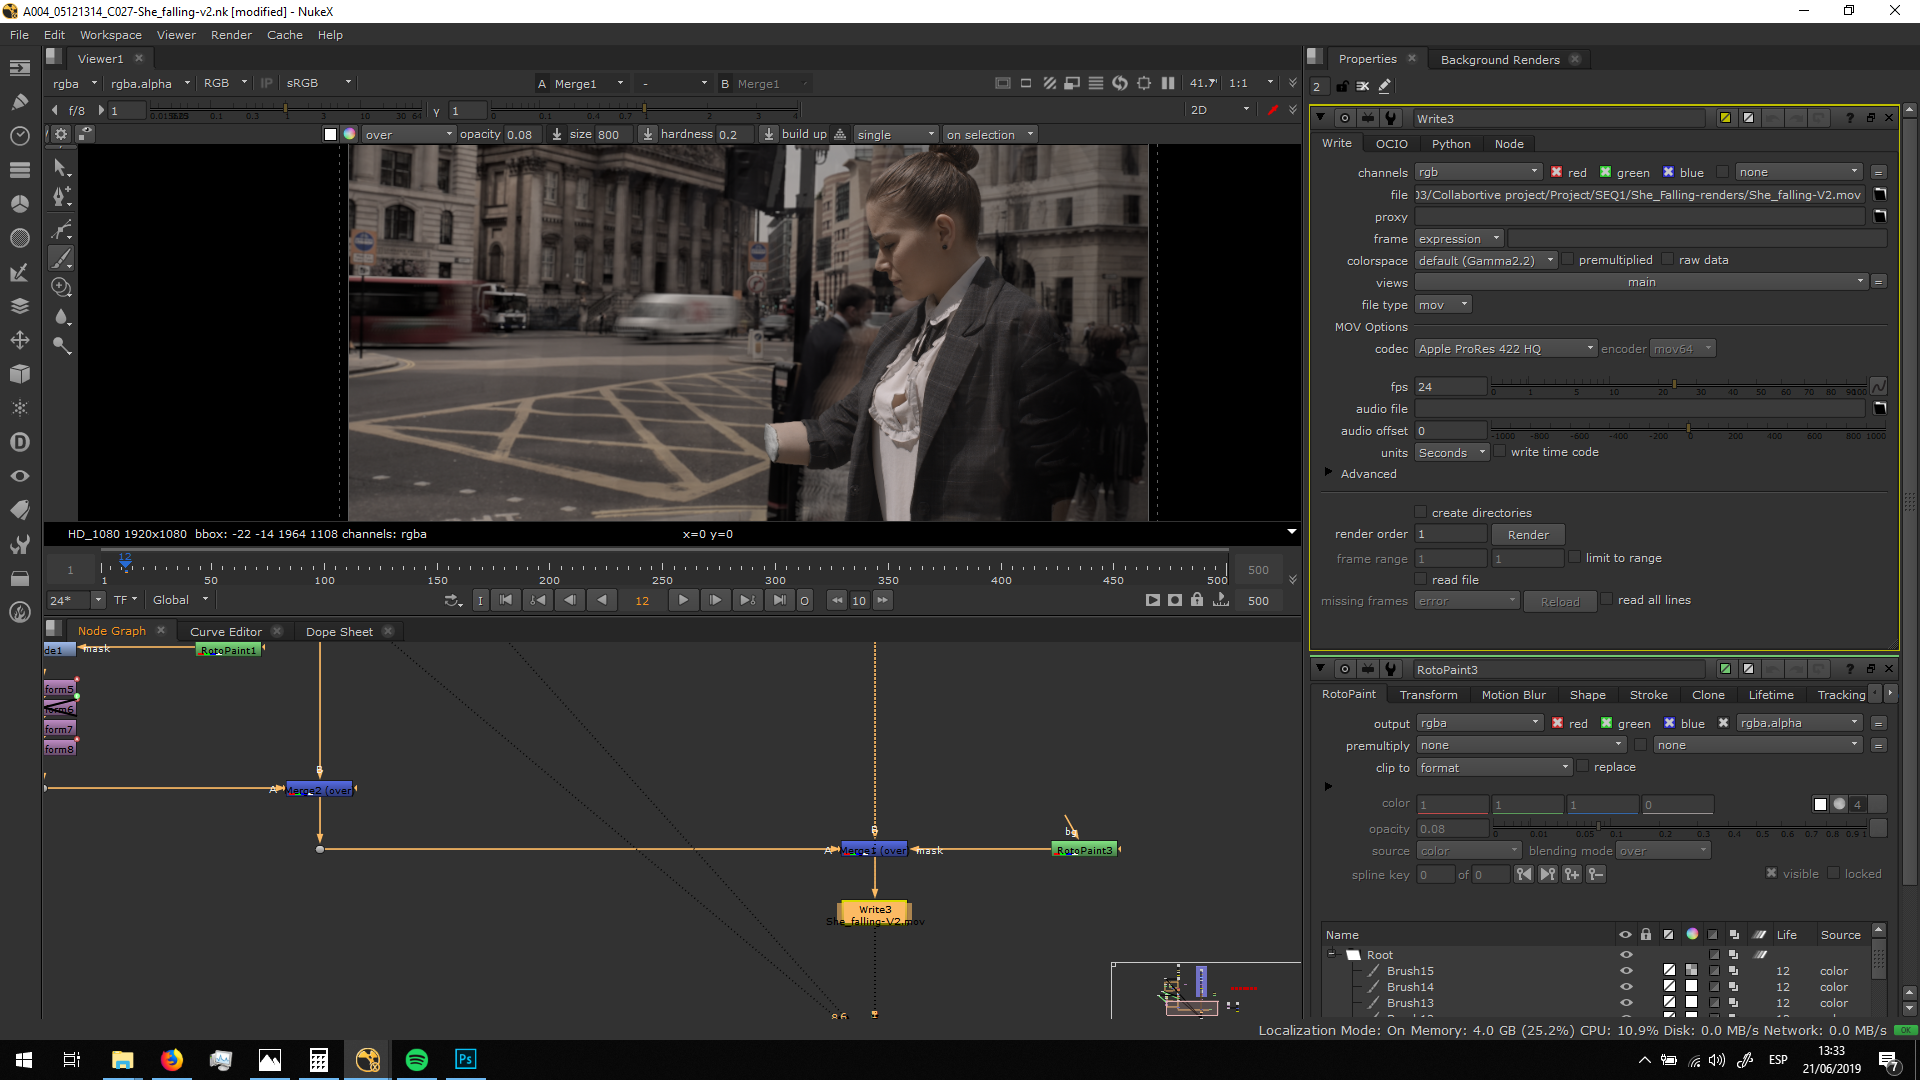
Merge it obver the background
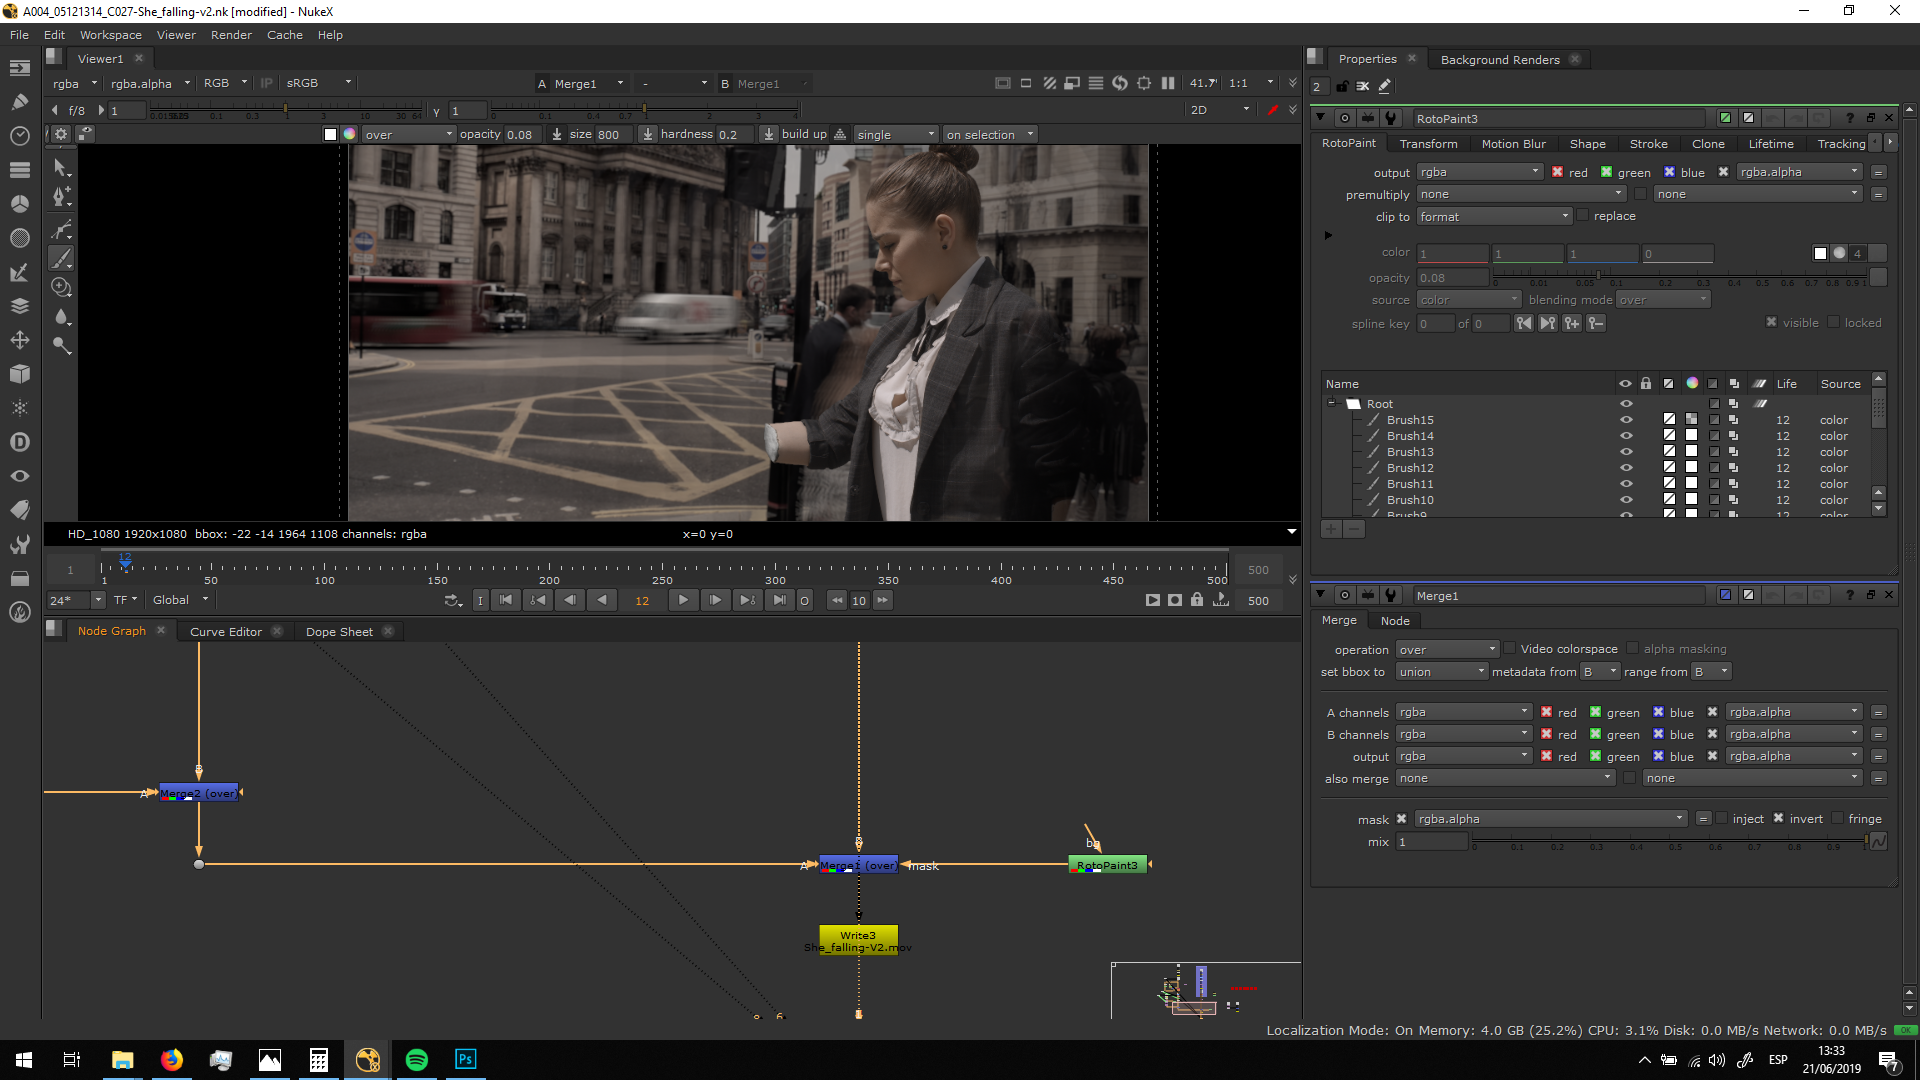
Finally, we are ready to merge it over the background.
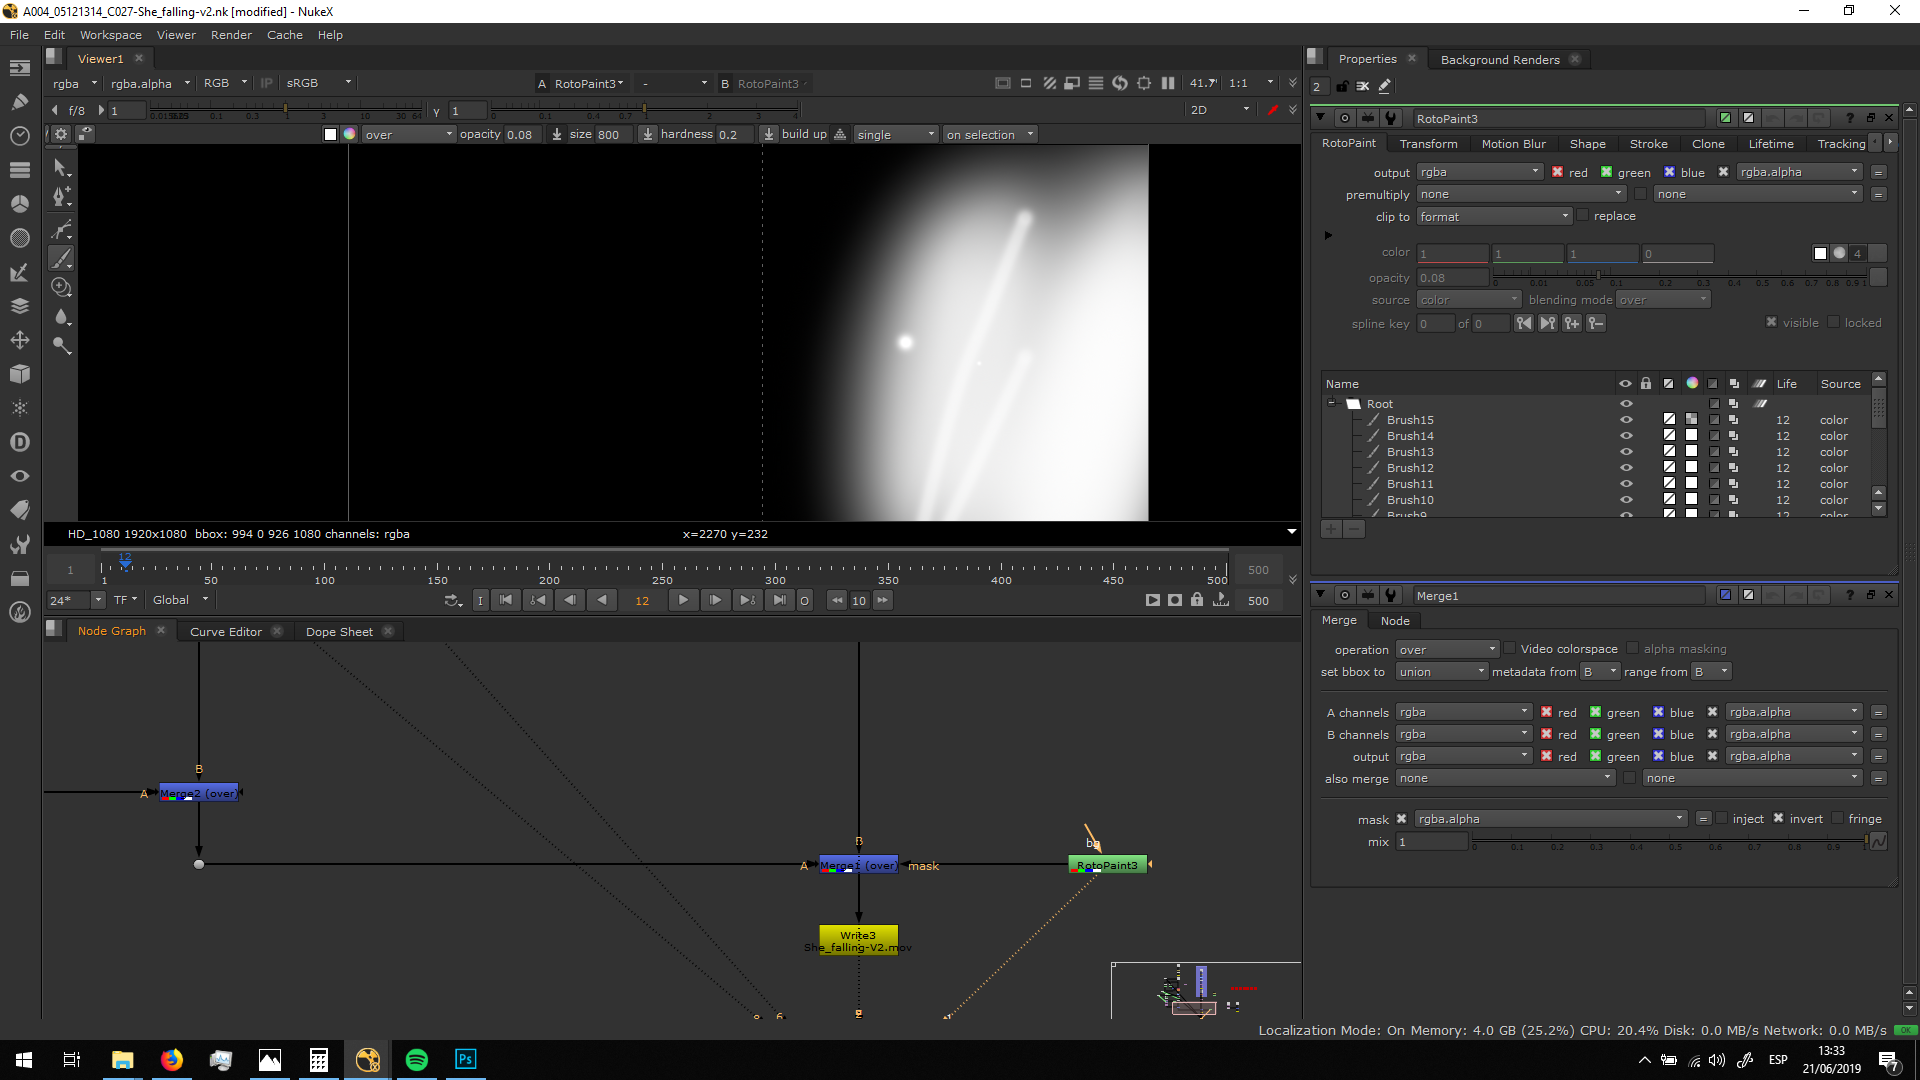
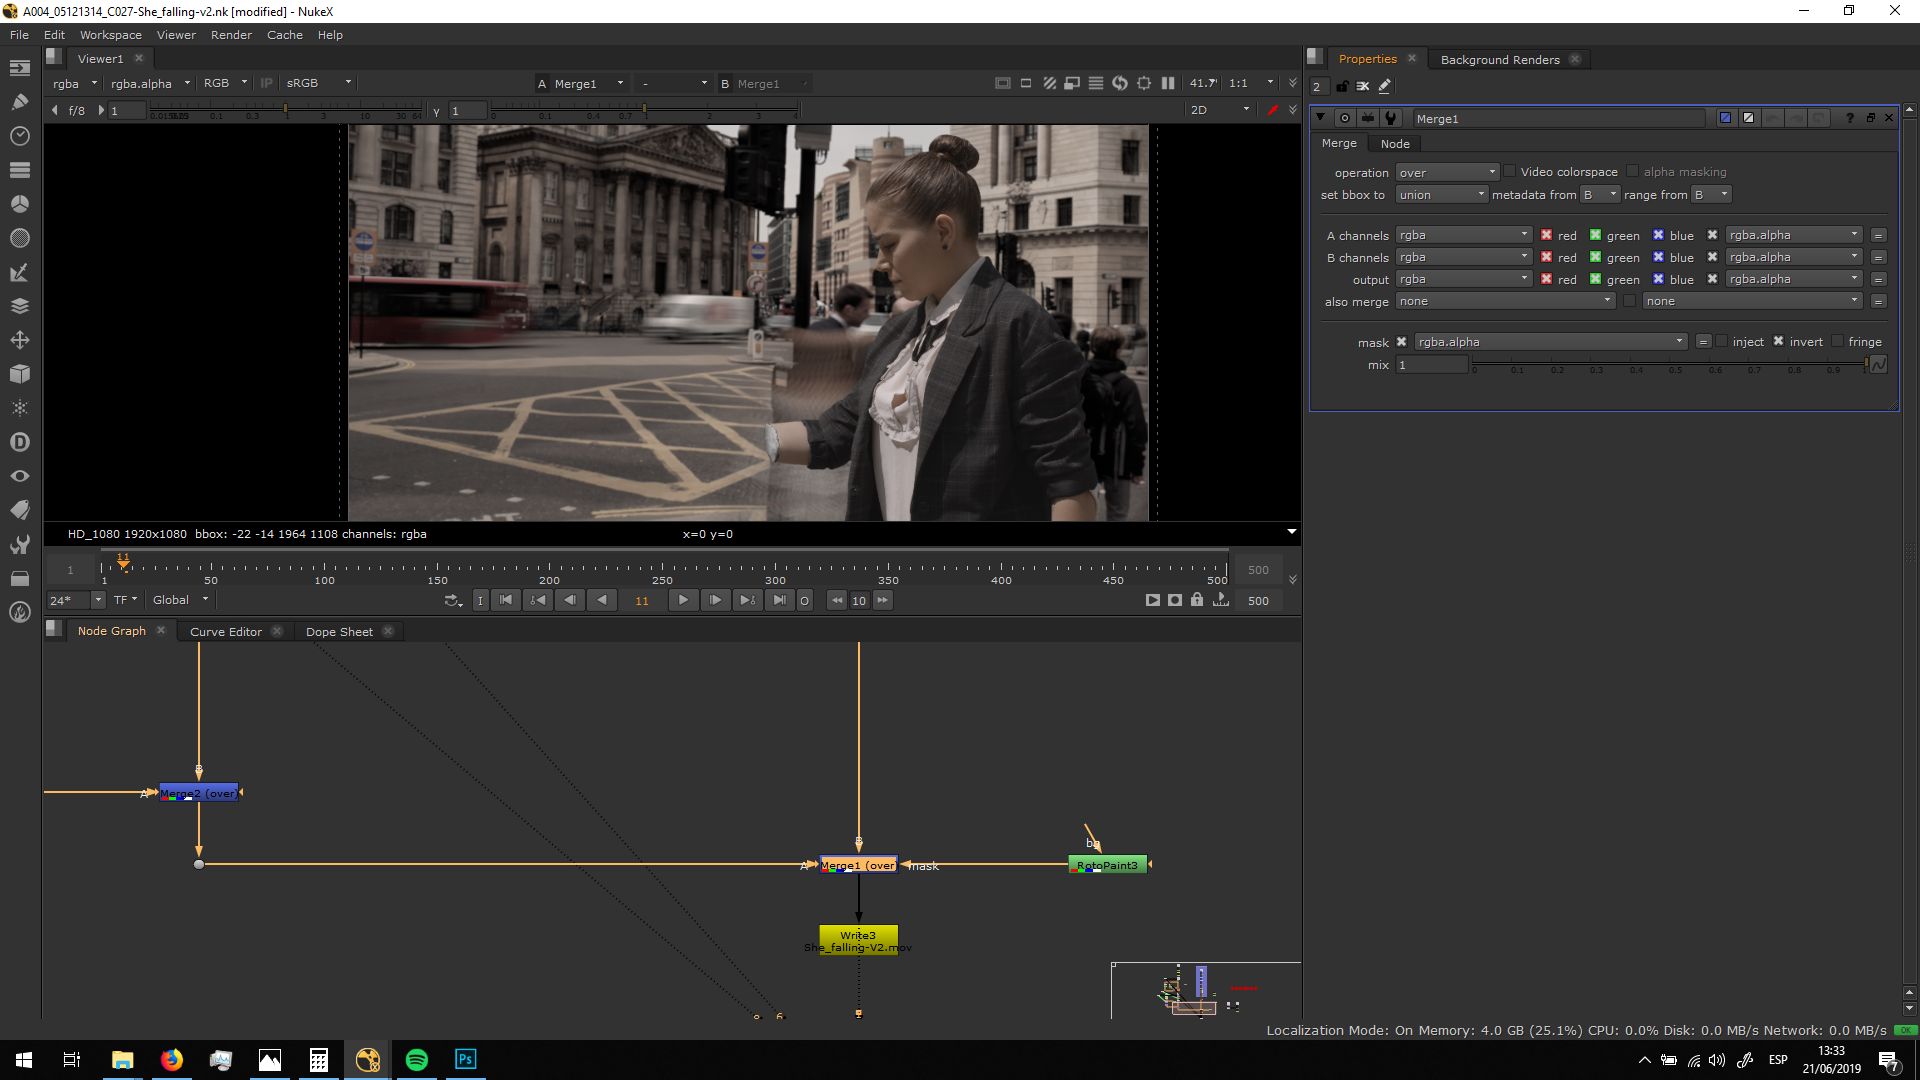 As there was people walking over her, I masked the merge note with a roto paint, maskinf out the marts of the foreground which should be covered by the people pasing.
Export
Finally, we can export the footage in Apple Pro Res 422 HQ, same color space as the other shots, 1080p and 24 fps